I bought this wrap front dress at a thrift store quite a while ago and have never worn it. It fit well but the skirt was too long and there was something about that plus the white fabric, sleeves and wrap front that reminded me of a nurse's uniform. So, it languished in the back of the closet. Then the other day, I was browsing in H&M and spied a white dress with a tiny dot print and a cut out back. I immediately thought of this dress and quickly set about to refashion it.
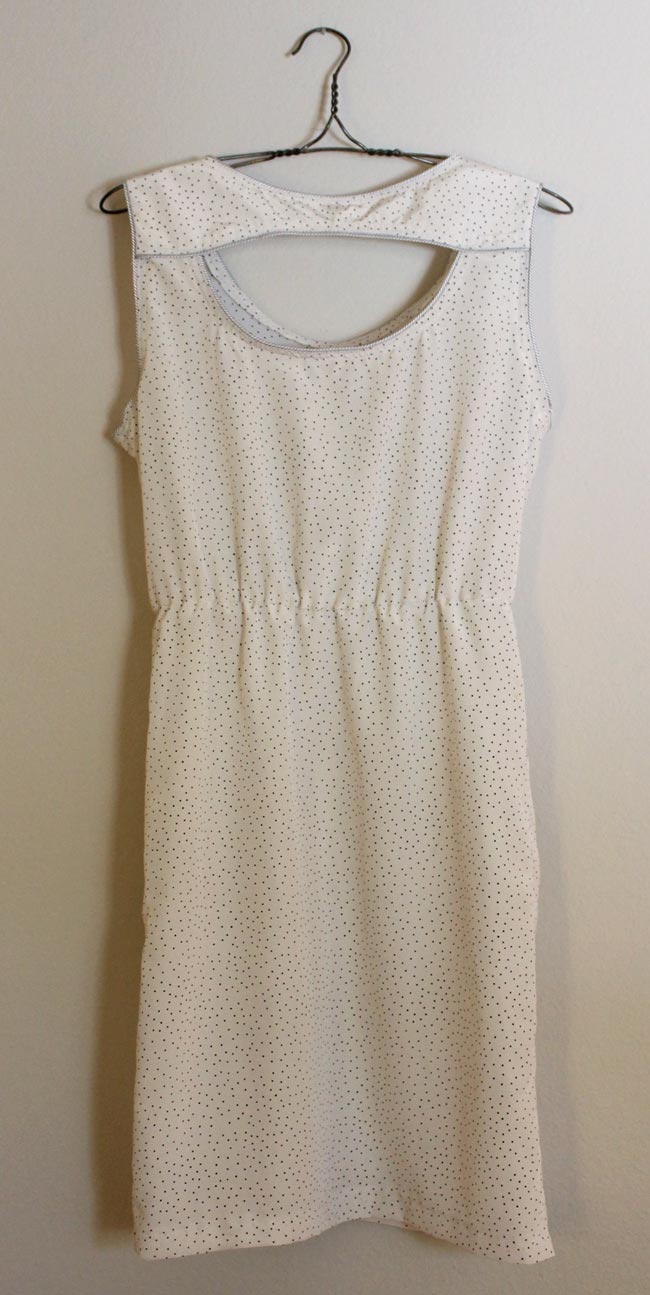
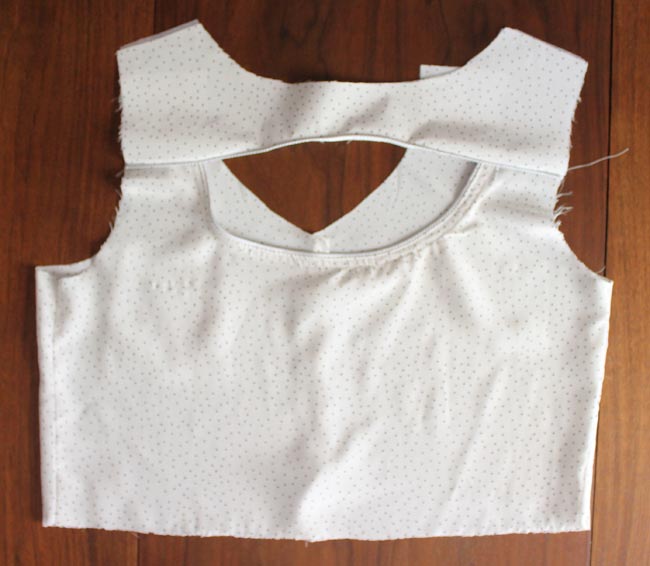
Here's the BEFORE:

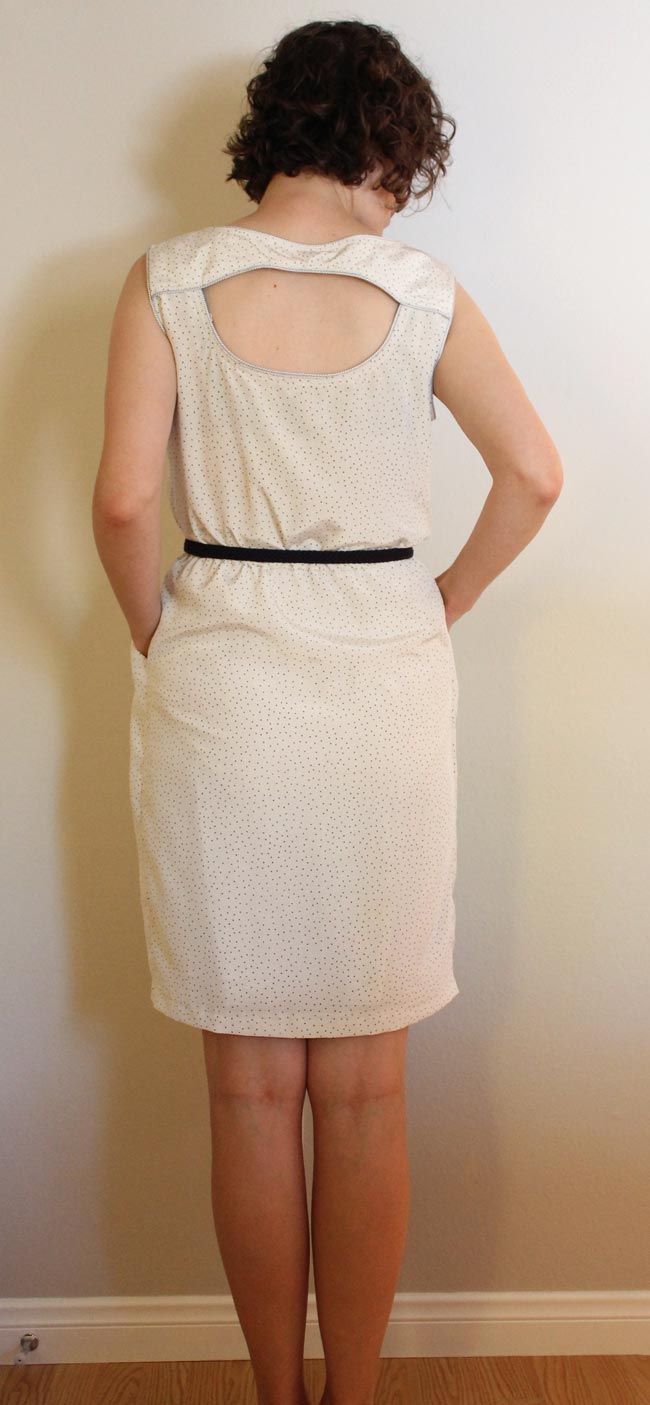
And (drumroll) the AFTER:

The back features a yoke and cut out opening. This is my second cut out back dress this summer. The style is definitely trending these days. I'm quite pleased that I managed to make both dresses bra friendly yet in different ways. When cutting this dress I made sure not to cut the back too deeply while the yoke is quite high on the back making for a perfectly placed cut out.

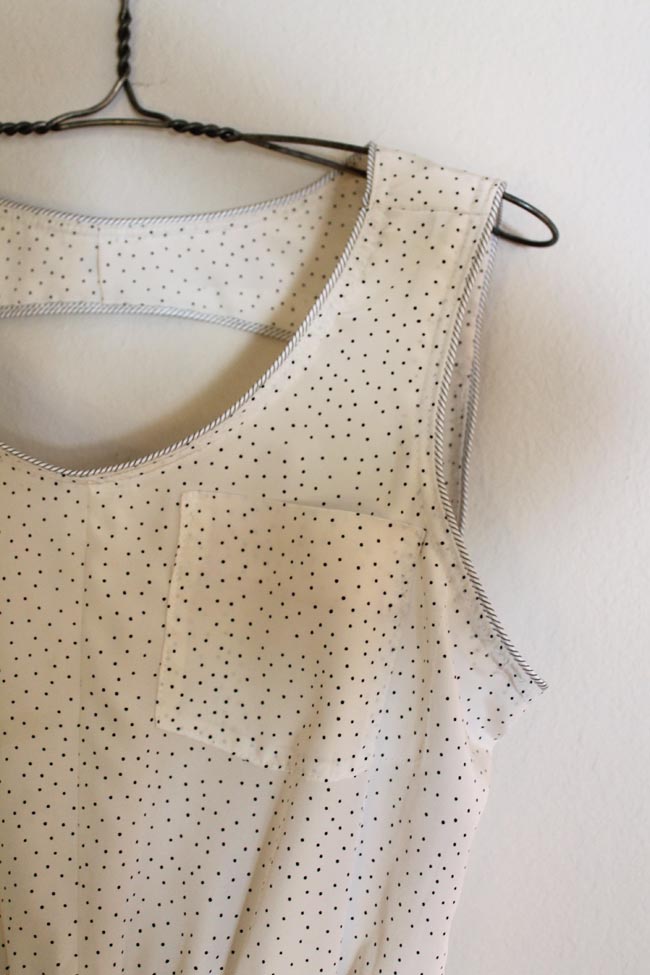
As a nice subtle contrast, I added a white and black striped piping to the edges. I've used this piping on a dress a year ago (see it here). I bought the piping for only $2 in downtown LA and still have about a yard left. Speaking of dots and stripes, have you seen the Tessuti Awards contest? Their theme this year is exactly that! Shortly after finishing my dress I read about the contest and couldn't believe the coincidence.
Cut Out Back Refashion Instructions
These instructions are very, very basic. A lot will depend on the style and size of the original dress.
1. Remove seams at sleeves, shoulders and waist. (If your original dress is not a wrap front, you can probably leave the waist seam alone.) Trim skirt to desired length.
2. Using a basic sleeveless dress pattern as a guide, make a pattern for back yoke and cut out back. (I used Simplicity 1873)
3. Cut 2 back yokes using scrap fabric from dress skirt or contrast fabric. One yoke is for the lining.
4. Cut back using pattern. Cut off top of back and half circle opening.
5. Apply piping to half circle cut out. Finish with bias strips cut from sleeve.
6. Baste piping to back yoke (not to the facing).
7. Stitch back yoke to back.
8. Cut bodice front to match basic pattern and seam at center front.
9. Stitch shoulder seams. (I added an extra rectangle of fabric to my shoulders to get the length right. My original dress had a little section there.)
10. Stitch piping to neck edge and armholes. Finish with bias strips.
11. Attach bodice to skirt. I also stitched 1/4 inch elastic to the waist seam.
12. Hem skirt.
I also removed the pocket and then reattached it a little farther inside than the original location.
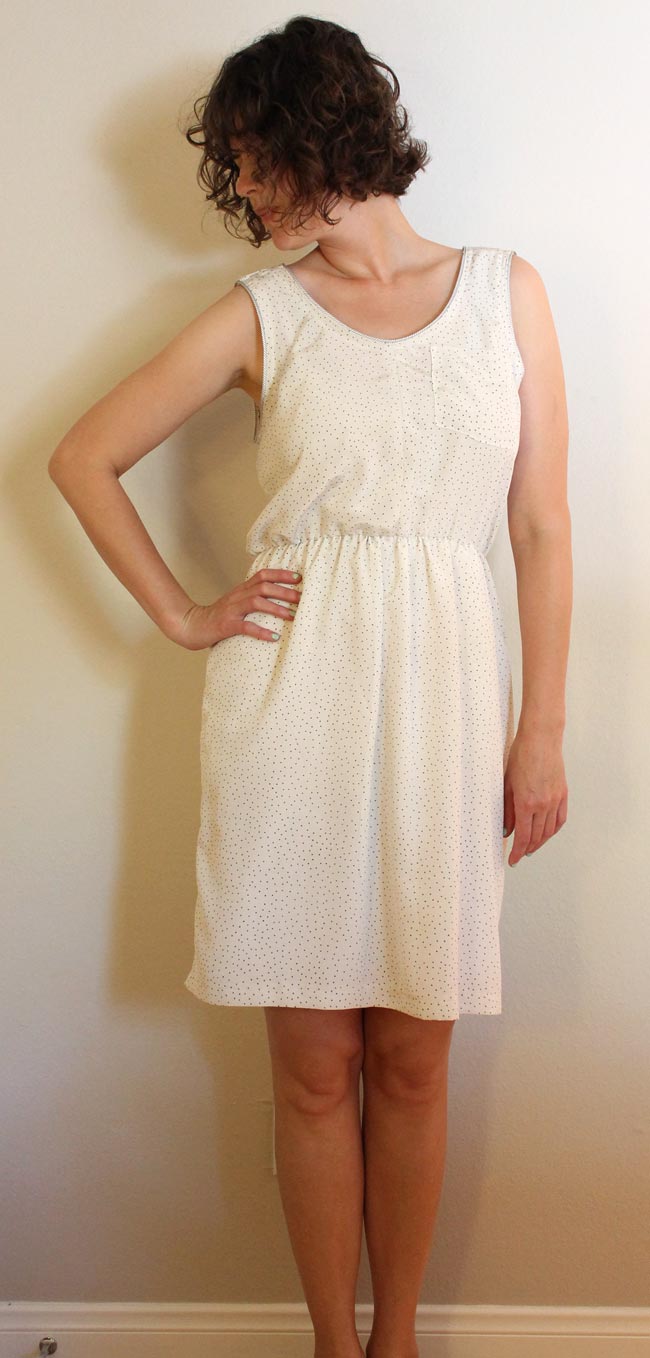
I'm really pleased with how this refashion turned out. It's so hard to tell when sewing whether something will work out or just go sadly, terribly wrong. The dress also works well worn with a belt. With a jacket or cardigan it would also be a little more modest, if the occasion calls for it that is.