A few months ago, the lovely and talented Emily from In The Folds sent me a printed copy of her Collins Top pattern. Emily and I have exchanged patterns in the past and I’ve always loved sewing (and wearing) her designs. Emily ran a very successful Kickstarter campaign last year to jumpstart the printed pattern side of her business and it’s been exciting to see her journey. The Collins Top is part of my Make Nine list for the year so it was a bit of serendipity that Emily offered to send me the pattern.
The printed pattern is really beautiful and very well designed. It comes in a large color printed envelope with an instruction booklet and a folded printed pattern. The paper for the printed paper is a nice light weight, much sturdier than tissue paper but not too thick. As always, the instructions are very clear with excellent illustrations. There is also a sewalong on the In The Folds blog with more tips and photos. Make sure to check it out too.
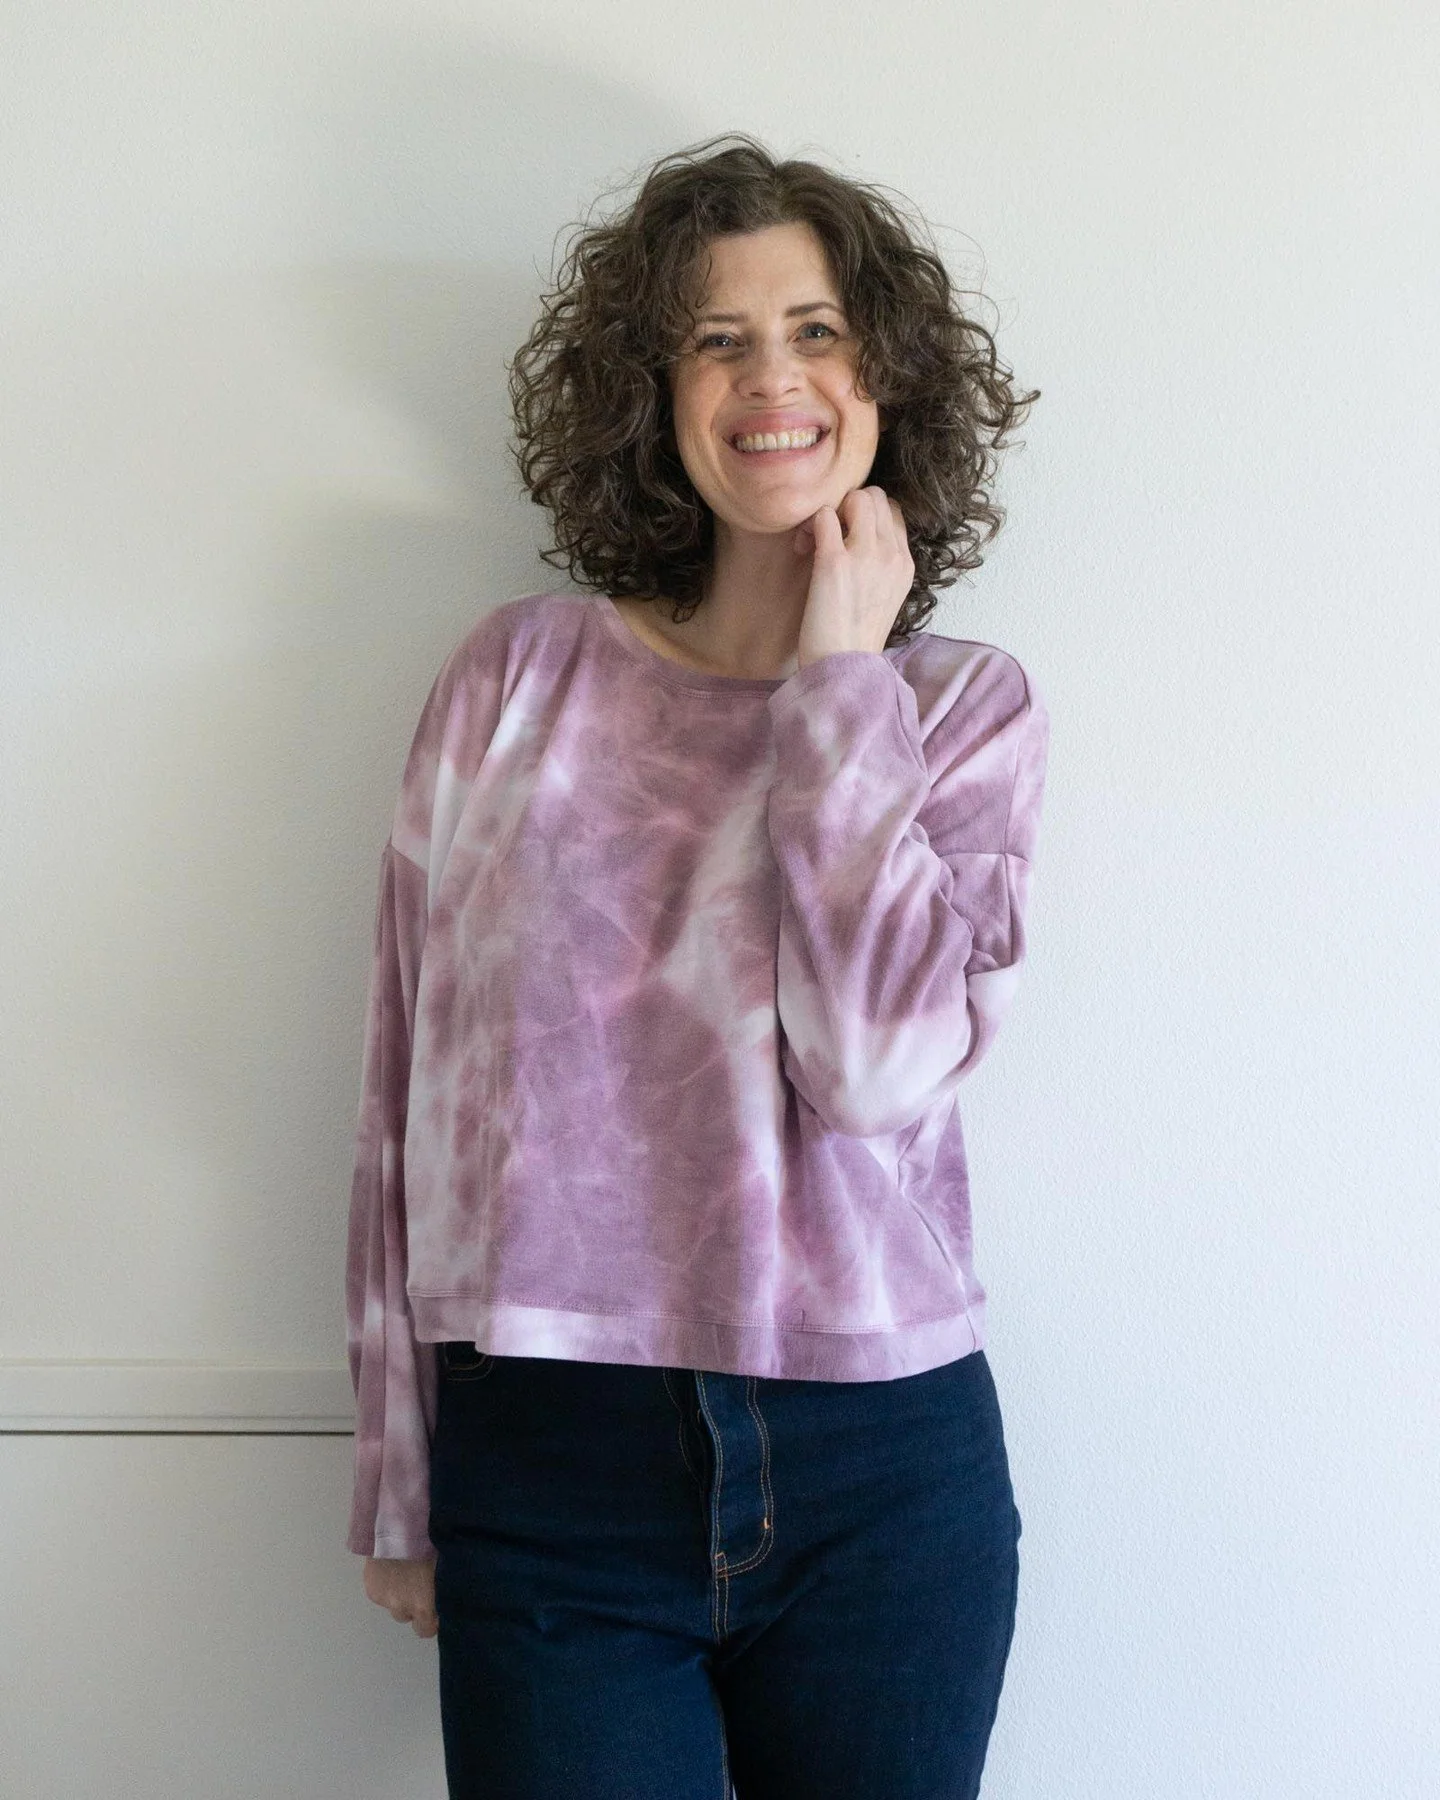
I followed the sizing advice provided in the pattern and use my high bust measurement to select my size. My high bust is a size E and my bust is a size F. The size E has plenty of ease so I decided to not do an FBA. In fact, I made no size changes at all. I didn’t even lengthen the pattern. I had a few minutes of questioning myself over that decision after I cut out my fabric. But I’m really happy with how it turned out. No regrets at all! I made the sleeveless version of the top View B. There’s also a really cute version with short sleeves.
I love the design of this top. I like that it’s fitted around the neck and arms but swings out around the body. And all the pieces from the shoulders to the side panels make it so much more than a basic swing top.
My fabric is a silk that I picked up from the Pendleton Woolen Mills store in Portland, OR. They have a rotating selection of remnant fabrics from their RTW collections and I always try to stop in and see what’s in store when I’m in Portland. I bought this fabric probably 2 or 3 years ago and I was excited to finally use it for this top. I have two dresses that I’ve made from Pendleton fabric (here and here) and I really love their fabric. This silk was lovely to sew with and such a luxury to wear. Seriously. I wish I wore silk all the time now.
Because I was working with a really nice fabric, I wanted to finish the seams carefully and not over stress the fabric with a serger finish. So I used french seams for most of the seams. For the center back, I used a Hong Kong finish. I used a very lightweight fabric for the binding and it was too finicky to fold over in a single layer so I cut a strip 2 inches wide folded it in half and stitched it to the center back with raw sides together. I then folded the folded edge of the bias to the wrong side and topstitched in place.
The only thing I didn’t like about the Hong Kong finish is I felt like the method of attaching the binding before stitching the center back seam made it harder to get an accurate seam allowance. You can also attach the binding after stitching the seam and there are instructions for that in the sewalong. Next time, I also would consider hand stitching the bias binding down on this fabric. For the hem, I again used a folded strip of bias fabric but I hand stitched it in place instead of topstitching.
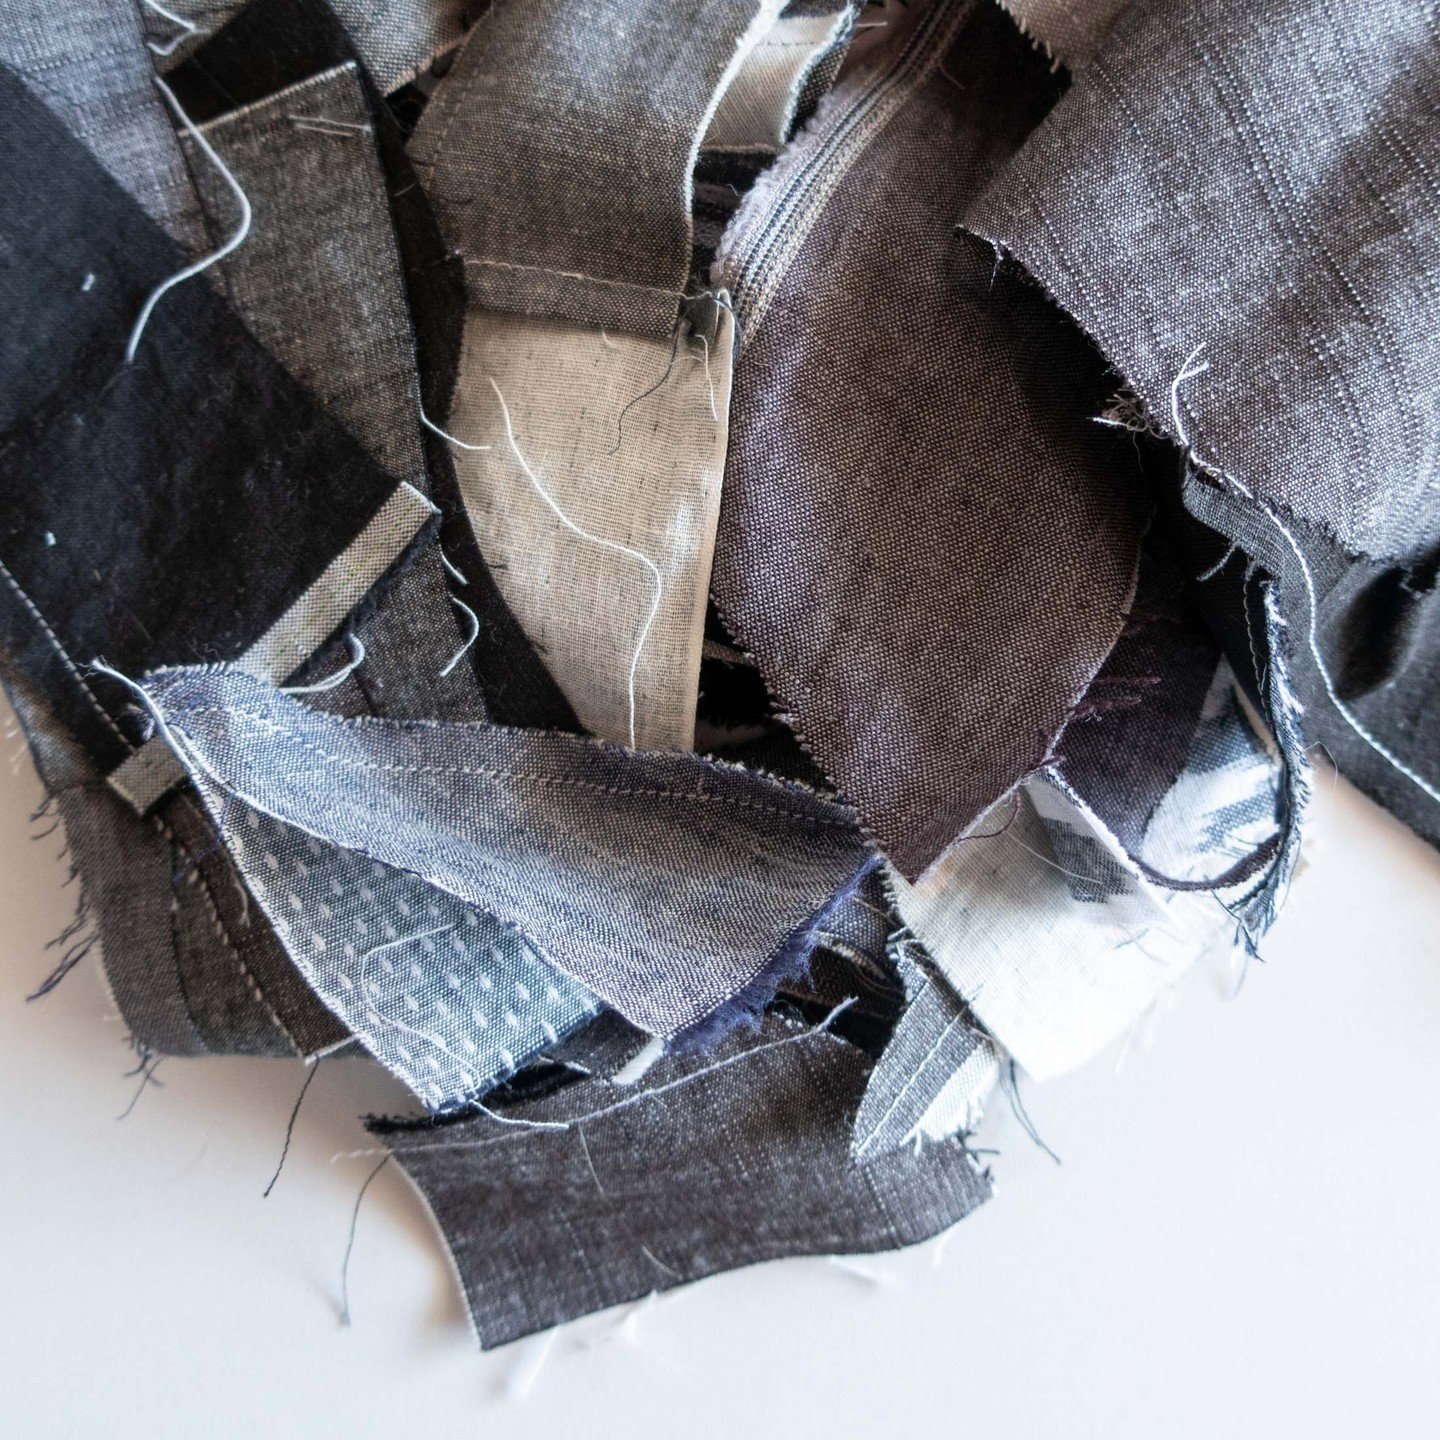
This pattern is perfect for playing with stripes, color blocking and even using up fabric scraps. It’s really fun to think about how to place your pattern pieces and is a great opportunity for playing around with color and pattern. To help you with planning, Emily even has a template that you can download and print to sketch your ideas before cutting out your fabric.
Emily is a big proponent of slow sewing and enjoying the process of making. Her patterns feature really nice details that makes slowing down and enjoying the process easy. It took me quite a while to make this top, from carefully cutting the fabric to highlight the style lines and feature the stripes in the fabric to using french seams and hand stitching the hem in place. But every step was a pleasure. It was time I took for myself. To make something with care and thought and love. To create something that I will cherish for years to come.
A big thank you to Emily for sharing this pattern with me! You can find the printed version here. Or if you like immediate gratification, you can get the pdf pattern here. Make sure to check out all of her patterns right here.