sewing Classes
Sewing Basics
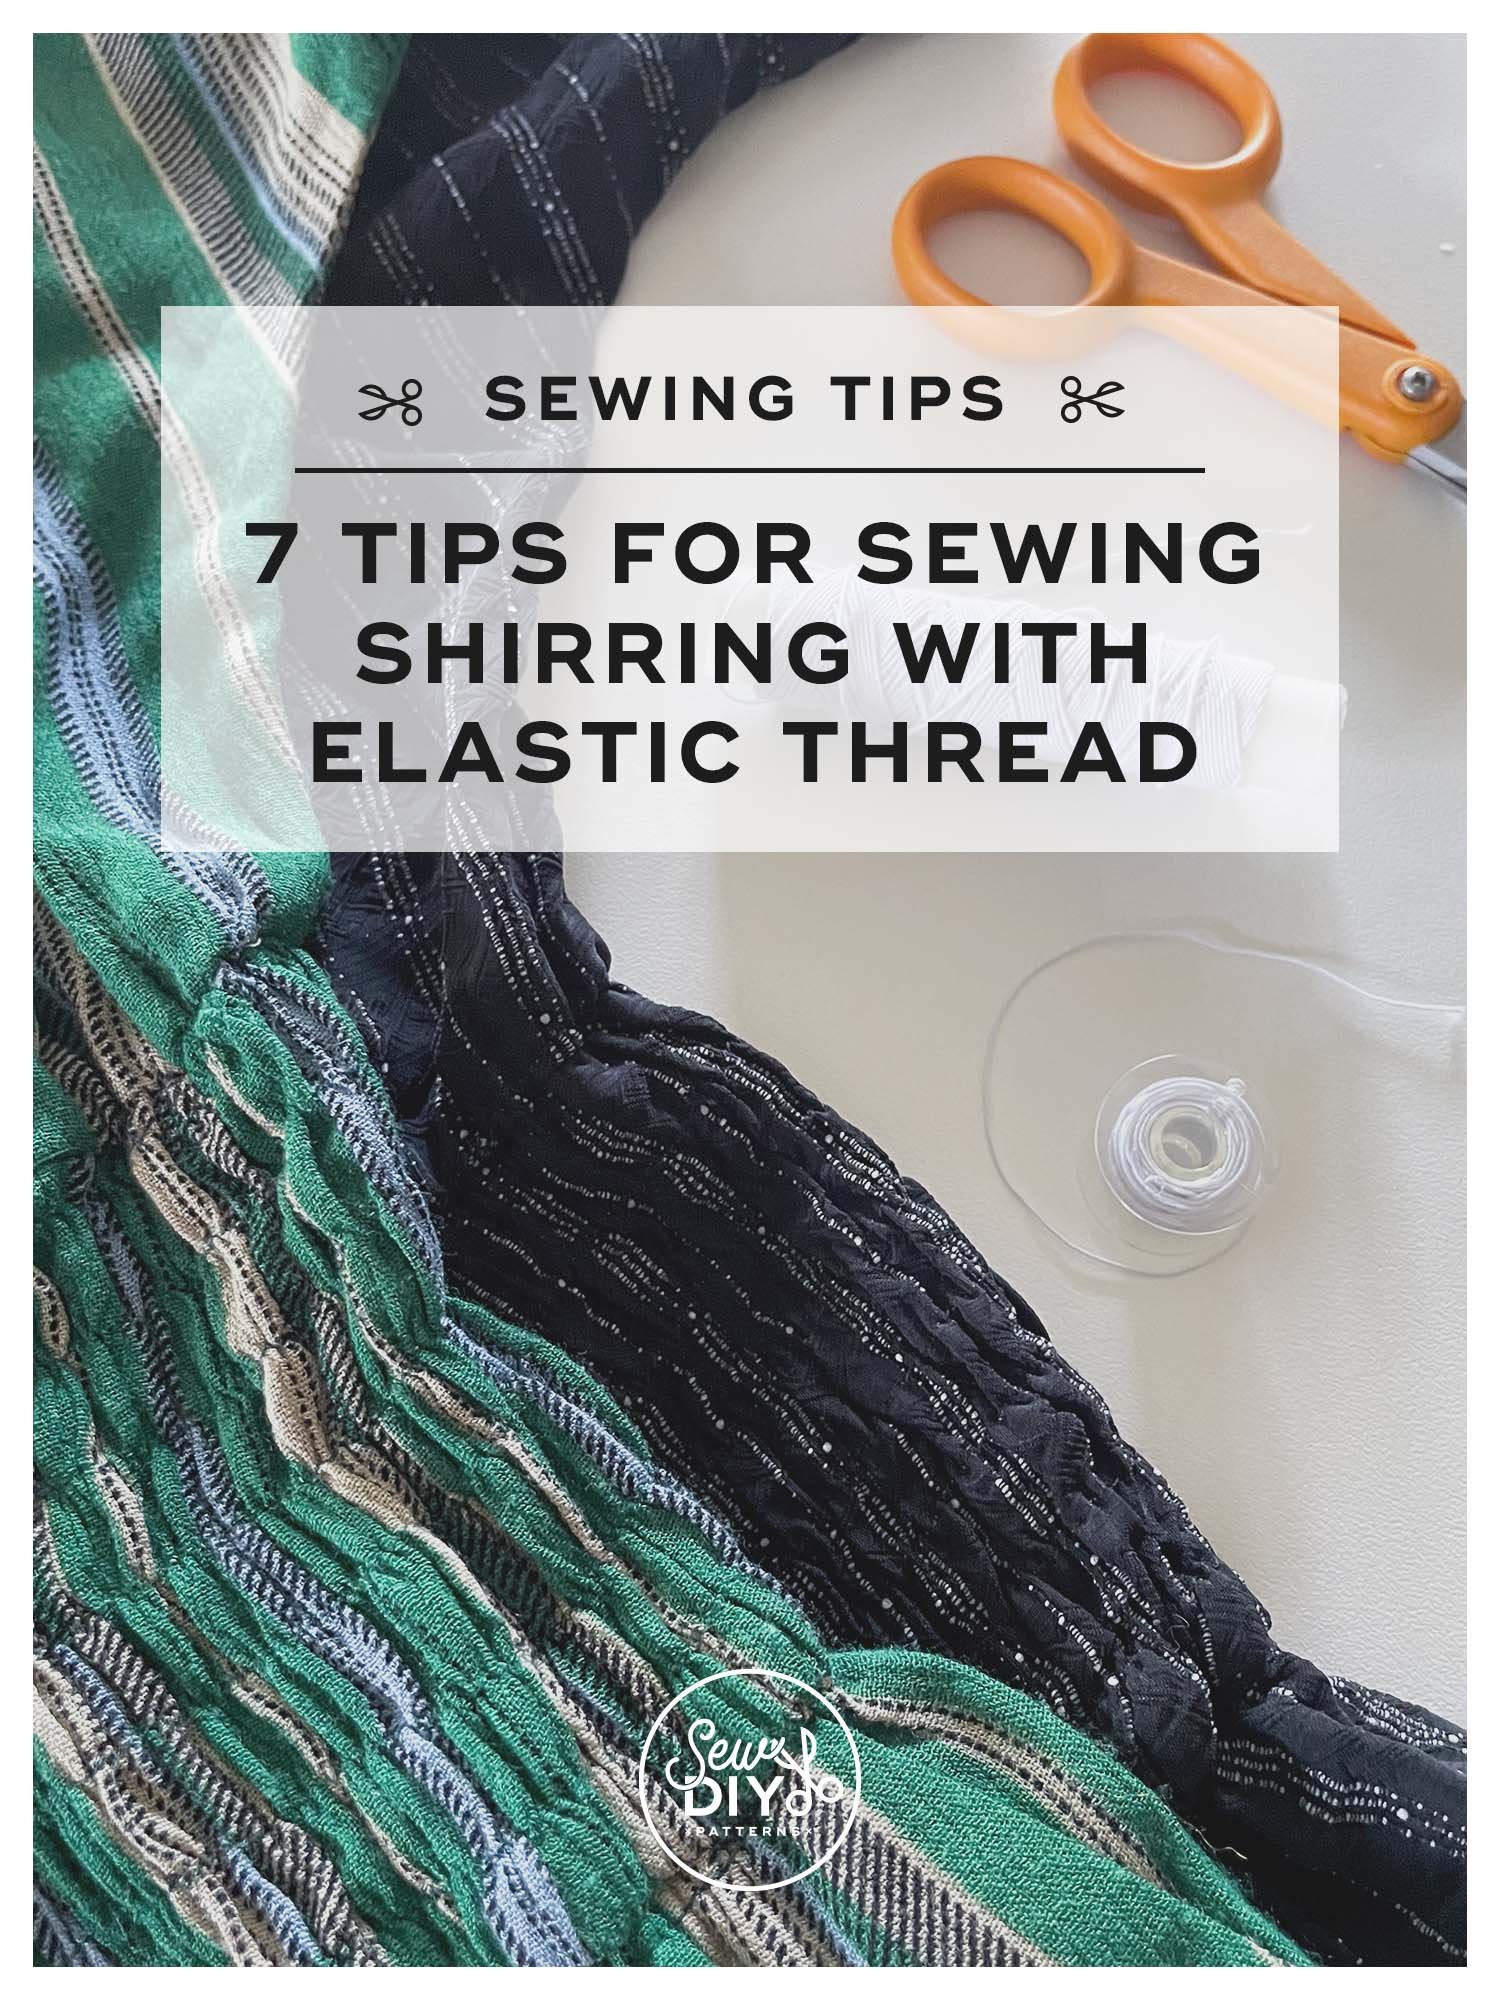
Hello sew-friends! Today, I'm sharing my top eight tips for sewing shirring with elastic thread. Shirring creates a stretchy gathered fabric that fits closely to the body. It's often used in the torso, bust, back, waist, neckline and wrist areas of a pattern. There are lots of possibilities! You can actually buy fabric that is already shirred along one selvage but when you learn how to sew your own, you'll have a lot more design opportunities. Shirring has a big design impact and is a great way to create a fitted garment that's also really comfy.

Hello sew-friends! Today we're talking about how to make a shoulder slope adjustment to your sewing pattern. This is a simple adjustment that makes a BIG difference in the fit of tops, blouses and dresses with a shoulder seam. I didn't discover this fitting adjustment until many years into my sewing journey and now I'm kind of obsessed with it.
I have rather square shoulders, meaning my shoulders extend from the neck at almost a 90 degree angle. Most patterns are built with some downward slope to the shoulder seam so on my shoulders, tops would jut up at the neck. There was one shirt in particular that would stand up away from my body when I sat down that made me realize how ill fitting it was at the shoulder.

Hello sew-friends! In today's post, we're diving deep on the subject color blocking in sewing. Color blocking is a fun and easy way to add contrast and personality to a garment or other sewn item. It's also a great way to enhance existing style lines or add new style lines to a garment. Color blocking is easy enough for beginners to tackle and a great way to use up smaller cuts of fabric. In this post, I'll explain what color blocking is, why you might want to do it and a few methods for color blocking your handmade garments and other sewing projects.

Hello sew-friends! Today's video is taking a deep dive into marking tools for fabric. After you cut out your fabric, the first thing you need to do is transfer all the pattern markings from the pattern to the fabric. Trust me, you don't want to skip it! In this post, I'll chat briefly about pattern markings and why they're important. Then, I'll share a variety of tools that can transfer marks to fabric and the pros and cons of each. Plus, I'll demonstrate how to mark a dart using a tracing wheel and transfer paper and how to mark a dart using a hole punch and chalk. Let's get started!
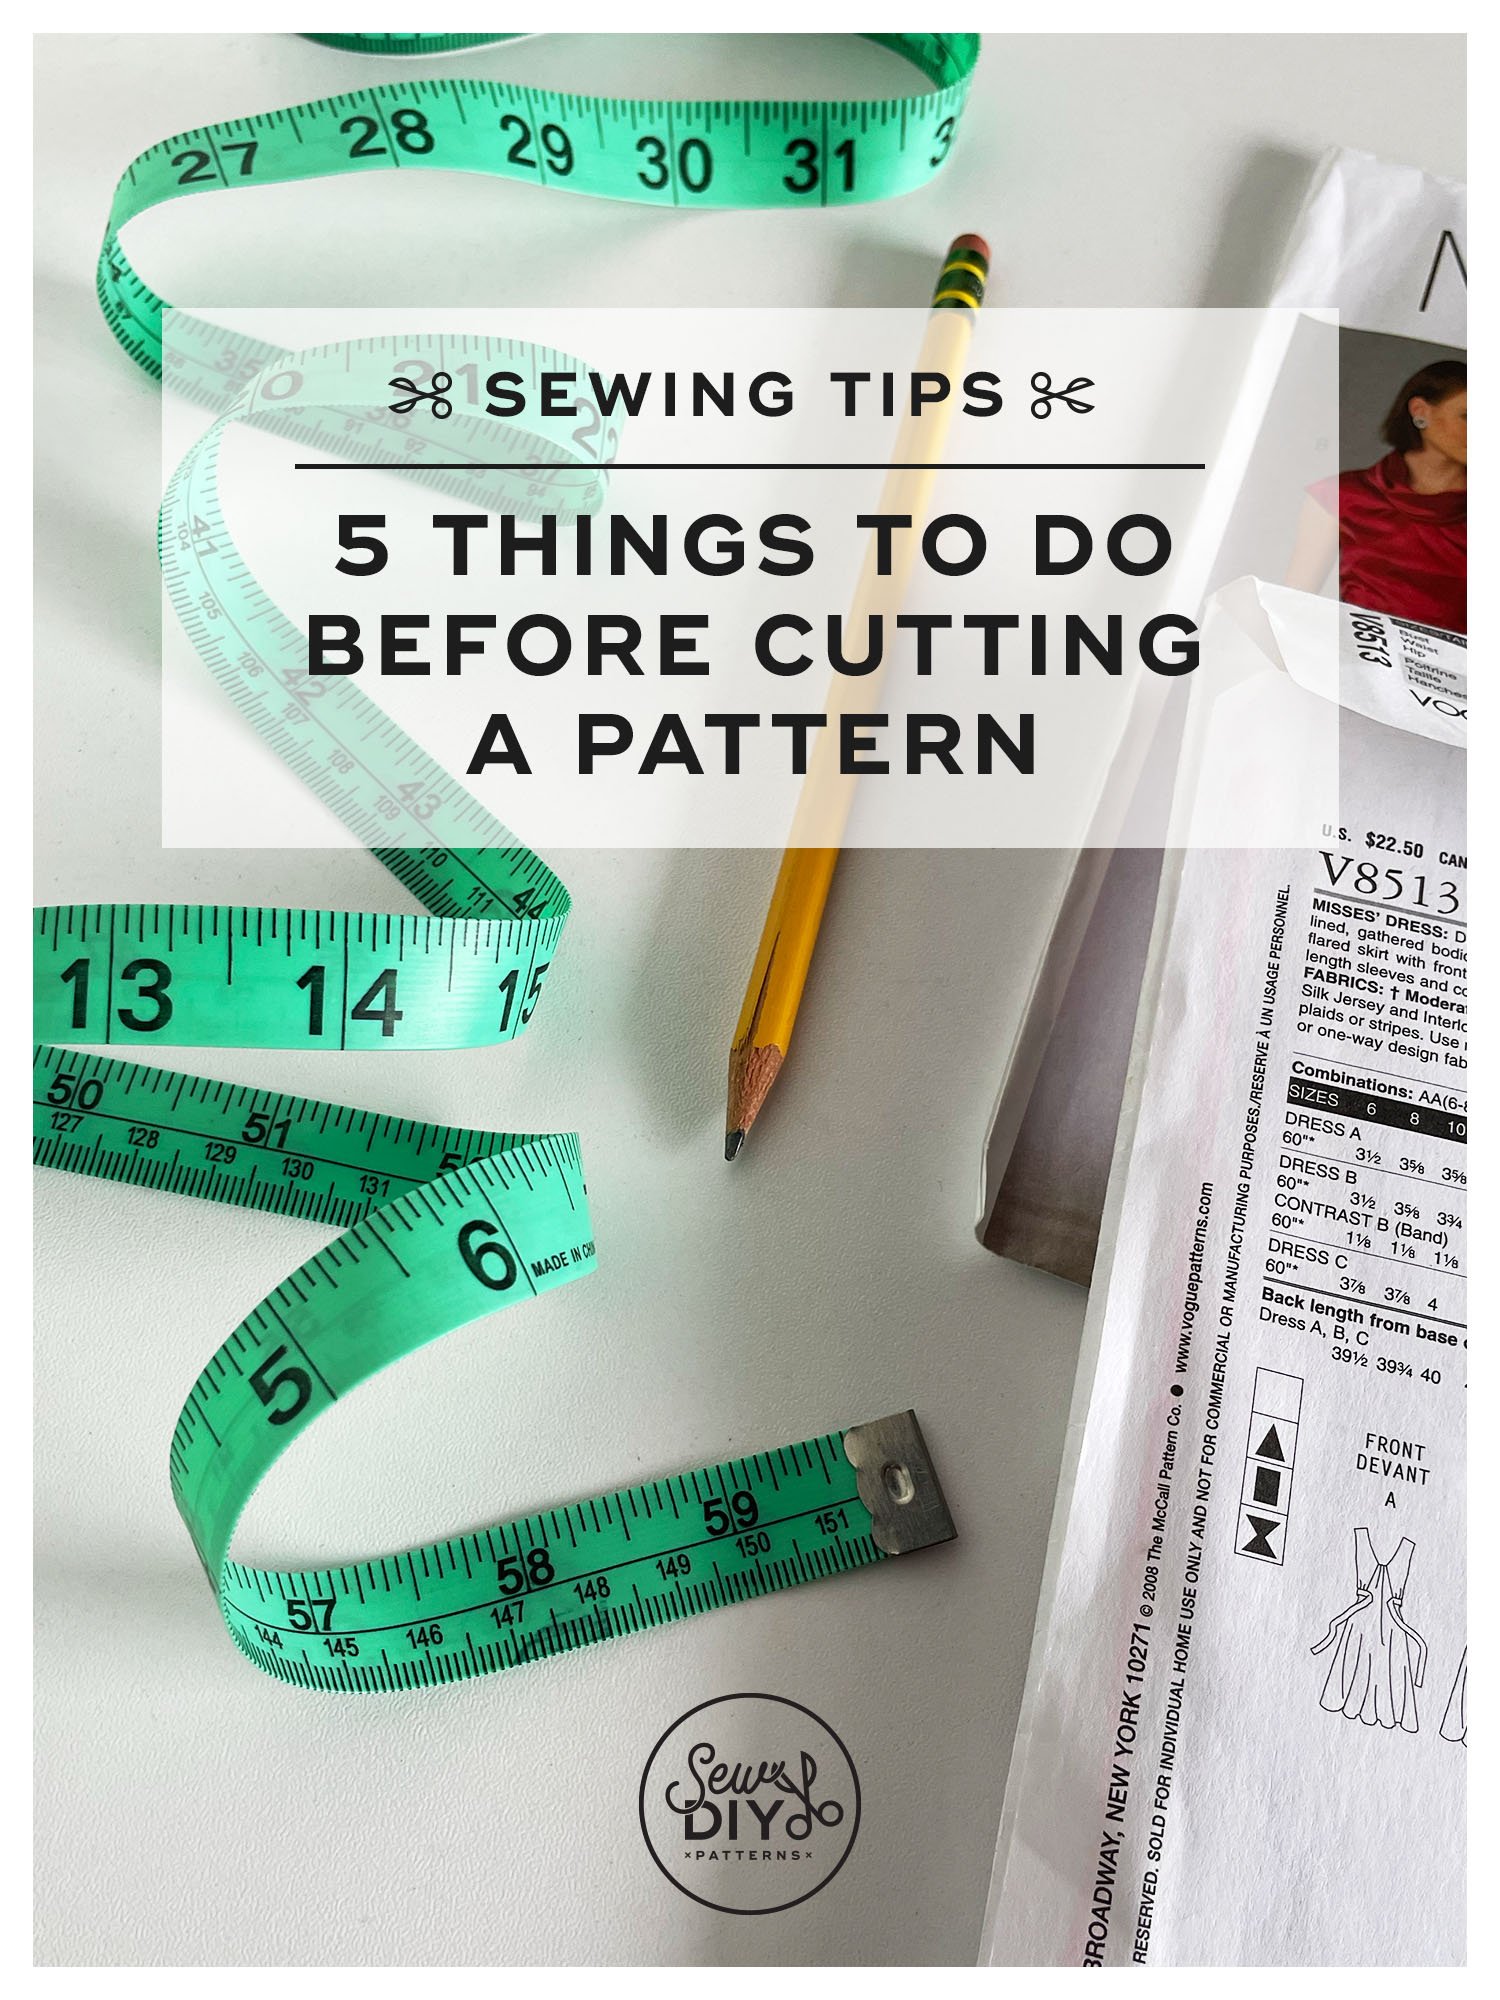
Hello sew-friends! We're going back to basics today to talk about patterns. There's nothing more frustrating than making a garment and finding that it doesn't fit. The most common answer is to make a muslin first, but today I'm going to share the five things that you should do before you make a muslin and even before you cut or trace out your pattern. These are my tried and true tips that will help you get closer to making a first muslin that is the right size for your body as well as for your style and fit preferences.
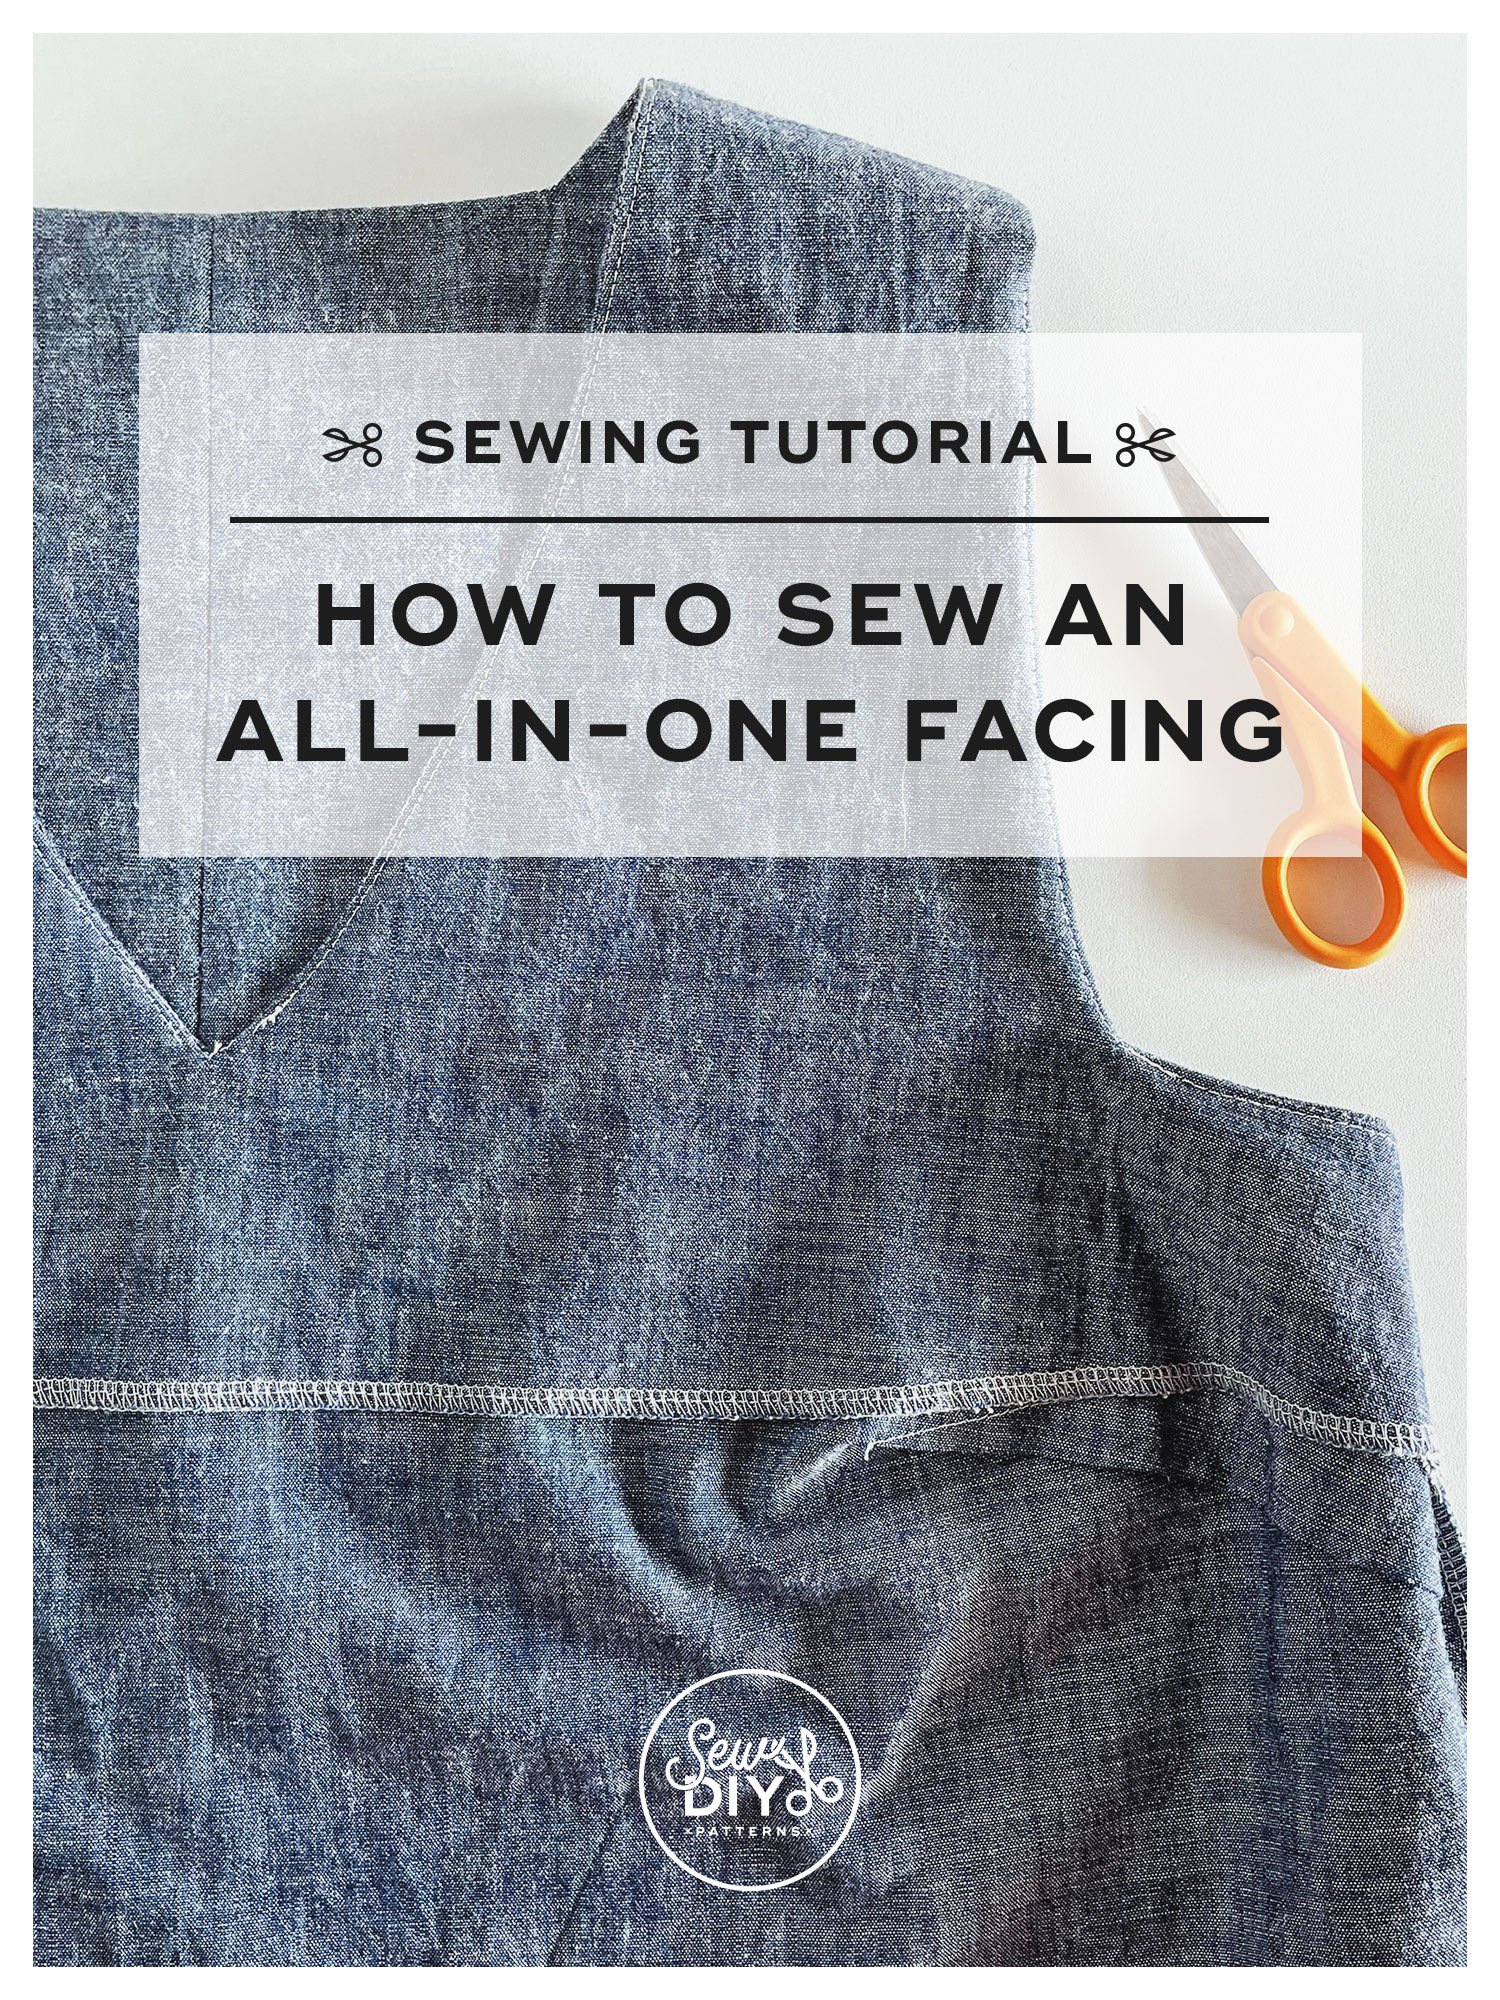
In this video, I'll be sharing the step-by-step process of sewing an all-in-one facing to a tank top. An all-in-one facing is a facing piece that is used to finish both the neckline and the armhole with one piece of fabric, as opposed to a separate facing for the armhole and a separate facing for the neckline. This method of finishing the neckline and armholes of a top or dress, creates a very clean finish and when you take it one step at a time, it's really fairly easy as well. (This method is also known as the burrito method, because we will roll the top when sewing the facing to the armholes.)
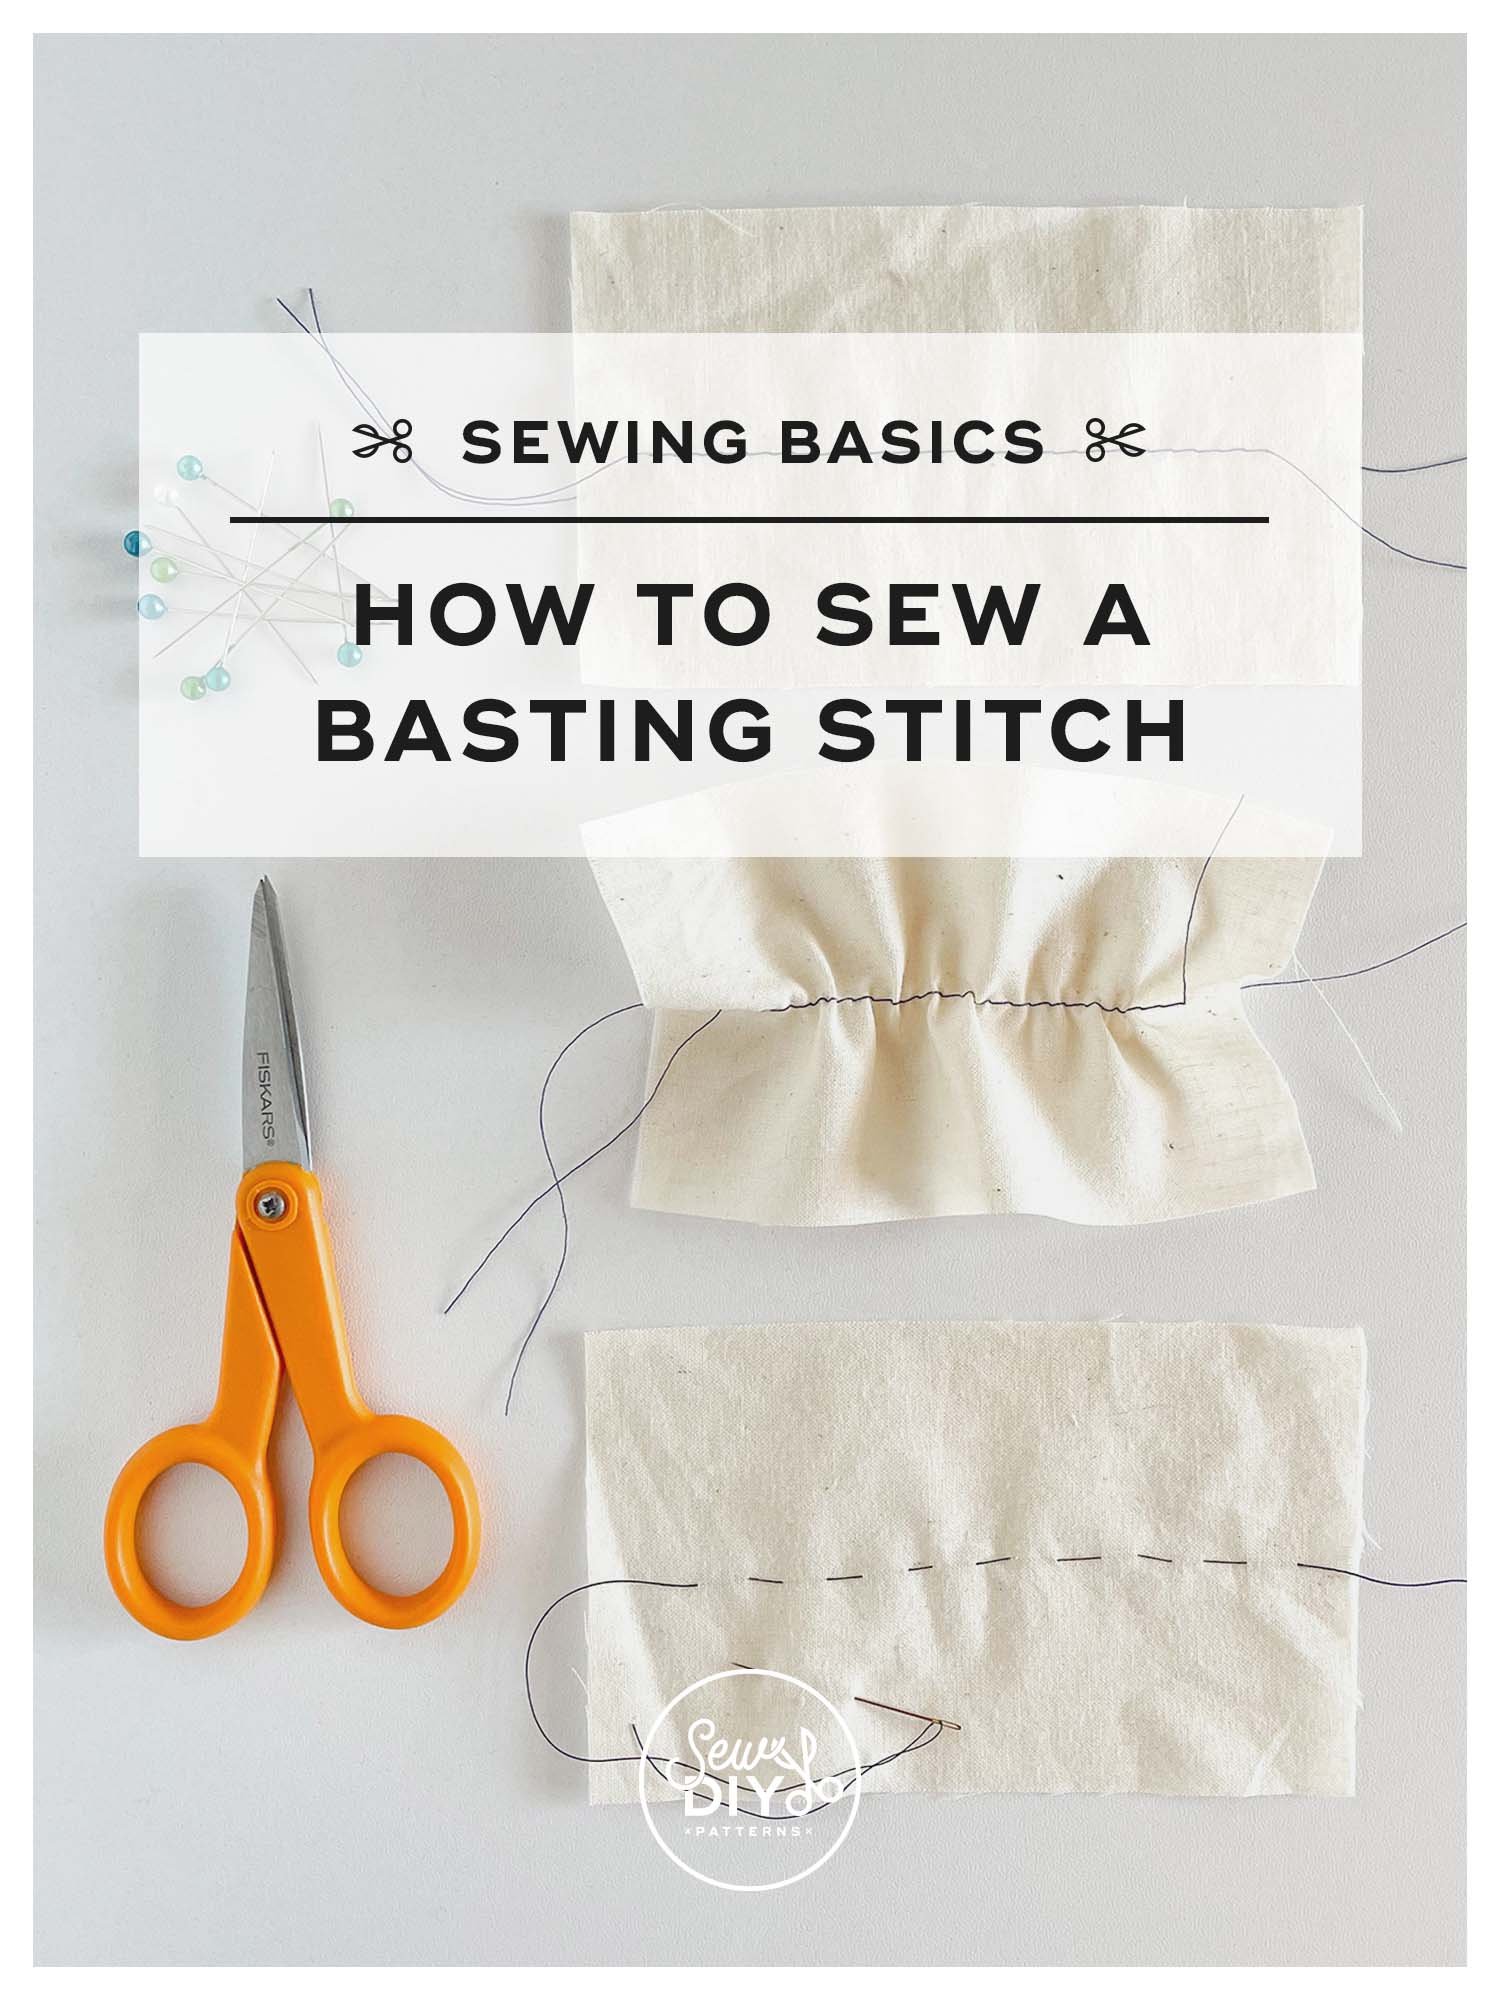
If you've sewn a garment before, you may have encountered a basting stitch. And, if you keep sewing, you'll be sure to use it with most projects. Basting is a fundamental sewing technique because it's so useful. Even better, it's a very easy stitch to sew. In this post and video, I'll talk about what a basting stitch is, when to use it and demonstrate sewing a basting stitch by hand and by machine.

In today's video, I'm going to be showing you how to understitch. Understitching is a technique that is most often used when sewing woven fabric garments but occasionally with knit fabrics as well. It's mostly used when you are sewing a facing, a lining or an in-seam pocket. The purpose of understitching is to keep those parts of the garments hidden and out of view.

This week's video tutorial teaches how to sew gathers. I've heard that sewists are sometimes intimidated by gathers, so I'm sharing my favorite methods for sewing stress-free, evenly spaced gathers.
Gathers are a common design detail found in a variety of garments. Most often, you’ll find them in skirts or sleeves. For my Miri dress hack, I made a simple gathered skirt using rectangles of fabric. It's a really easy way to add a skirt or peplum and is zero-waste friendly.
I’m sharing the traditional method of sewing lines of basting stitches with thread. There are other ways to do it but I’ve always had success with my tried-and-true methods. Scroll on to watch the video and read the written instructions. Happy sewing!

Today's tutorial is a follower request! In today's video, I'll be showing you how to sew in-seam pockets. I think it's pretty universally agreed that everyone loves pockets and garments are instantly 100% better when they incorporate them. In-seam pockets can be added to the side seam of a dress, skirt, pants or shorts. They are probably the most commonly found type of pocket (I did not research that statement! lol). But, I do think they are the most beginner friendly and that's why they are found in so many sewing patterns. They are nearly invisible when wearing and do not alter the style lines of a garment. Which means, because all that stitching is on the interior, it doesn't have to be perfect or topstitched, like a patch pocket. Also, if your sewing pattern doesn't come with an in-seam pocket pattern piece, I even have one for you to download for free.

Hello sew-friends! Today, I’m happy to bring you a video tutorial for how to mark and sew darts. Darts are most commonly found in fitted woven garments. They are simply a little wedge of fabric that is folded and stitched in order to make the fabric more three-dimensional and to fit the curves of the body. You’ll most often find darts to shape the bust and waist. It’s really a fairly simple feature to sew and it’s worthwhile to practice and become comfortable with it.

Hello sew-friends! In today’s YouTube video, I’m talking about fabric stretch percentage. If you've ever sewn a pair of leggings or a swimsuit, then you know how important stretch can be in your handmade garments. Read on and watch the video to learn all about fabric stretch, why it’s important, a bit about fabric stretch terminology and, most importantly, how to calculate fabric stretch percentage.
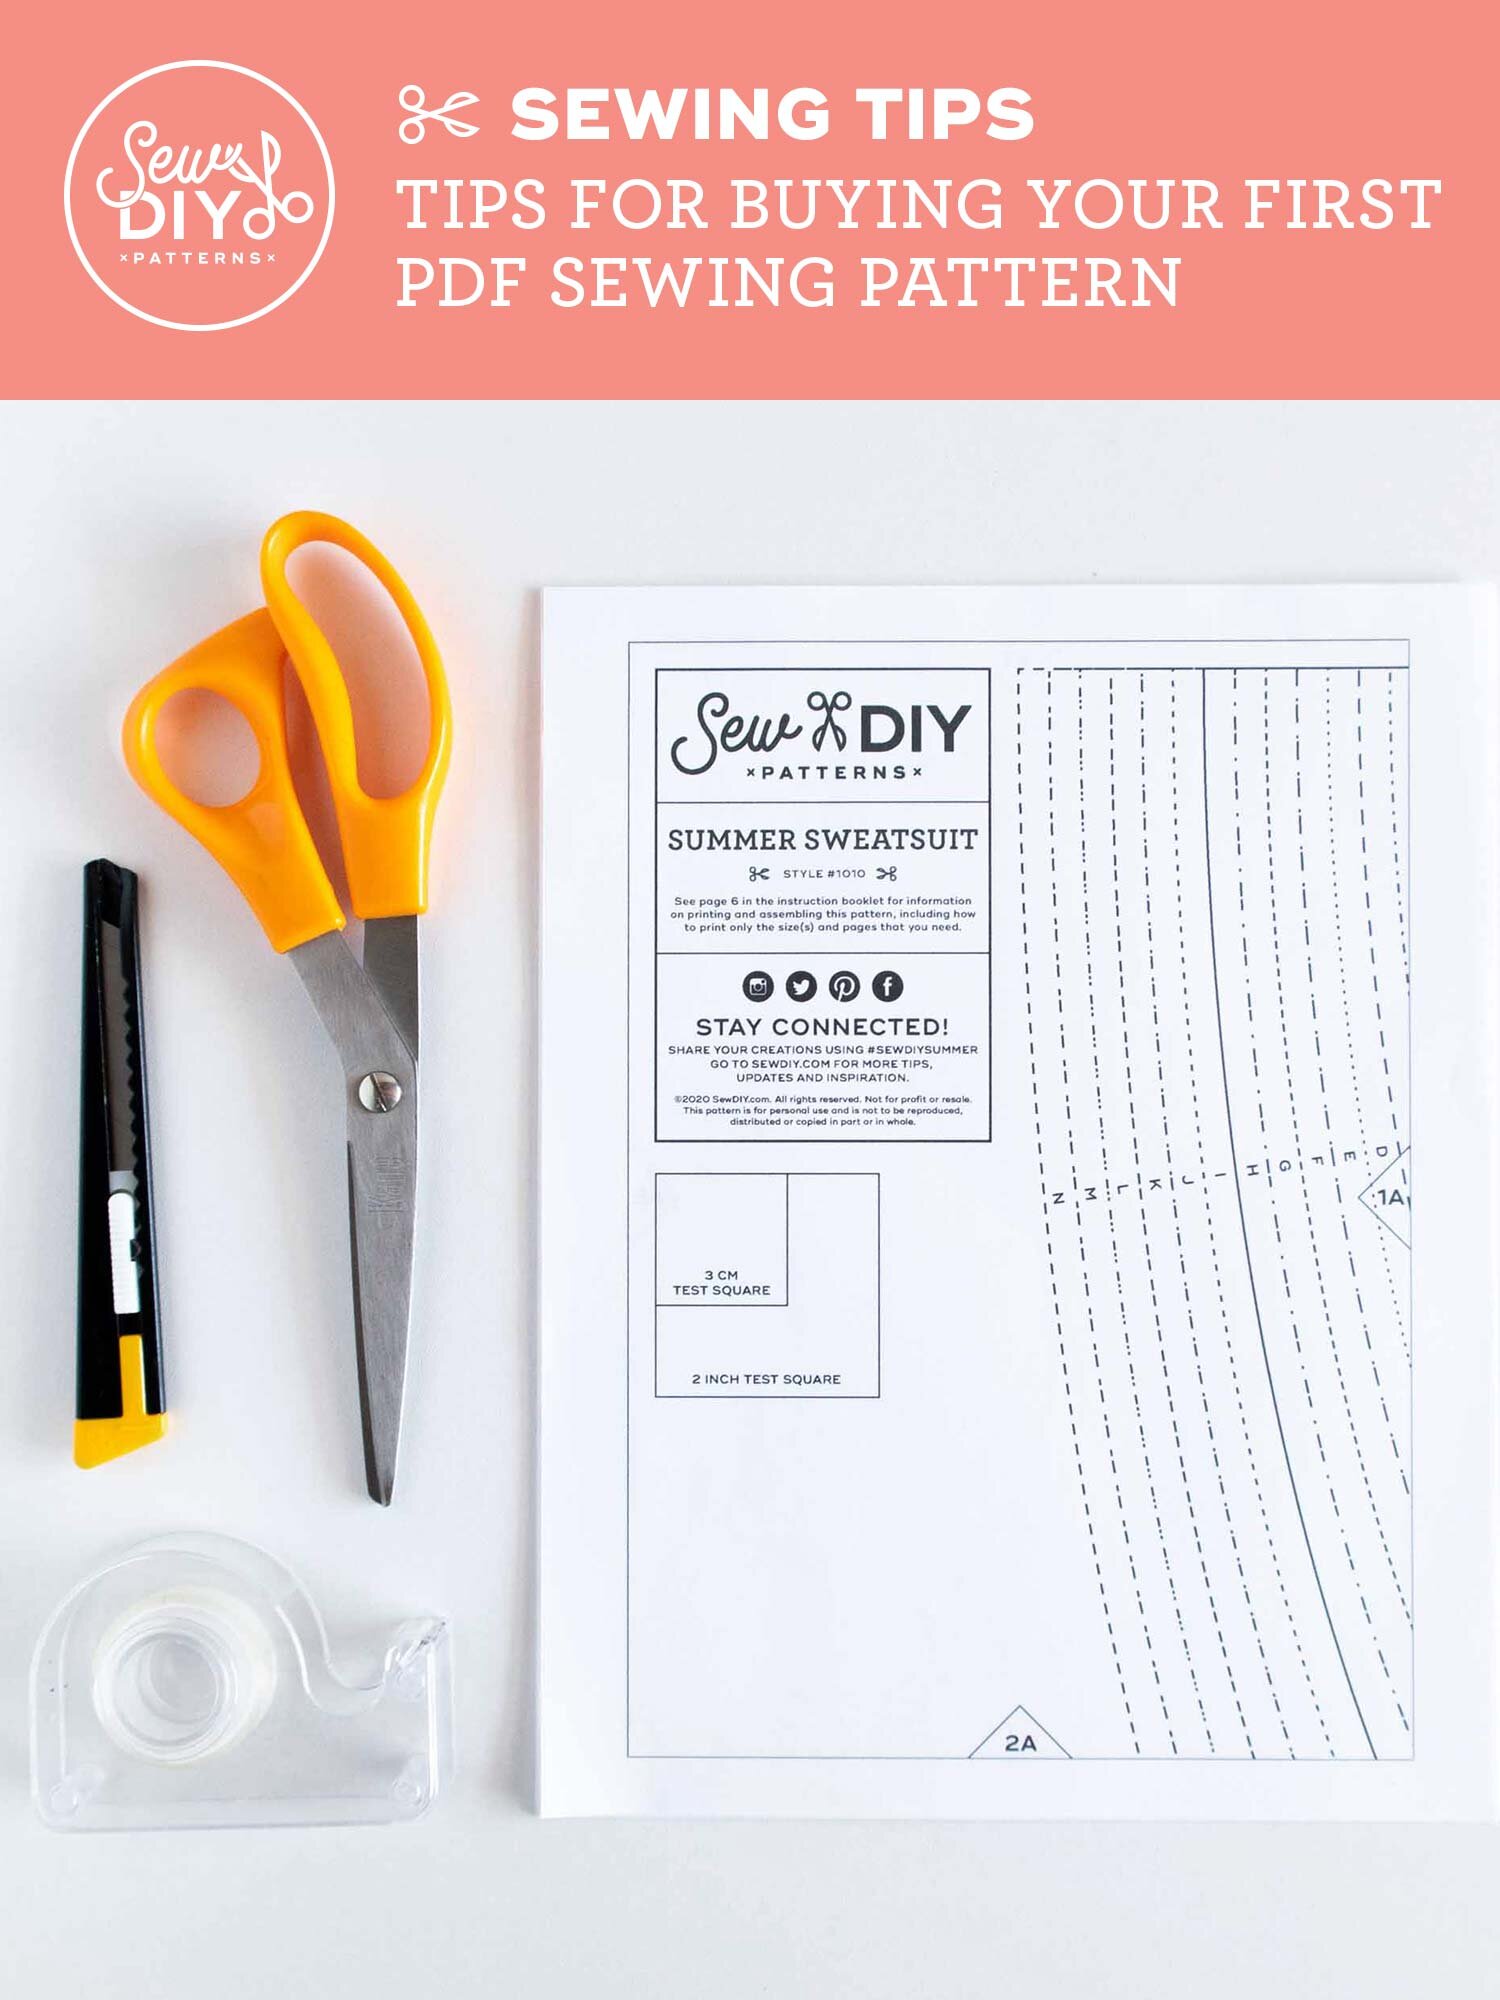

In today’s video, I’ll be showing you how to sew a french seam. The french seam sewing method stitches the seams and finishes them in a two step process. In this method, you will stitch each seam twice, enclosing the raw edge of the fabric on the second pass creating an attractive and clean finish. This is a simple method to sew and well worth mastering.
Can I confess something? I used to hate sewing French seams. It just took forever and I always ended up with bits of thread showing on the right side of the garment. It’s very possible that in my impatience, I was skipping the very important trimming step. But over the years, I’ve figured out how to sew this seam finish without going crazy. I actually enjoy sewing it now and rarely feel impatient to move on to the next project.

I used to be really scared to sew knit fabrics but after a lot of research and a lot of practice, I love sewing with knits. One misconception is that you need to have a serger (aka overlocker) to sew knit fabrics when in fact most conventional machines come with a variety of stitches that are made for sewing knit fabric. In this video, I share the tools you need to sew knit fabric, some tips for preventing your fabric from stretching and demonstrate the stitches available on a conventional sewing machine that can be used to sew knit fabric.
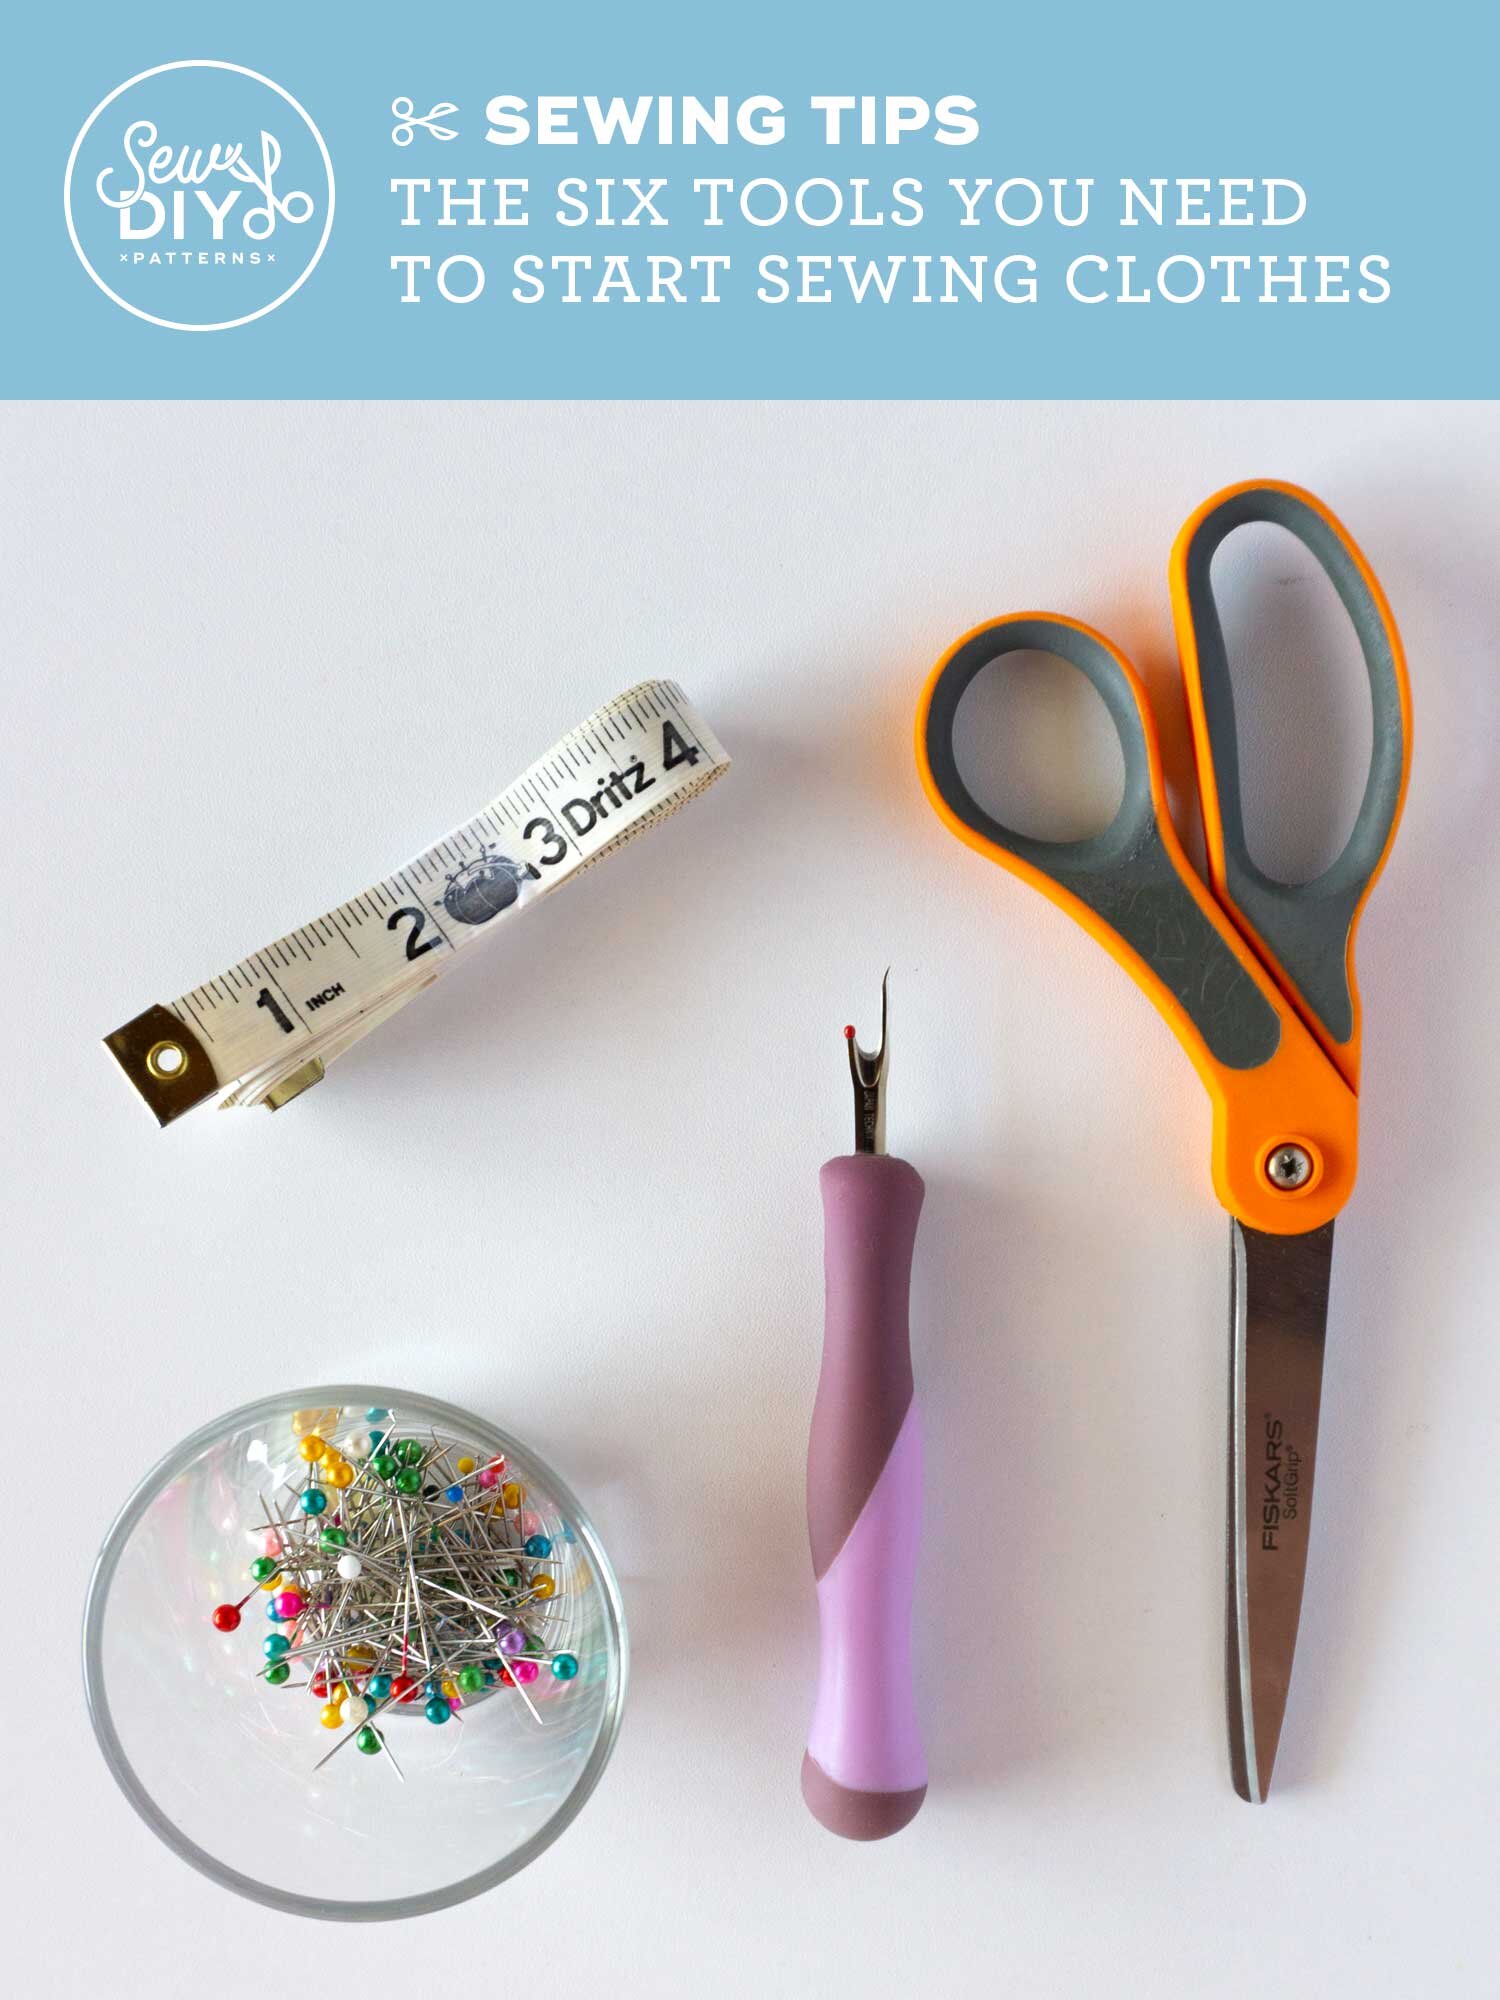
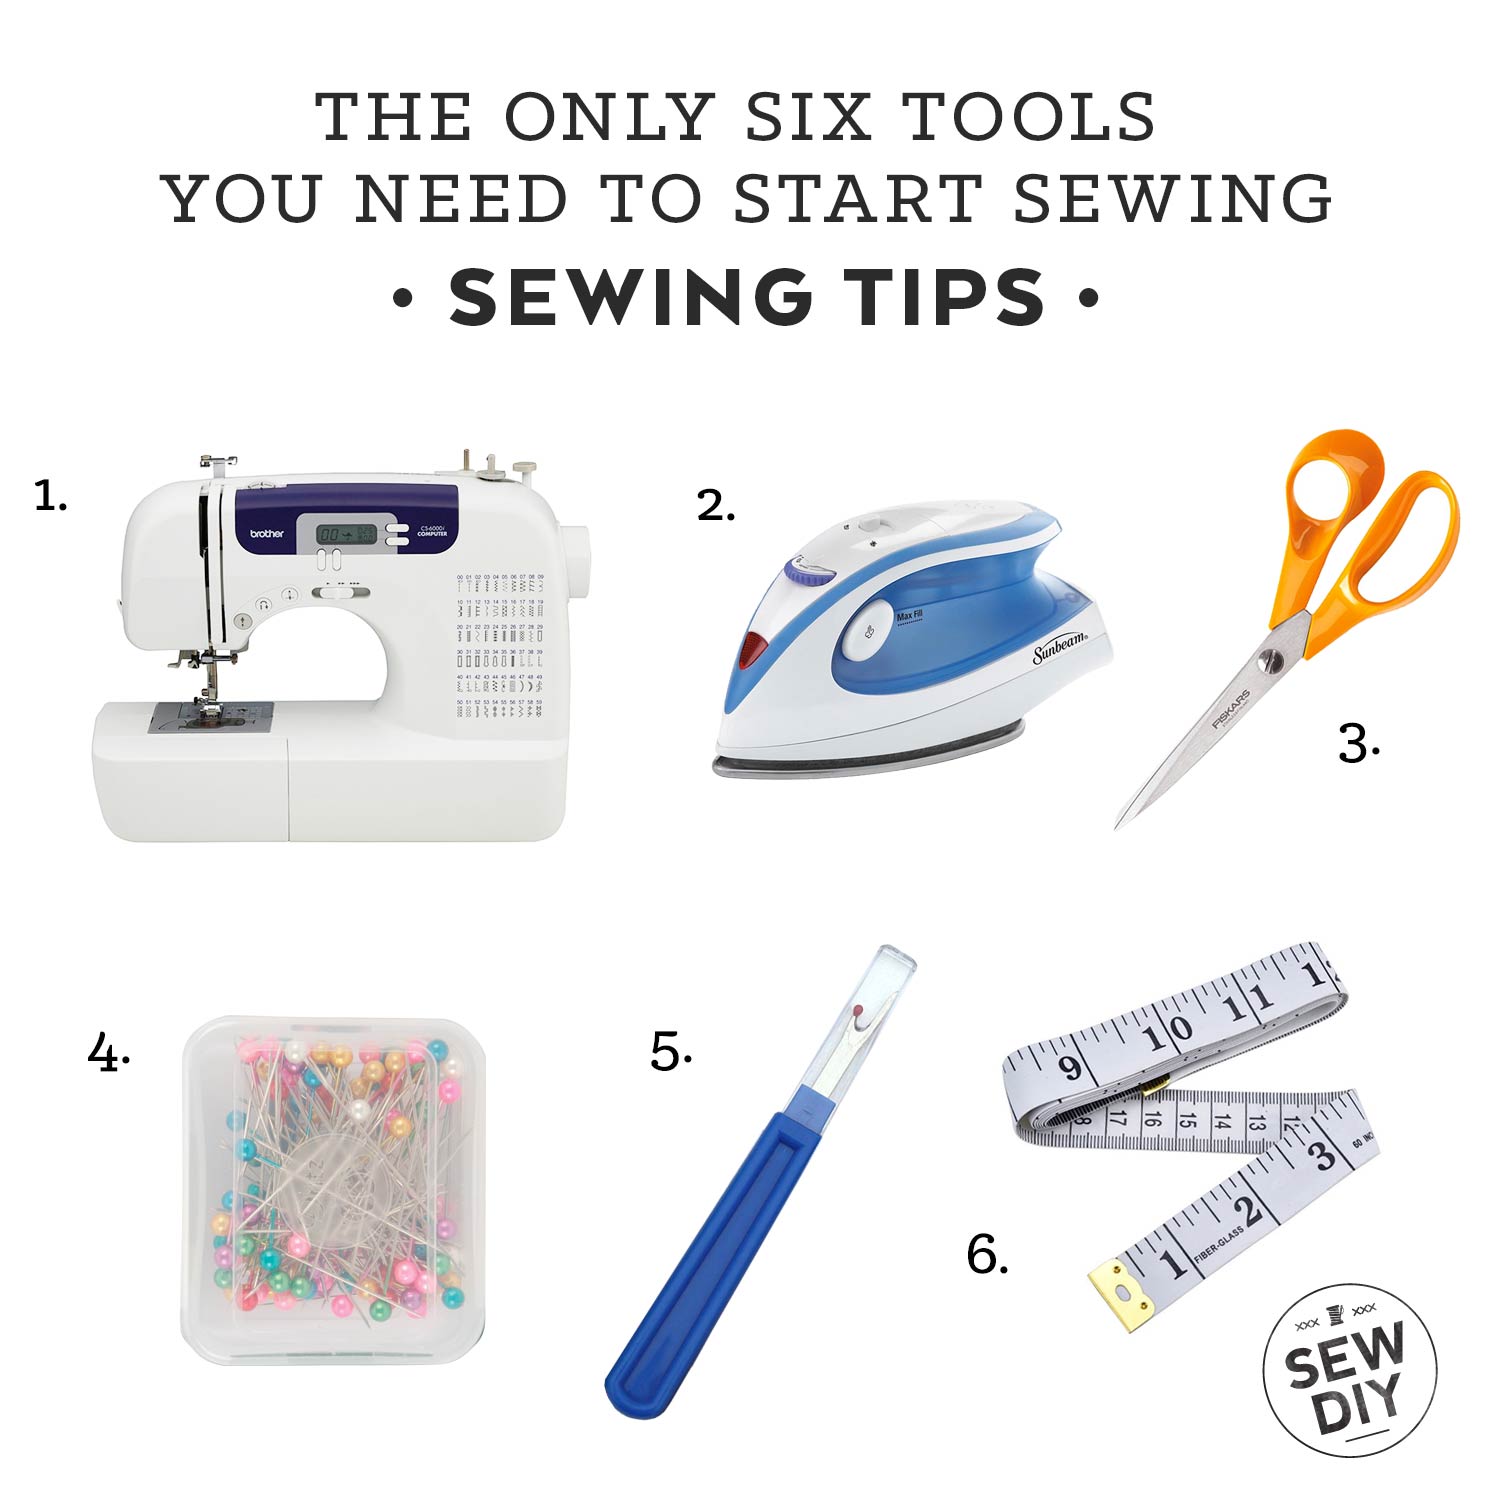
With the start of the new year, people often take on new adventures, including sewing. Yay! I was asked on Instagram a few times recently what sewing machine I recommend for beginners, so I thought I'd go ahead and share all the tools you need to start sewing your own clothing. And don’t worry, there are only six tools that you absolutely need. I’m a big fan of minimalism and not buying things you don’t need. Click through to watch the video explaining my picks and get links to my fave products.

Today’s video is a big one! I share my top reasons why pdf patterns are awesome (just in case you’re not already convinced). Then I share my top tips for how to successfully print pdf patterns (including the printer settings you need to make sure the entire pattern prints on the page). And finally I show how to efficiently assemble and cut the pattern. I even show you the techniques I learned in design school for safely using an exacto knife or blade. I’ve never cut off a finger using these techniques so hopefully it will help you and keep your fingers safe too!

I love using my sewing machine but there are times that I prefer to sew by hand. And most of the time, I use a slip stitch. The slip stitch is very useful in place of topstitching on hems and bias facings when sewing with delicate fabric. The magic of this stitch is that it is nearly invisible from the right side of the garment. And because it’s invisible, even if you have a difficult fabric, no one will know that your stitches aren’t perfect.
If you are looking for ways to slow down your sewing practice, hand sewing is a great practice. Not only will you have a beautiful garment, but you’ll get to relax a little bit into the process and really take your time and take care of your fabric.

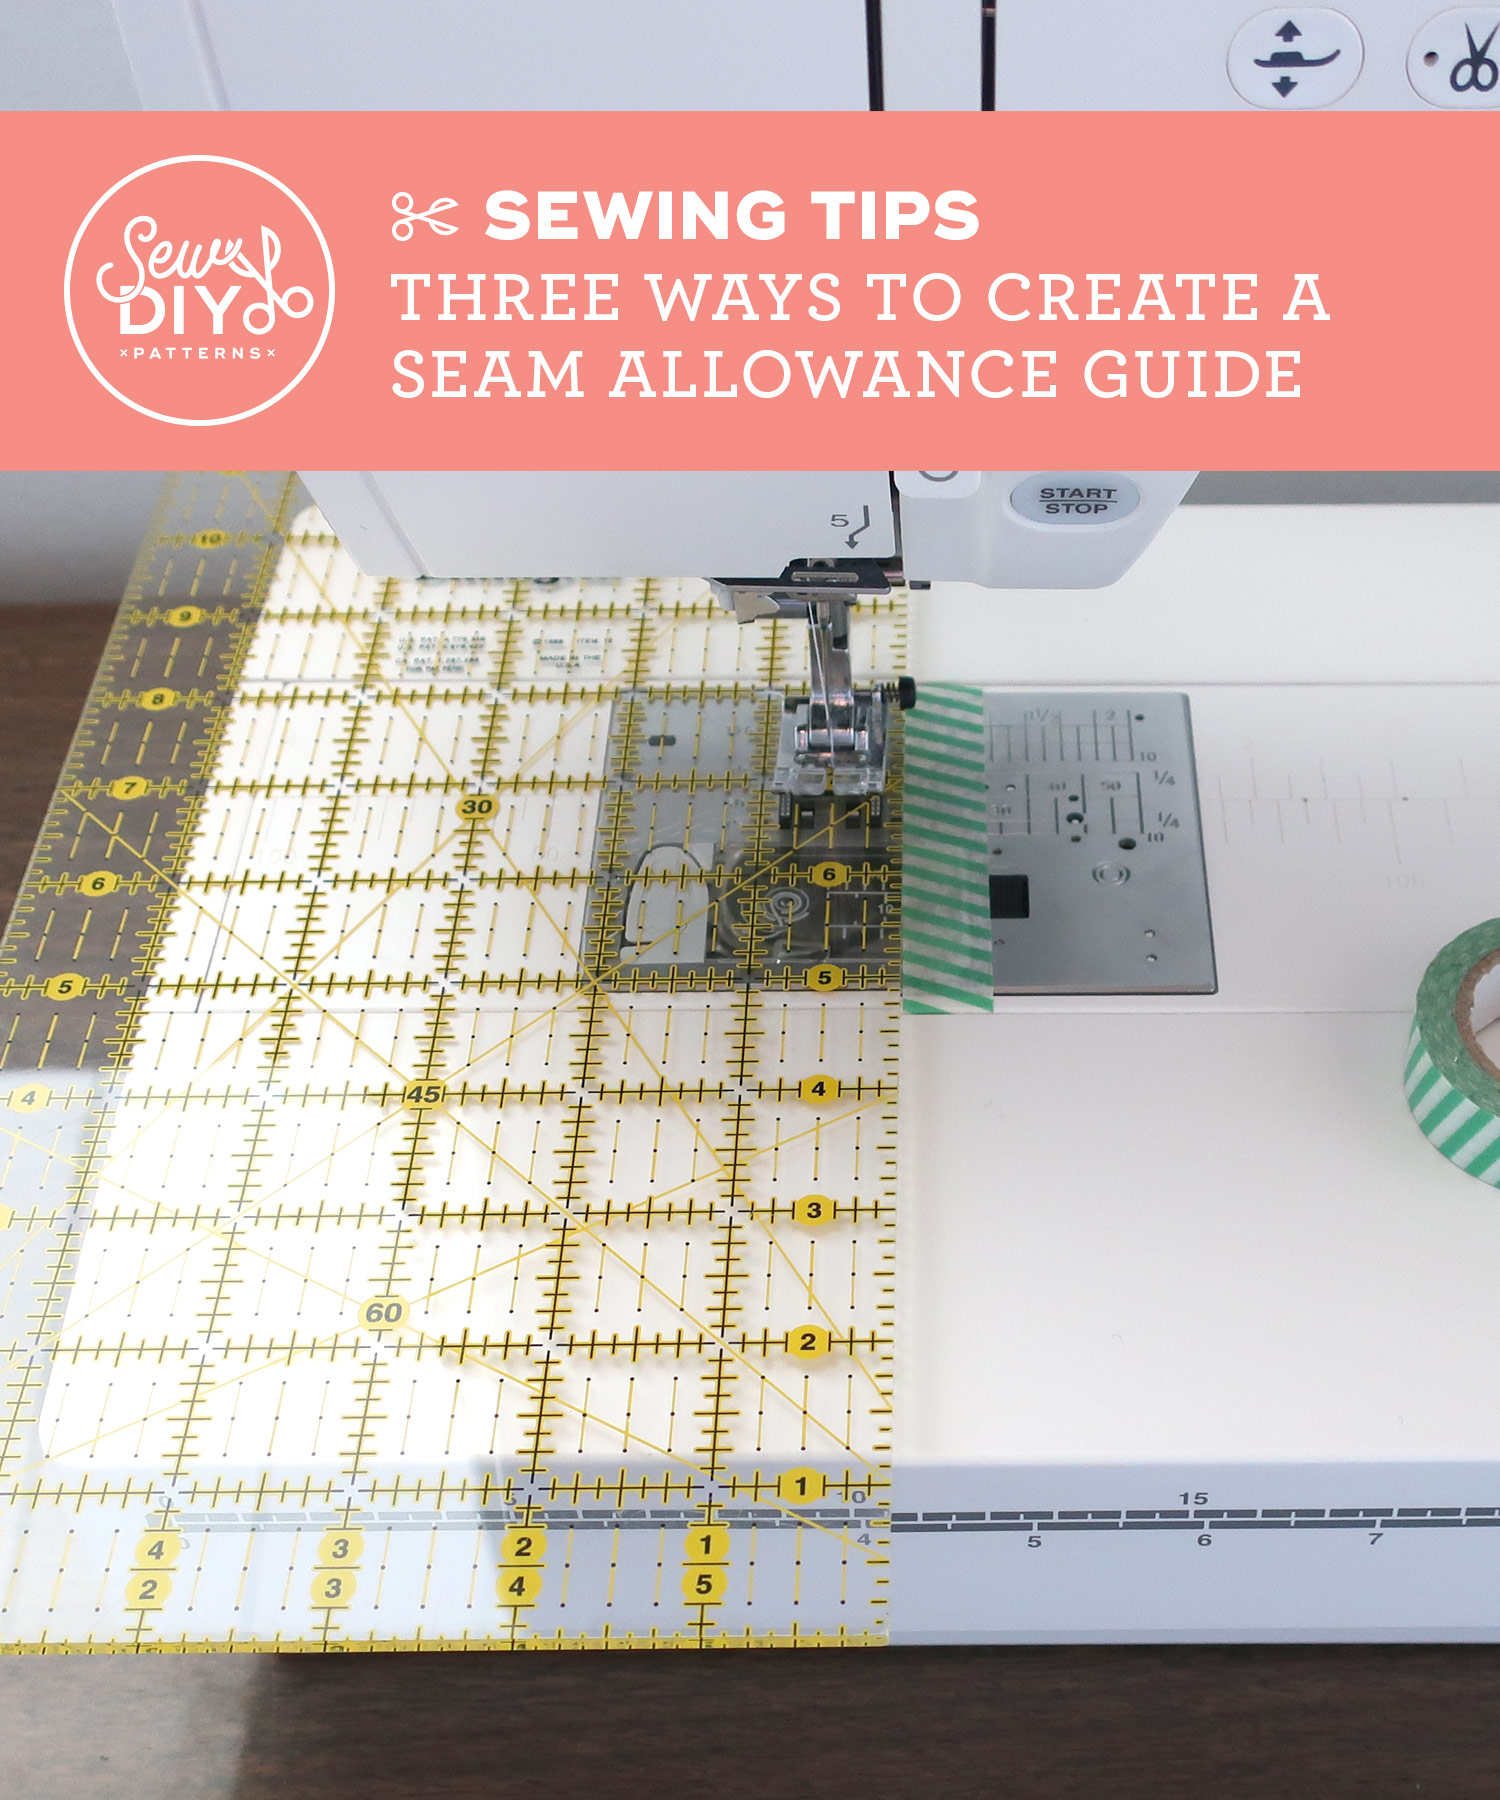

Pins are one of the most commonly used sewing tools and it's important to know how to use them safely and effectively. When you combine sharp, pointy pins with the quick movement of your sewing machine and the knife of a serger, there's a potential for things to go awry. The danger is pretty low but it's always better to take precautions and prevent an injury to yourself and your tools. I learned these simple methods for using pins when I took sewing classes years ago and I still use them every time I sew. Of course, everyone will have their preferred methods but if you are just starting out sewing, I highly recommend learning and implementing proper safety techniques from the beginning.
Sewing Tips
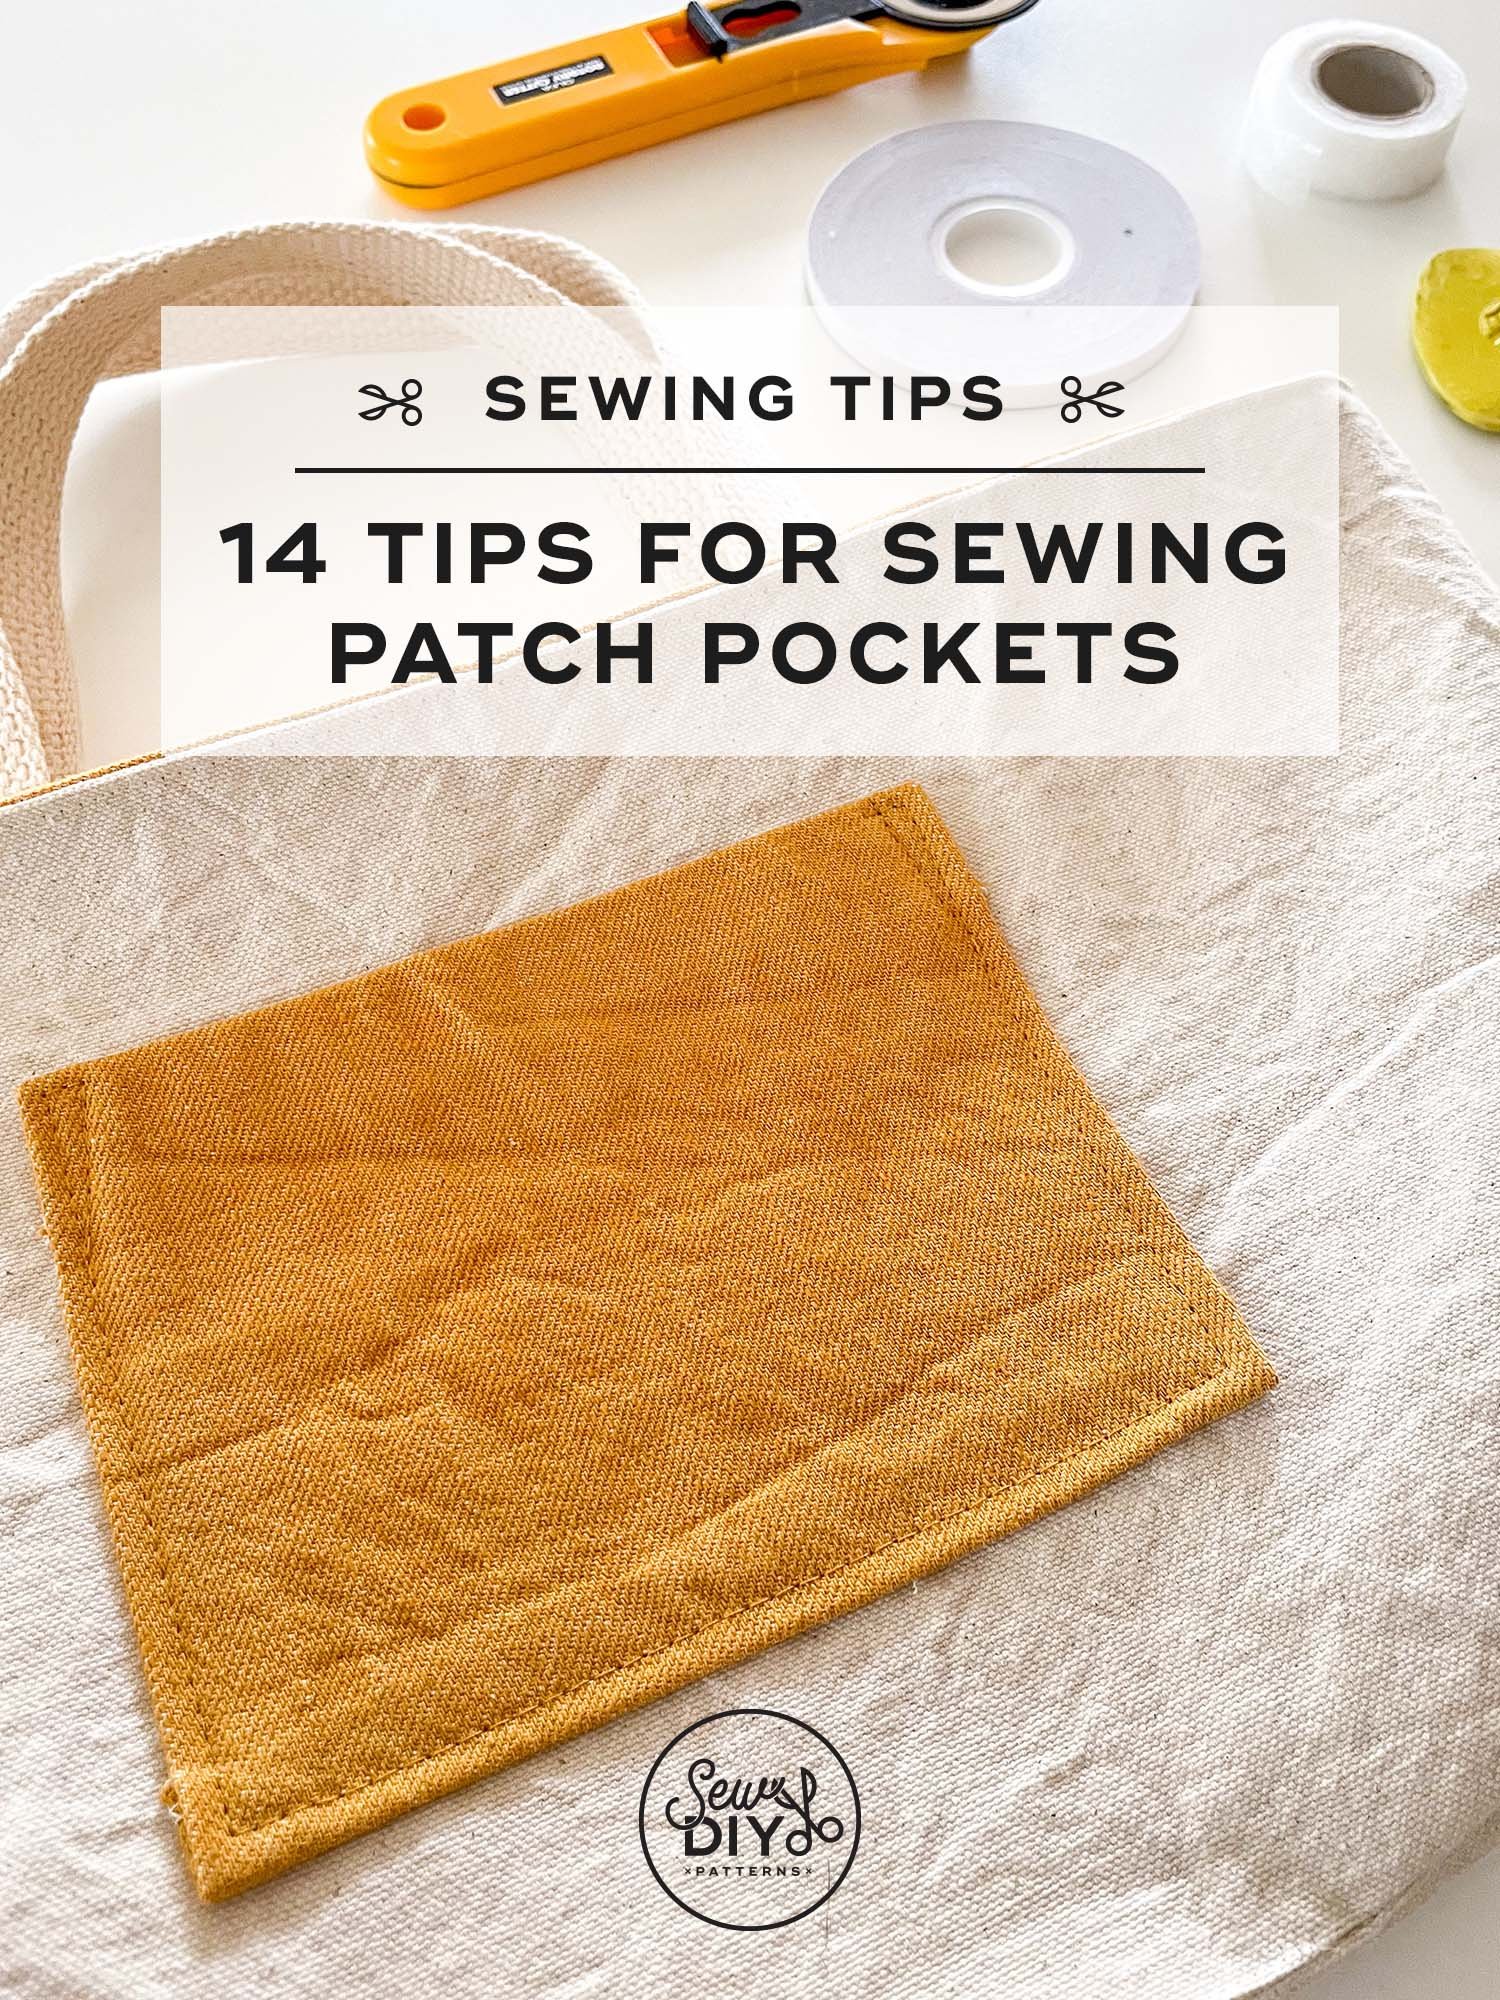
Nice looking patch pockets are all about precision. That starts with cutting and continues to placement and stitching. Over the years, I've gathered a few tricks and tips to help you sew patch pockets with ease. If you're just getting started with sewing, I recommend using a stable woven cotton fabric for your first project because it's less likely to warp and will press nicely. With a sturdy fabric, you won't need too many tricks but the more drapey the fabric is, the more likely it is that you'll want to reach for a special tool or trick.

This year for Me Made May my pledge was to sew for 25 minutes a day. I talked more about this in this blog post but in short, I wanted to sew more. I moved to Seattle almost two years ago and I’ve been spending a lot more time working on my house and garden. Sewing fell to the wayside, despite having a much bigger sewing space. So instead of the usual outfit challenge, I decided to intentionally devote more time to the practice of sewing.
I started off tracking daily but didn't track for more than a few days—mostly because I felt like tracking wasn't necessary and it was less fun than the actual sewing. Once I got started sewing again, my momentum, focus and energy developed quickly. Honestly, within a day or two, I was back in to the swing of things. Today, I'm sharing a few tips and insights into my sewing reboot.

Today, I'm excited to share a new video tutorial for how to sew underwear using fold over elastic. I've sewn lots of underwear and it's a little tricky the first few times. So, I'll be sharing all of my tips and tricks to make sewing your own pair easier. With these tips and a bit of practice, you'll soon be sewing fold over elastic with confidence.
Hello sew-friends! Today, I'm sharing my top eight tips for sewing shirring with elastic thread. Shirring creates a stretchy gathered fabric that fits closely to the body. It's often used in the torso, bust, back, waist, neckline and wrist areas of a pattern. There are lots of possibilities! You can actually buy fabric that is already shirred along one selvage but when you learn how to sew your own, you'll have a lot more design opportunities. Shirring has a big design impact and is a great way to create a fitted garment that's also really comfy.
Hello sew-friends! In today's post, we're diving deep on the subject color blocking in sewing. Color blocking is a fun and easy way to add contrast and personality to a garment or other sewn item. It's also a great way to enhance existing style lines or add new style lines to a garment. Color blocking is easy enough for beginners to tackle and a great way to use up smaller cuts of fabric. In this post, I'll explain what color blocking is, why you might want to do it and a few methods for color blocking your handmade garments and other sewing projects.
Hello sew-friends! Today's video is taking a deep dive into marking tools for fabric. After you cut out your fabric, the first thing you need to do is transfer all the pattern markings from the pattern to the fabric. Trust me, you don't want to skip it! In this post, I'll chat briefly about pattern markings and why they're important. Then, I'll share a variety of tools that can transfer marks to fabric and the pros and cons of each. Plus, I'll demonstrate how to mark a dart using a tracing wheel and transfer paper and how to mark a dart using a hole punch and chalk. Let's get started!
Hello sew-friends! We're going back to basics today to talk about patterns. There's nothing more frustrating than making a garment and finding that it doesn't fit. The most common answer is to make a muslin first, but today I'm going to share the five things that you should do before you make a muslin and even before you cut or trace out your pattern. These are my tried and true tips that will help you get closer to making a first muslin that is the right size for your body as well as for your style and fit preferences.

I’m always looking for ways to improve my topstitching because I feel like really accurate topstitching makes a garment look so much more professional. So, to help myself dial in my topstitching, I decided to get a special sewing machine foot called an edge stitch foot.
This is a special sewing machine foot accessory that (usually) does not come with the machine and it was not cheap. I’m not sure what I originally paid but it’s now running about $32 USD. I honestly don’t know if the machine foot is worth the cost. Time will tell on that. But, I will definitely be using it for the next button down shirt that I sew.
In this video, I'll be sharing the step-by-step process of sewing an all-in-one facing to a tank top. An all-in-one facing is a facing piece that is used to finish both the neckline and the armhole with one piece of fabric, as opposed to a separate facing for the armhole and a separate facing for the neckline. This method of finishing the neckline and armholes of a top or dress, creates a very clean finish and when you take it one step at a time, it's really fairly easy as well. (This method is also known as the burrito method, because we will roll the top when sewing the facing to the armholes.)
If you've sewn a garment before, you may have encountered a basting stitch. And, if you keep sewing, you'll be sure to use it with most projects. Basting is a fundamental sewing technique because it's so useful. Even better, it's a very easy stitch to sew. In this post and video, I'll talk about what a basting stitch is, when to use it and demonstrate sewing a basting stitch by hand and by machine.
In today's video, I'm going to be showing you how to understitch. Understitching is a technique that is most often used when sewing woven fabric garments but occasionally with knit fabrics as well. It's mostly used when you are sewing a facing, a lining or an in-seam pocket. The purpose of understitching is to keep those parts of the garments hidden and out of view.

This is the third and final video in my series about my sewing machines. Today, I'm talking about my Brother 1034D serger/overlocker. I’ve had this machine for 13 years now and it’s become one of the tools that I use most often. I share about why I like the machine, how I use it and my tips for using a serger with success. I hope you enjoy it!

This is the second video in a new series, sharing about my sewing machines. Today, I'm talking about my vintage Singer Featherweight 221. I inherited this machine from my great-aunt and have only been using it for about 5 months. So, I’m definitely not an expert. This isn’t a machine that I need to have (because my main machine does everything it does and more) but I have really enjoyed using it. It just has a lovely feel and a gorgeous sound, that I really find soothing while piecing my quilts. (You can check out part one of the series here where I share about my Janome Horizon MemoryCraft 9400.)
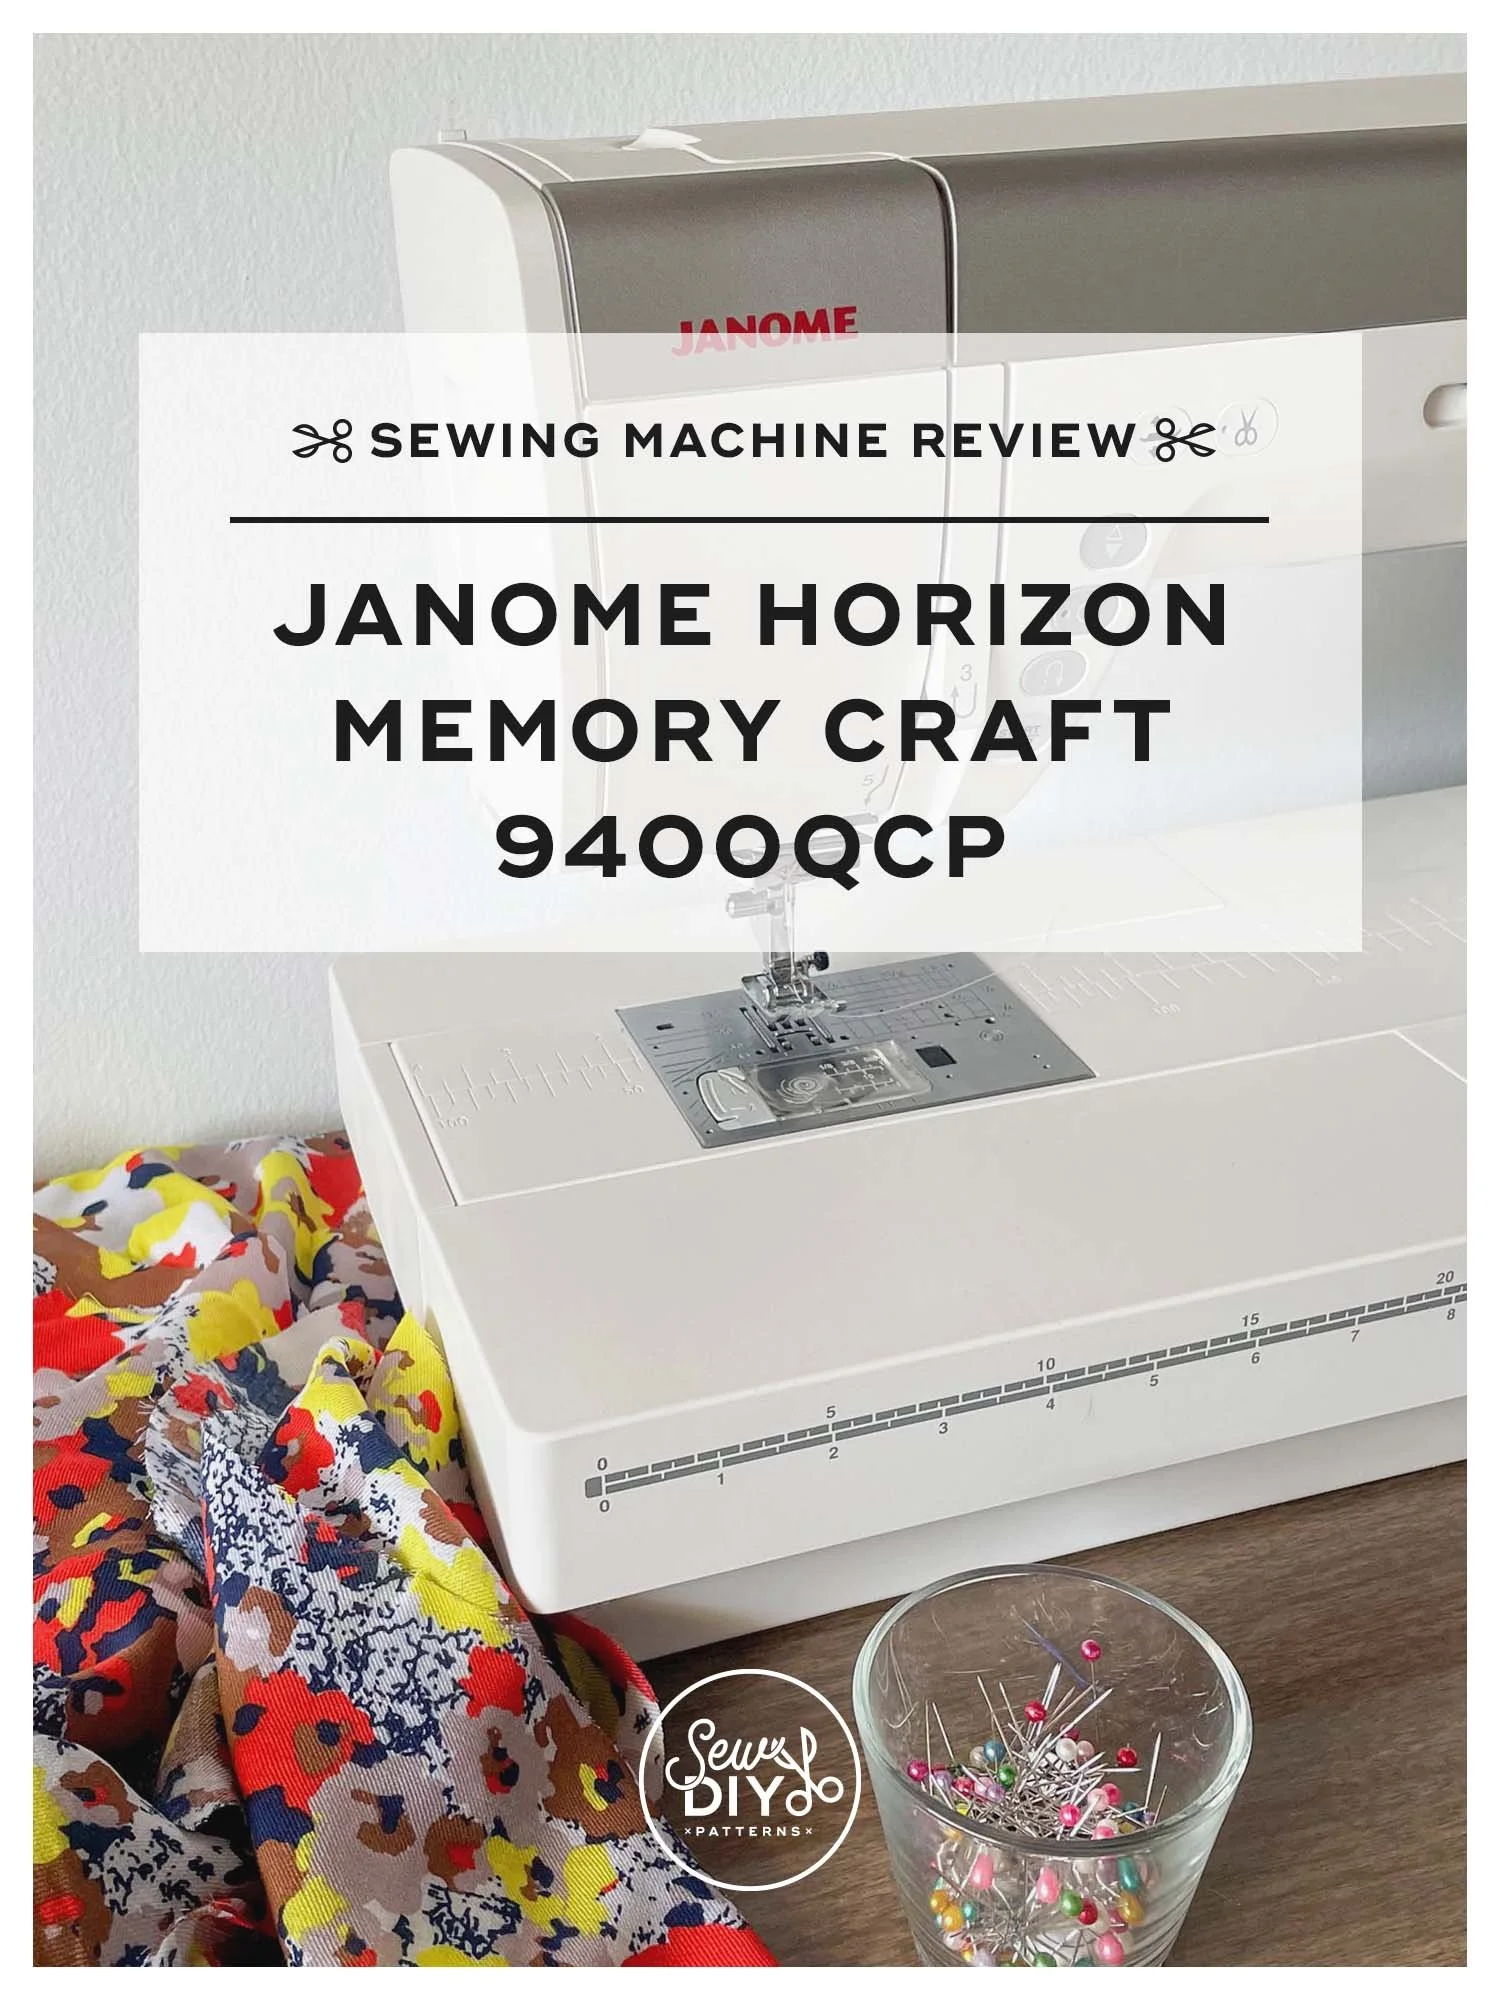
Today, I'm sharing about my main sewing machine—my workhorse—the Janome Horizon Memory Craft 9400QCP. I'll be sharing the things I like about the machine, the things that I don't like, how much I paid for it and give a short demonstration of a straight stitch. I bought this machine a little more than three years ago, in 2019, and I’ve used it a lot so this is all from experience over a length of time. That said, my preferences, may not be the same as yours. (Check out this post with tips for finding a sewing machine that works for you.) This is the first video in a new series, where I talk about the sewing machines that I use regularly. I hope you enjoy it!
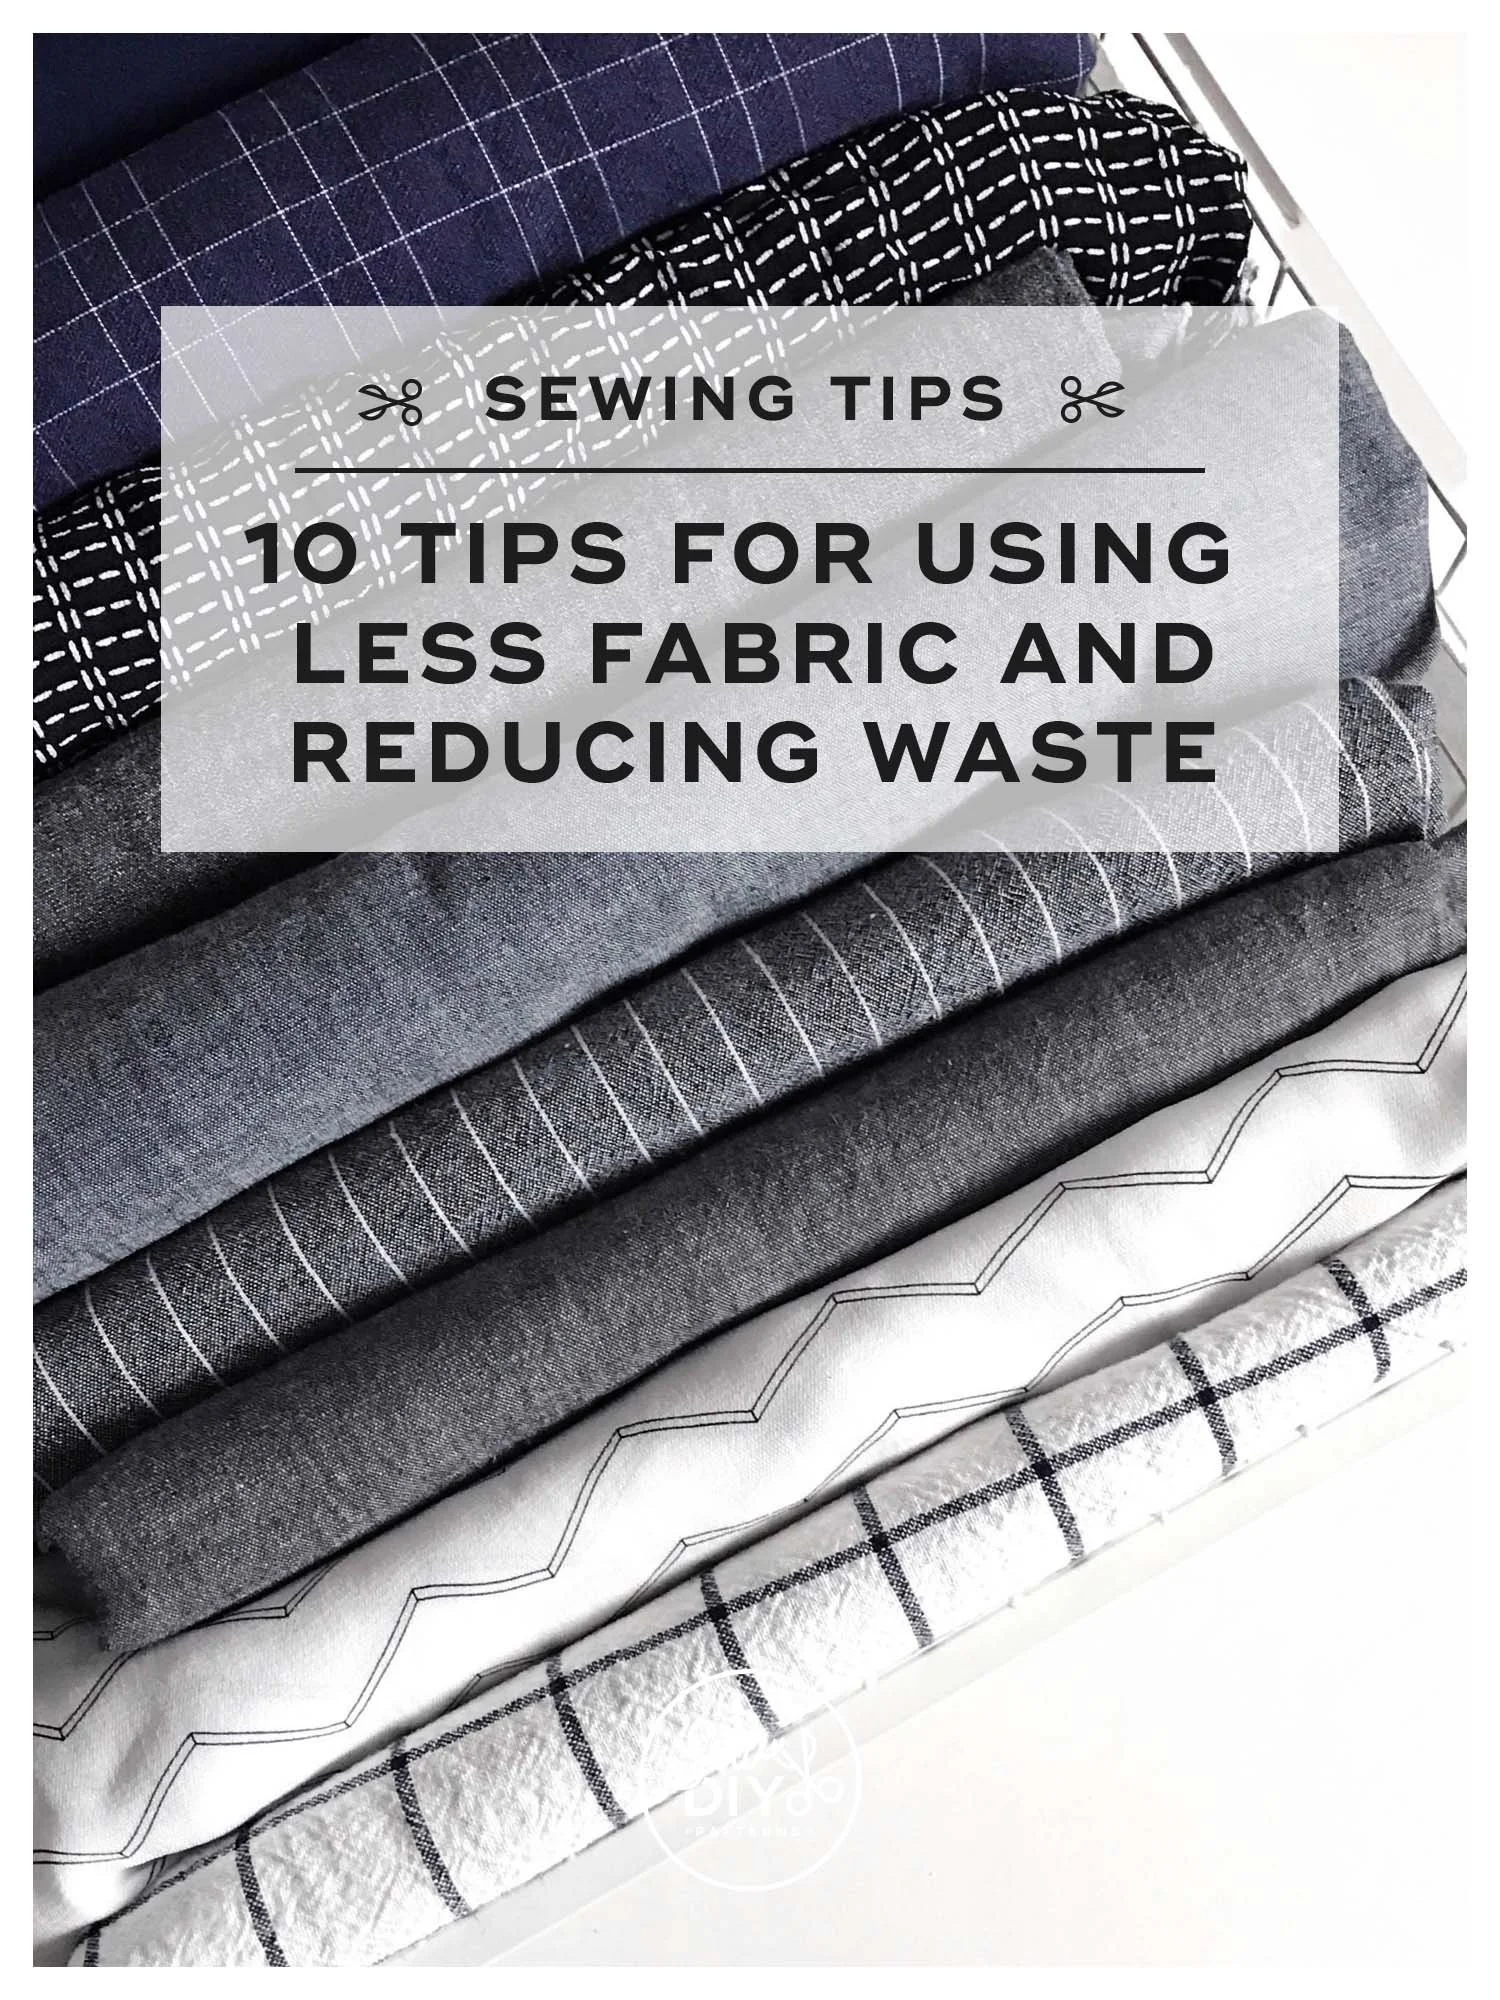
In honor of earth day today, I’m sharing some quick tips for making the most of your fabric yardage. Most of these tips will help you use less fabric and create fewer, smaller scraps. But a few will help you find ways to use the full length of fabric, again with the goal of creating fewer, smaller scraps.
My big goals, and probably yours too, when buying and cutting fabric are to save money and reduce scraps. I try to buy only the amount of fabric that I need and cut it efficiently. Watch the video below or read on for 10 tips plus one bonus!

One of the most common questions people ask is what kind of sewing machine they should buy. There are many different brands and models of sewing machines that run the gamut of pricing from hundreds to thousands of dollars. With all those options, it can be a little overwhelming to figure out where to start. And when you’re buying a sewing machine, you want it to be a piece of equipment that you will love using for many years to come. Whether you are looking to start sewing or want to upgrade your current machine, these tips will help make the process of buying a sewing machine as smooth as possible.
I bought my current machine about four years ago. I'm really happy with the machine and I believe that's because I was very careful and thoughtful with how I approached the purchase. Today, I'll be sharing all of those tips with you so that no matter what your budget is, you will (hopefully!) end up with a machine that you love using for many years to come.
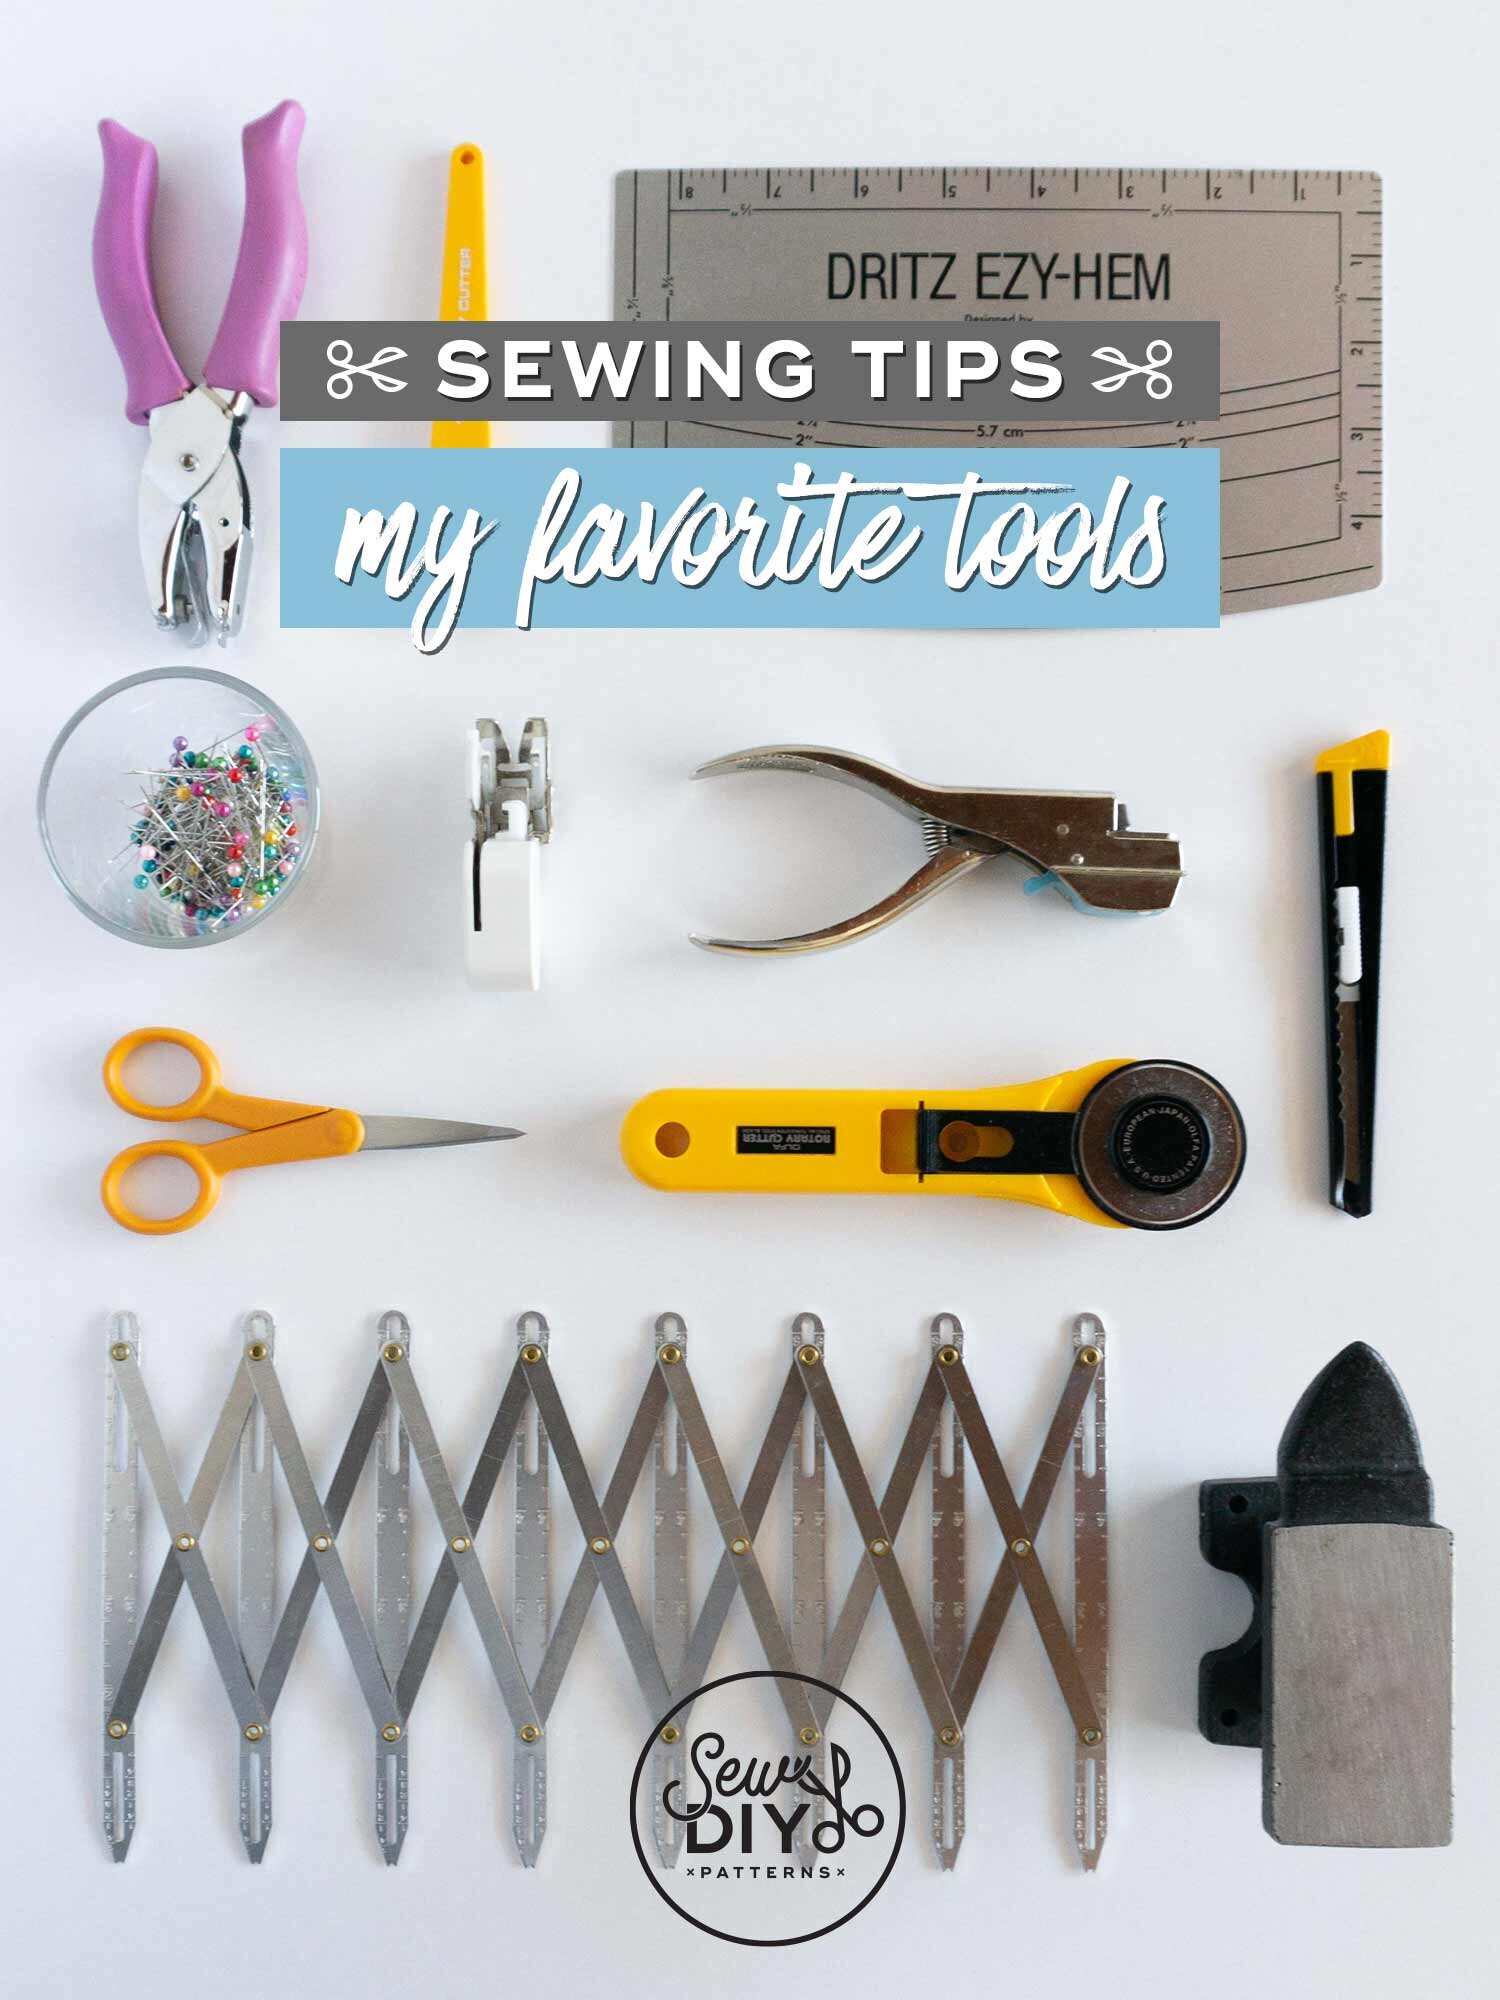
Today, I'm sharing my favorite sewing tools. These are the tools that I use often and that make a huge difference in the quality and/or ease of my sewing. I share why I love these tools and a little bit about how I use them.
I'm generally, pretty minimalist when it comes to tools. I only like to have things that I know are going to be useful. So, even though there are nineteen sewing tools on my list, you can rest assured that I use these all the time. If you're looking for ideas on how to build out your sewing tool kit or help someone else build theirs, this is a great video for you.
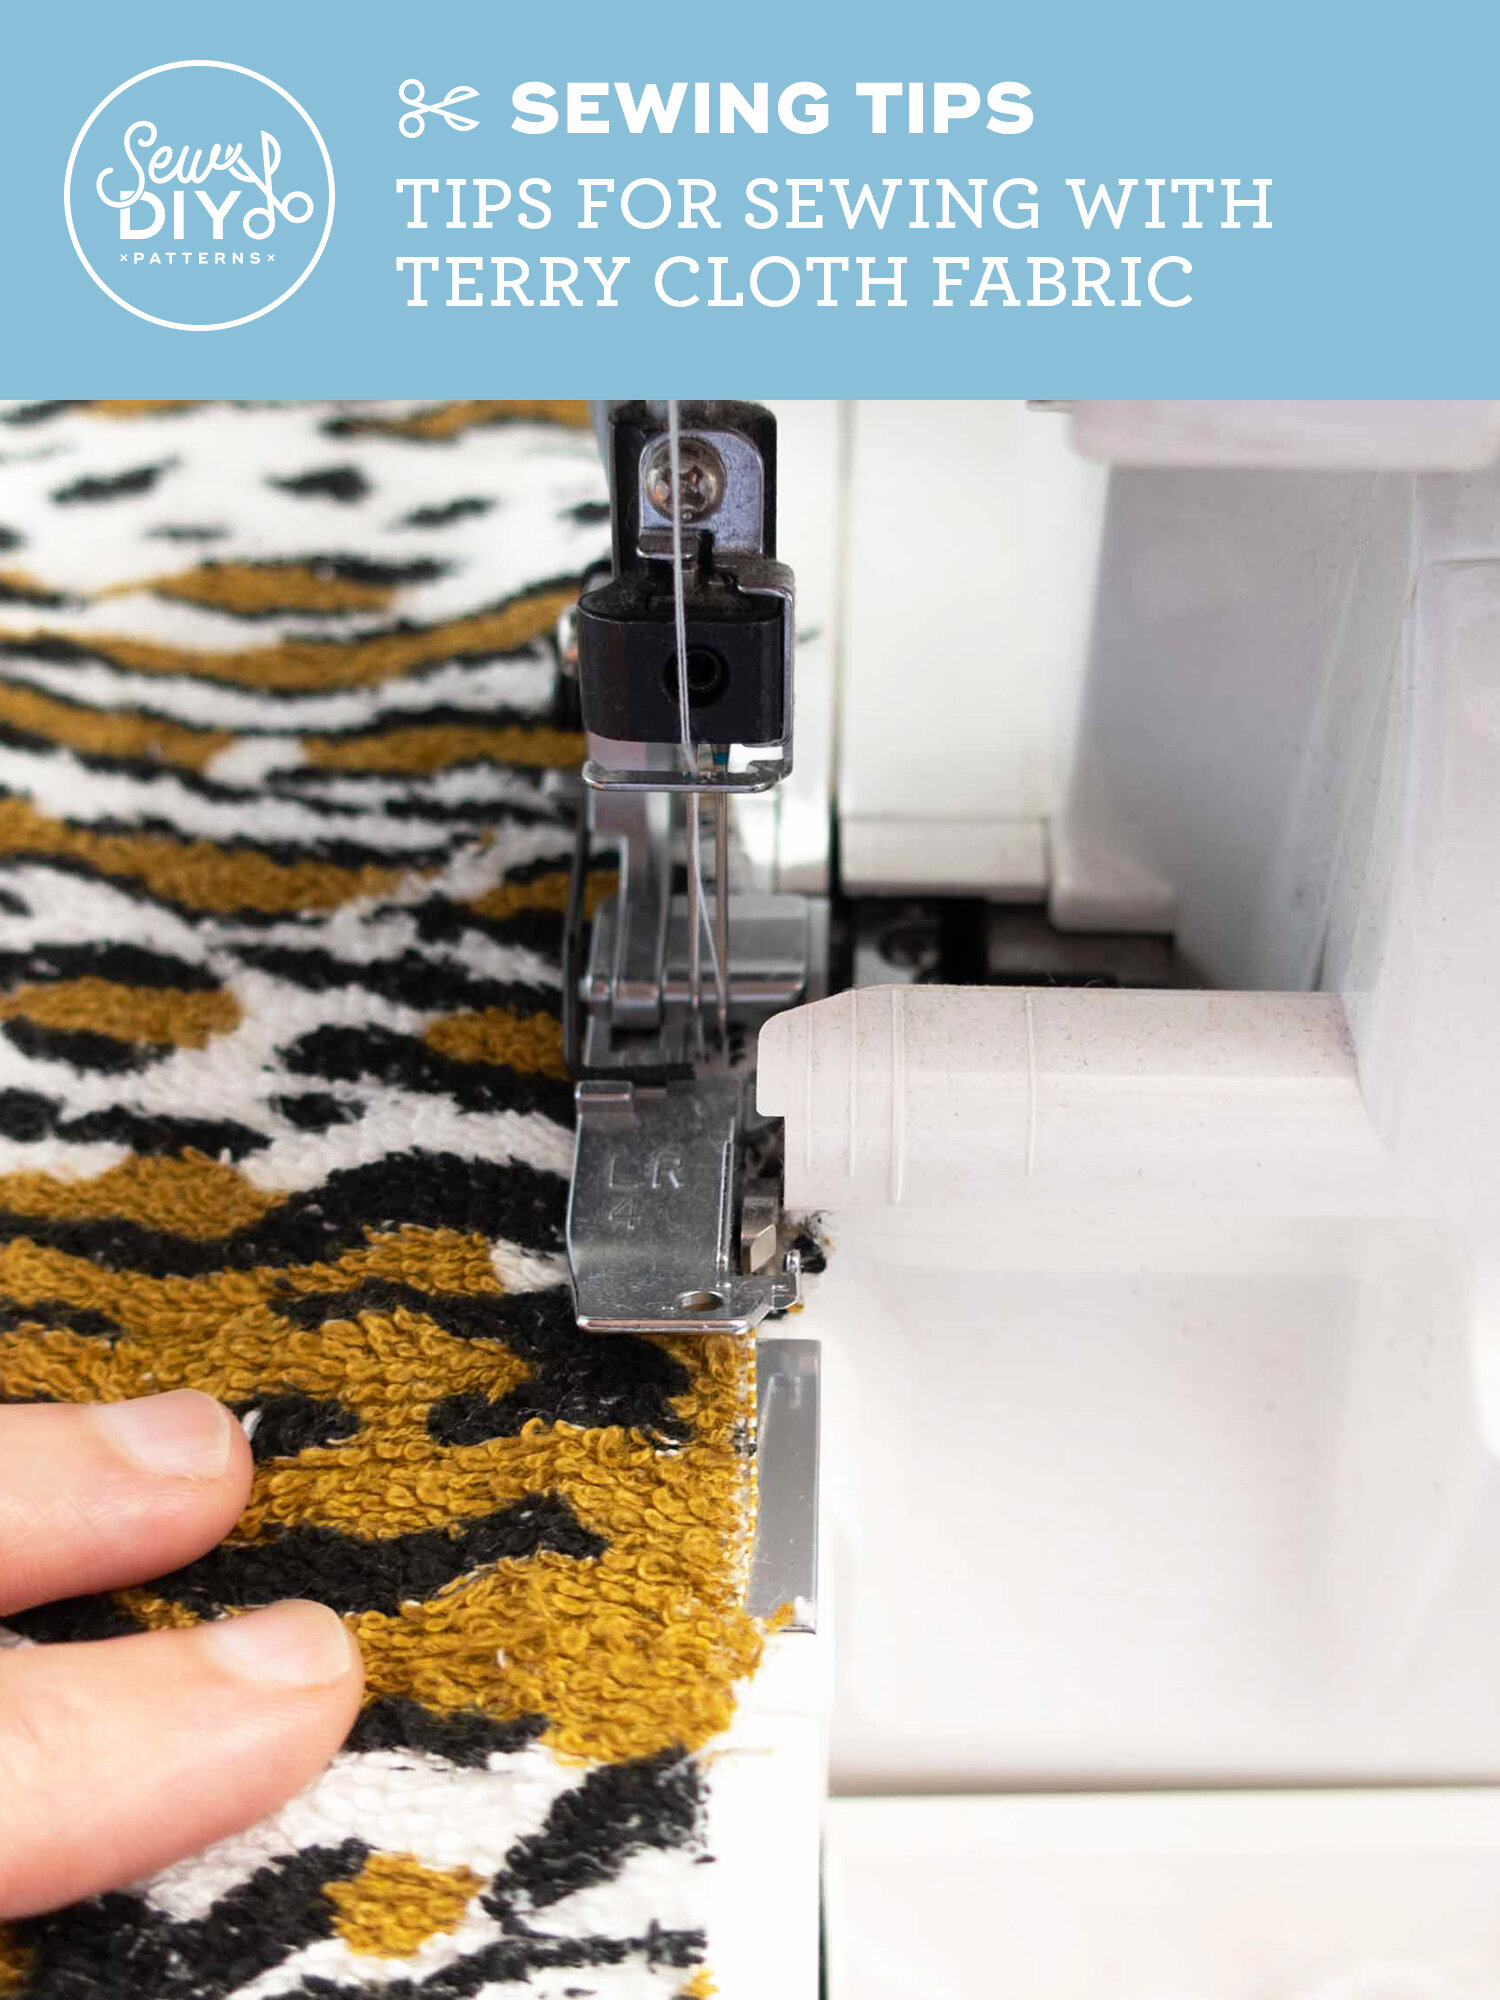
Terry cloth is one of those fabrics that’s in every household but not in every fabric stash. Last week, I shared my terry cloth pool robe and I thought it would be useful to share a few tips for sewing with this unique fabric. You’re probably most familiar with terry cloth from your bathroom towels. It’s a dense fabric made up of thread loops on both sides. It’s a thick and absorbent fabric making it great for robes or swim coverups.
Terry cloth is honestly not very hard to work with but there are a few things to be aware of before you jump in. Read on for more information.

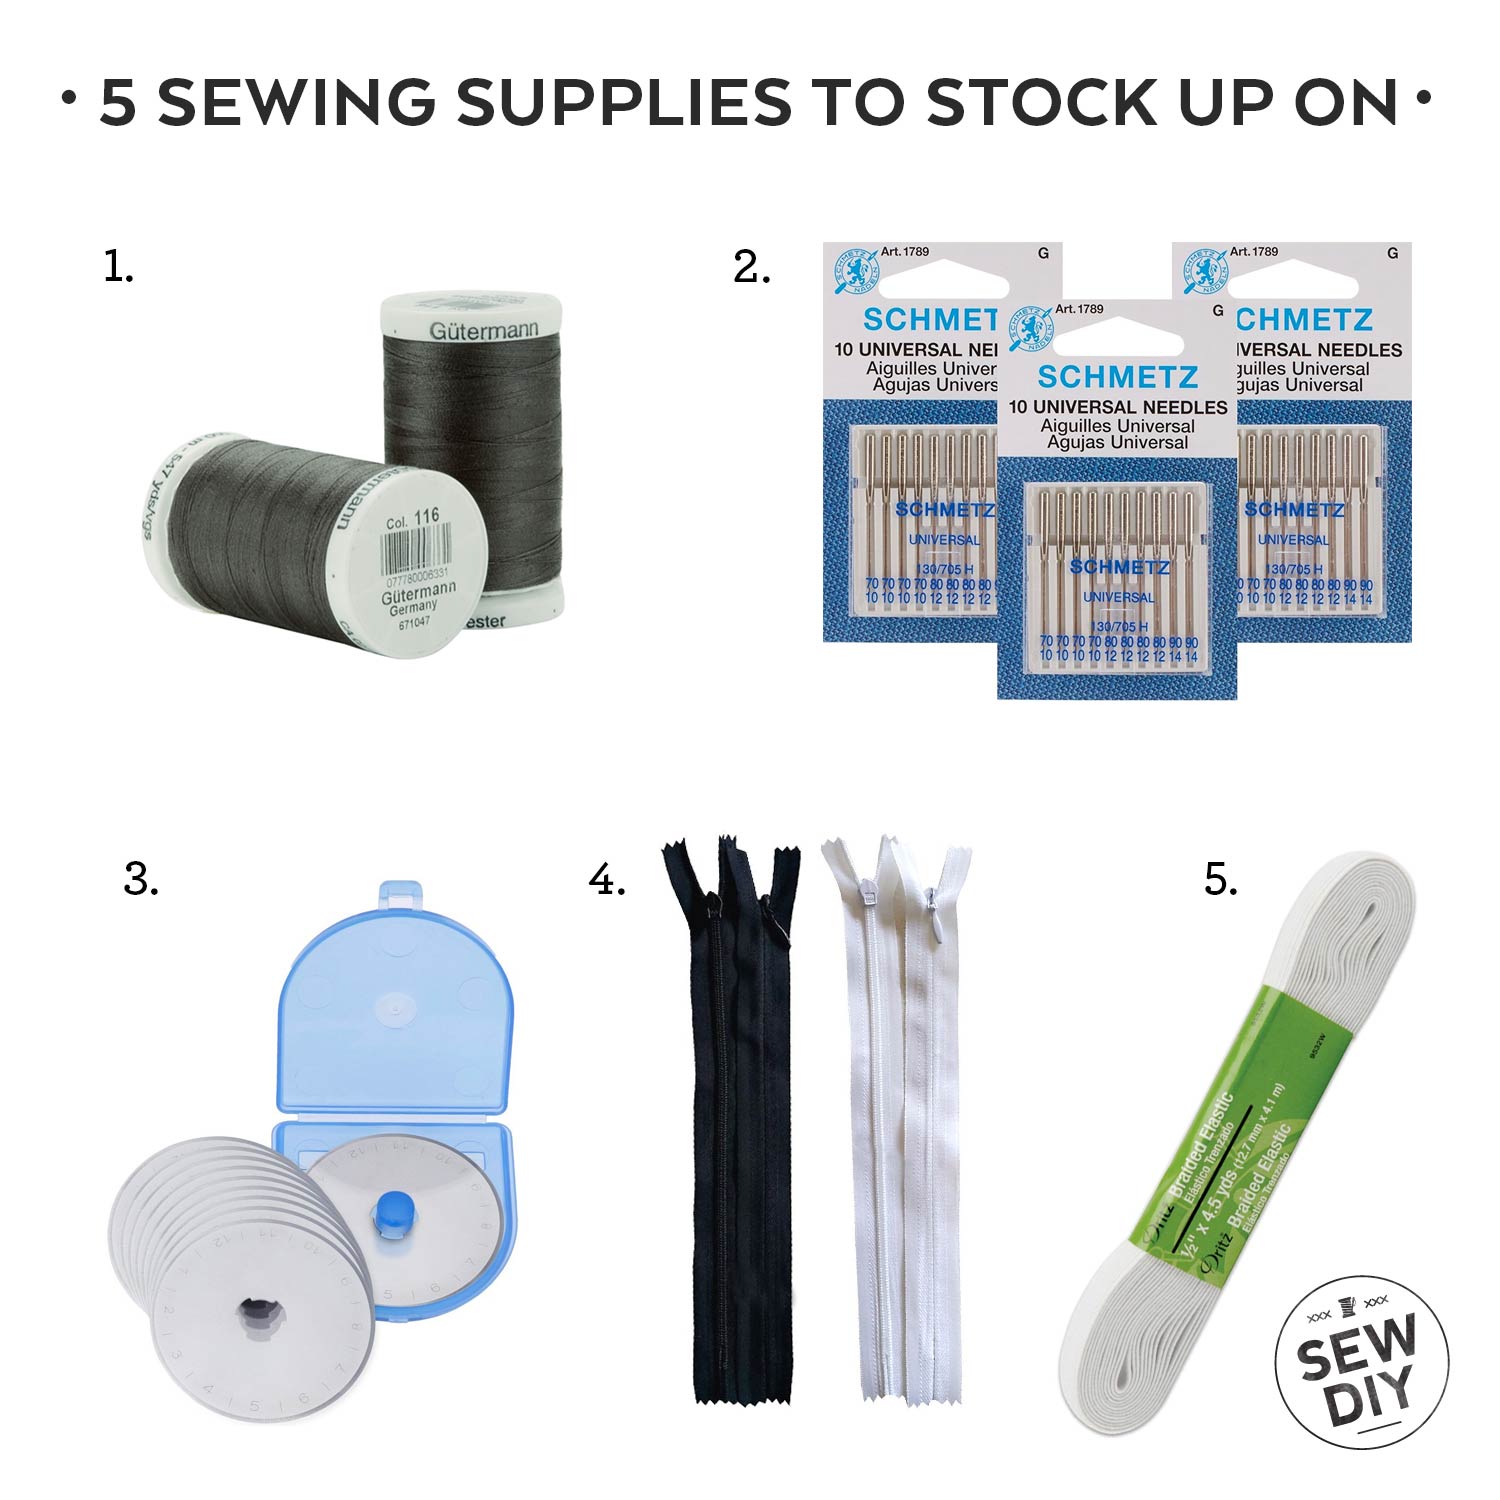
Hello sew-friends! In today’s YouTube video, I’m answering one of the questions I’ve been asked most over the years – How do you know how much fabric to buy? I’ll be sharing my magic number for buying fabric, my best tips for deciding how much fabric you’ll need even when you don’t have a pattern in mind and the sewing supplies that I always stock up on.
I’ve been sewing for about 25 years now and have learned what works best for my sewing habits and the things I like to make. The more you sew, the better you’ll be able to estimate how much fabric you’ll end up using too. But in the meantime, read on and watch the video for my best tips to get you started.

When it comes to sewing our own garments, the first thing we tend to think about is the stitches. But almost equally important is pressing. Pressing your fabric as you sew gives you a better garment in the end and in today’s video, I’m sharing a few tools that will make pressing easier and give you a better result.
I’m not one to say you need a ton of tools to start sewing. I actually did a video a few weeks ago where I share the six tools that actually need. But, if you are committed to sewing and want to make it a continued part of your life, then there are some tools that can help you create better garments.

Scraps can often be one of the biggest struggles for sewists. We spend so much time selecting and caring for our fabric, that it can feel sad and wasteful to just throw the scraps away. I’m very passionate about sustainability and creating less waste so today, I’m sharing 101 ways to use your scrap fabric. There’s a whole slew of ideas, organized into categories, so that you can skip to the section that sounds most fun to you.
These projects run the gamut from quick and fun to more involved and labor intensive. Where applicable, I’ve linked to existing tutorials on my blog. Otherwise, you should be able to find a tutorial via a quick internet search. Or, let your creativity run wild and create your own pattern.

As garment sewists, we often strive to have our fabric perfectly matching across a seam and it’s honestly not the easiest thing to achieve. So in today’s video, I’m sharing seven tips for how to match plaid or striped fabric while sewing. These techniques can be used for sewing shirts, dresses and even pants. For example, if you’re sewing some plaid flannel pajama pants this season, you will definitely want to check out these tips.

Hi sew-friends! In today’s video, I’m talking about the very controversial topic of tracing versus cutting sewing patterns. I share the benefits of each technique and then tell you my personal preference. In case you’re new to garment sewing, when we talk about tracing versus cutting, we are referring to how we prepare the pattern before we cut out our fabric. A lot of it comes down to personal preference but there are benefits to both techniques. Let me know in the comments if you are "Team Cut” or “Team Trace”.
Today’s video is a big one! I share my top reasons why pdf patterns are awesome (just in case you’re not already convinced). Then I share my top tips for how to successfully print pdf patterns (including the printer settings you need to make sure the entire pattern prints on the page). And finally I show how to efficiently assemble and cut the pattern. I even show you the techniques I learned in design school for safely using an exacto knife or blade. I’ve never cut off a finger using these techniques so hopefully it will help you and keep your fingers safe too!


Today I have a quick little video to share my top seven methods for finishing seams. Finishing (also called neatening) seams is really important for ensuring that your garments will last a long time. It’s worth the time to learn different finishes and find the ones you like best for your fabric.


If you are brand new to sewing, interfacing might seem a little mysterious. You might even be wondering if you really need it to use it. For a lot of garments you don’t need it but for many it is essential for adding structure to the garment. It is often used on facings, collars, cuffs and button bands to stiffen and reinforce the fabric. Think about ready-to-wear clothing and the areas of the garment that are stiffer than others. These are parts that need to stand up (like a collar), be tough enough to take a buttonhole or simply lie flat along the neckline. Today I’m going to share some basic tips for adhering the interfacing to your fabric. It’s not a hard process but can be a little scary when you first start out.
Garment Sewing Tutorials
Scroll down for tutorials on sewing with knit fabric.

Hello! Today I’m very excited to share a hack for the Summer Sweatsuit pattern and a FREE pattern add-on. I released this pattern 5 years ago and it’s still one of my most worn garments for the summer season. I’ve shared a few hacks for this pattern over the years but this may be my favorite. This hack takes the shorts and adds a skirt on top. When I was younger, skorts were really popular and I really enjoyed wearing them. (I also wish I had kept a few of them!) This hack looks like an athletic skirt with a subtle A-line shape but has a hidden pair of shorts underneath.

Hello sew-friends! Today, I have a fun tutorial that will add an extra ruffle and a bit of stretch to the straps of your dress or top. I'm using my Eva Tops & Sundress pattern but any pattern that has a separate pattern piece for the strap should work.
For this design, the fabric for the strap works as a casing for elastic. The ruffle is created by making the casing a little wider than the elastic and topstitching, like you would do for a paper bag waistband. In this tutorial, I'll show you how to draft the pattern piece and sew the straps.

Have you ever wanted a dress or top to be a little more fitted at the waist, but you don't want to add darts or change the seam lines? A simple solution is to add ties at the waist. Waist ties are quick to sew and can be added to the side seam of any dress or top. Plus, they’re adjustable! When I was younger, I remember so many of my dresses and tops had ties that were pulled to the back and tied in a bow. The tie is easy to adjust, easy to sew and adds a cute bow detail. You can also make longer ties that wrap all the way around the body or even tie in the front.
Today, I'm excited to share a new video tutorial for how to sew underwear using fold over elastic. I've sewn lots of underwear and it's a little tricky the first few times. So, I'll be sharing all of my tips and tricks to make sewing your own pair easier. With these tips and a bit of practice, you'll soon be sewing fold over elastic with confidence.
Hello sew-friends! Today, I'm sharing my top eight tips for sewing shirring with elastic thread. Shirring creates a stretchy gathered fabric that fits closely to the body. It's often used in the torso, bust, back, waist, neckline and wrist areas of a pattern. There are lots of possibilities! You can actually buy fabric that is already shirred along one selvage but when you learn how to sew your own, you'll have a lot more design opportunities. Shirring has a big design impact and is a great way to create a fitted garment that's also really comfy.

Have you ever gotten to the fabric store and realized that you have no idea how much fabric you need to buy? Or worse, you just got home, after battling rush hour traffic, to realize that you forgot to buy matching thread or that particular width of elastic? I can’t tell you how many times I’ve driven to the store to buy matching thread and realized that I forgot to bring a swatch of the fabric. Or how about the realization that the fabric you bought won’t work for your project?
Hello sew-friends! Today's video is taking a deep dive into marking tools for fabric. After you cut out your fabric, the first thing you need to do is transfer all the pattern markings from the pattern to the fabric. Trust me, you don't want to skip it! In this post, I'll chat briefly about pattern markings and why they're important. Then, I'll share a variety of tools that can transfer marks to fabric and the pros and cons of each. Plus, I'll demonstrate how to mark a dart using a tracing wheel and transfer paper and how to mark a dart using a hole punch and chalk. Let's get started!
Hello sew-friends! We're going back to basics today to talk about patterns. There's nothing more frustrating than making a garment and finding that it doesn't fit. The most common answer is to make a muslin first, but today I'm going to share the five things that you should do before you make a muslin and even before you cut or trace out your pattern. These are my tried and true tips that will help you get closer to making a first muslin that is the right size for your body as well as for your style and fit preferences.
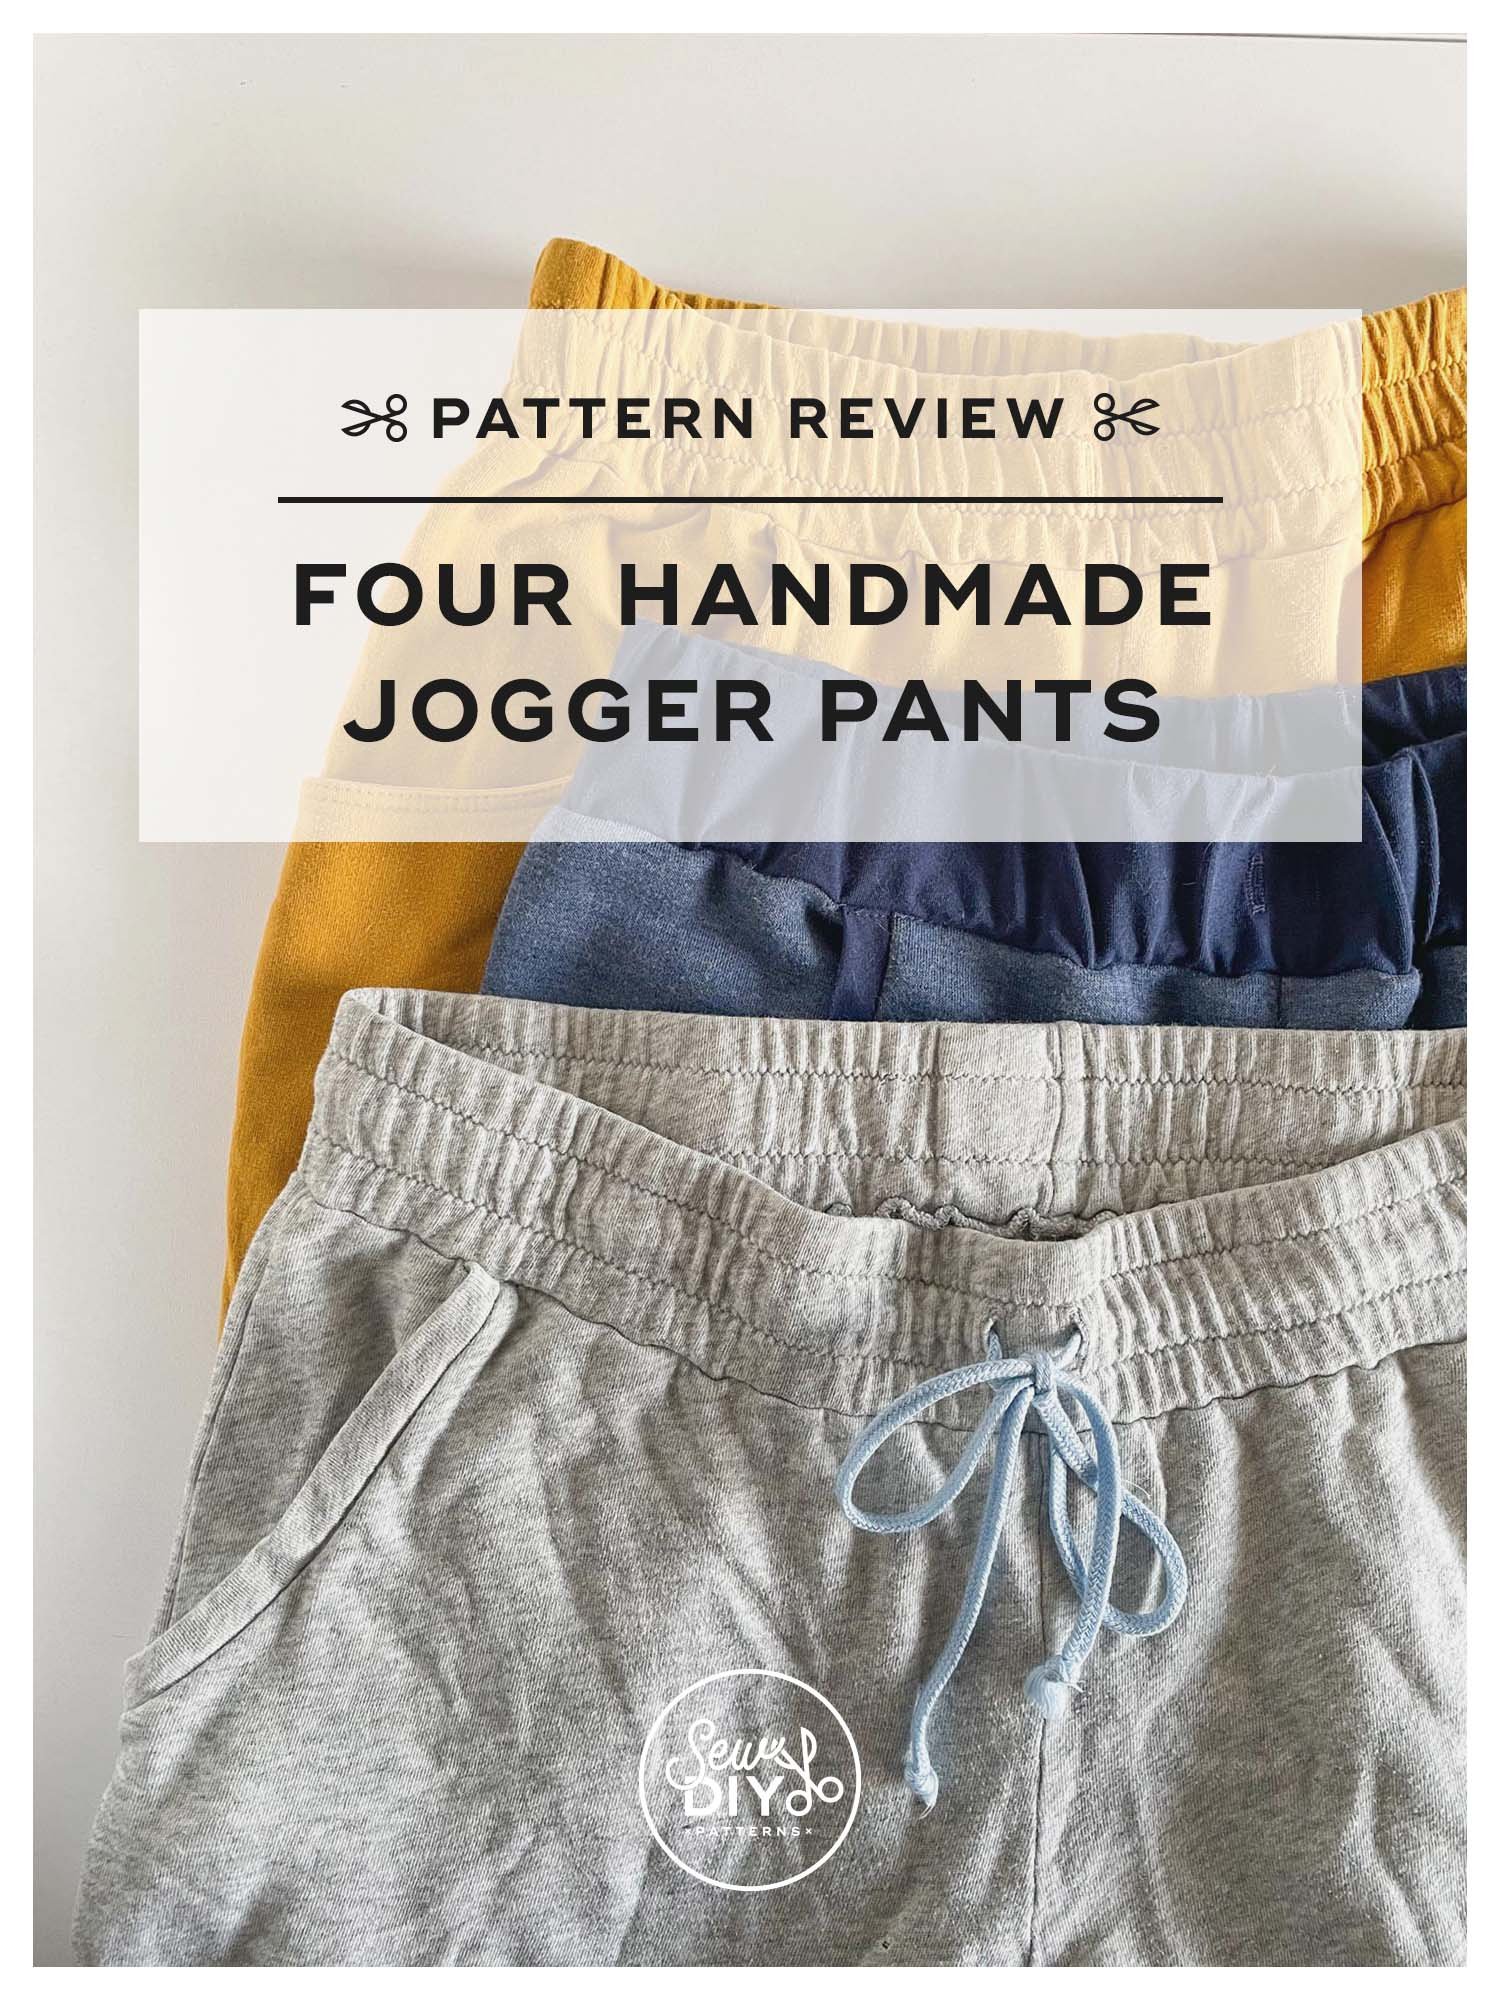
I've always had a strong appreciation for comfortable clothing and during the last couple of years, that has only increased. Spending my days at home, my go-to garment is a pair of joggers or lounge pants. I'll occasionally wear leggings but my first choice is always the joggers. I realized recently that I've sewn joggers from four different patterns so I thought it would be fun to share all of them in today's post and do a little compare and contrast.

In today’s video, I’m sharing how to draft a hem facing. A hem facing is an alternative finish to the traditional fold and stitch. Hem facings are especially useful when sewing a curved hem or a hem with a special shape like scallops. In the video, I show how to draft the hem facing using a printed pattern and how to do it digitally in Adobe Illustrator. I hope you enjoy it!

Hello sew-friends! Today, I have a quick little video for you showing how to sew a one-step buttonhole and how to sew on buttons using your sewing machine. This is my favorite way to sew buttonholes and buttons because it's so quick and easy. The one-step buttonhole foot makes sewing a buttonhole nearly foolproof. Plus, did you know that you can sew on buttons using your sewing machine? It took me years to attempt doing this and it was a total game changer.

In today's video, I'll be showing you how to sew a bias-bound waistband. This is a technique that you’ll often see in ready-to-wear pants and shorts. It creates a really beautiful and professional finish for your handmade garments. It will take a little bit longer than turning under the raw edge but it’s great for when you’re using heavier fabrics like denim.
For this tutorial, I’m using my Nita Wrap Skirt pattern which has a straight, fold over waistband. This technique should work for any skirt or pants pattern including those with a curved or two-piece waistband as well. The only extra supply needed is a strip of bias cut fabric or pre-made bias tape. (If you want to learn more about this flannel lined wrap skirt, check out this blog post.)

In today's video, I'll be showing you how to fuse iron-on interfacing to fabric. Interfacing is an extra layer of fabric that is used to make certain parts of a garment thicker and more sturdy. You'll often find it used in button plackets, collars, waistbands and facings. In the tutorial, I'll share all my tips for how to adhere iron-on interfacing to your fabric and prevent puckering or separating.

In today's video, I'll be showing you a simple pattern adjustment that you can do to move along a side or waist seam. Darts are most often used to shape the bust or waist and are usually found in side or waist seams. Because we all have different bodies, you’ll sometimes get a better fit if you move the dart just slightly. In the video and diagrams, I'll show you how to move a bust dart up or down along a side seam and how to move a waist seam dart to the left or right. (Note, there are more complicated pattern adjustments where you can pivot a dart to move it to a different seam. I’m not covering how to do that in this post.)
Hello sew-friends! Today, I’m happy to bring you a video tutorial for how to mark and sew darts. Darts are most commonly found in fitted woven garments. They are simply a little wedge of fabric that is folded and stitched in order to make the fabric more three-dimensional and to fit the curves of the body. You’ll most often find darts to shape the bust and waist. It’s really a fairly simple feature to sew and it’s worthwhile to practice and become comfortable with it.

Hello sew-friends! In today’s YouTube video, I’m showing the step by step process of sewing a cardigan (mostly) using a serger. This is a really quick project and the perfect garment to add to your Fall wardrobe. I love wearing cardigans as a lightweight layer throughout the year and I’ve been wearing this one practically non-stop since I finished sewing it. I haven’t even trimmed some of the threads yet! You might recognize this cardigan as part of my nine piece Work-From-Home mini capsule wardrobe. I like that it’s just as comfortable as a robe but feels like I’m actually getting dressed. Read on to watch the video tutorial and learn more about this cardigan.
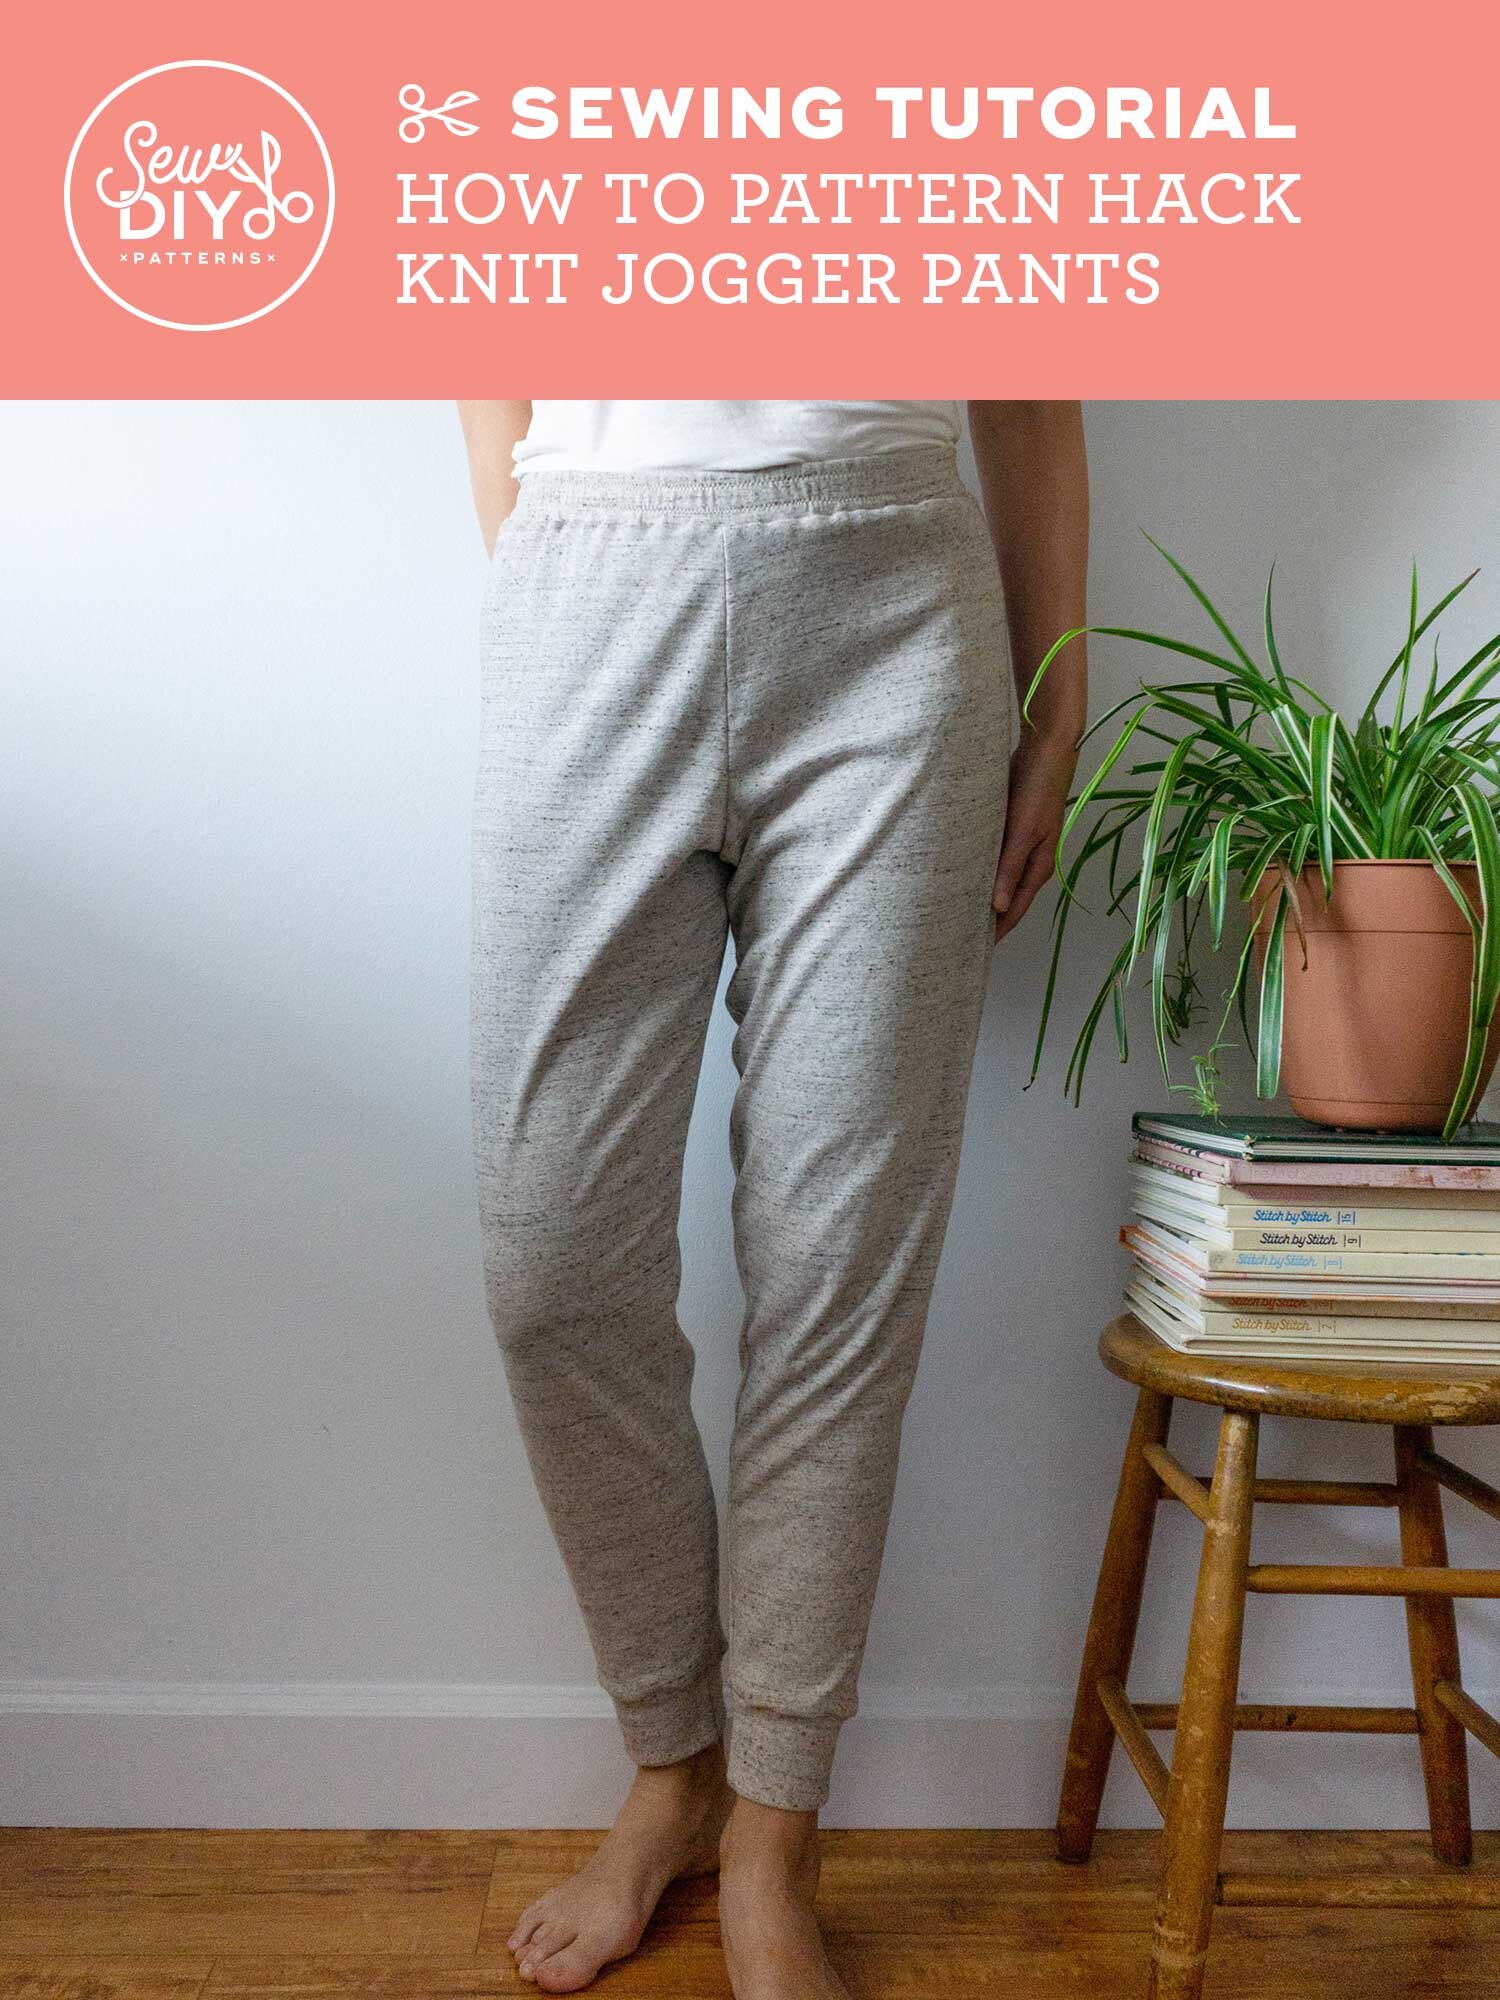
Today, I’m very excited to be bringing you a cool-weather friendly hack to the Summer Sweatsuit pattern. The Summer Sweatsuit was designed to be worn on the hottest days of the year, but that doesn’t mean that it’s not a useful pattern to have in your stash all year round. In today’s blog post, I’ll show you how to adapt the pattern to create your own knit jogger pants sewing pattern. Read on to learn how to hack the pattern to get your own custom jogger pants pattern.

Hello sew-friends! The Summer Sweatsuit sewalong is continuing with another video! Both the tank top and shorts from the Summer Sweatsuit are fairly easy to sew, so I decided to just do one video about each. Last week, I showed you how to sew the knit sweat shorts and this week will be the racerback tank top. I'll be reviewing the pattern pieces, and showing the step-by-step process of sewing the racerback tan top.
To learn more about the Summer Sweatsuit, check out the introductory blog post. To buy your own copy of the pattern, head over to the shop.

Hello sew-friends! The Summer Sweatsuit sewalong is starting off with a video! Both the tank top and shorts from the Summer Sweatsuit are fairly easy to sew, so I decided to just do one video about each. This week, I’m showing you how to sew the knit sweat shorts and next week will be the tank top. I'll be reviewing the pattern pieces, chatting a little bit about fabric and most importantly, showing the step-by-step process of sewing the shorts.
To learn more about the Summer Sweatsuit, check out the introductory blog post. To buy your own copy of the pattern, head over to the shop.


In this video tutorial, I’ll show you how to quilt your own fabric to make garments, bags or home accessories. In the video, I’m making my Quilted Slippers pattern but the same techniques work for other projects as well. I will share a variety of tools you can use to mark quilting lines on your fabric and then demonstrate a couple of ways to quilt the fabric to the batting. The Quilted Slippers are a great project for using scraps of leftover fabric and for introducing yourself to quilting.

Hello friends! This post is for all of you with the Draft-it-Yourself Tasi Robe and Jacket pattern. I’ve been making a variation of this pattern for years and this month, I decided I wanted to make a really classic robe for my Dad for Father’s Day. I haven’t been to a fabric store since February so I shopped my stash and found a navy gingham cotton. I also had some braided navy piping which I decided to use to create classic piped edge robe.
To get that really classic robe with a piped edge look, you’ll want to add piping to the center front opening, the seam between the cuffs and sleeves and to the pockets. Adding piping to the cuffs is pretty straightforward but you’ll need to do some adjustments to the drafting for the front band and the pockets. If you’ve never sewn with piping, make sure to check out this blog post to learn how.
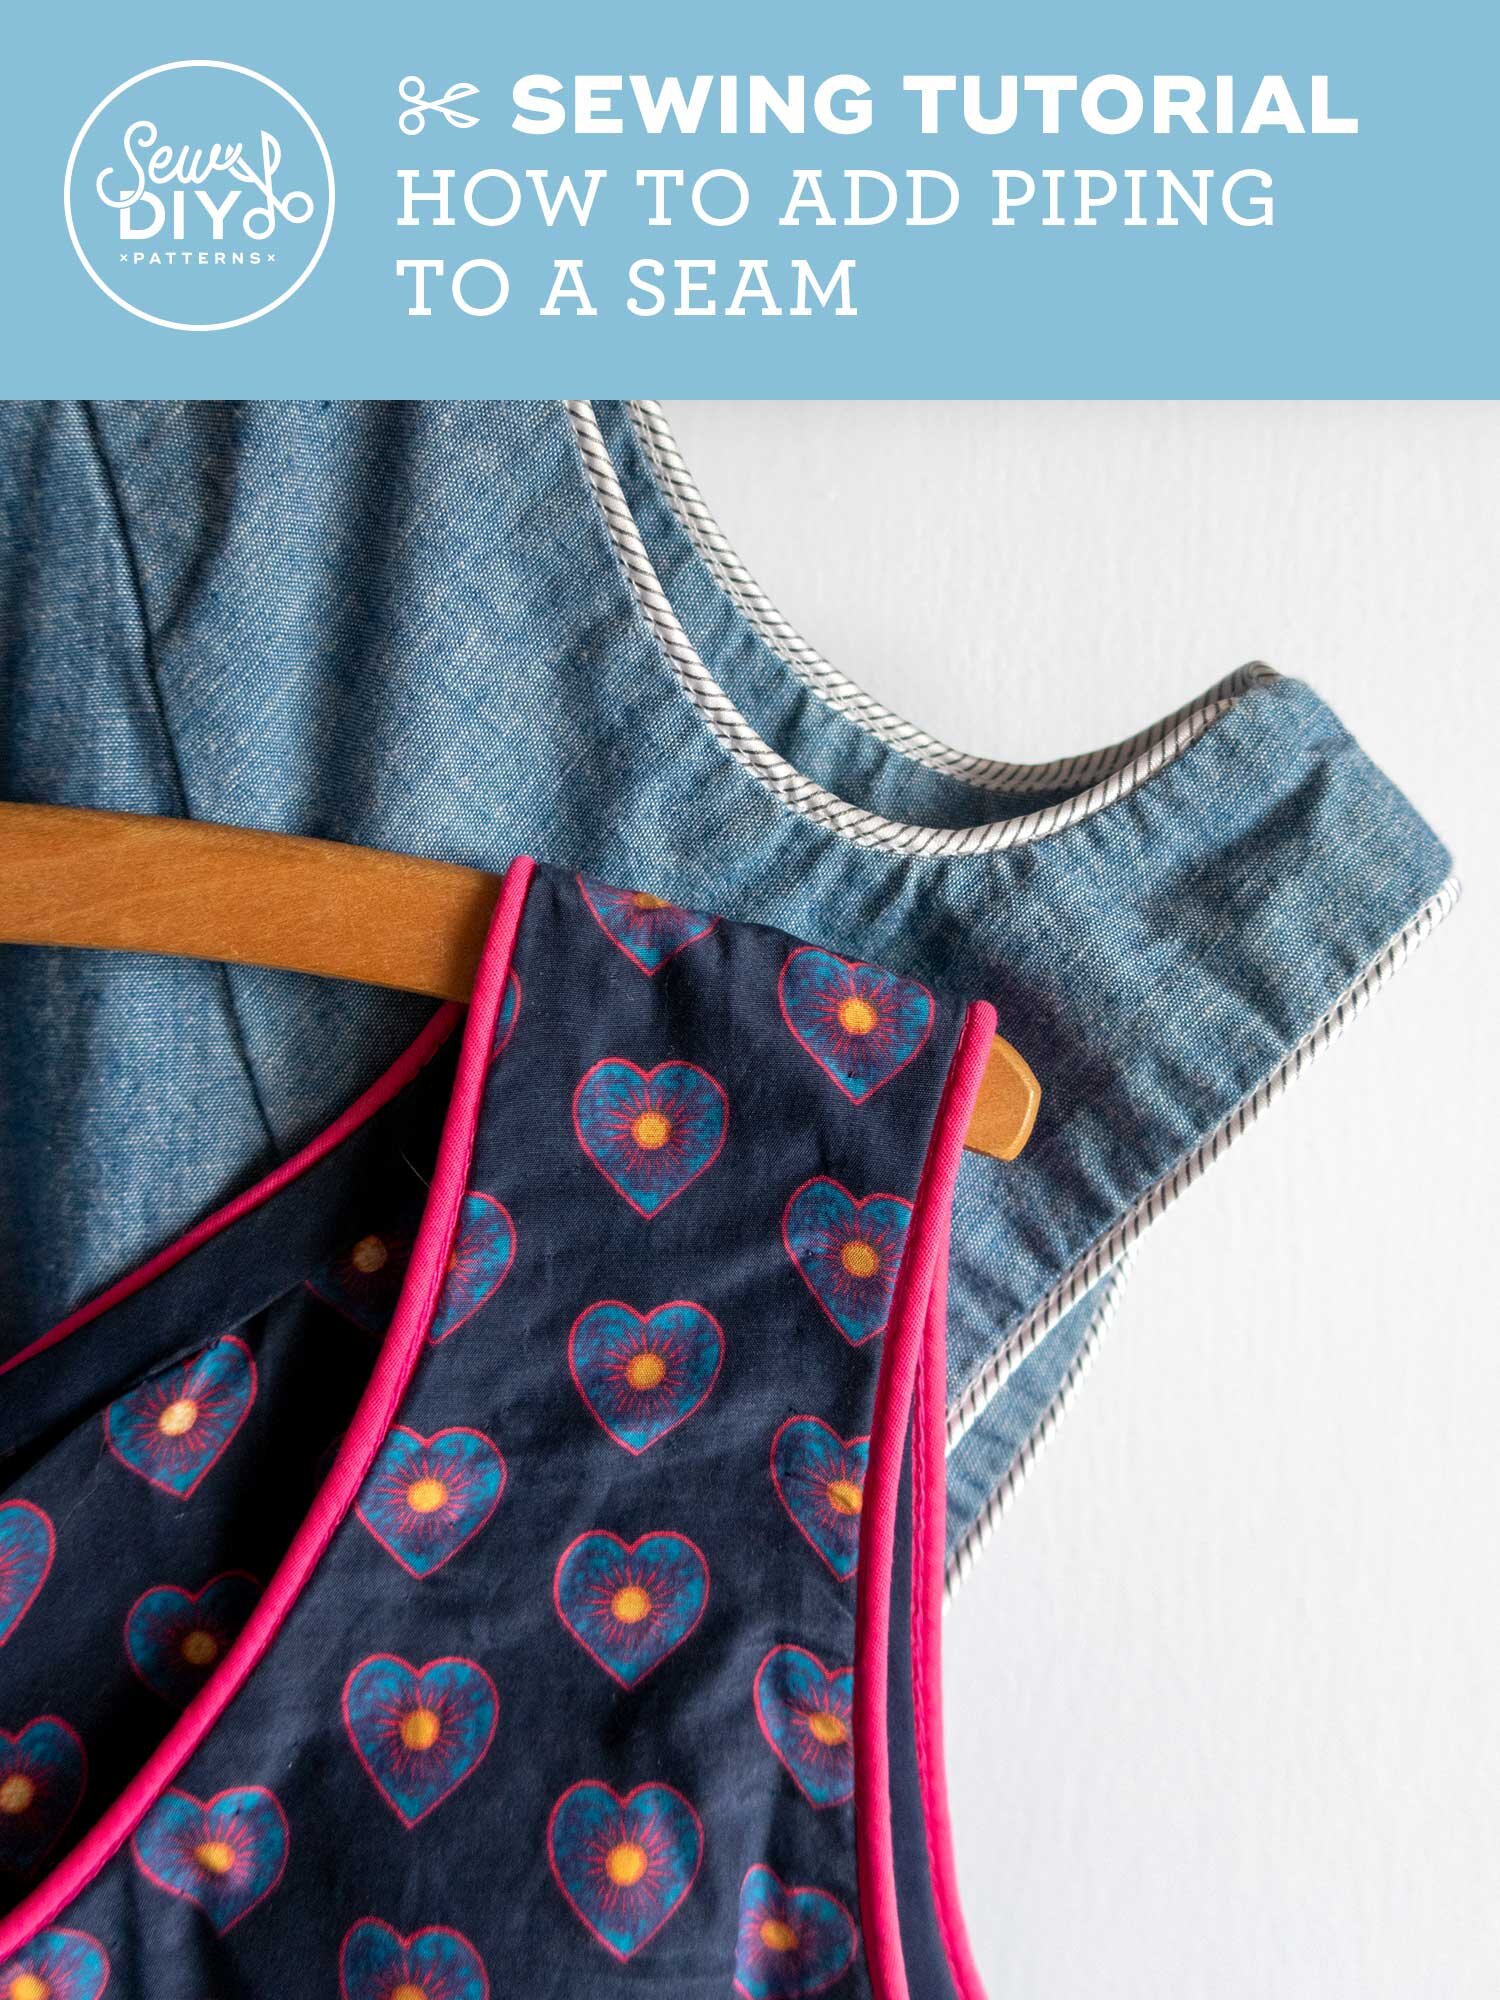
In today’s video, I’ll be showing you how to sew piping into a seam. Piping is a great way to add an extra bit of detail to your garments or home decor items. Plus, it’s fairly easy to do. In this video, I’ll be showing you how to sew piping using a zipper foot to a flat piece of fabric and one that is in the round. Alternately, you may be able to buy a special piping foot to use when stitching piping.

Hello! Today I’m very excited to share my latest Ali Sweatshirt hack AND you can download the pattern piece for FREE. A few weeks ago, I was working on a color blocked version sweatshirt, using the color blocking worksheet that comes with the pattern. I figured out where I wanted my gold and grey colors but then discovered that I didn’t have enough of the gold fabric for full length sleeves. As I was pondering what to do, it occurred to me that I could make a short sleeve sweat shirt. And just like that this hack was born. Sometimes, the best ideas come from dilemmas.

It can be a little intimidating and even challenging to sew your own pair of jeans but with the right tools and supplies, it will be much easier to tackle. These are tools that are kind of unique to sewing with denim and most them you won’t need to use for an ordinary top or skirt. But, they are nothing to be afraid of. With these tools in hand, the jeans making process will be a much better experience. Click through to watch the video, where I show you all the special tools and supplies that you’ll need to sew a pair of jeans, with tips on how to use them and ways to make the process of sewing jeans a bit easier.

Winters are hard on me because my hands and feet always get cold very easily. Nighttime can be especially challenging. I solved my cold feet issue with layers of socks and a warm rice bag (tutorial here). But my hands still get cold while reading in bed. I’ve always dreamed about having a long sleeve shirt or sweater that covered my hands. Finally, at the end of last year, I decided that it was time that I just made myself a long sleeve shirt with thumbhole cuffs.
For this hack, you can use any long sleeve shirt, dress or sweatshirt pattern that is designed for knit fabrics. You’ll want to use knit fabric with some stretch for this fabric so that your hands will be nice and comfy as you move about. Watch the video and then check out the diagrams for how I drafted these cuffs.

Hello sew-friends! Earlier this month I re-released the Lou Box Dress patterns and today is the final installment of the sewalong additions. When the pattern was first released, I did a full photo sewalong and during this second round of testing, I asked my testers what part of the construction process would be most helpful to see as a video. One popular suggestion was the elastic waist casing of the Lou Box Dress 2, so I’ll be showing you how to sew that in today’s video. I’ll take you through all the steps of how to sew the casing and inserting the elastic with lots of helpful tips along the way.

Hi sew-friends! Last week, I released the updated Lou Box Dress patterns and over the next few weeks I’ll be adding a few additional posts to the existing sewalong. These patterns are rated at a beginner level but everyone could use a little help now and then! Today, I’m sharing a video tutorial, showing you how to sew the short cuff sleeves of the Lou Box Dress 1 pattern. These cuffs are a little bit tricky to attach because they are a smaller piece fitting into a larger armhole but do not fear! I’m going to show you my methods for sewing them without any wrinkles or puckers.

In today's video, I show how to finish a neckline or armhole using bias tape to create a facing that is flat and won't peek out on the right side of the garment. Bias facing can be used to finish the raw edge a neckline, armhole or even a hem. This is a technique that is commonly used in a lot of garments including my Lou Box Top pattern so it’s a great method to practice and perfect. The benefit to bias facing over a traditional facing is that it has less bulk and if you have particularly thin fabric, it won’t create a ridge under your garment at the end of the facing.
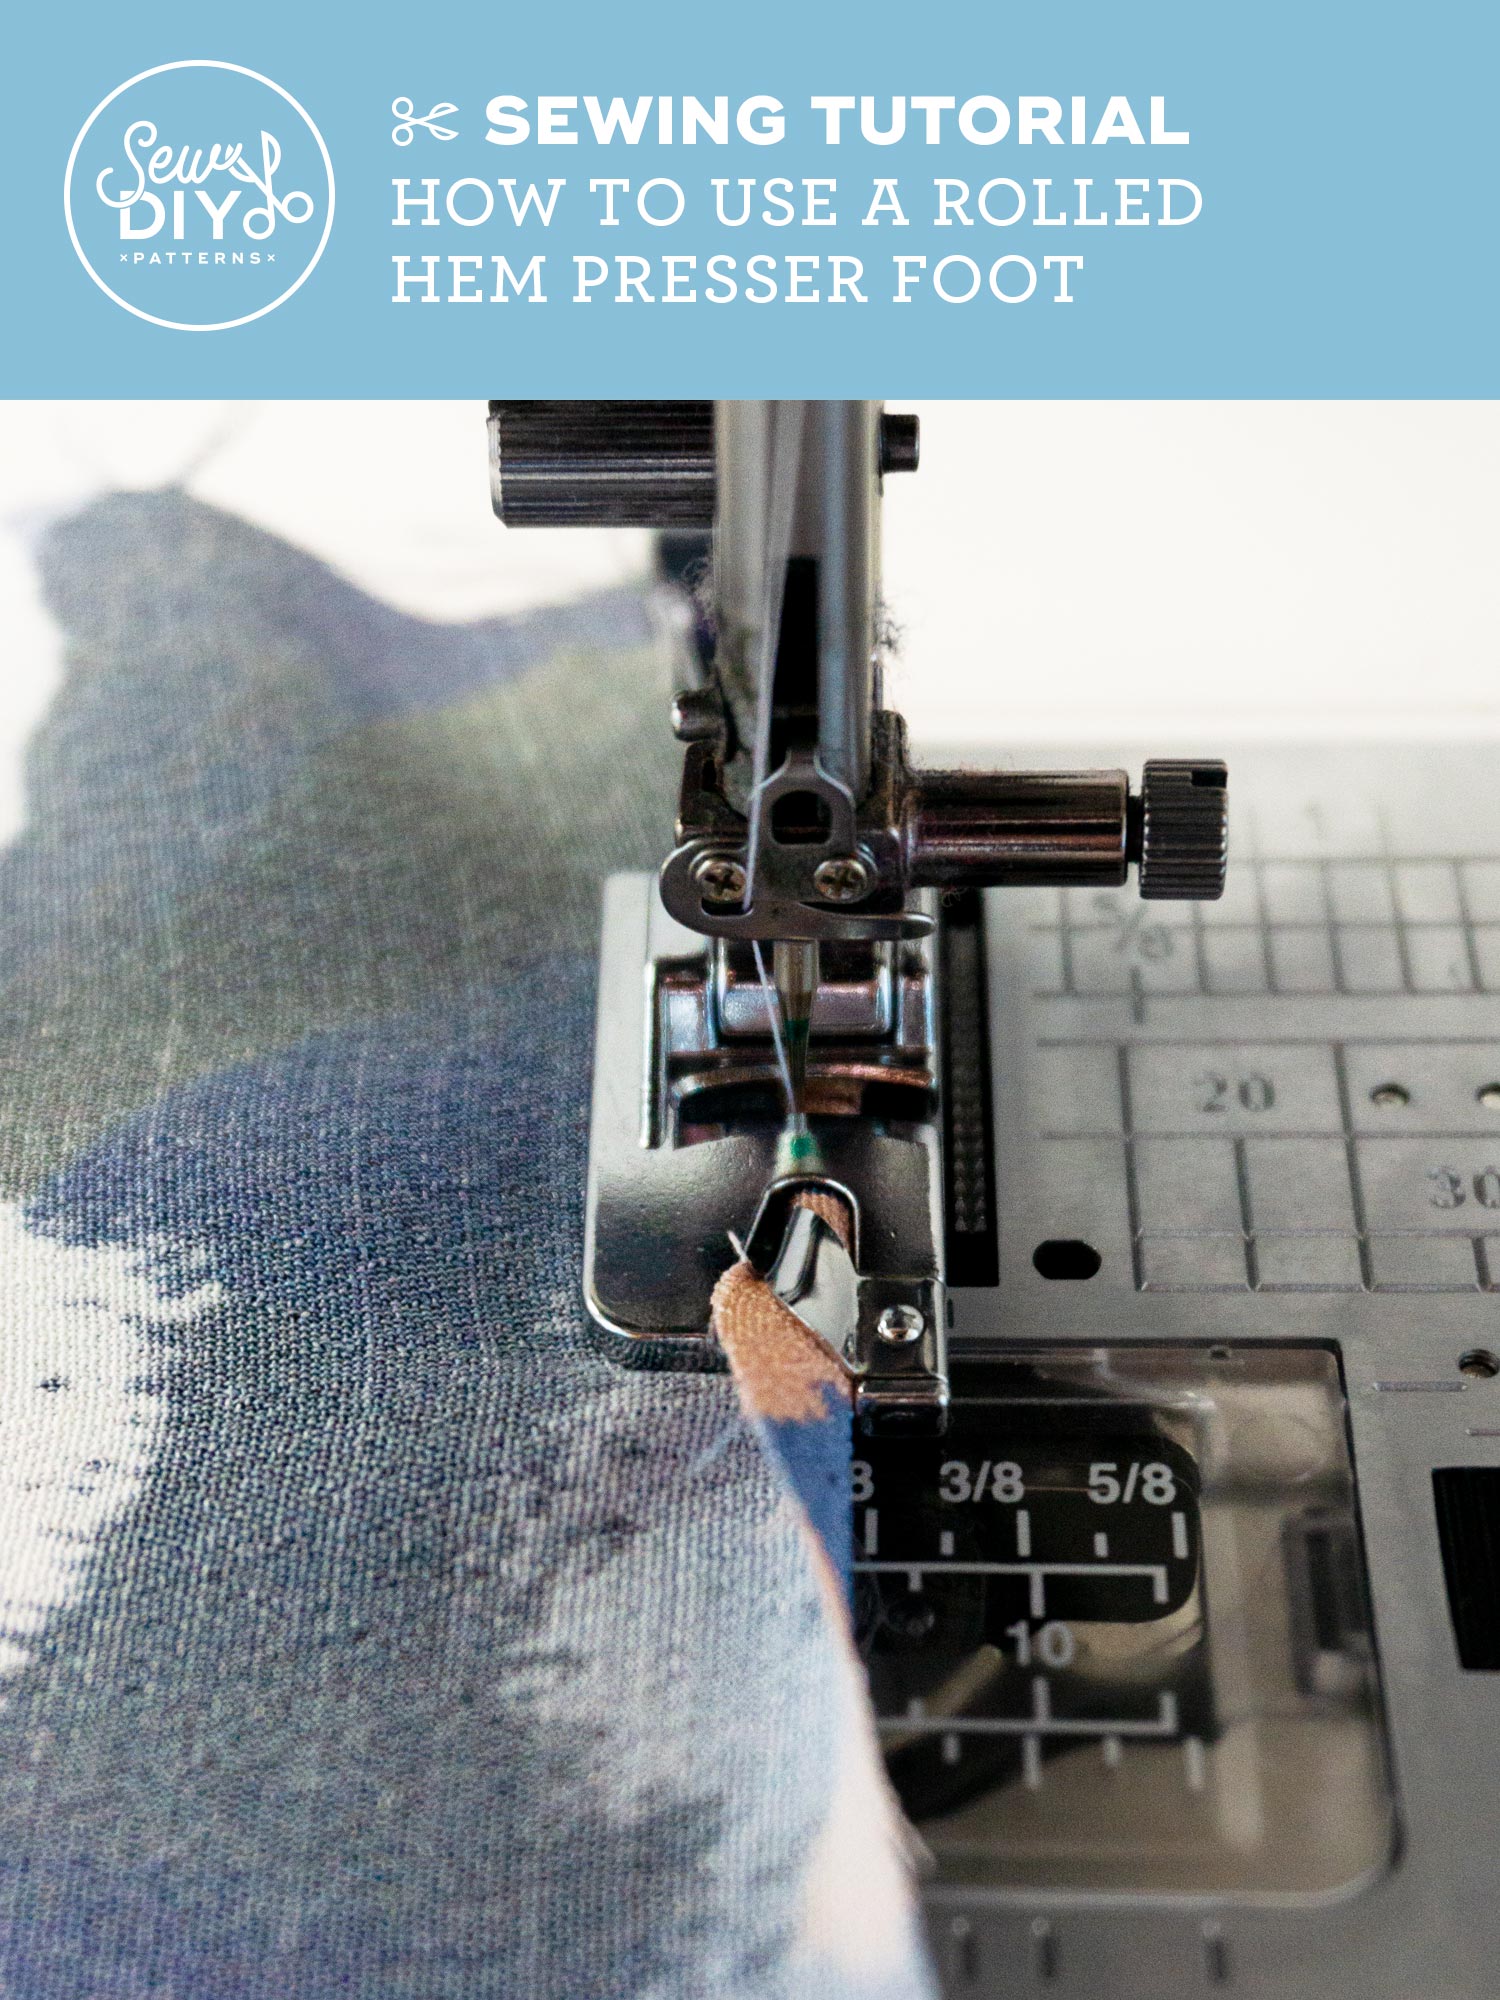
Have you ever looked at all the presser feet that come with your machine and wondered “what on earth to these things do”? Well, trust me, I’ve wondered the same thing. And today I’m going to demystify one of the most amazing of them all, the rolled hem foot, also known as a narrow rolled hem foot or hemmer foot. This magical little foot, rolls a very narrow hem along the raw edge of your fabric and stitches it in place. It’s great for when you want a very narrow hem and have a LOT of hemming to do. I recently used it on my Vogue dress which had an endless circle hem and it was perfect.
I love using my sewing machine but there are times that I prefer to sew by hand. And most of the time, I use a slip stitch. The slip stitch is very useful in place of topstitching on hems and bias facings when sewing with delicate fabric. The magic of this stitch is that it is nearly invisible from the right side of the garment. And because it’s invisible, even if you have a difficult fabric, no one will know that your stitches aren’t perfect.
If you are looking for ways to slow down your sewing practice, hand sewing is a great practice. Not only will you have a beautiful garment, but you’ll get to relax a little bit into the process and really take your time and take care of your fabric.

Hi sew-friends! Today, I’m sharing how to sew tie shoulder straps on a dress, jumpsuit or top. This is a really fun and easy pattern hack that’s also perfect for the summer season. These shoulder straps are fully adjustable and depending on the fit of the garment, can even be used to when you’re taking it on and off. Read on for full step-by-step and instructions and if you want to make your shoulder ties removable, check out this tutorial that I wrote a few years ago. It even includes a free pattern for the shoulder tie and is a great way to add shoulder ties to a garment that you’ve already made.

This is the first video in our new series of sustainability in sewing. Sustainability and trying to reduce our impact on the environment is really important to us at Sew DIY and we're excited to share some of our favorite tips and practices. In today's video, we will share tips on how to care for your handmade garments and make them last longer.
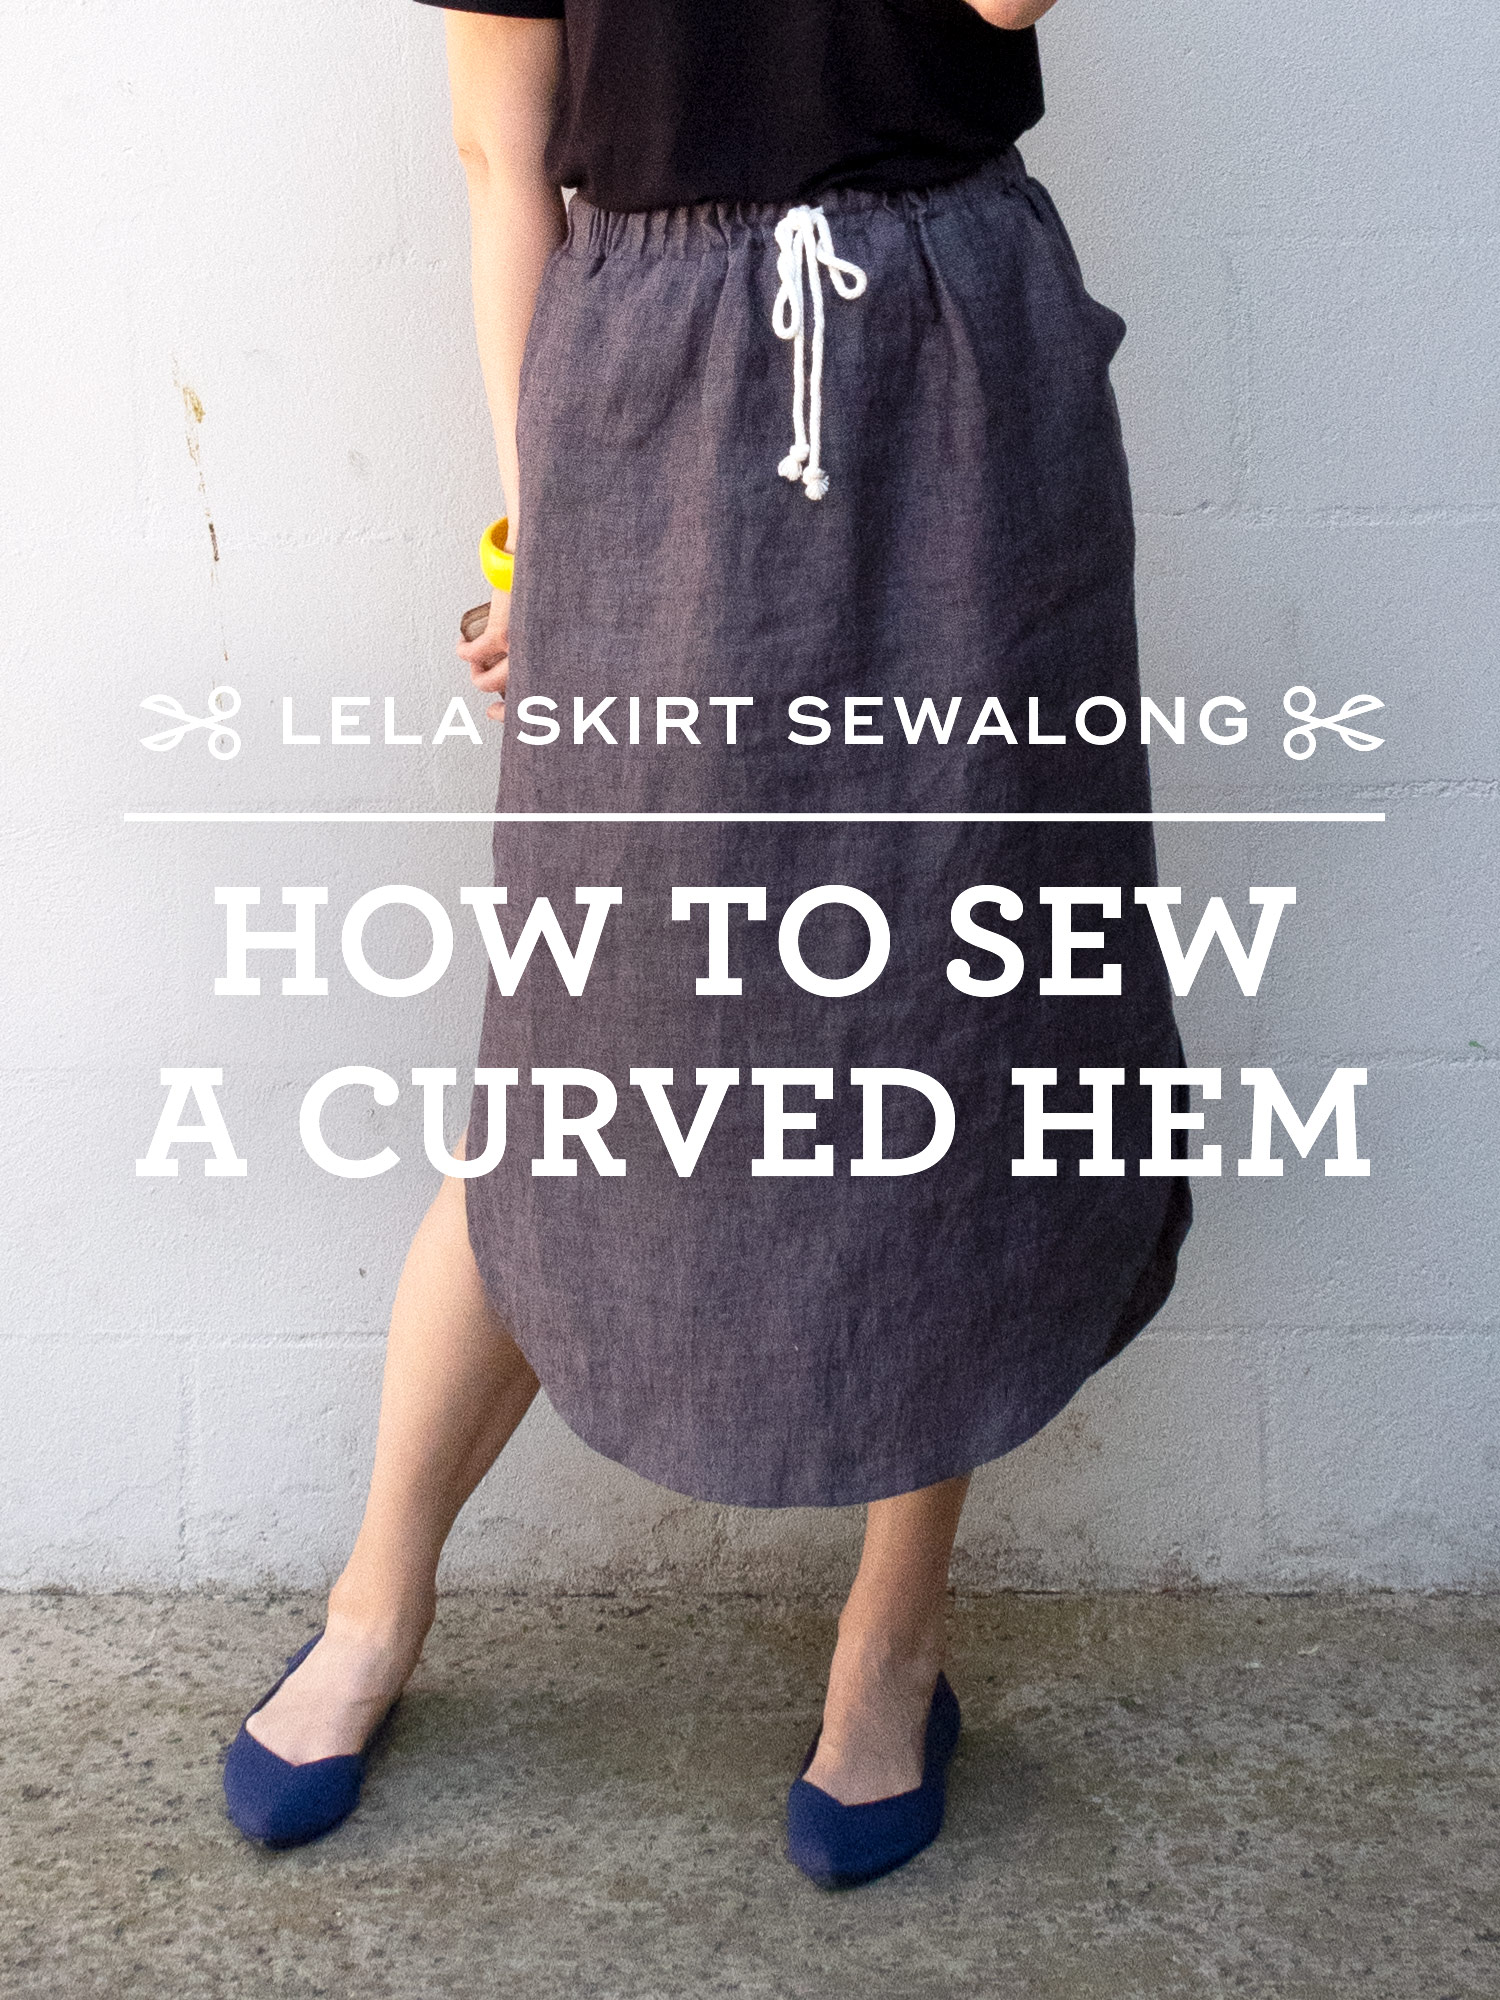
Today we will be sharing our tips for how to sew a narrow curved hem. We will be sewing View A of the Lela Skirt pattern but this method can also be used for View B. The curve of the Lela Skirt hem was designed in such a way that it is possible to turn the hem twice to the wrong side and does not require a facing or bias facing. (By the way, if you’re curious about how to sew a hem facing, check out this post from the Lou Box Dress 1 sewalong.)

In today’s sewalong post, we are sharing a video that takes you step by step through the process of sewing the elastic waistband of the Lela Skirt pattern. This skirt is very beginner friendly because it’s easy to sew and easy to fit due to the forgiving elastic waistband. If you haven’t read it yet, check out yesterday’s post about selecting your size. And then click through to watch the video and learn all of our best tips for sewing an elastic waistband.


Today, I have a video to show you how to sew on snaps using a machine. Whenever I made a bodysuit, I used to dread having to sew the snaps on to the crotch because it would take me forever. But then a couple months ago I had a light bulb moment that I could probably do it by machine, using the same technique as when one sews buttons on by machine. And by golly it worked!
This is my first time making a video tutorial. I’ve always avoided doing it because I just wasn’t that familiar with making videos and growing up in the 90s, videos were just not how I learned things. So, it’s taken me a while to come around to understand their value and to be brave enough to make one myself. I definitely need some practice looking at the camera but I think it’s not bad for a first try.

The Lou Box Dress 1, view A features traditional in-seam pockets. During my development of the pattern, I found two methods for attaching them when using a knit fabric. The first is detailed in the instruction booklet and is more similar to sewing with a woven fabric. This second method uses a serger for the majority of the sewing and a conventional machine to finish it off.

Today I’m going to share a few tips for sewing patch pockets with knit fabric. These techniques can be used for the bodice pocket on the Lou Box Dress 2 or Lou Box Dress 1, view A or for the larger patch pockets on the Lou Box Dress 1, view B. Pockets are not very challenging when sewn with a cooperative linen or cotton but can become quite tricky when using a slippery silk or jersey. But with some patience and one or two of these tricks, you’ll be able to sew beautiful topstitched patch pockets.

One of the features of the Lou Box Top and Dresses is an opening at the back neck with a button and loop closure. The feature is both functional and decorative. For a high neck, the opening to necessary for getting the garment over your head. But for the scoop neck versions it is not strictly necessary. For the Lou Box Top Sewalong, I showed you how to finish a woven neckline with the back opening. Today I’m going to show you how to finish the neckline in the round, without a back neck opening. This method is recommended for the Lou Box Dress 2 view B with the low scoop back but you can use this for any view of the Lou Box Dress 1 or 2.

Finishing a knit neckline is not hard but it can be intimidating if you haven’t done it before. To finish a knit neckline, we’ll stitch a folded strip of fabric to the neckline opening and today I’m sharing two different methods – with one shoulder open and in the round. You can use either one to sew a Lou Box Dress. The second method is a little bit cleaner but I think the first method is easier for beginners. Give both a try and see which one you prefer. However, I do recommend using method two (in the round) if you have a thicker knit fabric.
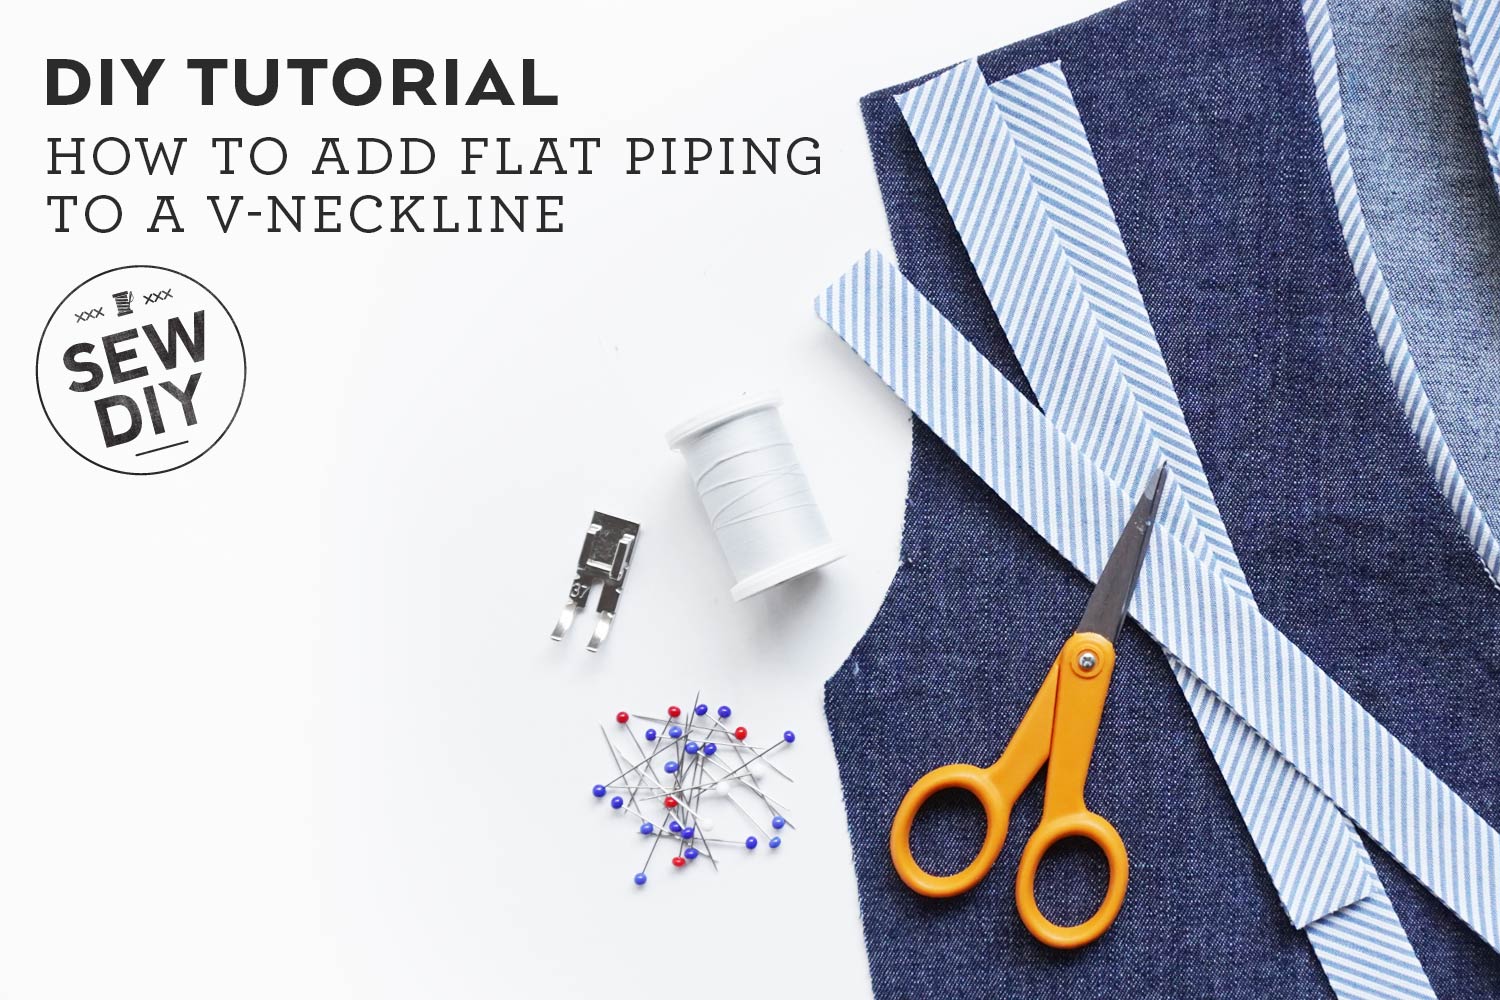
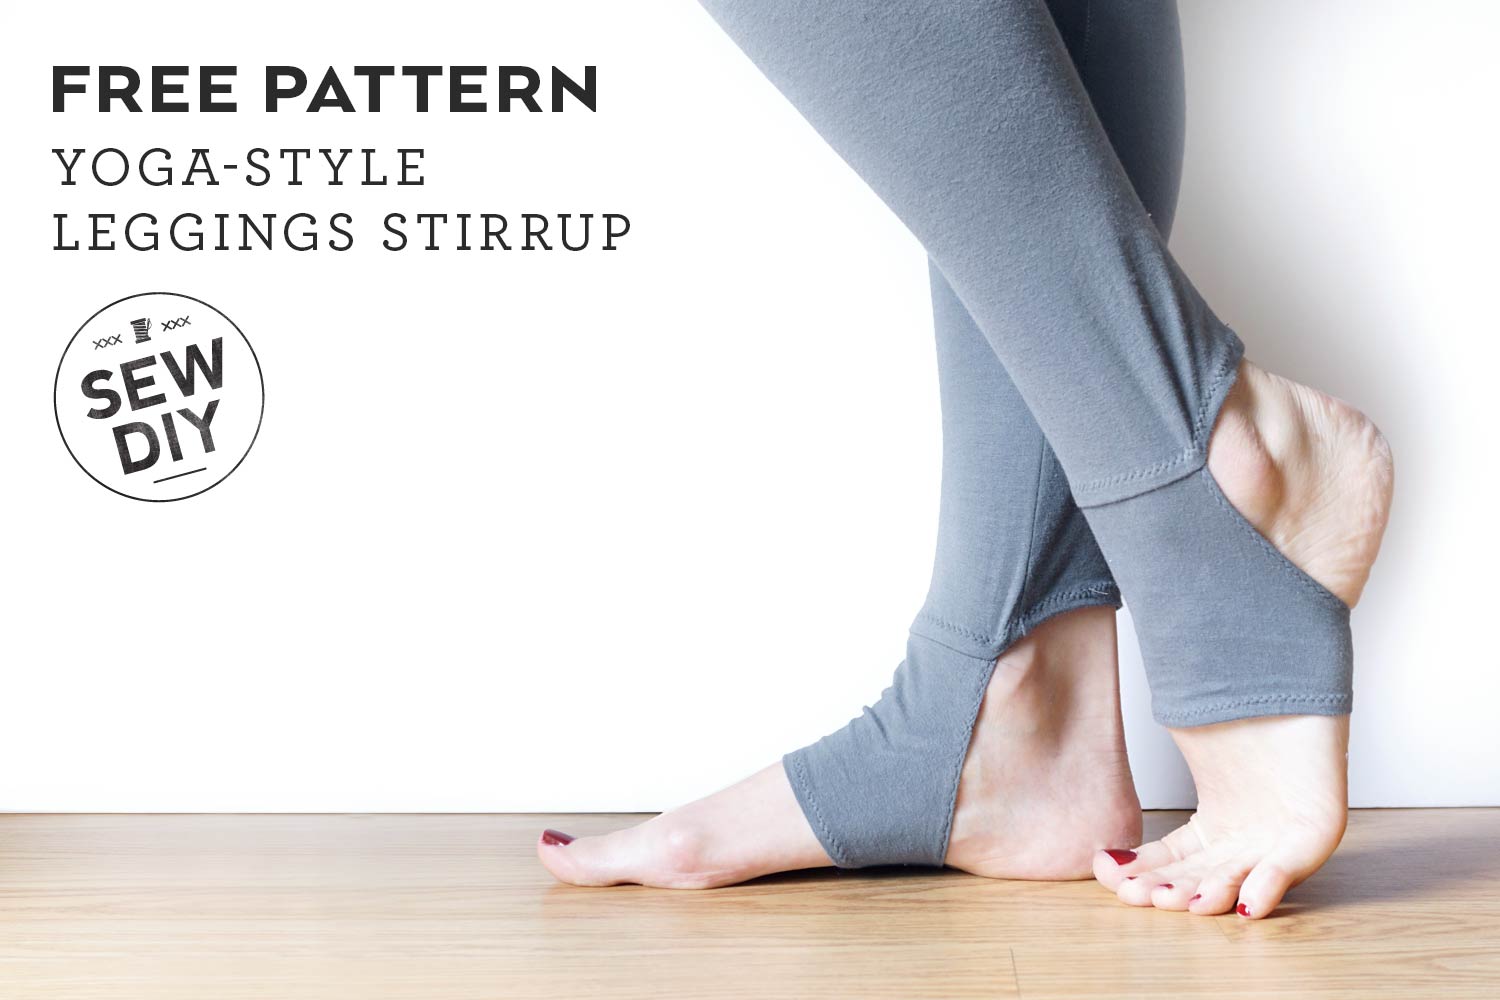
I love easy, useful sewing projects and today I’m super excited to share a free pattern for adding a yoga-style stirrup to a pair of leggings. Even though I sew most of my own clothes, I like to stay up to date on what is happening in ready-to-wear fashion. In my research, I stumbled upon a few pairs of stirrups leggings. I experienced more than a little bit of nostalgic ’80s déjà vu and was really excited to see a stirrup variation perfect for yoga. Rather than just a thin strip of fabric that goes under the foot, these leggings have an opening for the heel and cover the center arch area of the foot. I have tendency to get cold feet and these leggings are a great solution for keeping my feet warm while allowing enough foot to be exposed to maintain a steady yoga pose.
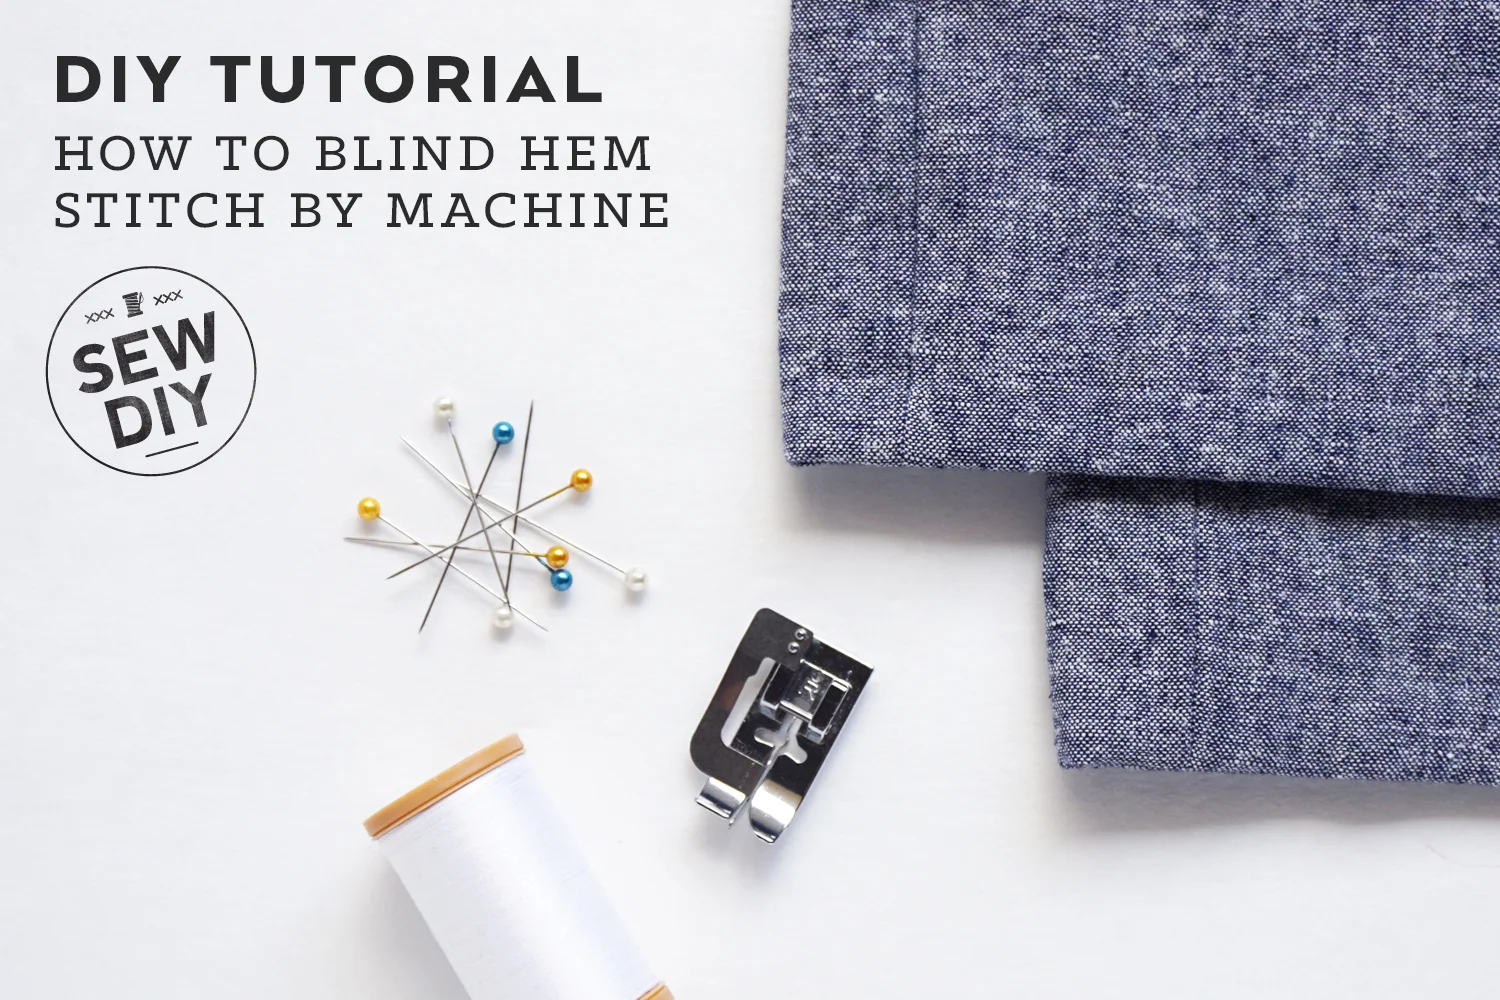
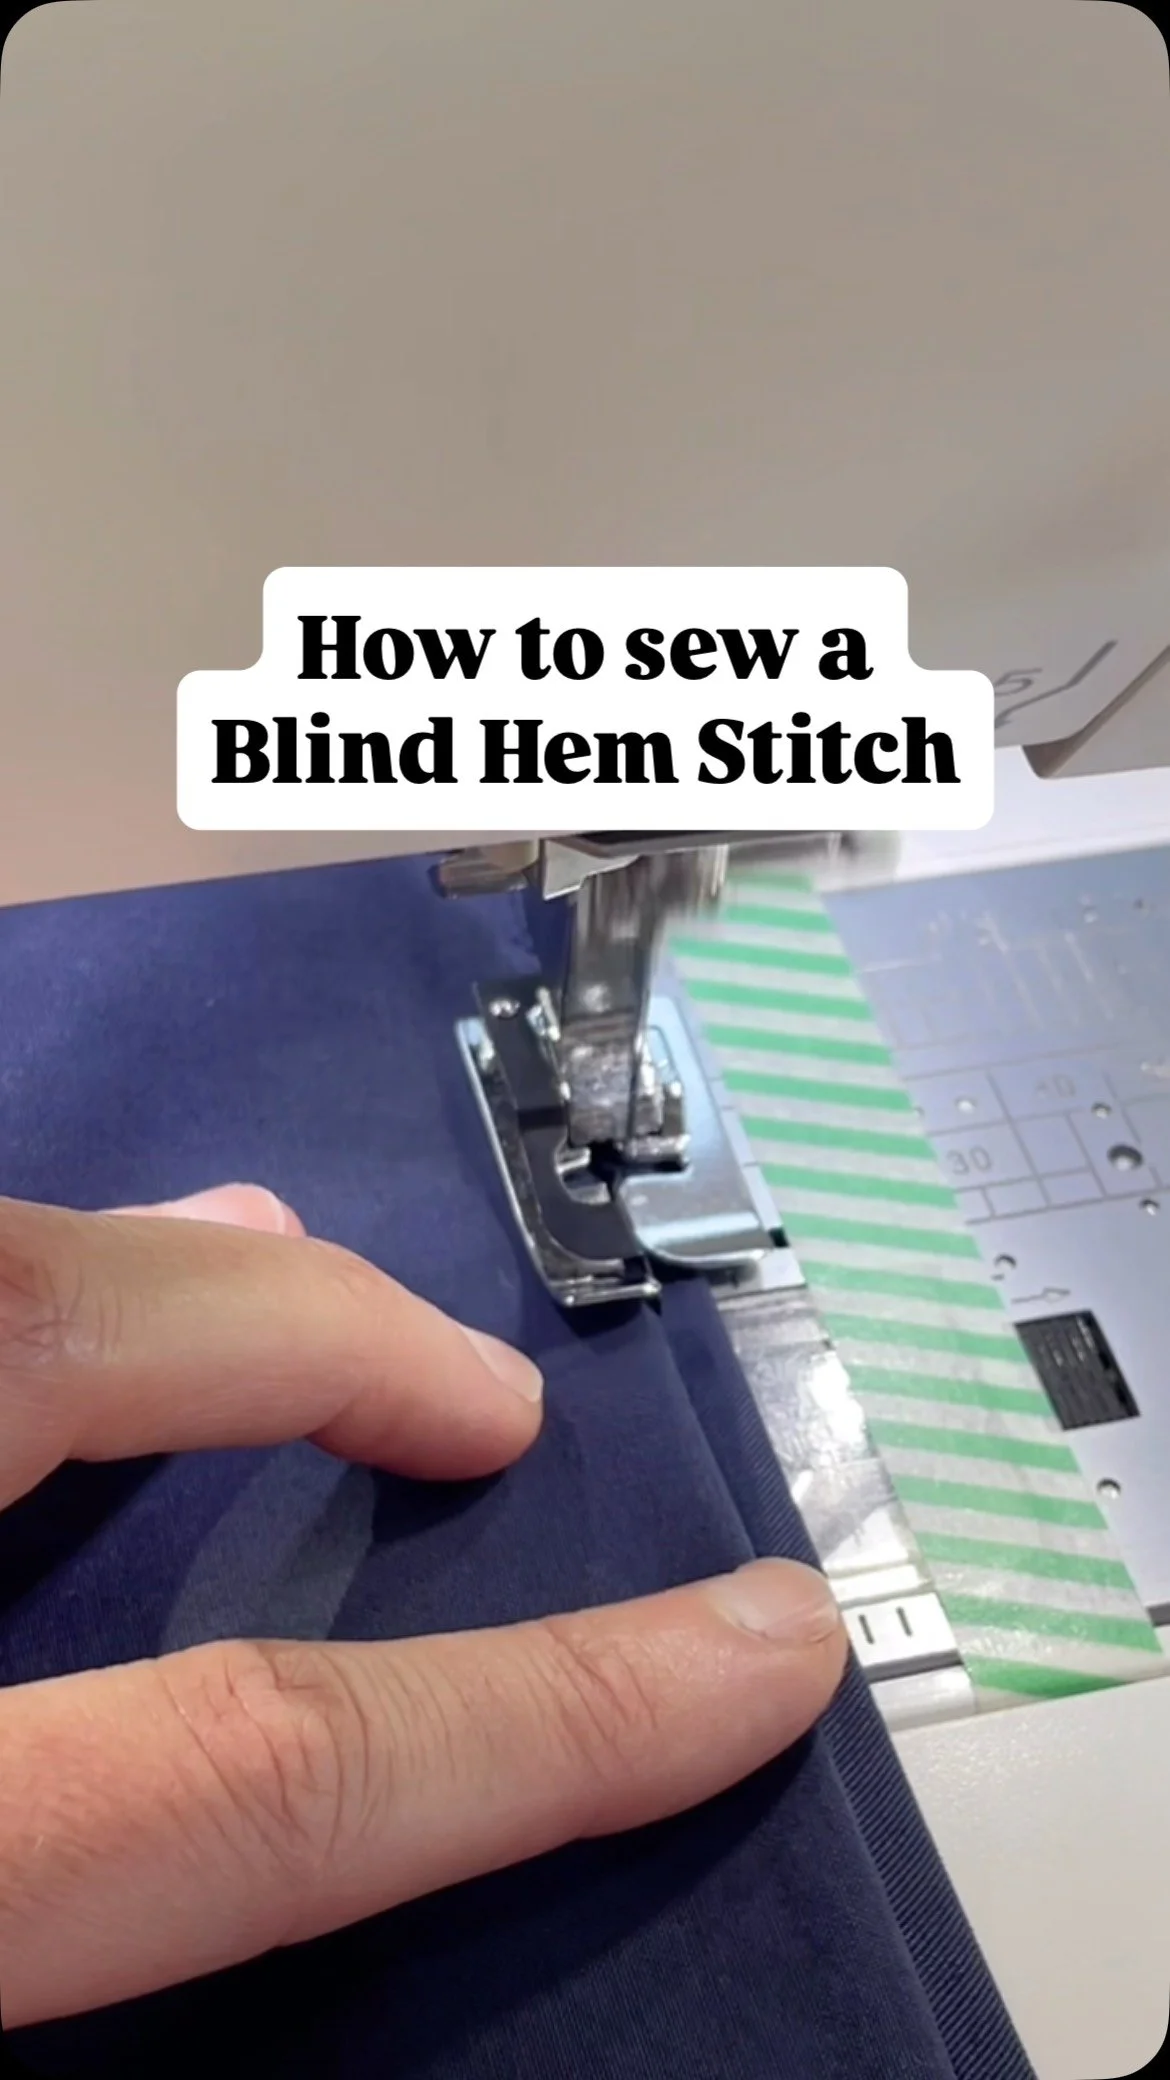
I first learned the machine blind hem stitch in my high school sewing class. It’s a really useful to stitch to know and very easy to do. The stitch simulates a hand done blind hem stitch by stitching a few straight stitches in the hem and then one zig zag to catch the body of the garment. I most often use it to hem pants or skirts. It's super fast to do and a great stitch to have in your arsenal of techniques.
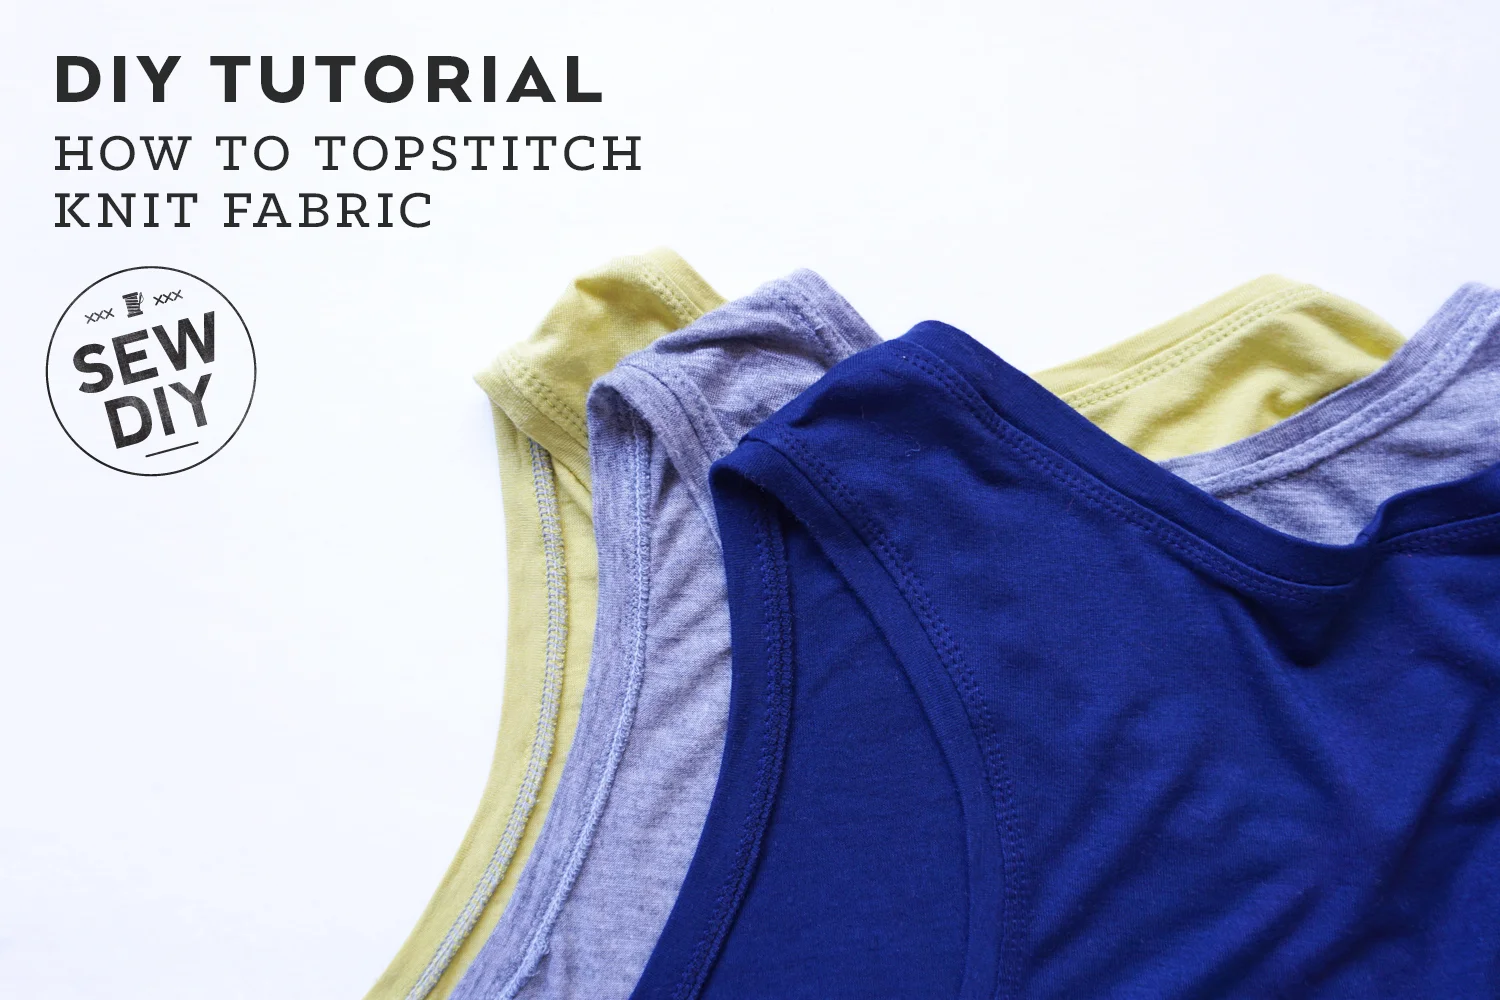
Knit fabrics are great to wear and fun to sew with but they can be a little tricky to handle. I was intimidated by them for a long time but with a lot of practice and a few tricks I picked up along the way, I’ve been able to conquer those stretchy beasts. Today, I’m going to share my favorite method for topstitching knit fabrics plus some tips and insight on why knits can be so bothersome. And don't worry, you don't need a fancy machine, this can all be done on a conventional sewing machine.
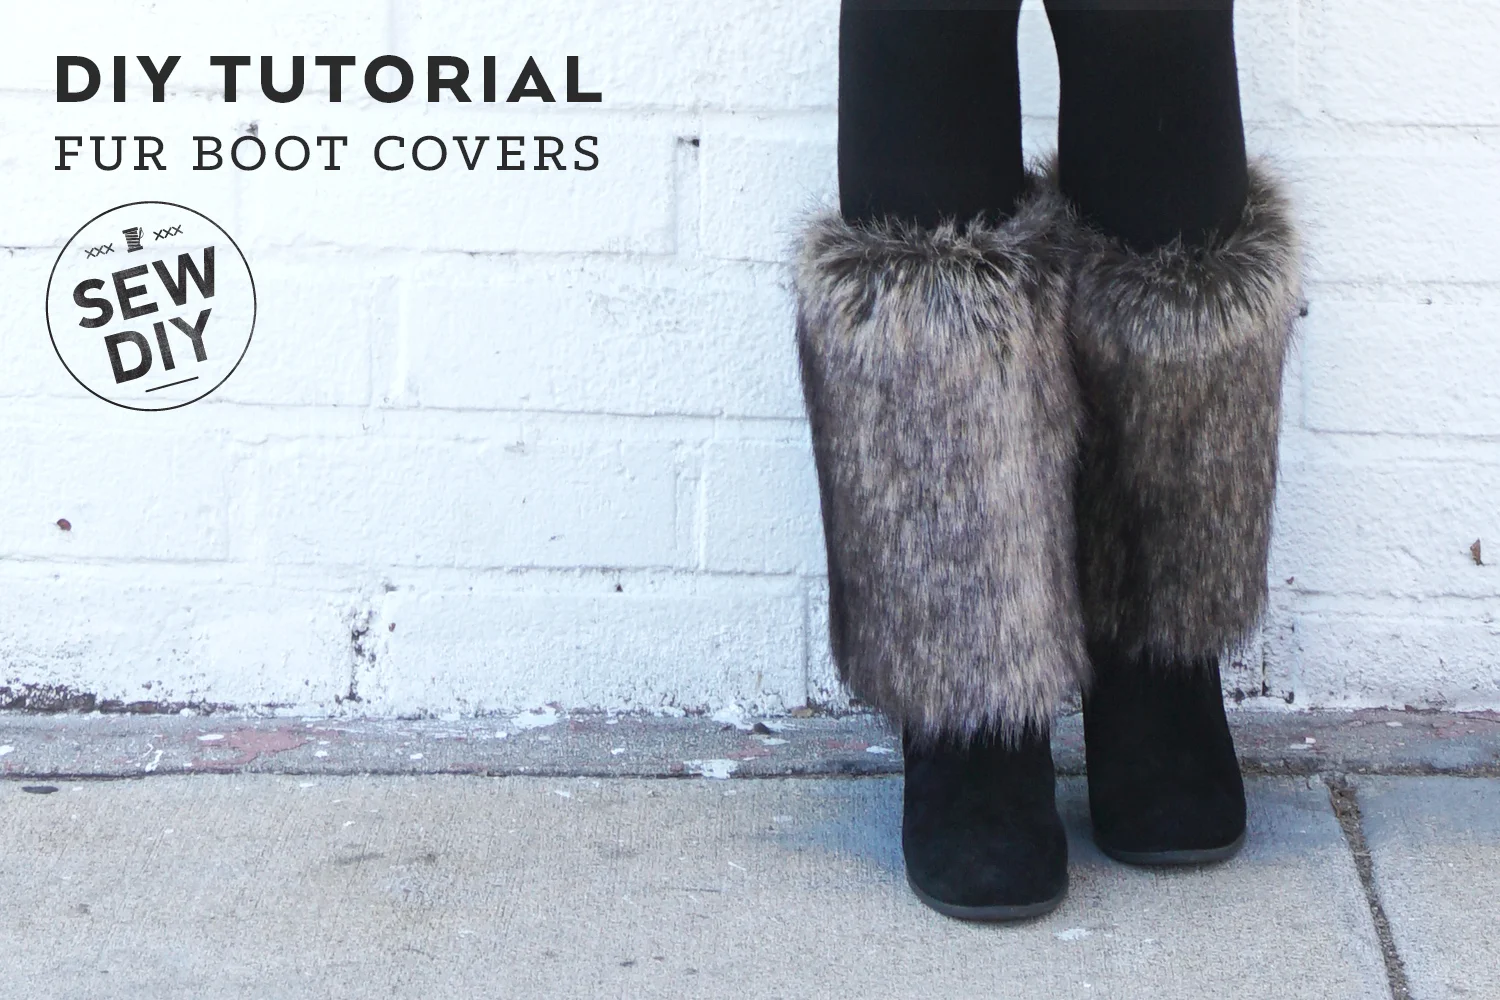
For a recent chalet themed holiday party, I went full out (or should I say full Swiss Miss) and made myself a fur vest and boot covers. I had just a small piece of fur left over from the vest and thankfully it was just enough to make boot covers. They were super easy to make as they are essentially just a tube with elastic at the top to cinch it to your leg.
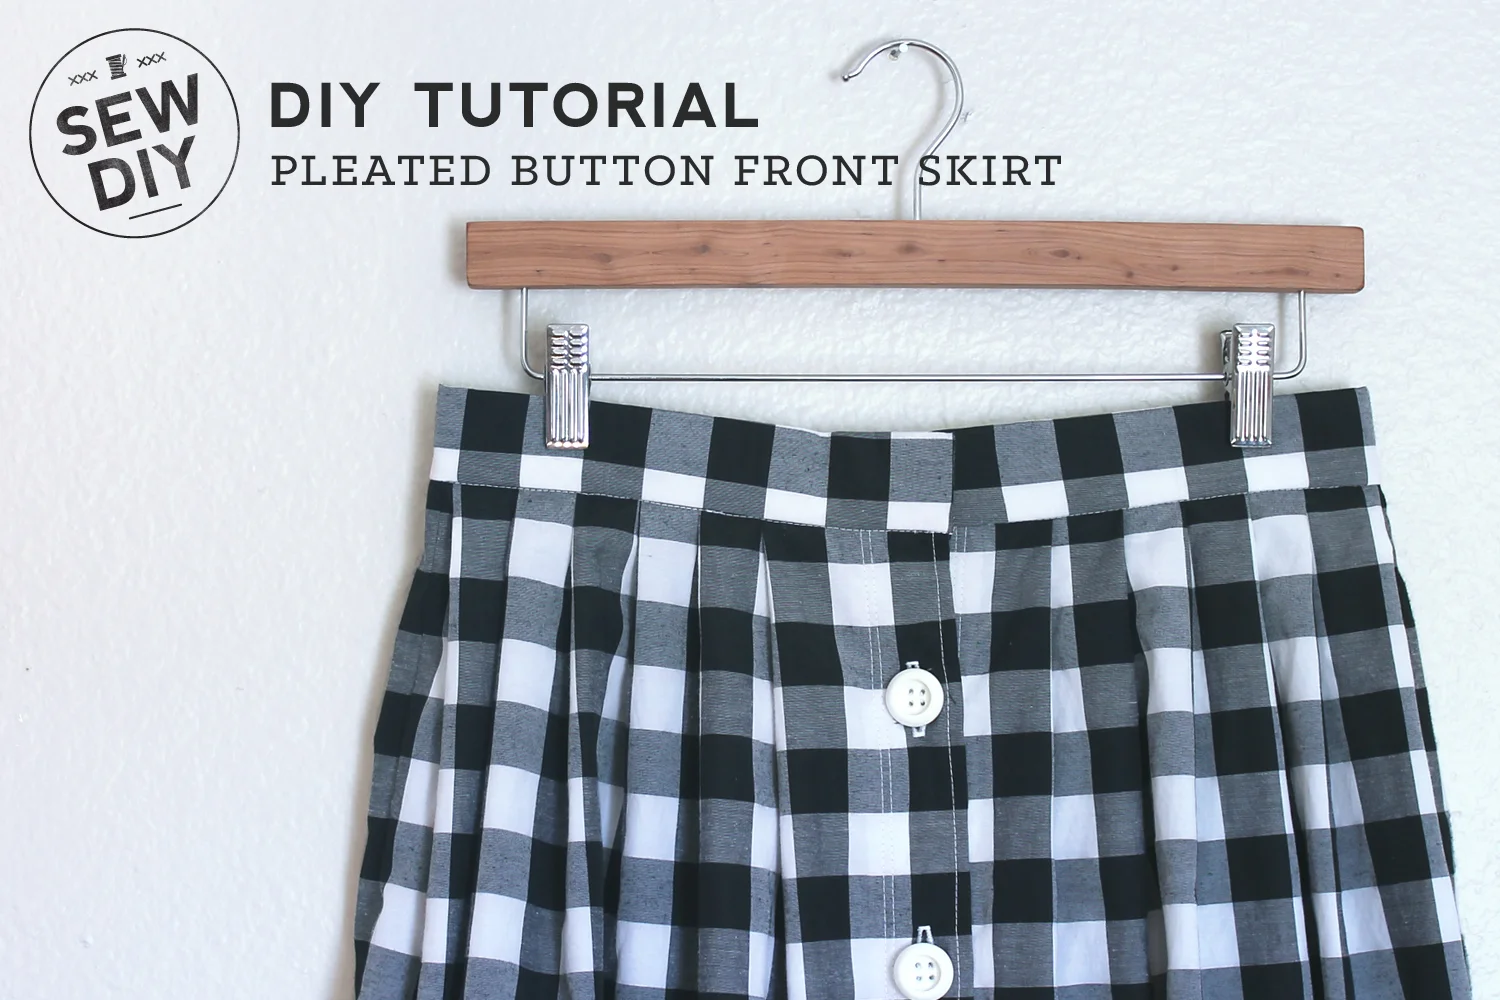
The pleated skirt is one of my all time favorite things to make. It's basically just a rectangle with lots of folds (aka pleats) attached to a waistband. I've shared a tutorial for making a pleated skirt before but I thought I would take it one step farther and show you how to make one with a button band in the front. You don't need a pattern and I've done all the math for you. Read on and find out how to make one yourself.
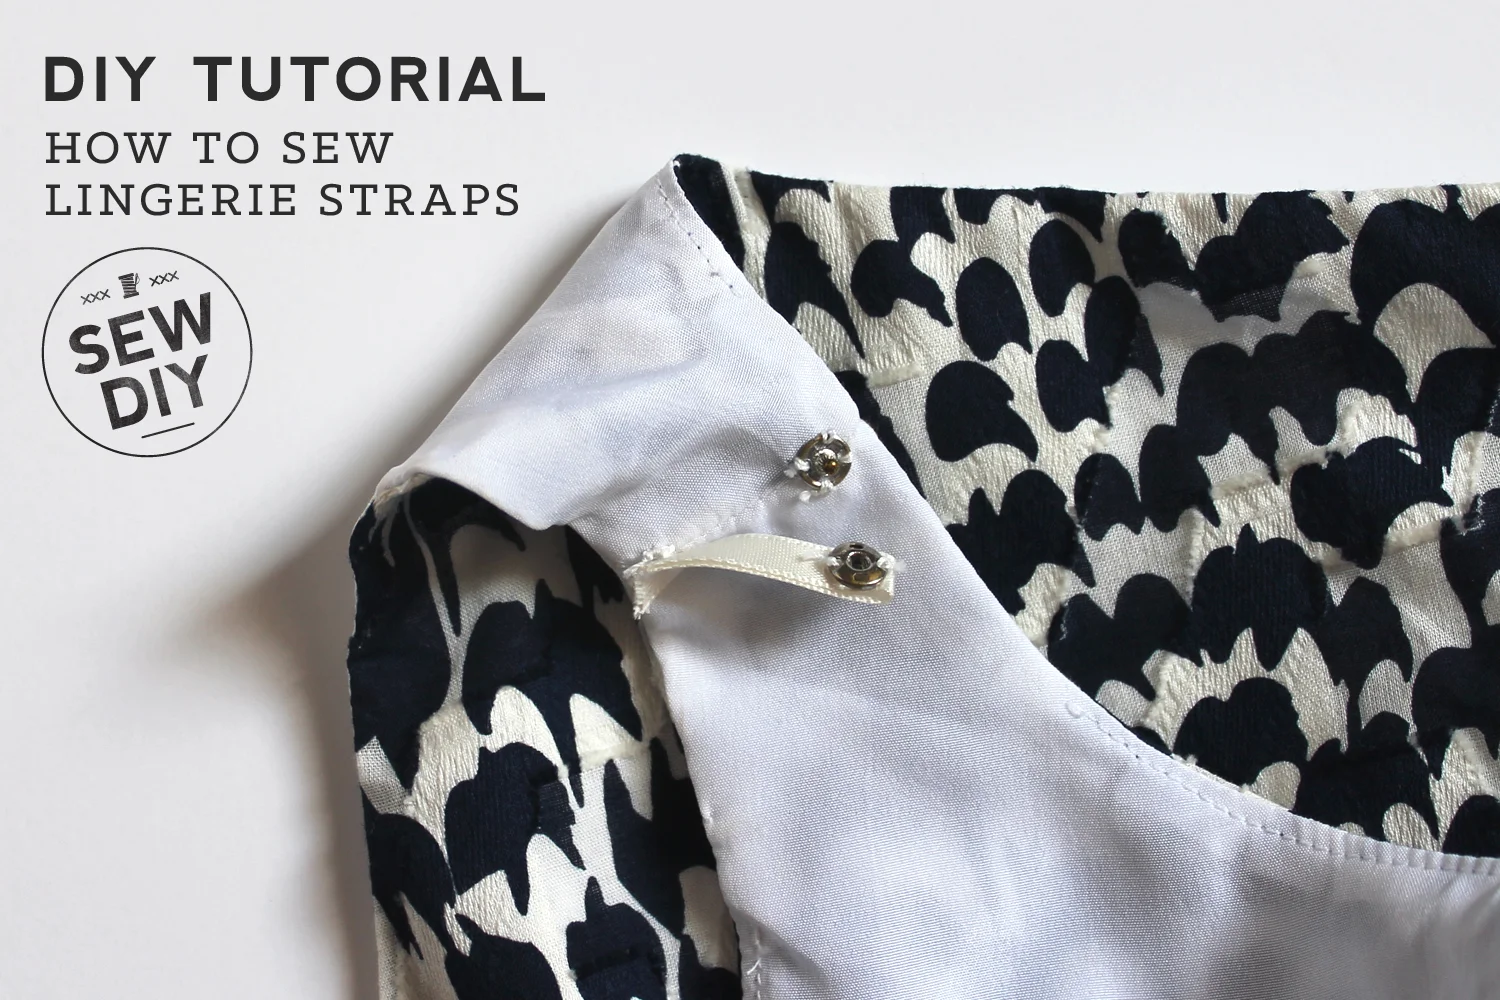
Today I have a super easy tutorial that you can use on your handmade and RTW dresses or tops. So what is a lingerie strap? It's a little strap on the inside shoulder that will hold your bra strap to your top. It will keep both your bra strap and your top or dress on your shoulder, preventing your undergarments from being exposed. So if you have a garment that tends to drift, this quick and easy upgrade is for you. Plus, this is a perfect project for when you only have 15 minutes to spare.

A few weeks ago I saw this top from Zara and totally fell in love with it. For me, it was all about the shoulder bow. I just had to make one myself and today I'm going to show you how you can do it too. It's really easy and adds a sweet touch to your favorite sleeveless summer dress or top.
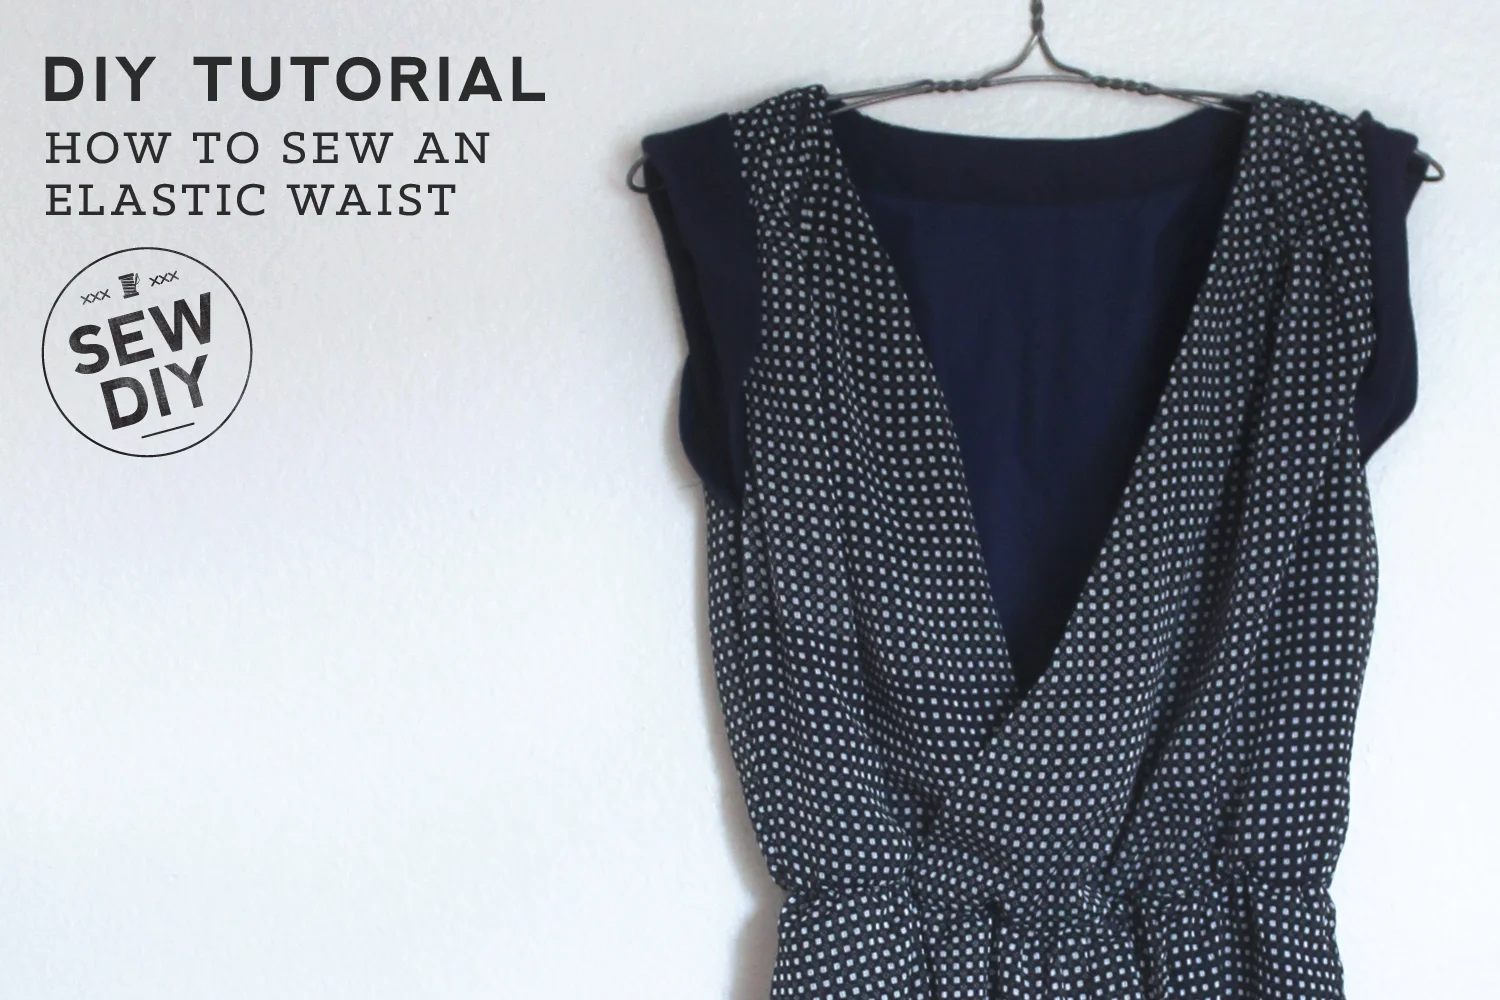
Sewing a casing and inserting elastic can be fiddly and tedious, especially when using a narrow width elastic. But there’s an easier, quicker way to create a elastic waist without using a casing at all. It instantly creates a fitted waist, giving the dress (and you!) an hourglass shape. The result is a very finished look that can be worn with or without a belt.
Pattern Fitting & Alterations
Today’s post is a deep dive into how to make bust adjustment to a pattern with a side dart. The objective of the bust adjustment is to make the dart bigger or smaller so that the shaping fits your body better. I share details on what a full or small bust adjustment is, what you might want to make one and how to do it. I show how to calculate a bust adjustment and how to make the adjustment to your pattern. I’ve included illustrations, written instructions and videos for how to do a full bust adjustment and a small bust adjustment.
Hello sew-friends! Today we're talking about how to make a shoulder slope adjustment to your sewing pattern. This is a simple adjustment that makes a BIG difference in the fit of tops, blouses and dresses with a shoulder seam. I didn't discover this fitting adjustment until many years into my sewing journey and now I'm kind of obsessed with it.
I have rather square shoulders, meaning my shoulders extend from the neck at almost a 90 degree angle. Most patterns are built with some downward slope to the shoulder seam so on my shoulders, tops would jut up at the neck. There was one shirt in particular that would stand up away from my body when I sat down that made me realize how ill fitting it was at the shoulder.
Hello sew-friends! We're going back to basics today to talk about patterns. There's nothing more frustrating than making a garment and finding that it doesn't fit. The most common answer is to make a muslin first, but today I'm going to share the five things that you should do before you make a muslin and even before you cut or trace out your pattern. These are my tried and true tips that will help you get closer to making a first muslin that is the right size for your body as well as for your style and fit preferences.

Today, is the final video in my series of how to adjust the length of different parts of a pattern. I hope that this will be a useful series for you as you move through your sewing journey. Today’s video tutorial will teach you how adjust the length of a skirt or dress. In the video, I’ll be using my Lou Box Dress 1 and an example A-line skirt to demonstrate both how to lengthen and how to shorten a skirt. If diagrams and written text are a better way for you to learn, I have those below the video. Happy sewing!
Today, I'm continuing my series of pattern fitting videos with how to lengthen or shorten the bodice of a sewing pattern. The same techniques can be used when altering the length of a blouse or shirt. In the video, I use my new Miri Tank pattern to show how to make the pattern adjustment. Plus, I share some tips for when you're lengthening a top into a dress.

Hello sew-friends! Today, I’m continuing my mini series of videos on pattern adjustments. It is very common to need or want to make a few pattern adjustments when sewing your own clothing. Today, I’ll be showing you how to lengthen or shorten the sleeves of a pattern. This is a simple but very common pattern adjustment. I'll demonstrate how make the pattern adjustment to tapered and bell shaped sleeves and explain why you don't want to just adjust at the end of the sleeve.

Hello sew-friends! Today, I’m kicking off a mini series of videos on pattern adjustments. It is very common to need or want to make a few pattern adjustments when sewing your own clothing. One of the most common adjustments (especially if you’re a tall sewist like I am) is to alter the length. Today, we’ll be starting with pants patterns.
In today's video, I'll be showing you a simple pattern adjustment that you can do to move along a side or waist seam. Darts are most often used to shape the bust or waist and are usually found in side or waist seams. Because we all have different bodies, you’ll sometimes get a better fit if you move the dart just slightly. In the video and diagrams, I'll show you how to move a bust dart up or down along a side seam and how to move a waist seam dart to the left or right. (Note, there are more complicated pattern adjustments where you can pivot a dart to move it to a different seam. I’m not covering how to do that in this post.)

One reason people often recommend starting off sewing a skirt rather than pants is that skirts are usually much easier to fit than pants. That crotch curve can create all sorts of fitting dilemmas and one of the easiest to solve is the rise, also called the crotch depth or crotch length. In today’s video tutorial, I’ll show you how to shorten and lengthen the crotch depth evenly across the front and back. And as a bonus, I’ll show you how to adjust only the back rise. This is a really simple pattern adjustment to make and very useful if you are petite or tall (like me!)

In today’s blog post and video, we will be showing you how to make a full bust adjustment to the Lou Box Top pattern. If you haven’t already read it, we recommend reading our post and watching the video about selecting your size and measuring yourself. To recap that post, we recommend making a full bust adjustment to this pattern if your bust/full bust is 4 or more inches larger than your upper bust. This pattern has plenty of ease but during the testing phase, we discovered that if you have a full bust, the hem of the top may lift up and look uneven. A full bust adjustment will help solve that issue.
Because the Lou Box Top is designed for both woven and knit fabrics, we have two methods for how to do the full bust adjustment (FBA for short). The first method will create a dart at the side seam. The second will have no dart. If you are using woven fabric you can use either method. If you are using knit fabric, we recommend the method without a dart.

Every person has a unique body with hundreds of different measurements and proportions, so every garment and sewing pattern will fit every body differently. The great about sewing your own clothing is that you can adapt your sewing patterns to fit your unique body.
Today I’m sharing a few tips and basic instructions for making an extended calf adjustment (aka a full or large calf adjustment) to a pants sewing pattern. When I made a pair of tapered leg trousers recently, I was surprised that I could not find a very detailed tutorial on this pattern adjustment. There are a few blog posts with the basics but they left me with questions. Today I’m going to answer some of those questions and show you step by step illustrations for how to make this adjustment. (I’m by no way an expert on this adjustment or on pattern making and pants. So consider this a compilation of all the information I found in my research.)
Tips for storage & organization

As a follow up to the virtual I Love my Fabric Party a couple of weeks ago, I thought I’d share how I go about sorting and organizing my fabric scraps. While I’m working on a project, I tend to just throw all my scraps into a basket and ignore them for a few months. Then, when the basket becomes particularly unsightly, or I have some motivation to tidy up, like the virtual party, I will set up tackling the scraps. In this video, I share some ideas on what you can do with your scraps, how to sort through them efficiently and share tips for how to store them later.

Today is the first day of the second annual I Love my fabric virtual party! So, in celebration and in the hopes of helping you organize your fabric, today’s video is devoted to fabric folding. I know kind of boring but, trust me, it is key to a well organized stash. This method of folding can be used when storing fabric in either drawers or shelves. The main benefit is that you can see all of your fabric stash at a glance. Nothing will get hidden underneath something else. The bonus benefit is that the fabric will have fewer wrinkles.
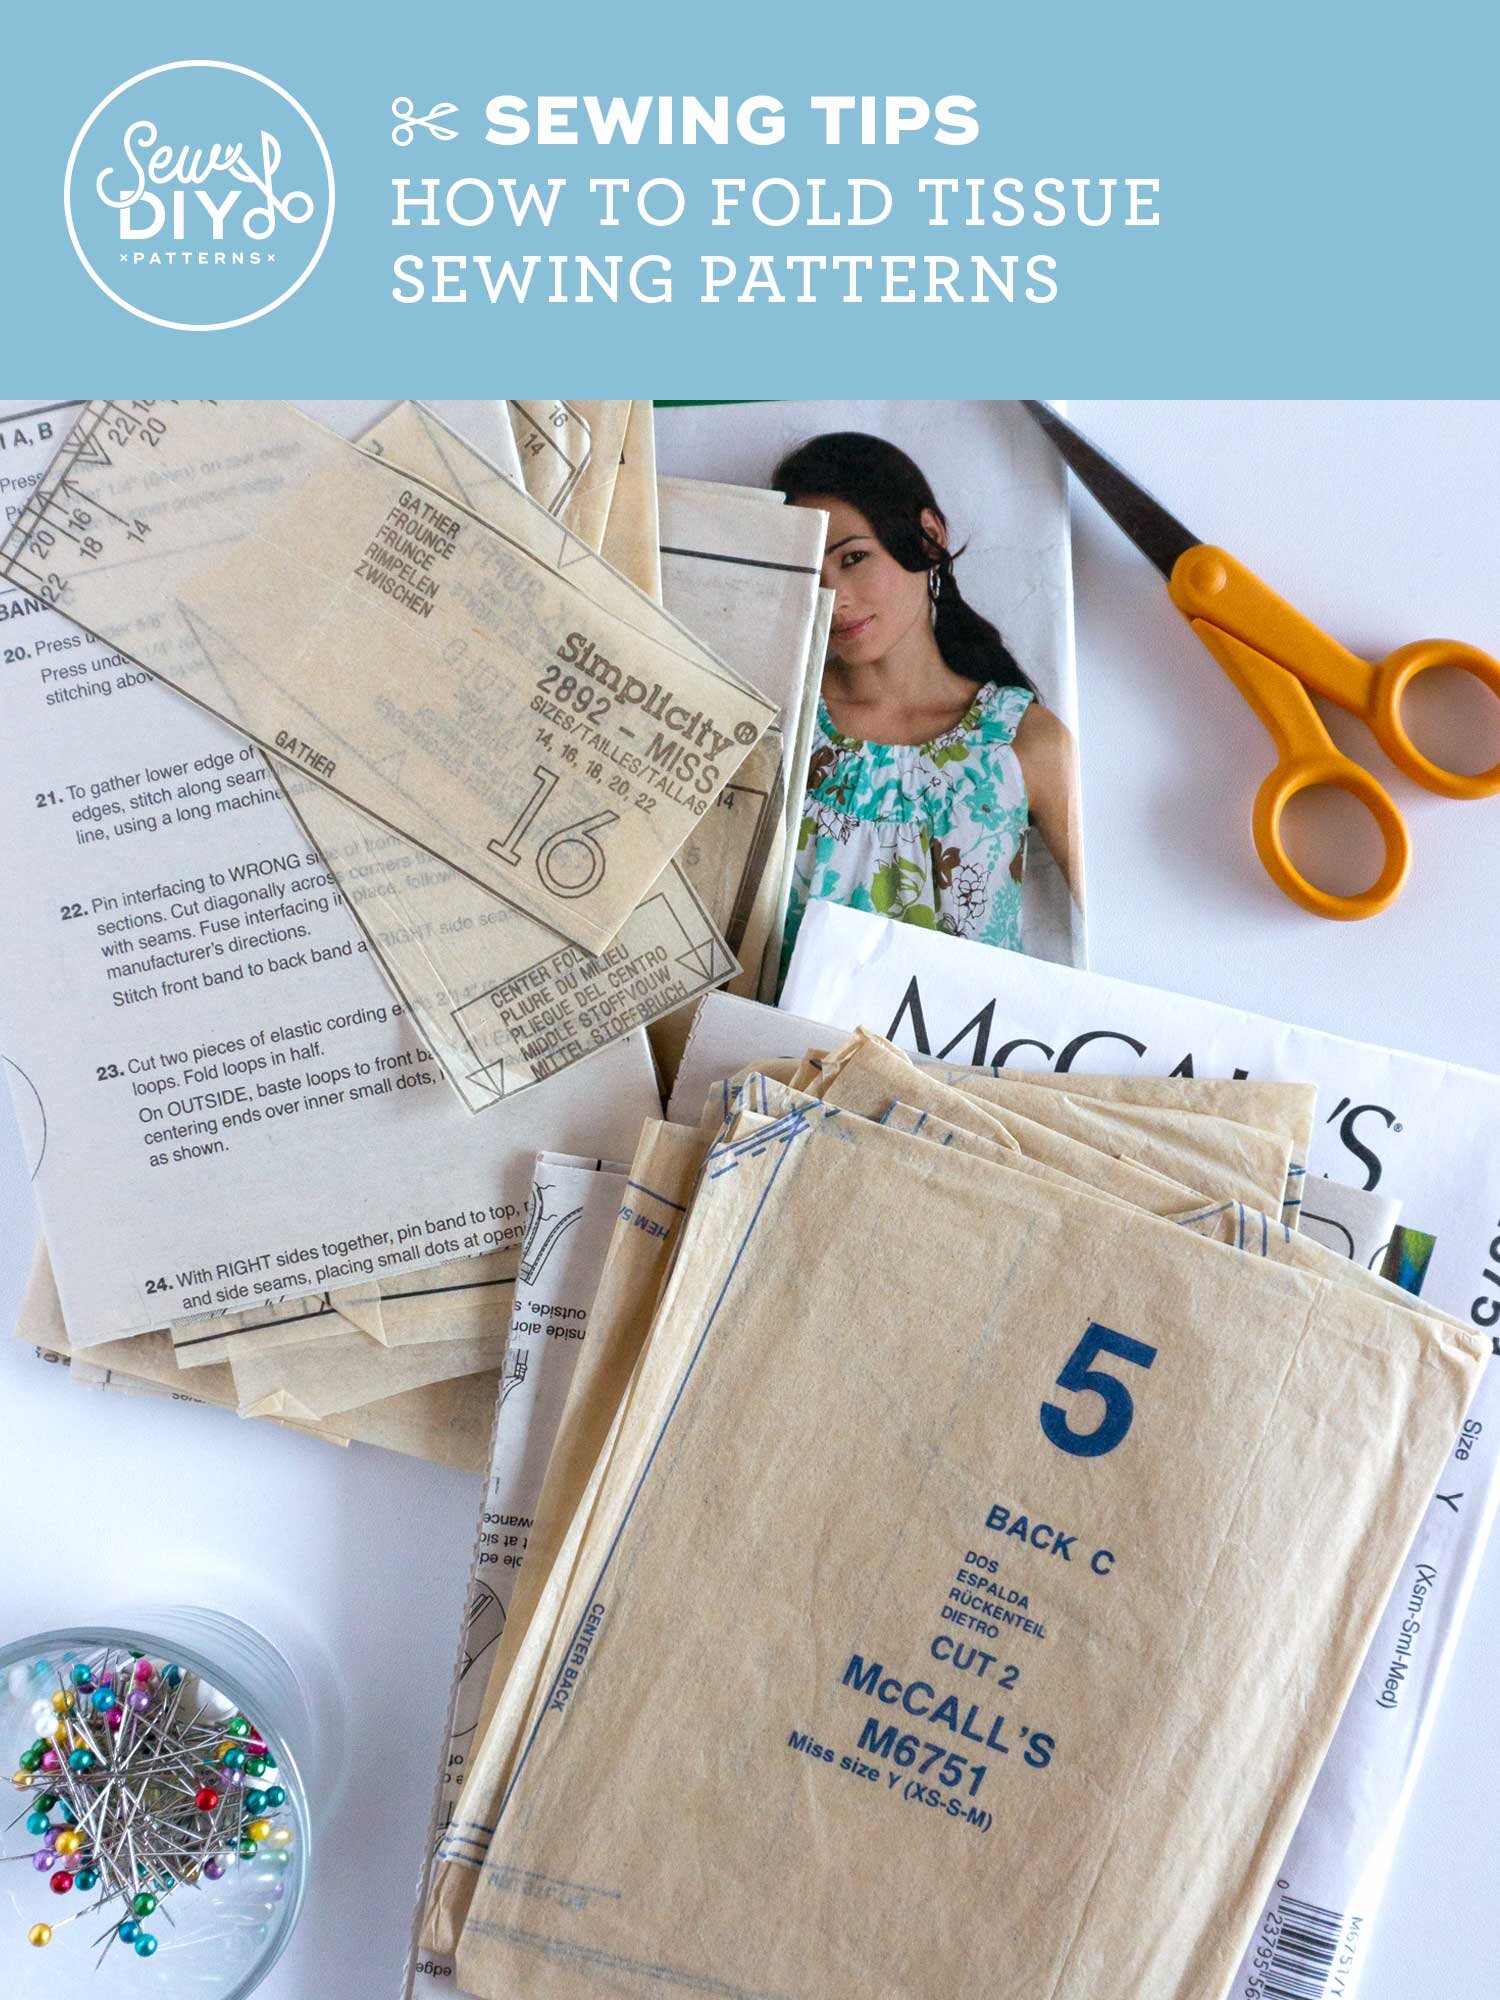
In today’s video, I share my favorite method for folding and storing tissue paper sewing patterns. This is especially helpful if you use Big 4 patterns with those tiny envelopes and you cut out (as opposed to trace) your patterns. (By the way, in case you missed it, I also did a video about tracing versus cutting.) The first best thing about this folding method is that it makes the pattern pieces easy to get back into those tiny envelopes. The second best thing is that it keeps them flat and organized so that when you’re ready to sew the pattern again, it’s easy to find the pattern pieces you need.

Today, I’m sharing how I store my pdf patterns. These patterns can get rather cumbersome and I often get asked to store them. I’ve been using this method for a quite a few years now and it works really well for me. But it may take you a little experimenting to find a system that works for you. Watch the video to learn how I store my pdf patterns both digitally and physically and read on for more tips.

One of my biggest sewing room struggles over the years, has been finding ways to store my fabric. I’ve had periods of success and many periods (like right now) where I feel like my fabric is taking over the sewing room. Because I’ve had success in the past, I know that I have all the knowledge and tools that I need. The only thing lacking was motivation. Which is why I’m hosting the I Love My Fabric Virtual Party (happening August 10-11, 2019). In today’s post, I’m sharing a bunch of ideas and links that will help you organize your fabric and get your sewing room in tip top shape. There are two main kinds of organizing and you can do either or both. The first is to physically organize the stash, meaning the folding, stacking, storing, etc. The second is to create a catalog of your fabric that you can reference instead of diving into the physical fabric. Read on for my best fabric storage and organization ideas for your sewing room.
(Side note, the party is very open ended and you are not required to do any sorting. And if your stash is already organized, feel free to join in spirit and share photos of your system or even just a few of your favorite fabrics.)
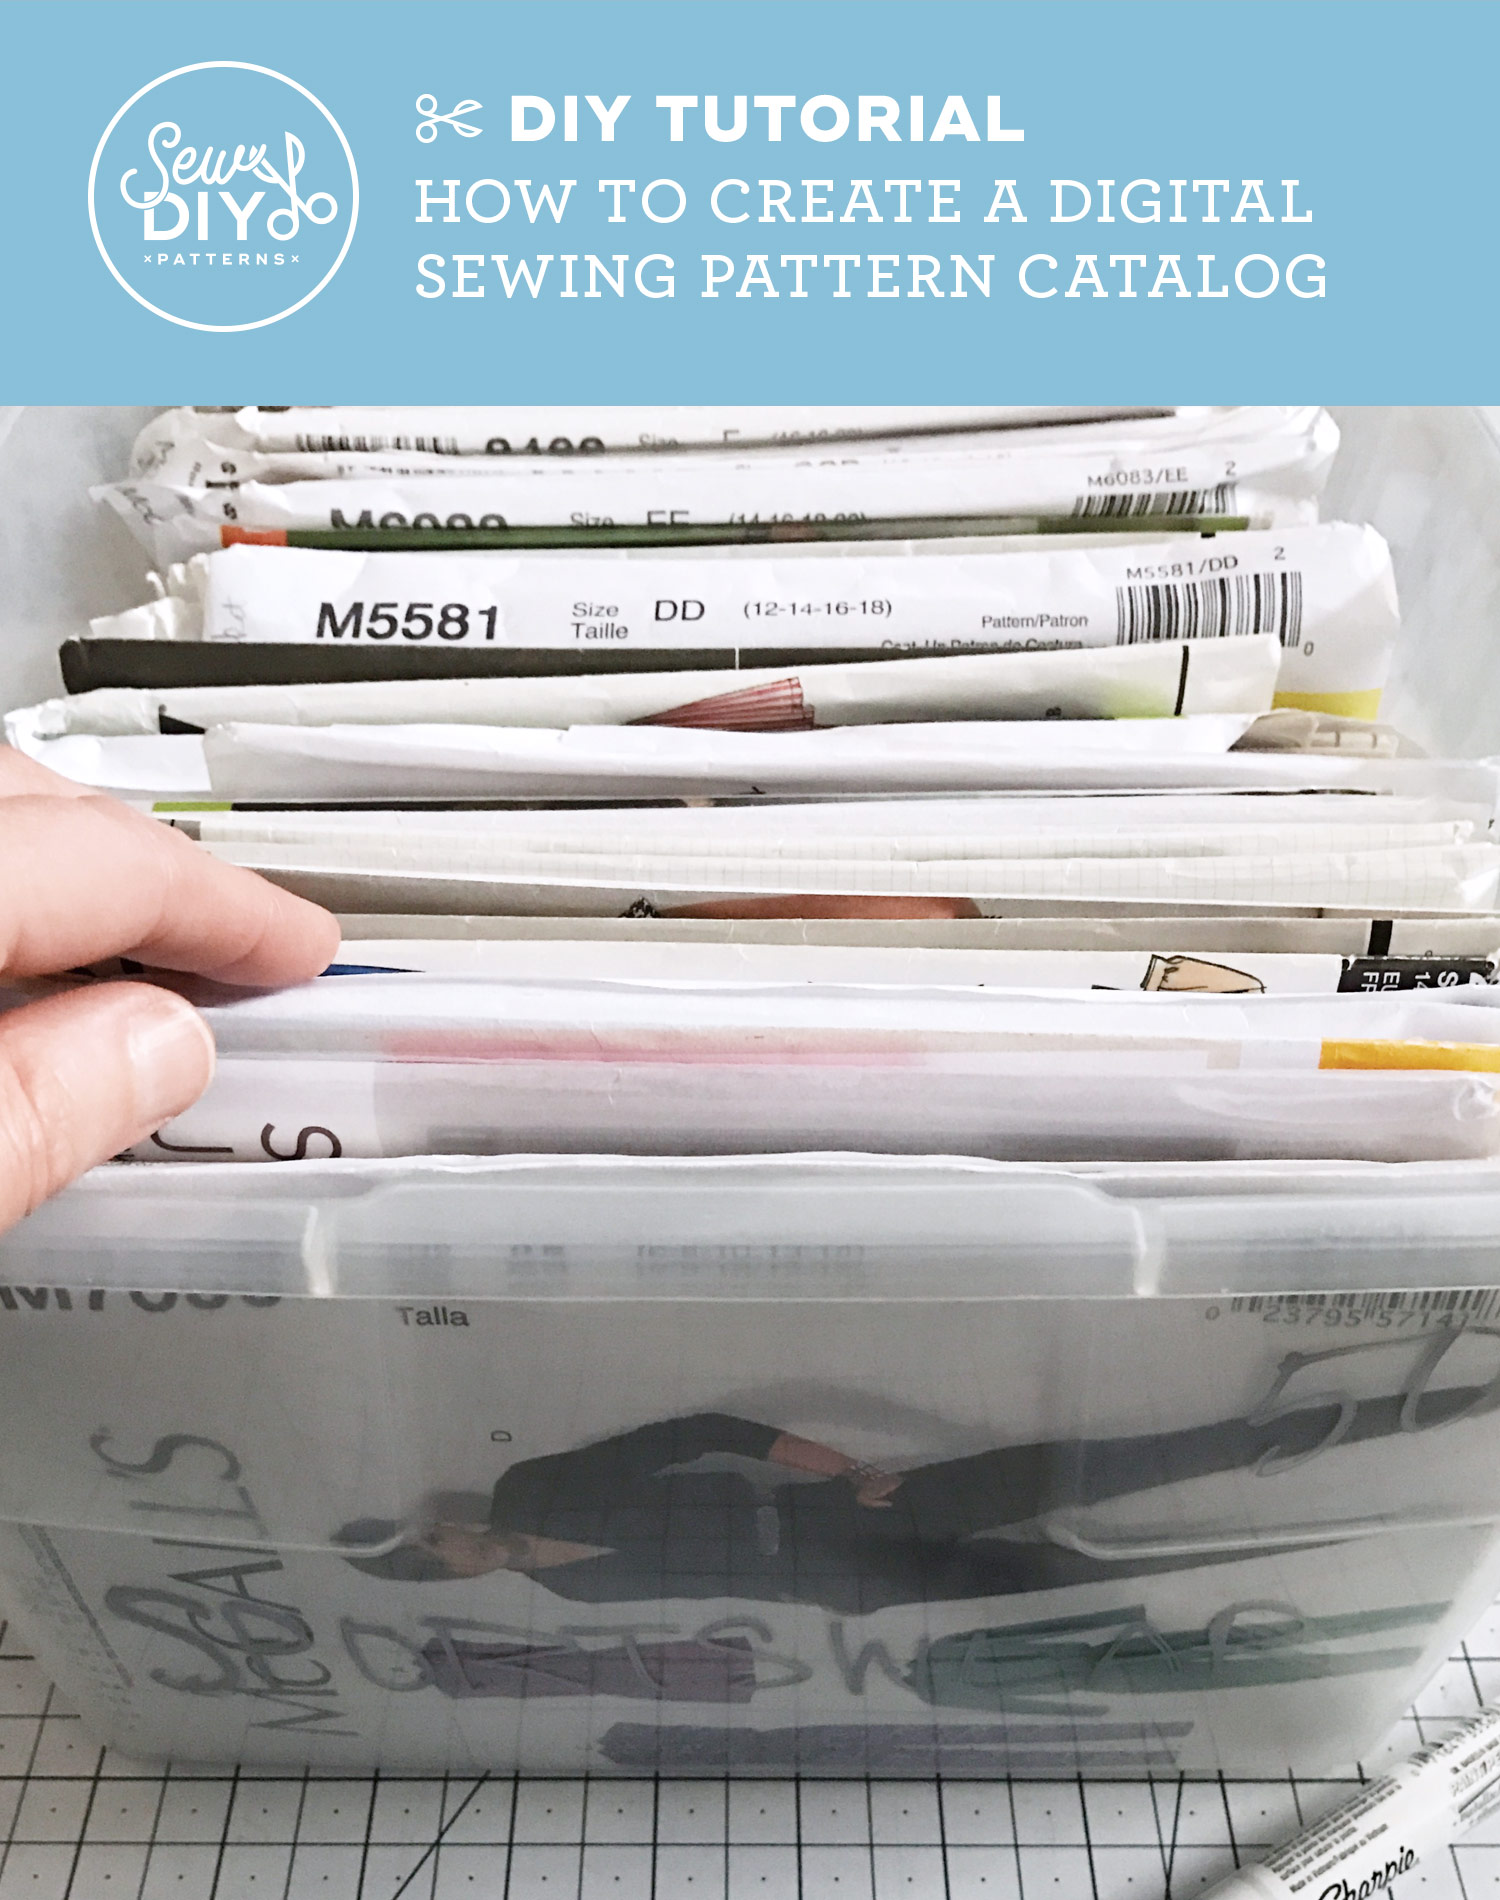
How to create a Sewing Pattern Catalog using Evernote
For years I've been searching for an easy way to digitally catalog my 100+ sewing patterns. I've tried a few free online sites and I know there are others you can purchase but so far haven't been satisfied. I wanted something quick, visual and portable. I really wanted something like Ravelry but for sewing (if you are a knitter you know what I'm talking about). I know there are some sites developing out there but the ones I tried were too time consuming or confusing.
Sewing with Knit Fabric
Today, I'm excited to share a new video tutorial for how to sew underwear using fold over elastic. I've sewn lots of underwear and it's a little tricky the first few times. So, I'll be sharing all of my tips and tricks to make sewing your own pair easier. With these tips and a bit of practice, you'll soon be sewing fold over elastic with confidence.
Hello sew-friends! In today’s YouTube video, I’m talking about fabric stretch percentage. If you've ever sewn a pair of leggings or a swimsuit, then you know how important stretch can be in your handmade garments. Read on and watch the video to learn all about fabric stretch, why it’s important, a bit about fabric stretch terminology and, most importantly, how to calculate fabric stretch percentage.
I used to be really scared to sew knit fabrics but after a lot of research and a lot of practice, I love sewing with knits. One misconception is that you need to have a serger (aka overlocker) to sew knit fabrics when in fact most conventional machines come with a variety of stitches that are made for sewing knit fabric. In this video, I share the tools you need to sew knit fabric, some tips for preventing your fabric from stretching and demonstrate the stitches available on a conventional sewing machine that can be used to sew knit fabric.
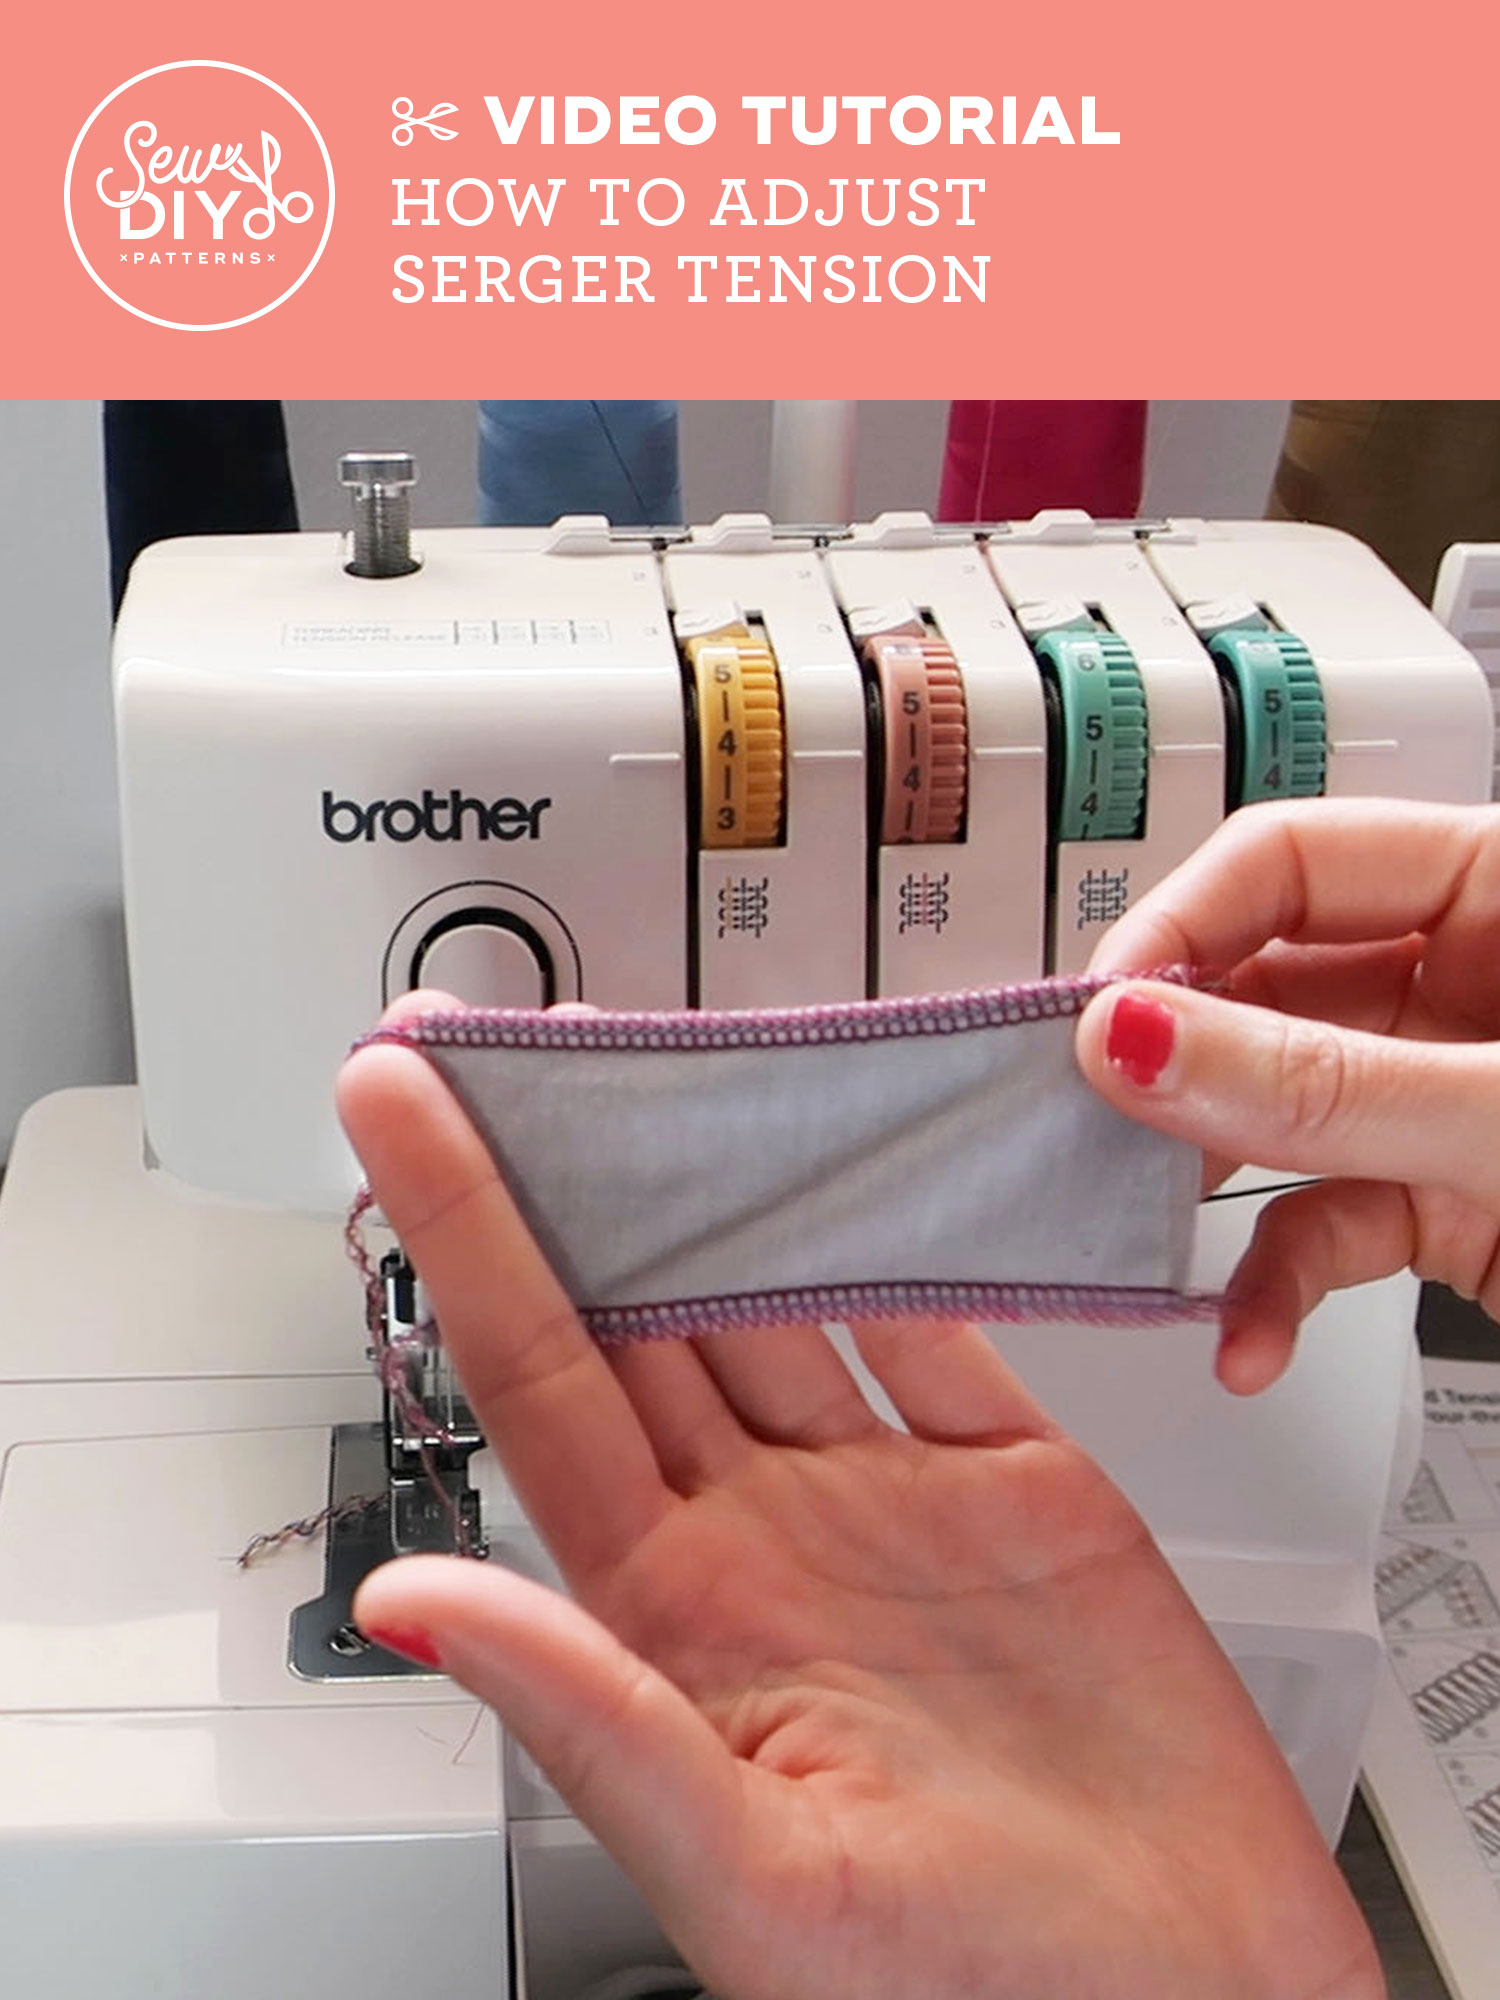
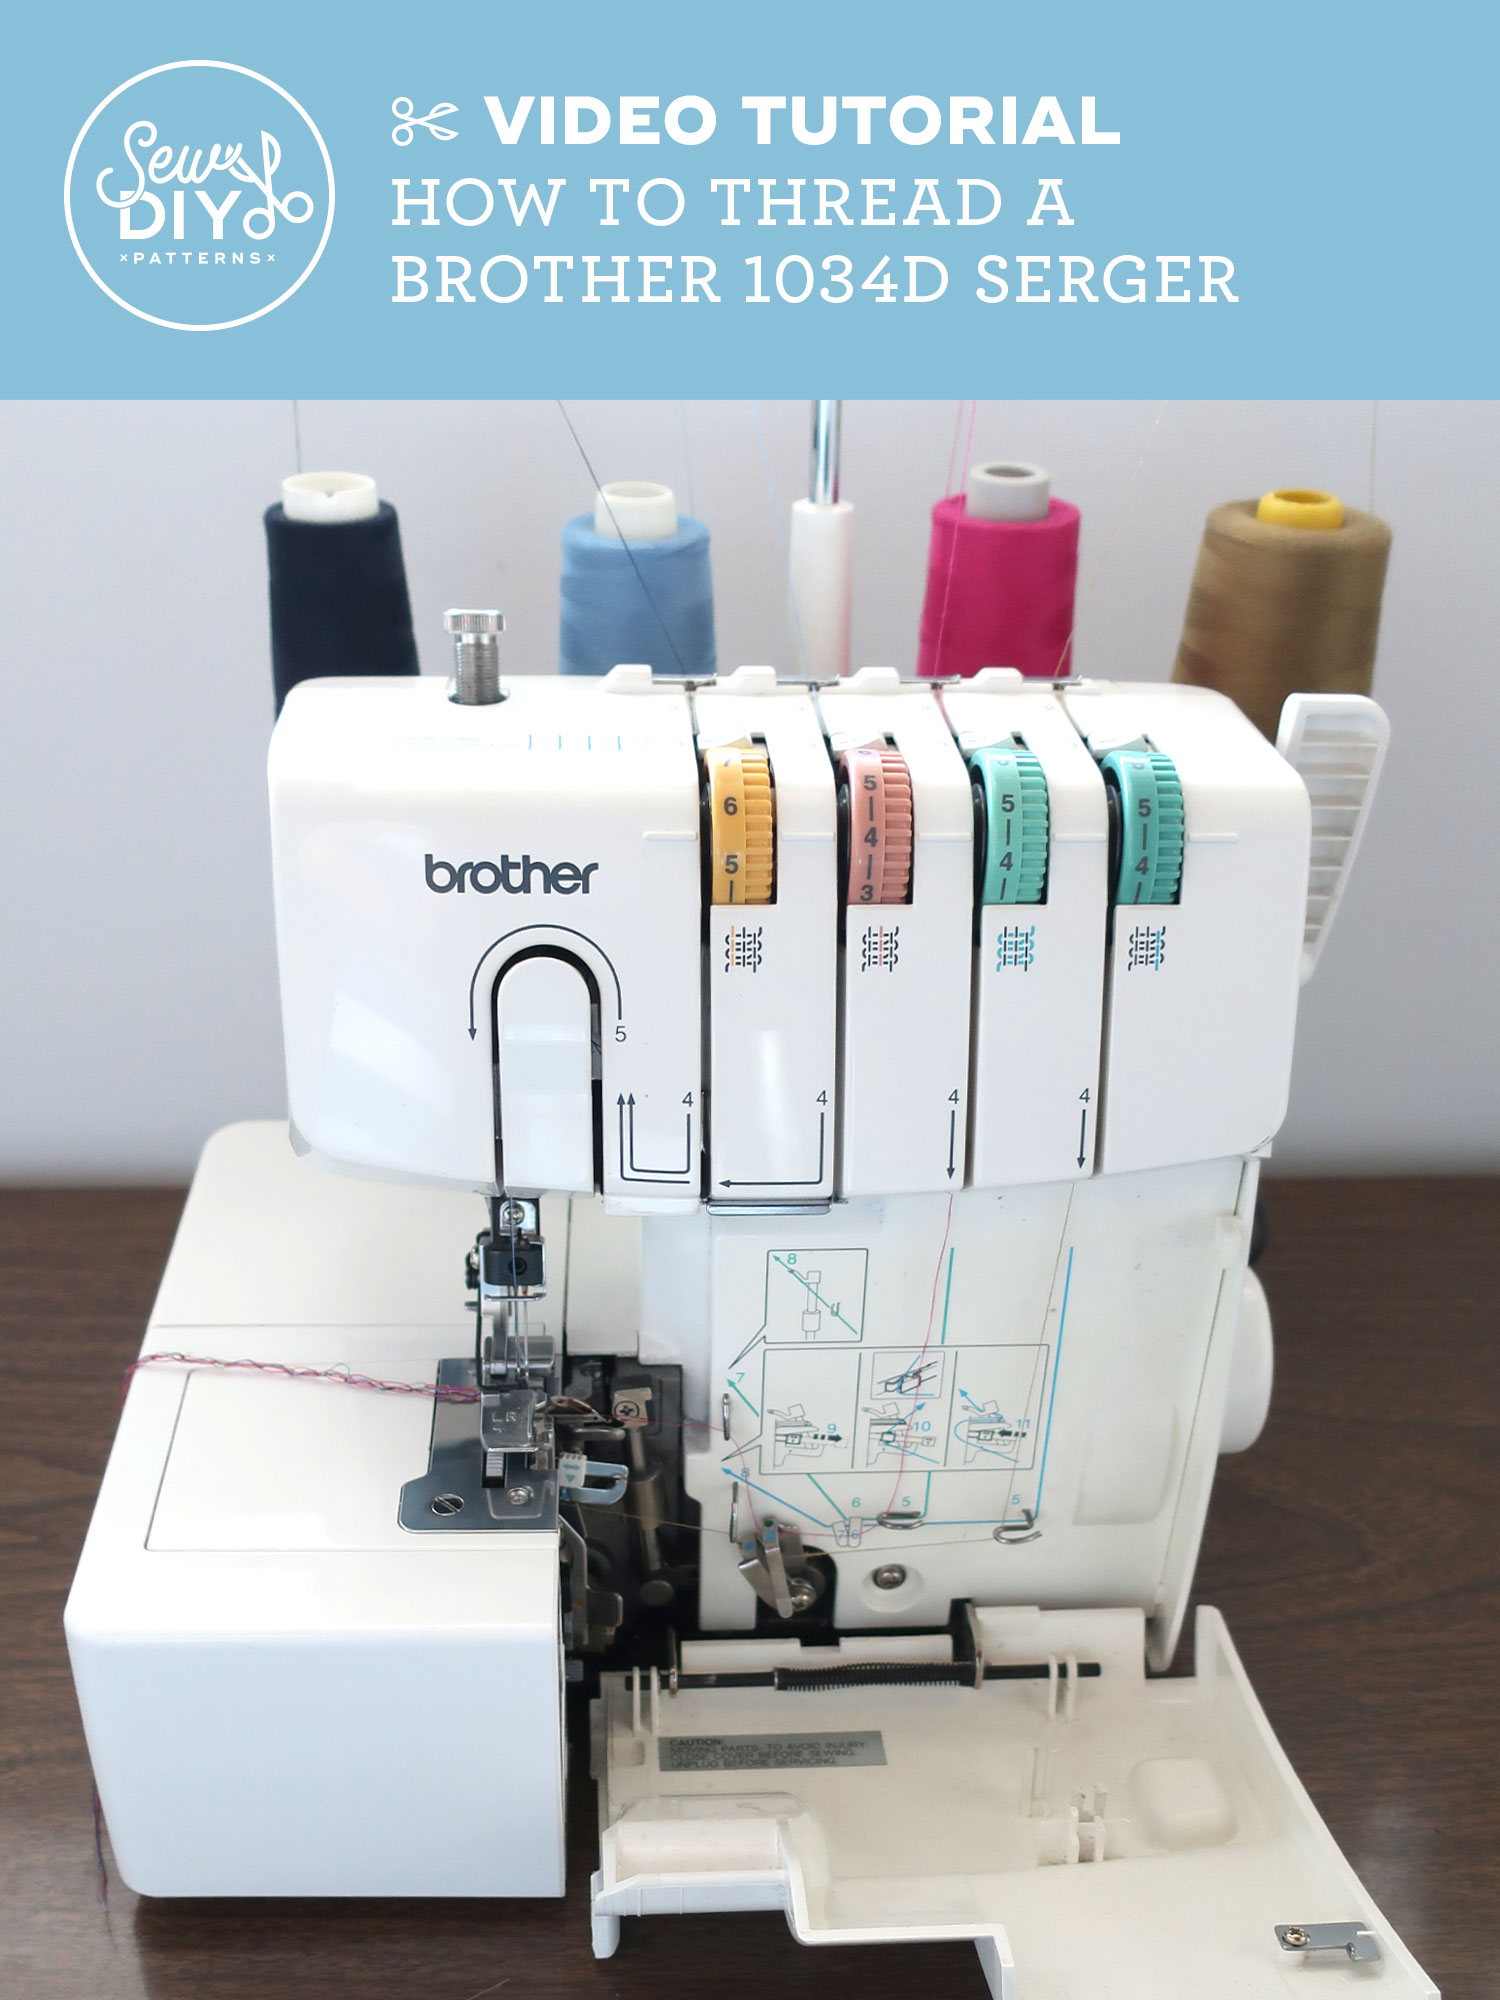
Knit fabrics are great to wear and fun to sew with but they can be a little tricky to handle. I was intimidated by them for a long time but with a lot of practice and a few tricks I picked up along the way, I’ve been able to conquer those stretchy beasts. Today, I’m going to share my favorite method for topstitching knit fabrics plus some tips and insight on why knits can be so bothersome. And don't worry, you don't need a fancy machine, this can all be done on a conventional sewing machine.
Small sewing projects

Hello sew-friends! This is the third and final installment in my two-color patchwork star series and today, I’ll be showing you how to add this wintery block to the Sew DIY Stocking pattern. I really love how these stockings turned out and I think they’d be great with different patchwork designs too. You could even do an all over design with multiple blocks. There are so many possibilities!

Today, is the second post in my series showing how to sew a patchwork star block and add it to the Quilted Slippers or the Sew DIY Stocking patterns. In yesterday’s post, I shared how to sew the two-color patchwork block and today I’ll be showing you how to add it to the Quilted Slippers.


In today’s video, we are going to be assembling the skimmer style slippers, using my Quilted Slippers pattern. It’s been one of my most popular patterns and it’s a really fun one to sew. It’s a small project and great for using scrap fabric. This project also makes a great gift. The pattern is drafted for a wide range of sizes from US Women’s 4 up to a US Men’s 14.
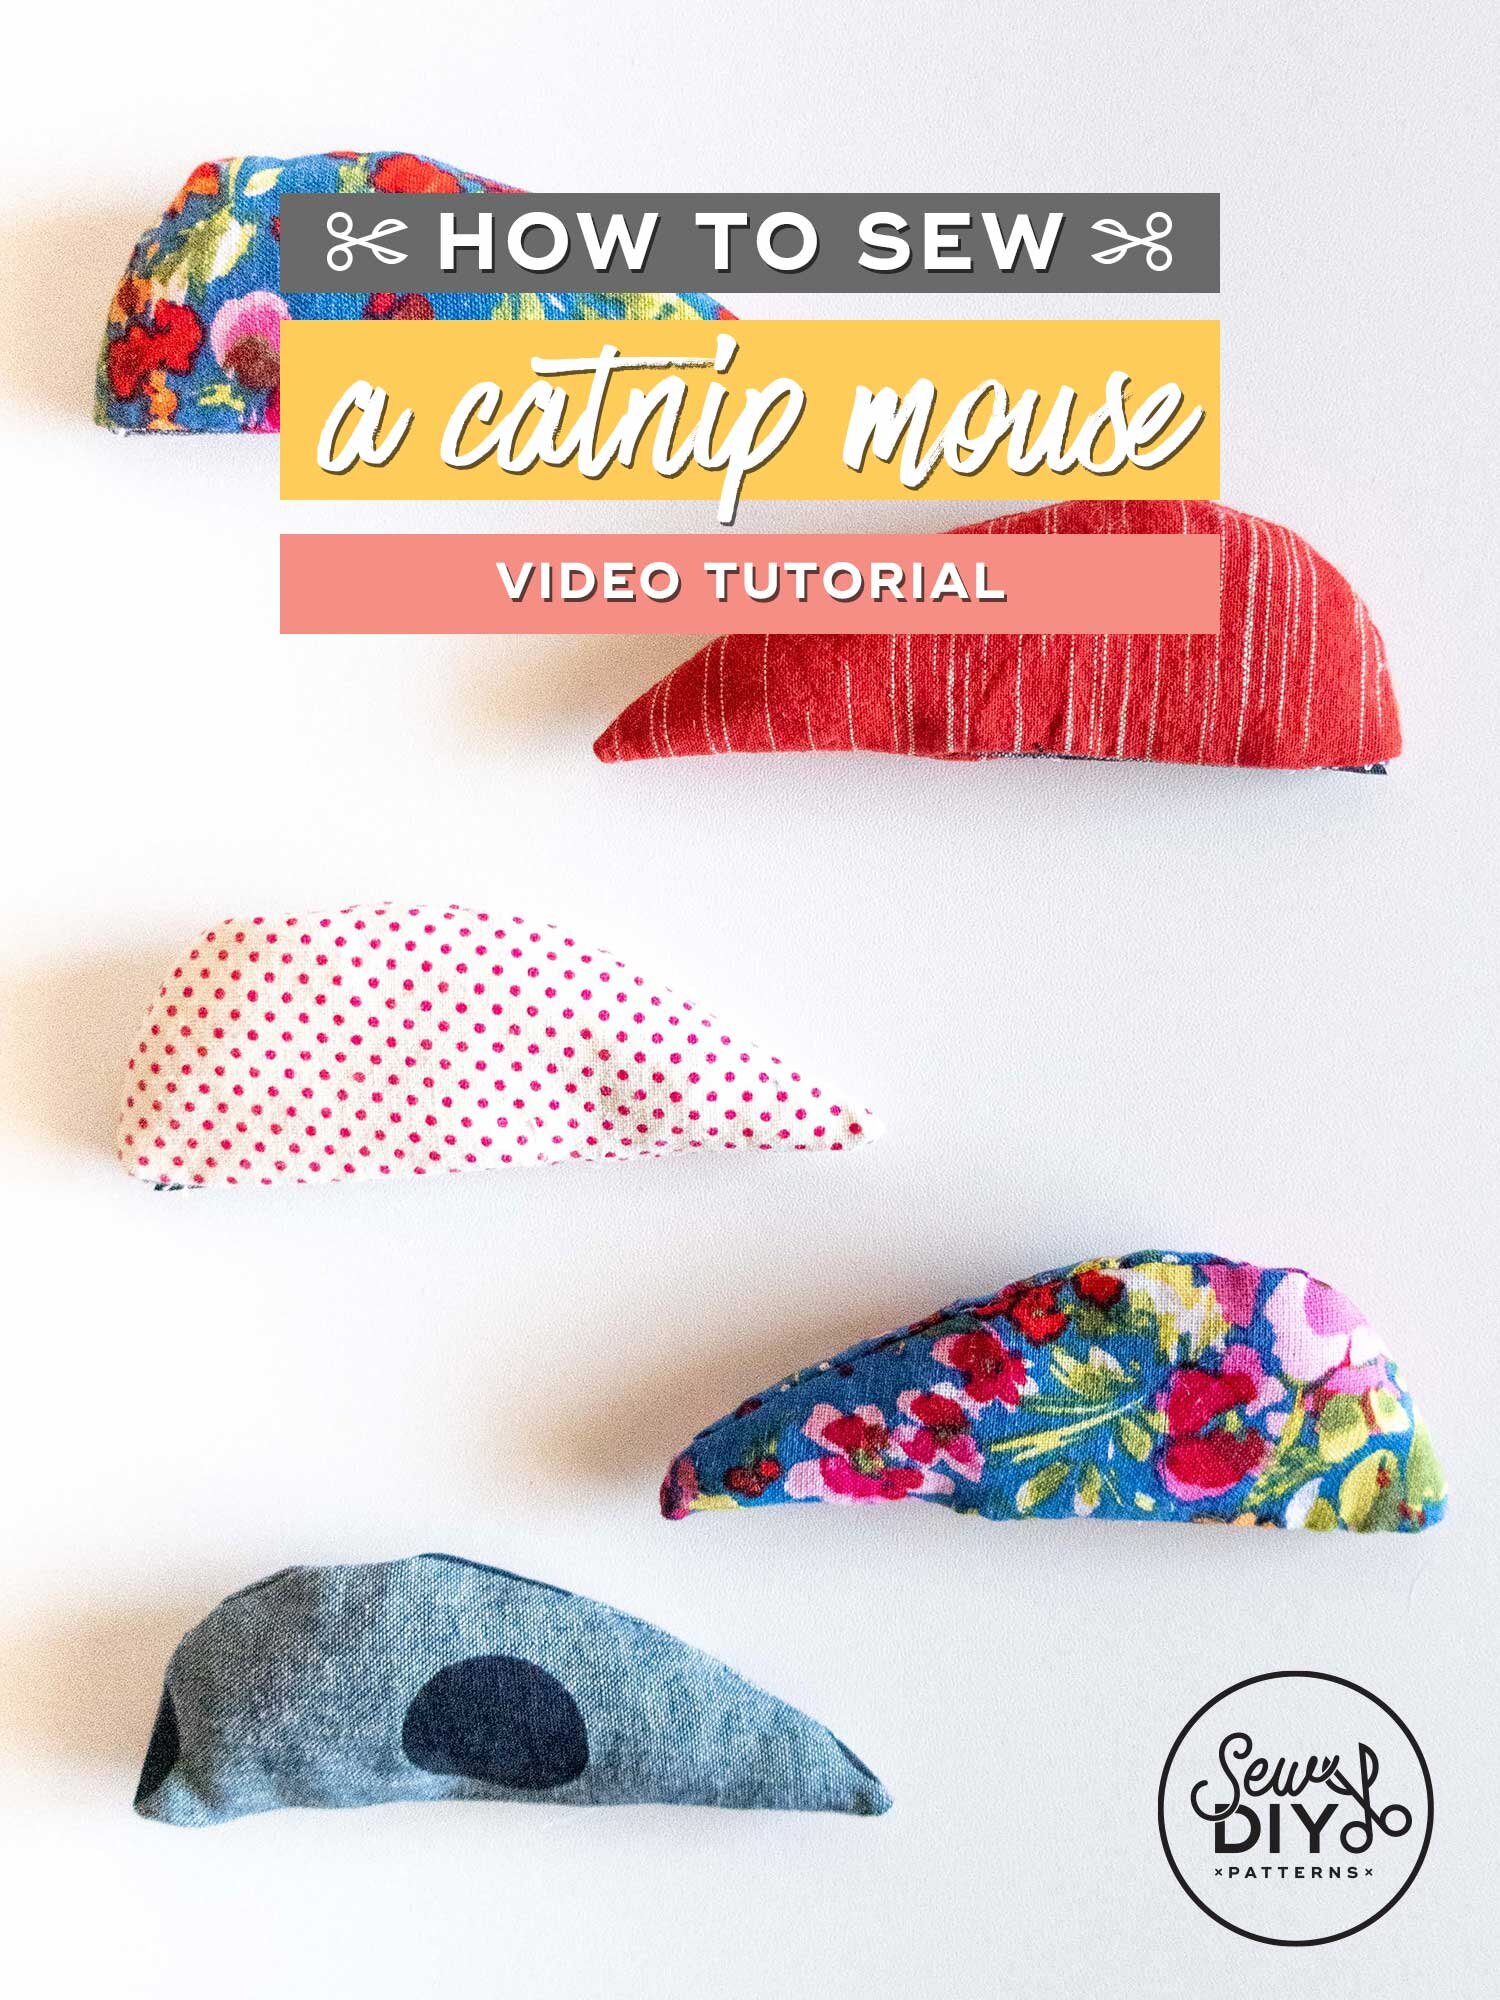
Today, I'm very excited to bring you a tutorial for sewing a cat toy. I love my kitty and he LOVES catnip so catnip toys are very popular in my house. This project is inspired by a couple of toys that I bought that have a pocket that closes with velcro where you can put catnip. The pocket means you can replace the catnip when it loses potency and the velcro means that the catnip won’t fall all over the place while your cat is playing. Read on to download the (free!) template and watch the video.

In this video tutorial, I’ll show you how to sew a pair of quilted bootie-style slippers with a lining. I’m using my Quilted Slippers pattern which I released back in June. It’s been one of my most popular patterns and it’s a really fun one to sew. It’s a small project and great for using scrap fabric, like I did here. This project also makes a great gift. The pattern is drafted for a wide range of sizes from US Women’s 4 up to a US Men’s 14.

Today, I'm very excited to bring you a tutorial for the apron that first got me obsessed with sewing way back in the '90s. I learned how to sew this simple apron in my high school sewing class when I was about 15 years old. I immediately fell in love with sewing and made an apron for all my relatives that Christmas. I still have the apron I first made, way back then. I'm happy to say that I still use and wear that original apron and it's held up remarkably well. You can get a peek of it in the video below.

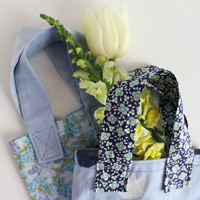
In today’s YouTube video, I'm continuing my series of videos using fabric scraps to sew handmade gifts, with a tutorial for sewing a reusable flower tote. This is a great tote to take to the farmer's market and reduce your plastic use. Plus, it's also a really nice way to wrap flowers as a gift. Use this tote to give flowers as a hostess gift or, because it's 2020 and we're all social distancing, you can also leave the flowers wrapped in this tote at your friend's door. After the flowers are spent, they'll still be able to use and reuse the tote.

In today’s YouTube video, I’ll be showing you how to sew a 3D style face mask quickly and easily. I know there are a million mask sewing tutorials are out there and that I’m basically 8 months late to the game. I was really intrigued by the 3D face mask design but not thrilled with the lengthy construction process that a lot of tutorials use. I want to sew these masks as quickly as possible so that I can move on to sewing more fun things. So, after reading a lot of blogs, watching videos and doing some experimenting, I figured out the fastest process for sewing these masks. These masks have just one pattern piece and an optional nose bridge. Along the way, I’ll let you know the steps you can skip and why you may not want to skip them.
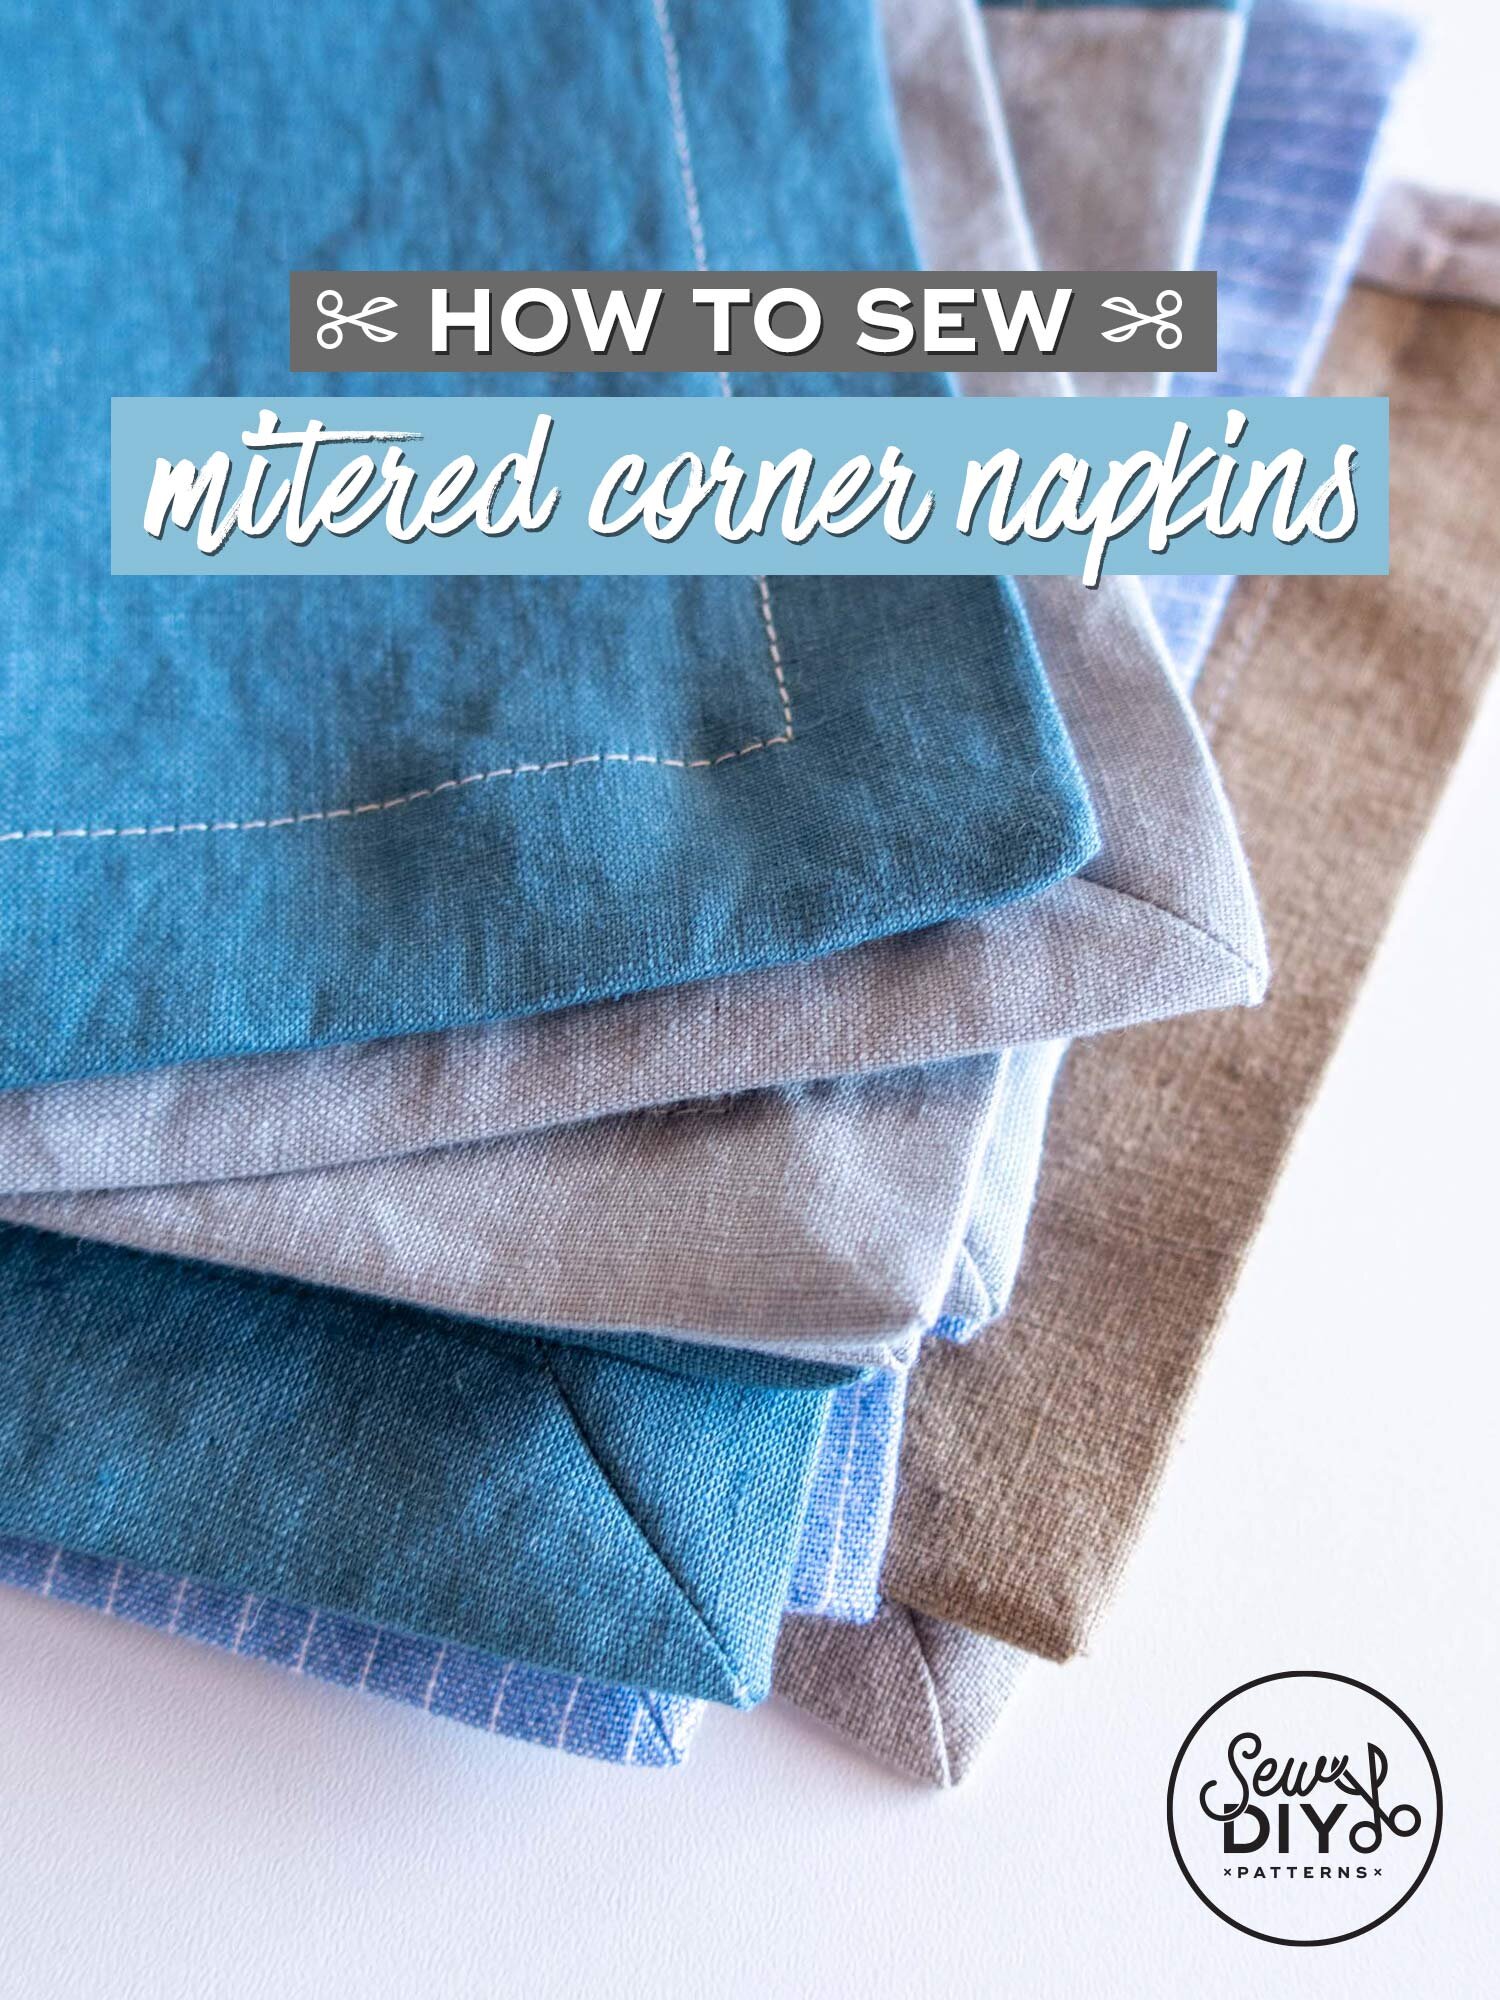
Leading up to the holidays, I’m going to be sharing a few tutorials for sustainable and useful scrap busting projects that are perfect for gift giving. Today’s video tutorial is the first in the series and it’s probably the most simple and most useful of all the projects. In this tutorial, I’ll be showing you how to sew your own mitered corner napkins using scrap fabric. Using a cloth napkin instead of paper disposable napkins is a great way to reduce waste and live a more sustainable lifestyle. Plus, when you use scrap fabric, these napkins are basically free to make. Read on to watch the video and learn how to make these luxurious and earth friendly napkins.

I’m super excited about today’s video because it features a very special guest – Melissa from Melly Sews! I’ve been following Melissa for many years now and have found so many of her sewing tutorials to be immensely helpful in my own sewing journey.
A few months ago, I reached out to her because I was going to be in her hometown of Austin for a long weekend. She suggested that we do a DIY holiday gift exchange video and I quite readily said yes. Coincidentally, we both made a zipper pouch but in different styles! It was so much fun to meet irl and exchange these handmade gifts. Today, we are both releasing the video tutorials for how to make them.


I’ve never been one of those walking through the airport with a pillow around my neck kind of people but during my last big trip, I saw this pillow at Muji and decided that I needed one. And, of course, I had to sew it myself with one big change. Instead of the plastic microbeads that are used in the Muji pillow, I filled my pillow with buckwheat hulls. Buckwheat hulls are the outer shell of the buckwheat seed. They are very lightweight and, of course, more eco-friendly than plastic beads.

Today I'm so excited to be sharing one of my favorite holiday sewing projects on the BERNINA We All Sew blog. Quick and fun to sew these bows can be used just about anywhere you like from gifts and garments to home decor and even your hair. I'm planning on putting one on my cat's collar for a festive holiday catfit. And if you want to become an extreme-crazy-cat-lady like moi, you can match your cat's bow to your holiday dress.
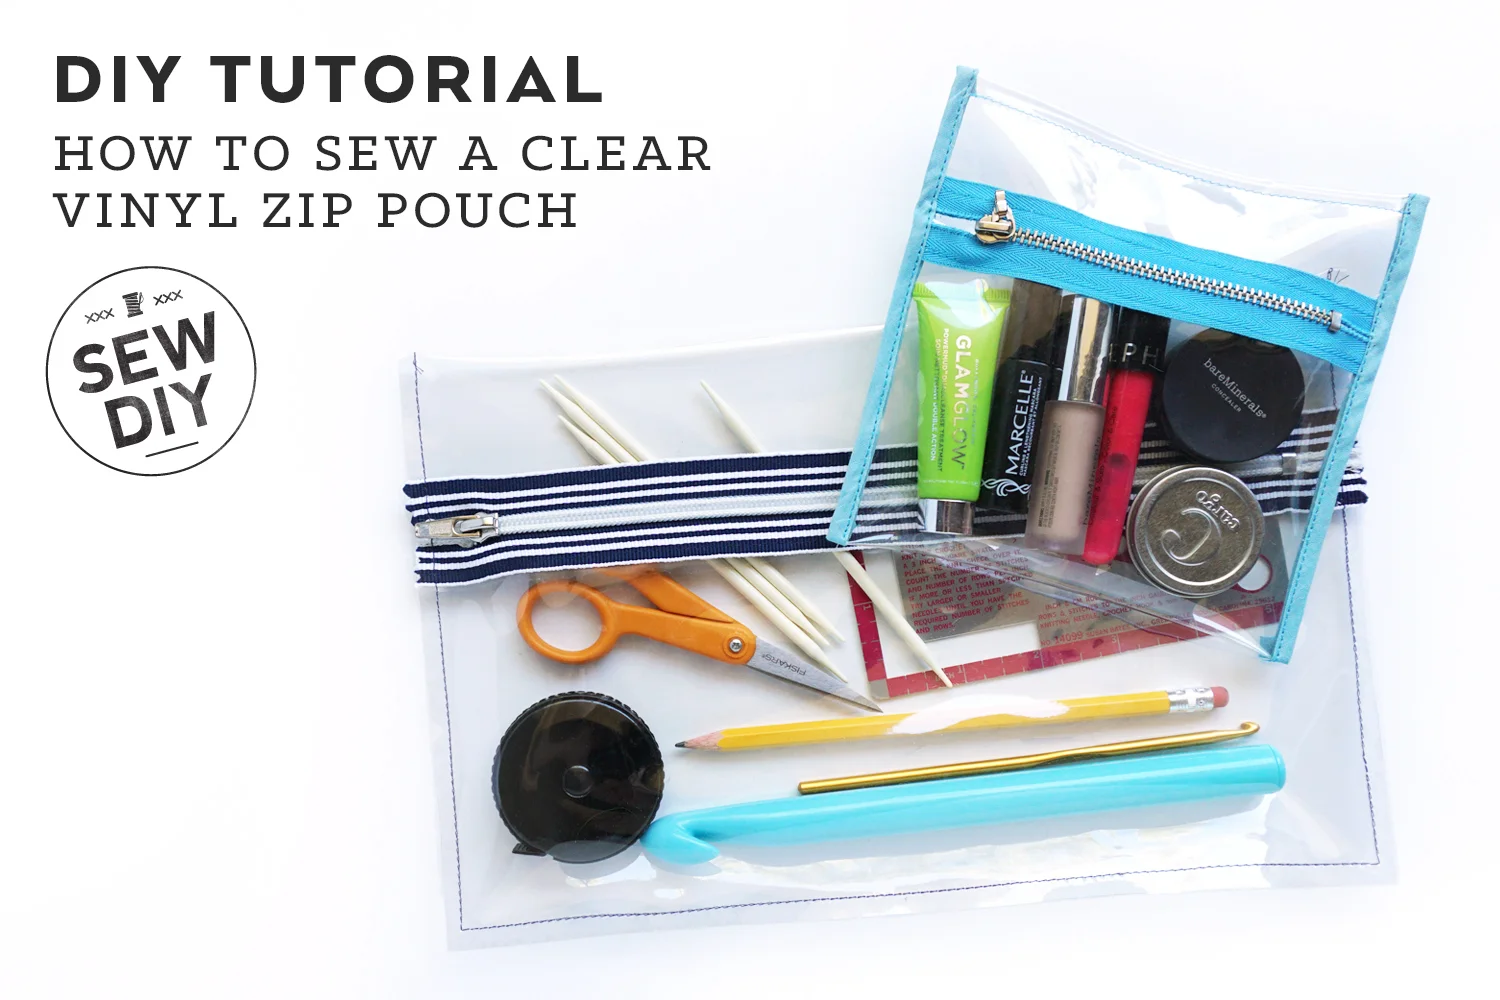
A few years ago I ended up with a bunch of clear vinyl material and it's just been sitting in my closet ever since. I couldn't bear to throw it out because I knew that one day I'd find a use for it. Then a few weeks ago, I suddenly had the idea that it would make a fun and easy to sew zippered pouch. Reminiscent of the pouches we used to put in our three ring binders to hold all of our pens, pencils and erasers (gotta have the big pink eraser, right?) this is a flat pouch with a zipper running down the front. I love that this pouch can feature a show-stopping zipper and that the clear vinyl makes it really easy to find just what you're looking for.
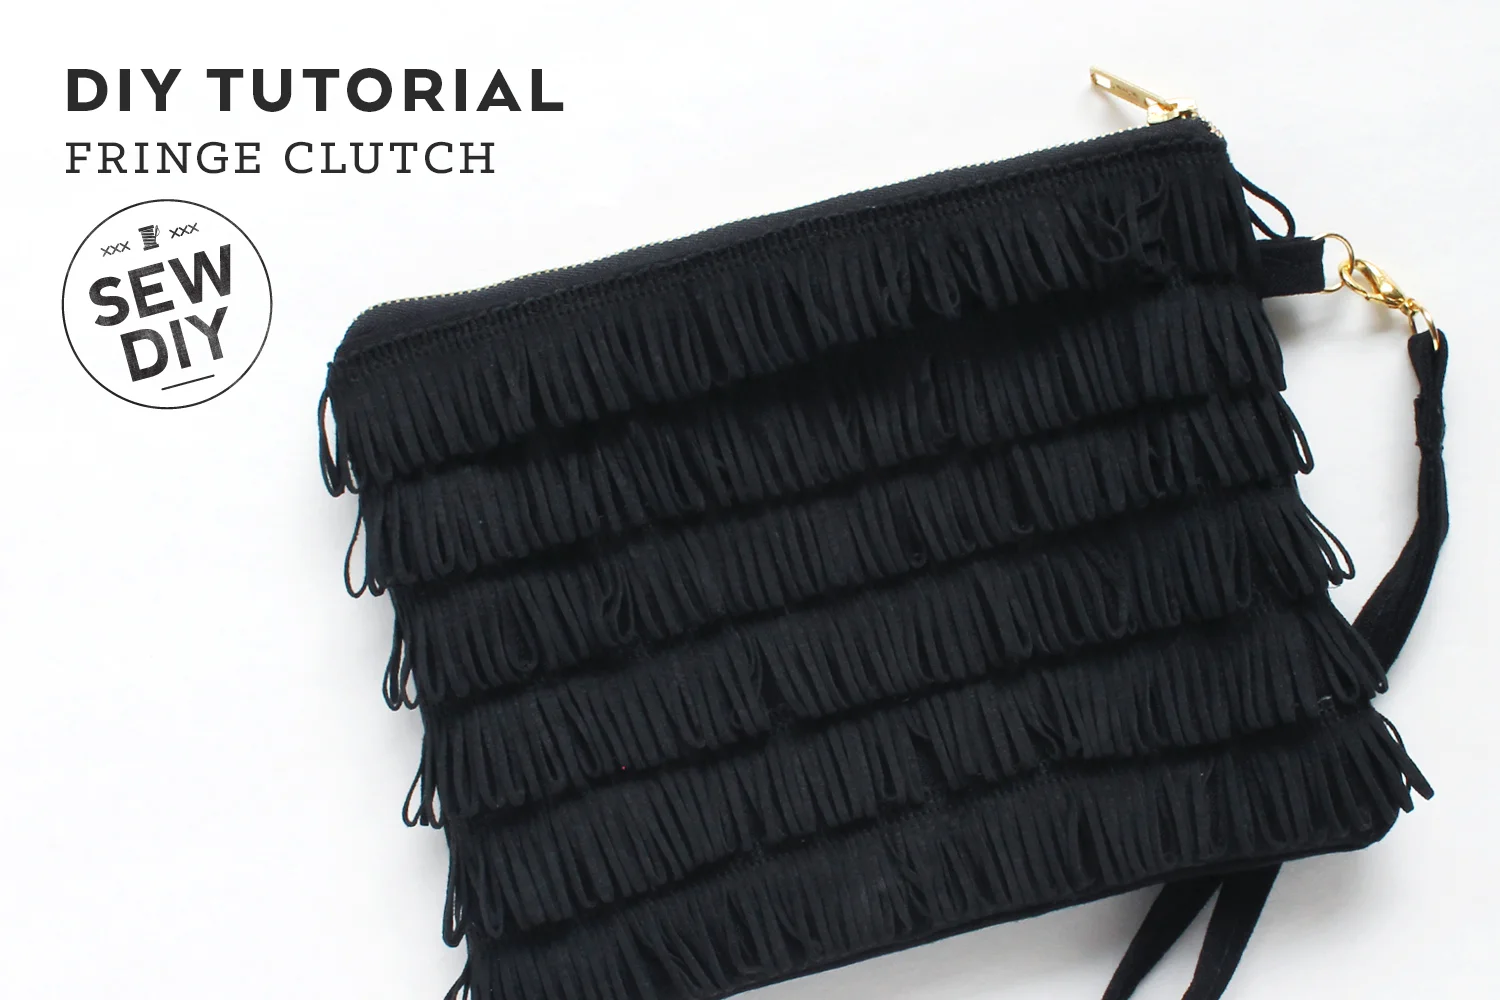
A few months ago, I got a bunch of black leather fringe in a bargain bag of trims. I didn't have any plans for it (impulse purchase!) until one day the idea of a clutch covered in layers of fringe popped into my head. So of course I had to make one and share how to do it with all of you!
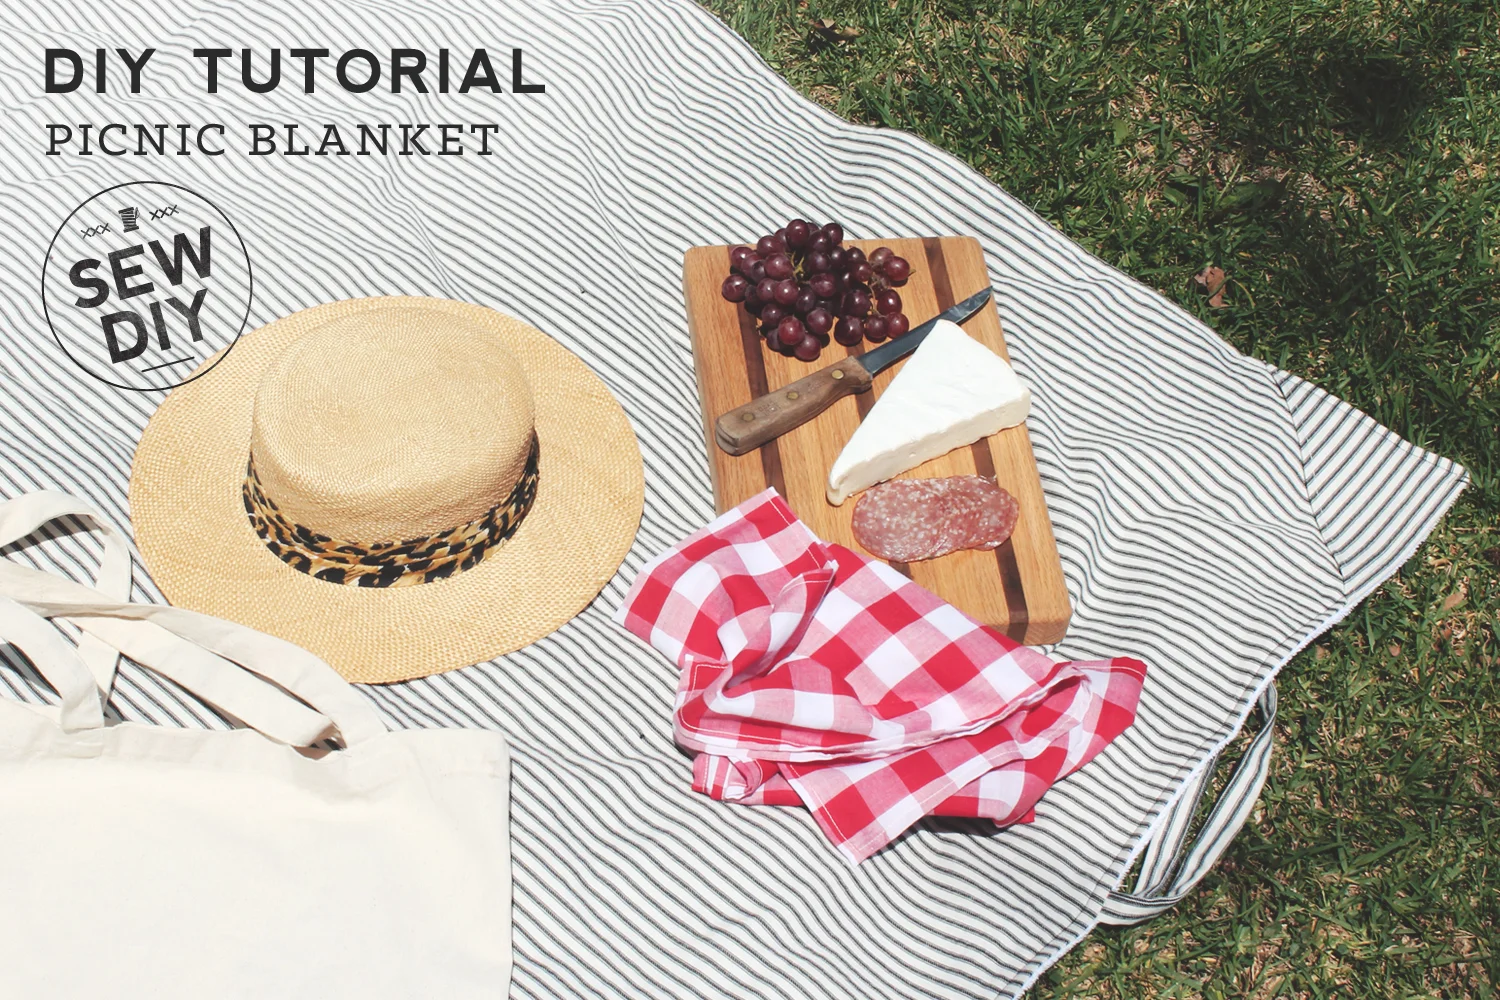
Perfect for summer picnics from the park to the beach, this blanket will protect and cushion you from the hard, wet ground and can stand in as a towel when you take a quick splash in the water. I like to think of it as a blanket-towel hybrid–the summer essential you never knew you needed. With one side terry cloth and the other a sturdy ticking stripe, this blanket is ideal for picnics, outdoor concerts poolside afternoons and beach adventures.
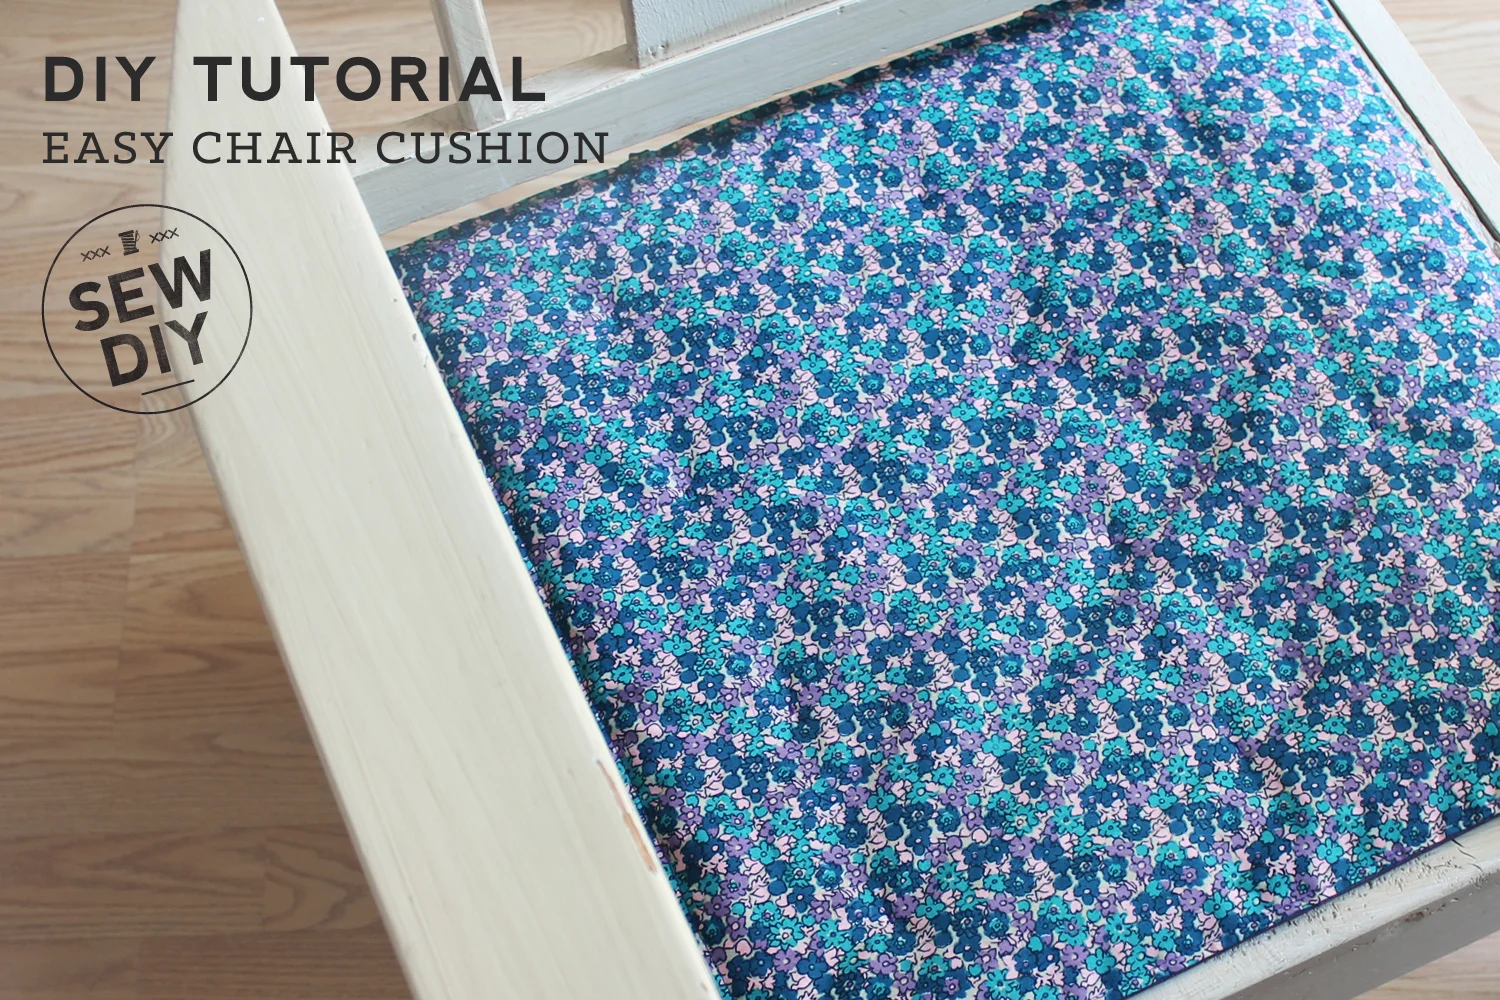
I inherited this chair from my grandparents and it sits in the bedroom mostly serving as a place to throw my clothes at the end of the day. If I didn't have this chair my bedroom would probably be cleaner! But I'm rather fond of it's boxy shape and white washed paint job. My grandmother made the original cushion for this. I even have the pattern she created and the leftover fabric. (My family cannot bear to throw anything away!)
She made a cushion perfectly fitted around each corner of the chair and I must say it is perfectly done. But, sometimes it's nice to freshen up your surroundings so I decided to try my hand at making a new cushion for this old chair. In the interest of time and sanity, I made a much simpler cushion, just a square with two rounded corners.

I'm pretty good at taking care of my things except when it comes to sunglasses. Somehow, they always end up scratched, broken or lost. So to help me in my plight, I made this little drawstring case, just the right size for a pair of sunglasses. I took one on my trip to Chicago last week and it did the job very well of protecting my sunglasses.
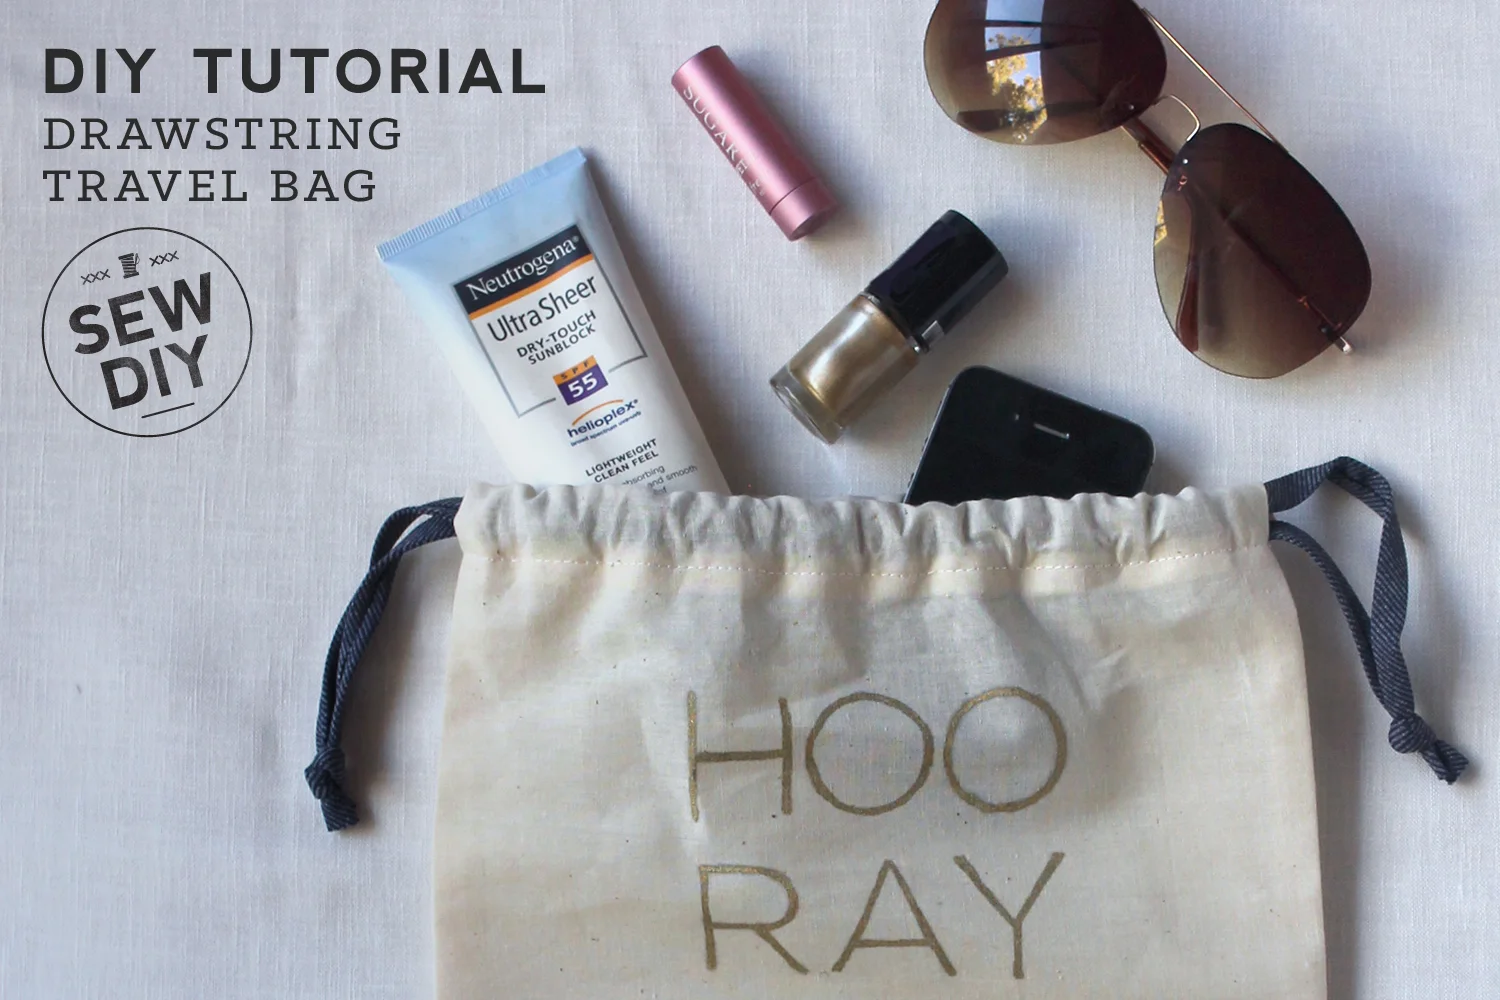
Drawstring fabric bags are so convenient when traveling. They can be used to hold and organize a myriad of items such as shoes, swimsuits, craft projects and even dirty laundry. Use one to hold all your power cords and small electronics or organize your carry-on bag. This bag is really easy to make – even if you're just a beginner. All you need is about 1/3 yard of fabric and some ribbon.

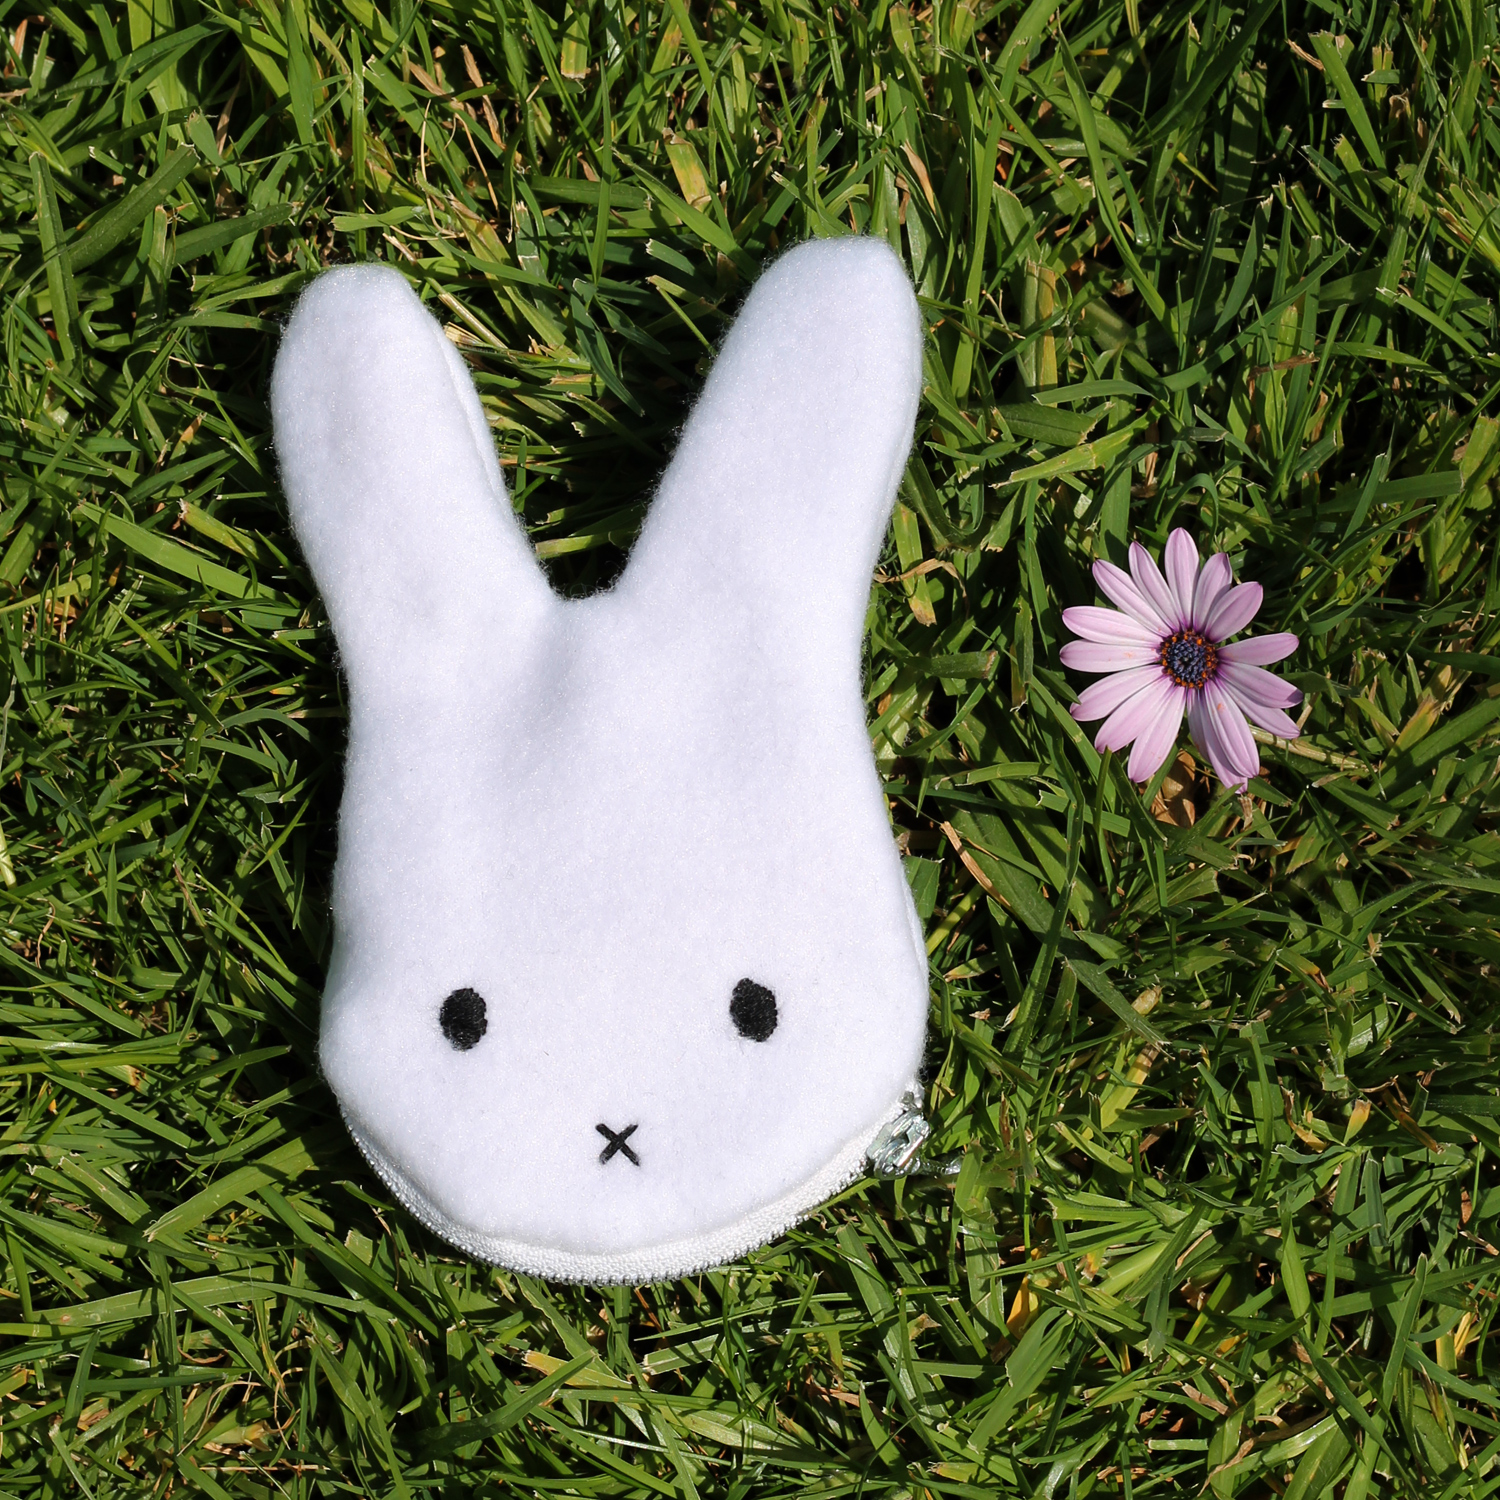
Easter is right around the corner and I couldn't resist whipping up a cute little bunny DIY. My niece is a big fan of Miffy the bunny and of anything purse-like, so of course, a little bunny coin purse was in order. Filled with candy or other treasures and shaped like an adorable bunny, what could be better? As a gift to all of you, I've created a PDF pattern of the bunny shape so you'll be able to make your own!
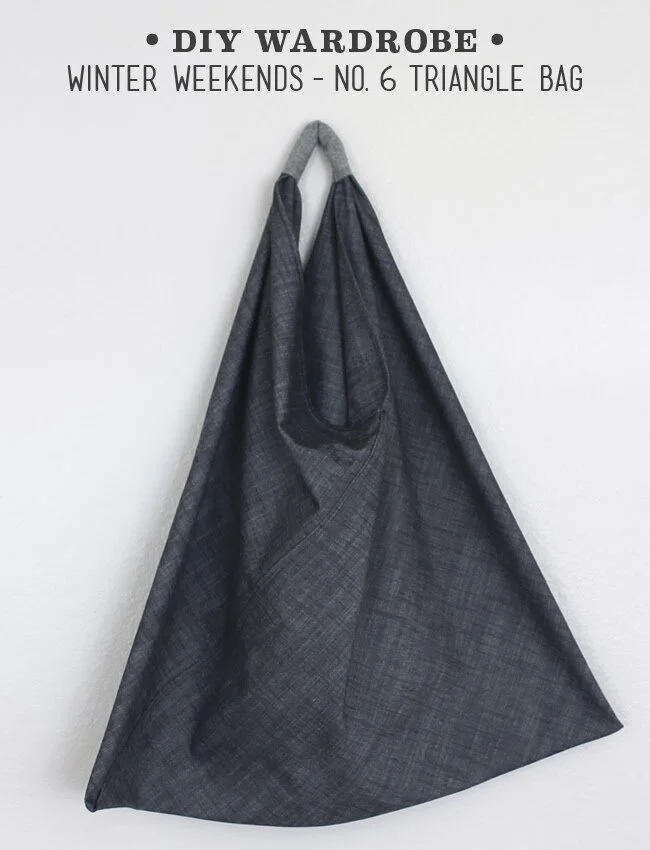
A while ago, probably more than a year ago, I was in this hip boutique that featured Japanese products in a very hip area of town, when I spied a very cool tote bag. It was sewn on the bias and made a triangle shape. It was so cool and looked deceptively simple. I went home and started playing around with fabric and even paper. And then I found this tutorial from Between The Lines and thought "wow! she's really figured it out!". And now at last I've made my own Triangle Bag.
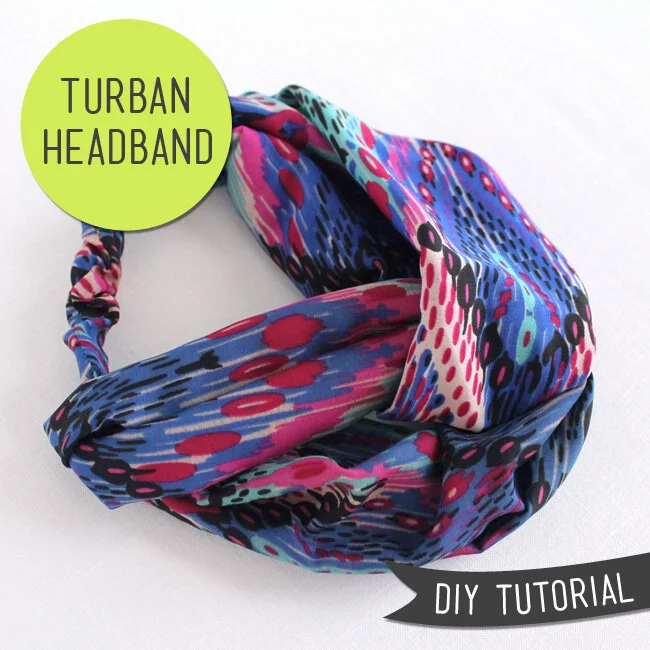
You know those days when your hair looks less than stellar (as in a tangled funky mess) or you desperately need a haircut and just want it off your face (me right now)? Those are the days when you need a chic turban headband to cover up the mess and make you feel like a 1940s movie star.
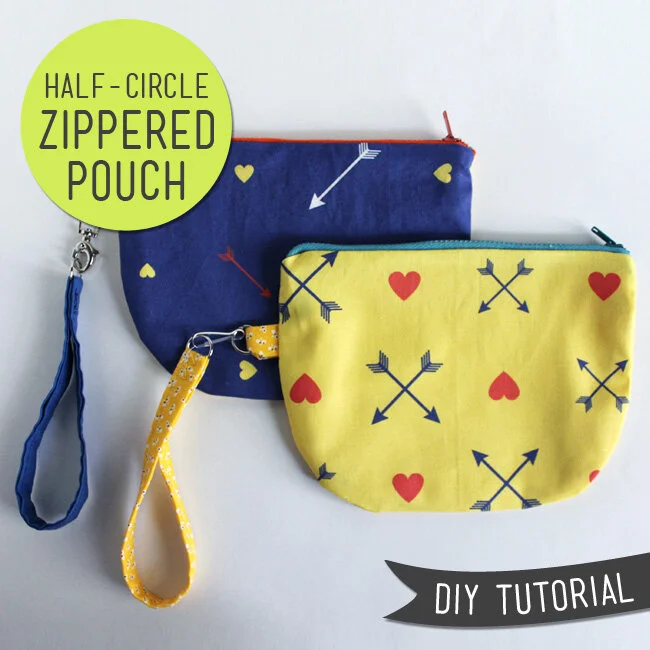
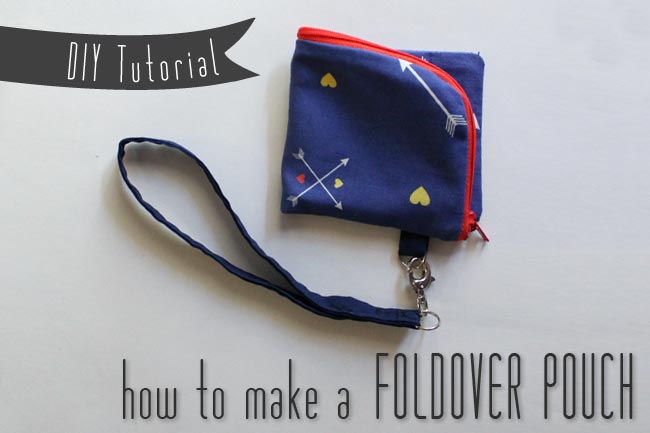
Whether hitting the road or hitting the town, every girl needs a little pouch or two or three to carry all of life's little necessities. Fill them up with with jewelry and makeup, your favorite art supplies or a few snacks, then throw it in your purse and you're ready for the day. Everything you need will be easy to find and readily accessible. These fun little pouches use just a few pieces of fabric and can be made very quickly. This is a great project for featuring a little swatch of fabric that you love so much but just can't figure out where to use. I used swatches for fabrics I designed on Spoonflower. Head on over there and you can purchase your own fabrics in this arrow and heart designs.


Whether you pile them on or wear one at time, these casual braided bracelets are a great addition to your spring wardrobe. They take an hour or less to make and you can use any fabric you want (as long as it will be comfortable on the skin) making this project a great way to use up fabric scraps. So let's get started!

Fabric Tips

After releasing the Work-from-home pattern bundle a couple of weeks ago, I received a few questions from people unsure about sewing with knit fabric. I completely understand the feeling and I used to be really nervous myself to sew with knit fabric. But, with some practice, knits can be really fun and easy to sew. Over the years, I’ve created a bunch of blog posts and videos with tips for sewing knit fabric. I’ve compiled them here along with links to my favorite books about sewing with knit fabric. Read on to learn more.
Hello sew-friends! In today’s YouTube video, I’m talking about fabric stretch percentage. If you've ever sewn a pair of leggings or a swimsuit, then you know how important stretch can be in your handmade garments. Read on and watch the video to learn all about fabric stretch, why it’s important, a bit about fabric stretch terminology and, most importantly, how to calculate fabric stretch percentage.
Terry cloth is one of those fabrics that’s in every household but not in every fabric stash. Last week, I shared my terry cloth pool robe and I thought it would be useful to share a few tips for sewing with this unique fabric. You’re probably most familiar with terry cloth from your bathroom towels. It’s a dense fabric made up of thread loops on both sides. It’s a thick and absorbent fabric making it great for robes or swim coverups.
Terry cloth is honestly not very hard to work with but there are a few things to be aware of before you jump in. Read on for more information.
Hello sew-friends! In today’s YouTube video, I’m answering one of the questions I’ve been asked most over the years – How do you know how much fabric to buy? I’ll be sharing my magic number for buying fabric, my best tips for deciding how much fabric you’ll need even when you don’t have a pattern in mind and the sewing supplies that I always stock up on.
I’ve been sewing for about 25 years now and have learned what works best for my sewing habits and the things I like to make. The more you sew, the better you’ll be able to estimate how much fabric you’ll end up using too. But in the meantime, read on and watch the video for my best tips to get you started.
Today is the first day of the second annual I Love my fabric virtual party! So, in celebration and in the hopes of helping you organize your fabric, today’s video is devoted to fabric folding. I know kind of boring but, trust me, it is key to a well organized stash. This method of folding can be used when storing fabric in either drawers or shelves. The main benefit is that you can see all of your fabric stash at a glance. Nothing will get hidden underneath something else. The bonus benefit is that the fabric will have fewer wrinkles.
One of my biggest sewing room struggles over the years, has been finding ways to store my fabric. I’ve had periods of success and many periods (like right now) where I feel like my fabric is taking over the sewing room. Because I’ve had success in the past, I know that I have all the knowledge and tools that I need. The only thing lacking was motivation. Which is why I’m hosting the I Love My Fabric Virtual Party (happening August 10-11, 2019). In today’s post, I’m sharing a bunch of ideas and links that will help you organize your fabric and get your sewing room in tip top shape. There are two main kinds of organizing and you can do either or both. The first is to physically organize the stash, meaning the folding, stacking, storing, etc. The second is to create a catalog of your fabric that you can reference instead of diving into the physical fabric. Read on for my best fabric storage and organization ideas for your sewing room.
(Side note, the party is very open ended and you are not required to do any sorting. And if your stash is already organized, feel free to join in spirit and share photos of your system or even just a few of your favorite fabrics.)
Home Decor Tutorials

Holiday Tutorials

Today, I'm excited to share a new video tutorial for how to sew underwear using fold over elastic. I've sewn lots of underwear and it's a little tricky the first few times. So, I'll be sharing all of my tips and tricks to make sewing your own pair easier. With these tips and a bit of practice, you'll soon be sewing fold over elastic with confidence.