Welcome to day two of the Ali Sweatshirt Sewalong! Today we will be talking about selecting your size and methods for printing your pattern. This post is actually pretty long as I’ll be taking you through all the steps in determining just the right size for your body/personal style. (I even have a coupon code for US readers so make sure to scroll down :)
Selecting your size
Let’s start by taking some measurements. Grab a flexible measuring tape and measure yourself at the bust (above left). Next, hold the end of the measuring tape at your shoulder and let it hang down over your bust. Look in a mirror and decide how long you’d like your sweatshirt to be (above right). The default body length for all sizes is 21”. Next measure yourself at the point where you want the hem of the sweatshirt to hit (your high hip).
Tip: When using pdf patterns, I prefer to stay digital as much as possible. So, instead of printing out the instruction booklet (saving trees! yay!) I read it on my laptop using Adobe Acrobat or Reader. I like to make notes of my measurements right in the pdf instructions using comments or the highlighter tool to select my size. Then next time I use the pattern I have the notes right in the pdf.
Finally, let’s decide how long to make the sleeves. The pattern comes with two lengths, the bracelet length or the slouchy length sleeve. Plus you have the option of lengthening or shortening to get your perfect length. To measure your arm, place the end of your tape measure at the base of your neck and hold your arm parallel to the ground with the opposite end of the tape measure in your extended hand. I like to have my sleeves extend just past my wrist bone or longer. But choose whatever you’re comfortable with. Make a note of the desired sleeve length.
Now that you’ve collected some measurements, let’s select a size and decide if we’re going to make any modifications. You should have measurements for the bust, length, high hip and sleeve length. As an example, let’s say we’re working with the following measurements:
Bust: 38”
Length 23”
High hip: 42”
Sleeve Length: 26”
On page 3 of the instructions (and shown above), there is a very helpful size chart with finished measurements for the bust, high hip and sleeve lengths. The most important measurement for this pattern is the bust. Take a look at the size chart and find which size you fall into. In the chart above, I’ve highlighted our selected size in yellow and written out our measurements and modifications in blue. Using our example measurements, we’re a size M at the bust, with a high hip of L and we’ll add 2” to the body length. Keep reading for more details. :)
This pattern is designed to be oversized but depending on how much ease you prefer, you may want to go down one size. Some of my testers chose to make a size smaller and prefer that fit. For reference, in the photo on the left above, I’m wearing a size Medium (view A) and on the right, I’m wearing a size Small (view B). My bust is about 38.5 inches which puts me in the Medium size. How fitted you like to wear your sweatshirt is totally personal preference. The finished garment measurements in the chart will also help you decide what size you’d like to make.
Note: If you’ve sewn my Lou Box Top pattern, you might remember that it only had 4 sizes. The Ali Sweatshirt is expanded to have 7 sizes so you have more options for the fit of your finished garment. While it’s not a one-to-one in sizing, this pattern does have the same boxy fit as the Lou Box Top.
Without any changes, this sweatshirt is 21” long (measured from the shoulder to the hem) when finished. If your finished length is different, use the lengthen/shorten lines on the front and back pieces to adjust the length (after you print the pattern). For reference, I’m 5’11” but have not added any length to the body or arms in these photos (I cut the slouchy length arms). Note, the sleeves on the right are shorter because the small size has shorter sleeves than the medium.
Next, let’s check the high hip measurement. Because this sweatshirt narrows to the high hips, you may want to grade out to a larger size at the hips if your hips fall into a larger size or if you are lengthening the pattern. Compare your high hip measurement and to the finished high hip measurement for your selected size on page 3. If your high hip measurement is larger than the finished size for your bust, then you’ll need to grade out. In our example, the high hip measurement is 42” so, we’ll grade out to a size L at the hips. Above is an example of grading from a medium at the bust to a large at the hips. Also, because the circumference of the hem is now larger, we will cut the L size hem band.
Finally, let’s select the sleeve length. The smaller sizes have shorter sleeves so it’s very important to reference the size chart. There are two ready made sleeve lengths for you to choose from and also lengthen/shorten lines if you want a more custom length. In our example, we measured 26” for the sleeves and that’s pretty close to the slouchy length. You could subtract .5” from the length of the sleeve or just make the slouchy length as is.
Important! If you are using precious or expensive fabric, I recommend making a muslin (test garment) first. The oversized style of this pattern is pretty forgiving but if you’re at all nervous please test out the size in a similar fabric first. After all, you can never have too many sweatshirts, right? You can always give the test version to a friend if it’s not right for you.
Printing at home
If you’ve never used a pdf pattern before, it might be a little daunting to figure out. But trust me, it’s not hard and you might even have fun doing it. Personally, I love the immediacy of being able to download a pattern and print it right away. This pattern comes with three different files that you can use to print your pattern, one for at-home printing and two copy shop options. I also recommend reading my post on How to Print and Store PDF Patterns from the Lou Box Dress sewalong. In that post I go into some tips on pdf patterns that I’m not repeating here.
The print-at-home pattern is a tiled pattern designed to be printed on Letter (8.5 x 11 inches) or A4 size paper. This pattern has layers so that you can print only the size(s) that you need. To turn the layers on and off, open your pdf in Adobe Reader (or Acrobat) and open the layers palette to the left of the document. Click on the eye icon to turn the layers on and off. When you turn off a layer, the lines needed for that size will disappear. If you need to grade between sizes, you can print just the two sizes you need. Or if you just like to have all the sizes on hand, you can print all of them. Lots of options!
Next we want to make sure to print the pattern at the correct scale. With “scale to size” unchecked or Custom Scale set to 100%, print only page 1 first. Using a ruler, measure the 2 inch test square. If the test square is not 2 inches, check your printer settings and test print again.
When you have the right settings, print all pages of the pattern. Now it’s time to trim and tape or glue the pages together to create the full size pattern. I have a detailed post here about my method for trimming and taping pdf patterns. Finally, you can cut out your size, or if you prefer, trace your size.
Printing at a copy shop
If printing at home is not your jam, you can have the pattern printed at a copy shop on a large format printer. There are two file options for this. One file is formatted is 28 inches wide which is the size commonly used in the US. The other file is A0 size, most commonly used outside of the US. Over the last year I’ve tried large scale printing a few times and I’m really glad I did. I especially like doing it for patterns that are particularly large and require a lot of pages. Whenever someone asks for tips on printing at a copyshop, I direct them to this really great article from IndieSew on printing at a copy shop. It includes info on how to check the dimensions of your pdf and details about going to a local store.
To print my large scale patterns, I have used the website PDF Plotting and been very happy with the results. The per page cost is very low and they have both black and white and color printing. Plus you don’t have to leave the house! A few days after I place my order, the patterns are delivered right to my door, rolled up in a narrow triangle shaped box. You can then trace from the large prints or if you’re feeling bold just cut right into the paper. The shipping charges are a flat rate so I print a few patterns at the same time to distribute the cost. (Unfortunately, they only ship in the United States because of shipping rates.)
But now for the super exciting part!! The nice folks at PDF Plotting have graciously offered a coupon code for you to use. Through the end of this month (September 2018), use the code SEWDIY15OFF to get 15% off your first order.

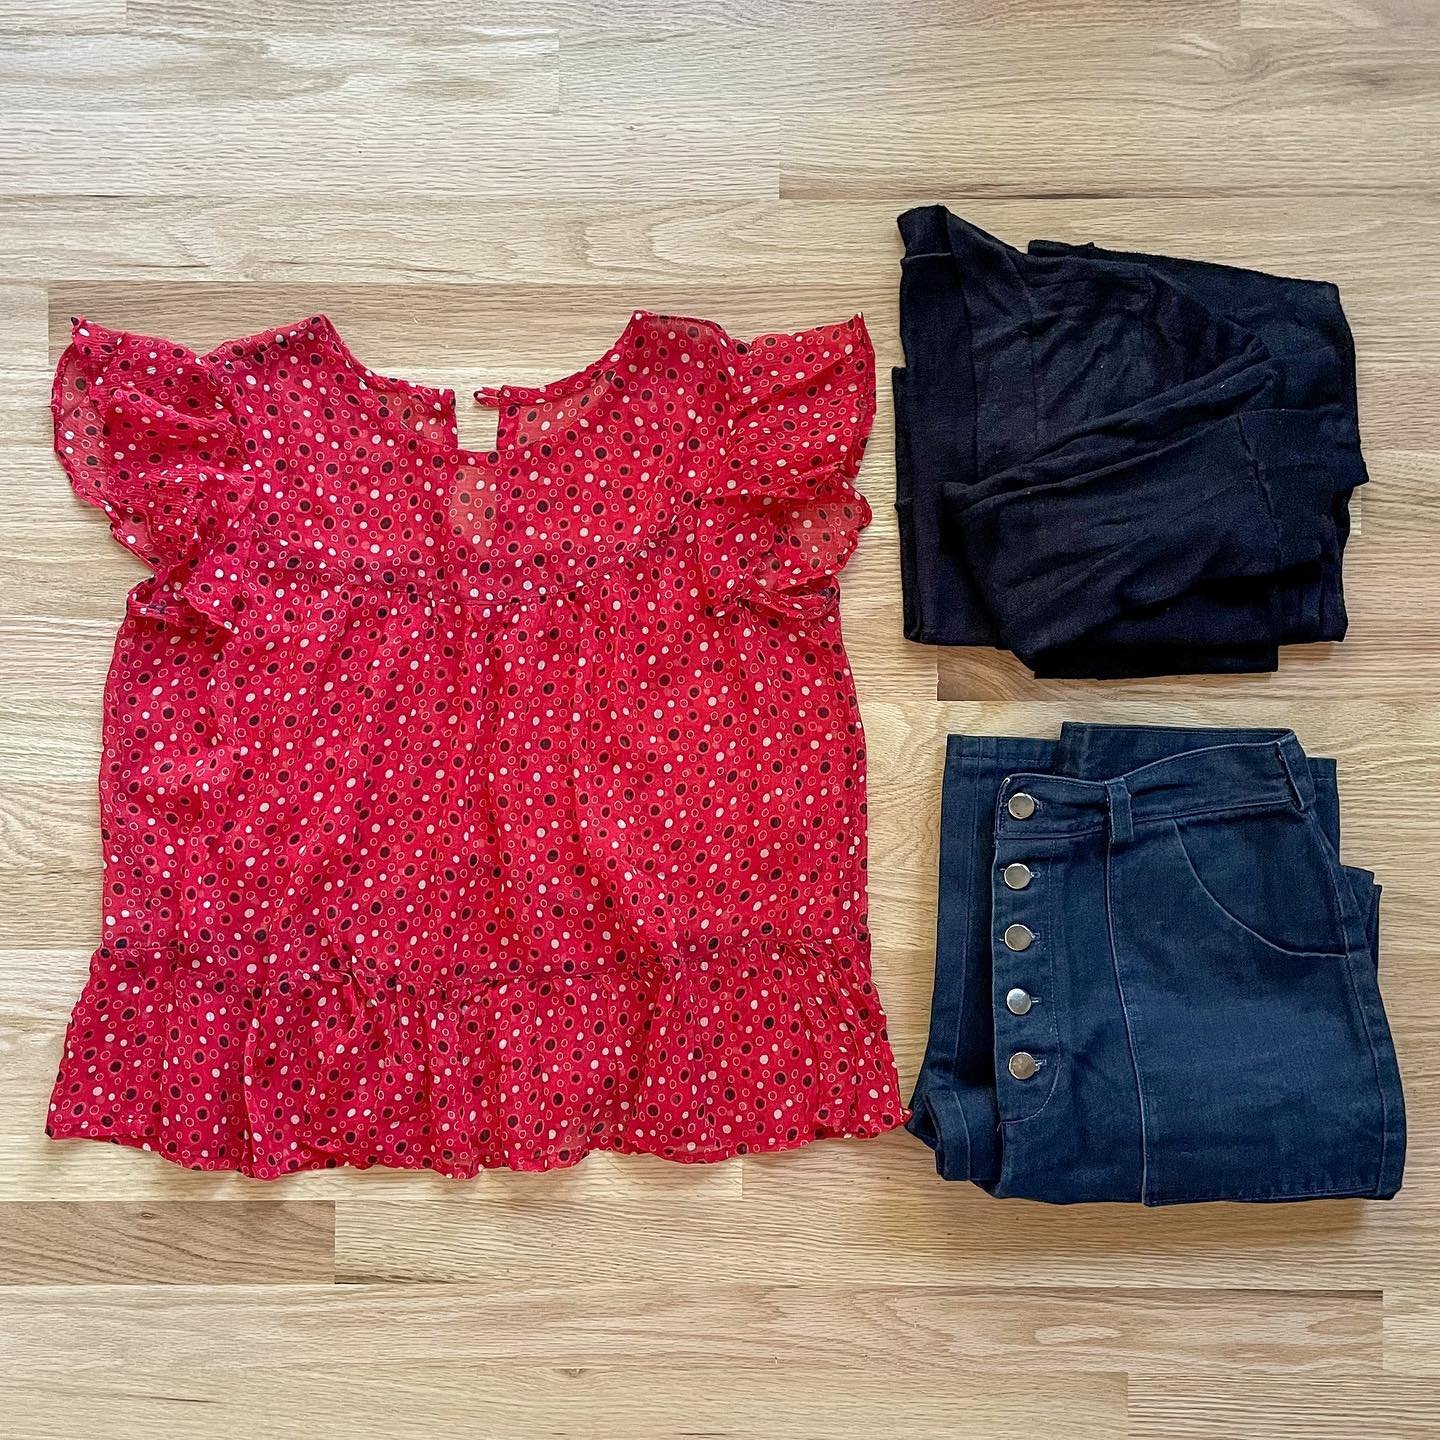
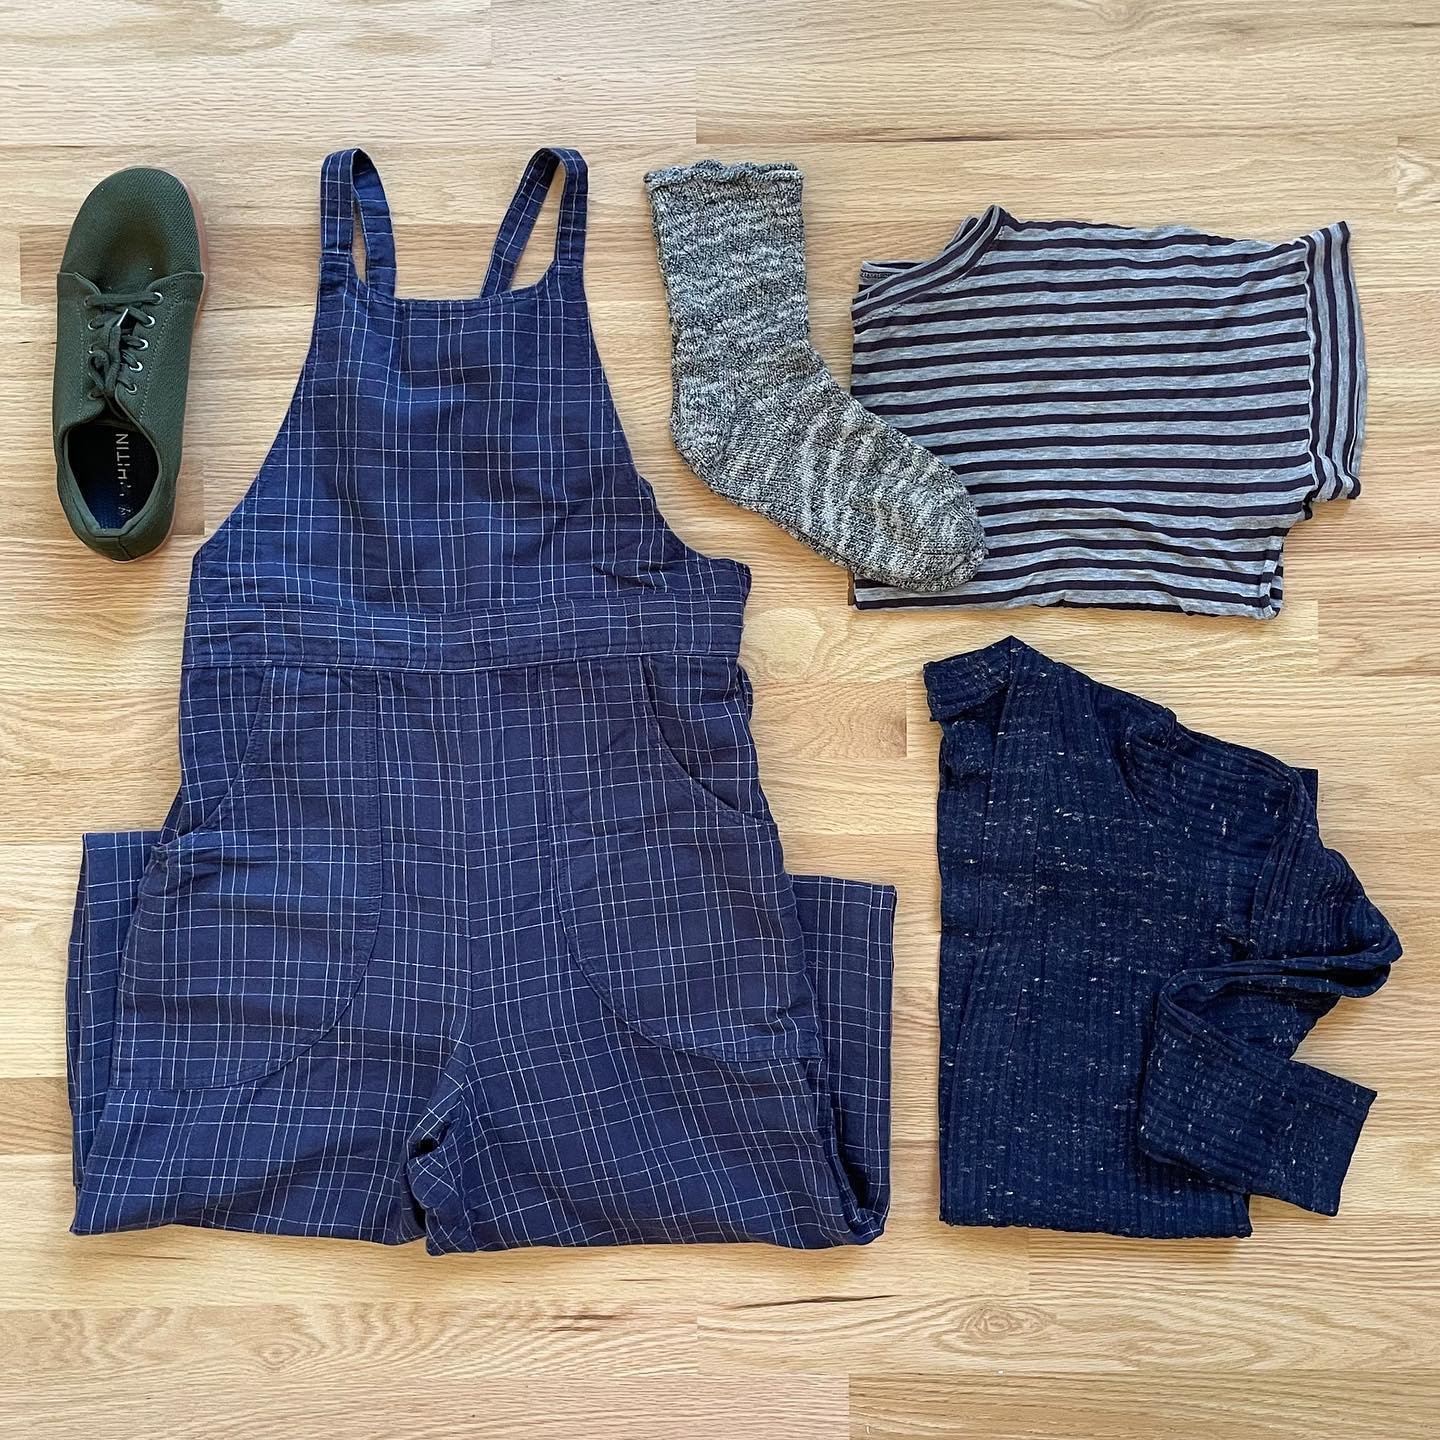
That’s all for today. If you haven’t picked up your copy of the pattern, you can find it in the shop here. Tomorrow we will talk fabric and supplies. Full schedule below.
SEWALONG SCHEDULE
DAY 1 Inspiration – Monday, Sept 17
DAY 2 Selecting your Size & Printing your Pattern – Tuesday, Sept 18
DAY 3 Fabric & Supplies – Wednesday, Sept 19
DAY 4 Sewing the Yoke & Sleeves – Thursday, Sept 20
DAY 5 Assembling the Body – Monday, Sept 24
DAY 6 Neckline Binding – Tuesday, Sept 25
DAY 7 Sewing the under arm seams, cuffs and hem band – Wednesday, Sept 26