Hello and Happy December! Today, I have a super quick and easy Christmas Stocking tutorial for you. For years, I've searched for the perfect stocking shape and last year, I think I finally nailed it. That's right, I've been saving this tutorial for a whole year! If you've been following me for a while then you might know that I like a sewing project to be as simple to construct as possible and this stocking fits the bill. In fact, there are only three main steps and you'll have your own handmade Christmas Stocking.
UPDATE 2022:
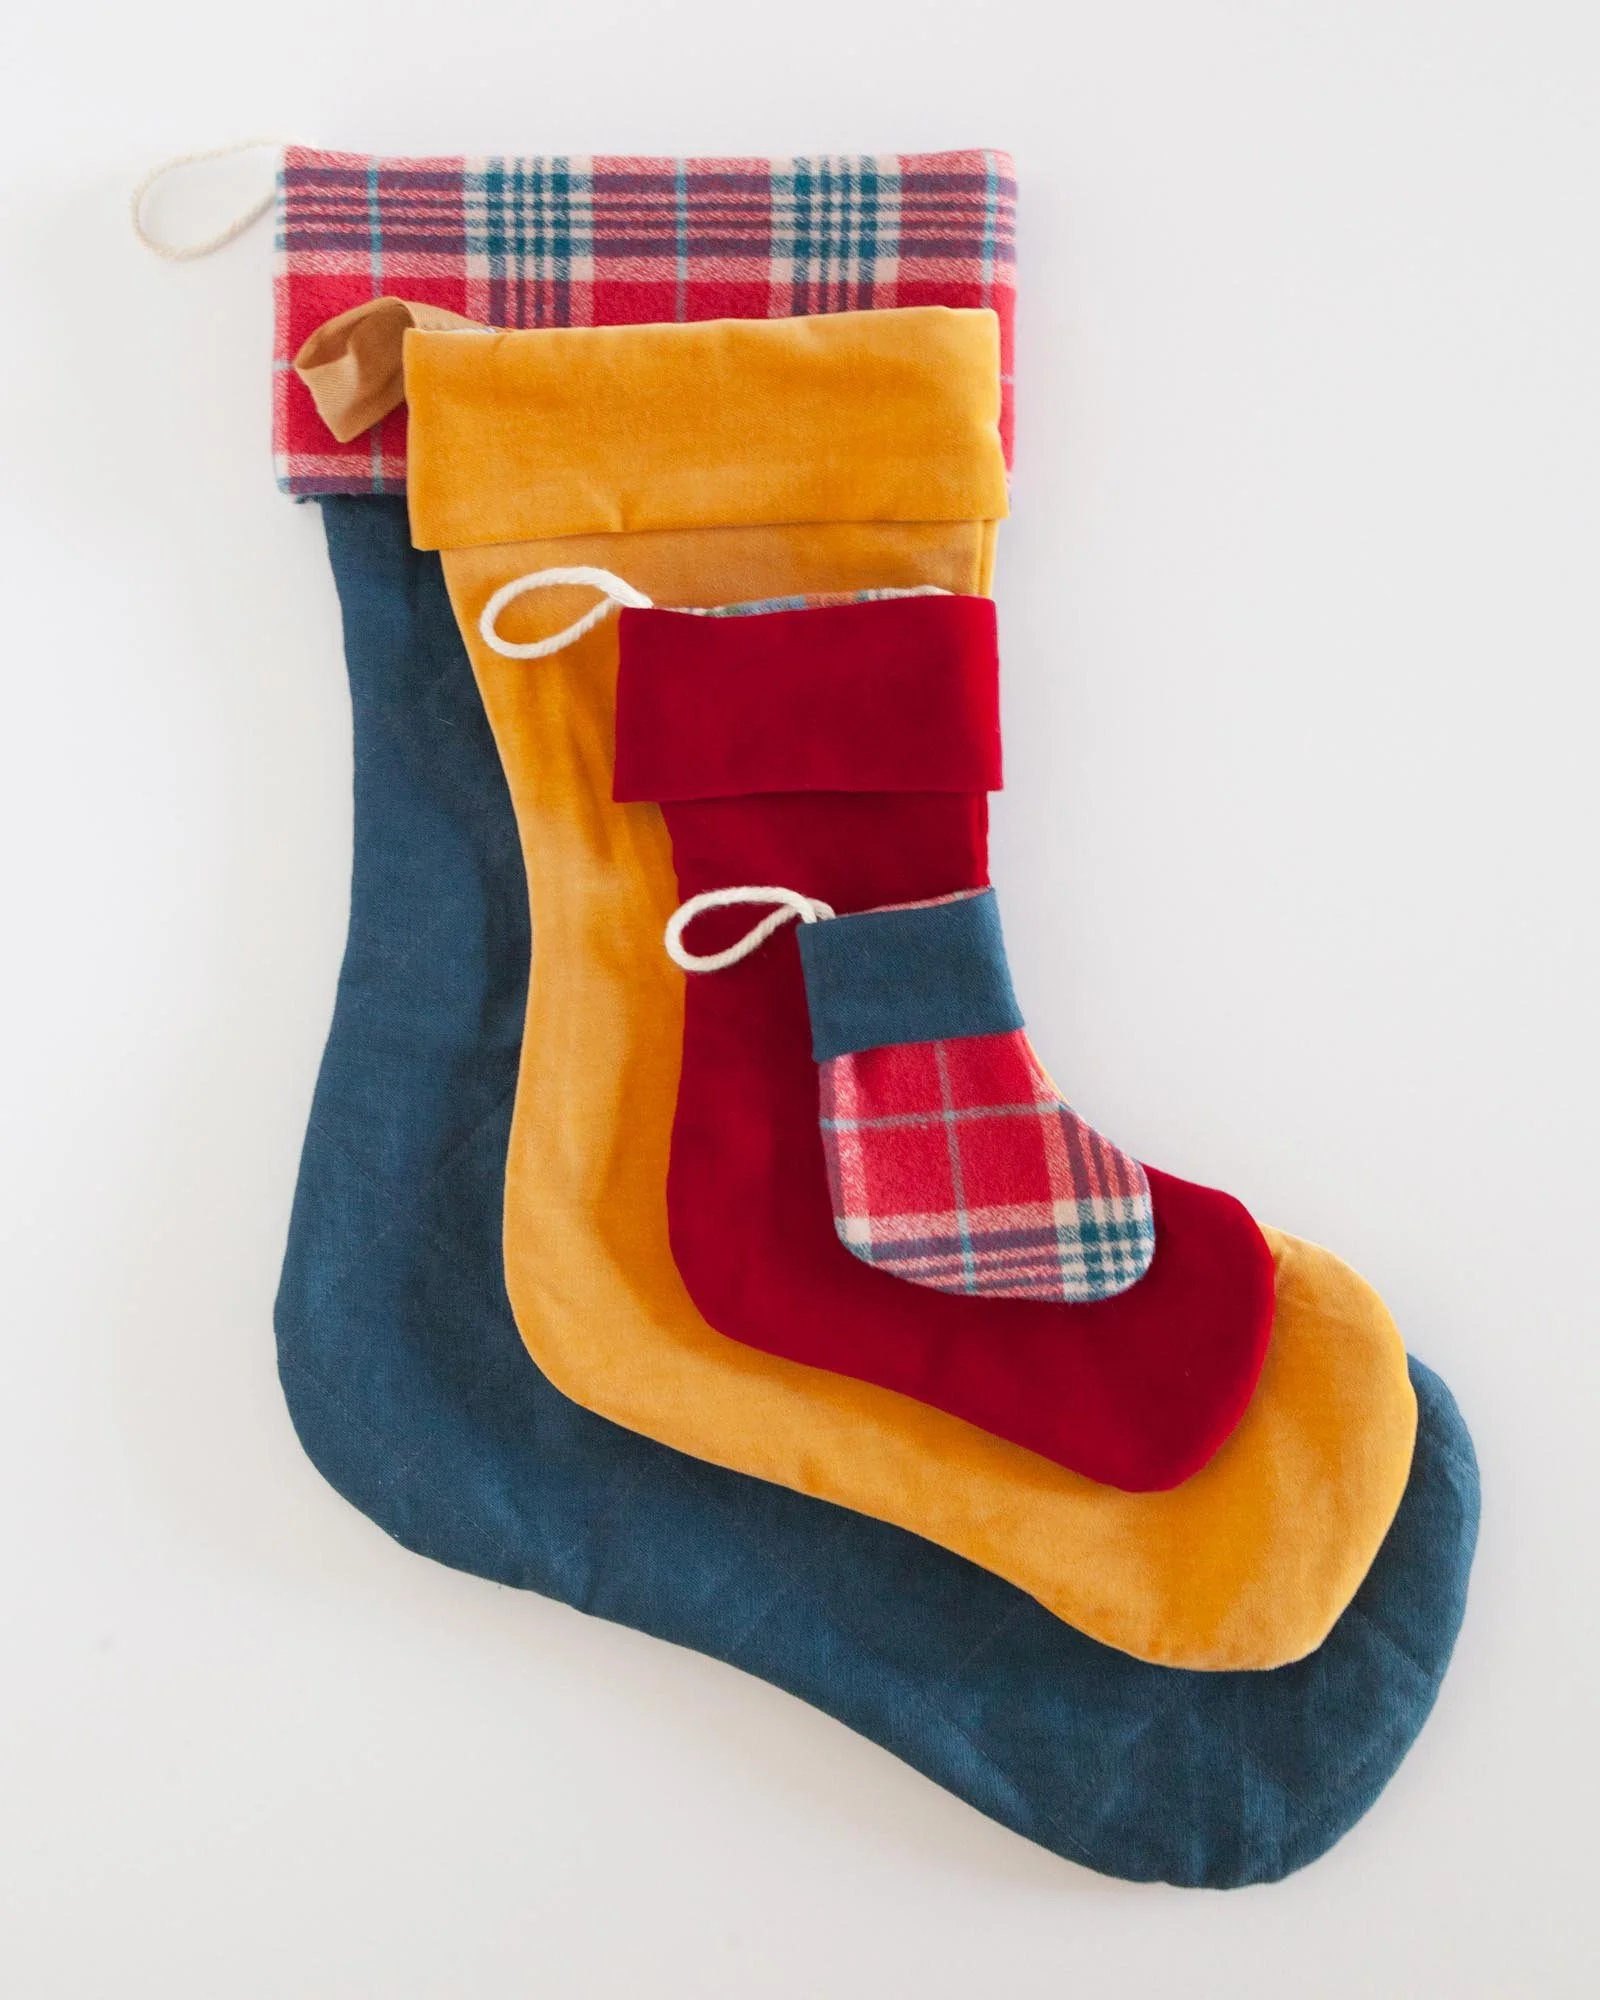
I have expanded this pattern to include 4 sizes and it is available in my shop. The medium size is still free when you sign up for the newsletter. Click here for all the details on the new pattern.


Last year, the infamous 2020, I really got into making a special and cozy holiday season. The covid rates were bad and getting worse every week. Things were not going to be the same as usual and I felt it was important to have things to enjoy and look forward to. So, we hunkered down. I decorated the house, bringing out all the old decor and making new ones.
Usually, I would celebrate Christmas at my parents house and use the stocking that I've had since I was born. But, because of concerns over covid, we stayed home just myself, my boyfriend and Fox, my cat. I had some old velvet that I had bought at a thrift store in my stash and decided to use it to make new Christmas stockings. It was less exciting to open them on Christmas morning because I had not planned any goodies to go inside but I appreciated the festive feel they added to the house.

The finished stocking measures 16” high by 7” wide at the opening. It has a lining (which covers the raw edges of the body of the stocking) and a classic cuff. The raw edge of the opening of the stocking is hidden underneath the cuff and finished with a serger or zig zag stitch. For this project, you'll need about .5 yard for the exterior of the stocking and for the lining. For the hanging loop, you'll need about 5" of ribbon or twill tape. Alternately, you could make a loop out of fabric.

You can watch the video above, or if it’s not working there, you can watch it on YouTube here. Scroll down for written instructions.
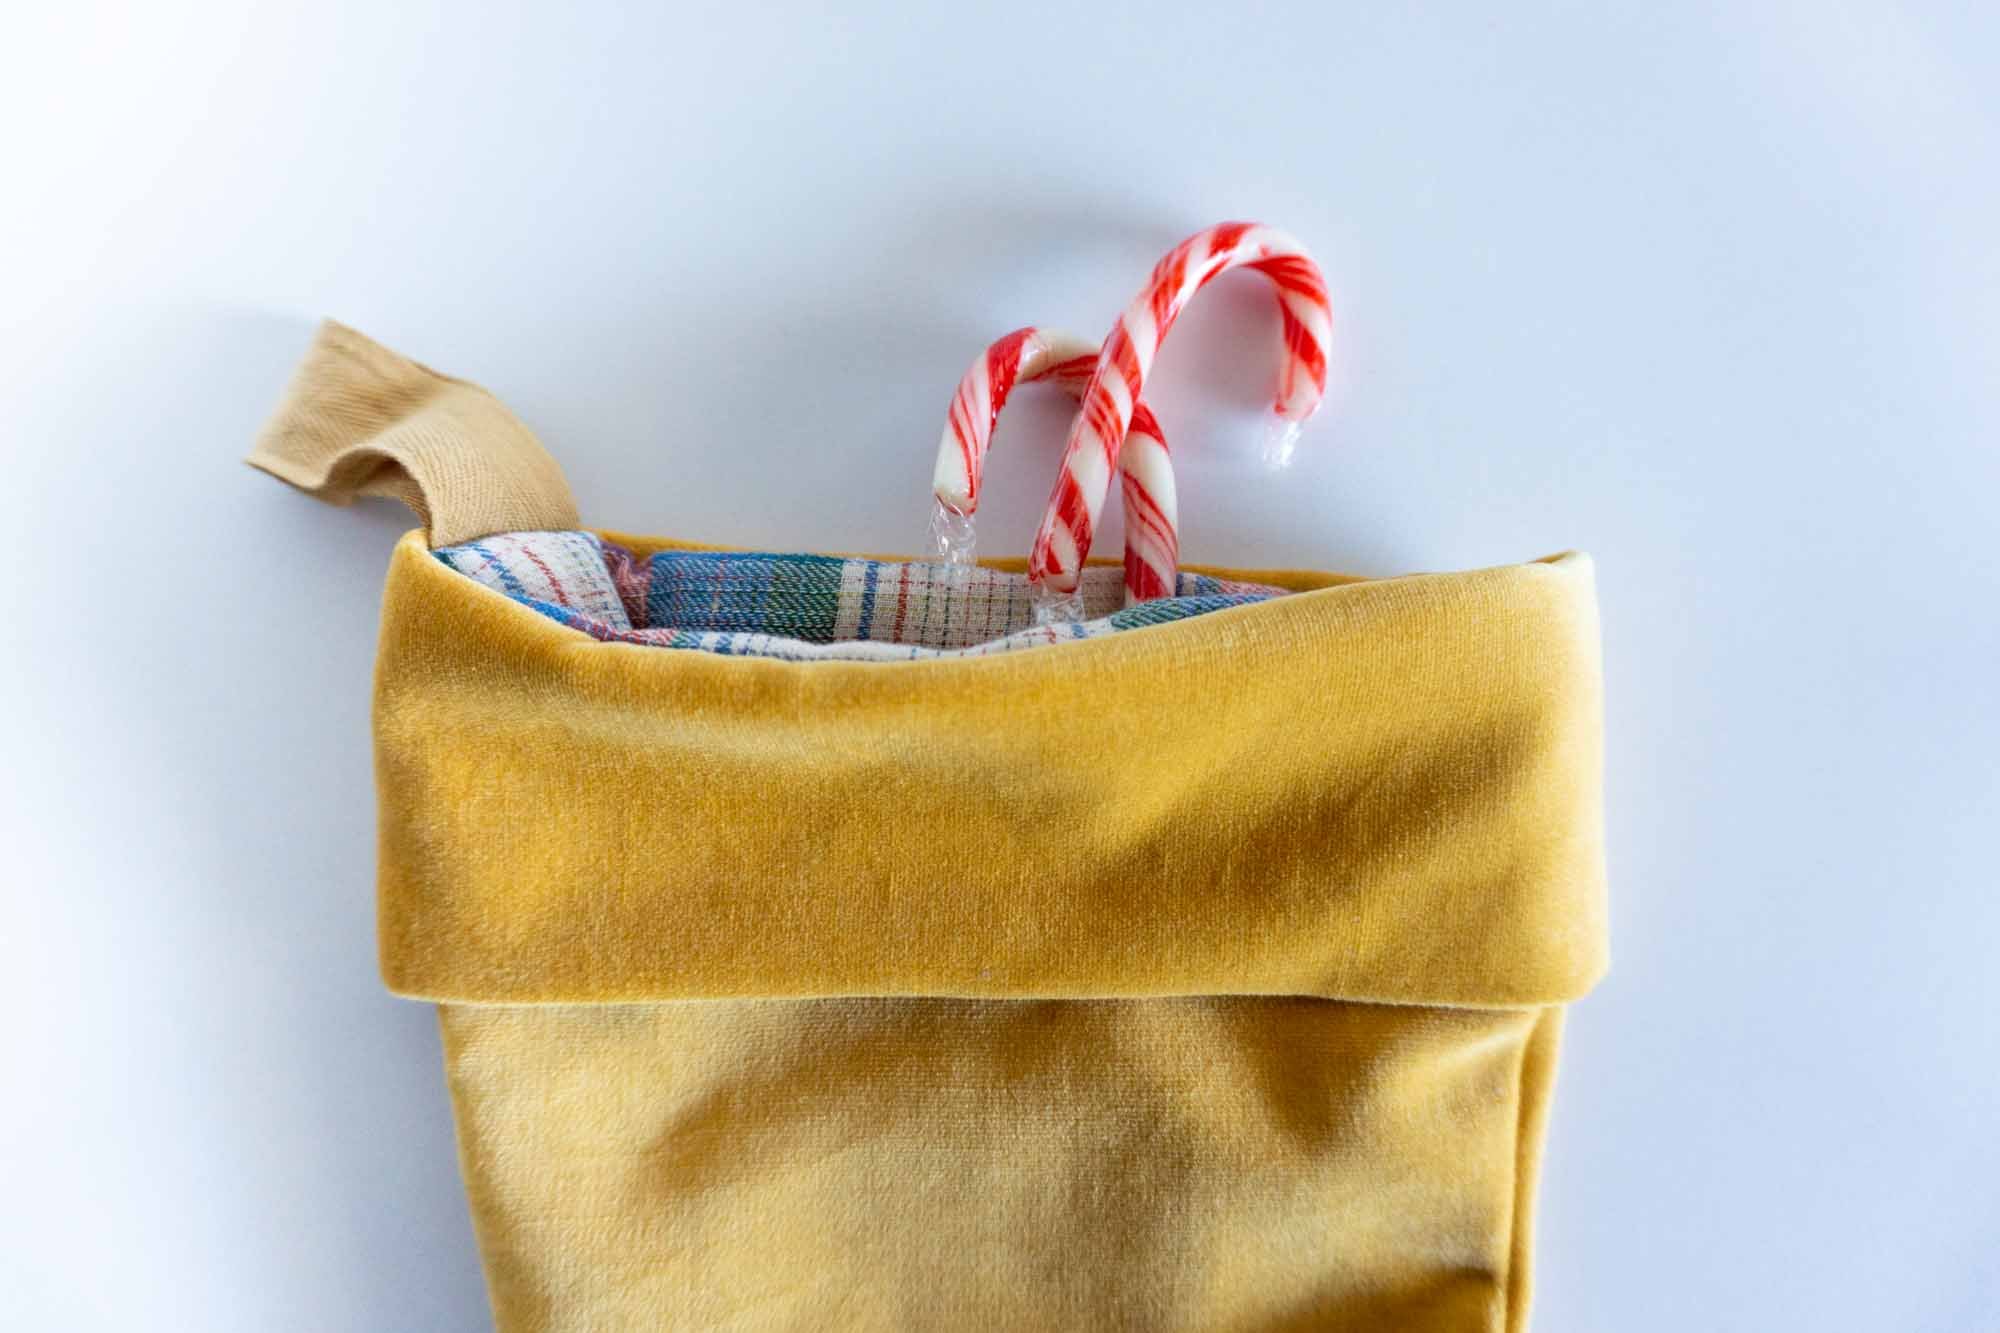
In the tutorial, I'm using a polyester velvet for the exterior and a cotton for the lining. The velvet is nice because it's fairly heavy and helps the stocking hold its shape. For the cuff, you could try using a shearling or faux fur for a contrasting look.
The pattern for the stocking is free to download when you sign up for the newsletter. When you sign up, you'll receive an email with a password to the new Sew DIY Resource Library. The password will give you access to one web page where you can download all the pdfs and pattern add-ons that are used in our tutorials. If you are already signed up for the newsletter, you don't need to sign up again. Just check your email for the latest newsletter to find the password.
As a new subscriber, you'll receive a series of three welcome emails and then you'll be added to our weekly newsletter list. You can expect about one email a week, occasionally more if there's a launch or a sale, occasionally less if I'm busy with other things. You can unsubscribe at any time.
HOW TO SEW A SIMPLE LINED CHRISTMAS STOCKING WITH A CUFF
SUPPLIES
Christmas Stocking PDF Pattern (Sign up for the newsletter above to download)
1/2 yard exterior fabric (such as velvet or other medium bodied fabric)
1/2 yard lining fabric (lightweight fabric such as quilting cotton)
5" ribbon or twill tape
Thread
INSTRUCTIONS
Step 1: Print the pattern on 4 pieces of letter or A4 size paper at 100% scaling. Cut out the pattern along the solid line.
Using the stocking body pattern piece, cut 2 from the exterior fabric and 2 from the lining fabric. Cut one for the cuff, on the fold.
Step 2: Fold cuff in half with right sides together and stitch along the short end. Gently press cuff seam open. Fold cuff with wrong sides together.
With right sides together, stitch stocking body around the curved edge of the body, leaving the top open. Repeat with lining fabric. Clip curves.
Step 3: Turn main fabric stocking right side out. Keep lining wrong side out and place inside of main stocking. Match seams and pin together. Tip: Nest the seams for a flatter finish.
Fold ribbon in half and pin to lining at heel edge, matching raw edges. Baste if desired.
Place folded cuff inside stocking, matching raw edges and pin. (Place seam in cuff against heel seam of stocking.)
Stitch all layers together. Finish raw edges with a serger or zig zag stitch. Fold cuff to right side.

I hope that you enjoy this tutorial. I really love how quickly this stocking comes together. At this time of year, I'm always in a rush to finish work, make gifts, decorate the house and cook so I really appreciate a project that comes together so easily.

This year, we're staying home again but will hopefully have some opportunities to see friends and family. Last year, my family did a zoom party every Saturday morning in December where we baked cookies together. It was a really nice way to see everyone and have an activity that resulted in yummy cookies. This year, we'll be doing at least one cookie baking zoom. I'm working on planning out what I want to bake and I'll likely stick to a similar schedule as last year. In 2020, I did a cookie and drink pairing every week and it really gave me something to look forward to, even though I wasn't getting to do the usual social things. In case you're interested, I'm adding my cookie and drinks schedule below.
Week One: Snickerdoodles and Egg Nog
Week Two: Thumbprint Cookies and Hot Cider
Week Three: Chocolate Crinkles and Irish Cream (Hot Cocoa would be a good substitute)
Week Four: Gingerbread Cookies and Mulled Wine
I hope you’ve enjoyed this tutorial and are looking forward to the holiday season. I have another holiday themed tutorial on the docket for next week. To stay in the know, you can sign up for my weekly newsletter and/or subscribe to my YouTube channel. Happy sewing!