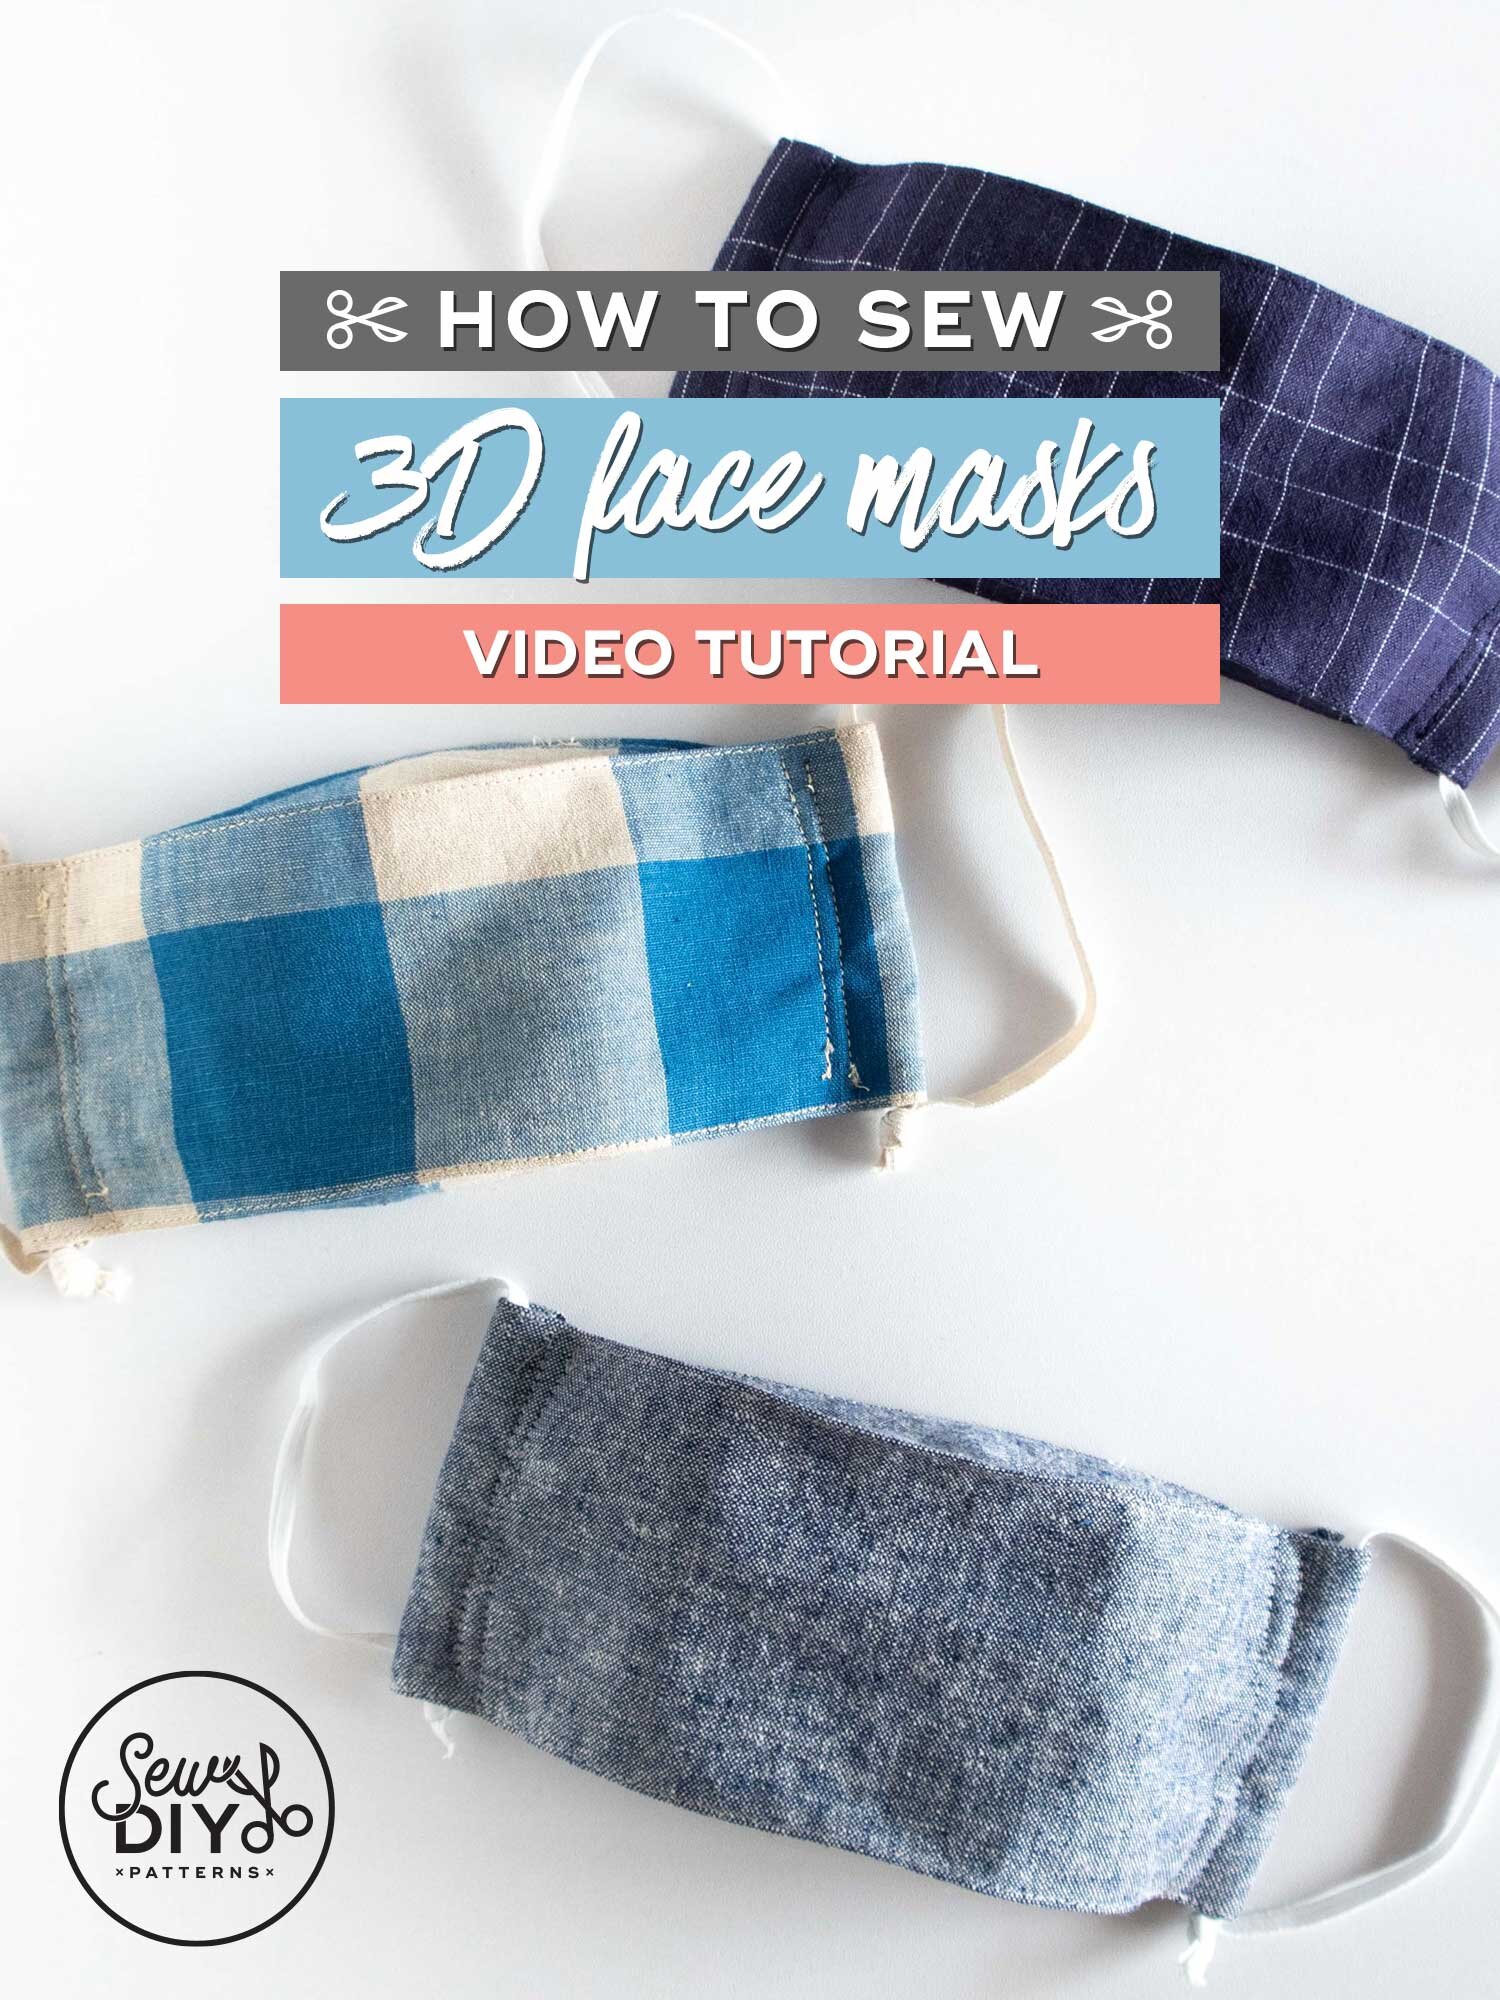
In today’s YouTube video, I’ll be showing you how to sew a 3D style face mask quickly and easily. I know there are a million mask sewing tutorials are out there and that I’m basically 8 months late to the game. I was really intrigued by the 3D face mask design but not thrilled with the lengthy construction process that a lot of tutorials use. I want to sew these masks as quickly as possible so that I can move on to sewing more fun things. So, after reading a lot of blogs, watching videos and doing some experimenting, I figured out the fastest process for sewing these masks. These masks have just one pattern piece and an optional nose bridge. Along the way, I’ll let you know the steps you can skip and why you may not want to skip them.

I am diligent about wearing my face masks but I have not enjoyed sewing them at all. I would rather be sewing anything else. In the beginning of the pandemic, I sewed a few masks for myself, friends and family using the basic pleated design and my least favorite fabric. Now that we’re eight months in, our face masks are getting a little beat up and it’s time to refresh them. I think these masks look really beautiful and stylish and I’m excited to add them to my rotation. Sewing this style is actually a little bit fun and it feels like a kind of magical moment when they suddenly form into these little 3D masks.

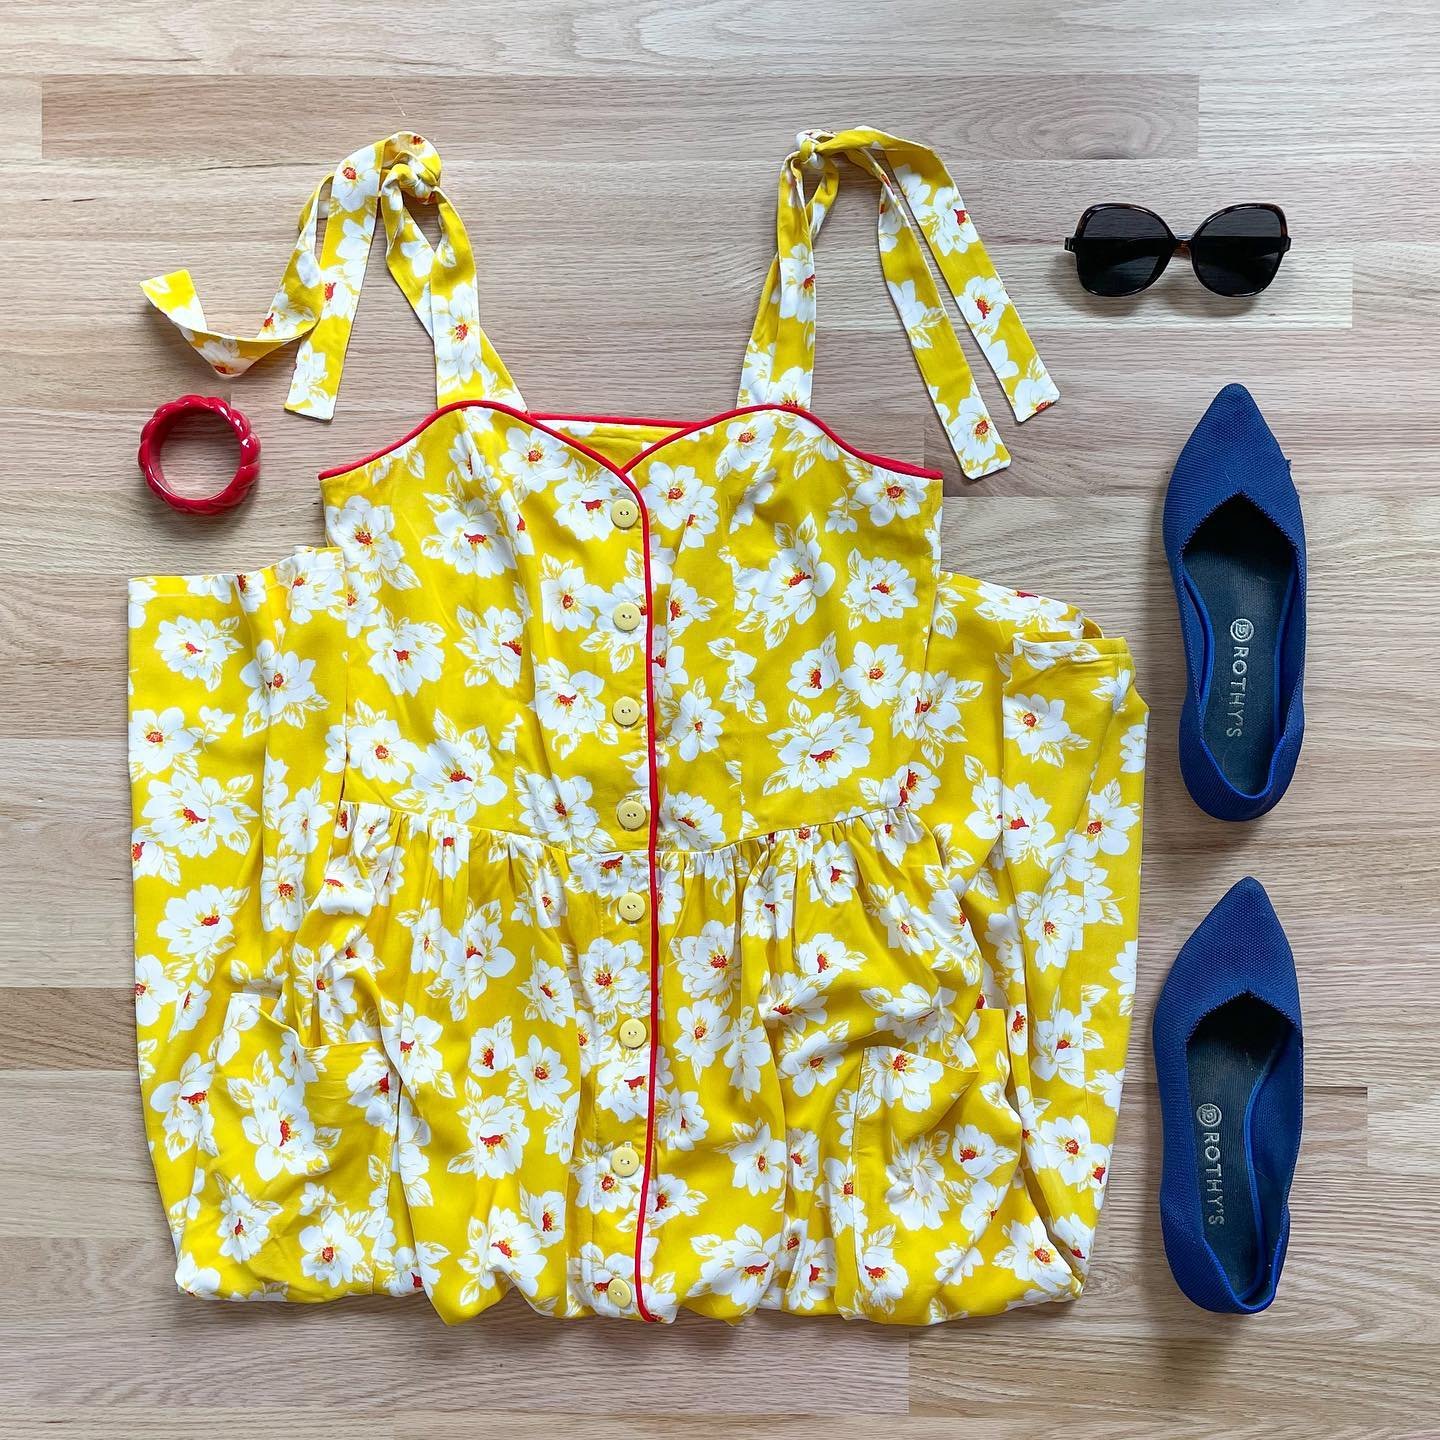
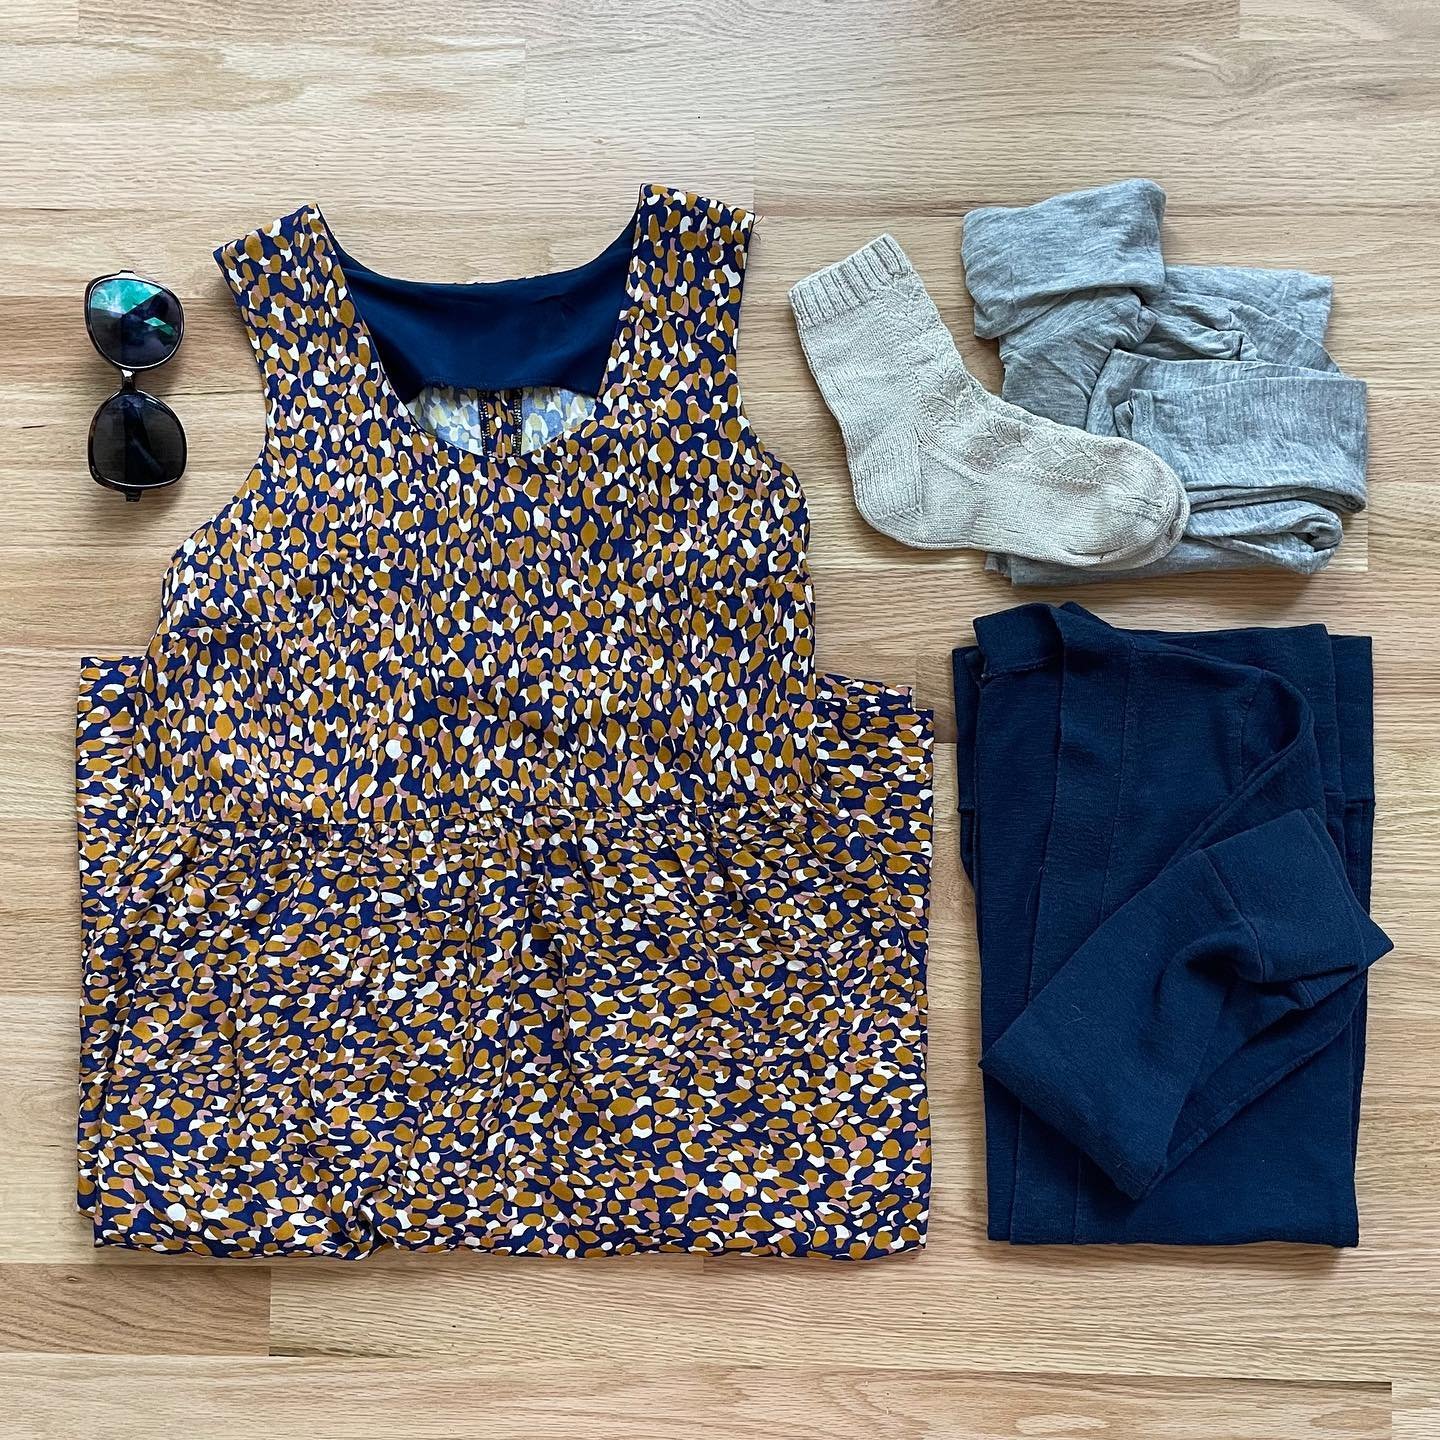
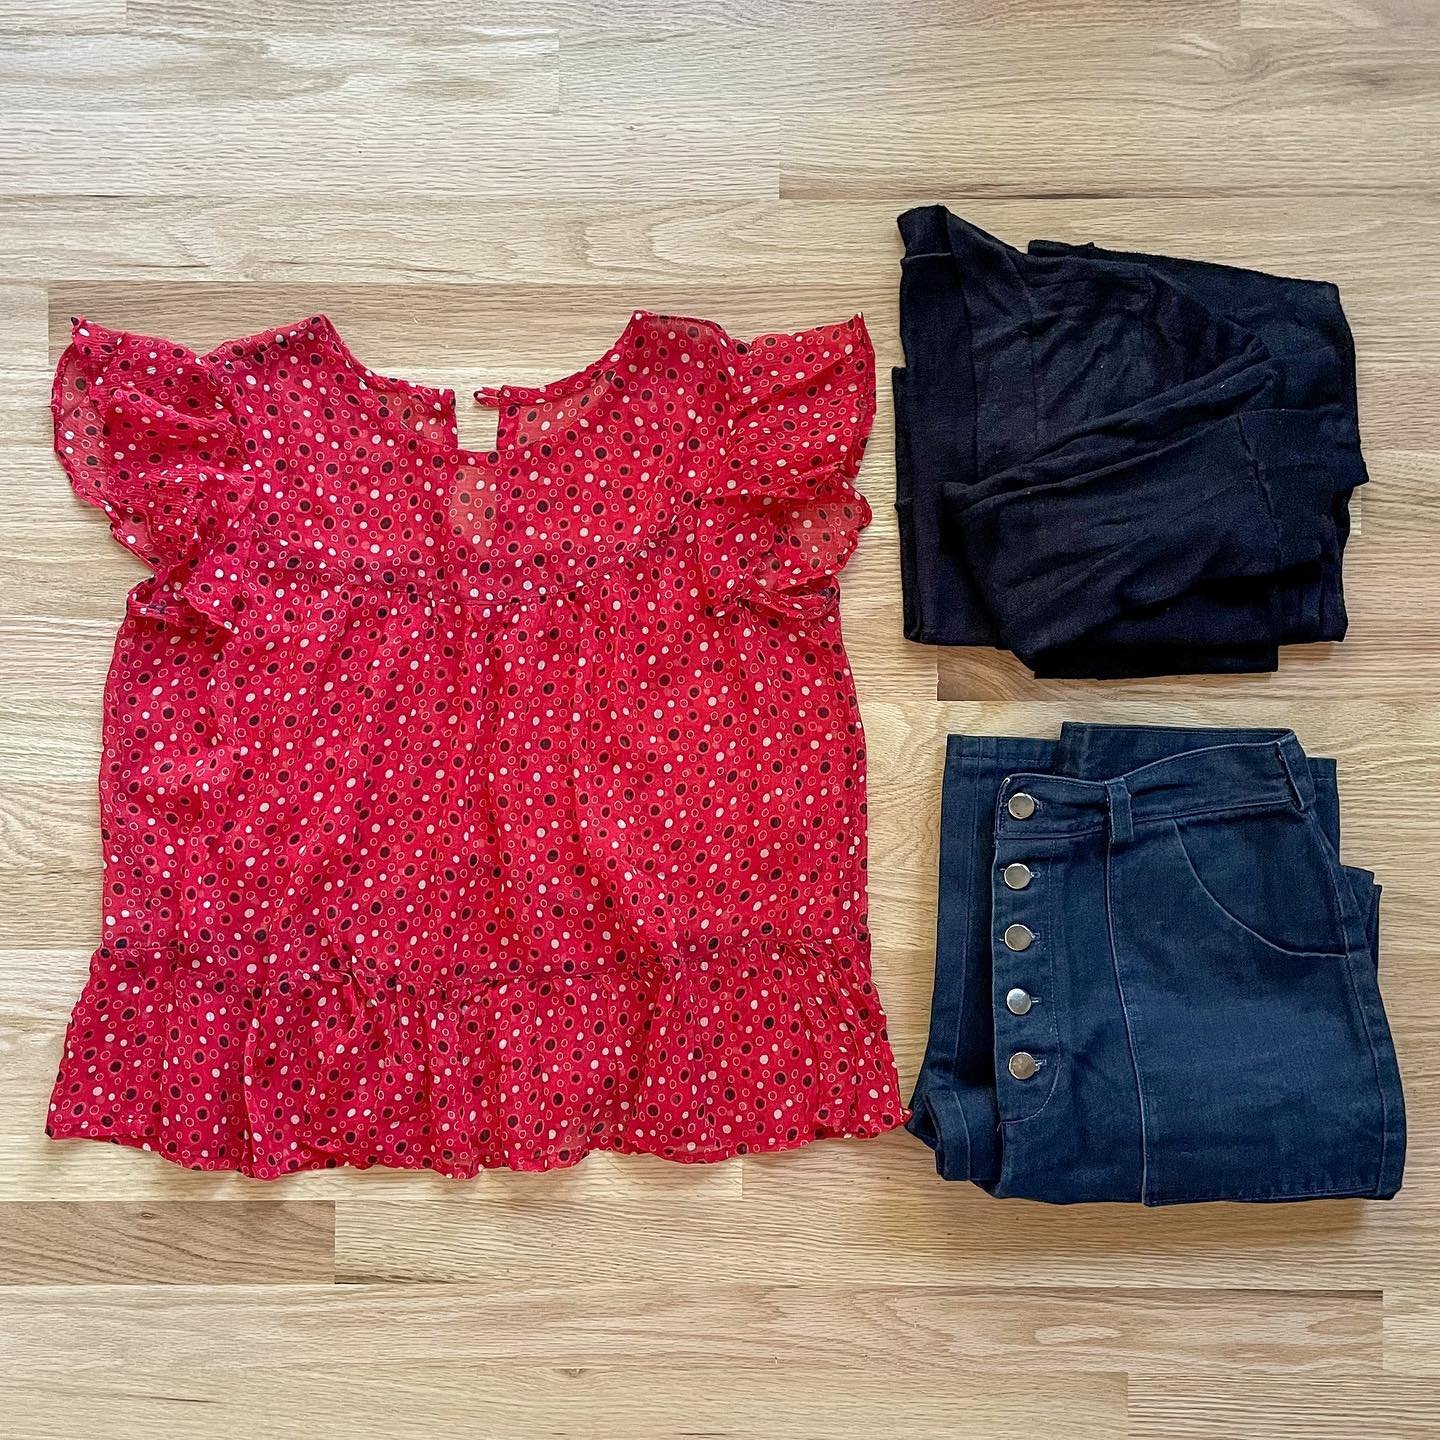
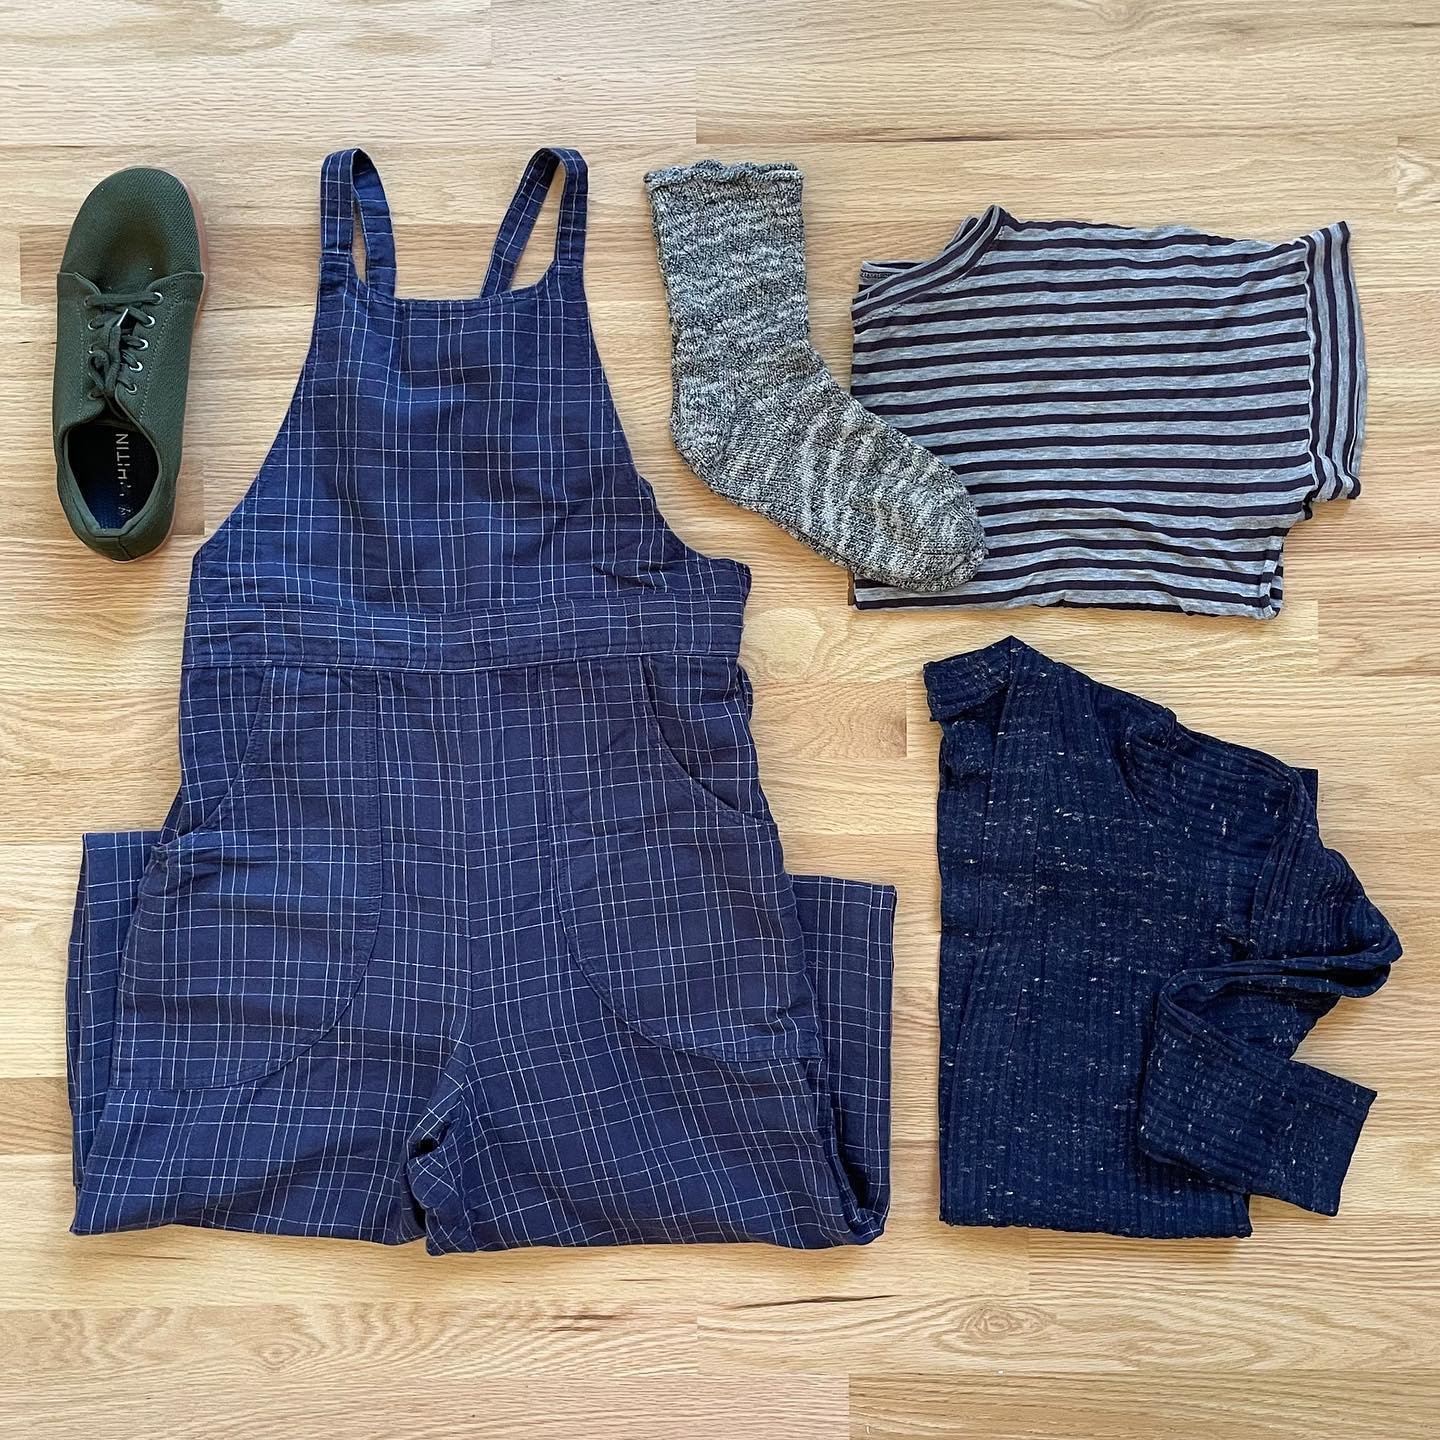
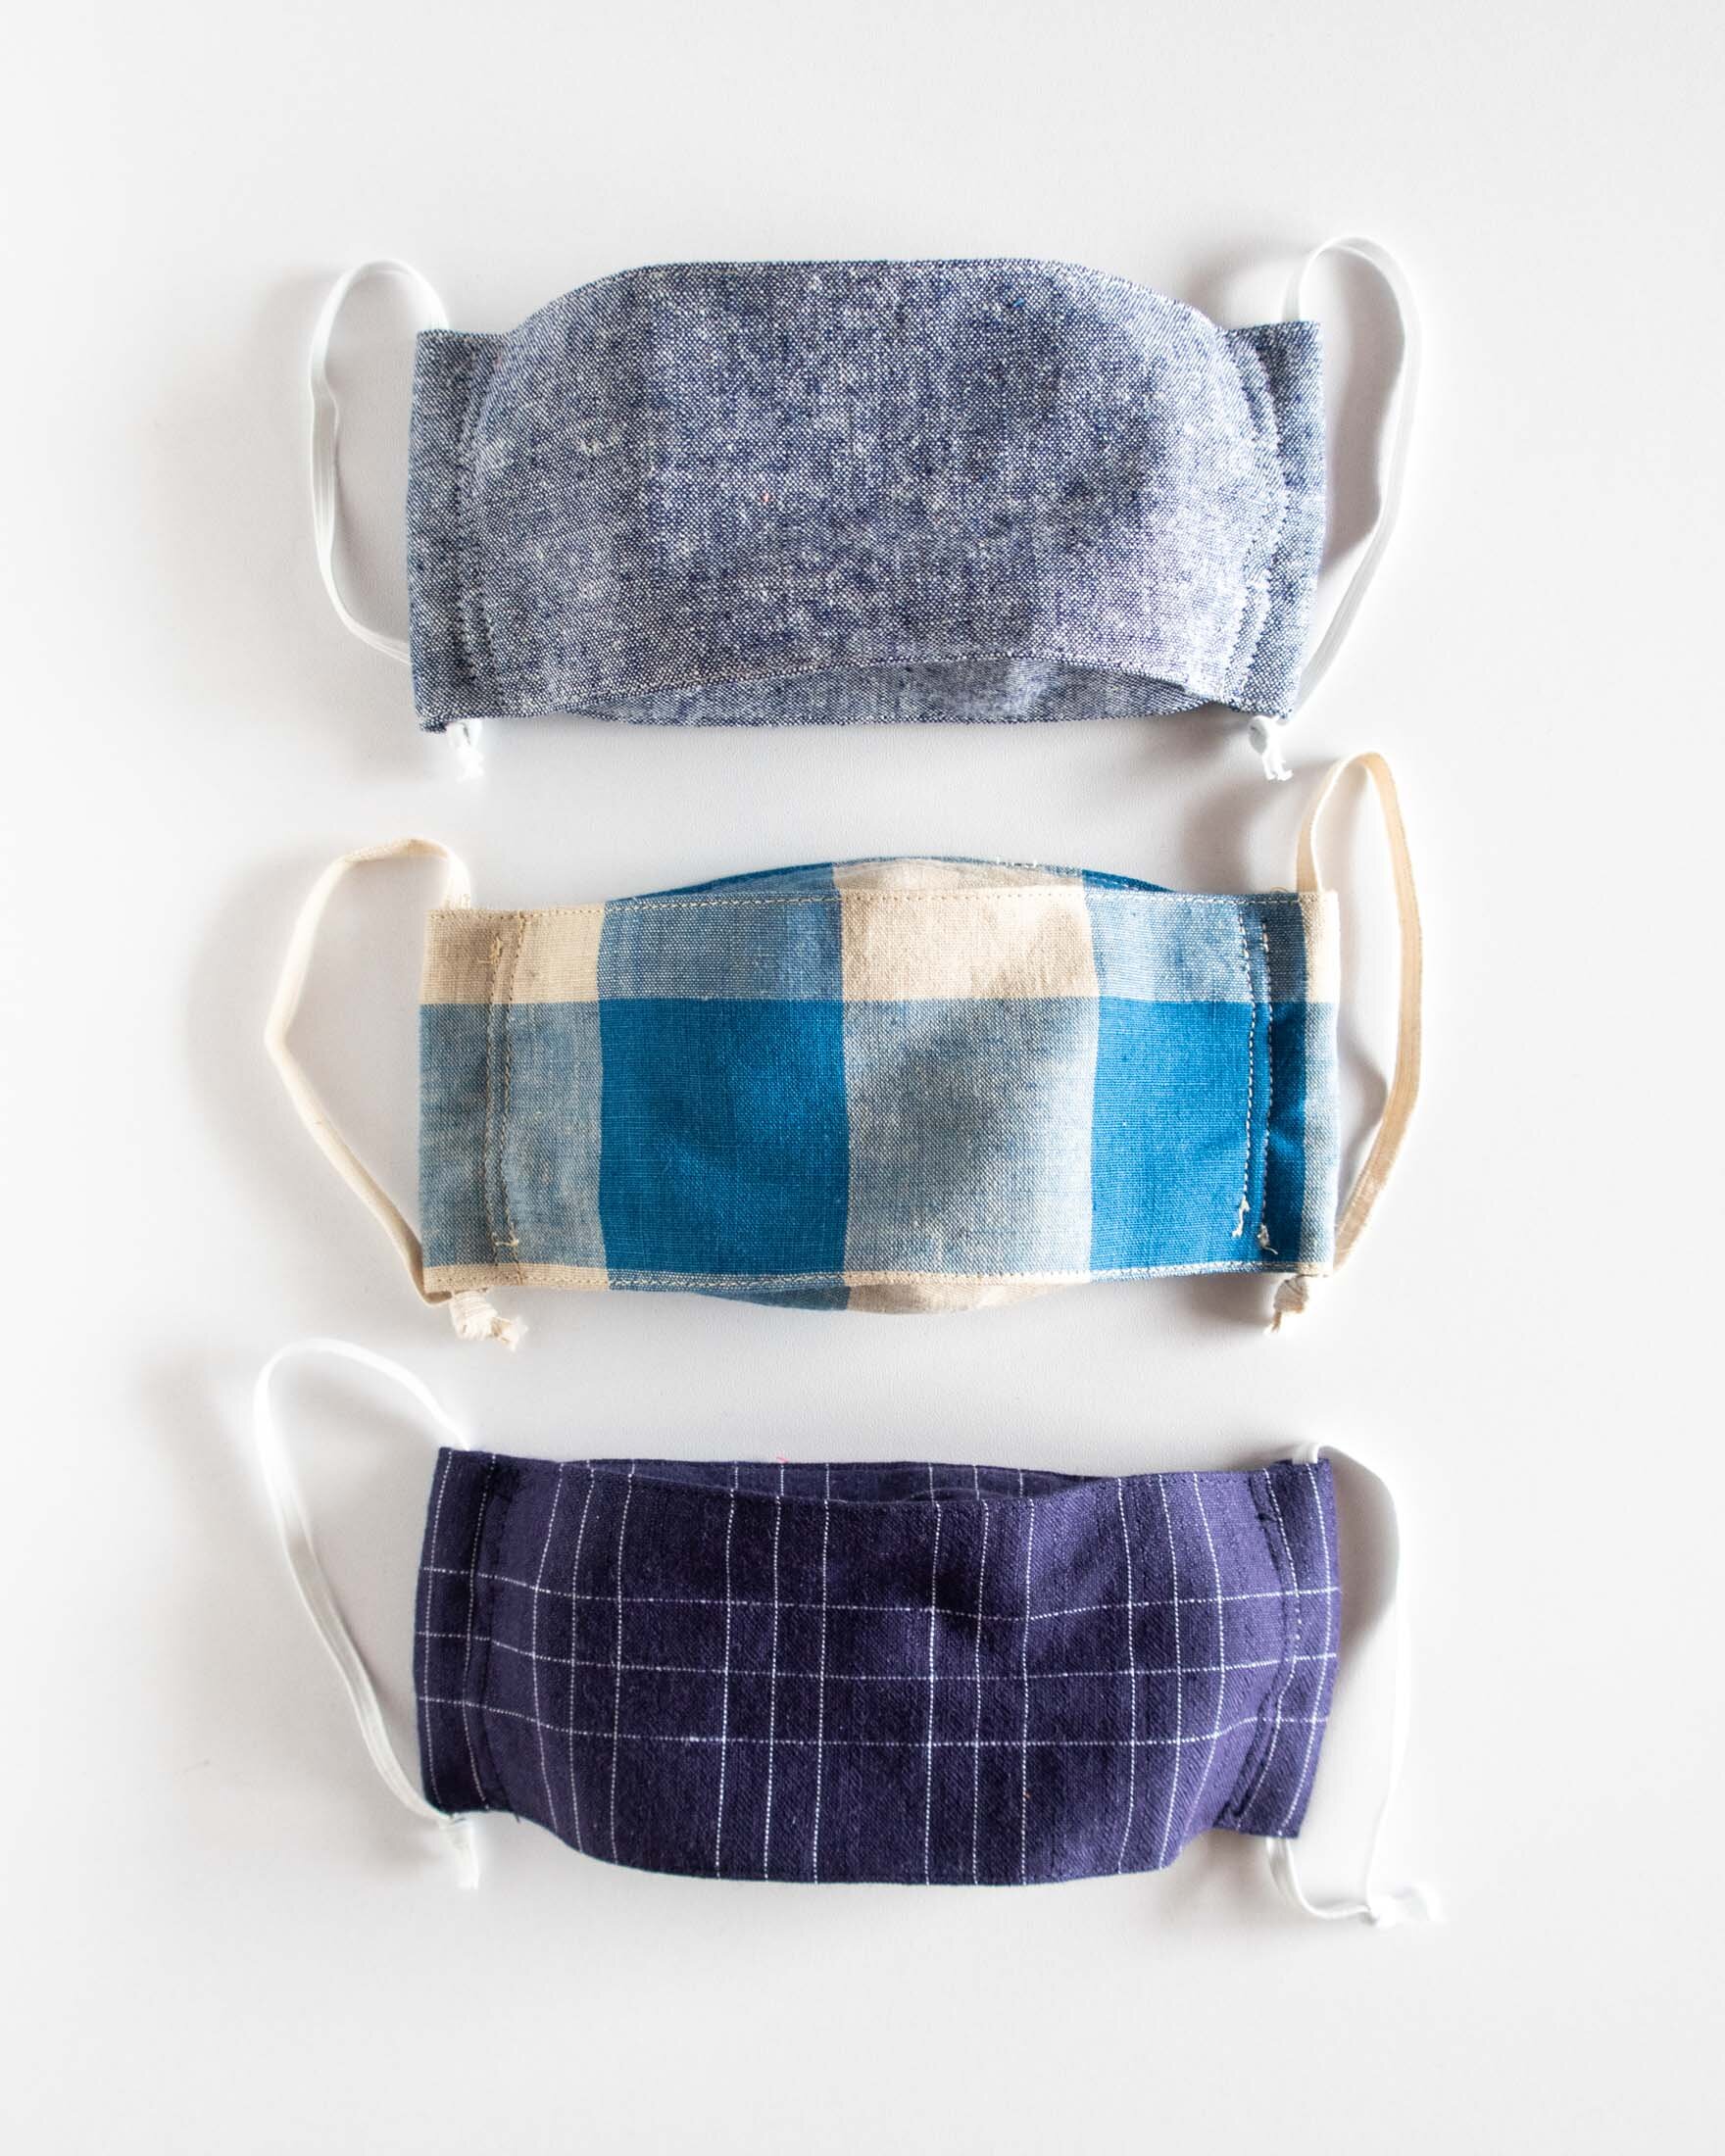
For fabric, I like to use a medium weight, tightly woven fabric. I’ve read that to test a fabric to see if it’s suitable, you should try blowing through the fabric. If you can’t feel your breathe on the other side, then it’s a good fabric for a face mask. Plus, a sturdier fabric will give you a better 3D form. I tried a few masks with light weight linen and they don’t hold their shape as well. For these masks, I used fabric leftover from garment sewing projects. I love that I was able to use supplies I have on hand and now I have a mask to match a few of my outfits.

Watch the video above for all the details on how to make the mask. Or, scroll down for written instructions and a few photos. If the video above doesn’t work for some reason, you can watch it on YouTube here.
The size I’m using is a generic adult size. (Free template download below.) If this size doesn’t work for you, feel free to adjust to suit your needs. We all have different face shapes and sizes so you may need to adjust the size a little bit. Plus there are lots of other patterns out there on the internet to try. Again, I did not invent this style. But, I do believe that I’ve improved the construction. (I was mostly inspired by the method used in this YouTube video. The big difference is that I’ve added the nose bridge with only one extra line of stitching needed.)
In the video, I show how to make your own templates. If you prefer to print out pre-made templates, you can download them for free by signing up for our newsletter in the form above. (UPDATE 2021: We’ve put all of our pdf downloads on one resource library page. When you sign up for the newsletter, you’ll receive the password and link to the resource library.)
When you sign up, you’ll get three welcome emails telling you more about Sew DIY. Then, you’ll be put on our weekly newsletter full of sewing tips, tutorials, and shop updates like sales and new pattern releases. We’ll never spam you or sell your email address and you can unsubscribe at any time.
How to sew quickly sew a 3D face mask
SUPPLIES
Cardstock (to make the templates)
Scraps of tightly woven fabric
Thread
Elastic or cord for straps
3” long piece of folded bias tape (optional for nose bridge)
Metal nose bridge (optional) You can purchase metal nose bridges like these on Amazon. Or, use wire or pipe cleaners.
TOOLS
Scissors or rotary cutter
Safety pin or bodkin

INSTRUCTIONS
Step 1: Download (scroll up) or draw your own template. For my template, I drew a rectangle 10 inches wide by 7 inches tall and cut off a 2” half square triangle from each corner. Make a folding template 9.5” long by 3” high.
Cut two pieces of fabric from the octagon shaped template.
Step 2: Using a 1/4” seam allowance, stitch around all edges, leaving an opening at the top about 3” long. Trim corners. Turn right side out through the opening. Push out corners using a blunt object like a knitting needle. Press.


Step 3: Place the mask wrong side up on your ironing board. Using the pressing template, press the top and bottom sides towards the center. The pressed mask should be about 3.5” high and the top and bottom flaps should overlap.

Step 4 (OPTIONAL): Unfold the mask. If you’d like to have a nose bridge, pin bias tape to the center top edge of the mask, covering the opening.
Step 5: Topstitch all edges, bias tape and folded edges
Option 1: For the fastest stitching, topstitch over the top edge, closing the hole and topstitching the bias tape in place at the same time. Topstitch bottom edge of bias tape.
Option 2: If you want to spend a little more time stitching, topstitch around all sides of the mask. Topstitch bottom edge of bias tape.
Then, fold top and bottom towards center, along pressed lines. From the right side of the mask, topstitch very close to the edge of each fold line. Note: It’s ok to skip this step but I think it helps give the mask more shape and holds it away from the face better.
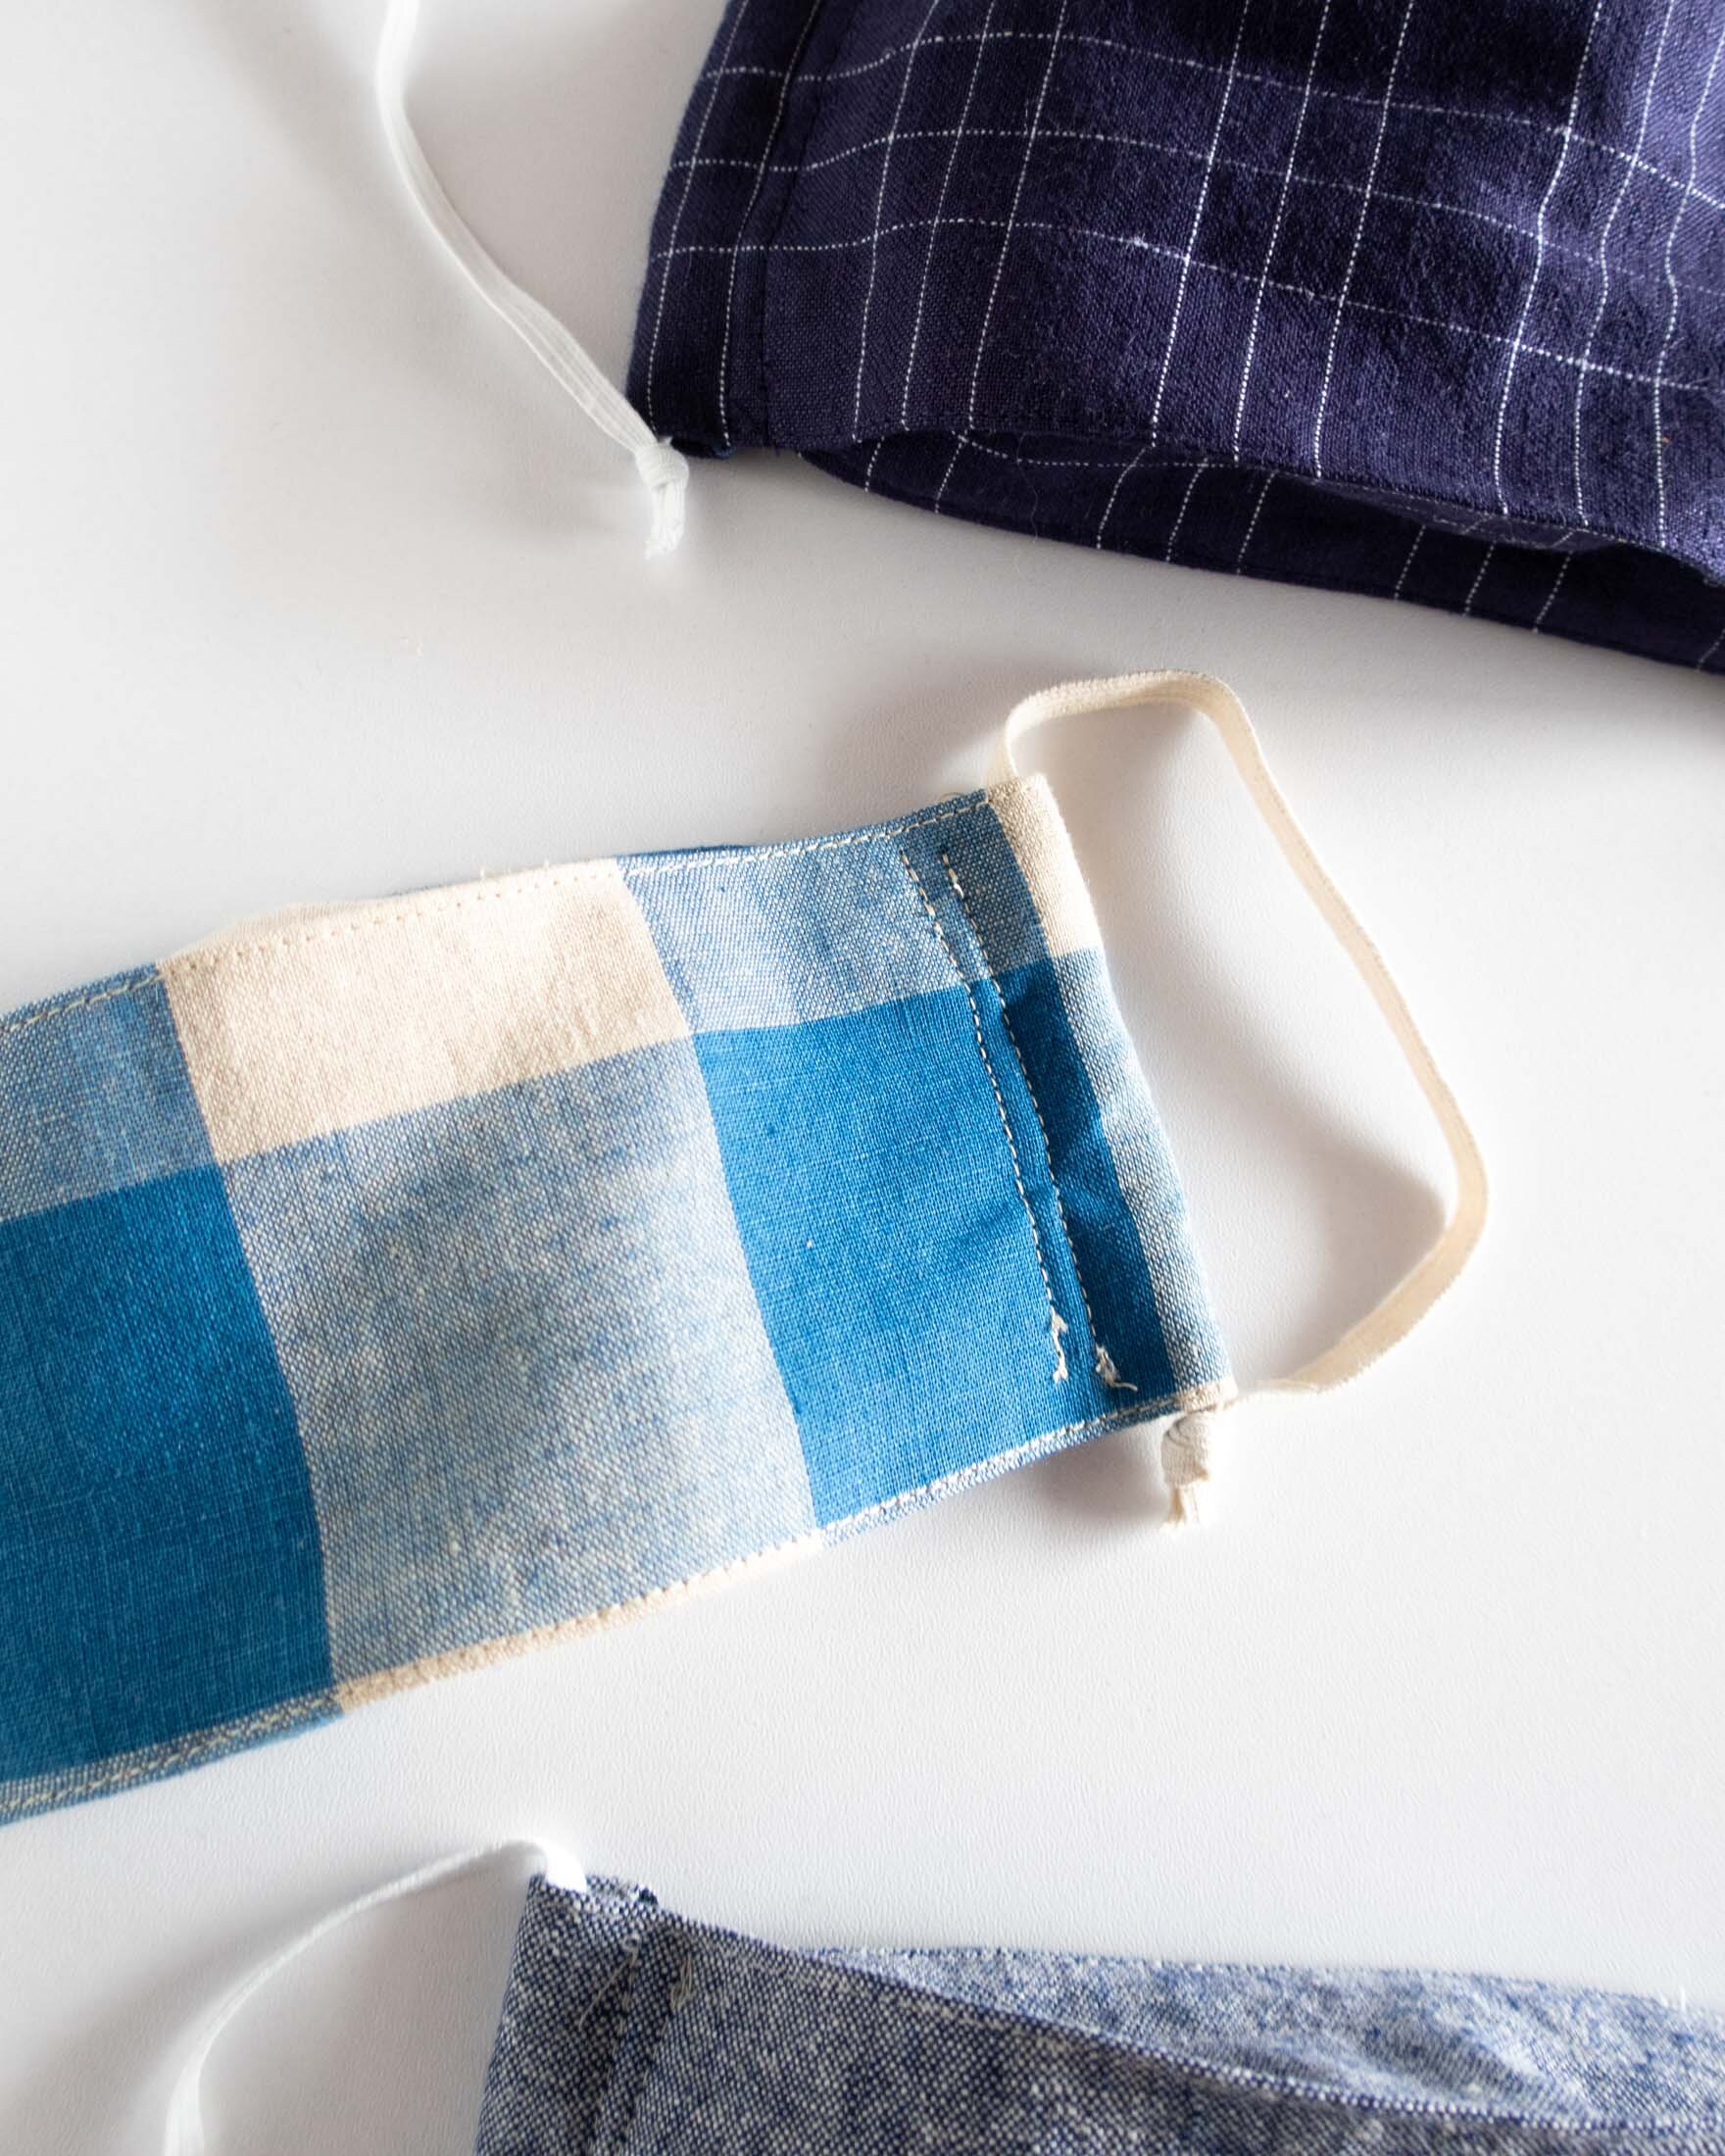
Step 6: Make the elastic casing by folding one short end to the wrong side 5/8”. Topstitch in place. Repeat for other side.

Step 7: Make the mask 3D by folding each angled edge away from the center (right sides together) so that each edge is right next to the casing edge. Topstitch in place. See photo above.
Step 8: Use a bodkin or safety pin to thread elastic or cord into the casings on the sides. Insert nose bridge into bias tape casing. I cut my elastic 11 to 12” long and tie in a knot. You can always tie the knots tighter to get a better fit.
Step 9: Woohoo! You’re all done. Now, just wear your mask every time you go outside or are with people outside of your household.
I know I’m very late to the game with this tutorial but I really wanted to share how quick these 3D masks can be sewn. In the beginning, I didn’t want to spend a lot of time sewing or even thinking about masks. I didn’t even want to use pretty scrap fabric to make them. (Definitely some resentment there!) But it now looks like we’ll need to wear them for a long time to come, so it is worth our time to make something that’s comfortable, stylish and fun to wear.

As I already mentioned, these face masks are a great way to use up your fabric scraps. You can even coordinate them with your handmade outfits! Plus, they make great gifts for family and friends who don’t sew. Making a face mask is a great way to show your love for the people you care about.
If you’re looking for more ways to use scrap fabric and want to sign up for the Sustainability and Sewing newsletter that I mentioned in the video, click here.

This tutorial is the second in my series of tutorials for holiday gifts that use scrap fabric. Make sure to check out last week’s tutorial for mitered corner napkins. I hope that you enjoy this series and enjoy sewing these masks. I also have a new e-course that will teach you how to turn your fabric scraps into beautiful and useful improvisational quilts. You can learn more about it here.
You can save the image above to Pinterest for future reference. And, if you’d like to support this free content, I invite you to explore the shop below or donate to the channel by “buying me a coffee” at ko-fi. Happy sewing!