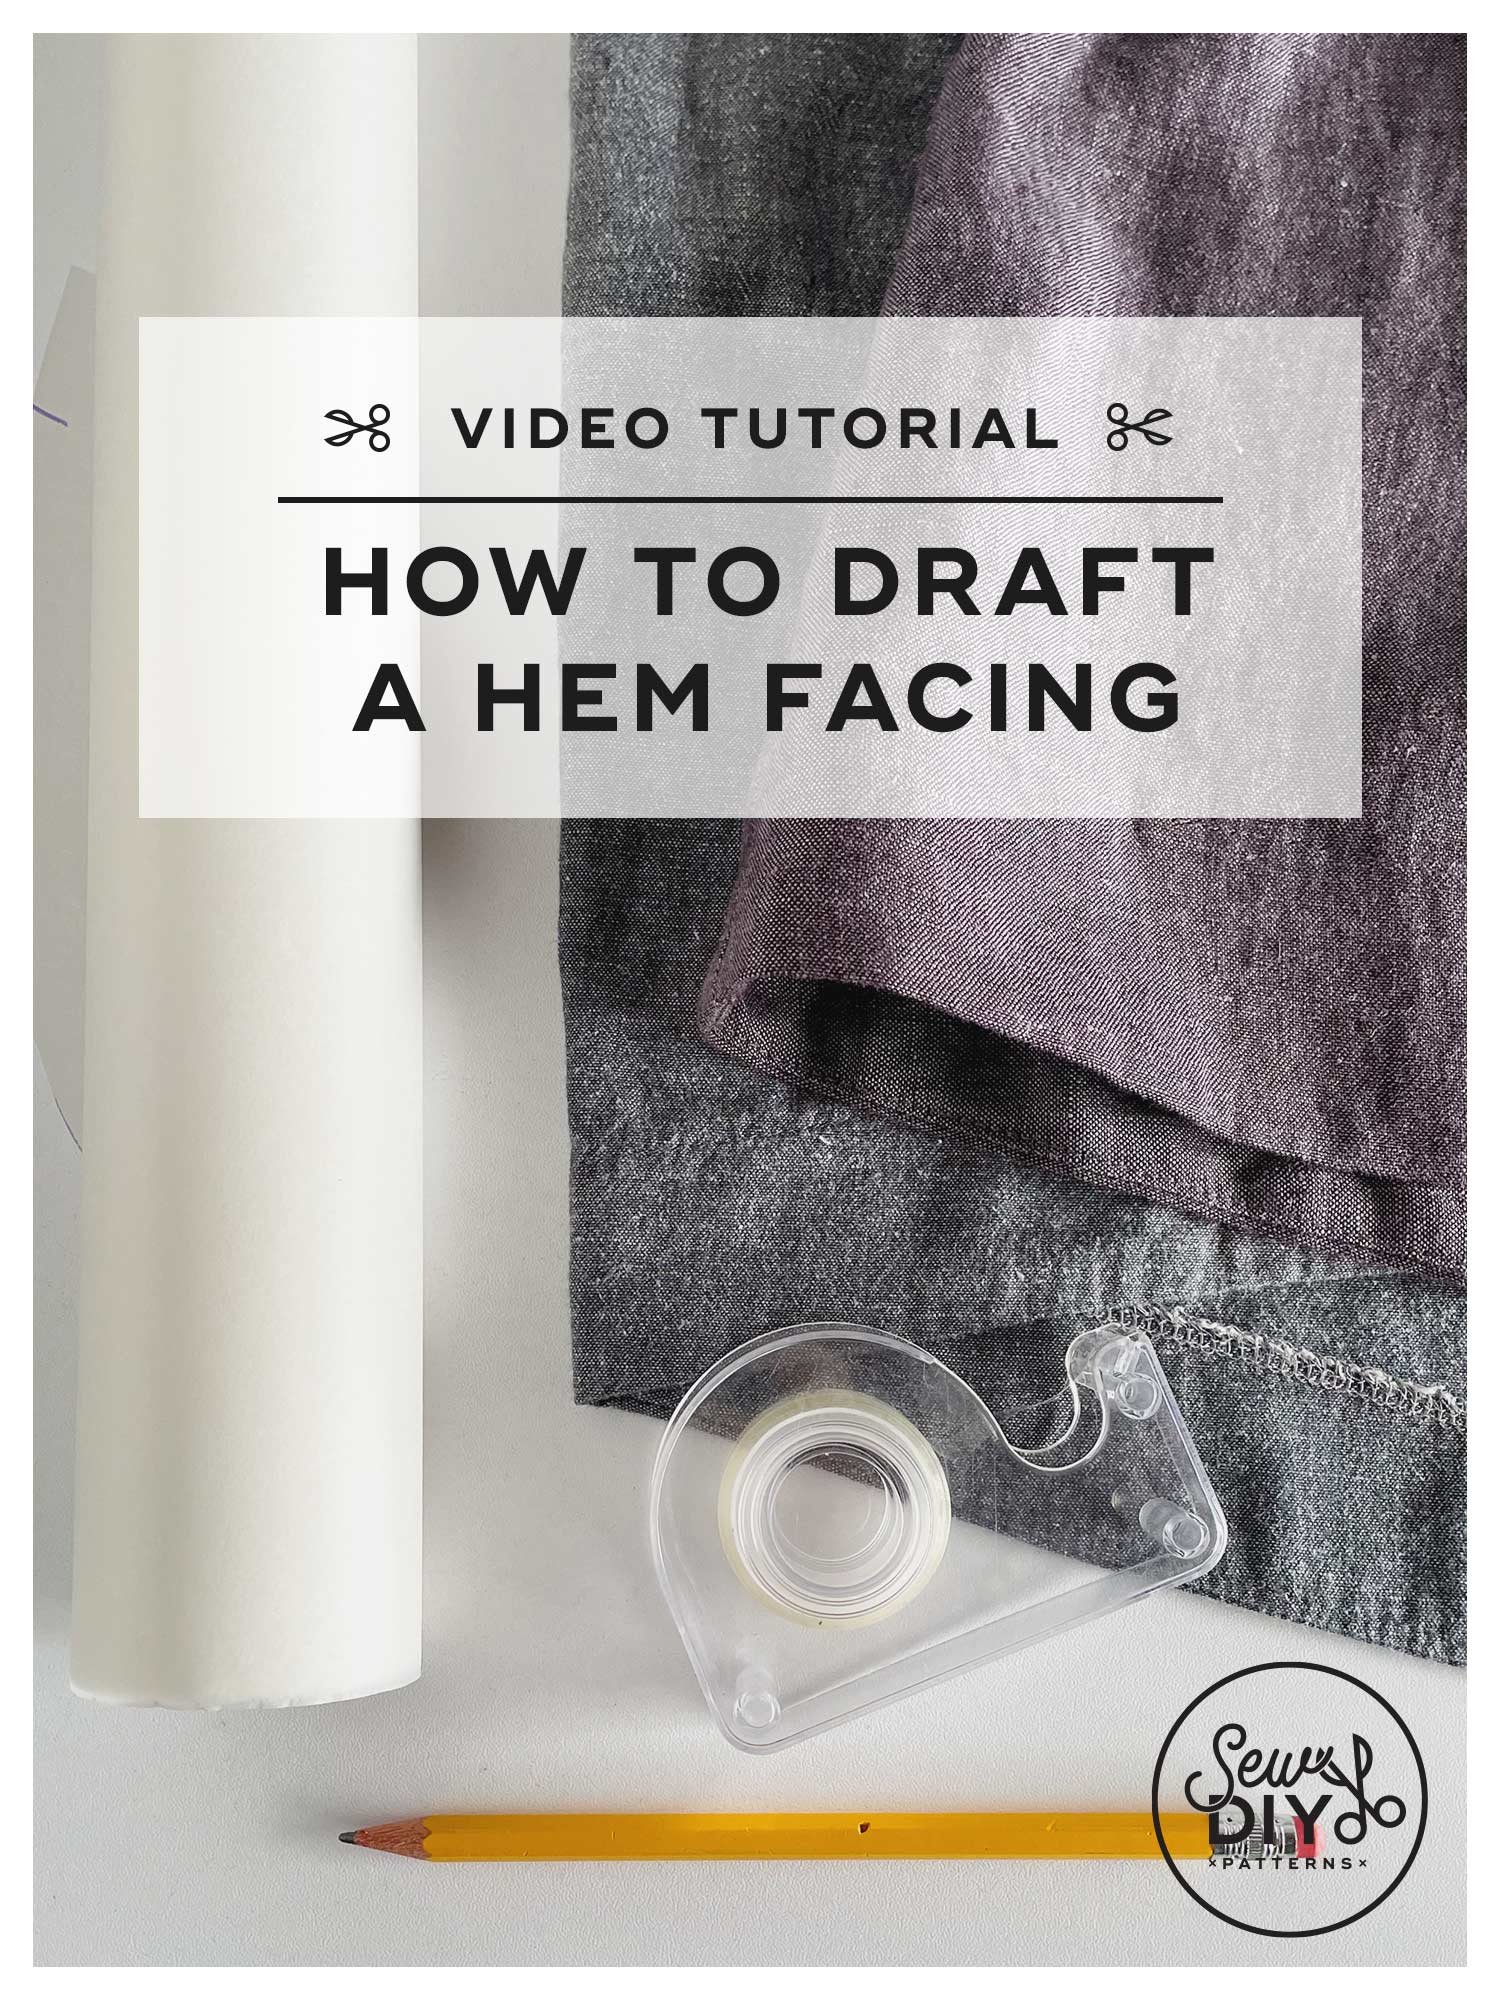
In today’s video, I’m sharing how to draft a hem facing. A hem facing is an alternative finish to the traditional fold and stitch. Hem facings are especially useful when sewing a curved hem or a hem with a special shape like scallops. In the video, I show how to draft the hem facing using a printed pattern and how to do it digitally in Adobe Illustrator. I hope you enjoy it!

You can watch the video above, or if it’s not working, you can watch it on YouTube here. For drafting on paper, go to 1:40. For drafting digitally, jump to 6:26.
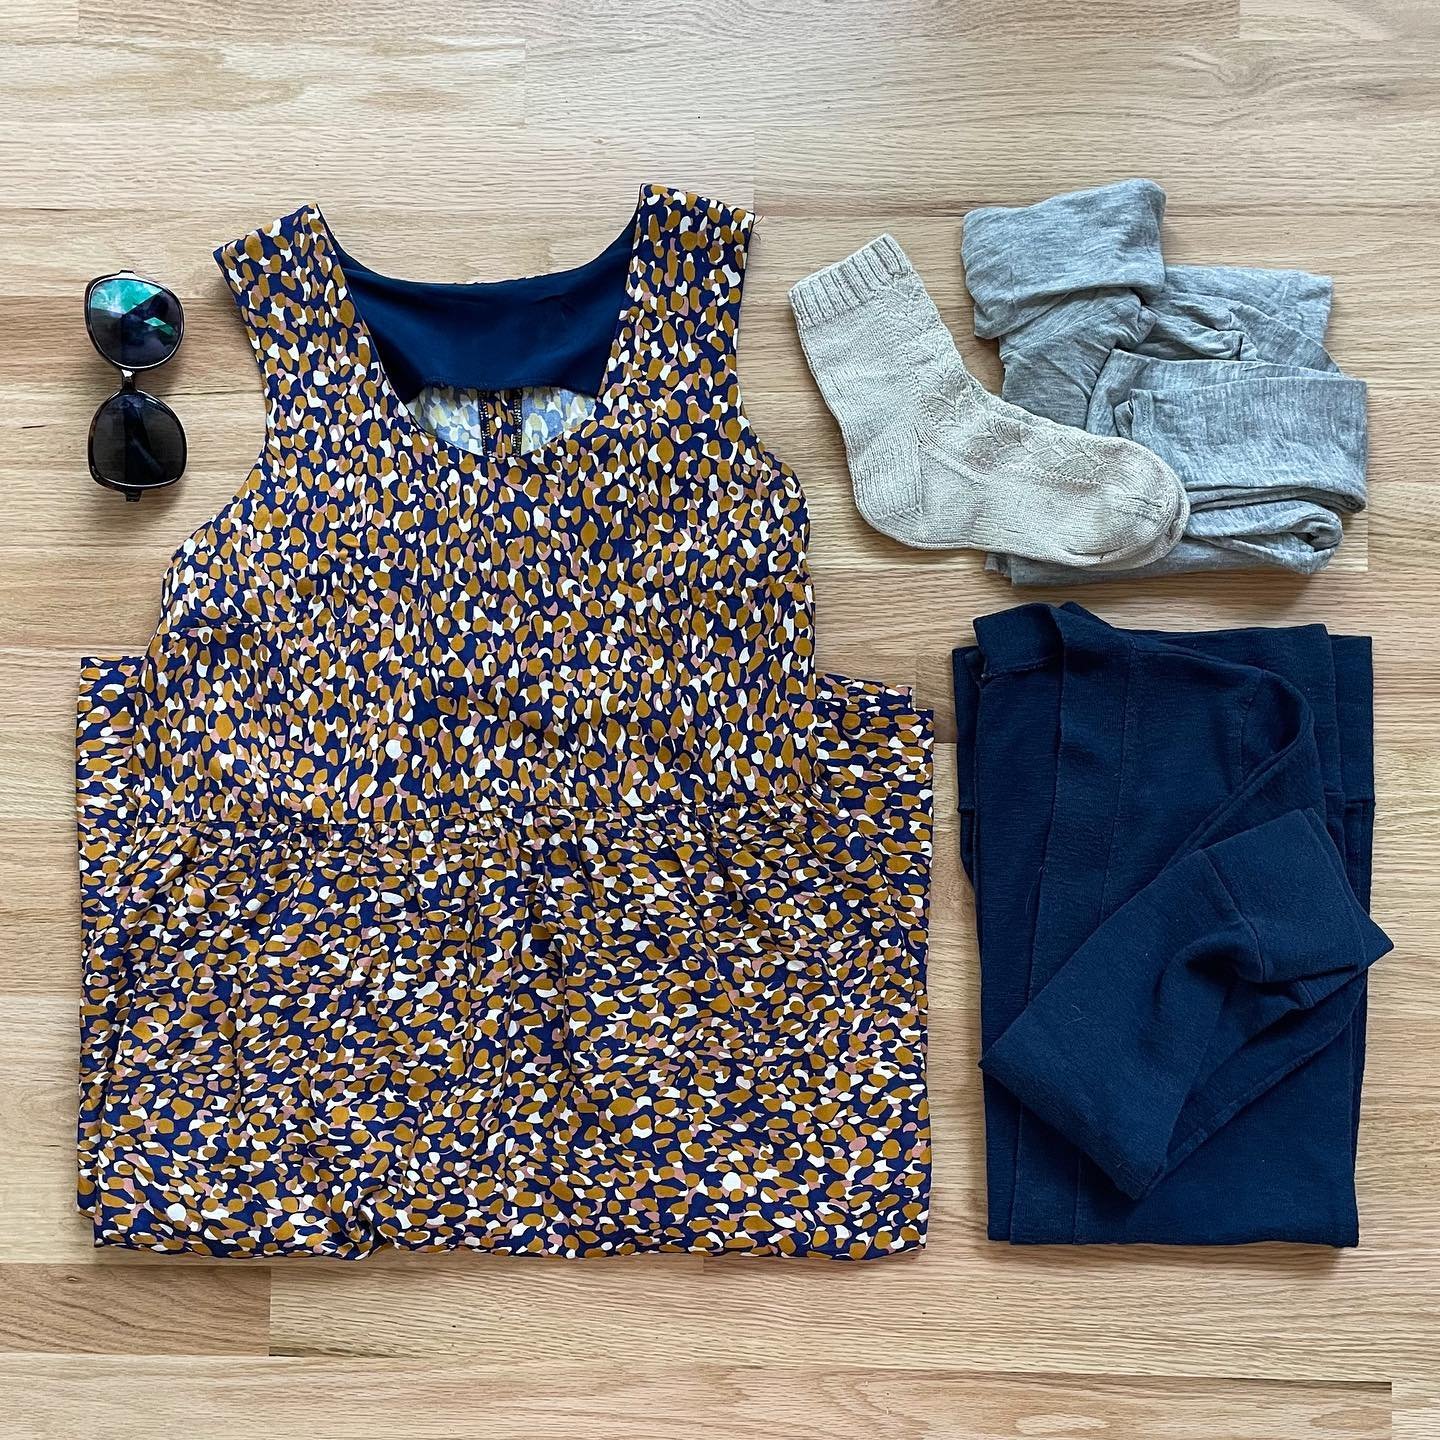
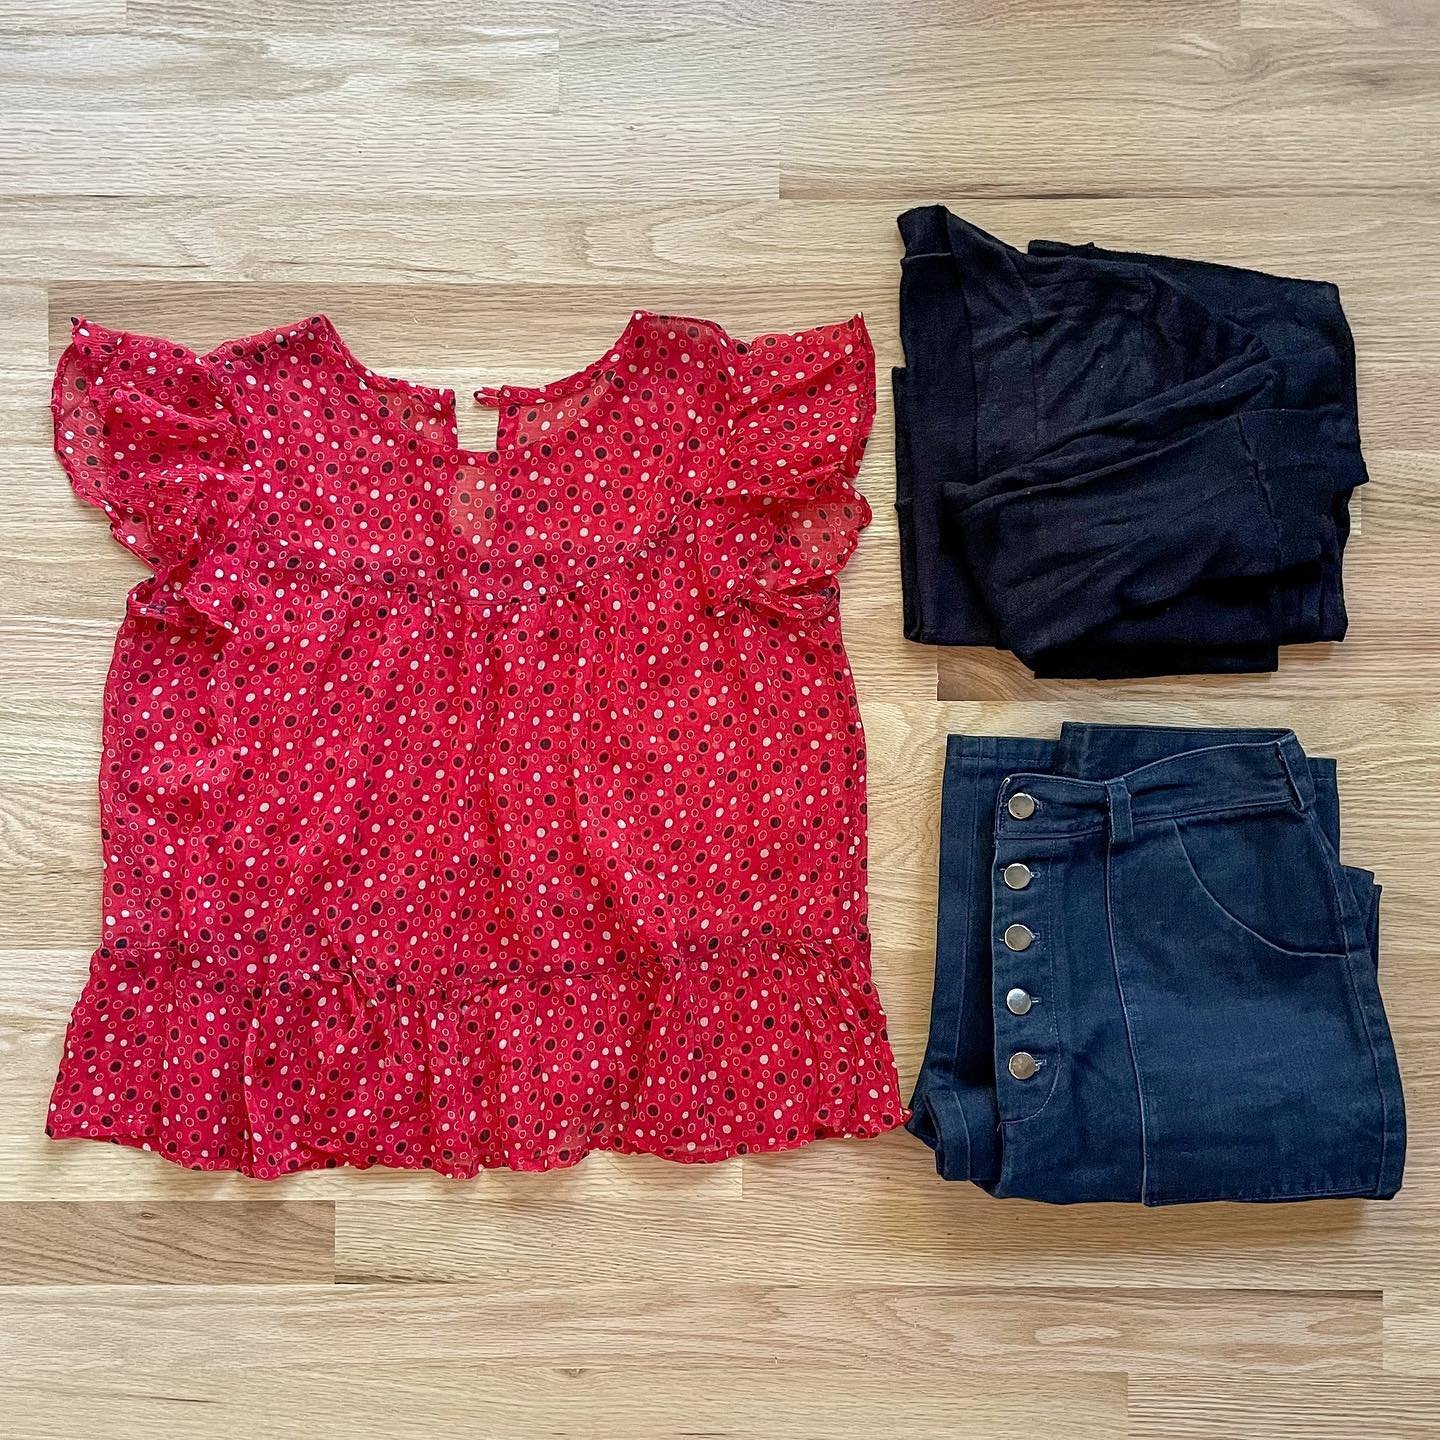
In this video, I’m using my Miri Tank pattern and the Lou Box Dress 1 pattern.
TOOLS USED IN THIS VIDEO
How to draft a hem facing using a paper pattern
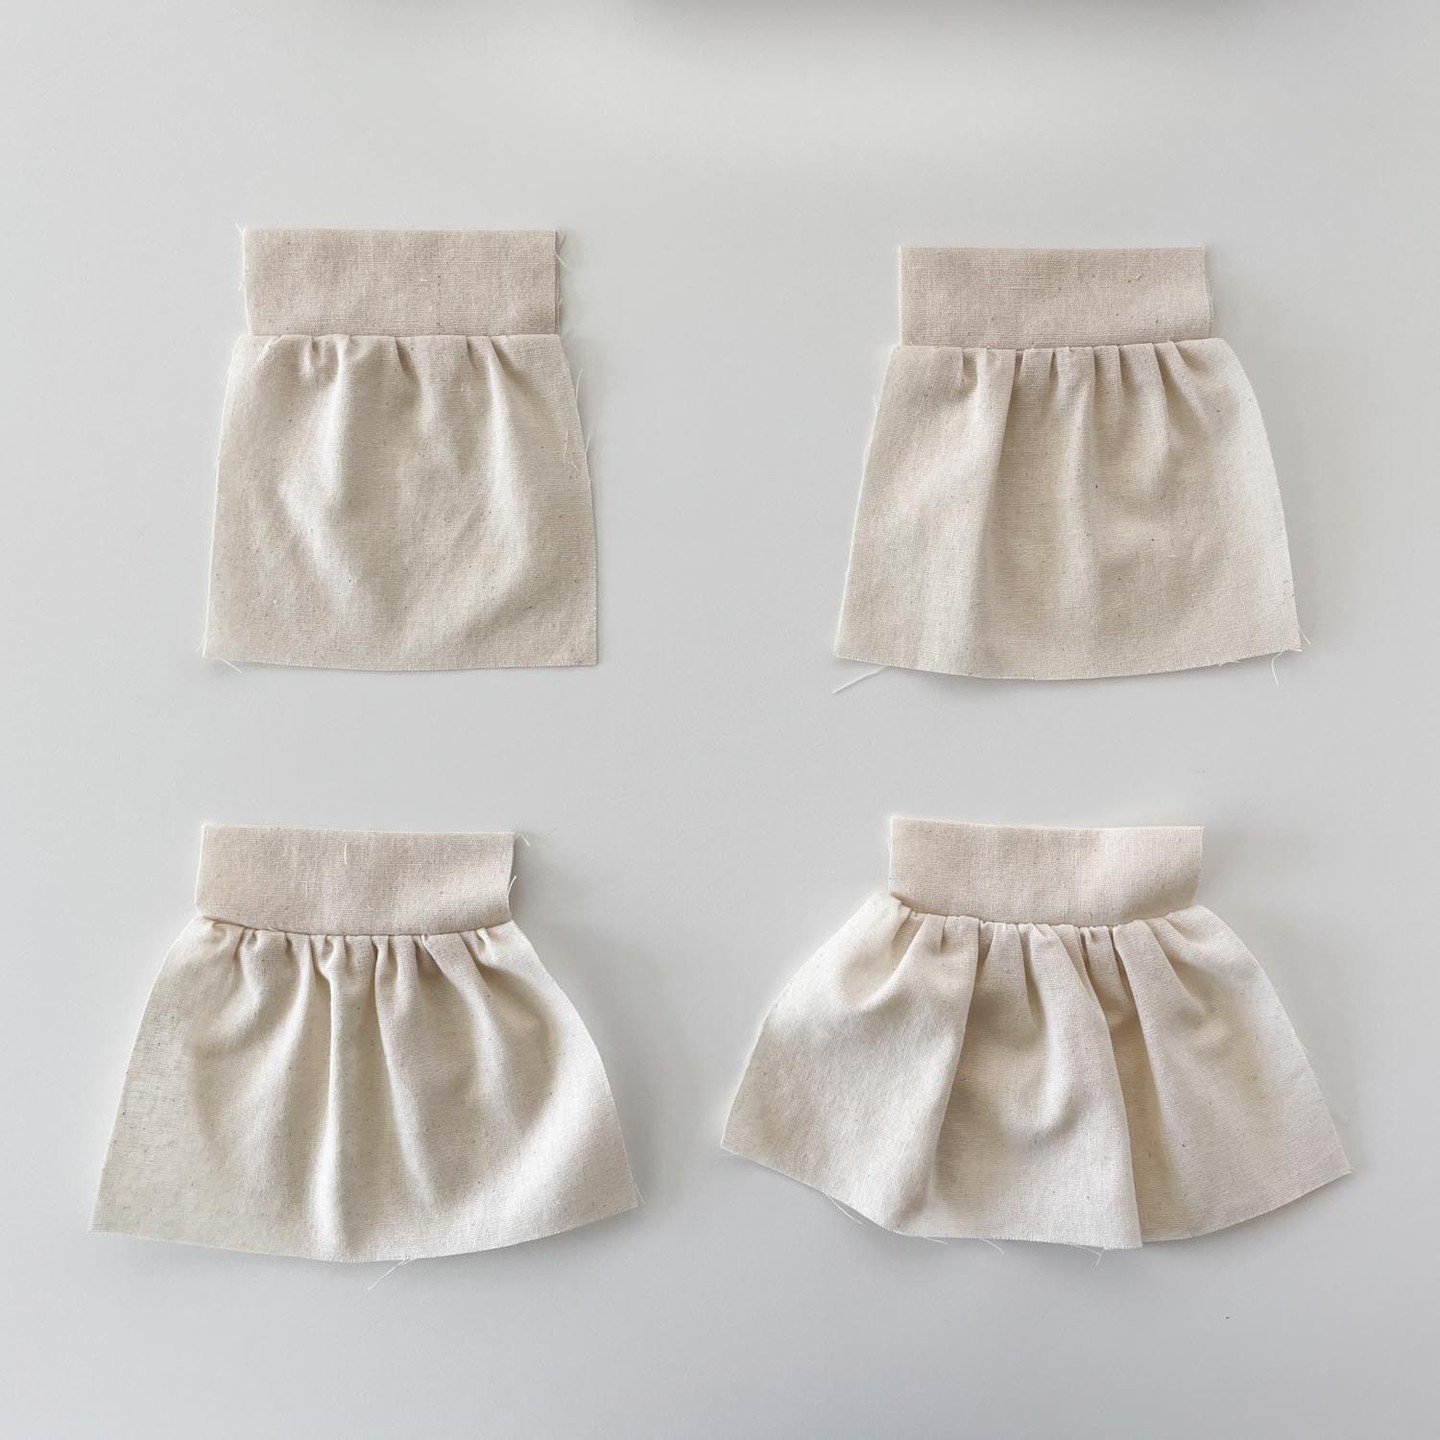
Step 1: Place tracing paper over the hem of the pattern and tape in place. Decide how tall you would like the finished facing to be and add a seam allowance to that number. For our example, I'd like a 2" facing and a .25" seam allowance. So, I will draft the facing to be 2.25" high.
Step 2: Trace the hem edge of the pattern. Trace up the side of the pattern, equal to the desired height of the facing, plus the seam allowance.
Step 3: Use a ruler to mark the height of the facing at an even distance from the hem edge. Use the curved ruler to connect the lines (or eyeball it).
Step 4: Transfer markings for the grainline to the pattern and note the pattern piece and pattern name. If desired, add notches to the hem facing and garment hem.
To draft the hem facing digitally, I’m using Adobe Illustrator. This is a vector based program that you have to buy to use. (I believe students get a good discount.) A free alternative is Inkscape. I’ve downloaded it but haven’t used it very much. It looks very similar in function to Illustrator. I’m not planning to switch over because it would be a big learning curve for me. But, it’s worth checking out if you are doing digital pattern making for fun and have a limited budget. To edit your pattern digitally, you will need to be able to open your pattern files in Illustrator or Inkscape. Some patterns allow this, some do not.
I tried to go fairly slowly in the video and mention the key commands when I use them. I’ve been using Illustrator for almost 20 years now so I can go pretty quickly and key commands really speed up the process. Let me know if you have questions or requests for other tutorials. And, if you’d like to support this content, I invite you to visit the shop or you can donate by “buying me a coffee”. Happy sewing!