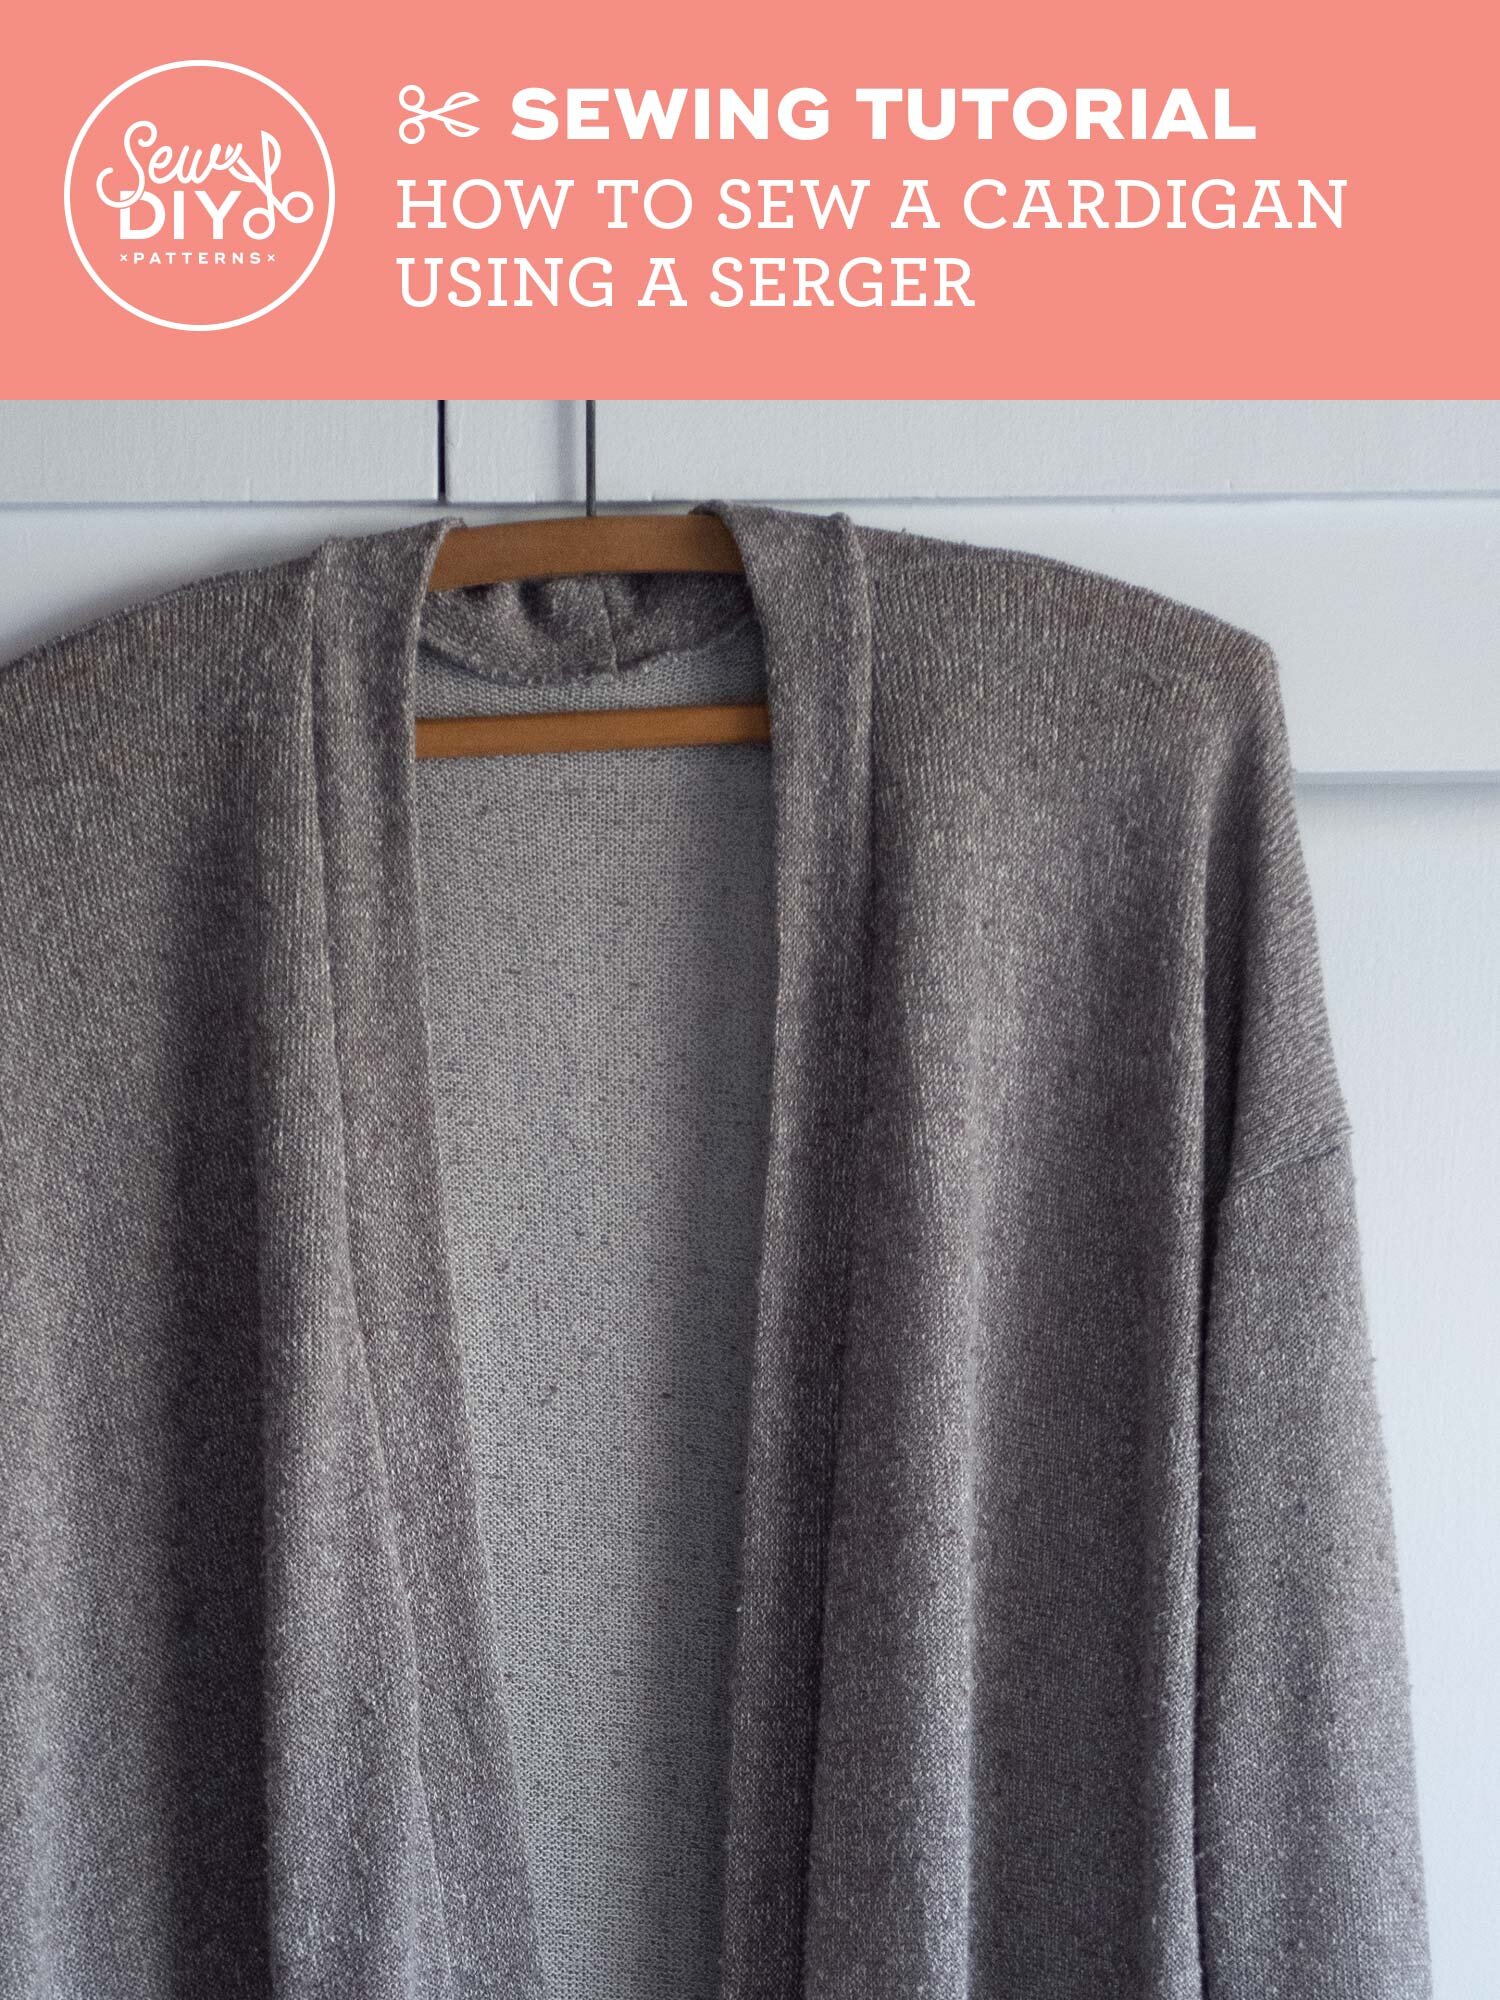
Hello sew-friends! In today’s YouTube video, I’m showing the step by step process of sewing a cardigan (mostly) using a serger. This is a really quick project and the perfect garment to add to your Fall wardrobe. I love wearing cardigans as a lightweight layer throughout the year and I’ve been wearing this one practically non-stop since I finished sewing it. I haven’t even trimmed some of the threads yet! You might recognize this cardigan as part of my nine piece Work-From-Home mini capsule wardrobe. I like that it’s just as comfortable as a robe but feels like I’m actually getting dressed. Read on to watch the video tutorial and learn more about this cardigan.
CHECK OUT THE TASI PATTERN IN THE SHOP

For this cardigan, I’m using my Tasi Draft-It-Yourself Robe and Jacket pattern. This pattern walks you through each step of designing and drafting your own pattern. You choose the features you’d like and we give you the formulas to draft all the pattern pieces for a custom fit. This cardigan is a variation of the robe pattern with tapered sleeves and without the tie belt and carriers. While the Tasi instruction booklet focuses on sewing with woven fabrics the pattern works equally well with knit fabric.
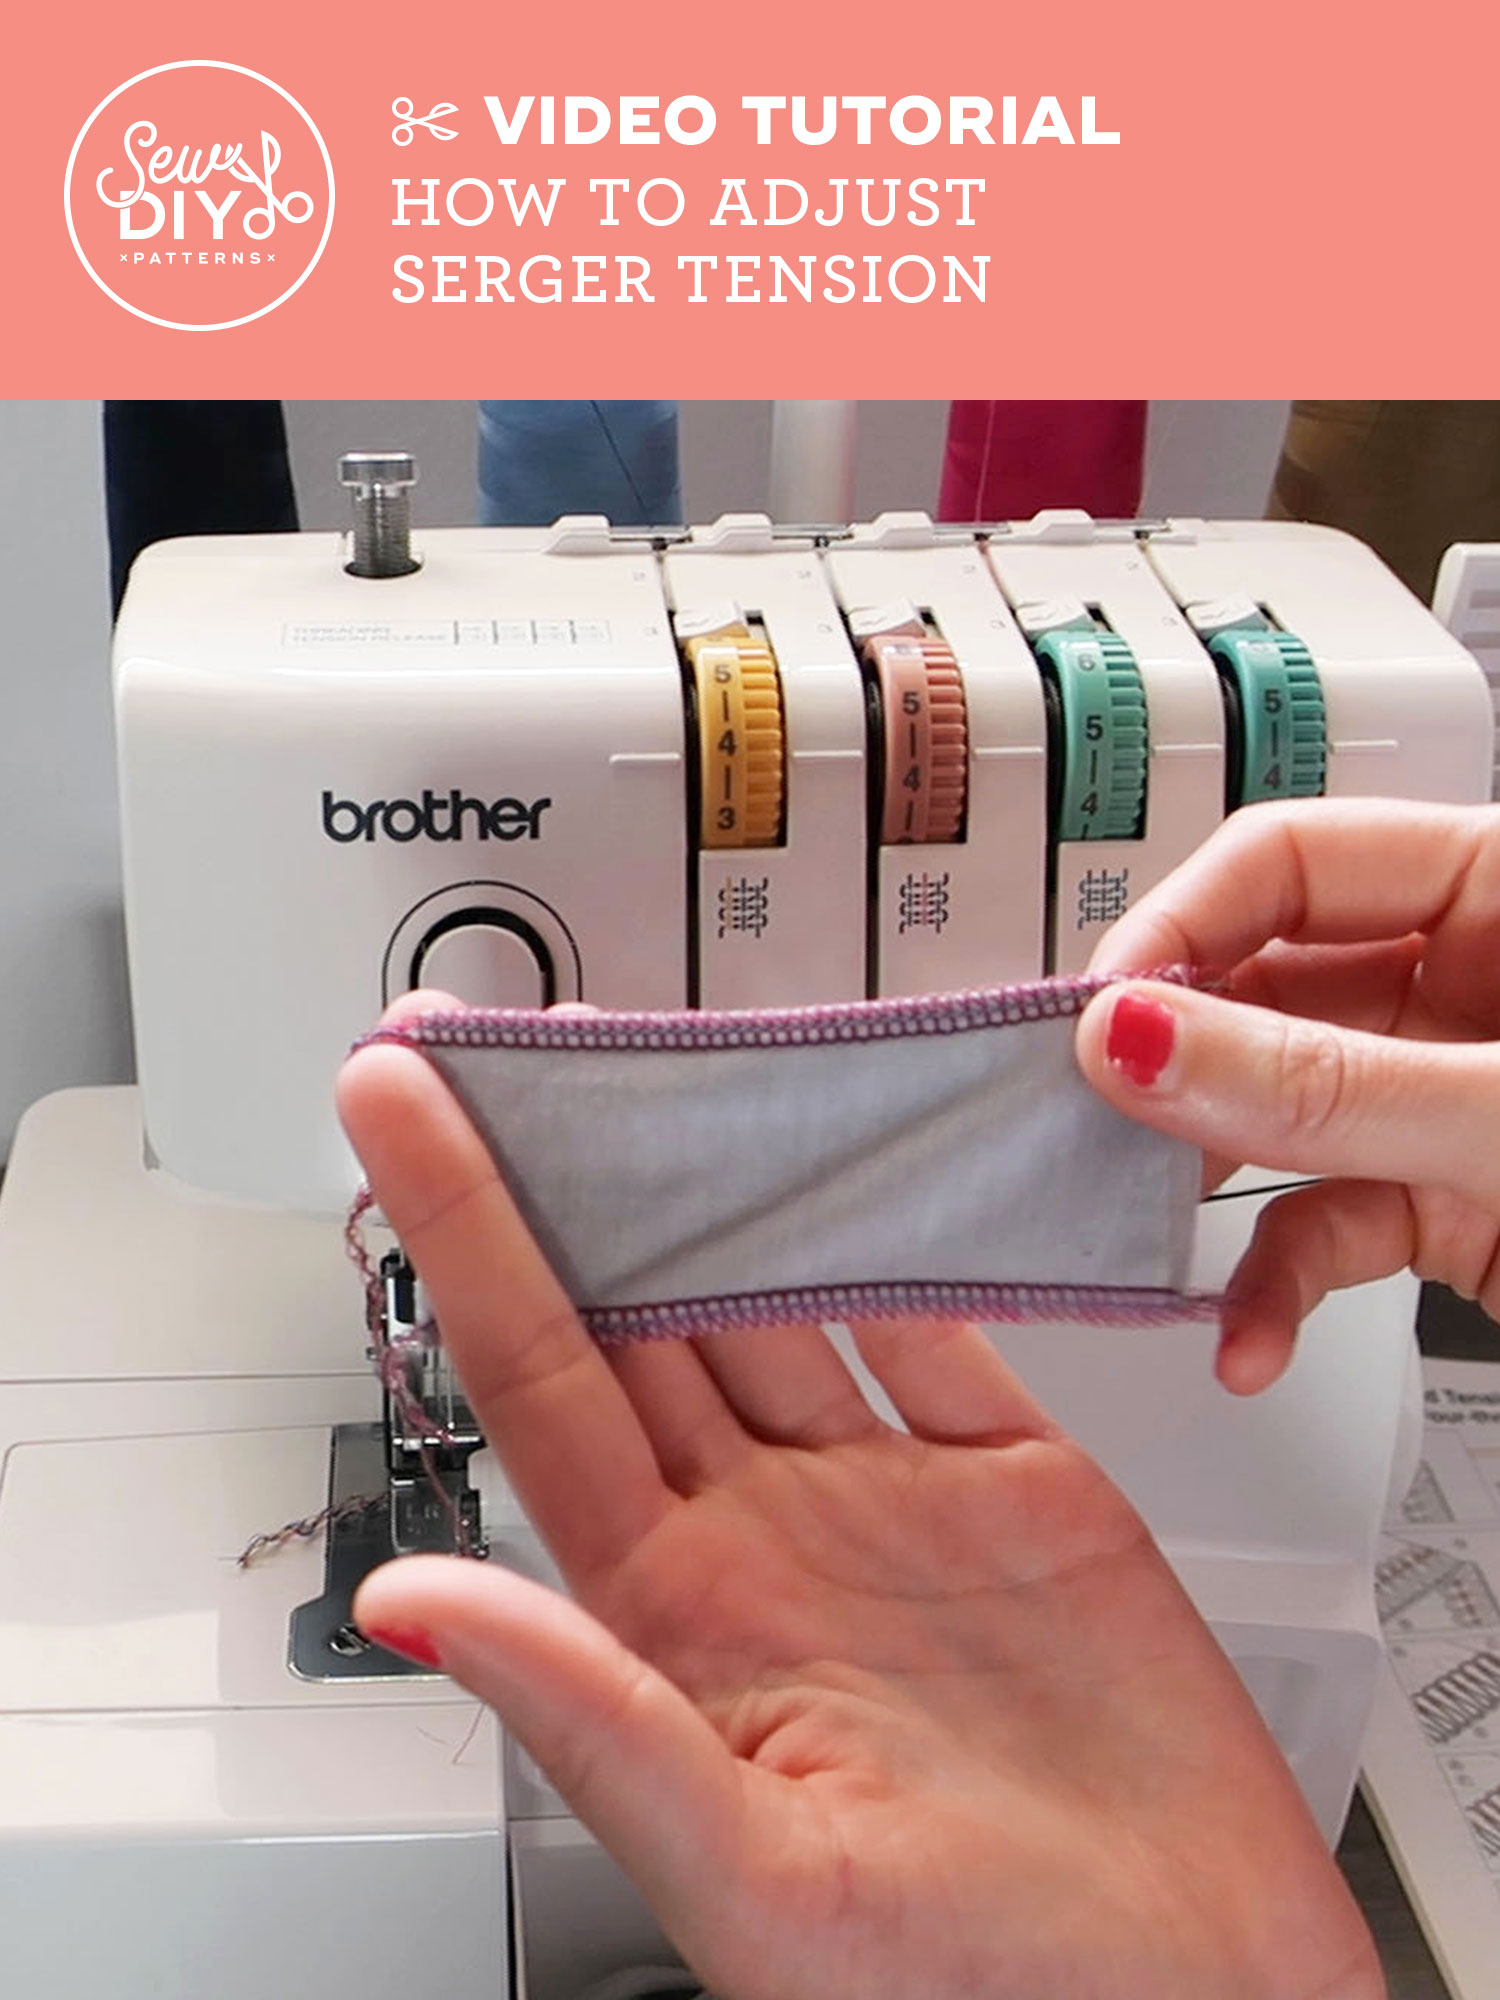
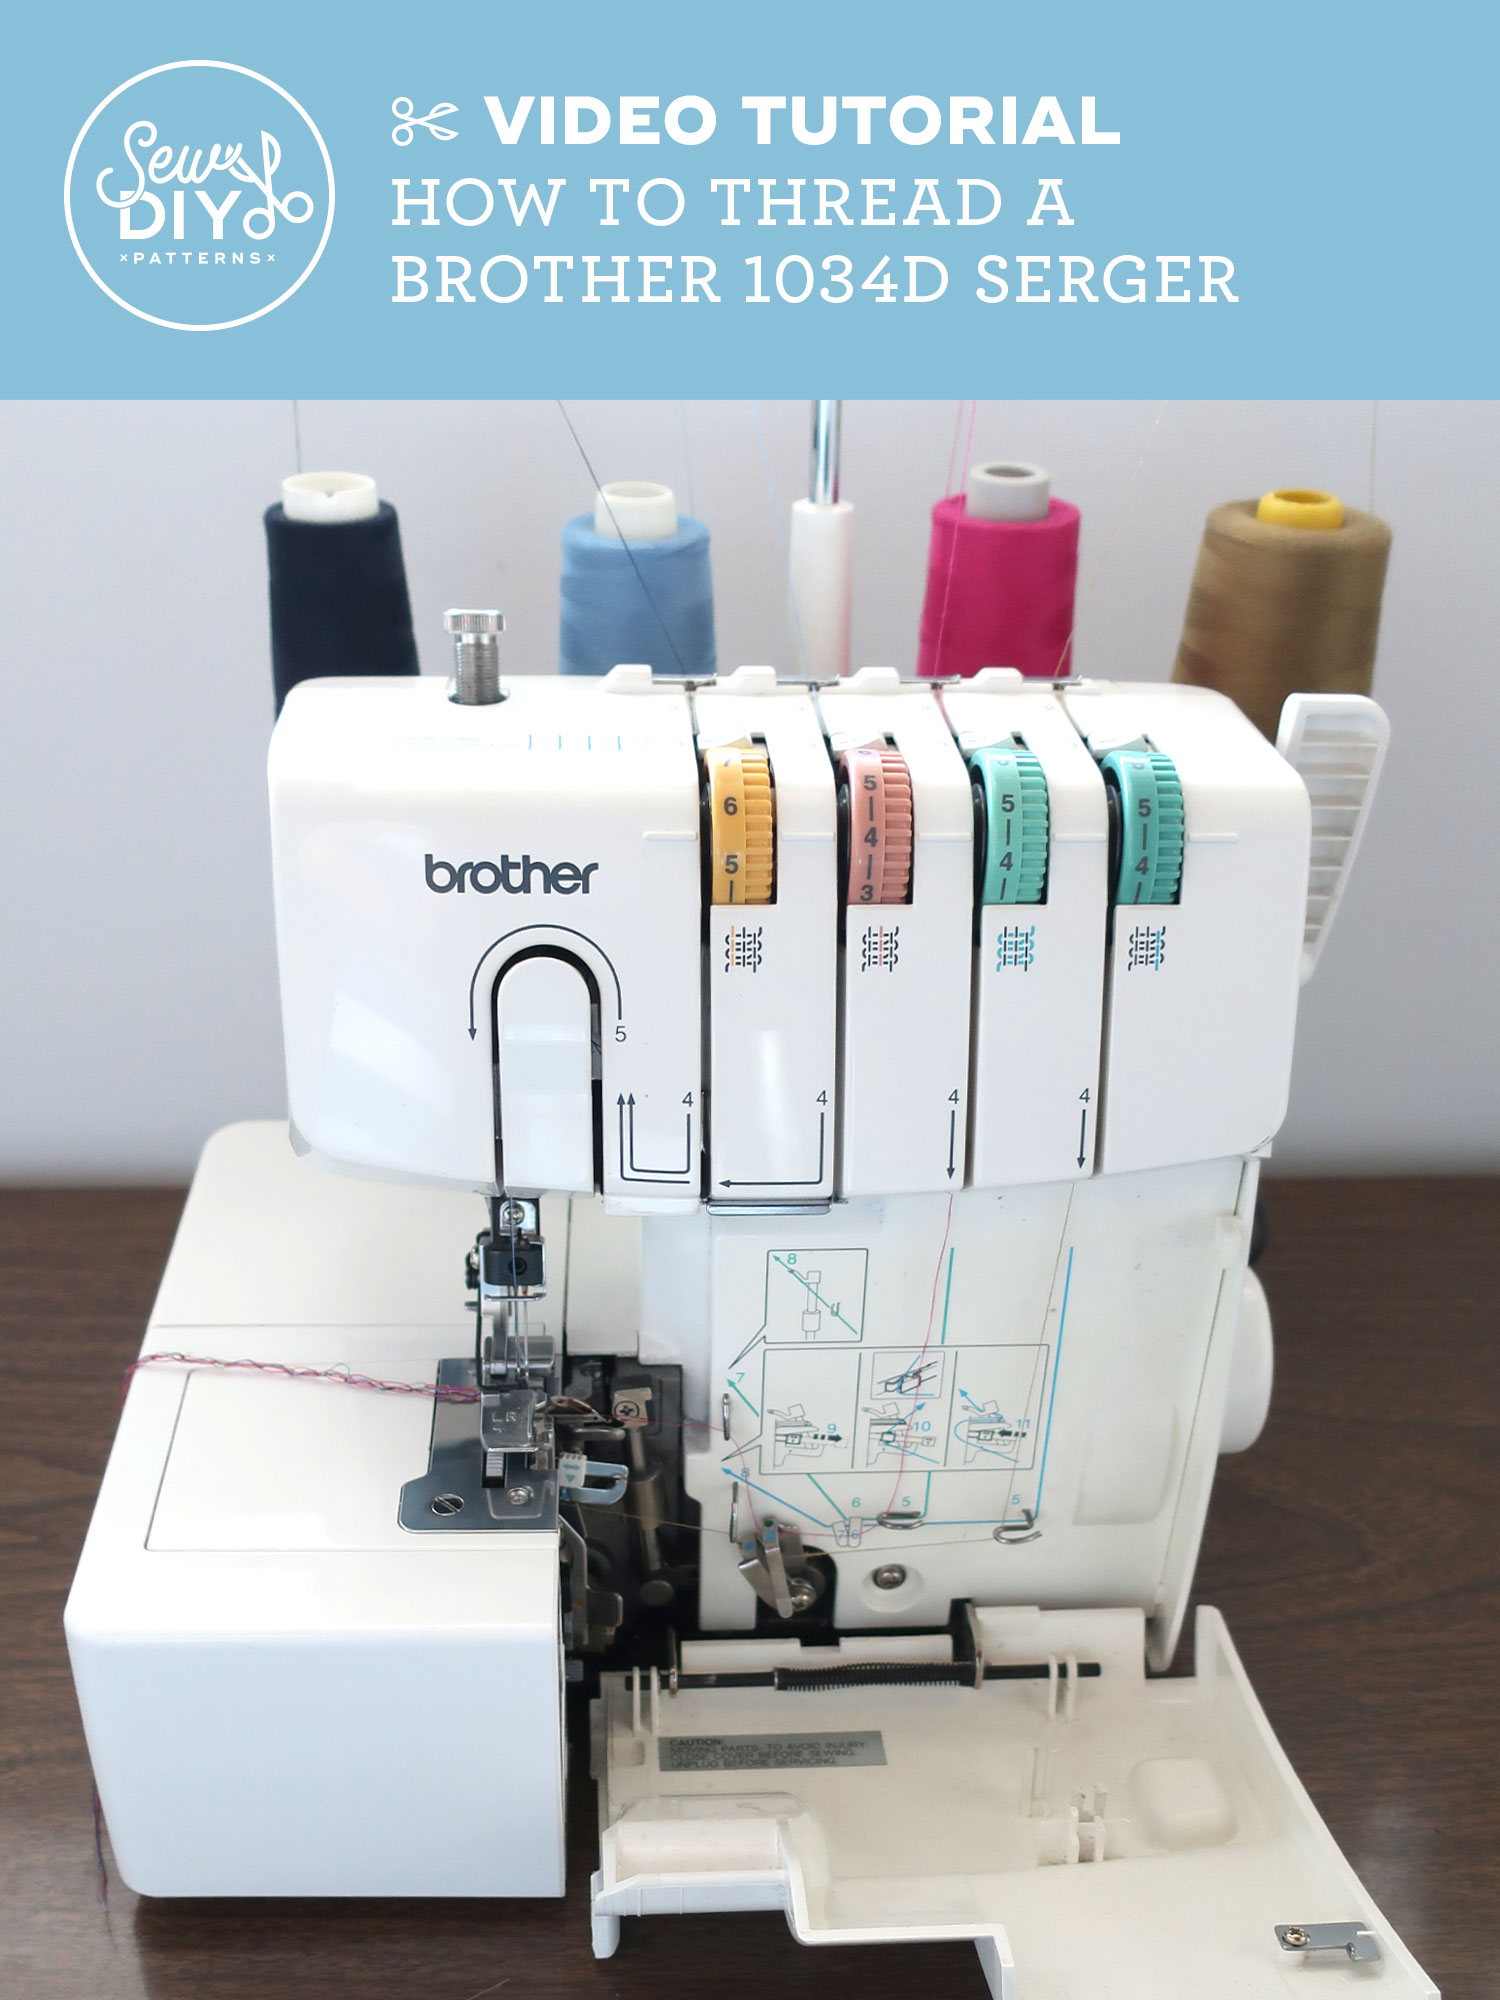
This is a really fun and satisfying garment to sew and can be made in an afternoon. This cardigan can be made entirely using the serger, except for topstitching the pockets and hem. Of course, if you have a coverstitch machine, you can use that to topstitch as well.
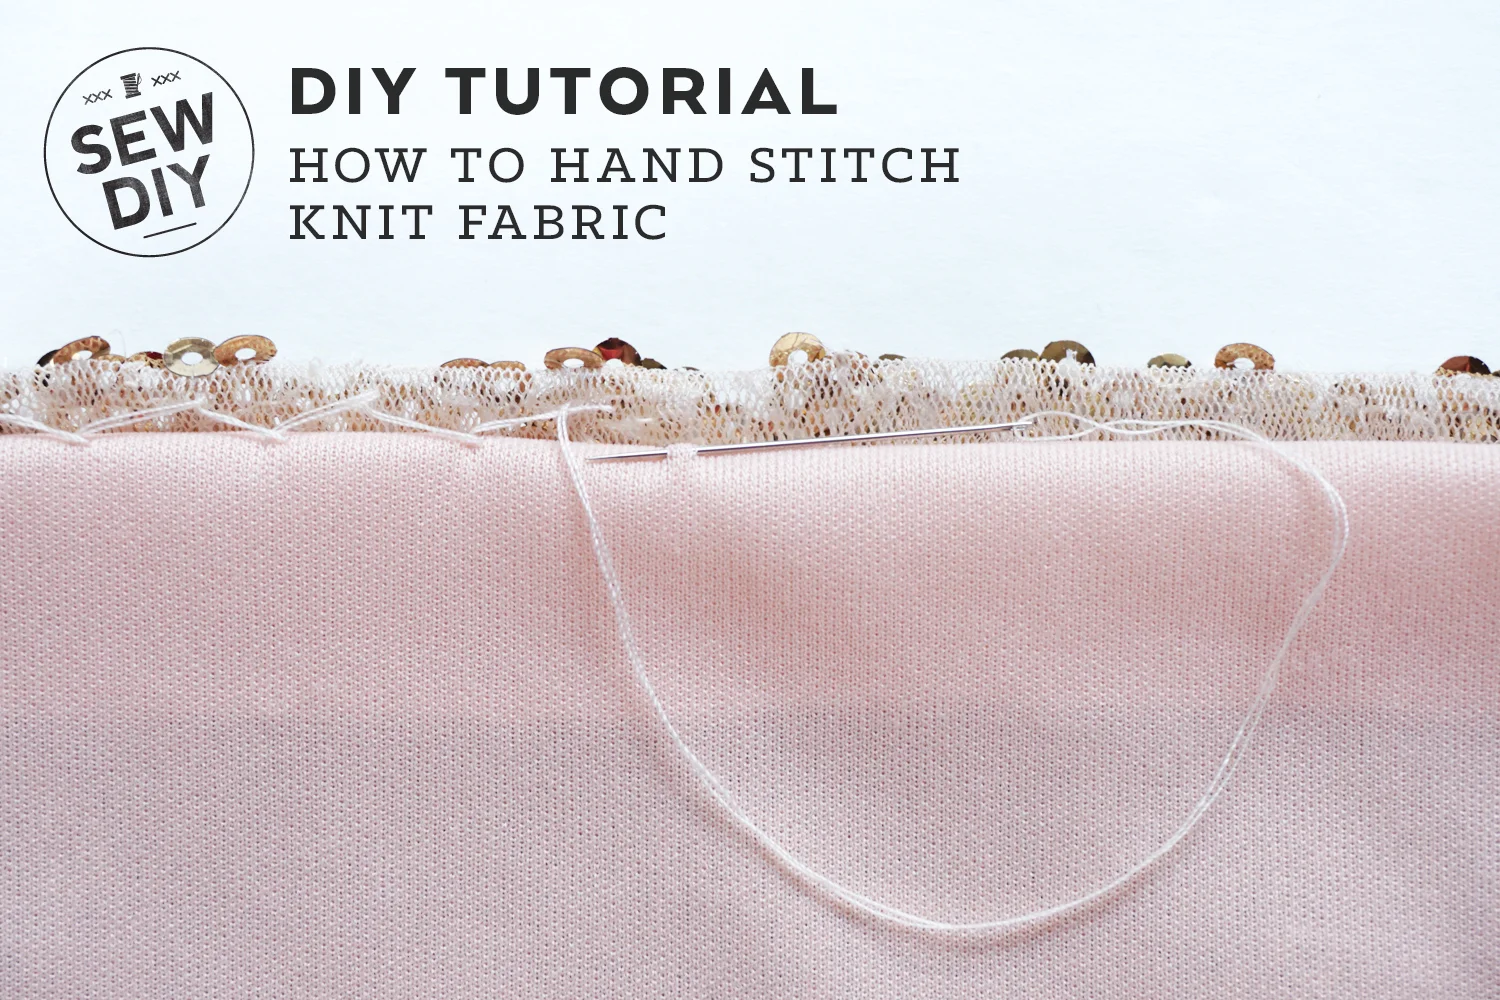
If you do not have a serger, you can use your conventional machine for every step of the process. I have a blog post here about how to sew knits without a serger. If you want additional help sewing with knit fabrics, make sure to also check out my roundup of tips and video tutorials in this blog post.

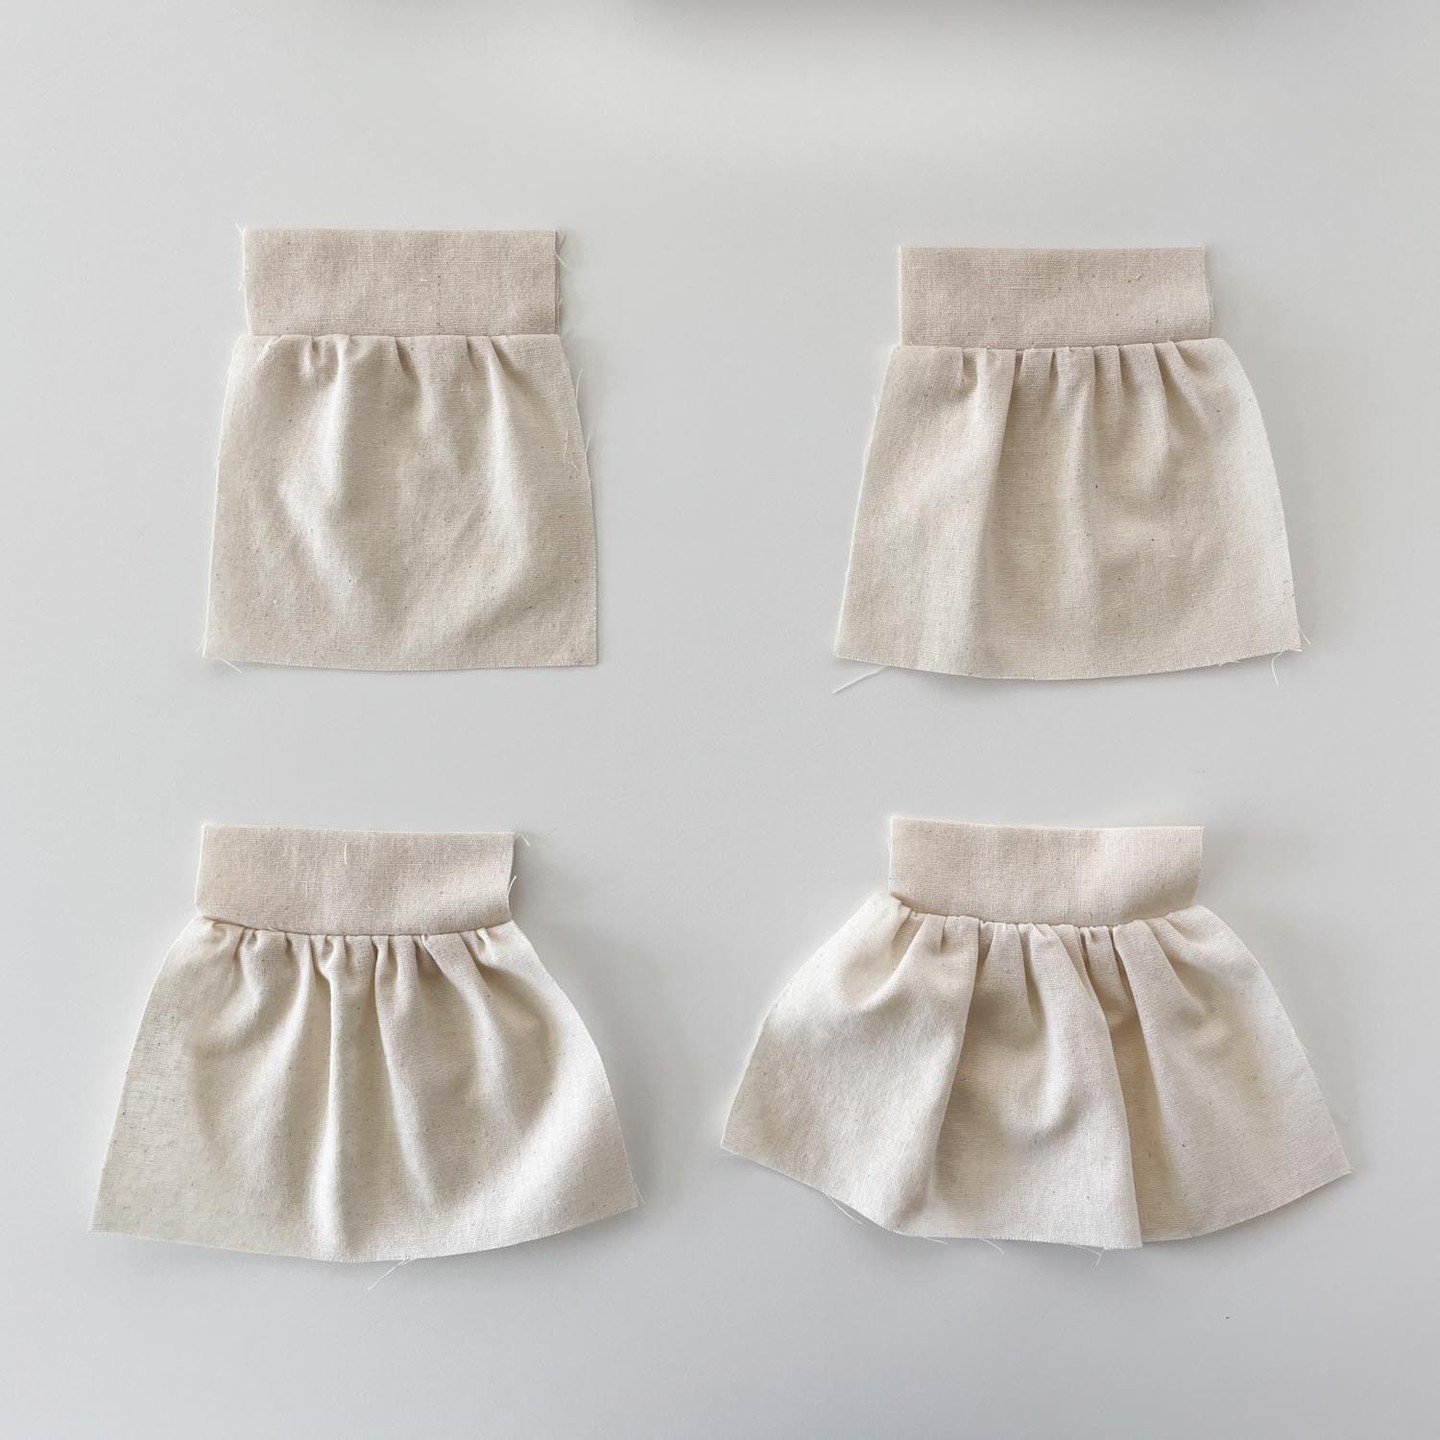
In this video, I construct the cardigan with efficiency in mind. Rather than strictly adhering to the order of construction in the pattern, I like to stitch as many parts of the garment as I can in one sitting. Then I’ll do some pressing and prepare my fabric for the next round of seams. For this cardigan, we’ll be doing four rounds of stitching. Below, I’ve written up a recap of the steps along with time stamps in the video so you can skip ahead, if desired. If the video above isn’t working, you can also watch it on YouTube here.
How to sew the Tasi Cardigan Hack
Round 1: Stitch shoulder seams, cuffs, and front band. Finish pocket edges. (Timestamp 2:12)
Step 1: Stitch front and back together at shoulder seams (Timestamp 3:58)
Step 2: Stitch center back seam in front band (Timestamp 4:12)
Step 3: Stitch cuffs (Timestamp 4:28)
Step 4: Stitch short ends of front band (Timestamp 4:46)
Step 5: Finish edges of pockets (Timestamp 5:05)
Round 2: Stitch sleeves to body and underarm seam. Stitch cuffs to sleeves. (Timestamp 6:22)
Step 6: Stitch sleeves to body for each side 7:36
Step 7: Prepare and stitch underarm seam 9:10
Step 8: Finish hem of cardigan 10:13
Step 9: Stitch sleeve cuffs to cardigan 10:31
Round 3: On a conventional machine, stitch pockets and hem. (Timestamp 12:26)
Step 10: Stitch pocket sides and press (Timestamp 12:29)
Step 11: Top stitch pocket to cardigan (Timestamp 14:18)
Step 12: Stitch hem (Timestamp 16:14)
Round 4: Attach Front Band (Timestamp 17:24)
Step 13: Prepare front band and pin to body (Timestamp 17:29)
Step 14: Stitch front band to body (Timestamp 20:03)

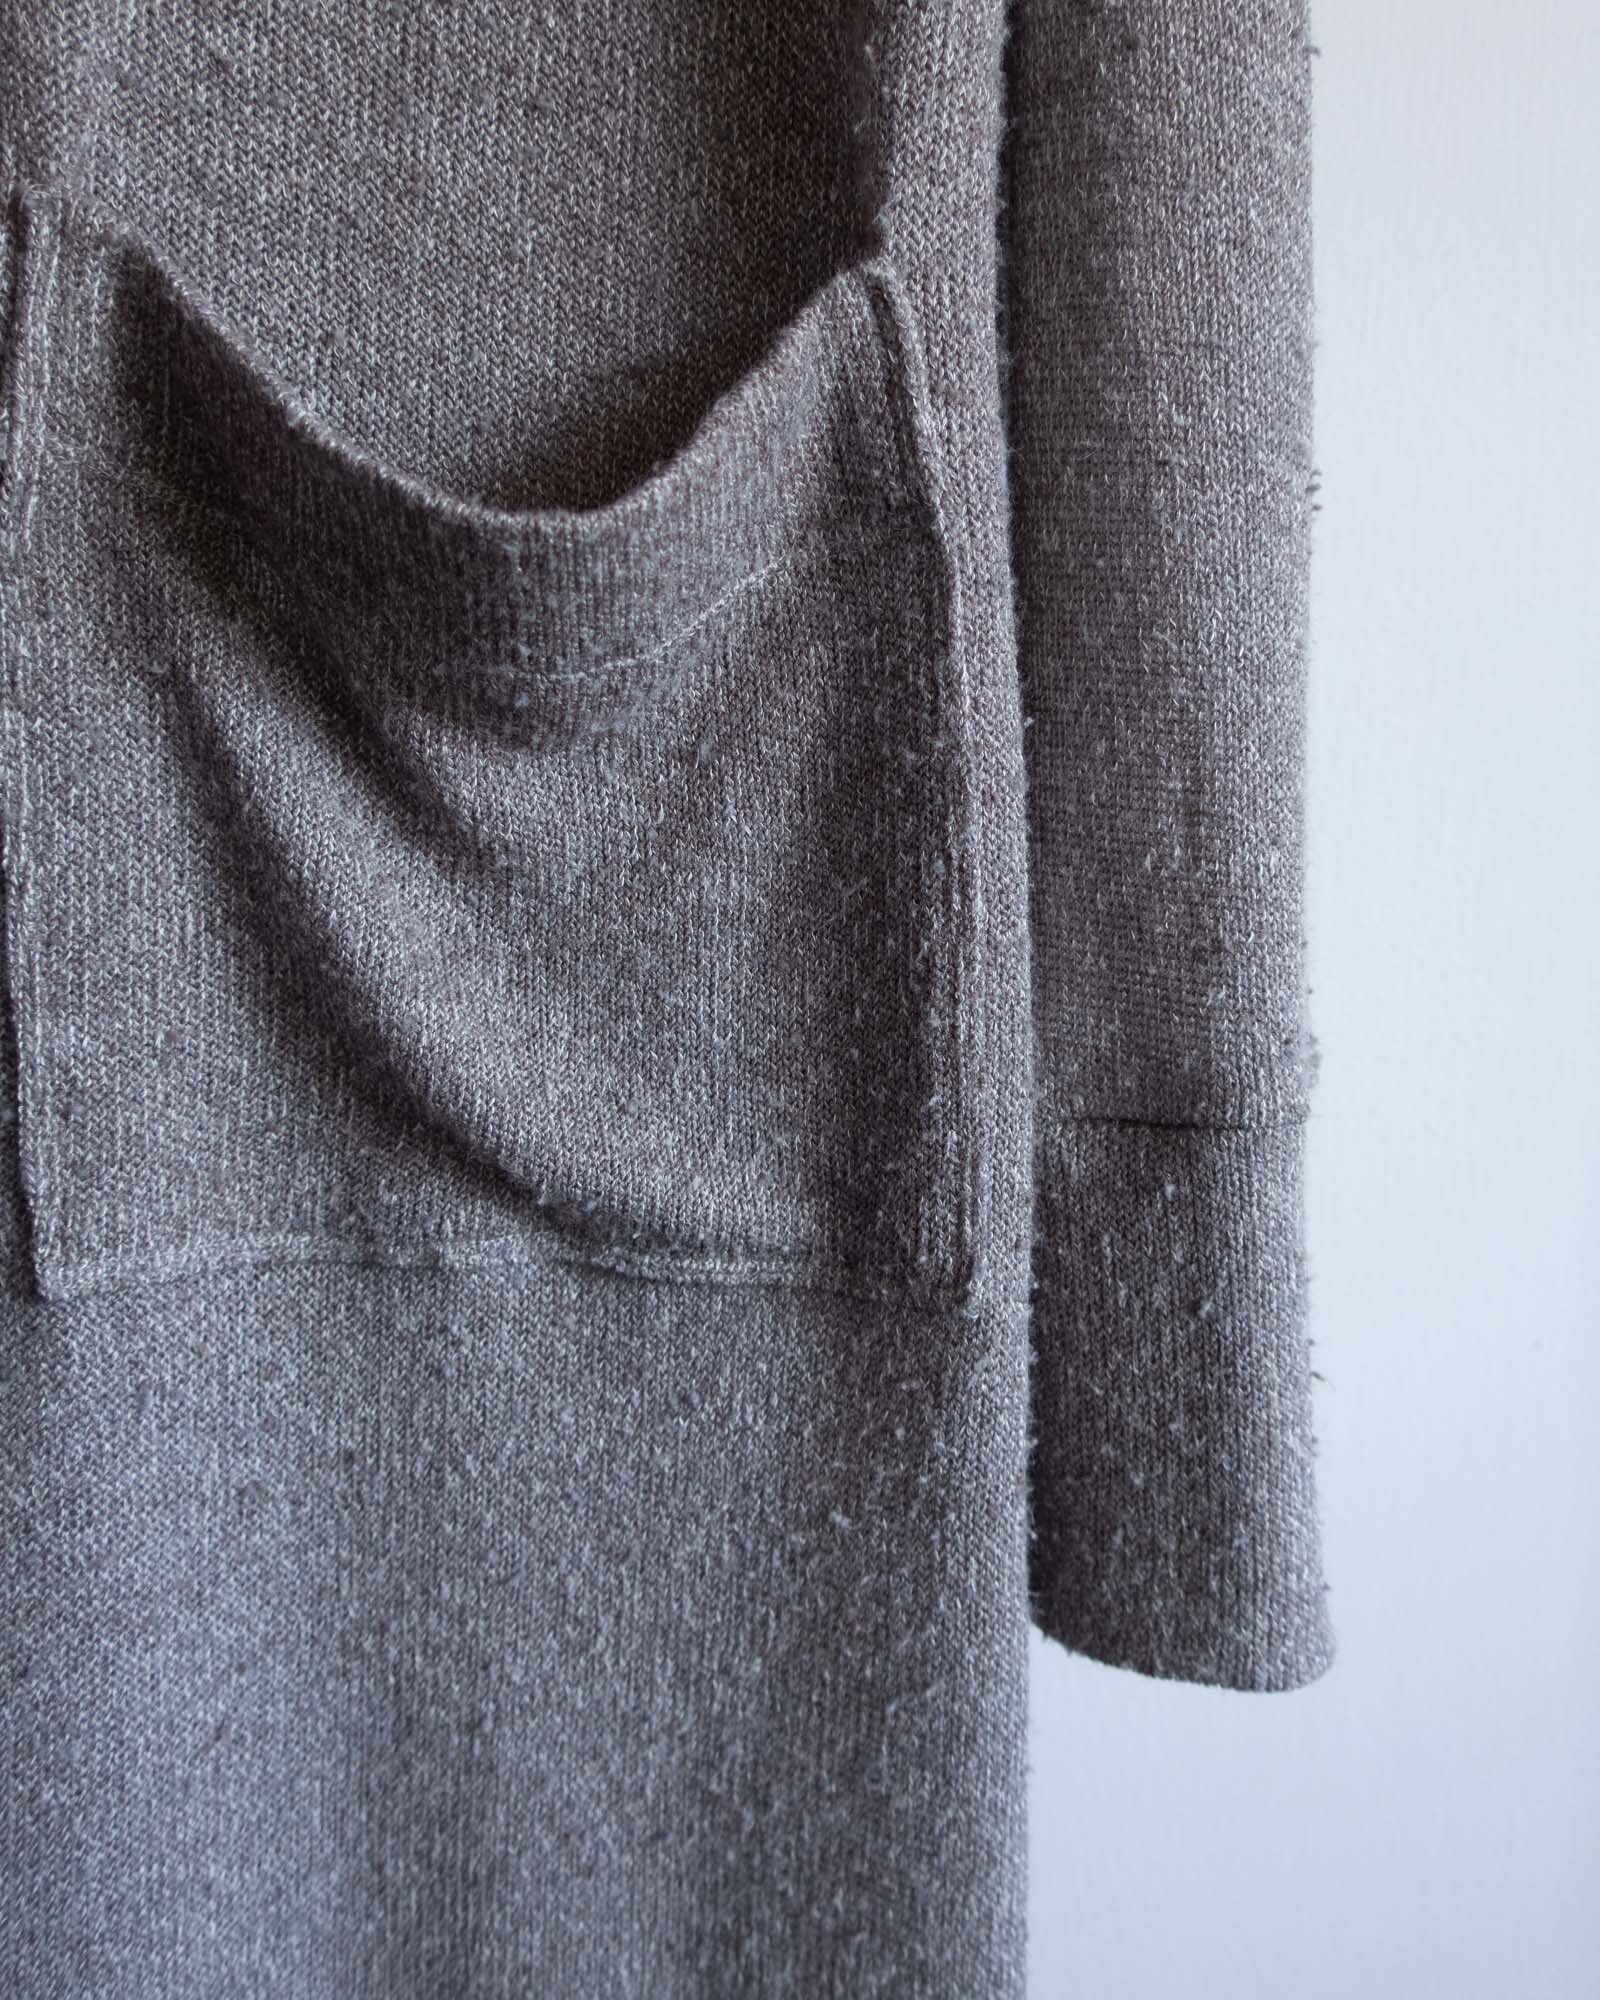
I really love how my cardigan turned out. I decided to make it knee length and fairly oversized so that I can wrap it around myself and stay warm as I work from home or just lounge. I made the sleeve cuffs 4” long and made the sleeves a little longer for a slouchy look.
For this cardigan, I used a medium-weight sweater knit fabric. Most any kind of sweater knit fabric should work fine for this design. You can also use this construction process to make a Tasi Robe out of knit fabric. One of my favorite Tasi robes is made using a medium weight rib knit fabric. It’s so soft and cozy. Perfect for chilly mornings.

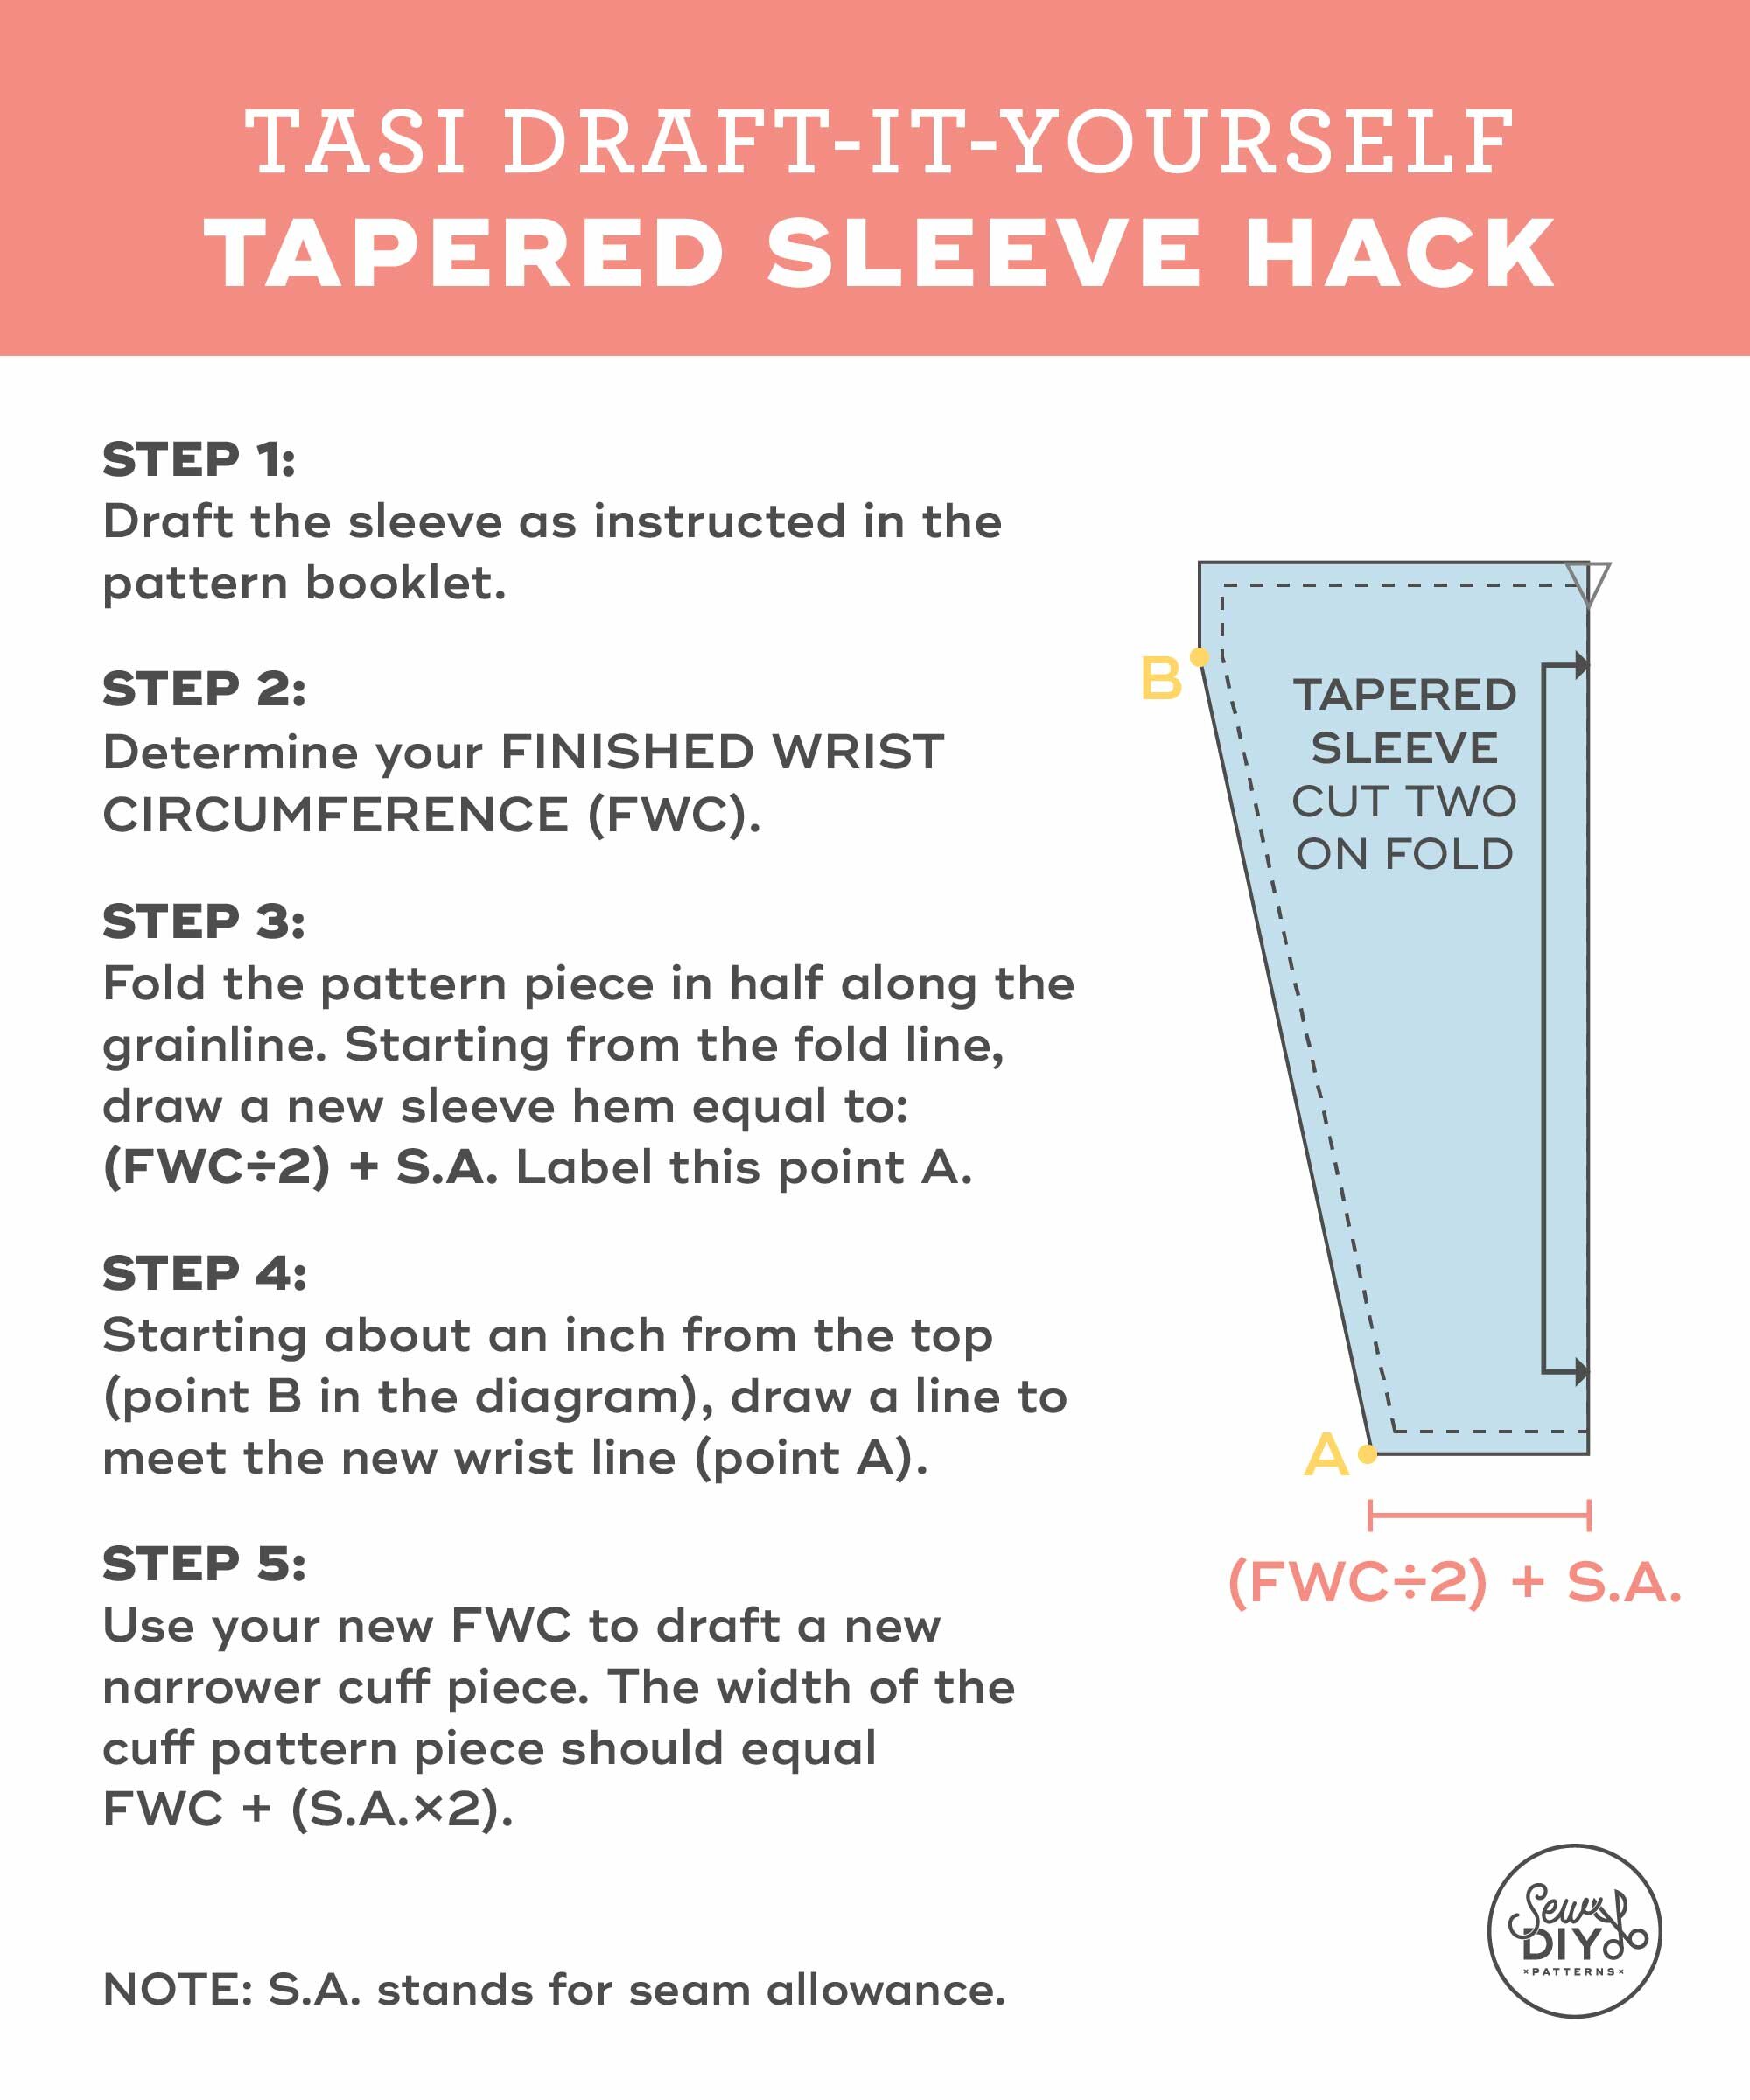
The one big change I made was to create tapered sleeves. The design of the Tasi features a wide sleeve but I wanted the sleeves of the cardigan to be more fitted around the wrist. See the image above and notes below for how to hack the Tasi sleeve pattern to have a tapered sleeve. You’ll also need to adjust the sleeve cuff pattern to fit the new sleeve.
How to make a tapered sleeve using the Tasi pattern
STEP 1: Draft the sleeve as instructed in the pattern booklet.
STEP 2: Determine your FINISHED WRIST CIRCUMFERENCE (FWC).
STEP 3: Fold the pattern piece in half along the grainline. Starting from the fold line, draw a new sleeve hem equal to: (FWC÷2) + S.A. Label this point A.
STEP 4: Starting about an inch from the top (point B in the diagram), draw a line to meet the new wrist line (point A).
STEP 5: Use your new FWC to draft a new narrower cuff piece. The width of the cuff pattern piece should equal FWC + (S.A.×2).

I really do love this cardigan and have been wearing it nearly everyday since I made it. When I first tried it on, I thought “Oh! I should make a cardigan pattern.” And then remembered that this kind of already is a pattern. LOL That said, the possibility of a cardigan pattern at some point in the future has not been ruled out. After all, cardigans in general are one of my favorite things to wear.

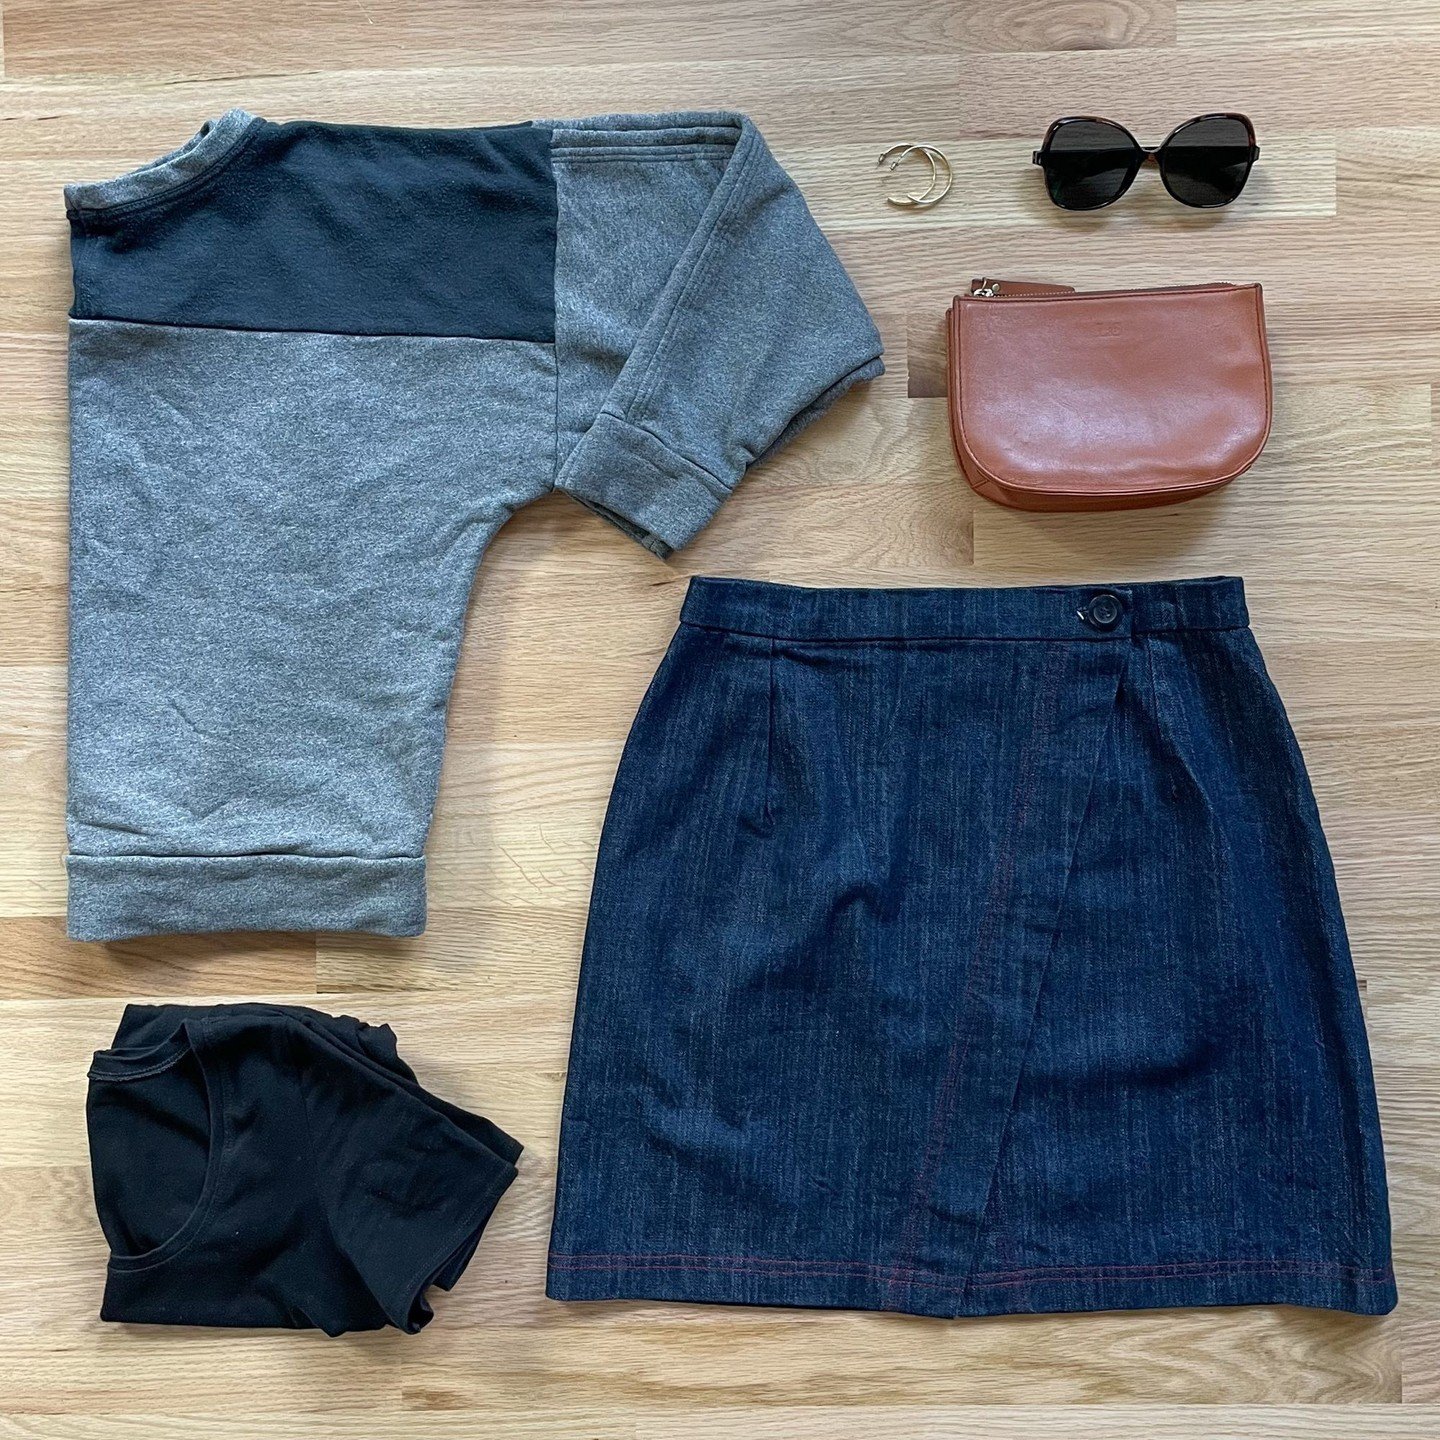
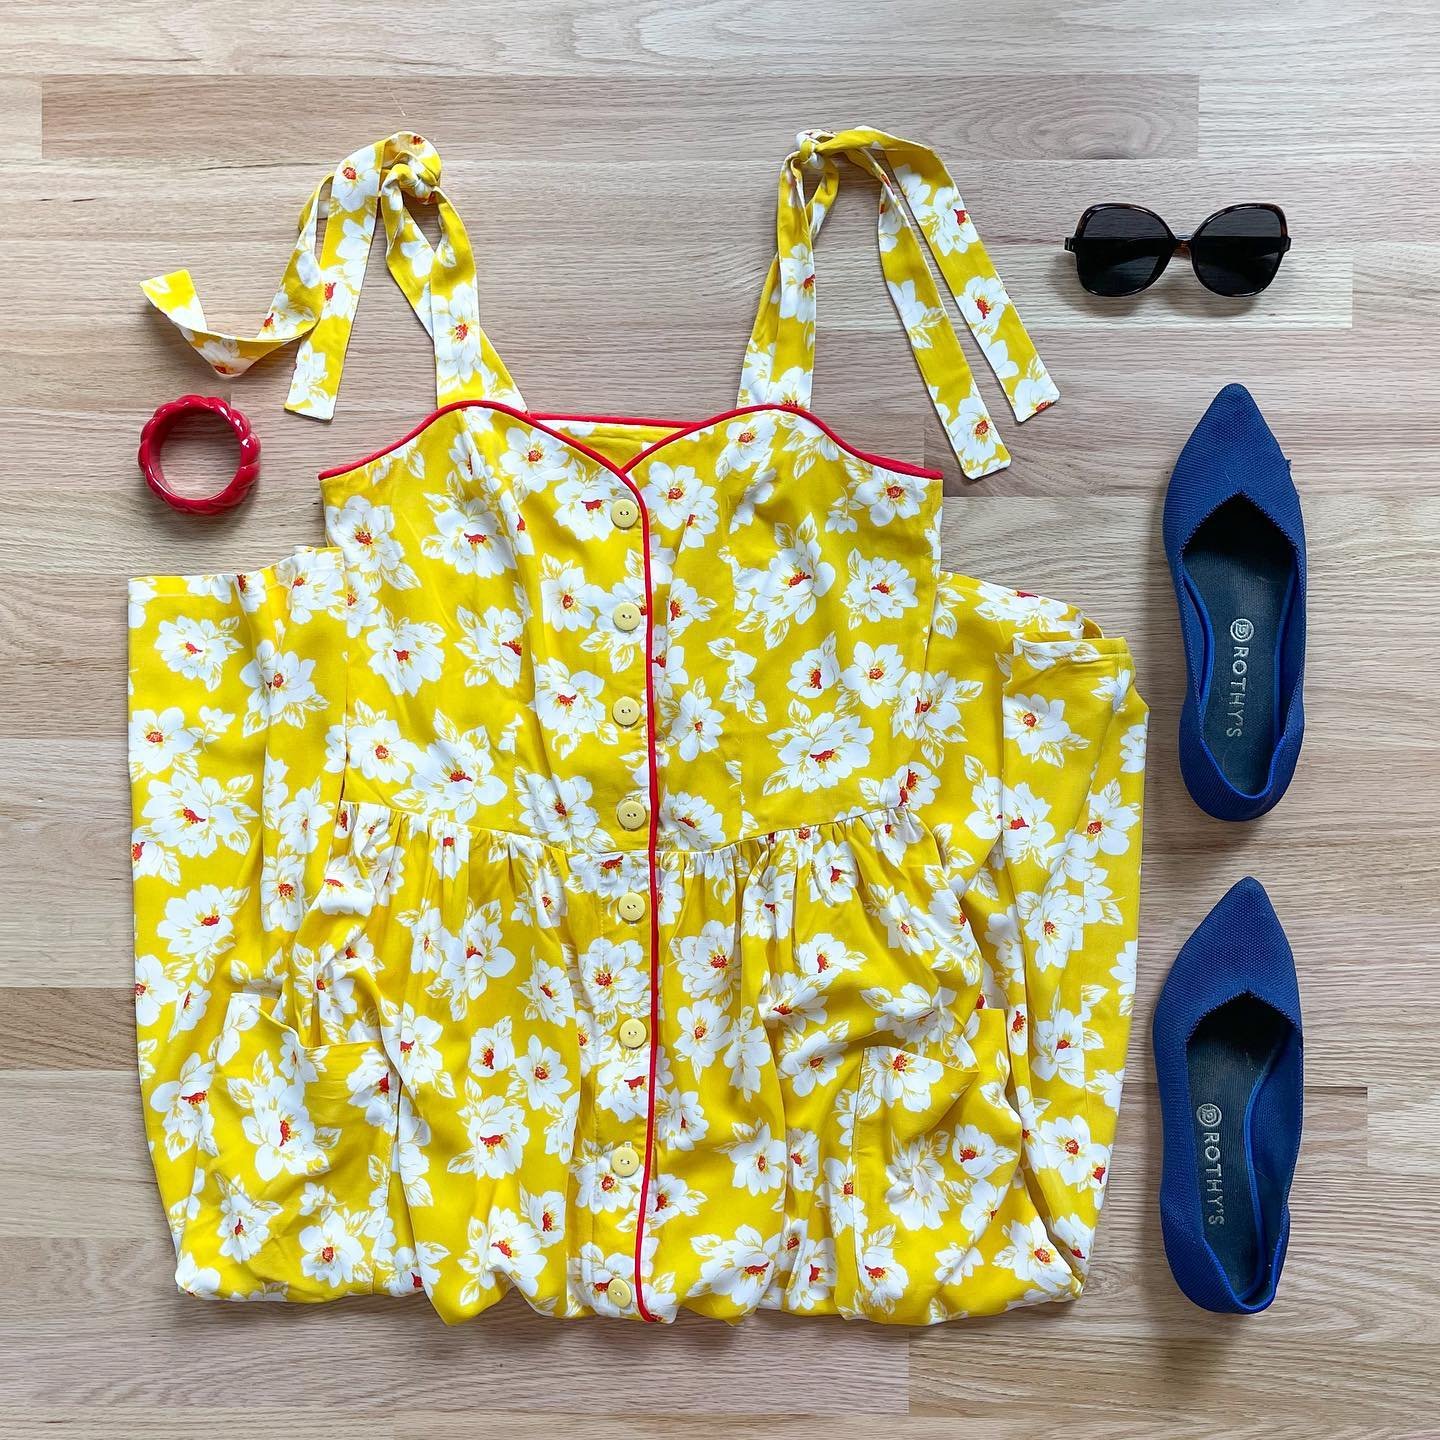
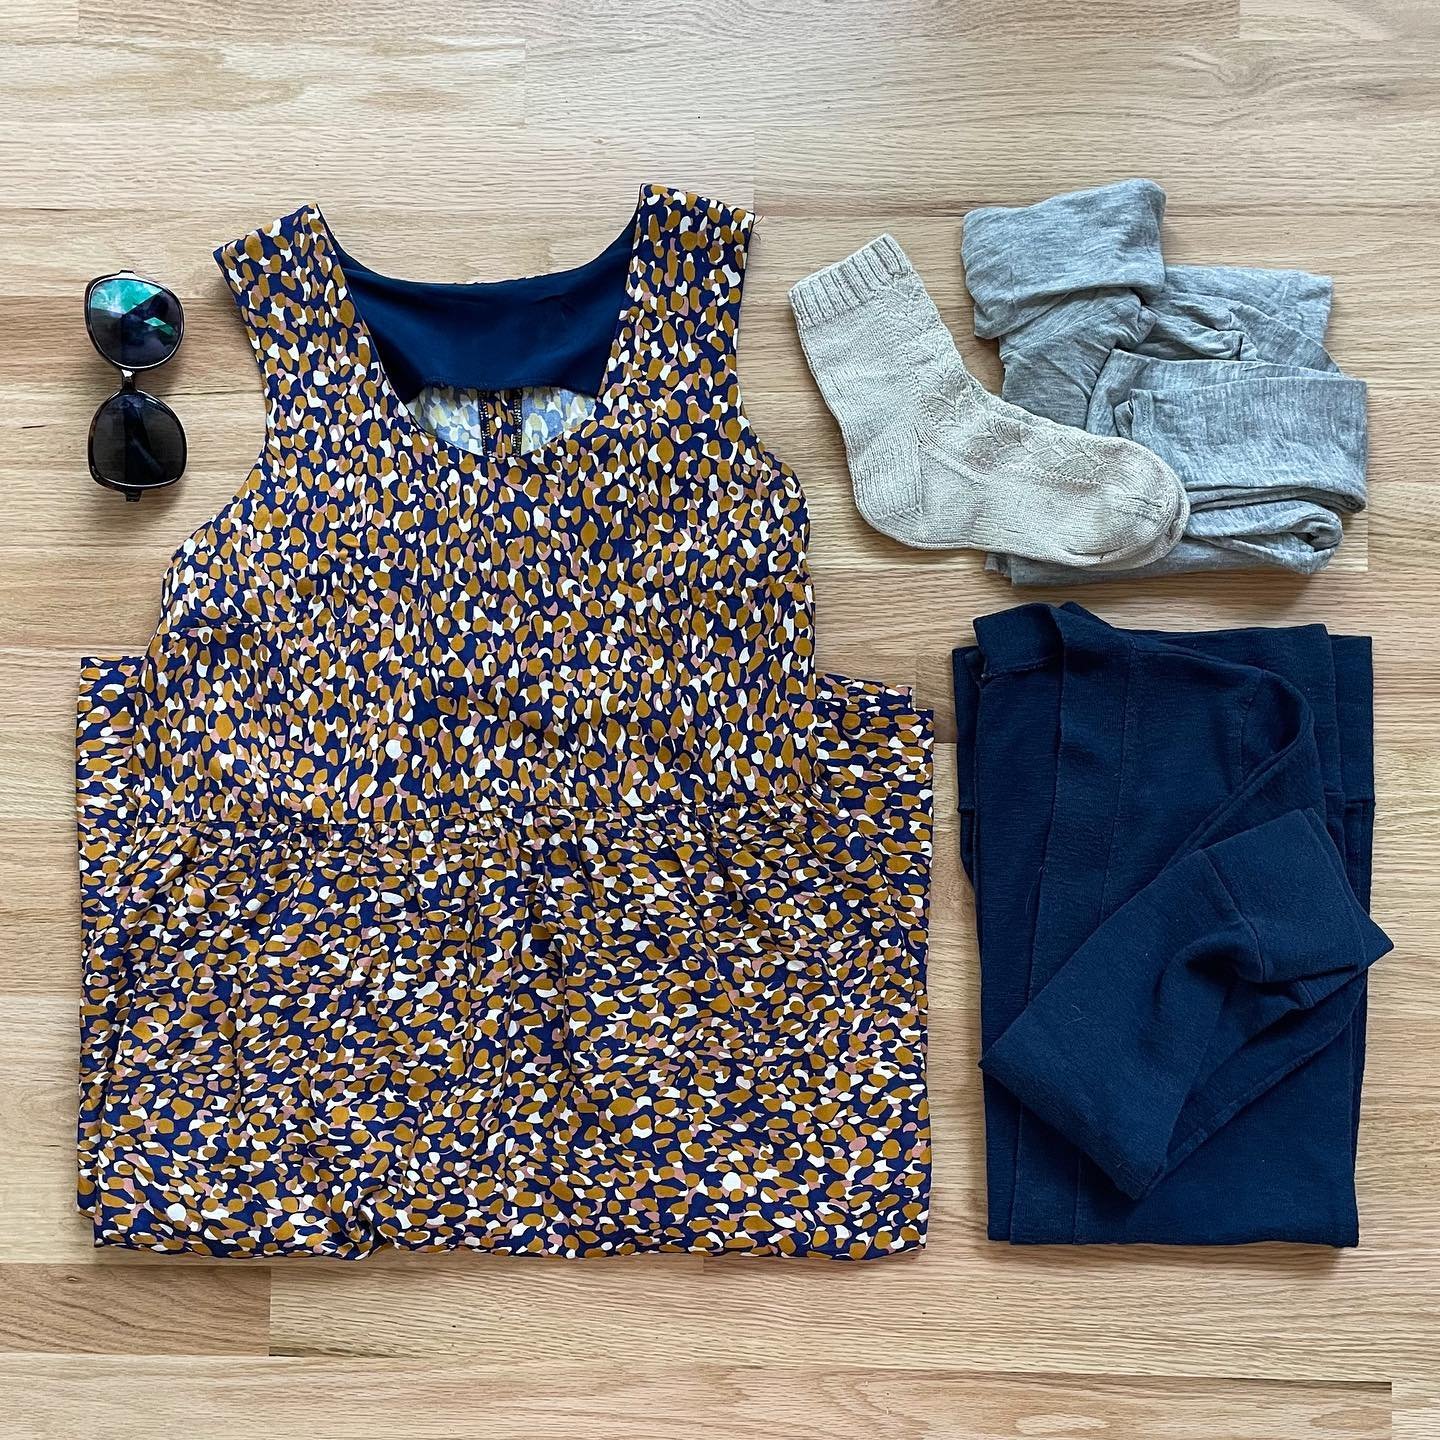
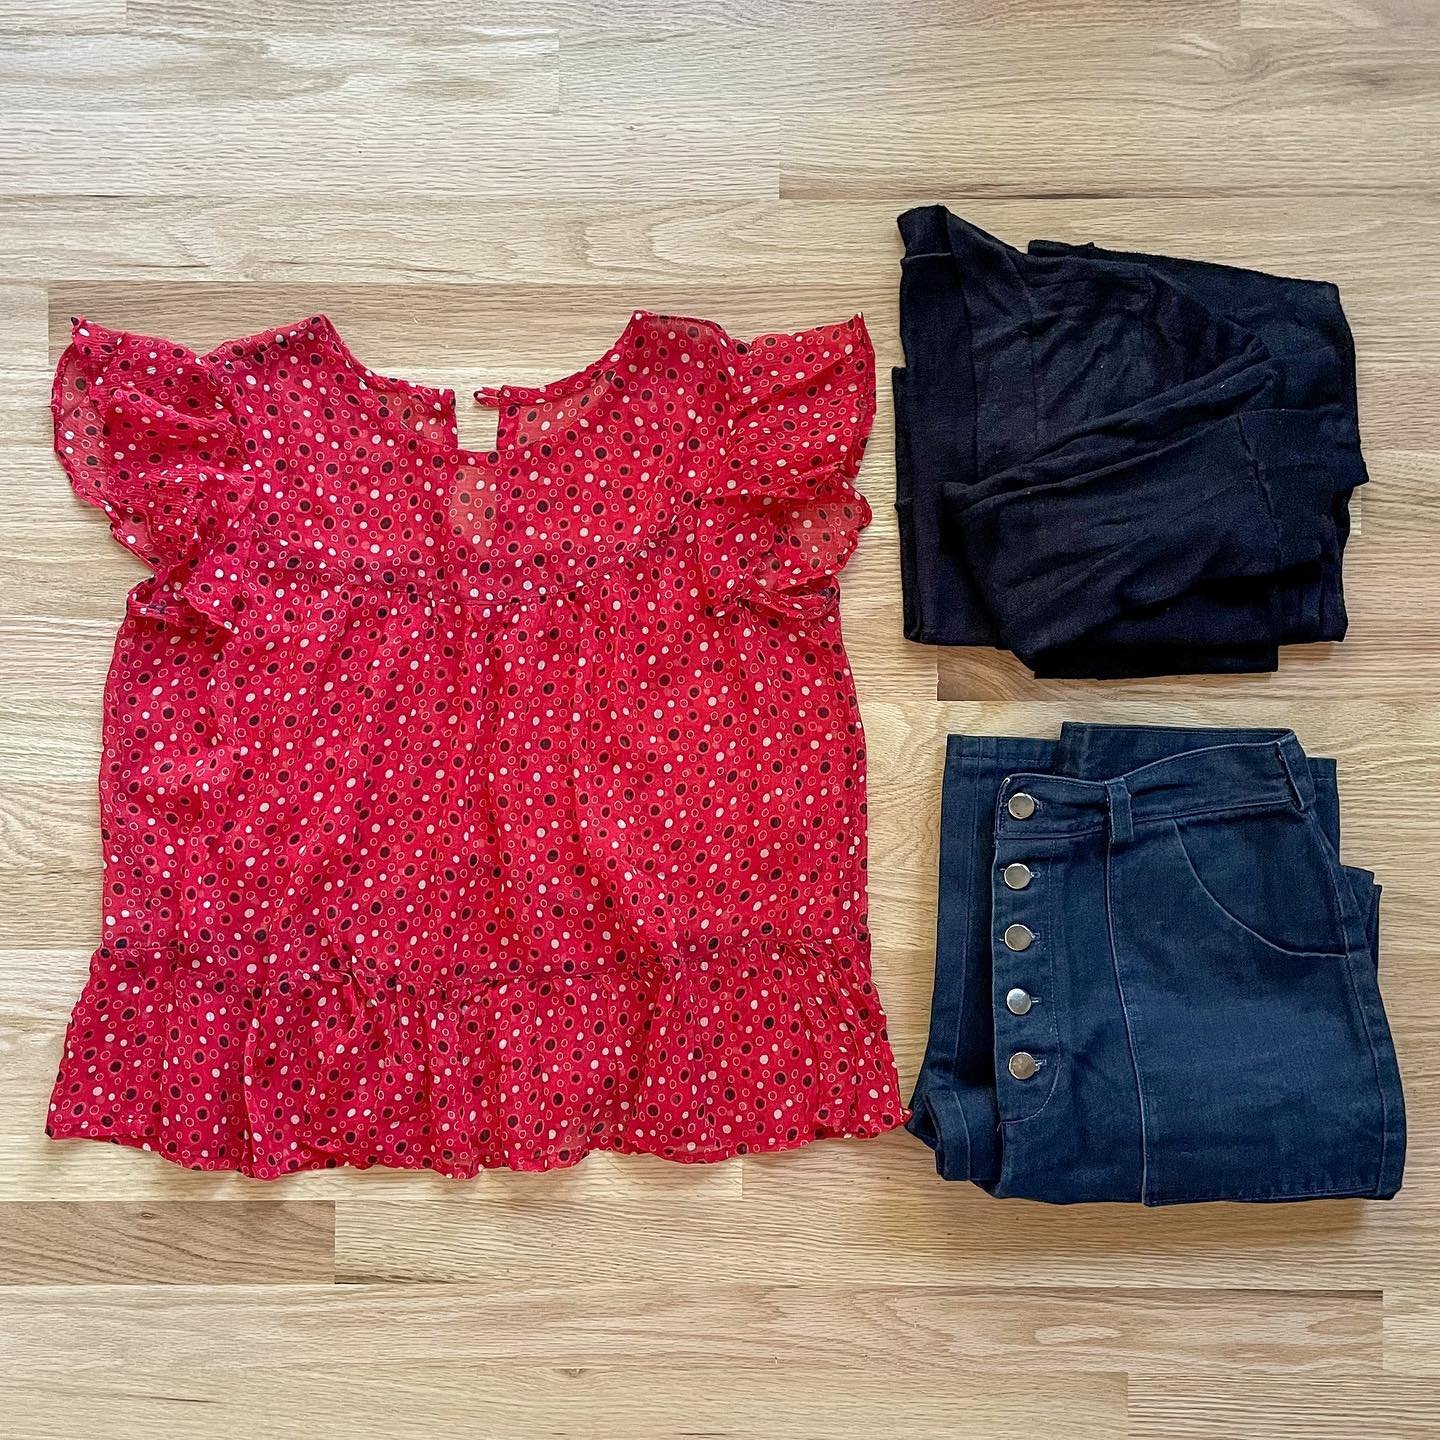
Here I’m wearing all me-made garments from my Work-From-Home capsule wardrobe. The capsule wardrobe is designed with a sudoku style of three tops, three bottoms and three layering pieces that can all be mixed and matched for at least 27 different outfits. Along with the Tasi Cardigan, in these photos, I’m wearing a short sleeve Lou Box Top, my Summer Sweatsuit joggers hack, and a pair of Quilted Slippers. All of the patterns are available individually in my shop or as part of the Work-From-Home pattern bundle.


I hope that you enjoyed this video tutorial. If you need more help sewing knit fabric check out this blog post or explore the links below. Happy sewing!