Today, I'm very excited to bring you a tutorial for the apron that first got me obsessed with sewing way back in the '90s. I learned how to sew this simple apron in my high school sewing class when I was about 15 years old. I immediately fell in love with sewing and made an apron for all my relatives that Christmas. I still have the apron I first made, way back then. I'm happy to say that I still use and wear that original apron and it's held up remarkably well. (You can get a peek of it in the video below!)
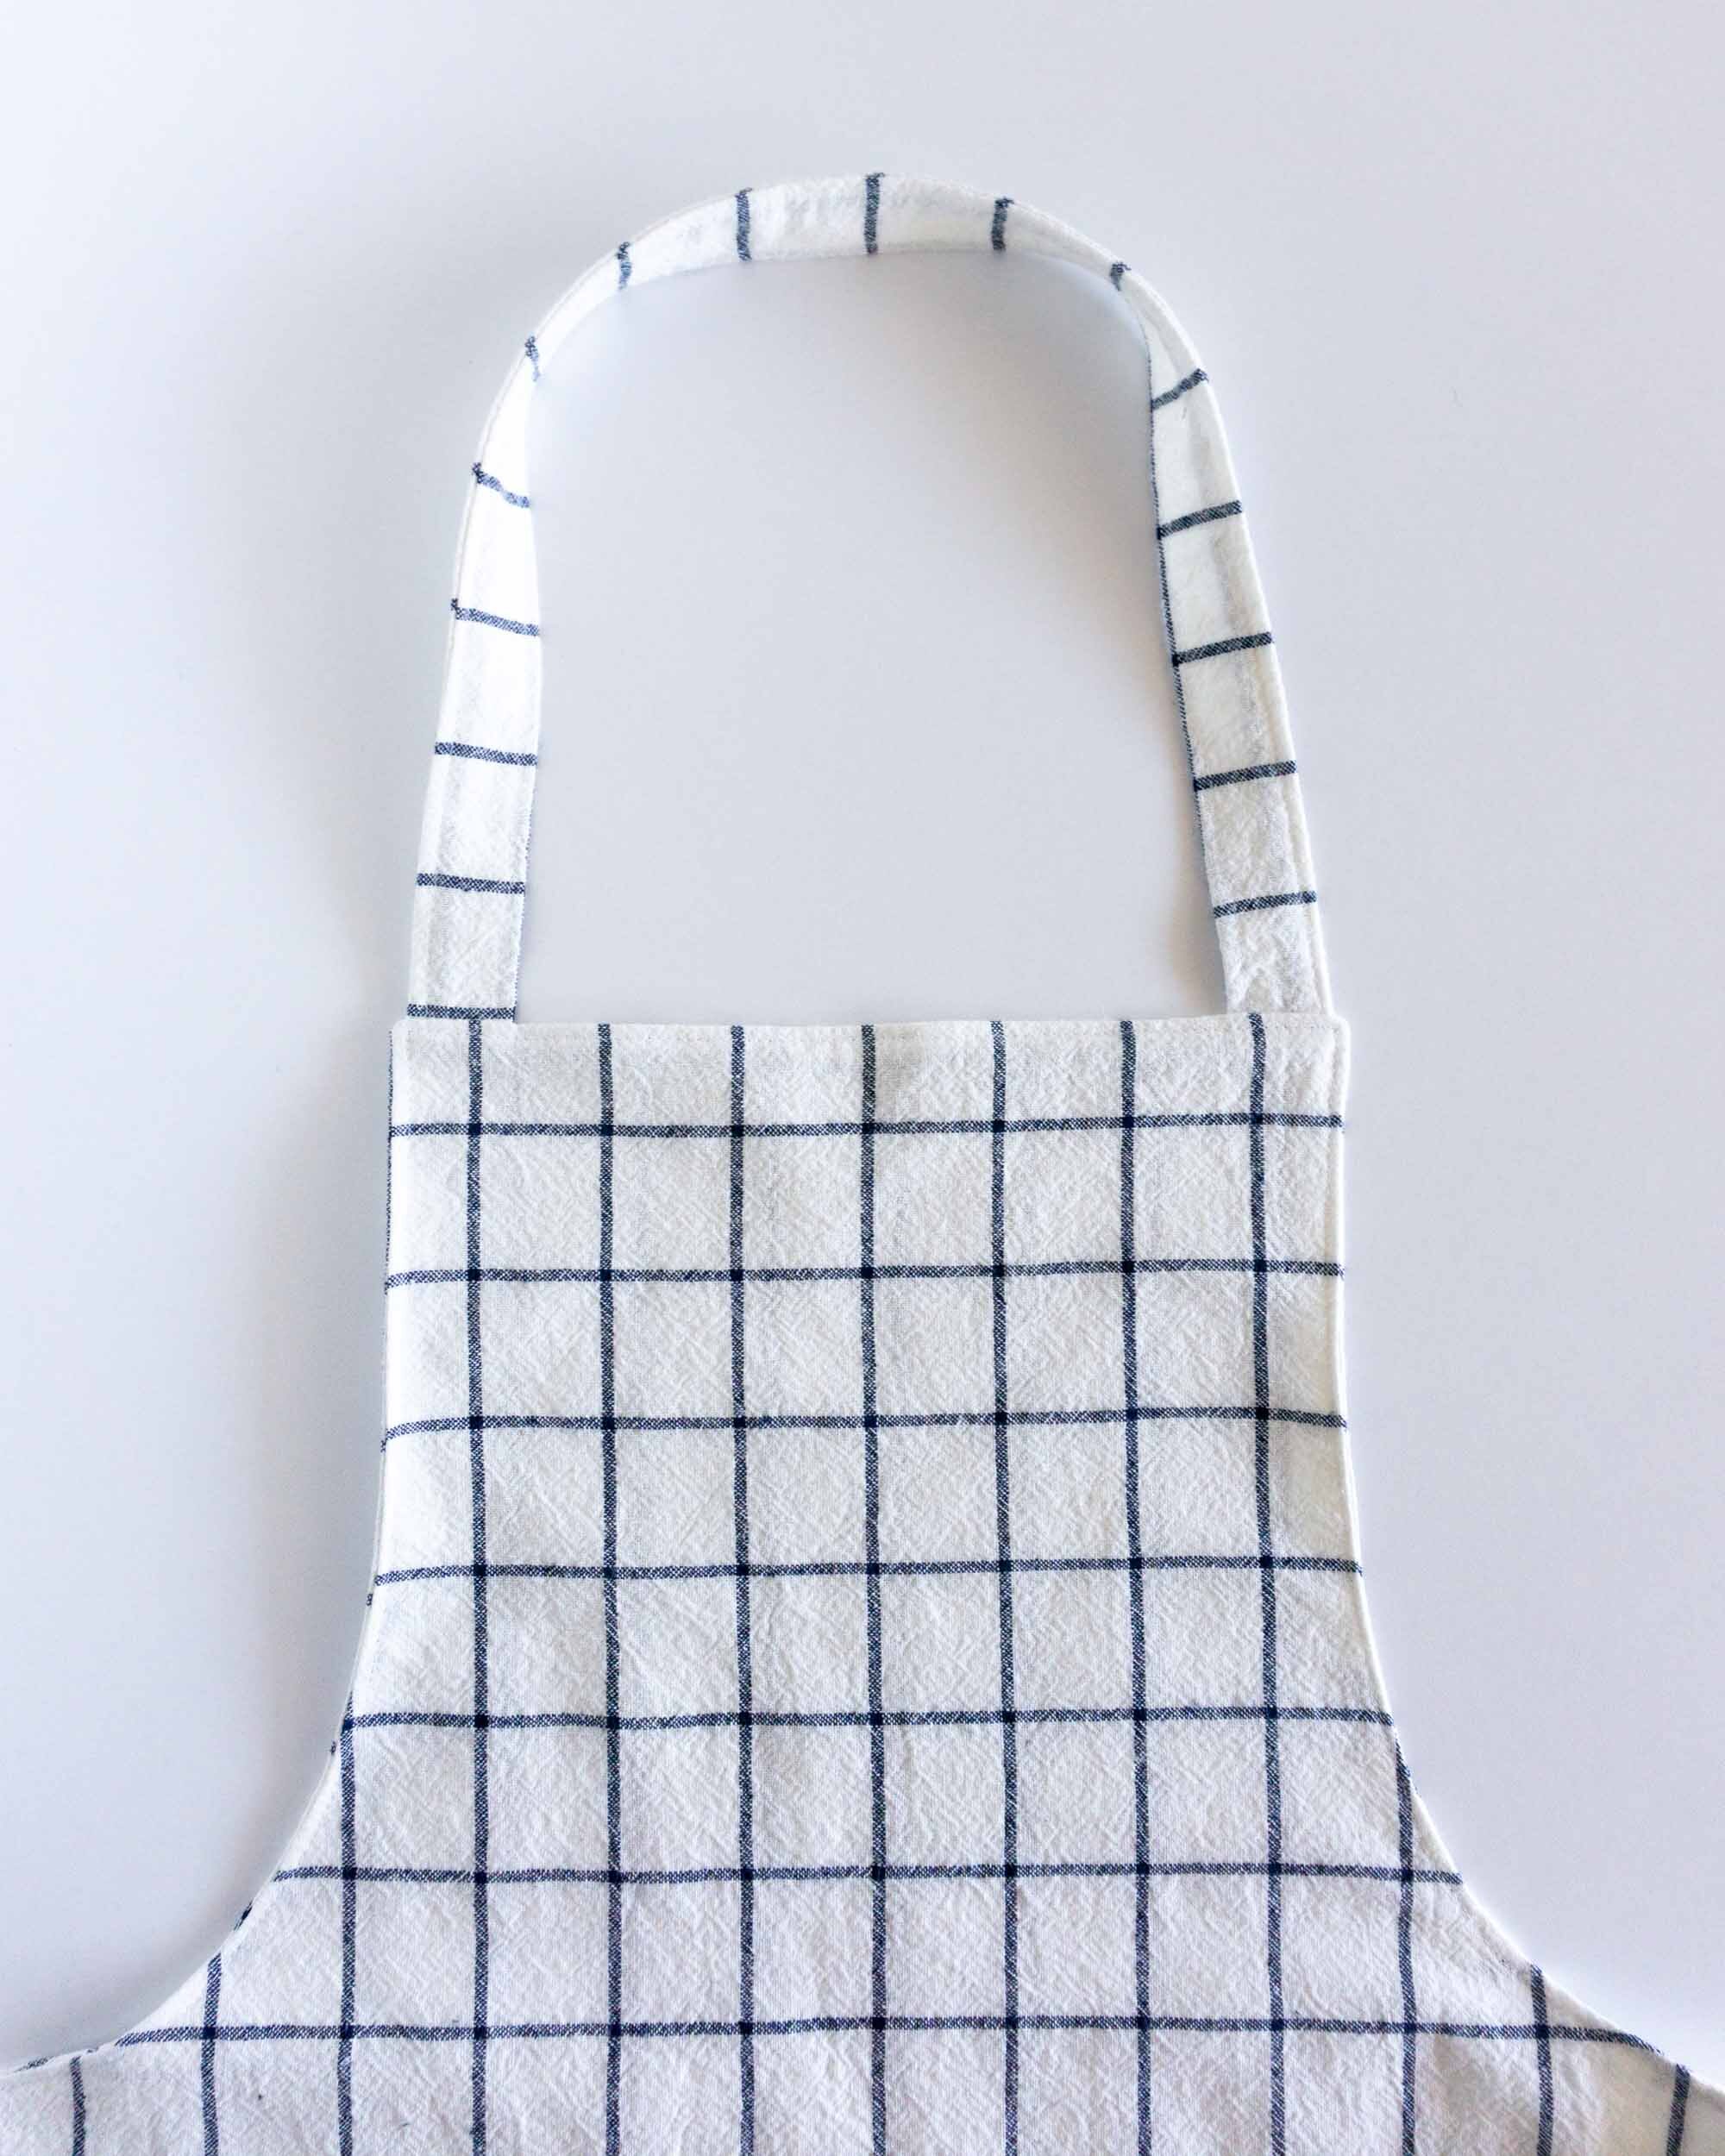
This apron is double sided with a neck strap and two waist ties. I make the strap and waist ties from the fabric but you could also use a purchased ribbon. This apron is a generic size that can be easily adjusted by altering the length or using a different width of fabric. You can even adjust the depth and width of the bib to fit your preferences. If you’re unsure about the size, measure an apron that you like the size of and compare. If you don’t already have an apron, hold a flexible measuring tape up to your bottom to get an estimate of how it would fit you. Or, make a quick paper pattern and “try it on”.
My favorite thing about this apron is that you only need about 1 yard of fabric and it is nearly zero waste. For a completely zero-waste apron, there would need to be no scraps. The scraps leftover are from the sections cut away to make the bib shape and one strip leftover from cutting the straps. I like to use one piece of fabric for the neck strap but you could use two (like is done for the waist ties). It would make the neck strap adjustable and maximize the fabric. If you’re feeling fancy, you could even add D-rings to the neck strap to make it adjustable.
These leftover pieces could be used to make a pocket for the apron. Or, I think it would be pretty easy to sew those curved pieces into a tailor’s ham. You can give the apron to a friend and make a tailor’s ham for yourself! Alternately, you could make a curved zipper pouch, like this one.
If you’re interested in more ways to use your scrap fabric, I will be launching a new e-course in a few weeks that teaches garment sewists how to make improvisational quilts using their fabric scraps. If you’re interested, you can sign up for the newsletter below. It’s a really fun course and I’m super excited to launch it.
SELECTING FABRIC
For the apron in the video, I use a medium weight cotton fabric that I bought in Japan a few years ago. The fabric was a little too heavy for a shirt and I’ve been stumped about what to make with it. This apron feels like the perfect way to showcase this special and attractive fabric. Fingers crossed that I don’t get it horribly stained!
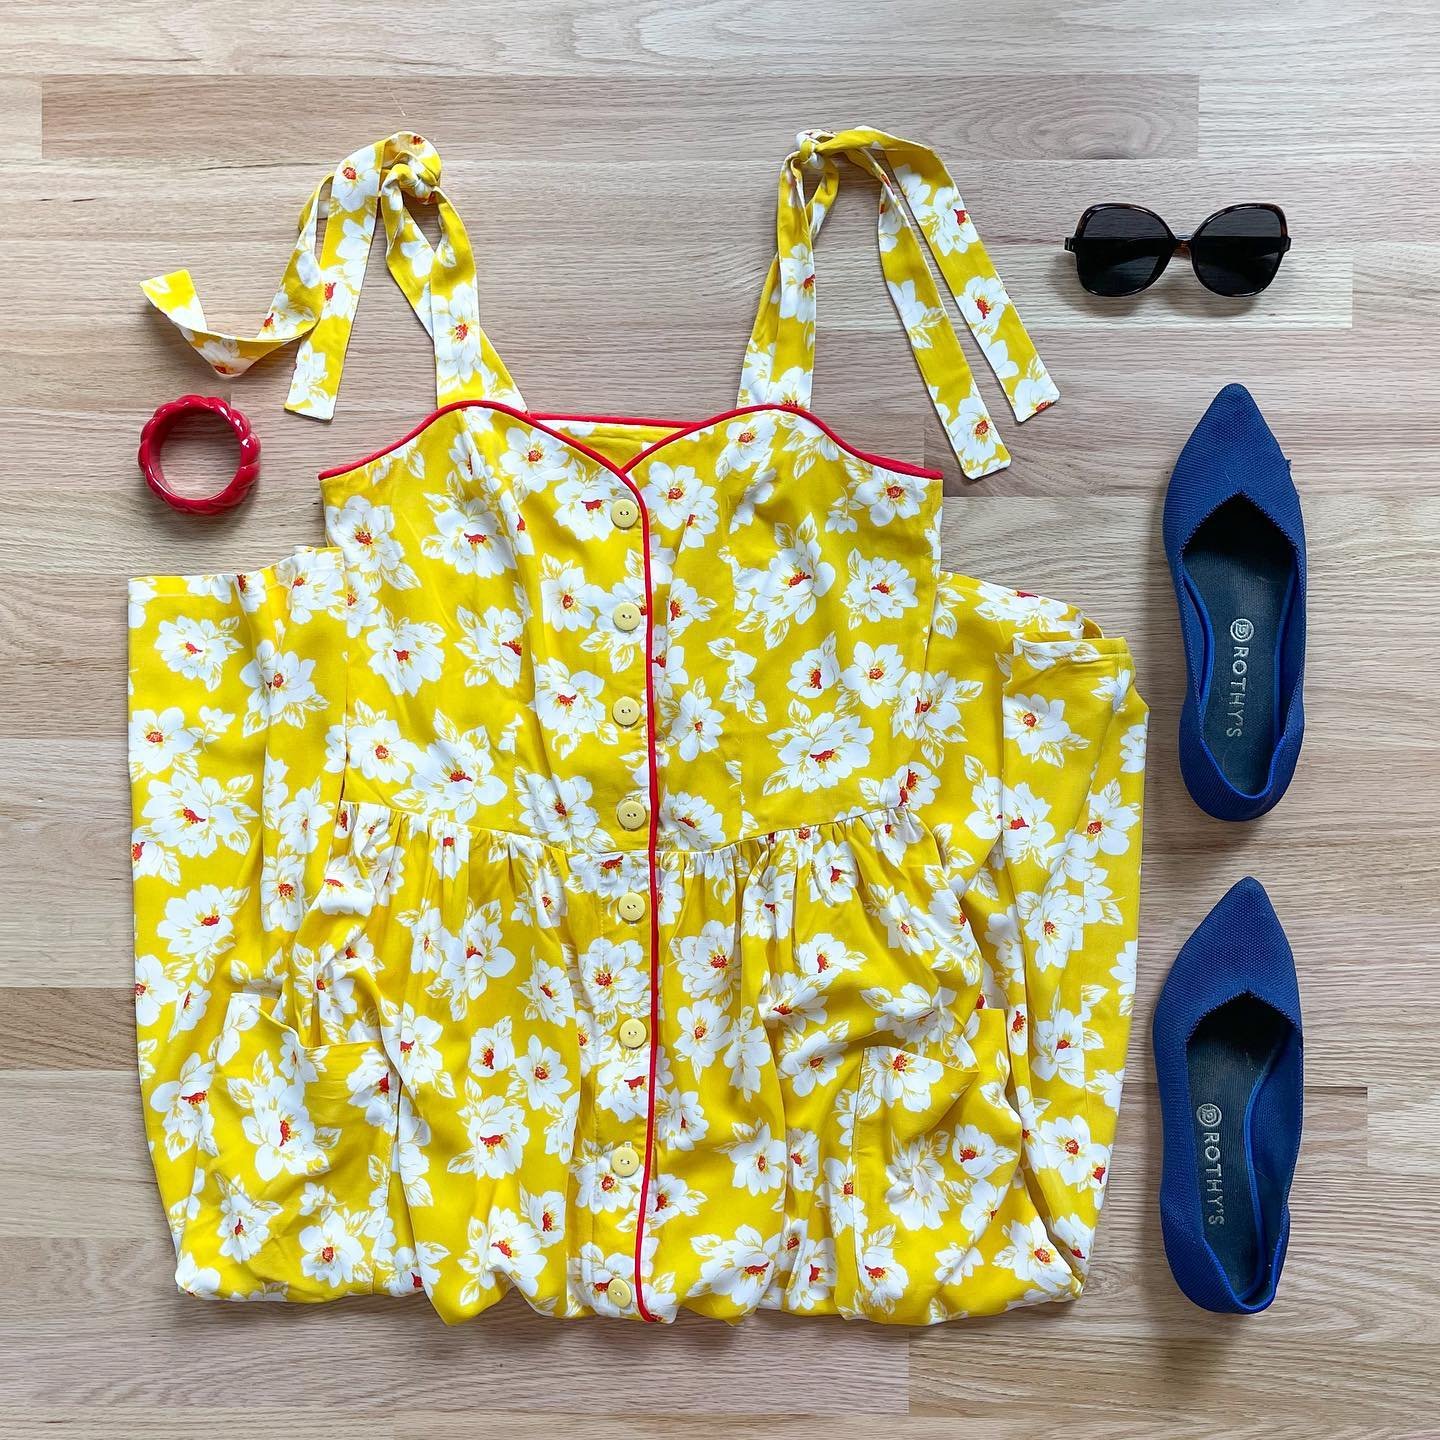
I recommend using a fabric that will wash well like cotton. Quilting cottons work really well for an apron and they’re great for beginners. Plus, quilting cottons have so many pretty and fun prints. This apron is a great way to showcase them.

Watch the video above to learn how to draft and sew this simple apron. (You can also watch it on YouTube here.) Scroll down for a cutting diagram and written instructions.
SUPPLIES NEEDED FOR THIS PROJECT
About 1 yard fabric (quilting cotton works well)
Matching thread
TOOLS USED IN THIS VIDEO
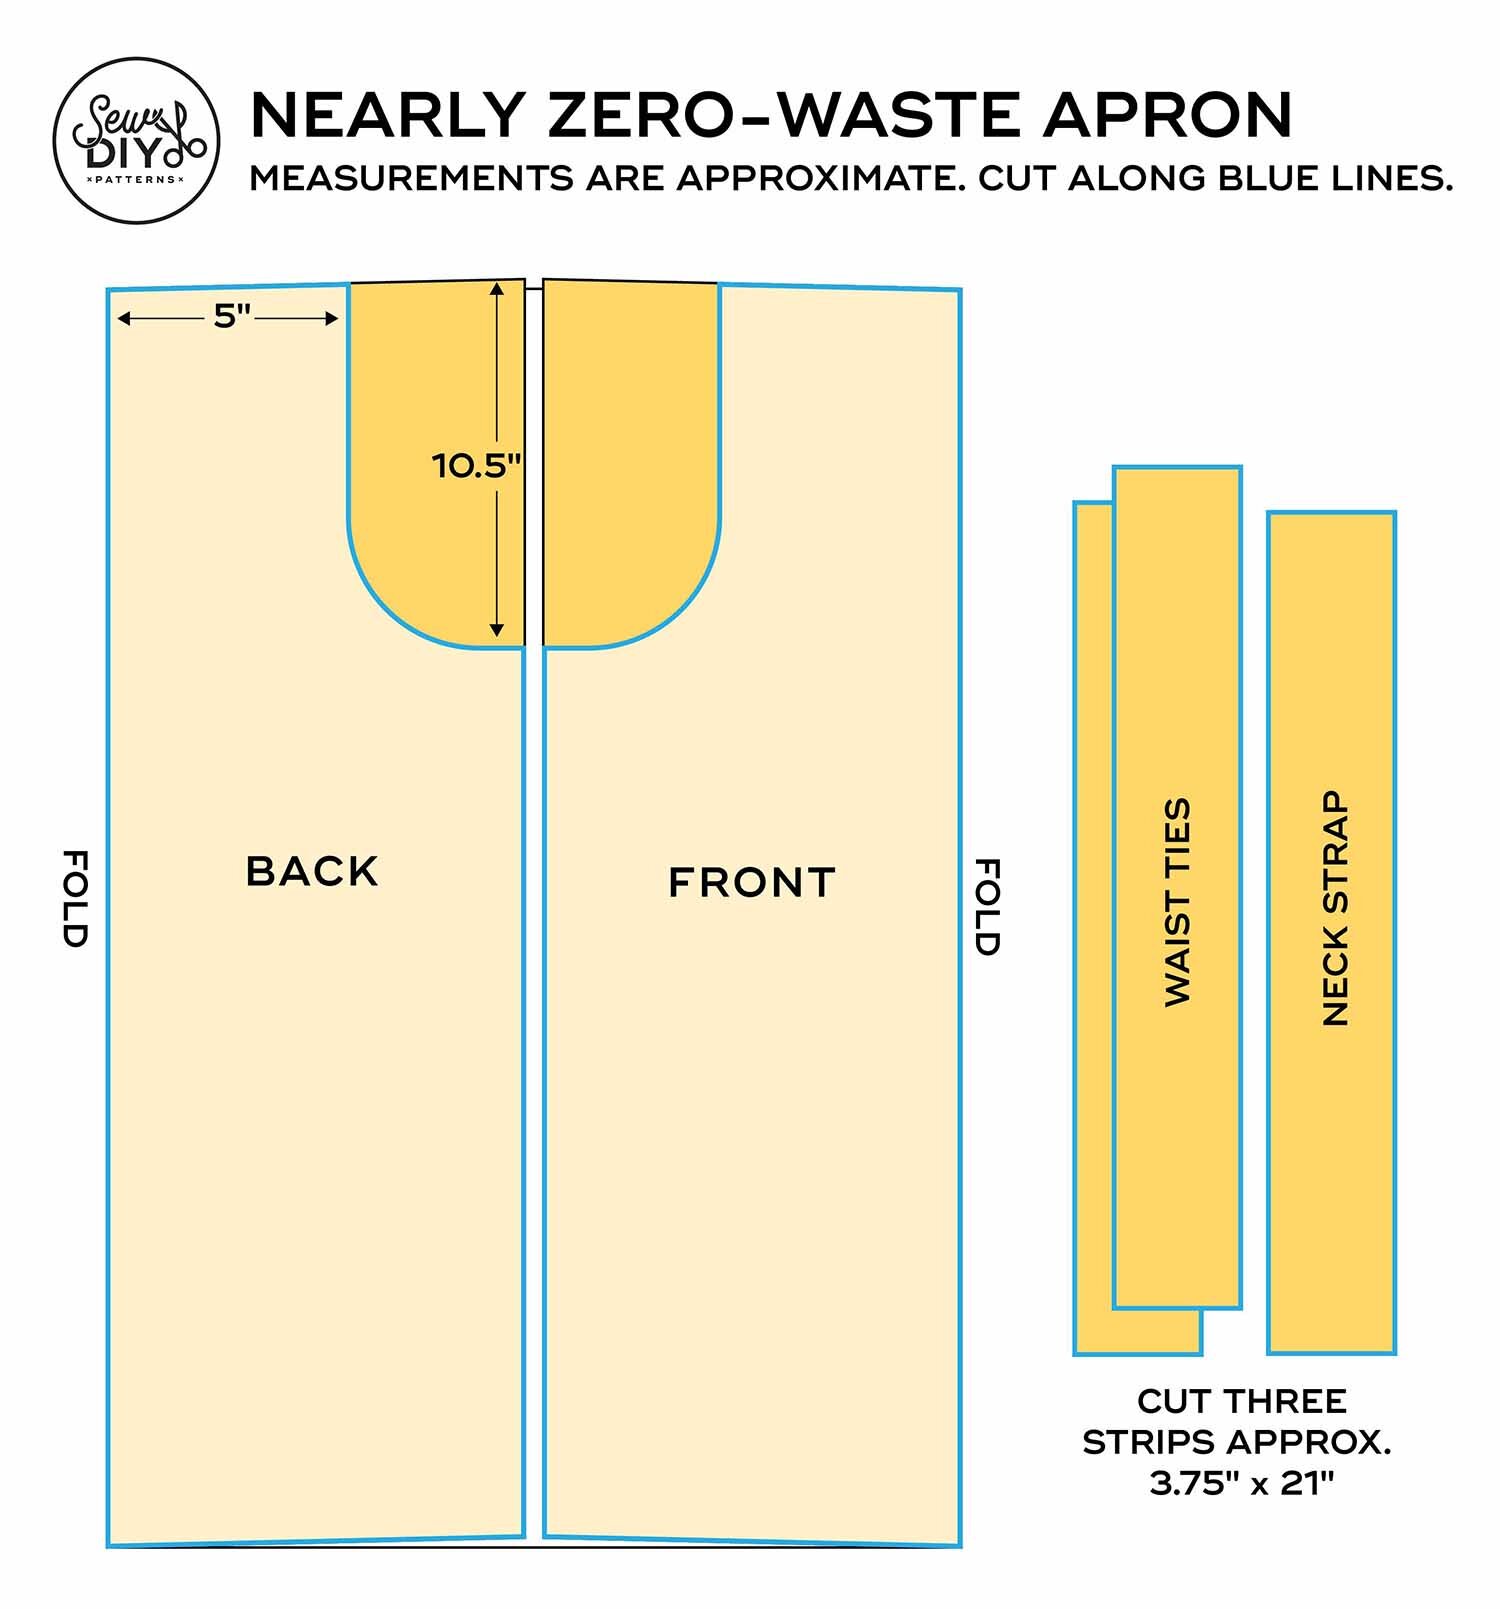
Above is a cutting diagram for the nearly zero-waste apron. I used fabric that was 42 inches wide. This diagram would work equally well with 45” wide fabric.
If you are sewing for a petite person, you may want to make the depth of the bib and/or the neck strap shorter.
If your fabric is 55 to 60” wide, you can cut the strips for the waist ties and neck strap parallel to the grainline first. Then, cut your apron front and back from the remaining narrower width of fabric.
How to sew a simple apron
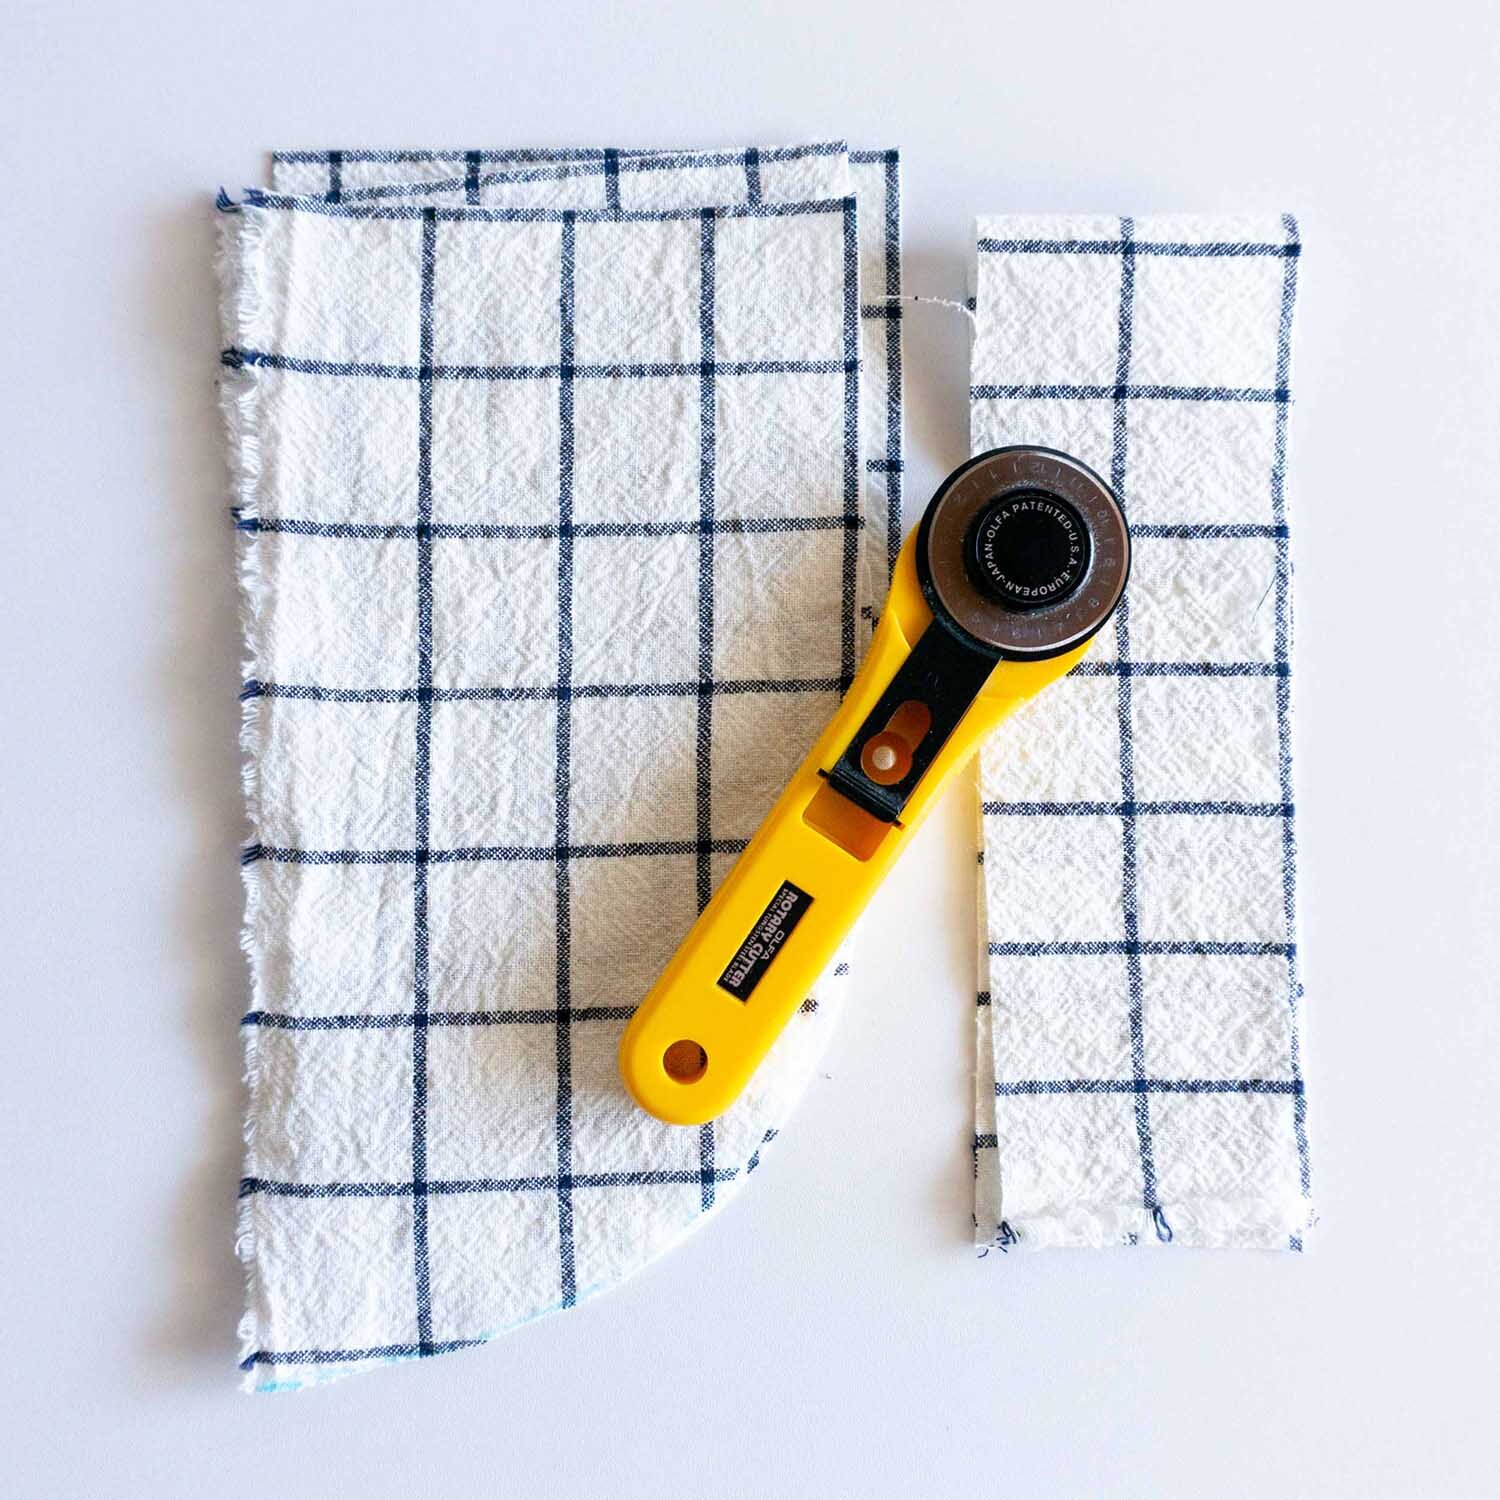
Step 1: For the neck strap and waist tie, cut three pieces of fabric approximately 3.75” by 21”. For a larger size apron, you can cut the waist ties longer.
Cut the remaining piece of fabric in half lengthwise. Fold each piece in half lengthwise and cut out a curved section from the top cut edges to create a bib. (Make sure not to cut the folded edge.)
Step 2: Make the neck strap and waist ties. Fold each strip in half lengthwise with right sides together and pin. Stitch the neck strap along one long edge. For each waist tie, stitch along one long edge and one short edge.
Trim corners, turn right side out and press. Topstitch if desired.
OPTIONAL: If you want to put a pocket on your apron, do so now.
Step 3: Pin the neck strap and waist ties to the right side of one apron piece about .5” away from the corner. (Neck strap will be pinned to the bib and waist ties to the side.) Baste.
Step 4: With right sides together, pin apron front to apron back around all sides. Stitch leaving about a five inch opening at the bottom.
Step 5: Trim corners and grade seam allowance. Turn right side out and press. Topstitch around apron closing up the hole at the bottom.
This tutorial is the fourth in my series of tutorials for holiday gifts that use scrap fabric. Make sure to check out my tutorials for mitered corner napkins, a 3D style face mask and a flower tote.
You can save the image above to Pinterest for future reference. And, if you’d like to support this free content, I invite you to explore the shop below or donate to the channel by “buying me a coffee” at ko-fi. Happy sewing!