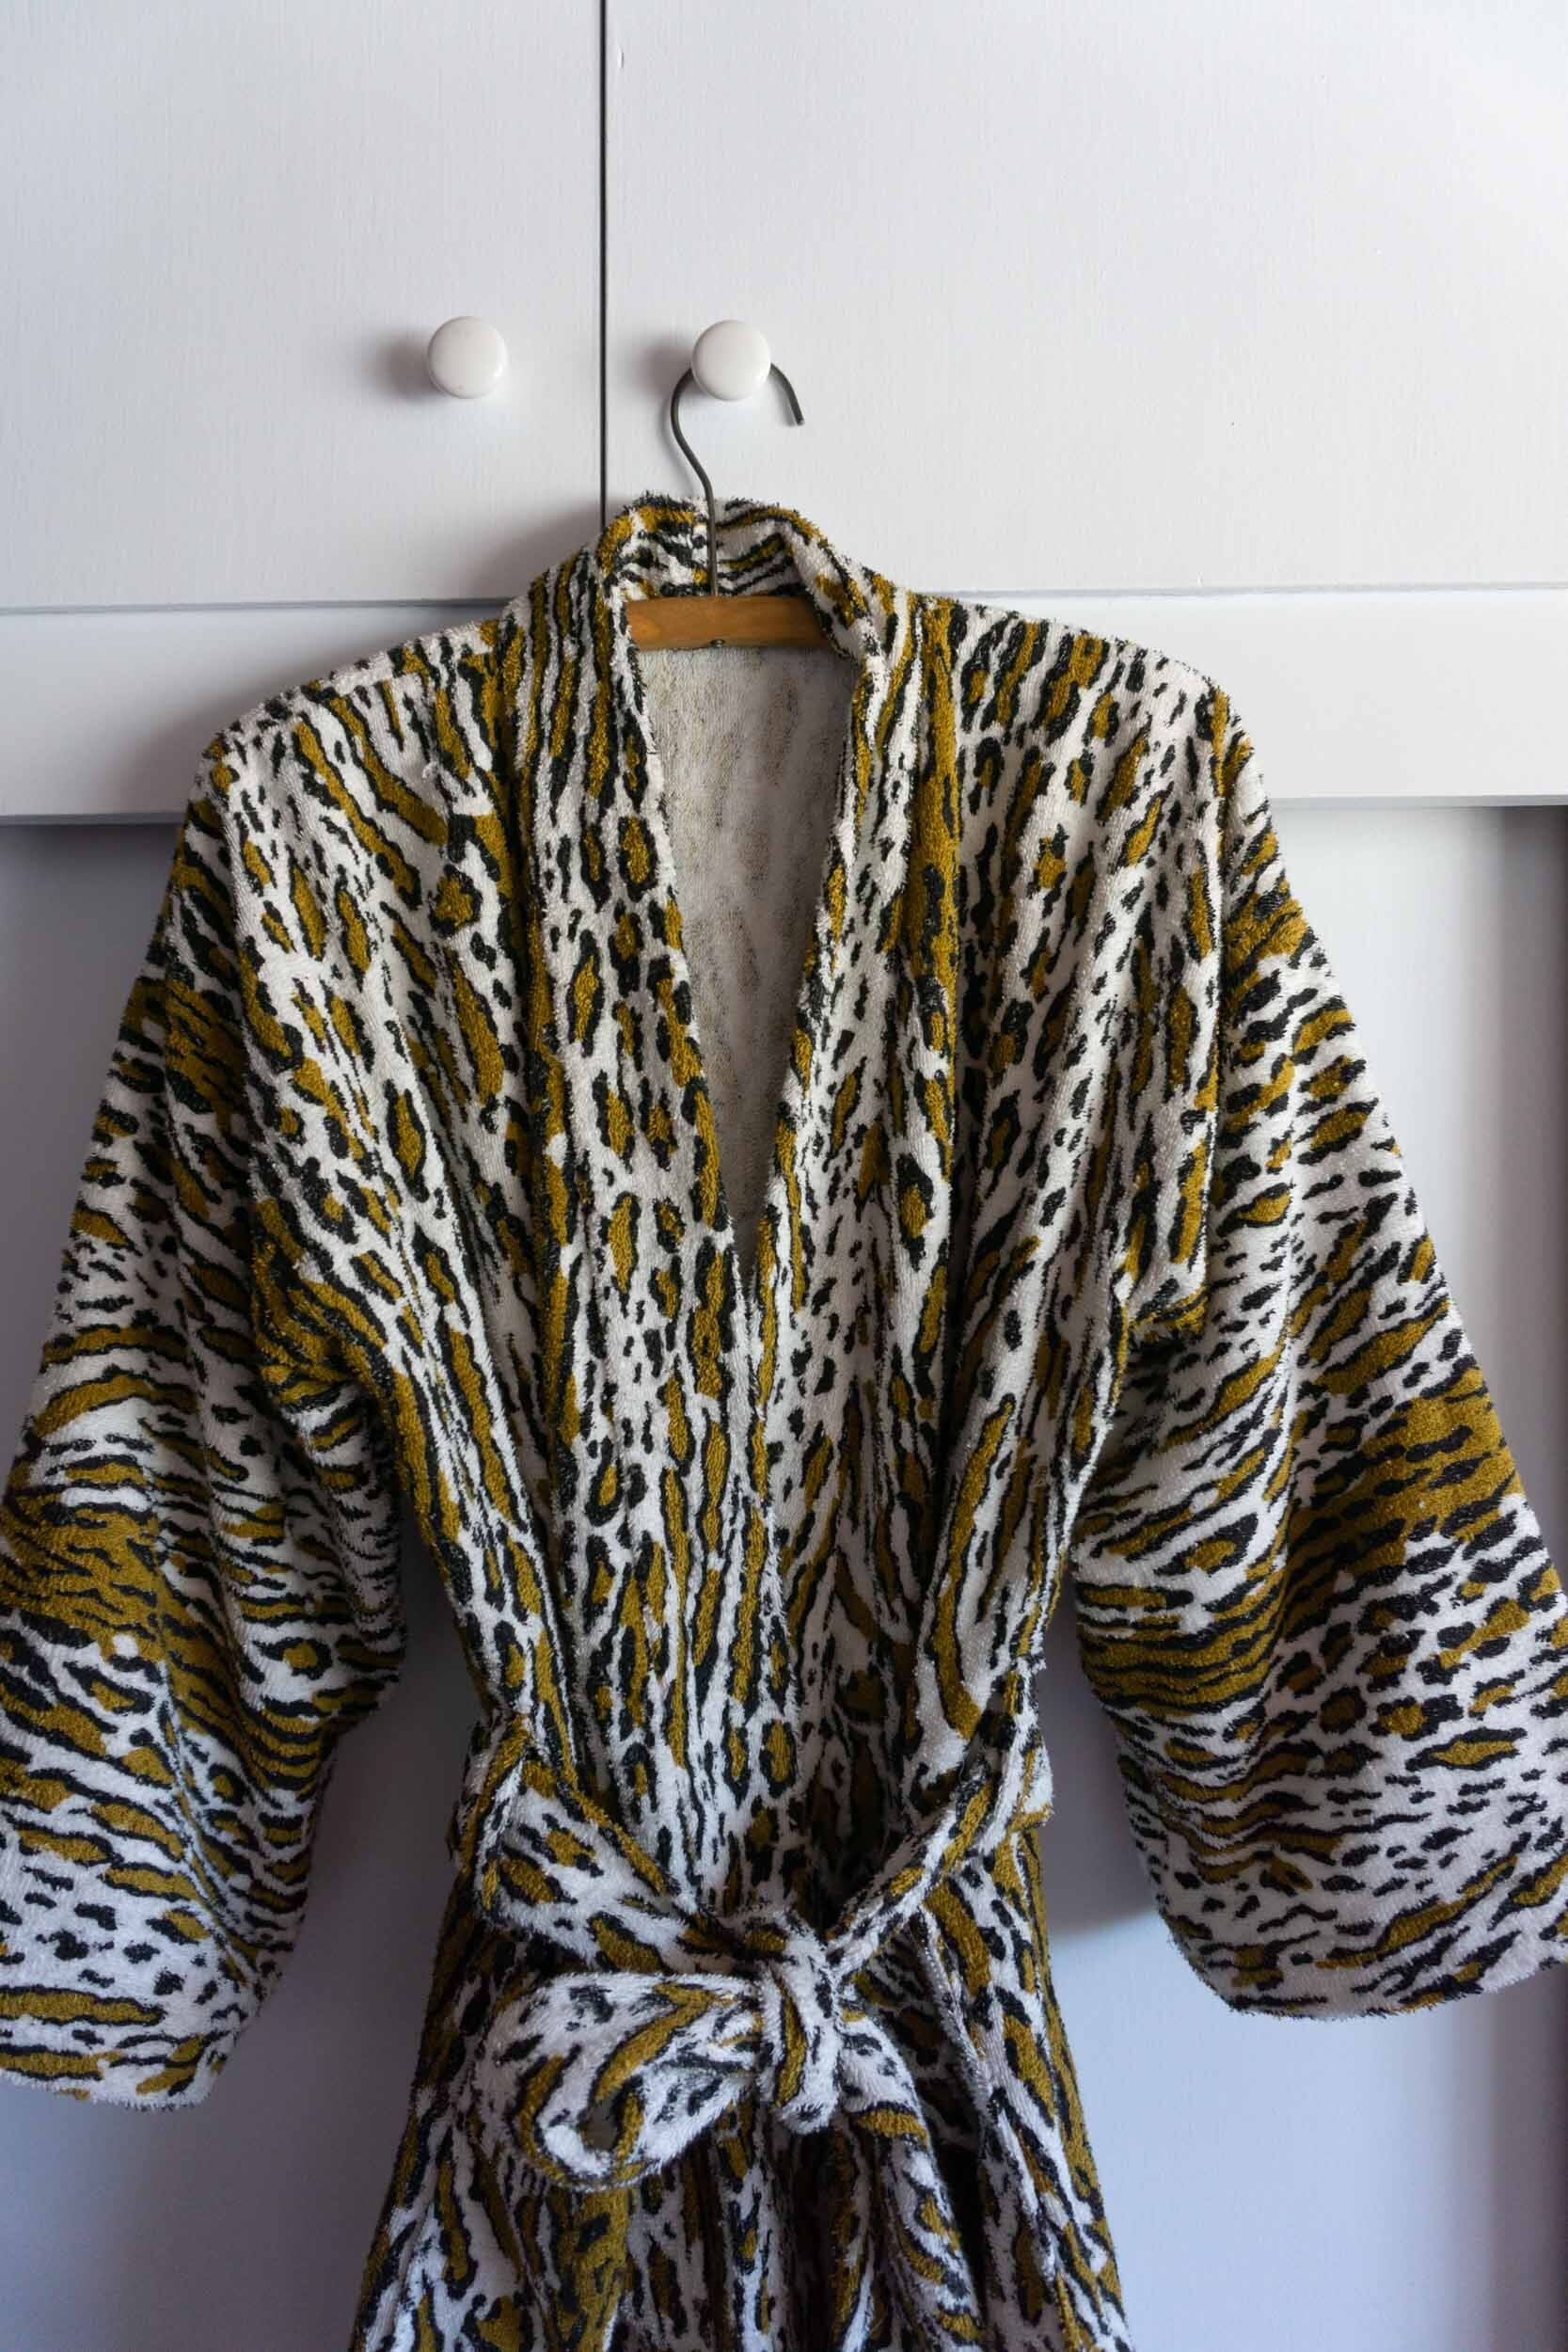
Terry cloth is one of those fabrics that’s in every household but not in every fabric stash. Last week, I shared my terry cloth pool robe and I thought it would be useful to share a few tips for sewing with this unique fabric. You’re probably most familiar with terry cloth from your bathroom towels. It’s a dense fabric made up of thread loops on both sides. It’s a thick and absorbent fabric making it great for robes or swim coverups.
Terry cloth is honestly not very hard to work with but there are a few things to be aware of before you jump in. Read on for more information.
Tips for sewing with terry cloth fabric
1. Terry cloth is known to shrink a lot. Make sure to pre-wash on warm water and dry on a warm or hot setting before cutting out your fabric
2. Before cutting out your garment, check to see if your terry cloth has a nap (or a direction) for the loops and decide which one you want going up.
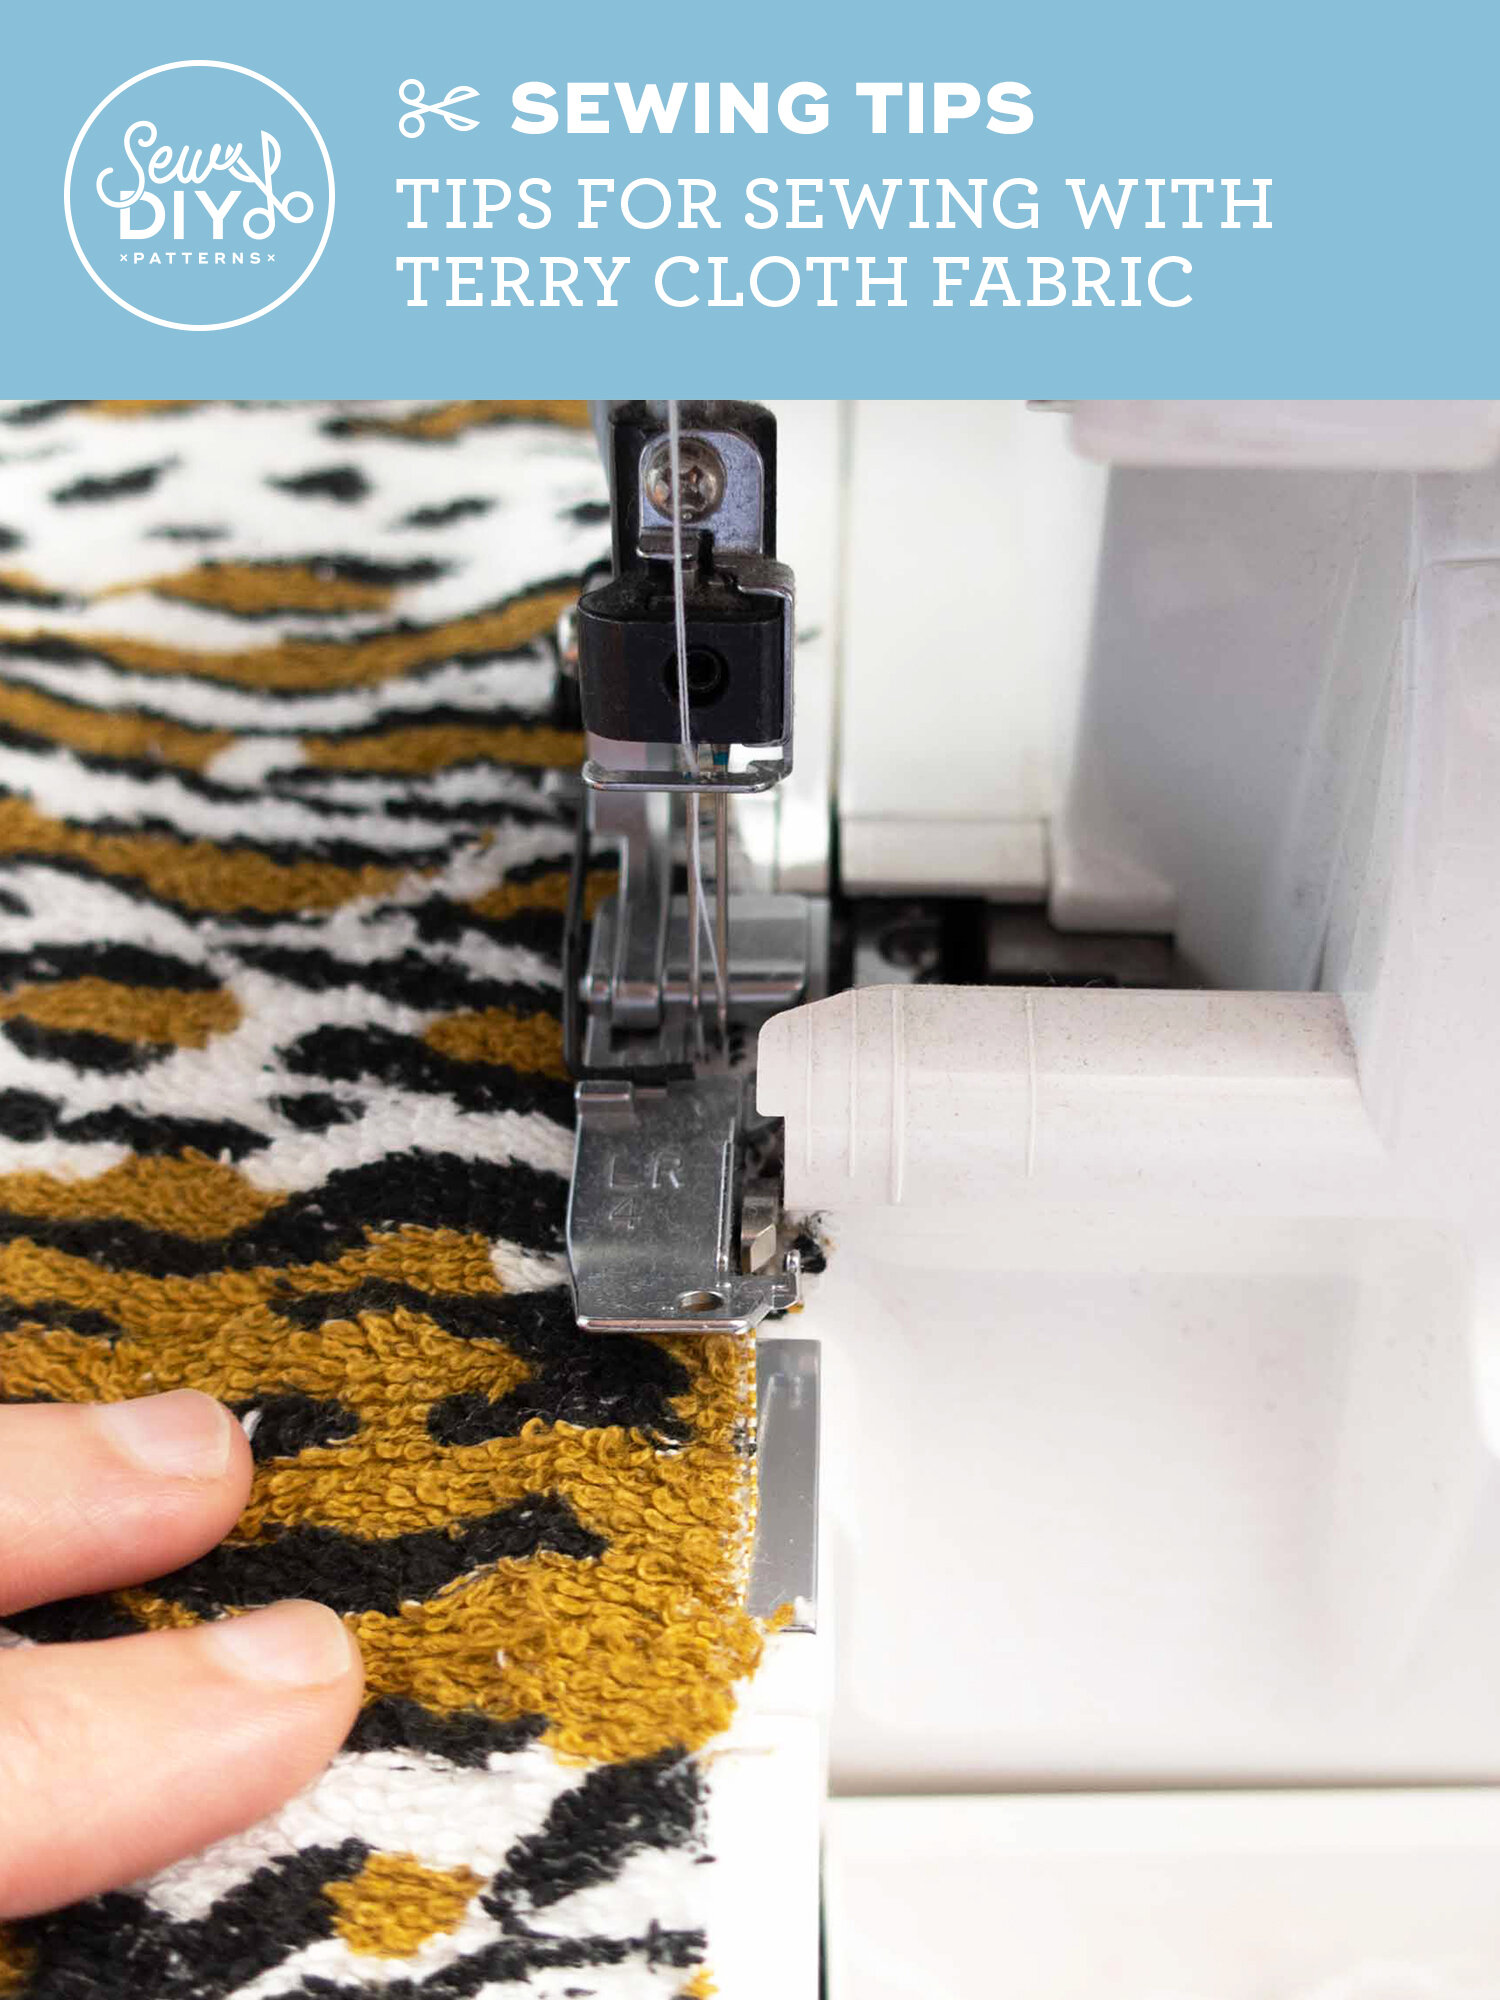
3. When you cut through the loops of the terry cloth, it will get messy. It’s helpful to have a dust buster or vacuum on hand to clean up as you go.
4. Finish your seams using a serger or zig zag stitch as soon during the sewing process as possible.
5. Use a heavier weight needle and a walking foot. I used a 14 or 16 universal needle for this project and a walking foot and did not encounter any problems.
6. It’s really challenging to remove stitching from terry cloth because of all the loops in the fabric. Be very careful that you’re stitching the correct things together and make sure to make a muslin first.
7. Reduce bulk as much as possible. Terry cloth is really thick so you’ll want to reduce bulk where possible. Sometimes, if the layers of fabric are too thick, it will be hard to feed it through the machine and you may even break a needle. For example, when stitching a hem, finish the raw edge with a serger then turn to the wrong side one time only and stitch in place.
I hope that you find these tips helpful. I hope that you found these tips helpful. If you’d like to make your own terry cloth robe, I recommend checking out my Draft-It-Yourself Tasi Robe/Jacket pdf sewing pattern. This pattern will show you how to draft a robe to your custom measurements. If you’re looking for another way to use terry cloth, check out my tutorial for making a roll up picnic blanket. I made one side terry cloth and the other a ticking stripe canvas.
You can pin the image below to save these tips for later. And if you’re not already, you can follow Sew DIY on Pinterest right here. Happy sewing!