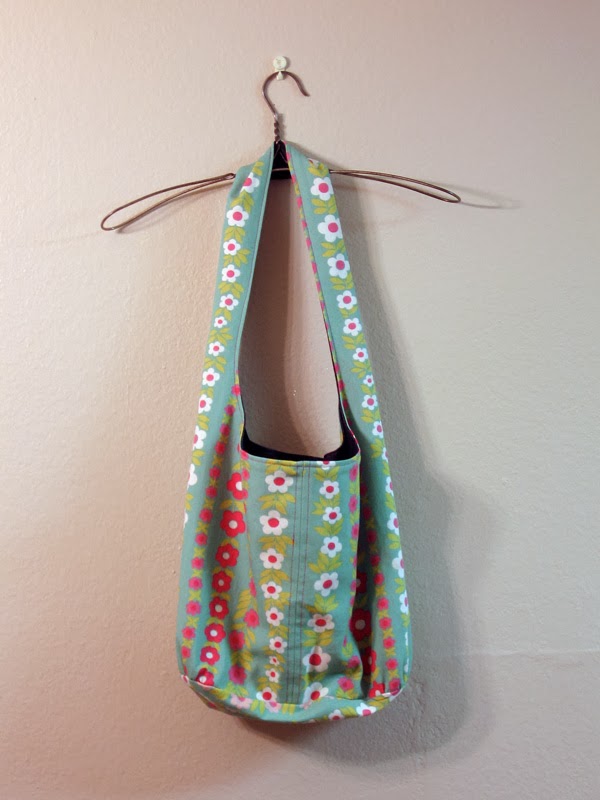
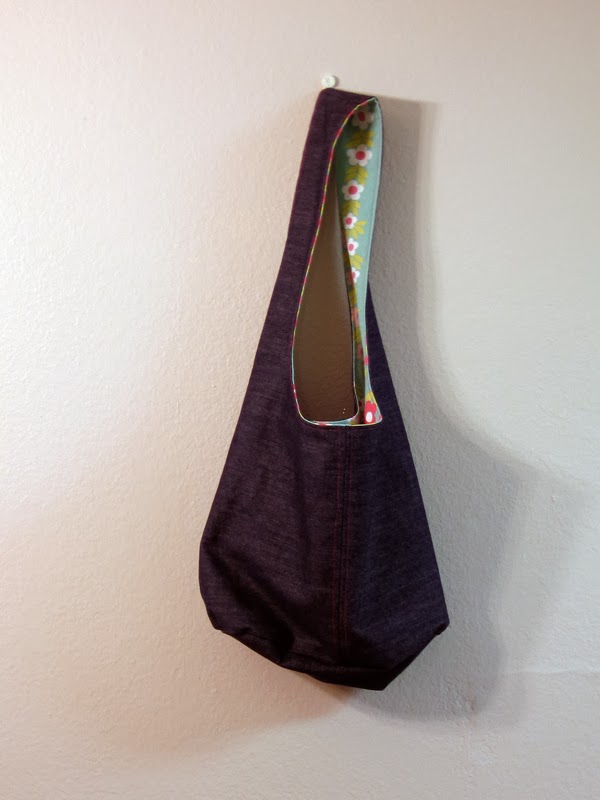
This week I updated the instructions for my Reversible Shoulder Bag pattern I first posted in August and I created a photo tutorial (below). I love how this bag is both casual and streamlined at the same time. It's put together with only four pieces of fabric and should be easy enough for an advanced beginner to complete. The finished size is 27 inches tall and 35 inches around.
Click here to download the pattern.
Instructions
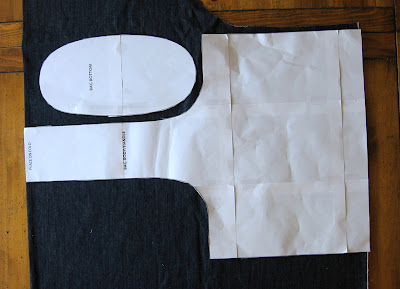
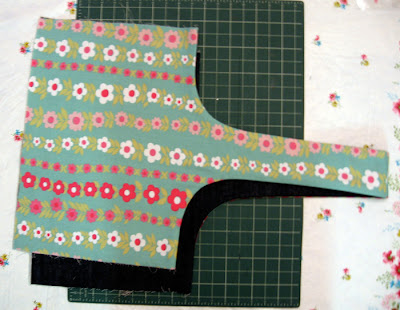
Step 1: Create your pattern. Use the diagram in the pdf instructions to draw the pattern on large paper. Or, print the pattern from the tiled pdf to download the tiled pattern. Assemble the pattern.
Step 2: Arrange the pattern on your fabric.
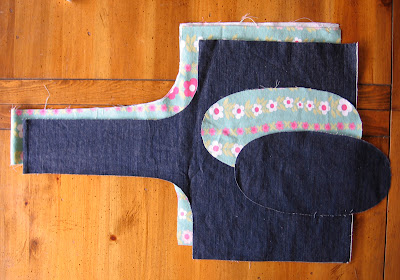
Tip: If you are short on fabric, make a seam at the top of the handle instead of placing it on the fold. Before continuing, cut the handle 1/2 inch longer and stitch together.
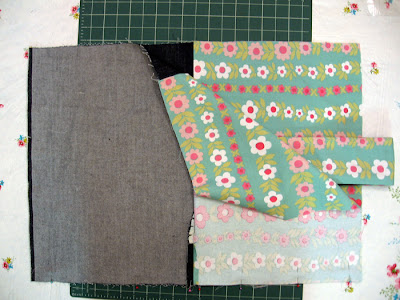
Cut one each of bag body and bottom from fabric A and fabric B. You now have four total pieces.
Step 3:
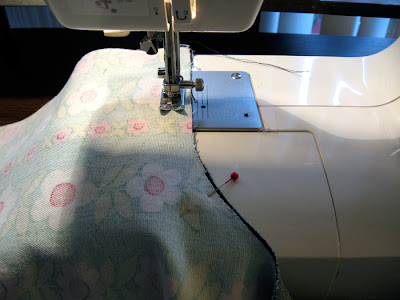
Pin body of fabric A to body of fabric B, right sides together, along curved edges and handle. Stitch using a 1/2 inch seam allowance, leaving sides open.
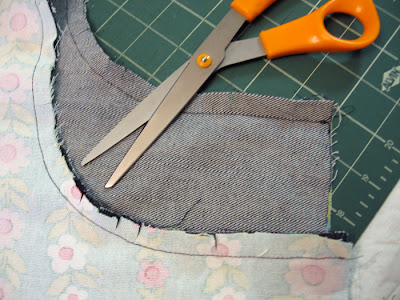
Step 4: Clip the curved edge.
Turn right side out through the handle.
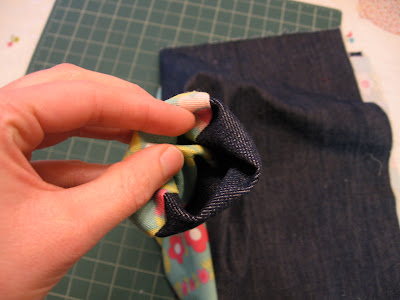
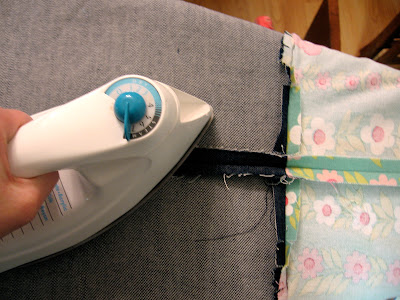
Step 5: You can now see the bag starting to take shape. This is a good time to press the handle of the bag.
Open the bag so the wrong side is facing and the handle is in the middle. Press the seams open a few inches. Next, stitch the side seams. With right sides together, match seams and fabrics and stitch using a 1/2 inch seam allowance.
Step 6: Press seams open.
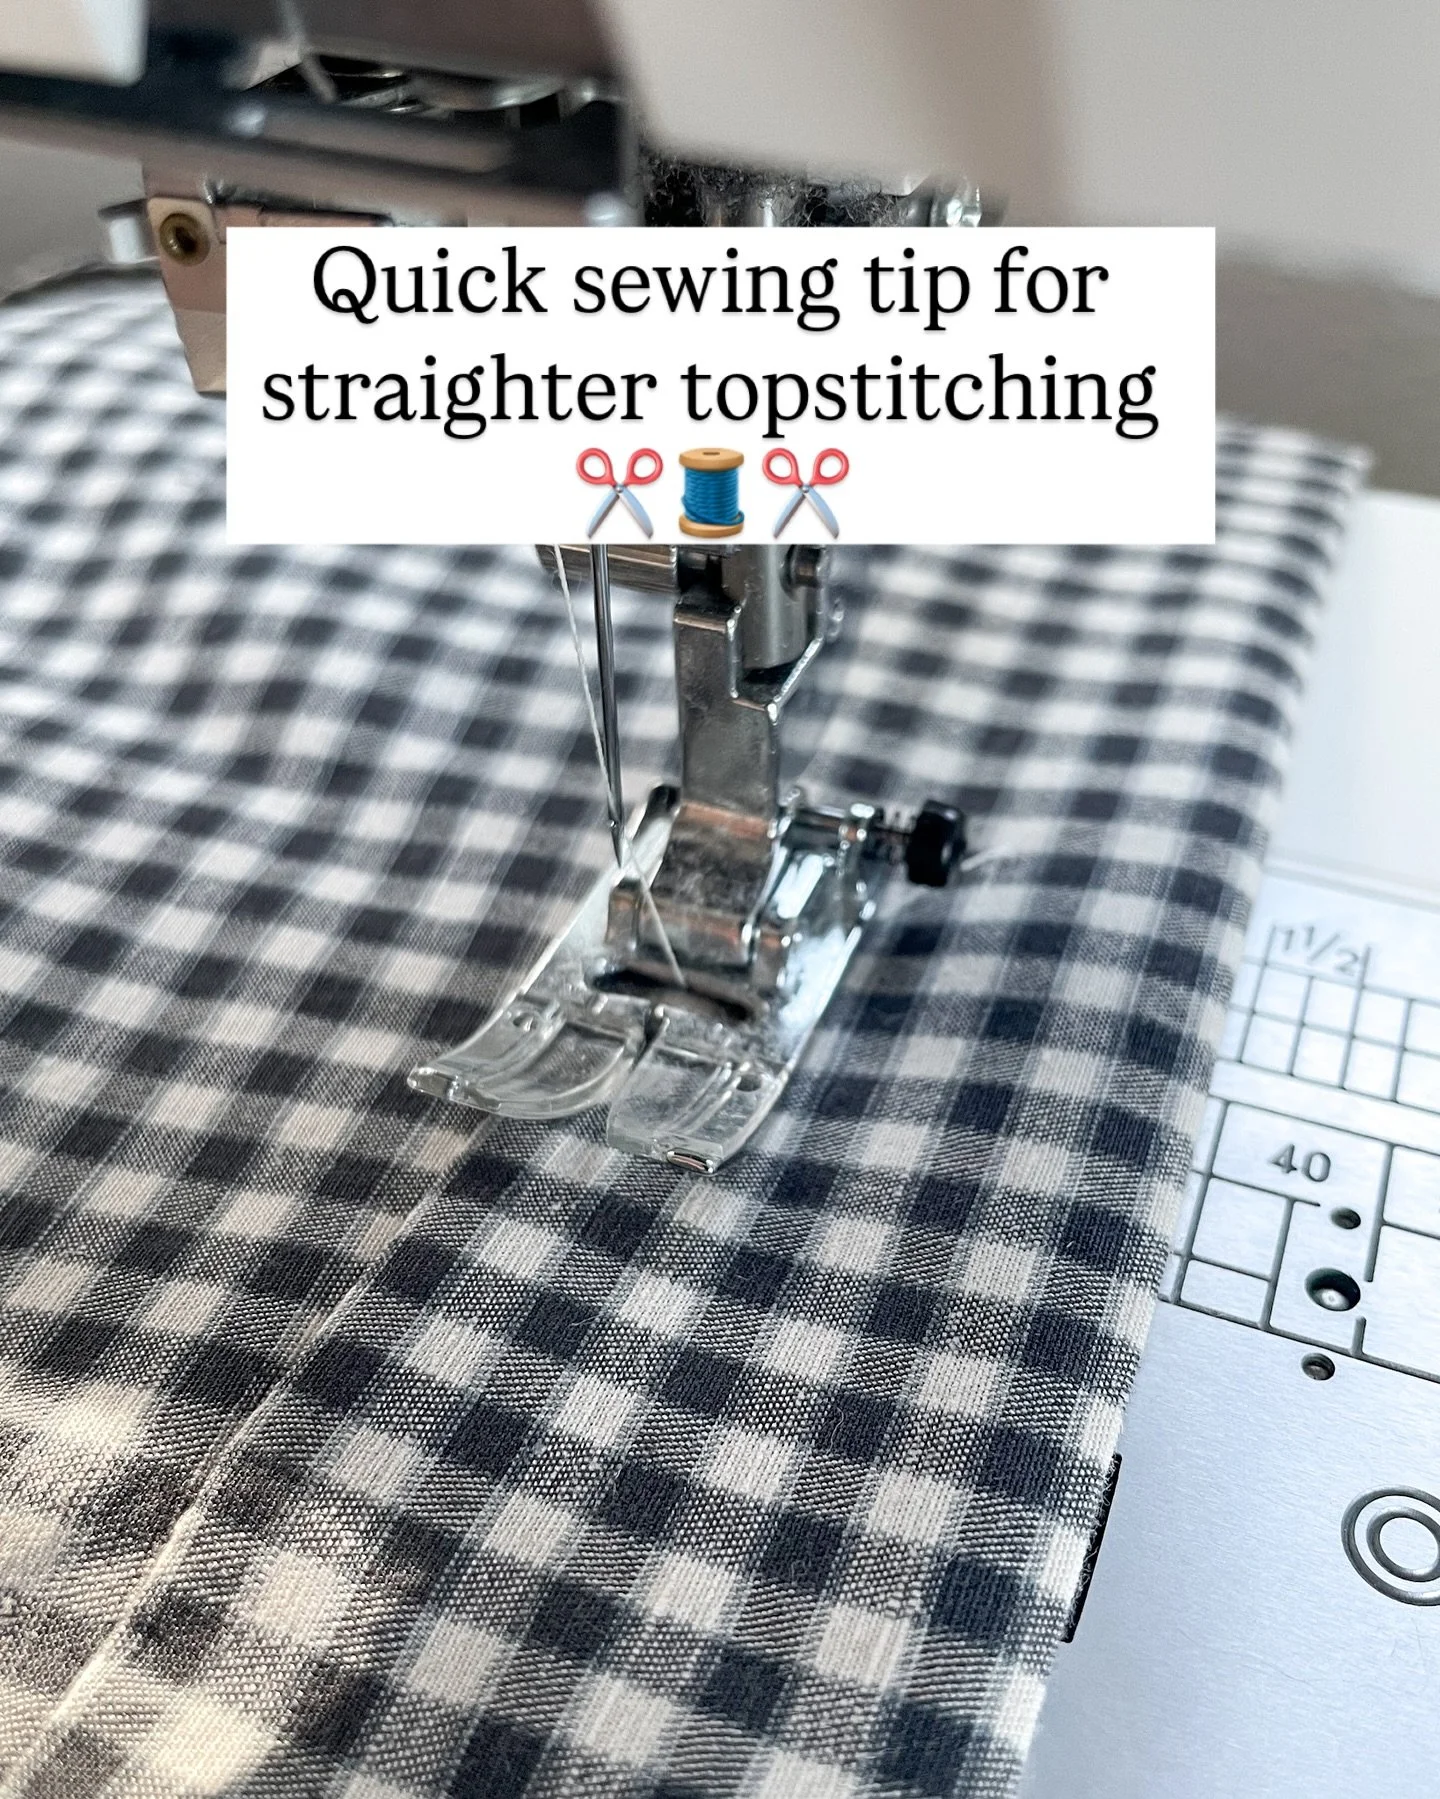
Topstitch on each side of the side seams, stitching only through the body of the bag and the seam allowance.

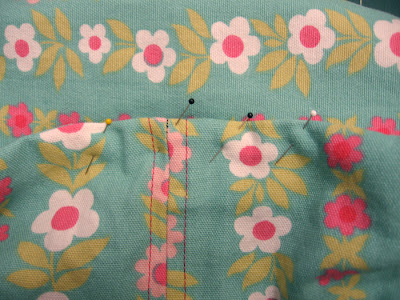
Step 7: Place pins or clip at center of each side of bag and at each end of bottom piece. (To find the centers of the bottom piece, fold in half lengthwise and widthwise.) Baste around bottoms of bag body. With right sides together, align center of long edge of Fabric A bottom piece with the side seam of Fabric A bag and pin. Match pins at short end of bottom piece with pins bag centers.
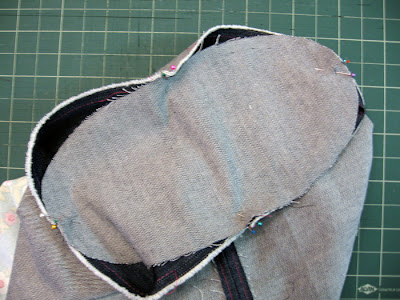
Step 8: Pull basting stitches on bag body to gather along short ends of bag bottom. Pin in place. Stitch using a 1/2 inch seam allowance.
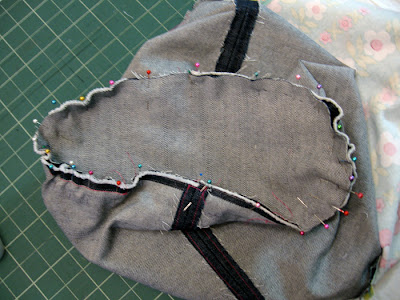
Repeat for the fabric B side of bag, leaving an opening next to a side seam about four inches long.
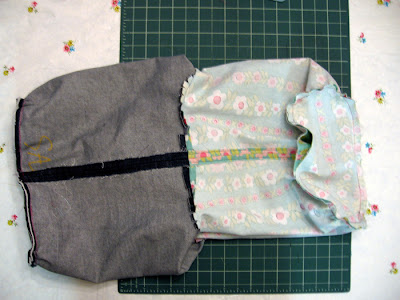
Step 9: Pull the bag right side out through the opening in the bottom of fabric B bag.
Stitch the opening closed by hand.
Step 10: Press where necessary and topstitch around curved edges and handle.
I'd love to hear questions or comments about the pattern. And if you make one I'd love to see pictures. If you don't feel like making one yourself, I'm thinking about making some to sell on etsy. I'll post about it when the time comes.