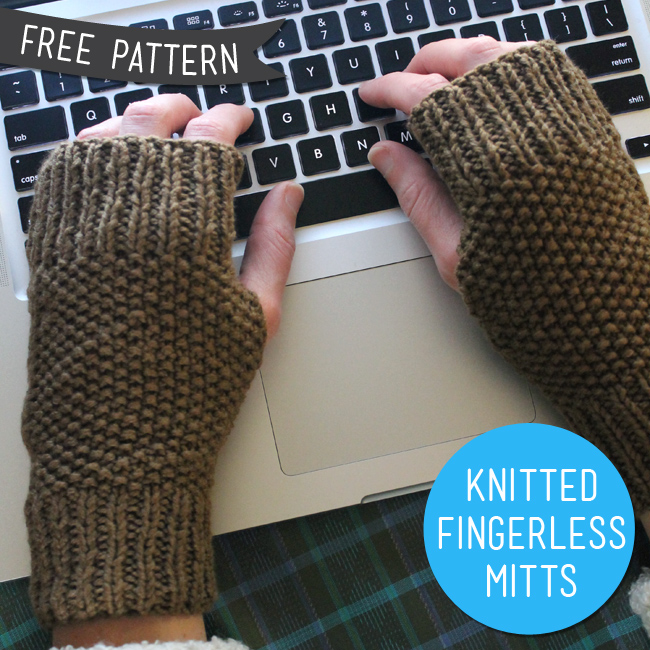
These sweet little mitts are easy to make –
great for beginning knitters
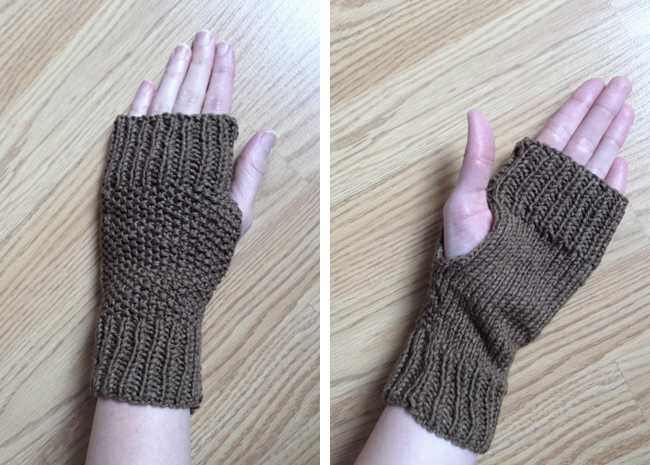
– and will keep your hands toasty while your fingers keep typing. If you've ever tried to type in a cold office or house you'll know the value of a pair of fingerless hand covers. These are more simple than fingerless gloves or full mittens (hence the moniker "mitts") but still do the job of keeping your hands cozy and protected from the elements.
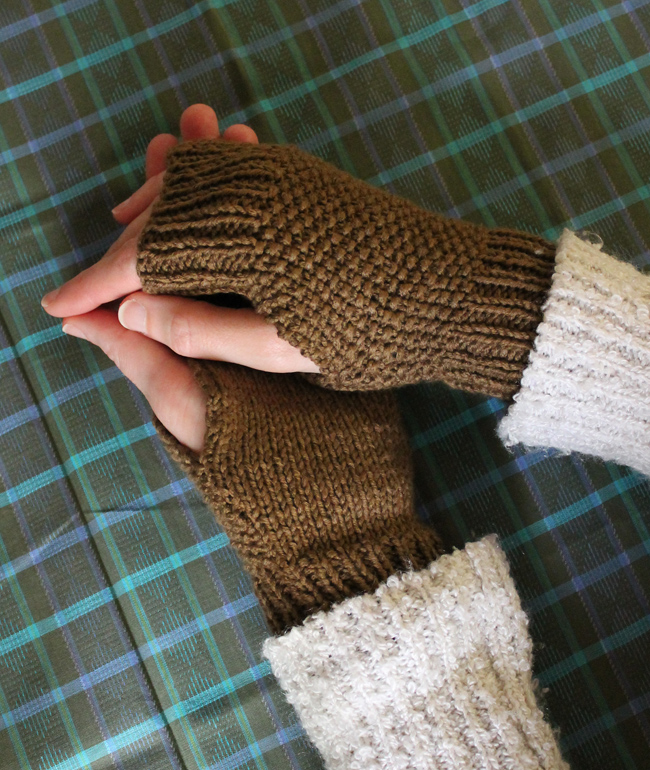
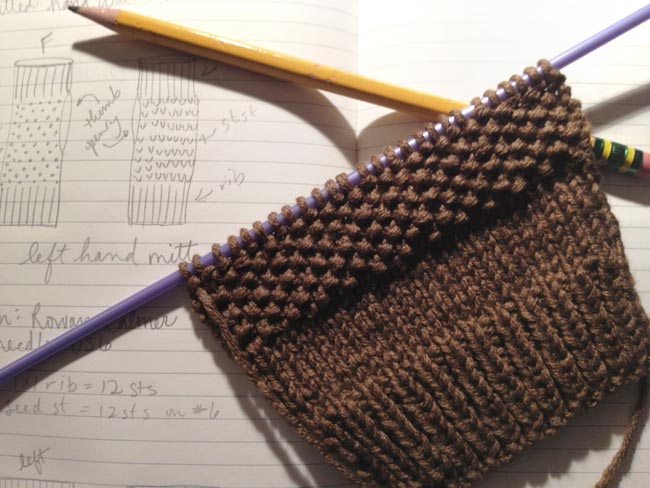
This is an easy, quick and satisfying knitting project. The stitches are very simple, just knit and purl and a few increase stitches that trust me even a beginner can do. These are knit flat so if you're intimidated by double pointed needles this is a great way to just get some practice. Each mitt has a seam at the inside along the thumb and the pattern is different for each hand with a seed stitch on top of the hand and stockinette stitch on the palm.
Disclaimer: This is a somewhat tested and probably not perfect pattern. I do not guarantee that it will work for all knitters. Take a look at the finished size and make sure it will work for your hands or those of the intended wearer's. And remember the great thing about knitting is that it stretches.
Fingerless Knitted Mitts
Supplies:
1 ball Rowan Calmer
1 pair US 8 knitting needles (or size needed to obtain gauge)
yarn needle
Gauge:
1 x 1 rib: 12 sts = 2 inches
Stockinette/Seed stitch: 12 stitches = 2 inches
Finished size:
6 inch circumference at bottom, 6.7 inch circumference at top
8 inch length
Abbreviations:
k = knit
p = purl
M = make 1 new stitch by picking up a loop from the row below and knitting into it (See
for illustrations if you haven't done this before.)
ktf&b = knit through front of stitch but do not pull of needle, knit through back of same stitch and slip from needle (this will increase by one stitch, see
for photos)

Left Hand:
Cast on 36 stitches
Knit 1, purl 1 rib for 3 inches.
Divide stitches in half. The first half will be the seed stitch for the top of the hand and the second half will be the stockinette stitch on the palm of the hand.
Row 1:
*k1, p1* repeat from star 9 times, knit remaining 18 sts
Row 2:
purl 18 stitches, *p1, k1* 9x to end
Repeat rows 1 and 2 two times.
Row 7:
*k1, p1* rrepeat from star 9 times, M1, k17, k1tf&b
(38 sts on needles)
Row 8:
p19, *k1, p1* repeat from star 9 times, k1
Row 9:
*k1, p1* repeat from star 9 times, k1, M1, k18, k1tf&b
(40 sts on needles)
Row 10:
p20, *k1, p1* repeat from * 10 times
Row 11:
*k1, p1* repeat from * 10 times, k20sts
Repeat rows 10 and 11 until seed stitch patterned section measures 3.5 inches.
Decrease Row: (
Start top ribbing)
*
k1, p1* repeat from * 9 times, k2tog, *p1, k1* repeat from * 9 times, p2tog
(38 sts on needles)
Next Row:
*k1, p1* to end.
Repeat in k1, p1 rib for 3 inches. Bind off in rib.
Cut off tail leaving about 12 inches.
Sew it together
Fold in half matching edges with right side facing out. Mark where you want the opening for thumb, starting about 2 inches from the top and 3.75 inches from the bottom. Using the yarn needle and the tail of yarn, sew from the top to 2 inches down and from the bottom up 3.75 inches, or to desired measurements. If the thumb hole is rolling in a lot, add a single crochet along the edge. Weave in ends.


Right Hand:
Cast on 36 stitches
Knit 1, purl 1 rib for 3 inches.
Divide stitches in half.
This mitt will look like the opposite of the left hand. The first half will be the stockinette stitch for the palm of the hand and the second half will be the seed stitch on the top of the hand.
Row 1:
Knit 18 sts, *k1, p1* repeat 9x
Row 2:
*p1, k1* 9x, p18 remaining stitches
Repeat rows 1 and 2 two times.
Row 7:
k1tf&b, k17, M1, *k1, p1* repeat from star 9 times
(38 sts on needles)
Row 8:
*k1, p1* 9 times, k1, p19 remaining stitches
Row 9:
k1tf&b, k18, M1, *k1, p1* repeat from star 9 times, k1
(40 sts on needles)
Row 10:
*k1, p1* repeat from star 10 times, p20 remaining stitches
Row 11:
k20sts, *k1, p1* repeat from star 10 times
Repeat rows 10 and 11 until seed stitch patterned section measures 3.5 inches.
Decrease Row: (
Start top ribbing)
*
k1, p1* repeat from * 9 times, k2tog, *p1, k1* repeat from * 9 times, p2tog
(38 sts on needles)
Next Row:
*k1, p1* to end.
Repeat in k1, p1 rib for 3 inches. Bind off in rib.
Cut off tail leaving about 12 inches.
Sew together as for left hand.

Design Variations:
Change up the yarn by trying different fibers
I chose Rowan Calmer because it is wool-free and I'm sensitive to wool but you could use most anything. It doesn't take very much yarn so this project is a great way to use up an extra ball in your stash. See this if you need to adjust the gauge of the pattern.
Change the stitch pattern
Try a rib pattern, cables or consult a knitting stitch dictionary for inspiraiton.
Play around with color
Try using a self striping yarn or experiment with fair isle patterns
I really hope that you enjoy this pattern and find it useful. If you make some I'd love to see pictures. You can email them to me or post a link to your blog in the comments.