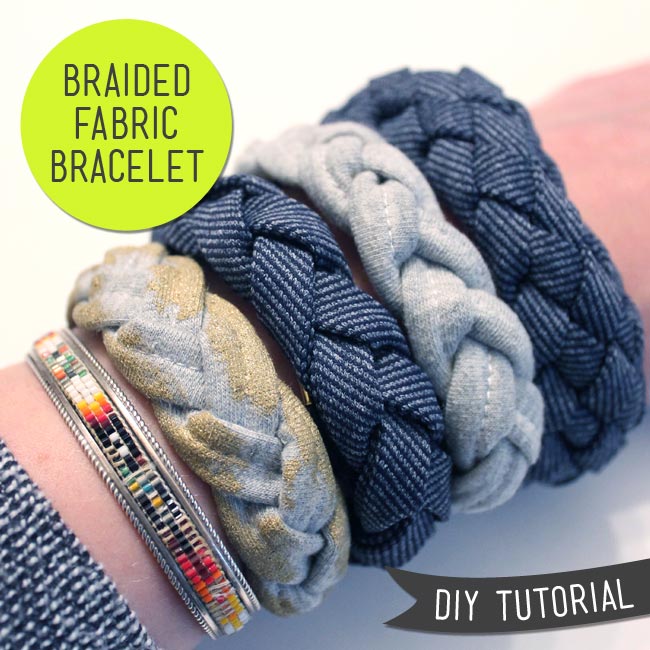
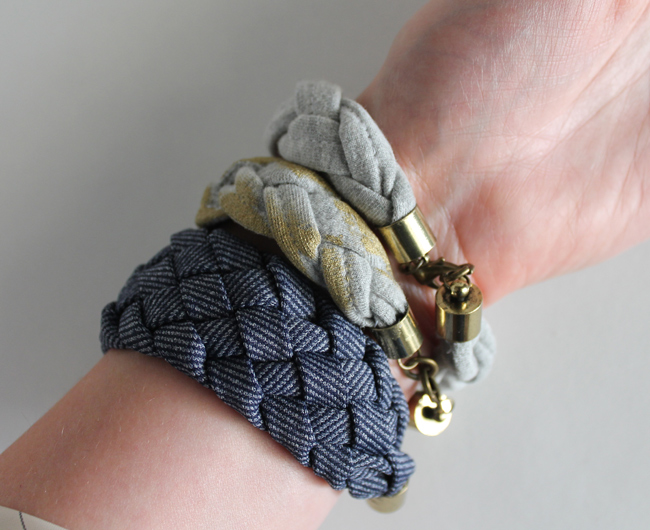
Whether you pile them on or wear one at time, these casual braided bracelets are a great addition to your spring wardrobe. They take an hour or less to make and you can use any fabric you want (as long as it will be comfortable on the skin) making this project a great way to use up fabric scraps. So let's get started!
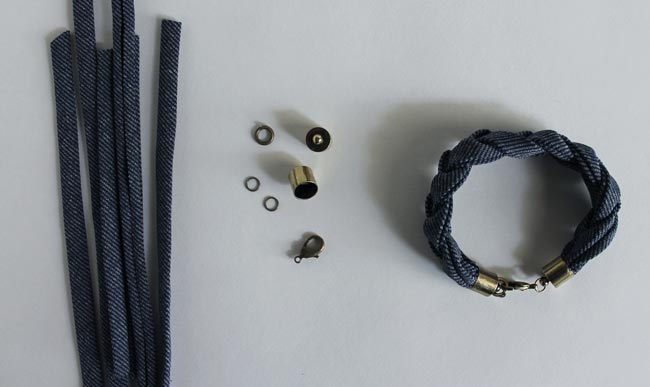
The hardware was fairly easy to find at the jewelry supply store and should be available online as well. Different sized end caps will determine the thickness of the braid. I double stacked some of my fabric to make it fill the endcap.
DIY Braided Fabric Bracelet
Supplies:
3 to 6 strips of fabric cut 1 inch wide by 12 inches long
1 lobster clasp
2 end caps
2 or more O-rings
Craft glue
Needle and thread
Instructions:
Step 1:
Cut strips of fabric. You can use pretty much any fabric that will be comfortable to wear. You can use pre-made cotton bias strips or make your own. If necessary, double up the fabric so that the stack will fill the end cap.
Design tip:
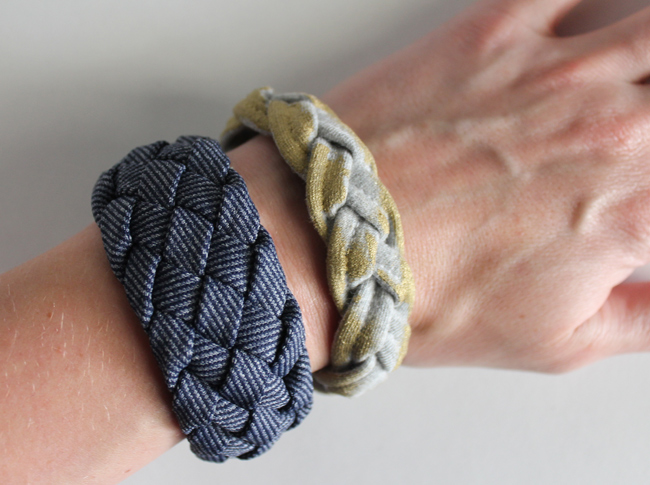
A stretchy fabric will be easier to pull on and off, that is if you don't want to fumble with the clasp. Bias strips naturally have some stretch in them and are a great way to quickly pull together supplies without having to do a bunch of cutting. The blue fabric I used is a stretch denim bias tape that I bought for really cheap but have had difficulty using because it is a narrow width and thick, making it hard to fold over.
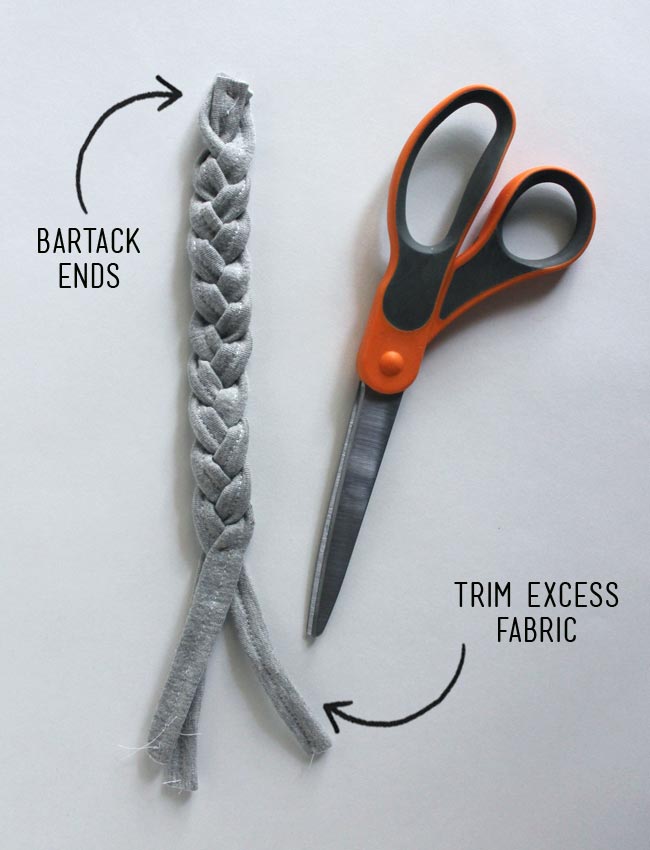
Step 2:
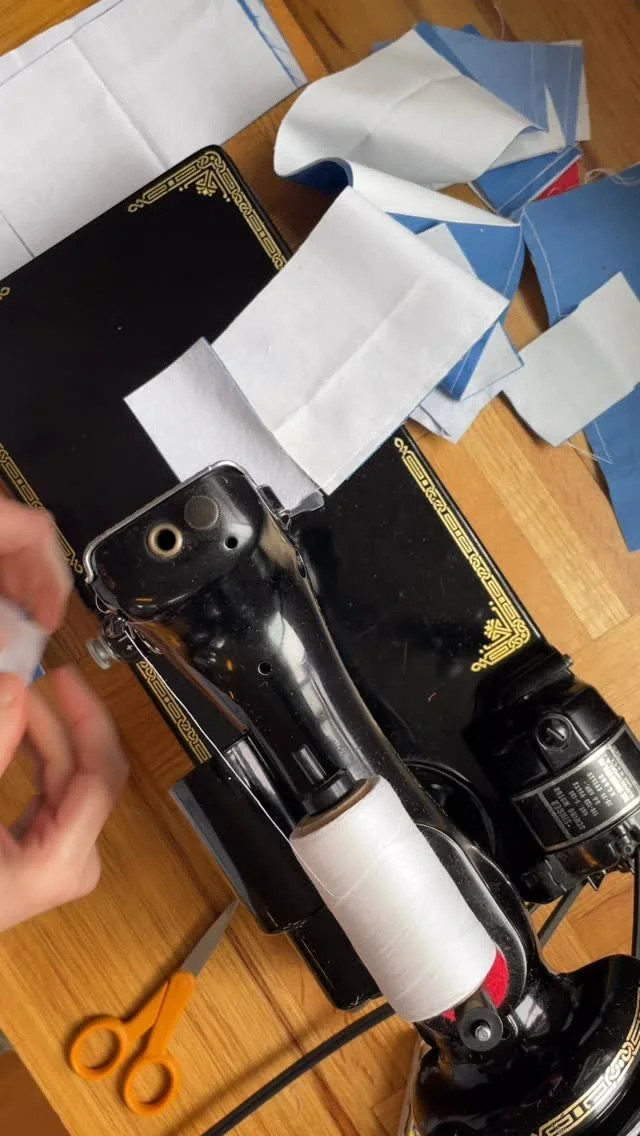
Stack strips of fabric and secure one end with a bartack using needle and thread. Braid fabric until it is about 1 inch short of the desired finished circumference. Stack loose ends and secure with bartack. Trim away excess fabric.
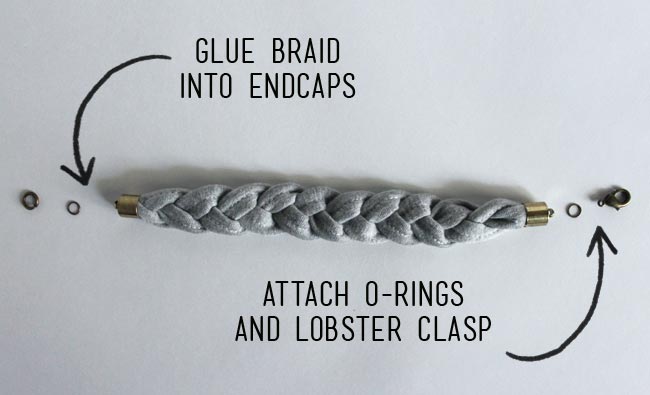
Step 3:
Cover ends of braid and inside of endcap with glue. Squeeze end of fabric braid inside endcap and allow to dry. Wipe away any excess glue.
Step 4:
Attach an O-ring to each end cap. Attach a lobster clasp to one side. If needed, attach additional O-rings to opposite end.

Design Variations:
Try out different fabrics, such as a liberty print style floral, a brightly colored silk or twisted rope cord
Use different colored strands in one bracelet
Paint on a little gold like in the middle bracelet above
Vary the style of braid using 4 or 6 strands
I used this tutorial to make the six strand bracelet below. Once I got the hang of it, it was pretty easy.
Use yarn to knit or braid the bracelet
This is a really fun project and it doesn't take long to make yourself a whole armful of braided bracelets. You can customize your bracelet to match your DIY clothing while using up fabric scraps (and using up fabric scraps is pretty much the best thing ever, right?).