Whether hitting the road or hitting the town, every girl needs a little pouch or two or three to carry all of life's little necessities. Fill them up with with jewelry and makeup, your favorite art supplies or a few snacks, then throw it in your purse and you're ready for the day. Everything you need will be easy to find and readily accessible. These fun little pouches use just a few pieces of fabric and can be made very quickly. This is a great project for featuring a little swatch of fabric that you love so much but just can't figure out where to use. I used swatches for fabrics I designed on Spoonflower. Head on over there and you can purchase your own fabrics in this arrow and heart designs.


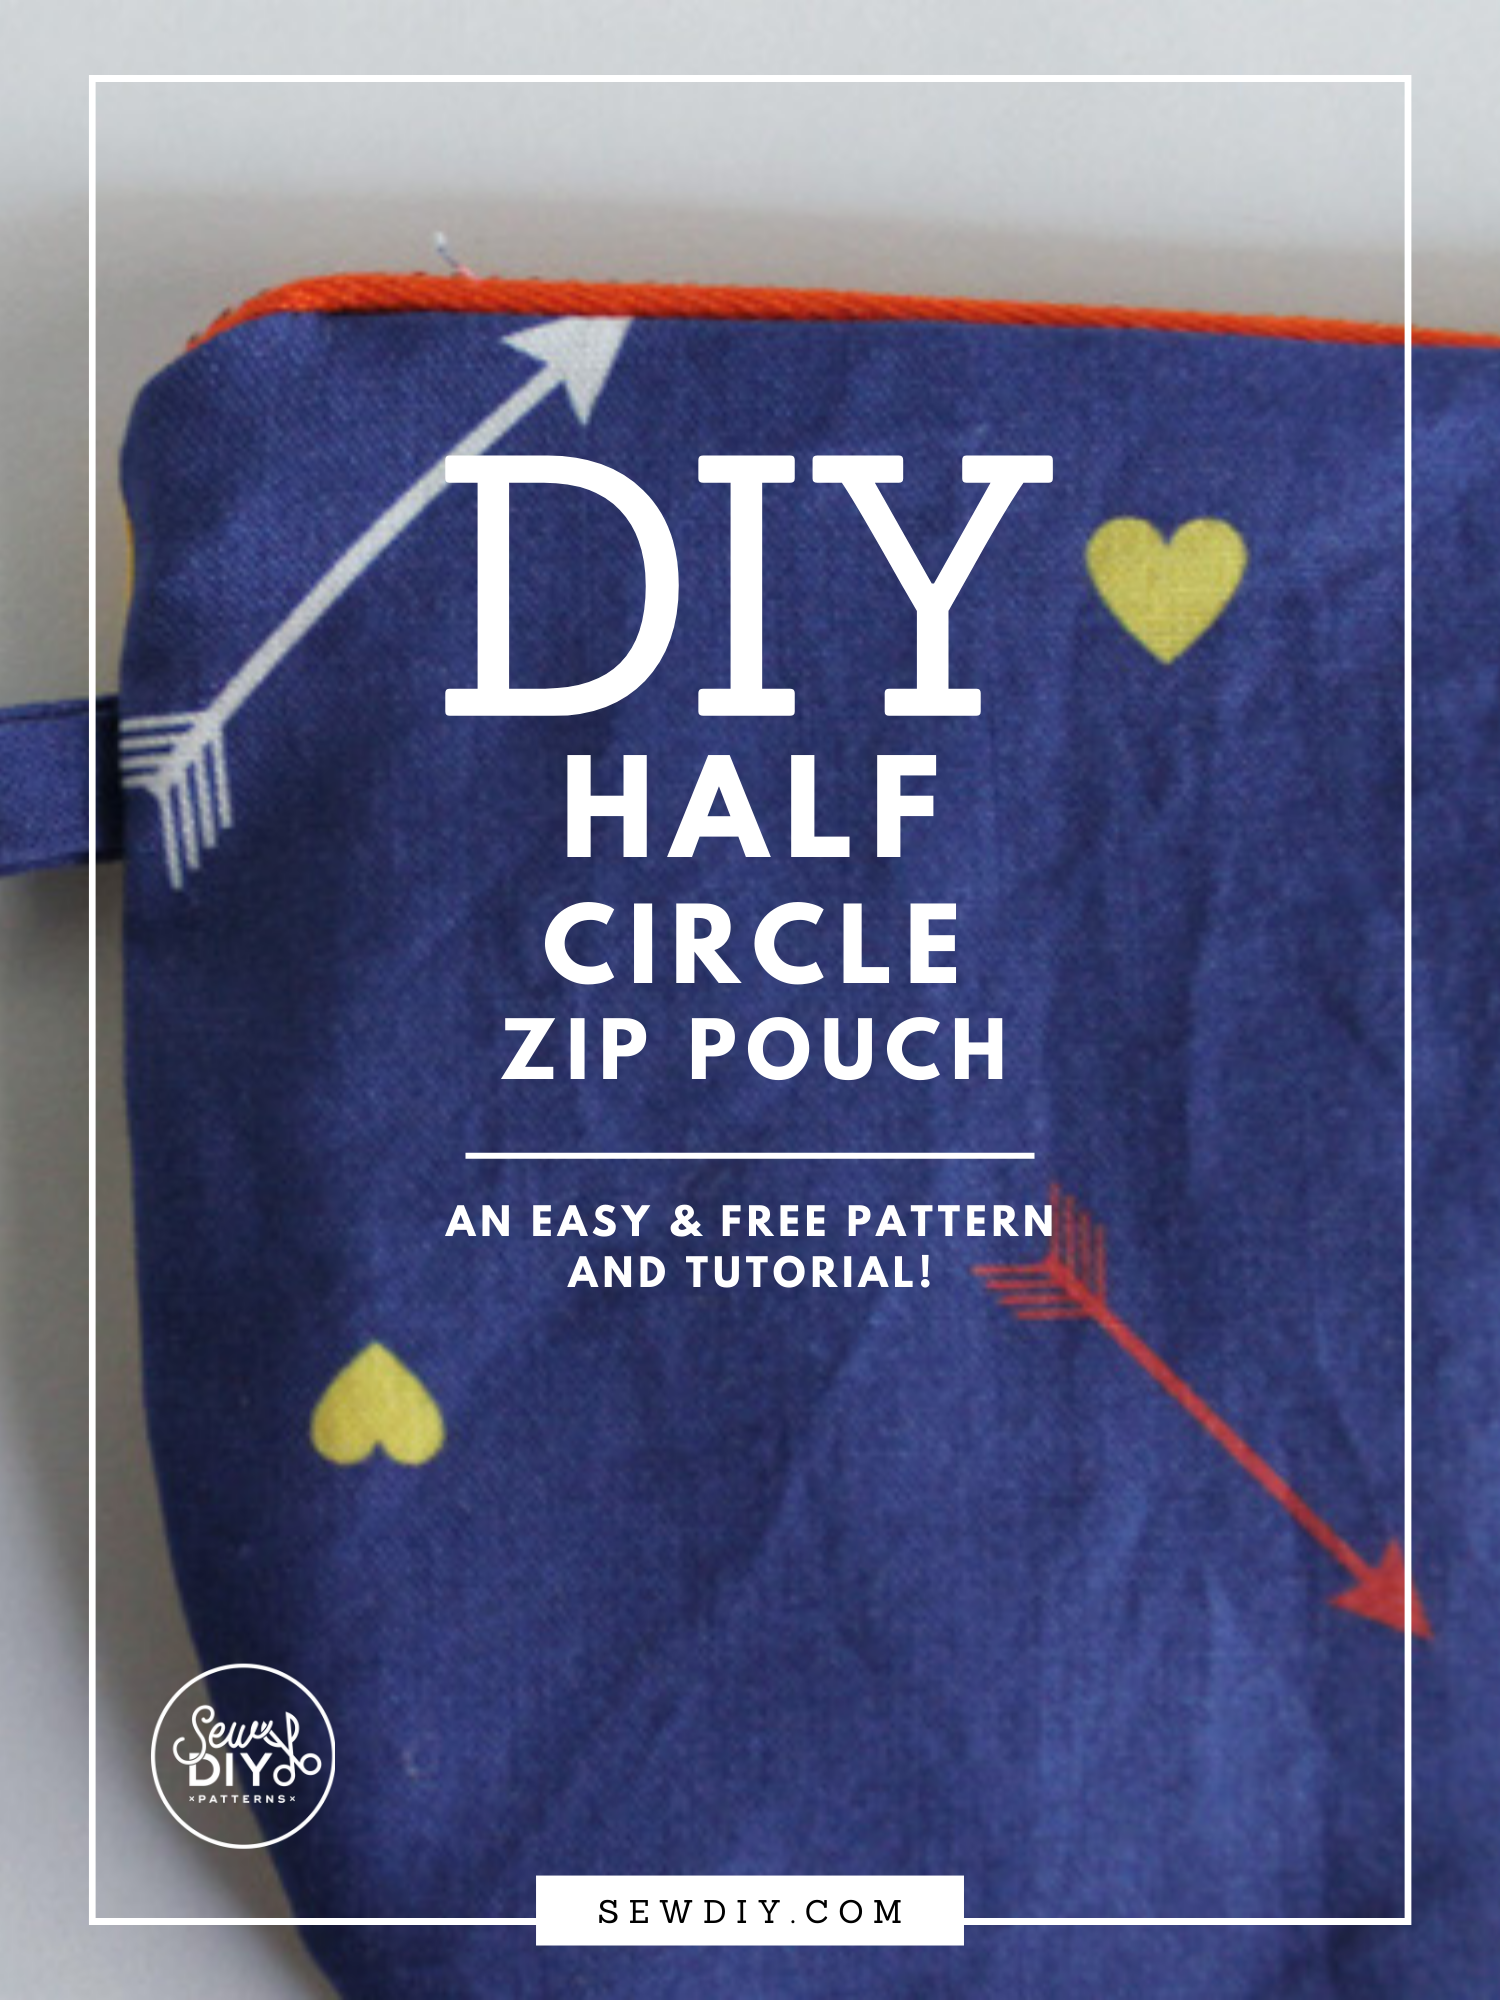
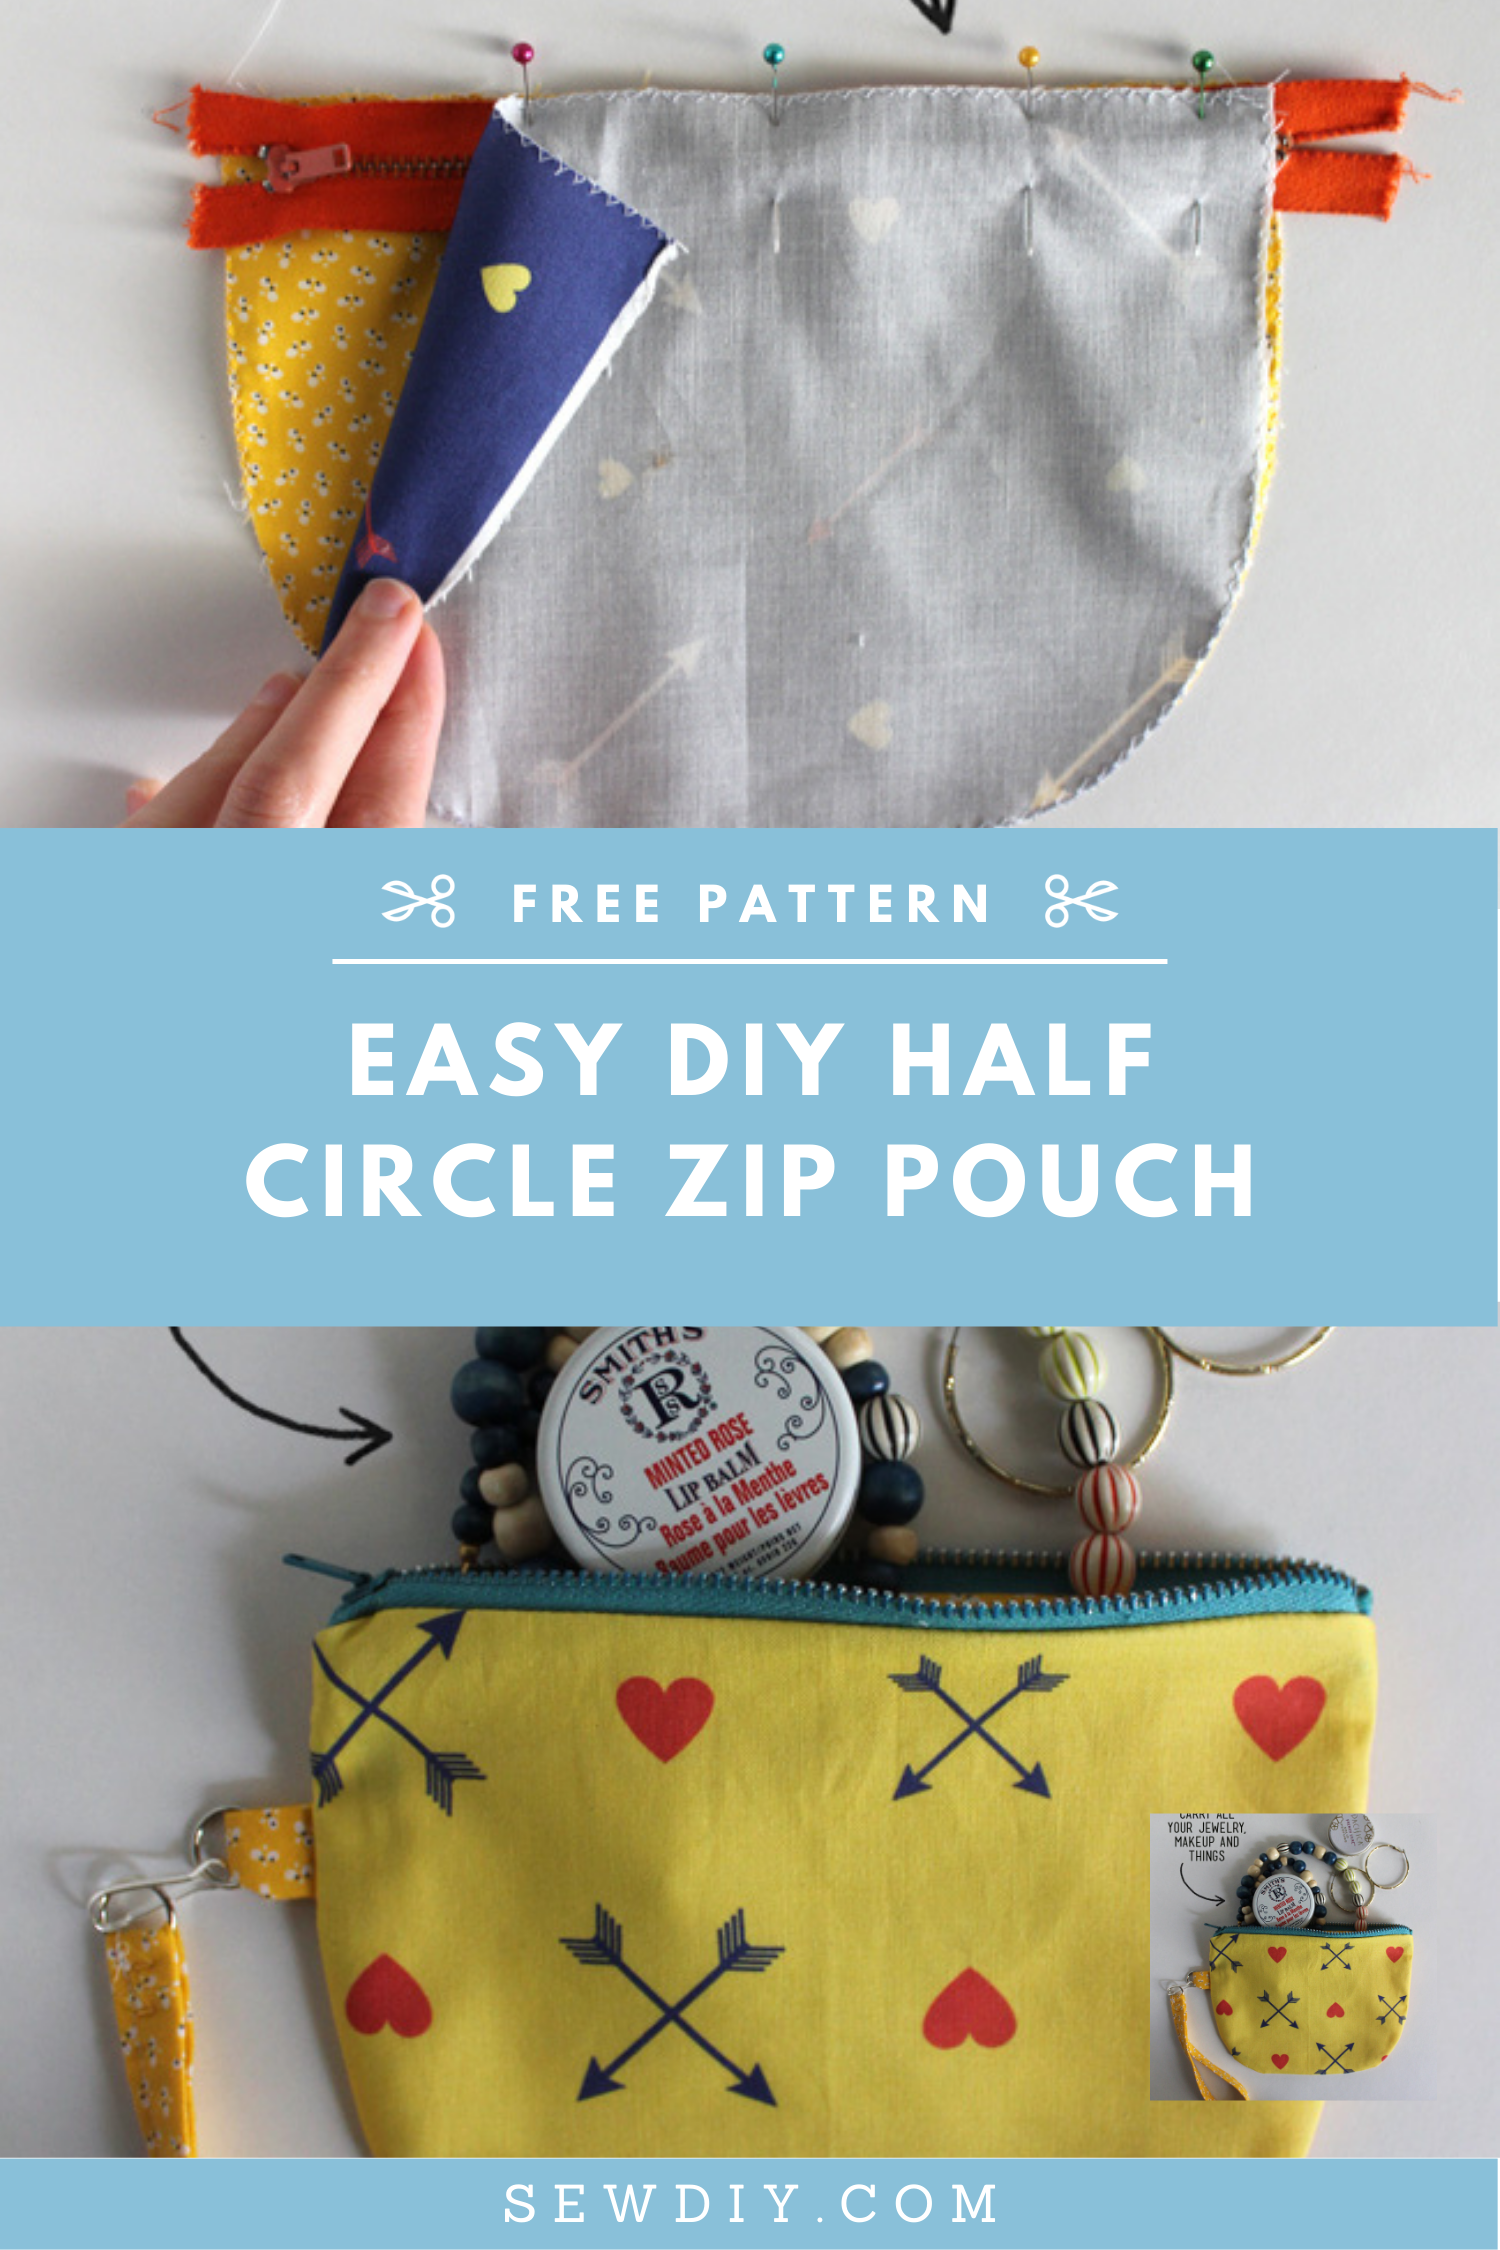
DIY Tutorial – Half Circle Zippered Pouch
Supplies:
One 7 inch zipper
4 pieces fabric 7.5 inches x 9 inches (2 for outside and 2 for lining)
thread
sewing machine
Half Circle Pouch PDF Pattern (UPDATE 2021: We’ve put all of our pdf downloads on one resource library page. When you sign up for the newsletter, you’ll receive the password and link to the resource library. Sign up is below. You can unsubscribe at any time.)
For wrist strap (optional):
1 piece fabric 2 x 15 inches
1 piece fabric 2 x 2 inches
1 Metal Clasp
2 Sturdy 1/2 inch Jump Rings

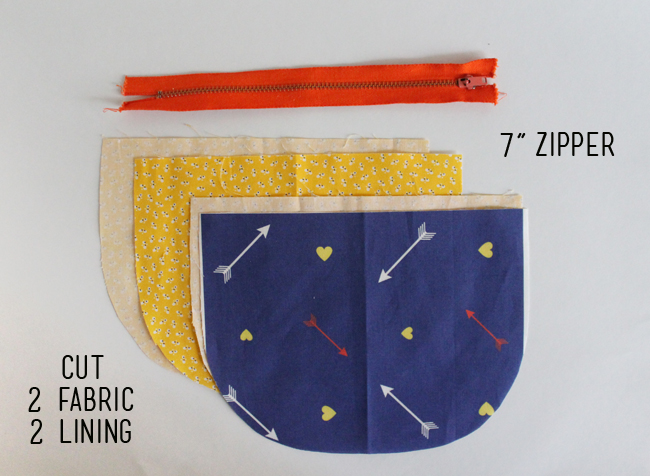
Step 1: Using template cut 2 pieces of lining fabric and 2 pieces of outside fabric. Finish fabric edges with a zig zag stitch.
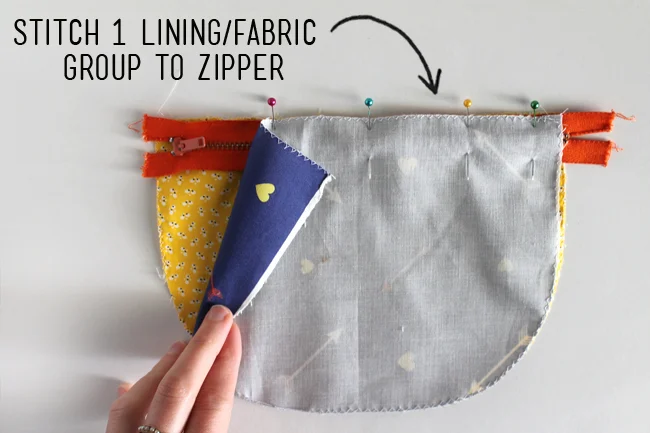
Step 2: With right sides together, sandwich zipper between one piece of lining fabric and one piece of outside fabric as shown above. Place the zipper stop 1/2 inch from edge of fabric. Stitch 3/8 inch from edge of zipper. Press fabric away from zipper.
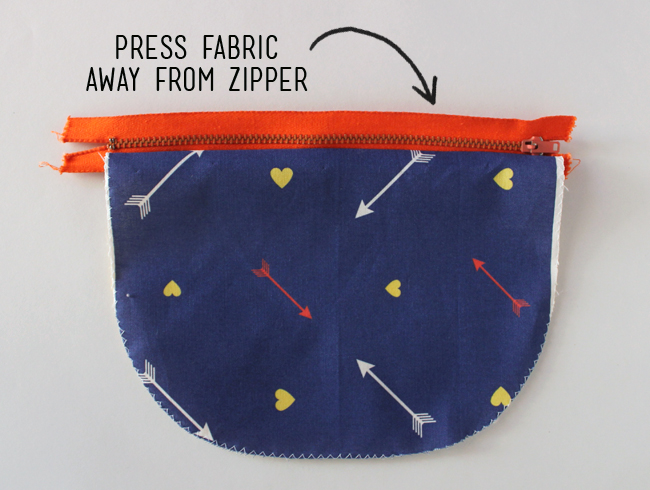

Step 3: With right sides together, sandwich other side of zipper between second lining fabric pair of fabric. Stitch in place. Press fabric away from zipper as shown below.

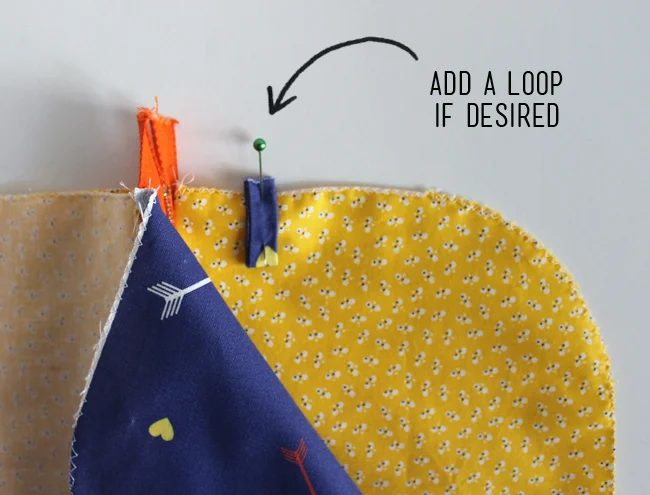
Step 4 (Optional):
Add a loop for wrist strap. Fold 2 x 2" contrast fabric in half and press. Then fold raw edges to inside, meeting first fold. Top stitch through all layers. Fold in half to make a loop and pin to side of pouch about 1.5 inches from the top edge.
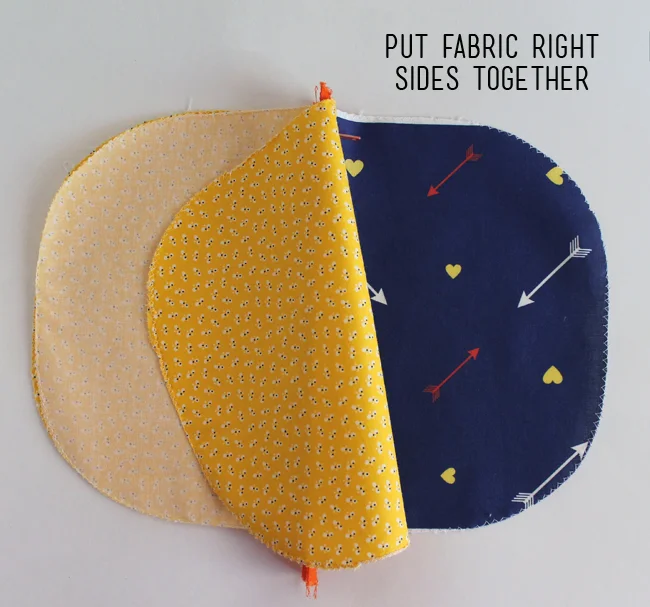

Step 5: Put fabric right sides together matching lining to lining and outside fabric to outside fabric. Pin in place. Using a 1/2 inch seam allowance stitch around each half circle, starting and stopping at the zipper. Make sure to leave an opening on lining side so that you can turn the pouch right side out.
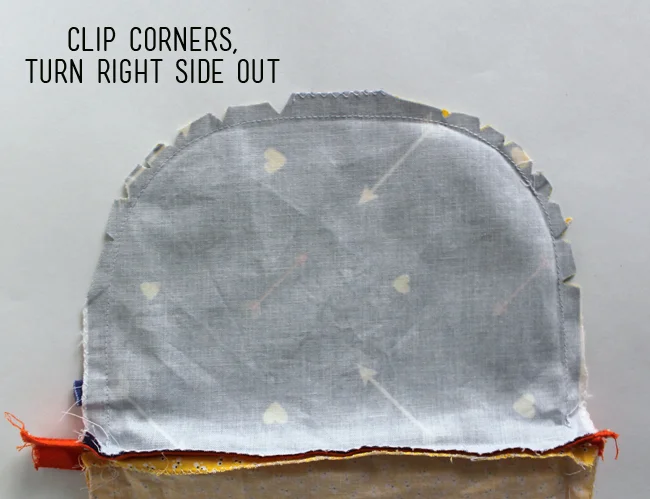
Step 6: Clip corners and turn right side out.
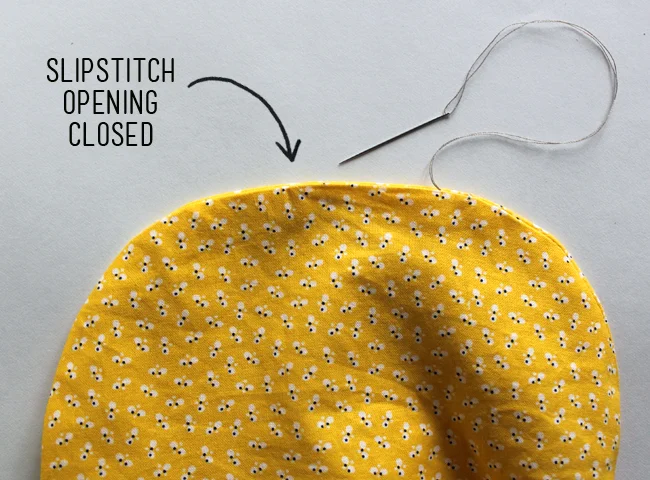
Step 7: Slipstitch opening closed.

Step 8 (Optional): Make wrist strap
Cut one piece of fabric 2 x 15 inches. Fold in half, right sides together with short sides meeting. Stitch a 1/4 inch seam along short end. Press seam open.
Fold the strap in half lengthwise and press. Fold raw edges to center, meeting first fold and press again. Topstitch through all layers. Attach jump ring and lobster clasp to strap. Above ring, stitch wide zig zag to hold jump ring in place.
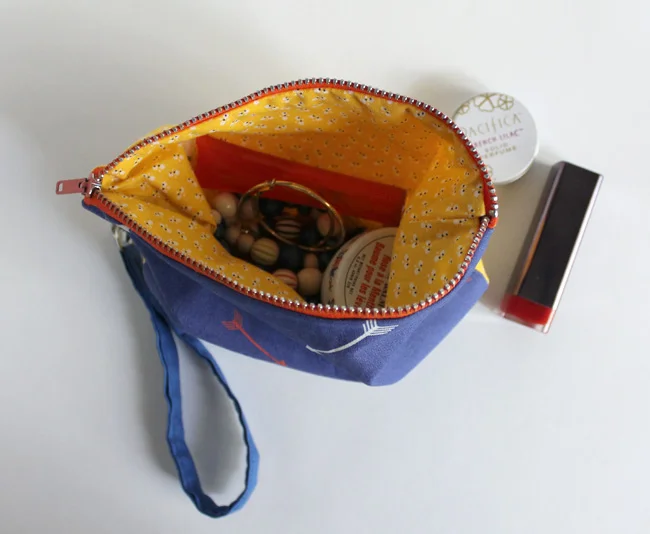
This is a great project to make before your summer travels. I love to have a little pouch for organizing all the bits and bobs I need to get me through the day. I hope that you enjoy this tutorial! Make sure to pin the image above to save this tutorial for later. Happy sewing!