Nita Wrap Skirt Sewalong Day 6: Finishing

Welcome to Day 6 of the Nita Wrap Skirt Sewalong! If you haven't done so already, grab your copy of the pdf pattern right here and then check out all of the sewalong posts here.

We are almost done and all the kind-of-hard stuff is behind us. We have just a few finishing touches left to do. 

Try on your skirt and determine how short you want it to be. Press the hem to the wrong side two times to enclose the raw edge and topstitch in place. If you are using a thick fabric, you might want to serge/overlock the raw edge and fold up once only. 

For a skirt with a lining, hem the lining separately from the skirt. If they are finished together, the hem can look a little wonky. Hand tack the lining to the skirt at the side seams and the angled fronts that were left open. 

The last step is attaching some sew-on snaps (or slides if you prefer) to keep the skirt up and aligned. You'll definitely want to attach a snap to the right side and if you're making View B or C, it's a a good idea to attach one to the left side too. Try on your skirt and place pins at points where the skirt overlaps. 

Invisibly sew your snap pieces to the inside of the skirt waistband at the places you marked with the pins. To invisibly sew it on, use a hand needle to carefully stitch through just one layer of fabric. 

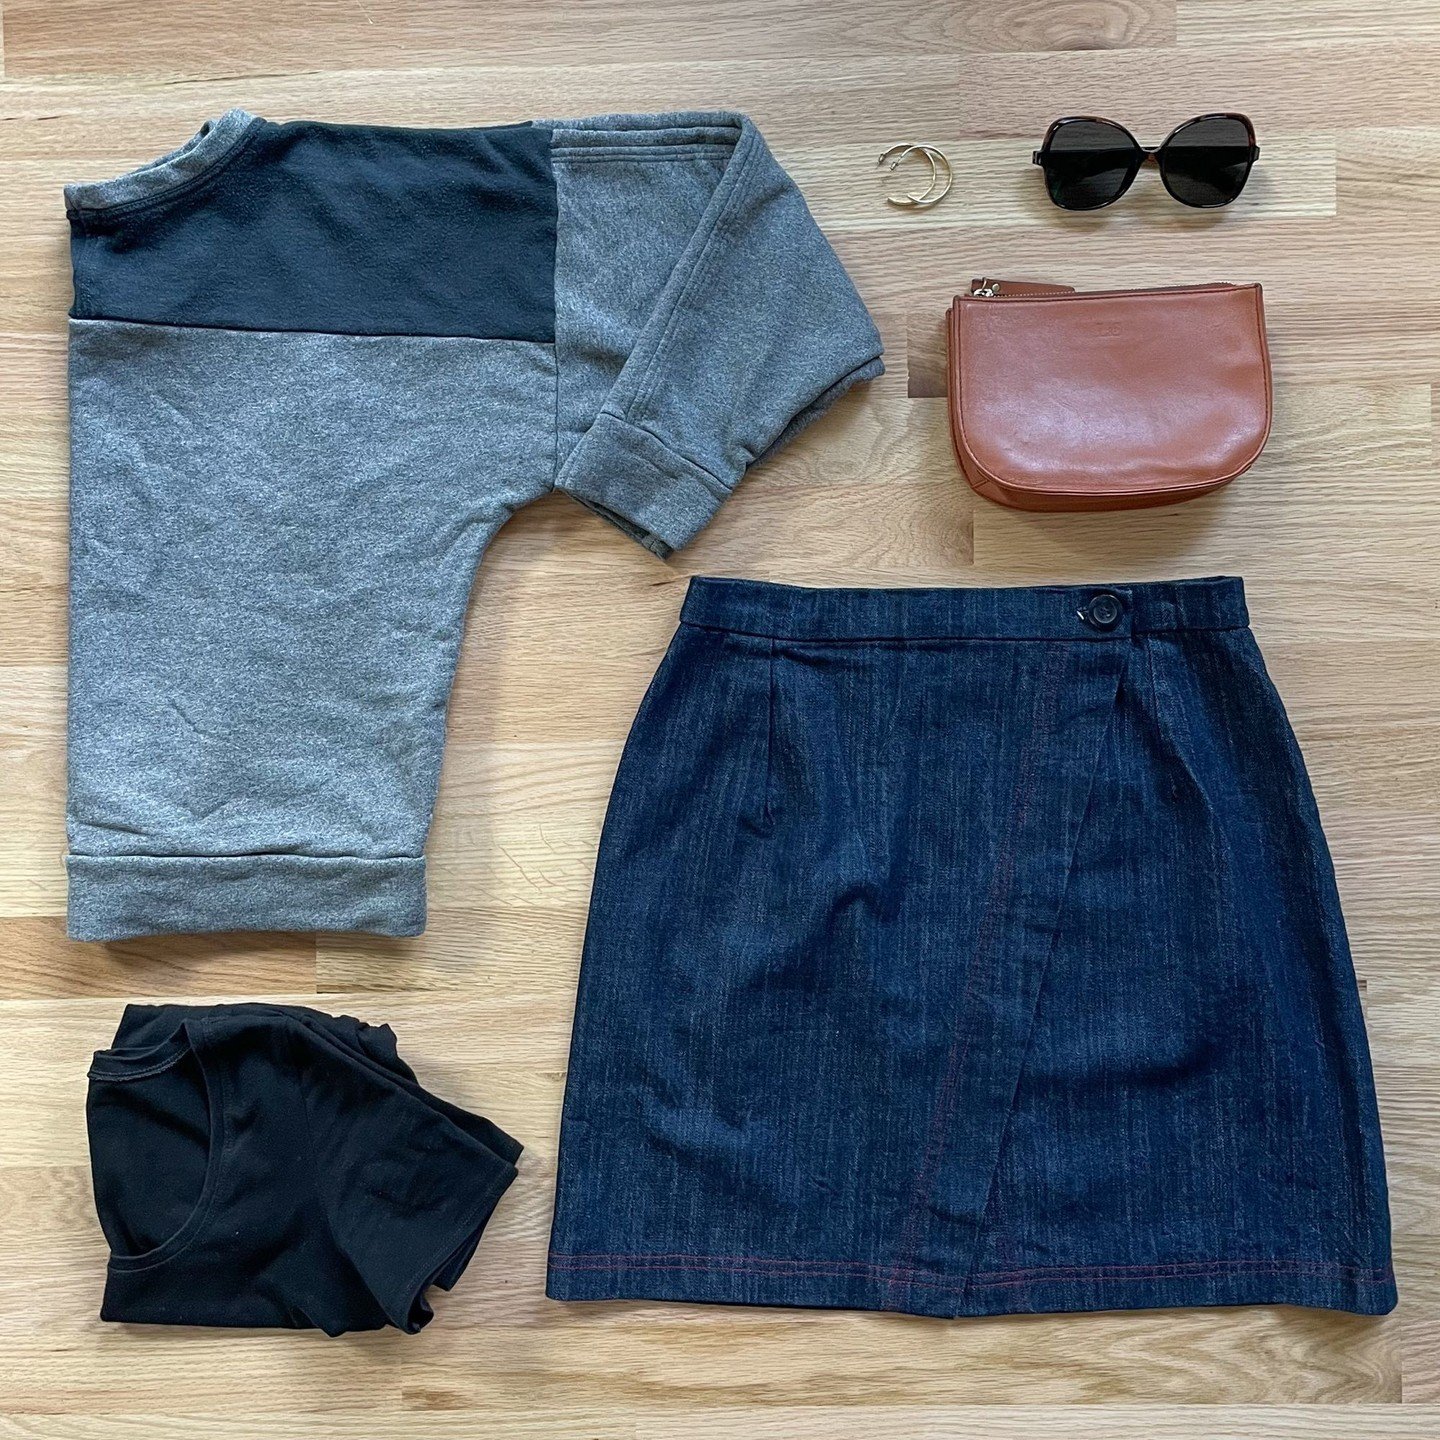
Repeat for the right hand side and you're all done. Now you can put your skirt on and hit the town! If you share on social media, please use the #nitawrapskirt so that I can see what you make. I really love seeing what people make using my patterns. You are all creative, amazing people and inspire me with your ideas and variations. In fact, I've been known to copy your hacks from time to time. :) To access earlier posts in this series, go to the Nita Wrap Skirt Sewalong main page. Happy Sewing!!

Nita Wrap Skirt Sewalong Day 5: The Waistband

Welcome to Day 5 of the Nita Wrap Skirt Sewalong! If you haven't done so already, grab your copy of the pdf pattern right here and then check out all of the sewalong posts here.

Day 5: Make Waistband and attach

Note: The waistband instructions are the same for making the skirt with or without a lining.

Because our skirt is asymmetrical, it’s important to pay attention to our left and right sides. When I refer to the left side of the skirt, that is the side that is on the left side of the body when it is worn. This skirt is intended to be worn with the right side overlapping the left side. So when you put your skirt on, you put the back against your back, pull the left side across the front and then the right side goes on top. If you get confused, refer back to the line drawing of the pattern.

If you’re making View A, then your left and right front waistband pieces are the same and you don’t need to fret much. With right sides together, stitch the front waistband pieces to the back waistband. Press seams open.

View B: 

First, let’s make the loop that will hold the D-rings. Fold the loop right sides together along the fold line and stitch using a 5/8 inch seam allowance. Trim the seam allowance, turn right side out and press. Slip the D-rings onto the loop and fold in half with the raw edges together. Pin the loop to the left side of the back waistband, just below the center fold line. Baste in place. There should be 5/8 inch space between the bottom of the waistband and the loop.

NOTE: In the photo, these D-rings are a little too bit. If you have bigger D-rings, you can increase the height of the waistband to match. To calculate the width to cut, multiply the finished height of the waistband by 2 and add .75 inch seam allowance.

View C:

For view C, you need to make the tie that will be at the left hip. Fold the tie in half lengthwise and pin. Stitch along the long edge and one short end. Trim the seam allowance and turn right side out. I find it pretty easy to turn right side out by pushing the sewn short end inside the tube using a knitting needle. Keep pushing and wiggling until the right side starts to come out of the opening. Then pull it the rest of the way. Press. 

Pin the tie to the left side of the back waistband, just below the center fold line. Baste in place. There should be 5/8 inch space between the bottom of the waistband and the tie.

All views: Match notches and sew the left waistband piece to the back waistband at the short ends. 

Match notches and sew the right waistband piece to the back waistband at the short ends. For views B and C it is the long tie belt/waistband piece. The interfaced end should be attached to the back waistband. Press waistband seams open.

Optional: Fold the waistband in half with wrong sides together and press. Press the long un-notched edge to the wrong side a scant 5/8 inch. 

Now is a good time to try on your waistband and check that you’ve assembled the pieces correctly. It’s also a great time to check the fit. Note, the side seams in the waistband also make it easier to adjust the size of the skirt. 

Now we’re ready to attach the waistband to the skirt. With right sides together, match and pin the side seams and notches. 

For views B and C, the right end of the waistband will significantly extend past the skirt. The interfaced end will extend 5/8 inch, just like on the left side.

When the notches are matched correctly, the end of the waistband will extend 5/8 inch beyond the edge of the skirt. To find this point, measure a square 5/8 inch from the corner of the waistband. In the photo, you can see this point is marked in light blue. 

Stitch using a 5/8 inch seam allowance being careful to not let the seam allowances fold over. Backstitch at the beginning and end to the seam.

Next, we need to finish assembling the waistband. Let’s start with the left side. Fold in half with right sides together. Stitch the short end from the fold to the stitching line for the waistband/skirt. If you’re making view A, repeat for the right side.

For views B/C, we need to make the tie that extends from the right front waistband. Fold the tie in half right sides together and pin. Stitch along the short end, pivot at the corner and continue stitching until you reach the skirt. Trim the seam allowance and turn the waistband right side out.

Press  the waistband/skirt seam up towards the waistband. Fold the waistband in half lengthwise and press. Fold the raw edge of the waistband in so that it just covers the seam. Pin in place.

From the right side, carefully stitch in the ditch to hold the back side of the waistband in place. You’ll be stitching on the skirt as close to the waistband as possible. This stitching will be almost invisible when done. Alternately, you can stitch the waistband down by hand. 

View A: Try on the skirt and mark where to place the button hole. Make buttonhole in right side front waistband. Sew button to left front waistband.

Congratulations! That was the hardest day. You are almost done sewing your Nita Wrap Skirt. In Day 6, we'll hem the skirt and do a few finishing touches. Happy sewing!

Nita Wrap Skirt Sewalong Day 4: Attach a lining

Nita Wrap Skirt Sewalong Day 4: Attach a lining

Welcome to Day 4 of the Nita Wrap Skirt Sewalong! If you haven't done so already, grab your copy of the pdf pattern right here and then check out all of the sewalong posts here.

Day 4: How to Attach a Lining

For some fabrics, it’s really nice to have a lining in your skirt. It can protect your skin from itchy fabric, add another layer of coverage to a sheer fabric or give additional weight to garment. It’s really easy to add a lining to the Nita Wrap Skirt. The steps are very similar to making the skirt without a lining, just in a different order. Let's get started!