Most of the year I sew with neutral fabrics that are easy to mix and match and just all around comfortable and dare I say, sensible. But when the holidays come around, it’s time to celebrate and sew something glamorous and not at all sensible. This year I had a holiday party the first weekend of December that required cocktail attire. I considered wearing the sequin Mesa Dress I made last year but it felt a little over the top for this event. So I decided to make a sequin skirt and a camisole. The fabrics are full of textured fabulousness and tons of sparkle. It really made the perfect sophisticated cocktail outfit.
I bought the sequin fabric in the downtown Los Angeles fashion district. I few months ago I noticed a small store that specializes in sequin fabric so when this project came to mind I made a beeline for it. I don’t recall the name of the store but it is on the eastern corner of 9th and Santee. I was looking for matte rose gold sequins and I think I found a pretty good match. The matte finish makes them a little less shiny than your standard sequin and a little more sophisticated. I was able to get my fabric in about 20 minutes and for less than 20 dollars. Win-win!
Back when I first started thinking about this project, I did a fair amount of image searching and pinning. At first I was thinking a pencil skirt with a slit up one thigh. Then I saw a sequin wrap skirt and realized of course that was what I had to make! After all I did design a wrap skirt pattern this year. (You can find it in the shop here.) All the fitting work was done and I’d be able to start sewing so much quicker.
The fabric has stretch in it so I made one size smaller than usual. I made a sequin dress last year and it took a lot more time than I expected. Like this fabric, the sequins were sewn to the fabric in a dense serpentine pattern making them really, really, really time consuming to remove. Plus I’m still finding sequins around the apartment. So this time around I just did not remove any sequins from the seam allowances. Total cheater move but I also knew I would probably only wear the skirt once or twice and just did not want to spend hours removing them.
Sequins are really scratchy and I didn’t want any next to my skin so I had to make a few simple modifications to the pattern. The Nita Wrap Skirt has a built in facing so that the fashion fabric folds under towards the inside. For this skirt, I instead cut the front skirt pieces of the sequins and the lining along the facing fold line, so that the lining and the sequin fashion fabric were the same shape. I also eliminated the side seams in the waistband and cut a lining for the waistband. I also made the waistband taller than the pattern.
Because I was sewing right through the sequins, I used a leather needle. And because the fabric has some stretch, I used a ver narrow zig-zag stitch. I stitched everything together in a slightly different order to save myself time, because I’m a cheater. First, I stitched the darts and side seams for lining and sequin fabric. Next, with right sides together, I stitched the skirt to the lining along the front angled edges and the hem. Then trimmed corners and turned the skirt right side out.
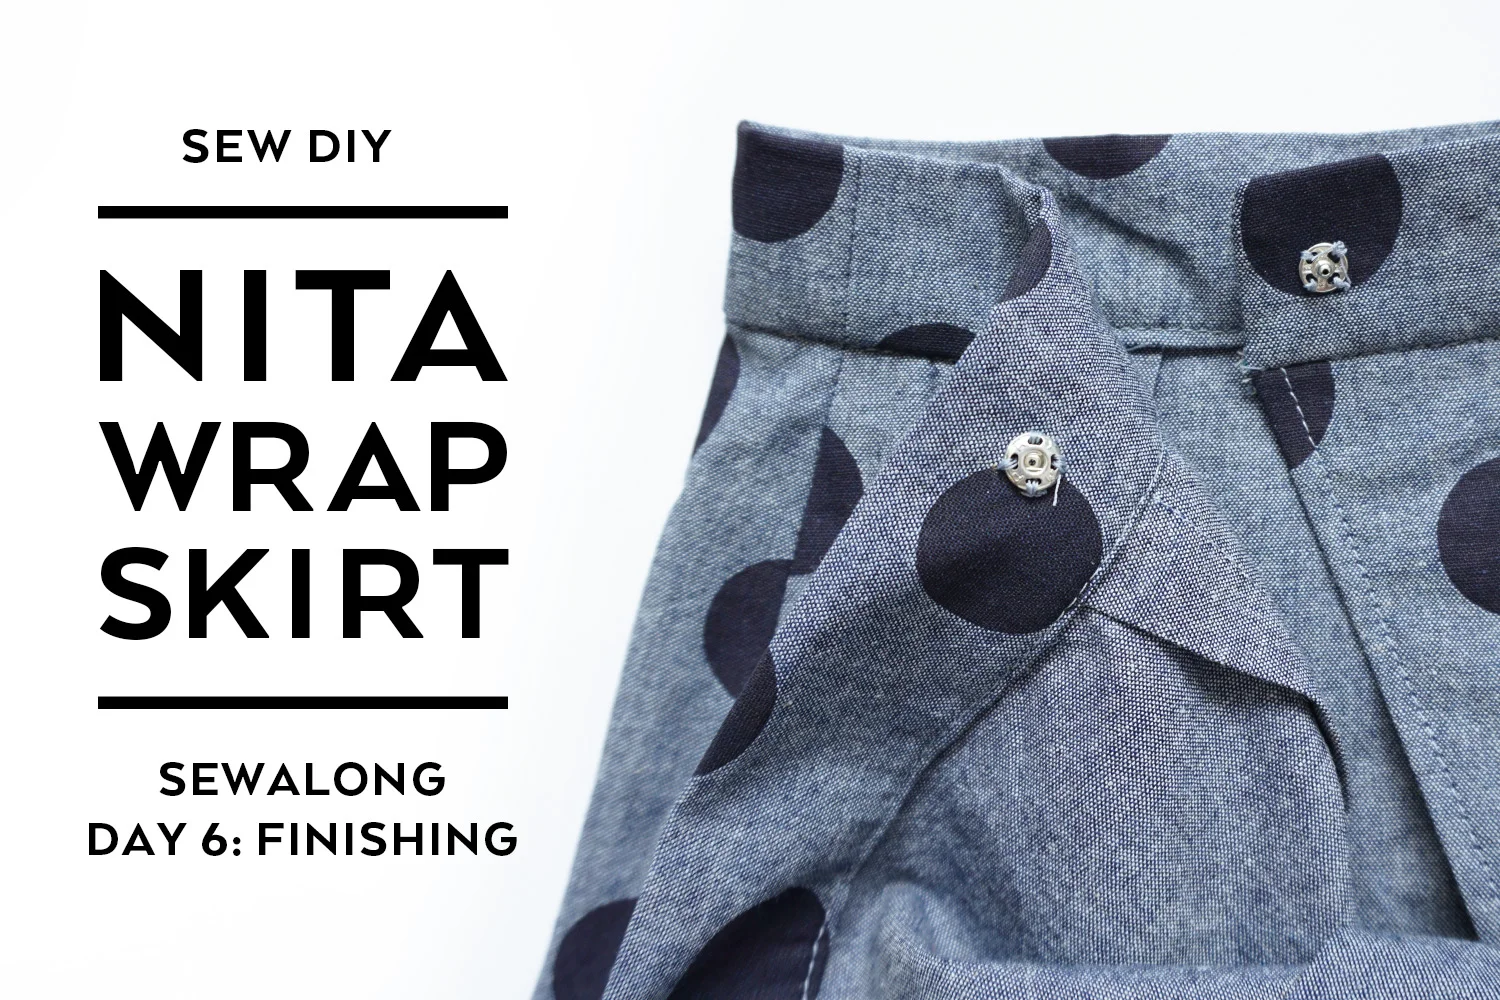
Next, I stitched the waistband to waistband lining along three sides. Trim corners and turn right side out. Finally, I stitched waistband to skirt leaving waistband lining free. Trim corners. Hand stitch waistband lining in place. See my tutorial here for how to hand stitch stretch fabric. Finally, attach snaps at waistband to keep it all in place. And that’s it!
So, you might be wondering about ironing or pressing. Well, you can use an iron on sequins. BUT, you can press them. I pressed the seams open using my fingers and by rolling a small bottle over the seams to flatten them out.
This skirt came together amazingly fast thanks to all my cheating and cutting corners. Overall I’m really pleased with the skirt but it’s far from perfect. There’s a little bit of pulling along the angled seams of the wrap pulling that bugs me. I’m not sure how I could have fixed that. Maybe applying a stabilizer to the lining? Also I did not put any interfacing in the waistband and the back of the waistband looks a little baggy. If I were to do it again, I’d sew in an extra layer or organza or something to help stabilize the waistband.
I do really like the overall look of this outfit but I also feel like it's not as flattering as it could be because of all the fabric around the waist. My Acton Dress is still going to win for favorite make of the year. :) The camisole is the Ogden Cami by True Bias and I'll be posting about it soon so stay tuned for more.
If you'd like to make yourself a Nita Wrap Skirt you can find the pdf pattern in my shop right here. By the way, I'm happy to announce that you can now use PayPal to purchase patterns in the shop. Woohoo! To celebrate, I'm offering 20% off the Nita Wrap Skirt pdf pattern until midnight on December 26, 2016. Use the code TISTHESEASON at checkout. Happy sewing!


