This dress has been a long time in the making and I couldn’t be more pleased with how it turned out. I first started planning this dress in 2022 but then got sidetracked with other projects. But, I still had the vision of this dress in my mind and I particularly wanted to take it with me on my trip to France last month and the deadline combined with that vision gave me the push I needed to finally sew it up. (Maybe there's a benefit to last minute travel sewing, afterall? ;)
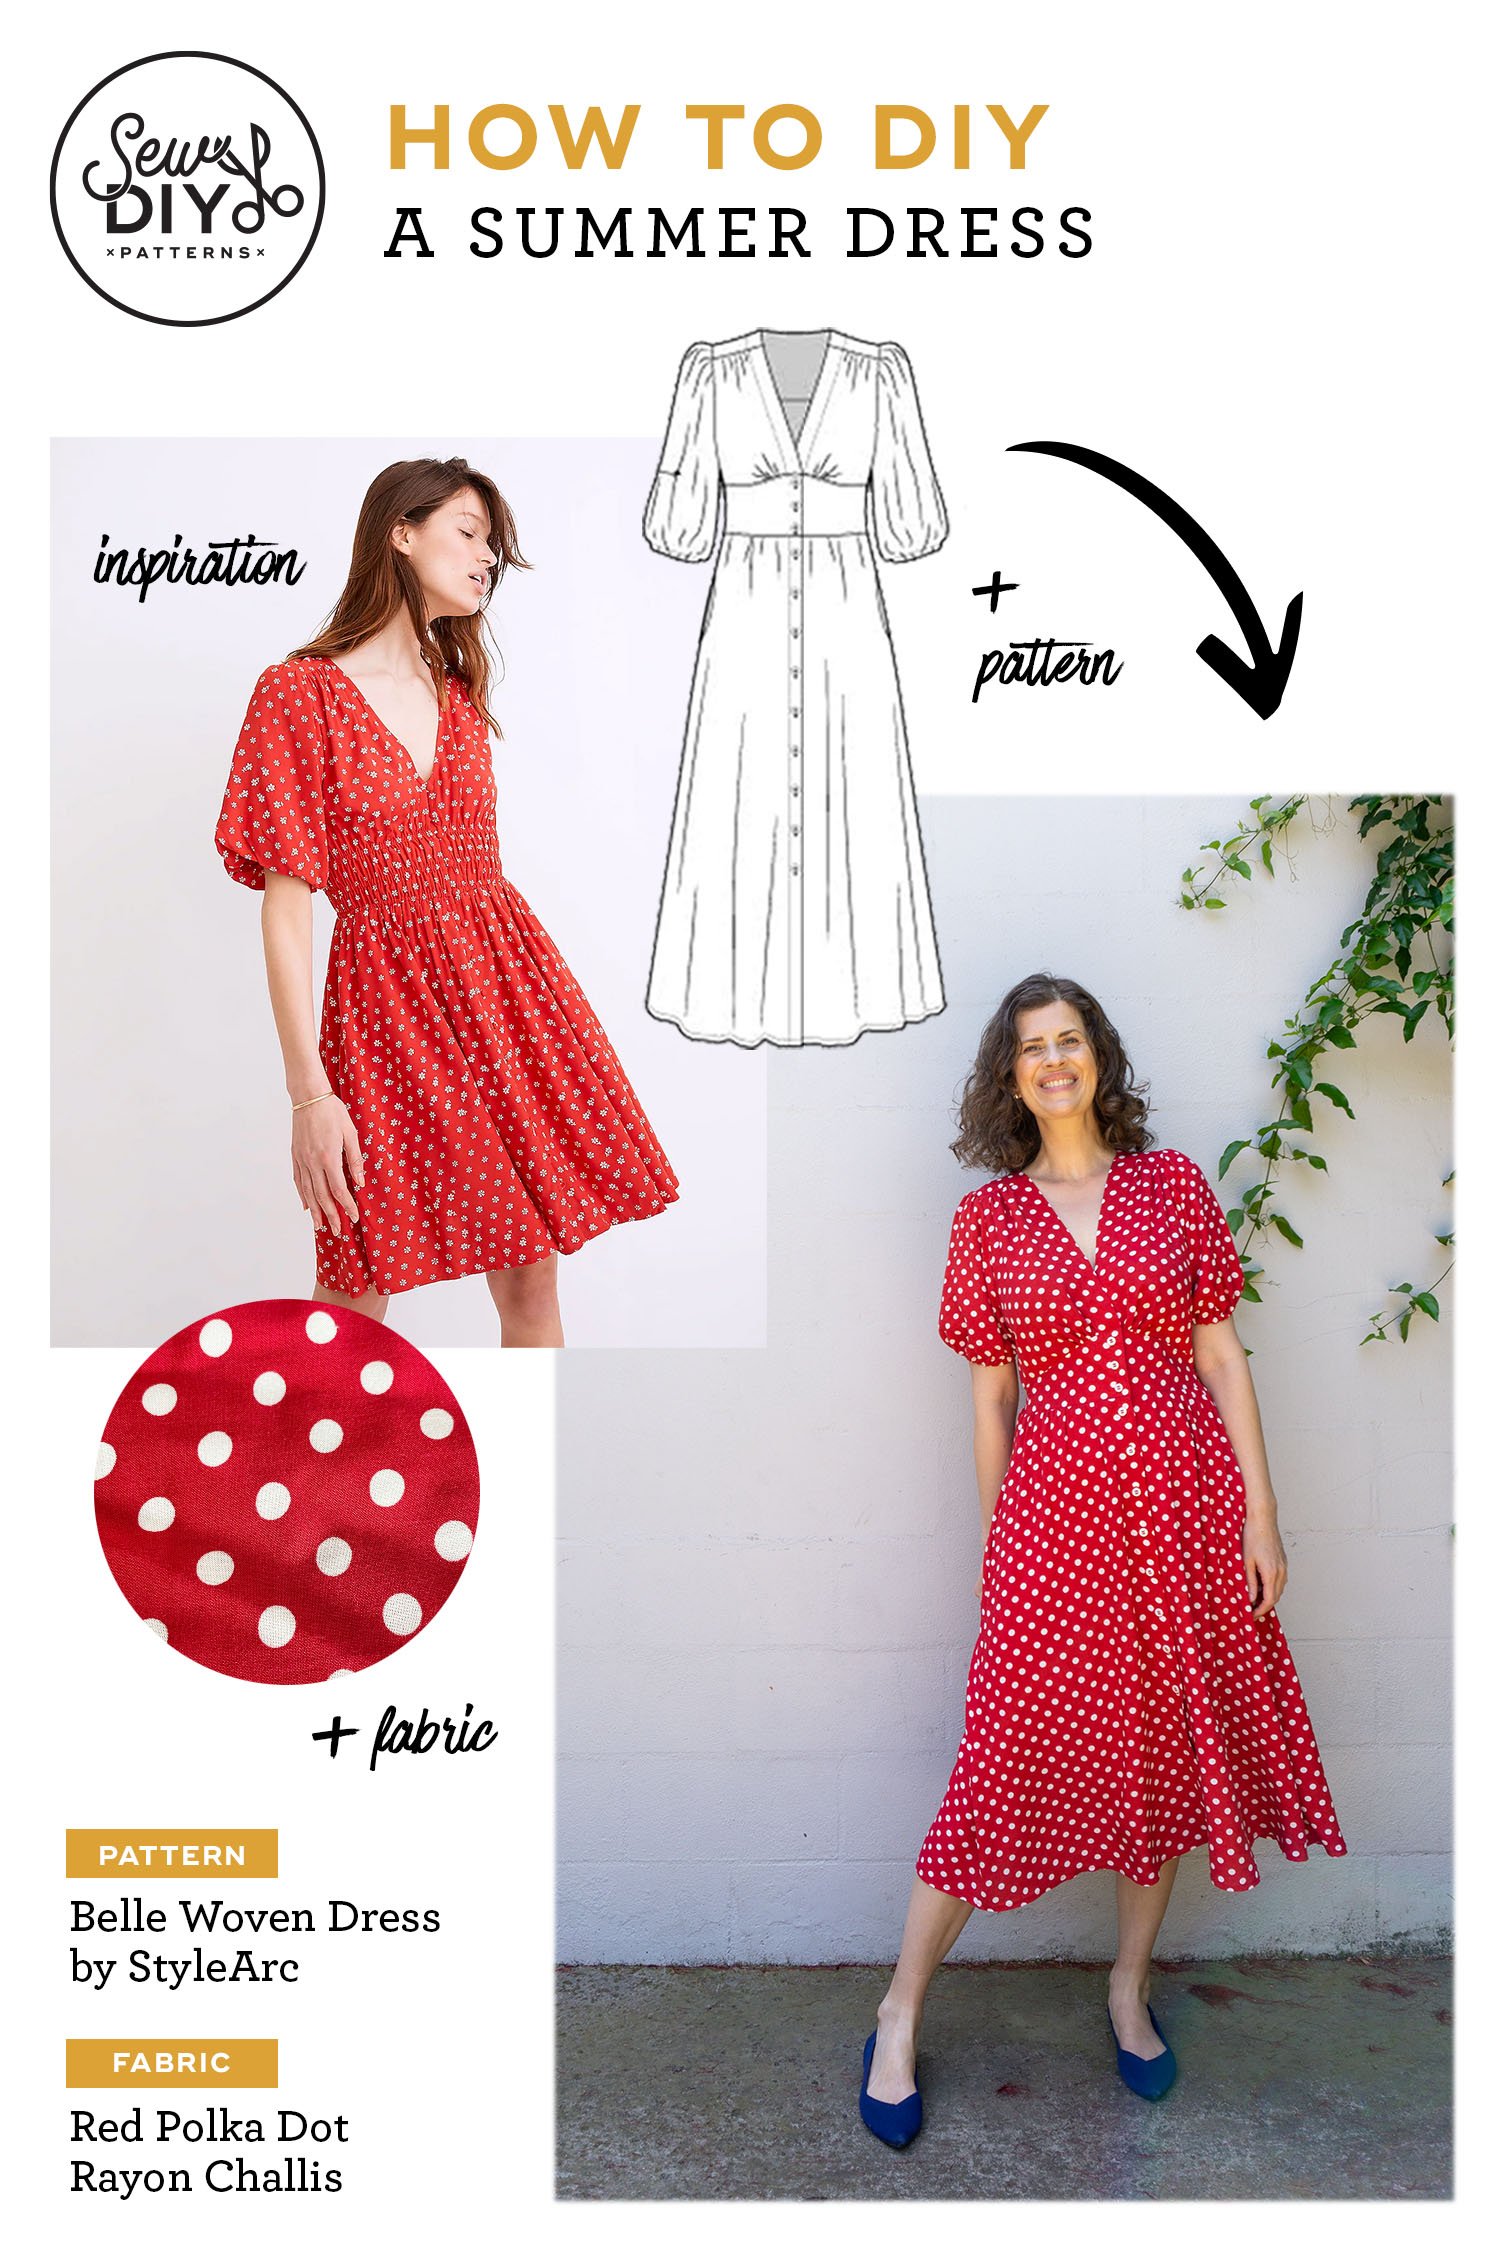
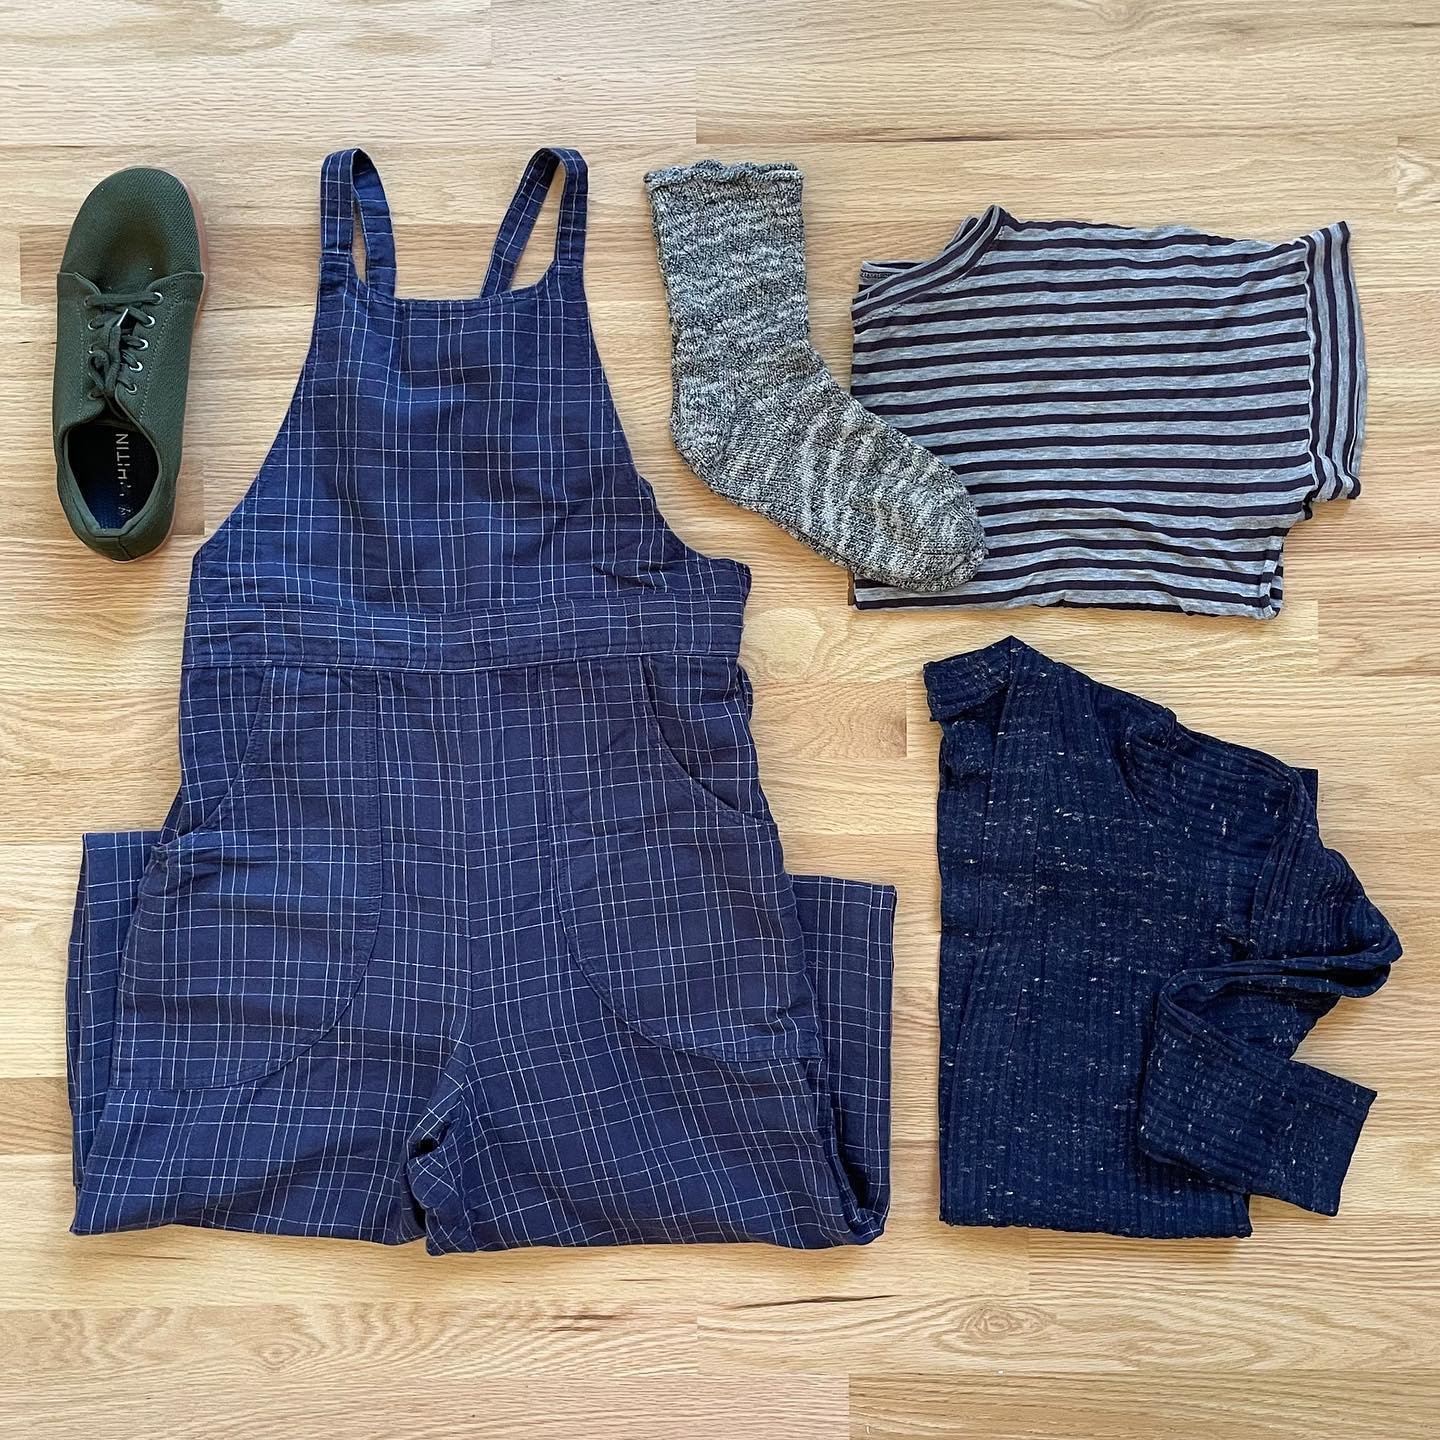
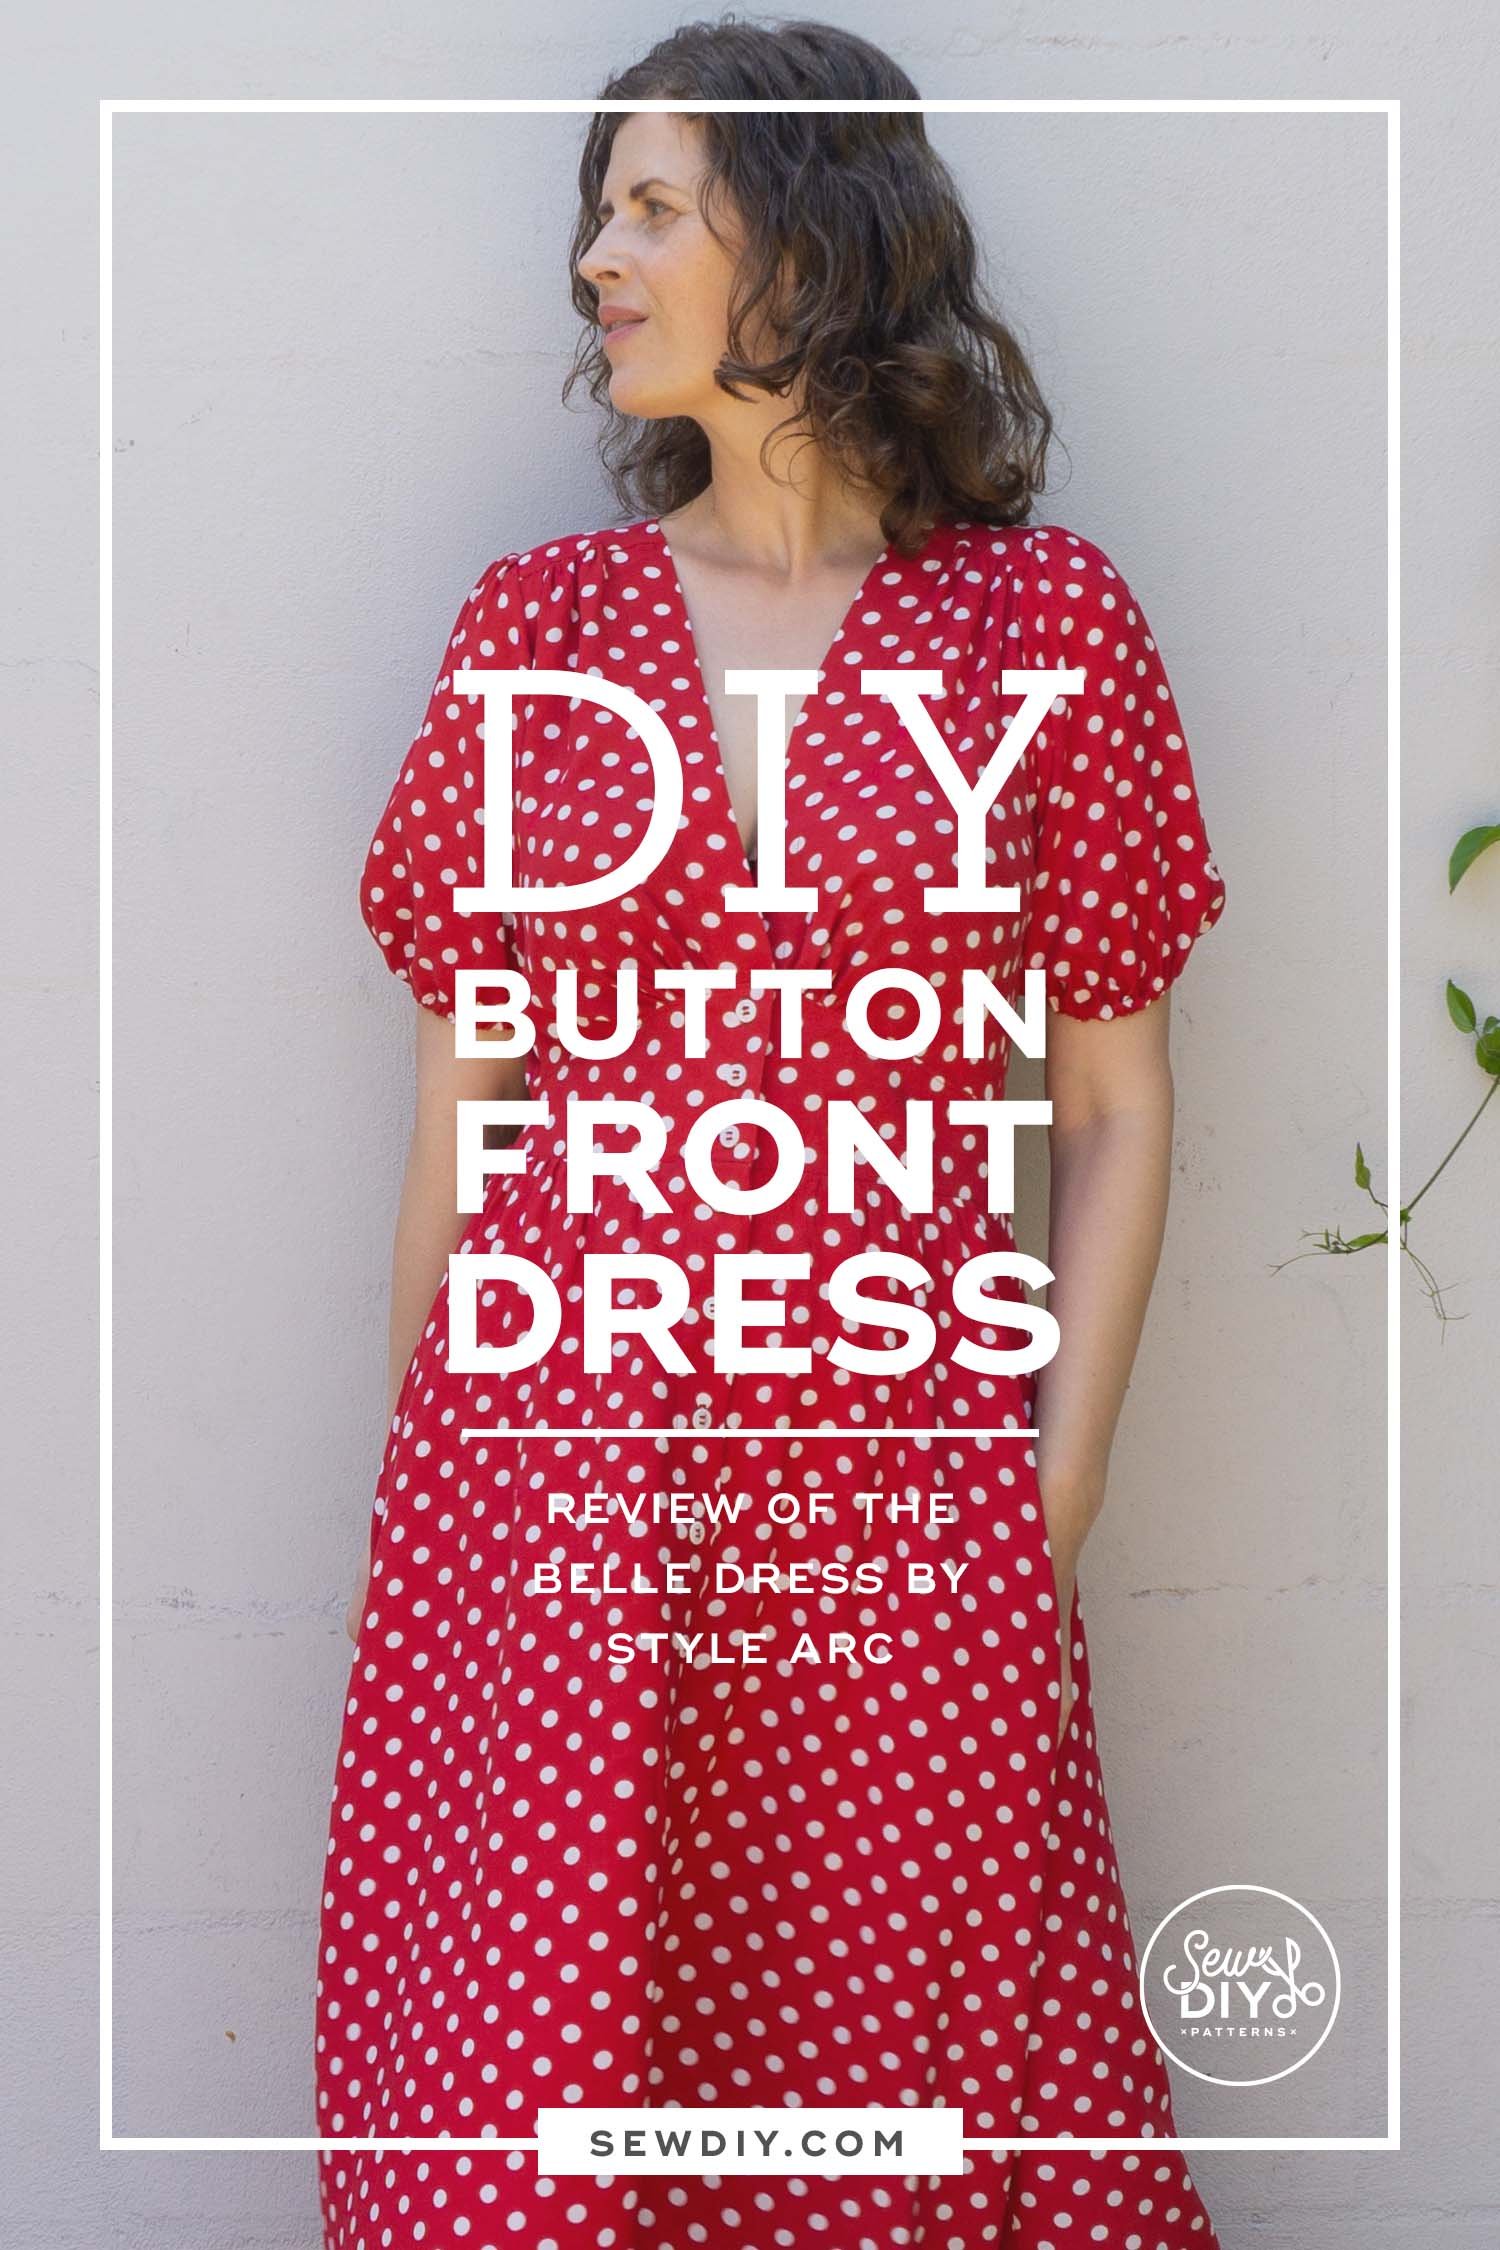
It all started about a year ago when I found this remnant of red polka dot fabric from LA Finch Fabrics. I knew I wanted a really fun and flirty, yet classic dress to wear for the summer. So after I got my fabric, I did some online research into different styles to find one that I really wanted to wear and that suited the polka dot fabric. Eventually I found this dress from Madewell and I knew it was perfect. I loved the flouncy sleeves, V-neck, button front and fitted waist.

ABOUT THE FABRIC
The fabric is a soft rayon challis in a classic red polkadot print. It's a great fabric for dresses because it has nice drape and is more breathable than polyester. It's also fairly easy to work with, kind of in the middle between cotton and silk. And it presses well. I picked up this fabric during a remnant sale from LA Finch Fabrics. LA Finch is based in Long Beach, CA just south of Los Angeles and they have a rotating selection of deadstock fabrics. This fabric was a great deal, about 2 yards long and 56" inches wide. Definitely plenty of fabric to make a dress.
LA Finch no longer has the red polka dot fabric but they do have a similar one in green. Check it out here.
ABOUT THE PATTERN
After find the inspiration, I started looking for patterns and I found the StyleArc Belle Woven Dress. It's really similar to the inspiration dress. It has the same silhouette and a lot of the same features so it was a pretty immediate yes to this pattern. You can find the pattern on their website or on Amazon (affiliate link).
Now to be honest, I don’t use a lot of Style Arc patterns because I haven't loved using them in the past—mostly because the instructions are very skimpy. Second, in the past, the sizes were sold in very limited ranges (like three sizes). Since I last purchased and used a StyleArc pattern though, they have improved the instructions and they offer larger size ranges to purchase. (I also know that some people prefer the short instructions. It's just not my preference.)

The one big issue that I had was that the pattern called for 3.5 yards of fabric and I only had 2 yards. Yikes! I do not generally recommend attempting to cut 1.5 yards from the recommended fabric requirement. Fortunately, my fabric was 56 inches wide so I felt like I had enough fabric to work with.
It just meant that I needed to make some major pattern adjustments. I did the pattern adjustments in Adobe Illustrator. I was able to open the pattern in Illustrator, and then make an art board that was the size of my fabric. I used the artboard to represent my length of fabric and shuffled the pattern pieces around to make everything fit. It was also a great way to see which pattern pieces were using the most fabric and determine where I could make some adjustments.
One of the major changes I made was that I reduced the amount of volume in the sleeve and I shortened it about 3 inches. So instead of having rows of elastic thread around the sleeve, there’s just one casing at the hem of the sleeve. I also shortened the skirt (initially 7") and reduced the amount of gathers in the front skirt. It was honestly a little bit tricky to figure out which pattern pieces were which at first. I wasn't sure what was right side up and right side down, but after I got it figured out it all went really smoothly.
Check out my blog post: 10 Tips for Using Less Fabric and Reducing Waste
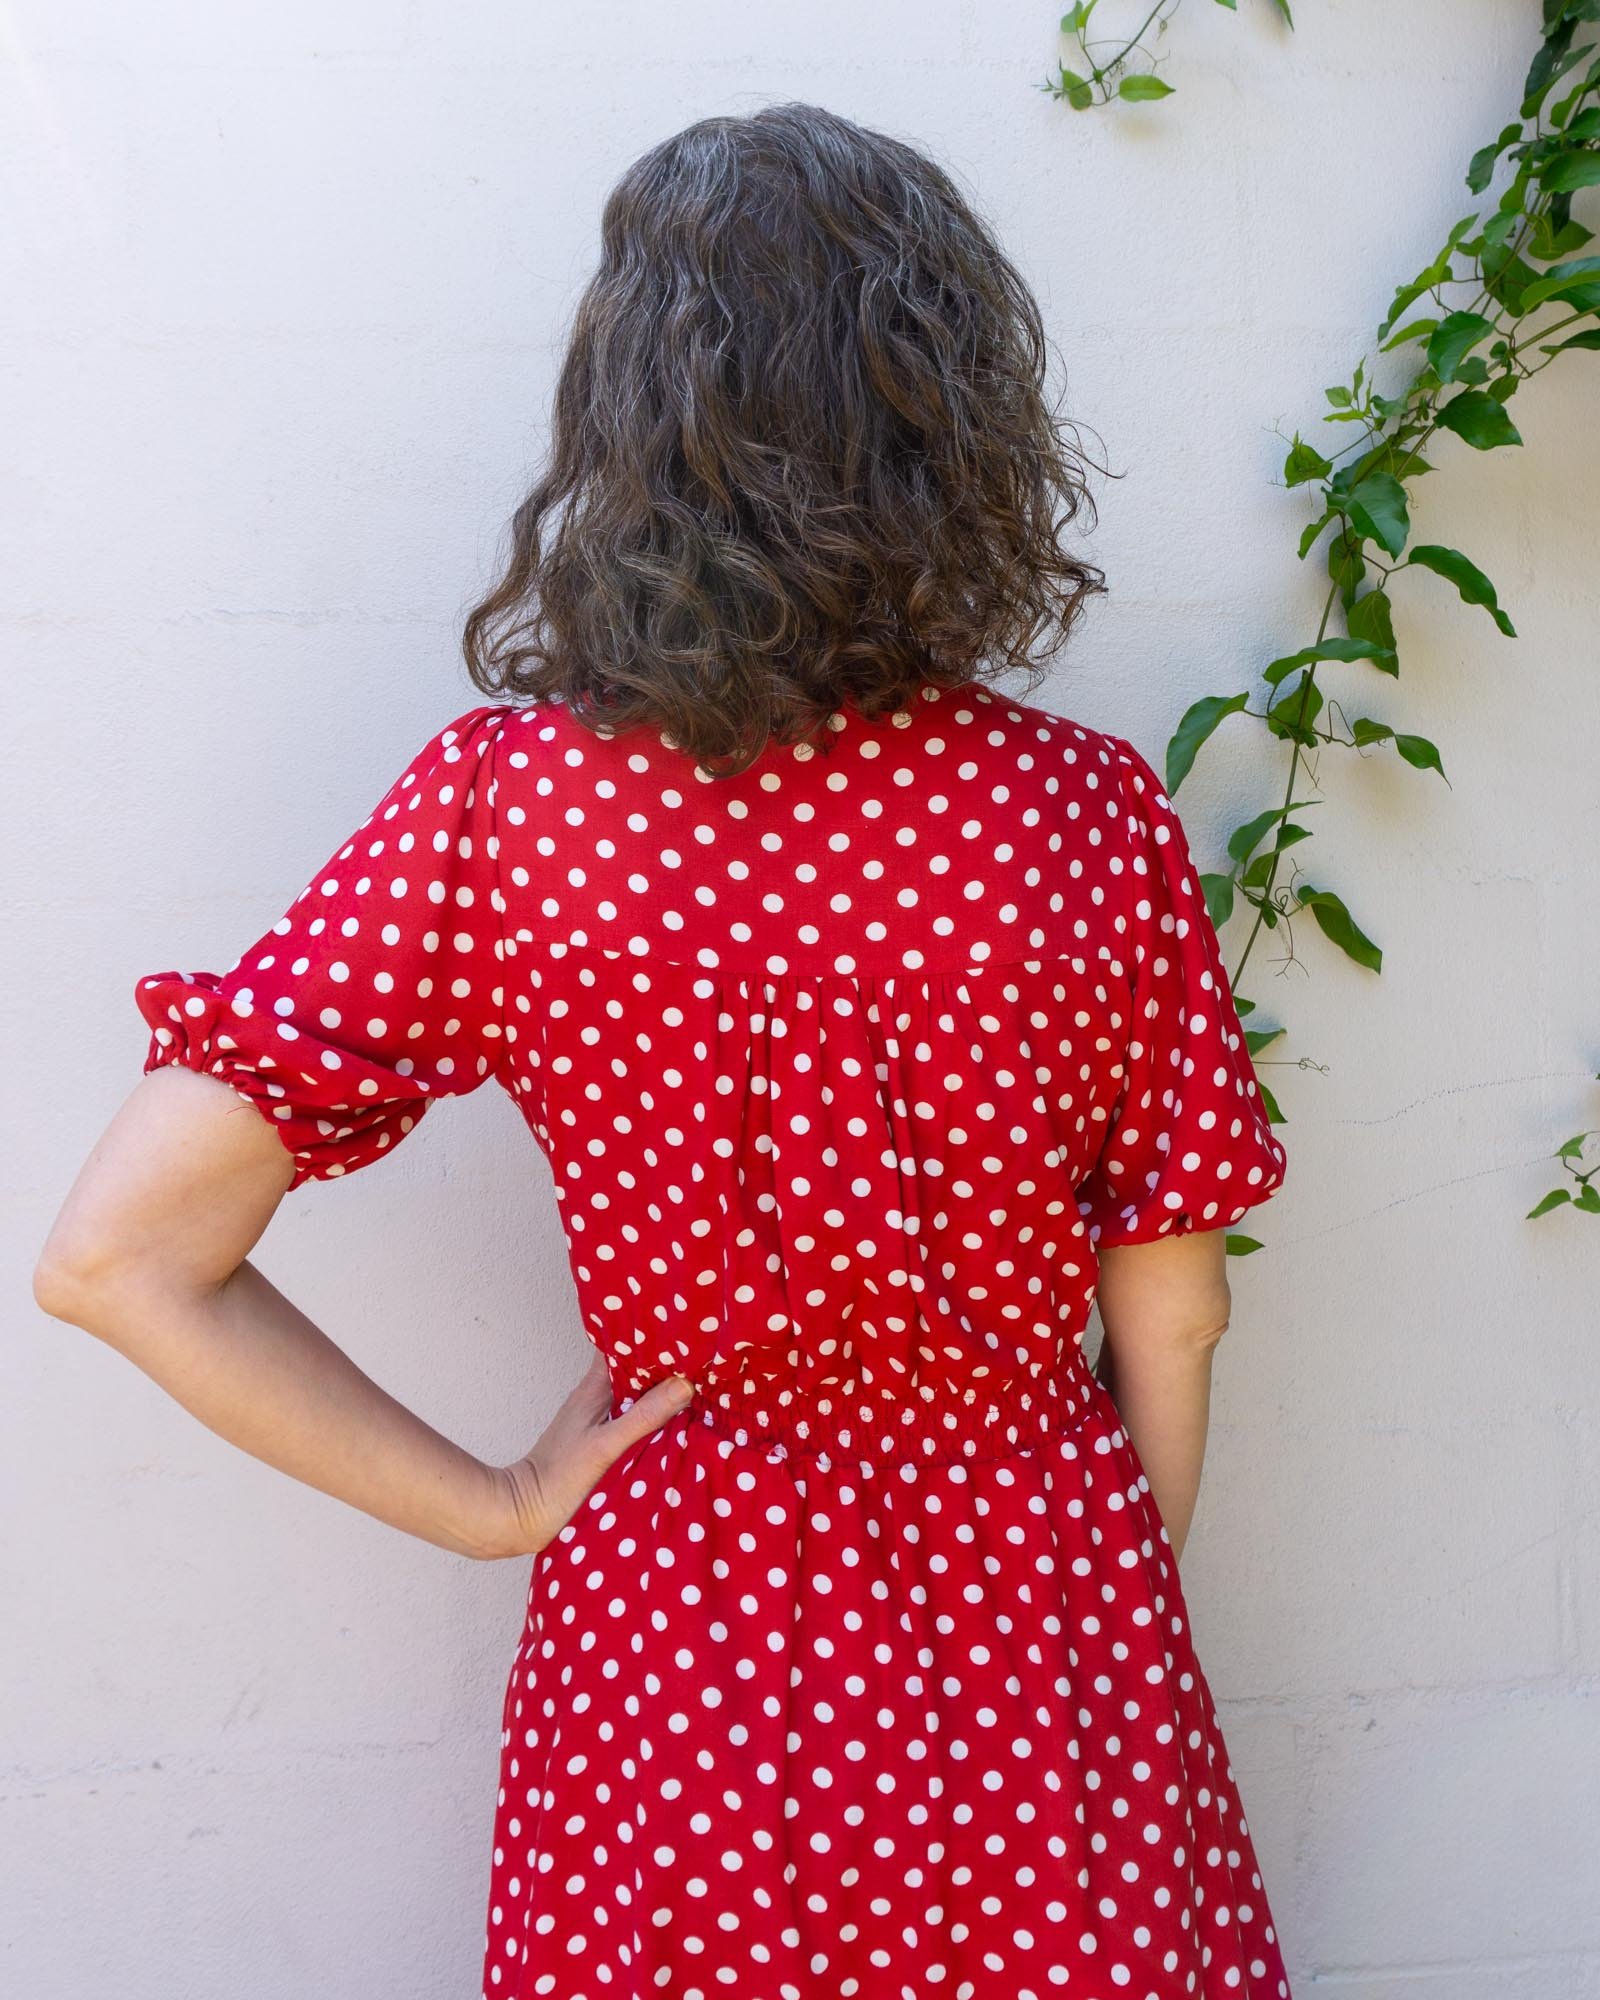
Size wise, I started with a size 10 as it most closely matches my measurements. I learned from this blog post from csews that StyleArc designs for a height of 5'6" and a B cup. For fitting purposes, I did a 1" full bust adjustment on the bodice and added 1.5" in length to the bodice. I consulted this tutorial from Megan Nielsen on doing a full bust adjustment to a pattern that doesn't have a dart. When I tested out my muslin I thought it was actually kind of baggy but after getting the whole dress together, I think the fit is really good and in large part, I think that the elastic thread at the back waist really helps it be fitted and it creates this really great hourglass look.


For this project I used my projector to print out the pattern partly because I was running low on paper and this is really a big pattern. I haven’t really talked about the projector very much because I haven’t loved using it and don’t use it with every project.
I got a short throw projector a year or two ago and the thing that I find really challenging is the lack of accuracy. Because the projector uses light, the image can be bent and changed if something (like your fabric or a ruler) interacts with the light. With paper, the image and lines of the pattern stay pretty stable and it’s easy to tell if the paper is bent or torn. When using the projector, I just worry a lot about accuracy and that makes it less fun. (Note, a different brand or type of projector may create a sharper image.)
That said, I used the projector for this dress and it worked out! Because I wanted to play around with the cutting layout, I projected the pattern onto tracing paper and traced the pattern onto the paper. I wanted to be able to use my pattern pieces to make sure that I was absolutely maximizing my fabric. After I got my pattern pieces traced, I laid my fabric out and started working with the pattern pieces to create the most optimal cutting layout.
I had done a layout in my computer before, but it turned out that I was actually able to squeeze in the pattern pieces a little tighter, and ended up being able to make my skirt about 6 inches longer than I originally thought I would. Woohoo! I am really pleased with the length of the dress and so glad that I was able to make it longer. I was also able to cut all the facings and pockets from the main fabric.

The Construction
The construction of the dress really went pretty smoothly and I was even sewing up until the day before I left on my trip. I followed the instructions pretty closely except for the in-seam pockets. For the pockets, I used my personal favorite method. I've shared it here.
If I make this dress again, I would do a few things differently with the order of construction. Mostly, I would attach the back bodice and skirt to the back waist and THEN sew the elastic thread in the back waist. It felt very fiddly to try to stretch the back waist to make it flat when sewing to the skirt and back bodice. I was also a bit confused with attached the yoke and finishing the neckline but figured it out.

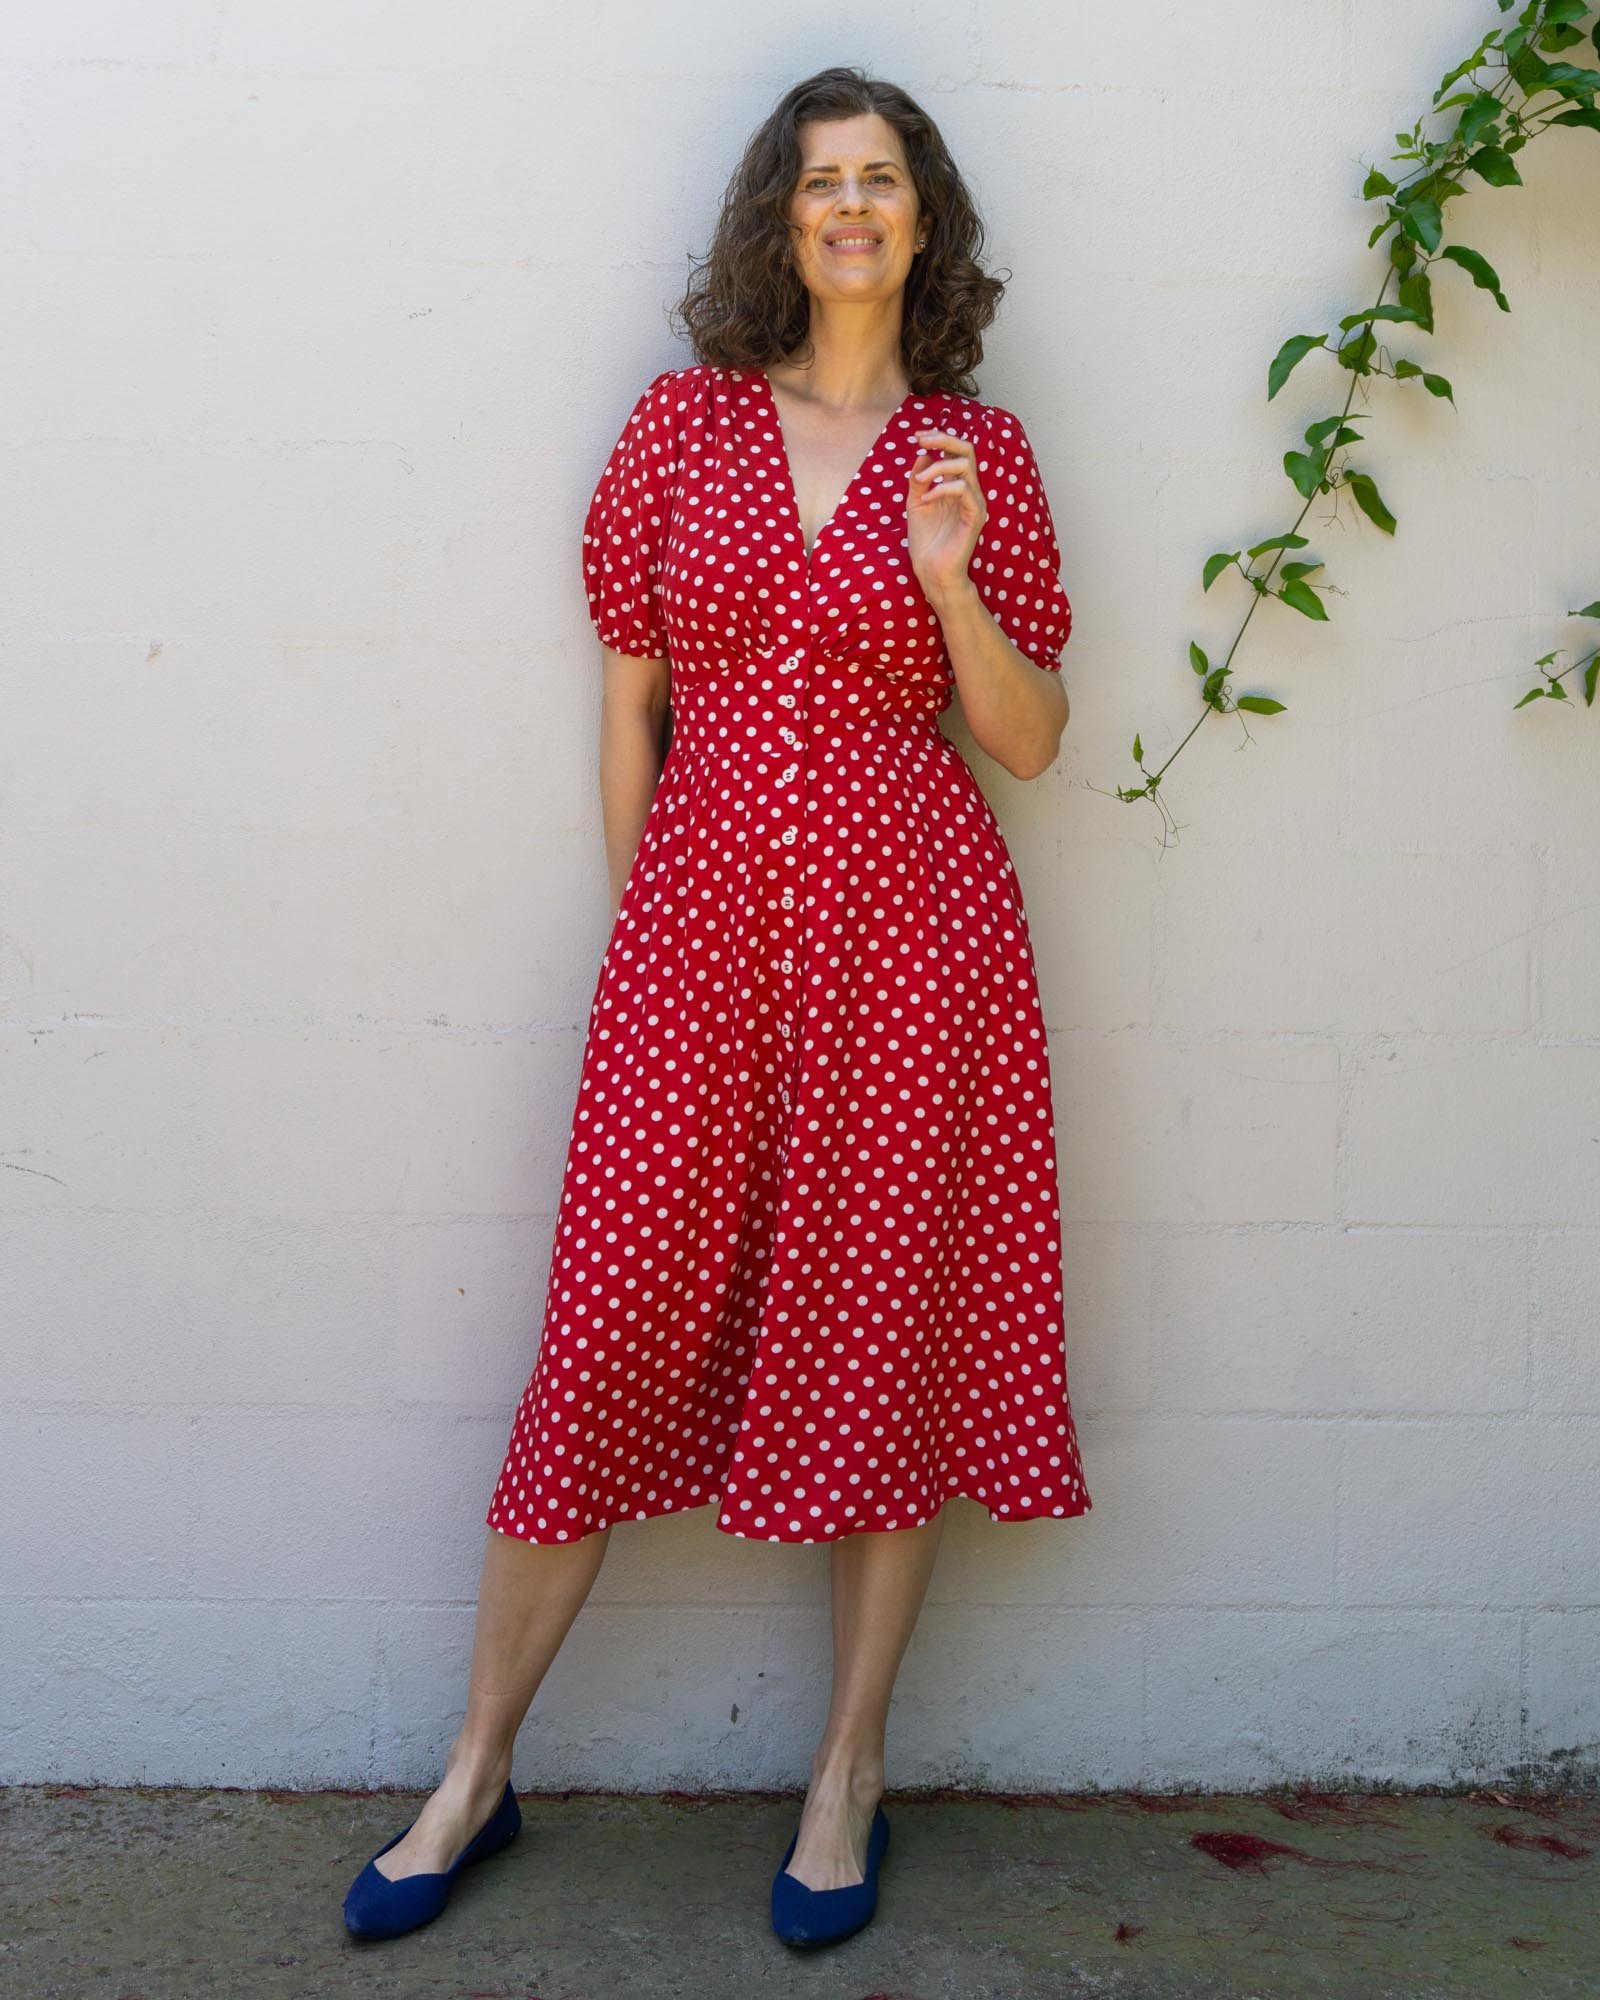
One thing to watch out for is that over the bust there are no closures. The dress has a slight overlap at the center bust and does provide good coverage. But, the first button is below the bust area. So while I’m standing up and as I was taking these photos, I really didn’t have any trouble with gaping. But on the day that I wore this dress, when I was sitting down or carrying my crossbody purse, I found that the fabric would kind of shift out of place and have a bit of a wardrobe malfunction !!! revealing my bra. So I would really consider putting in a snap at the center bust just to keep it together and give yourself a little bit of extra insurance.

If you’d like extra help sewing this dress, make sure to check out these tutorials for skills I used while sewing this garment.
Skills used to make this DRESS:
10 Tips for Using Less Fabric and Reducing Waste
How to make a full bust adjustment

Overall, I love how this dress turned out and can’t wait to wear it all summer. It’s really exactly how I imagined and I couldn’t be happier.


For almost a year, I had a vision in my head of this dress and in particular, I wanted to take it on my trip to the south of France. So as the trip approached, I was motivated to knuckle down and sew this dress. Fortunately, I managed to get it done in time. I think this dress is just so pretty and romantic.
It was the perfect thing to wear for a day out in the south of France. Here are a few pictures of me from our day in Antibes in the dress. It was a beautiful day but I did have food poisoning the night before, so I don’t think I was really looking my best. Fortunately I was feeling mostly better though! All in all, it’s a great dress and I’m looking forward to wearing it more in the years to come.


Pin the image below to save this project for later and support the blog. Happy sewing!