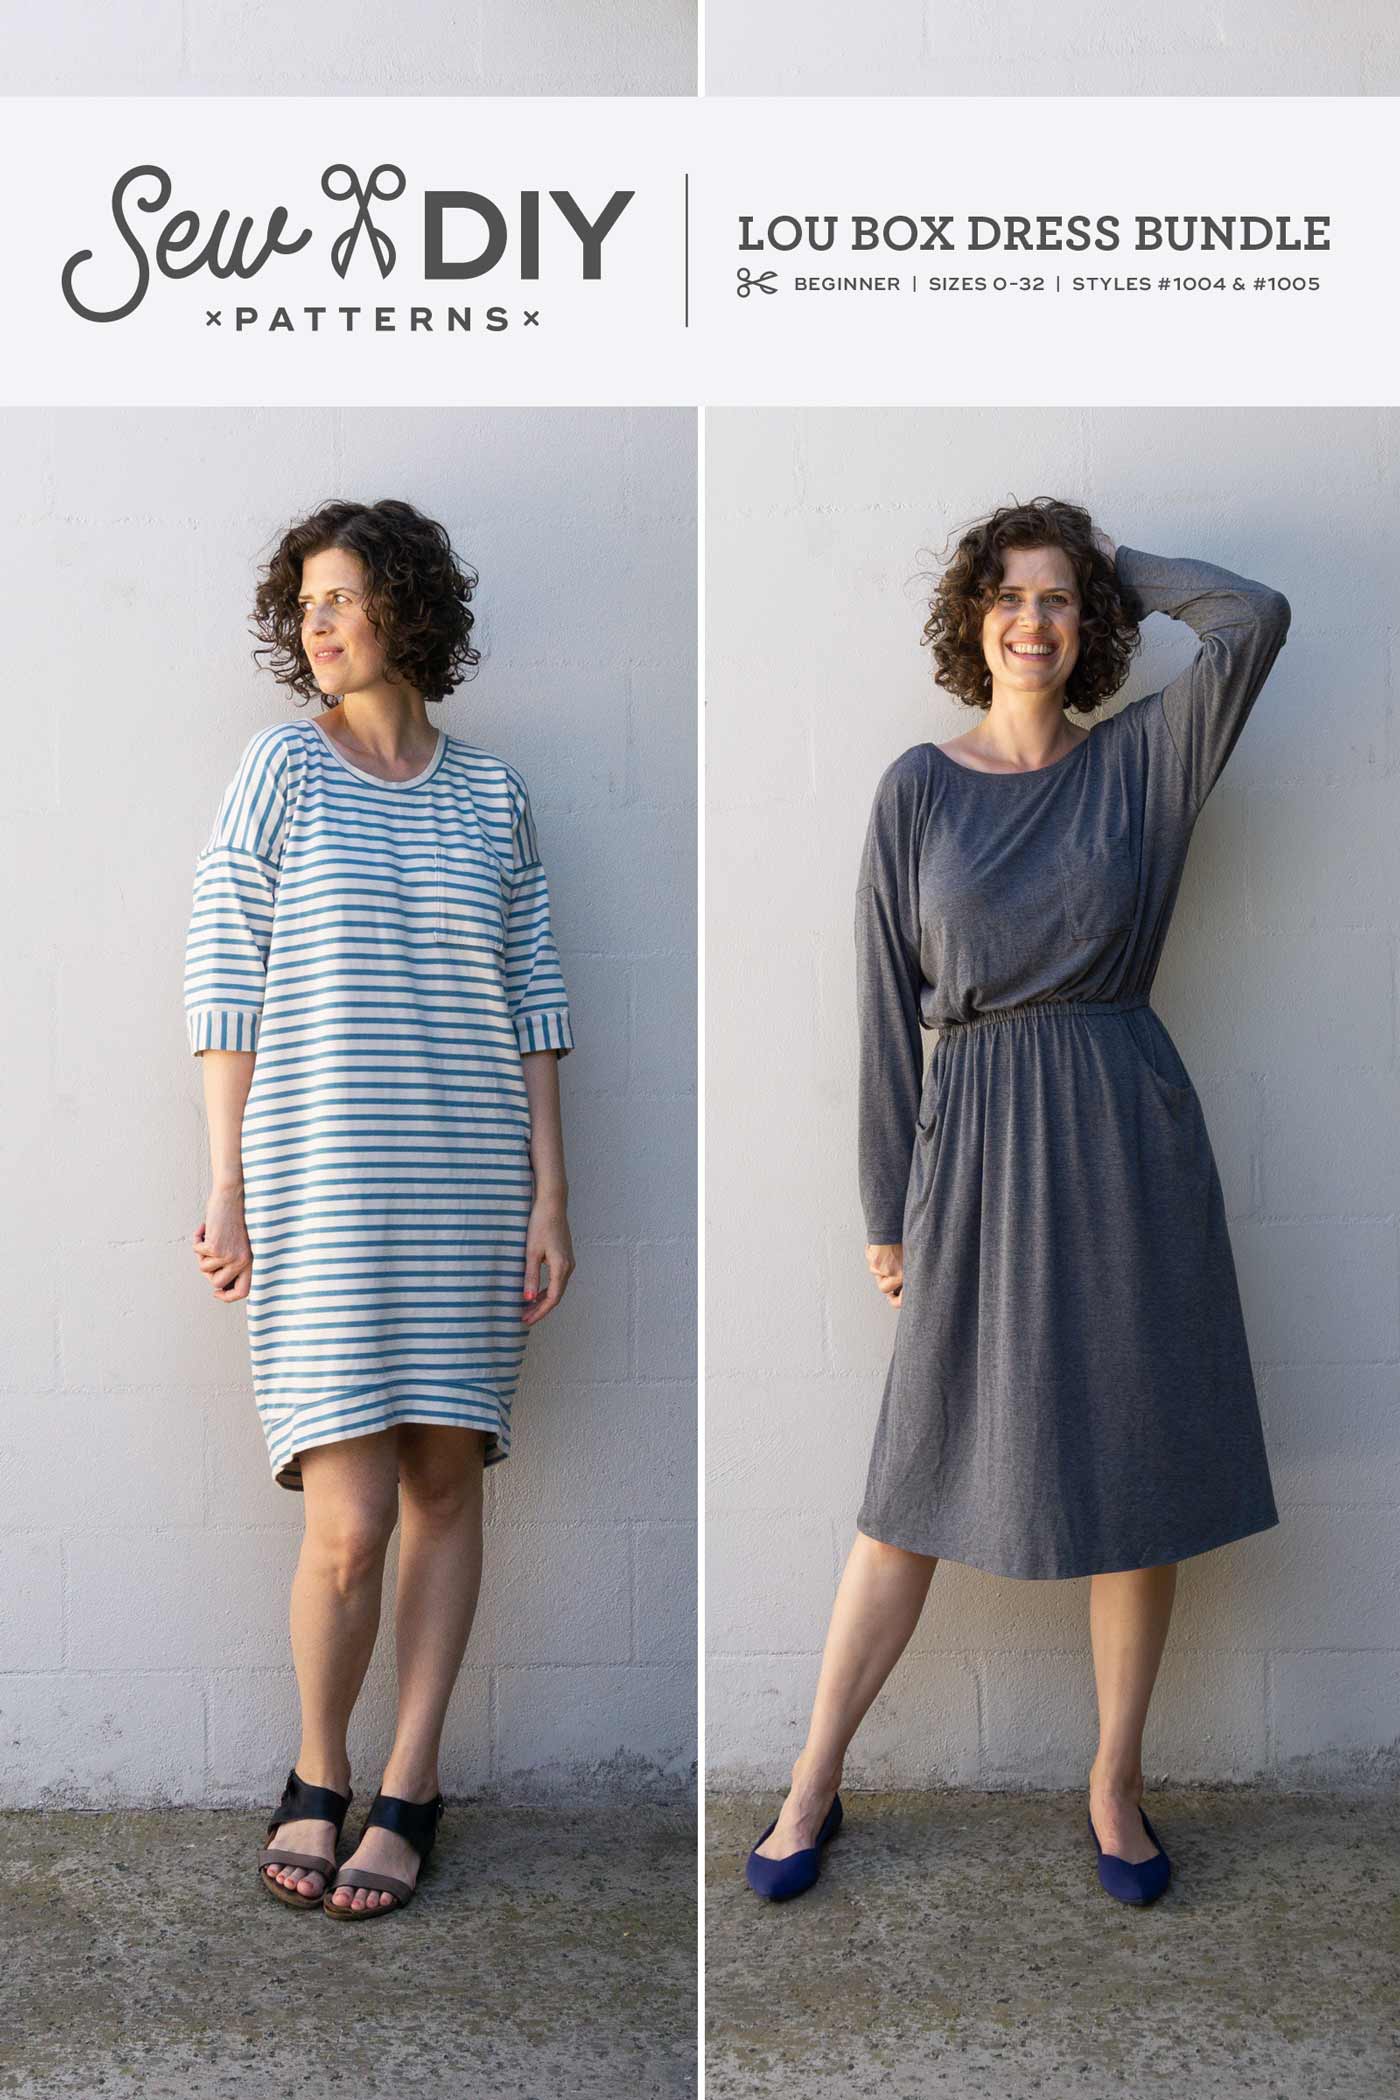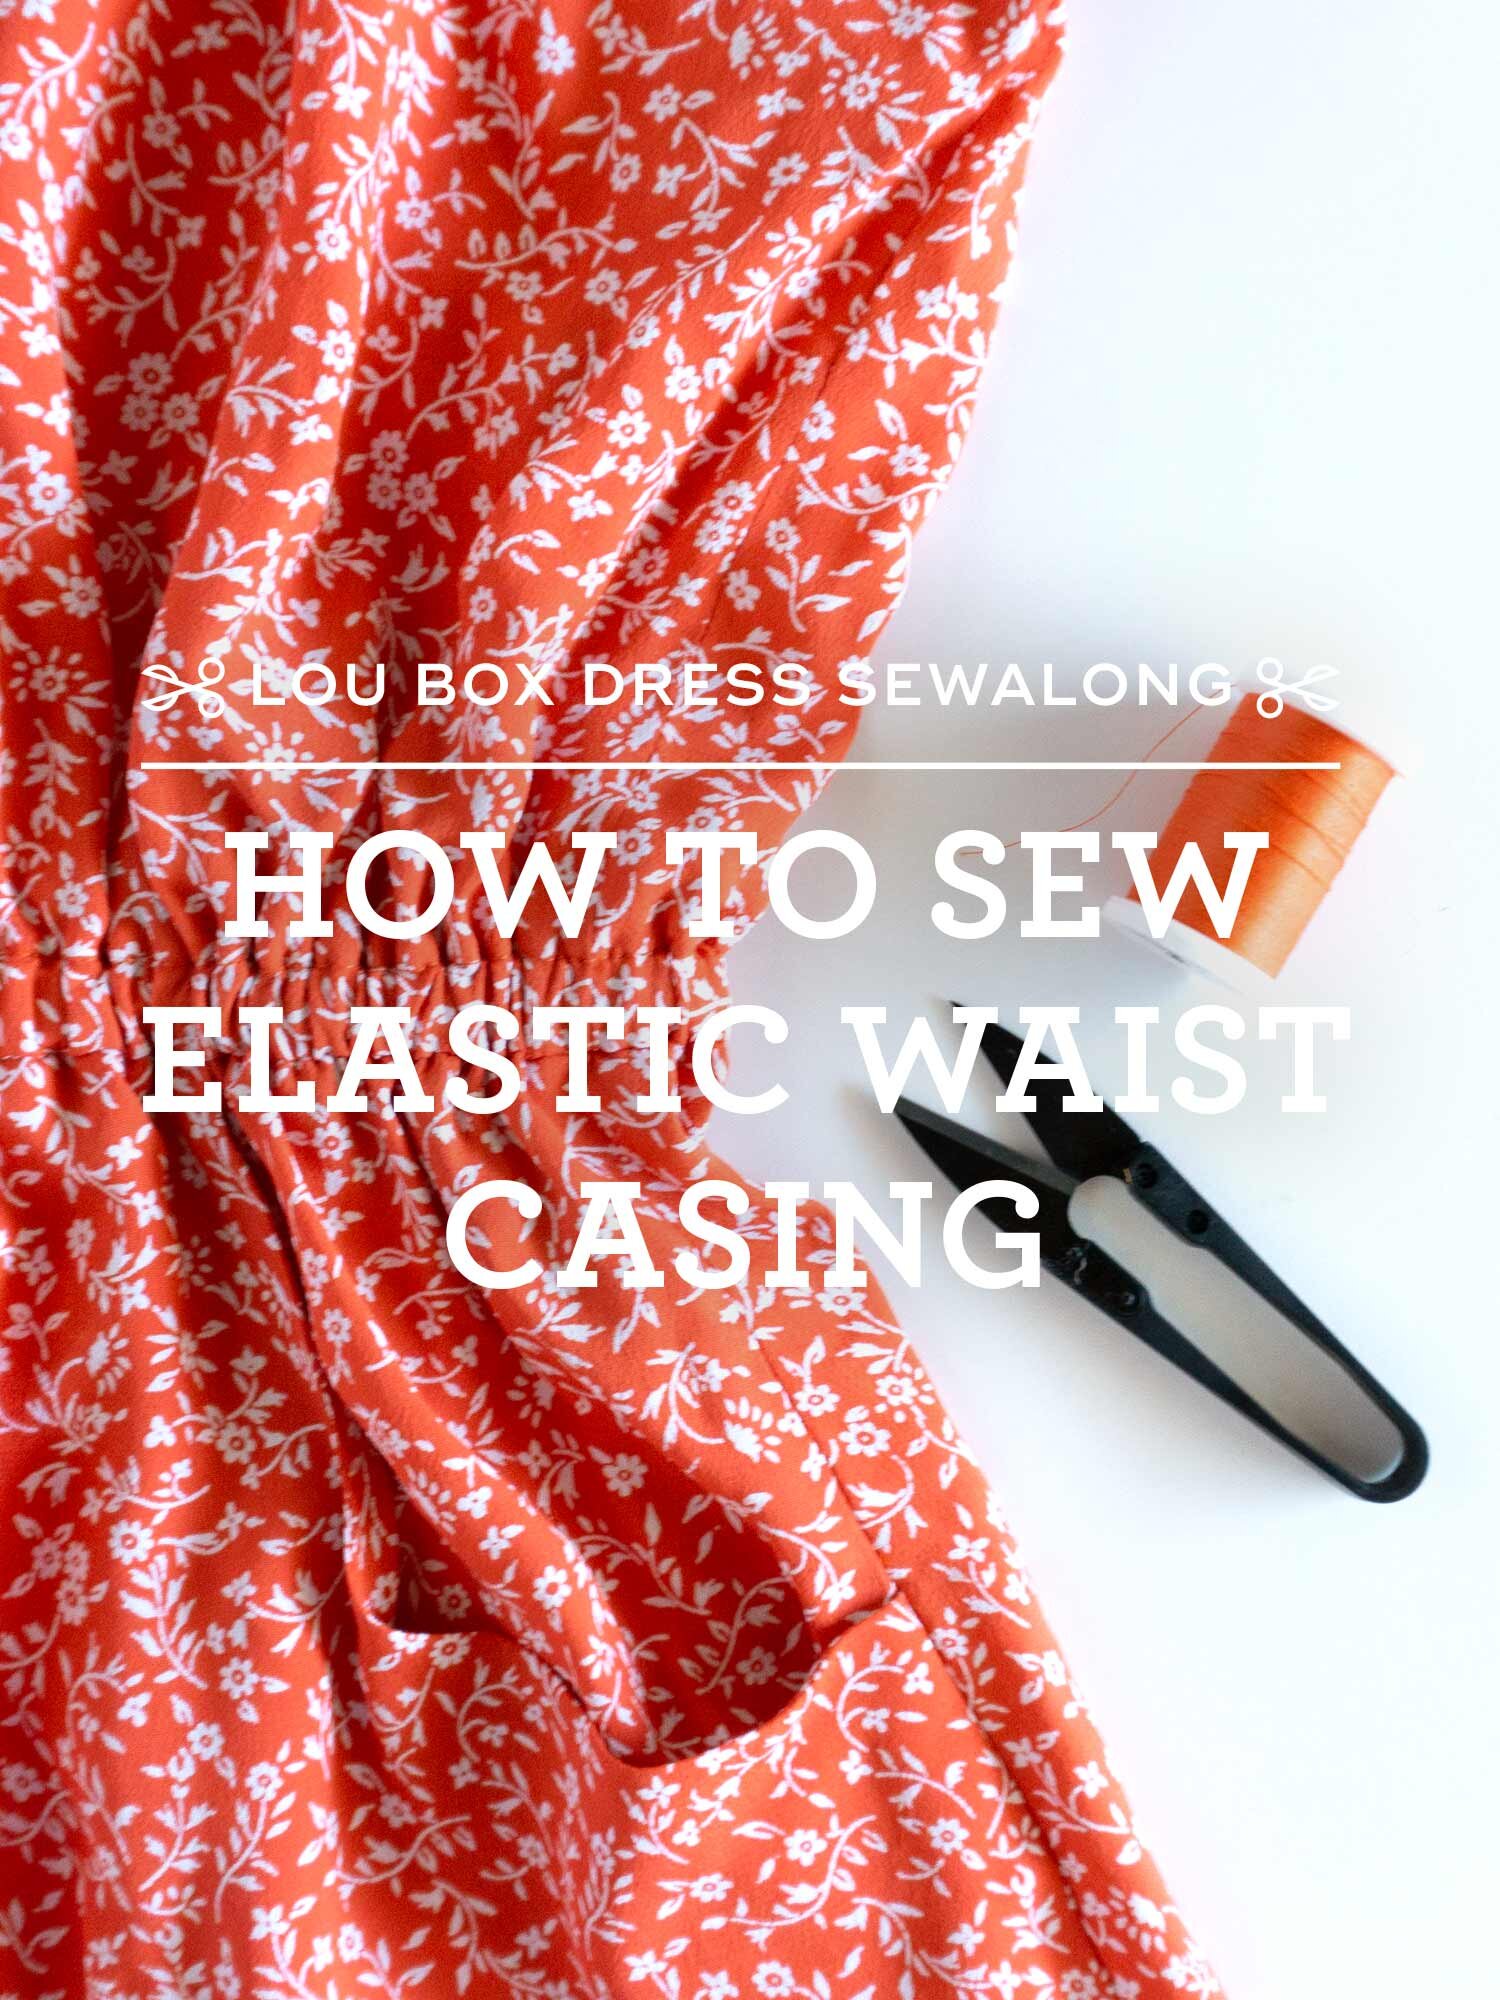
Hello sew-friends! Earlier this month I re-released the Lou Box Dress patterns and today is the final installment of the sewalong additions. When the pattern was first released, I did a full photo sewalong and during this second round of testing, I asked my testers what part of the construction process would be most helpful to see as a video. One popular suggestion was the elastic waist casing of the Lou Box Dress 2, so I’ll be showing you how to sew that in today’s video. I’ll take you through all the steps of how to sew the casing and inserting the elastic with lots of helpful tips along the way.

I designed this waist casing to be as simple to sew as possible so unlike a lot of patterns, there are no additional pattern pieces for the casing. Instead, the casing is created by the seam allowance. It’s not super challenging to sew, the most important thing is to use a 3/4 inch seam allowance for the waist seam. If you are unsure about the length of the bodice, I recommend basting the waist seam and trying the dress on first. Then, if you need to shorten the bodice, you can do that before you go through the process of topstitching the casing.
If you need additional help sewing this pattern, I recommend first checking out the sewalong. If you still have questions, feel free to email me. And if you haven’t started following me on YouTube yet, you can do so by clicking right here. I post a new video about once week with sewing tips, tutorials and pattern reviews. Happy sewing!
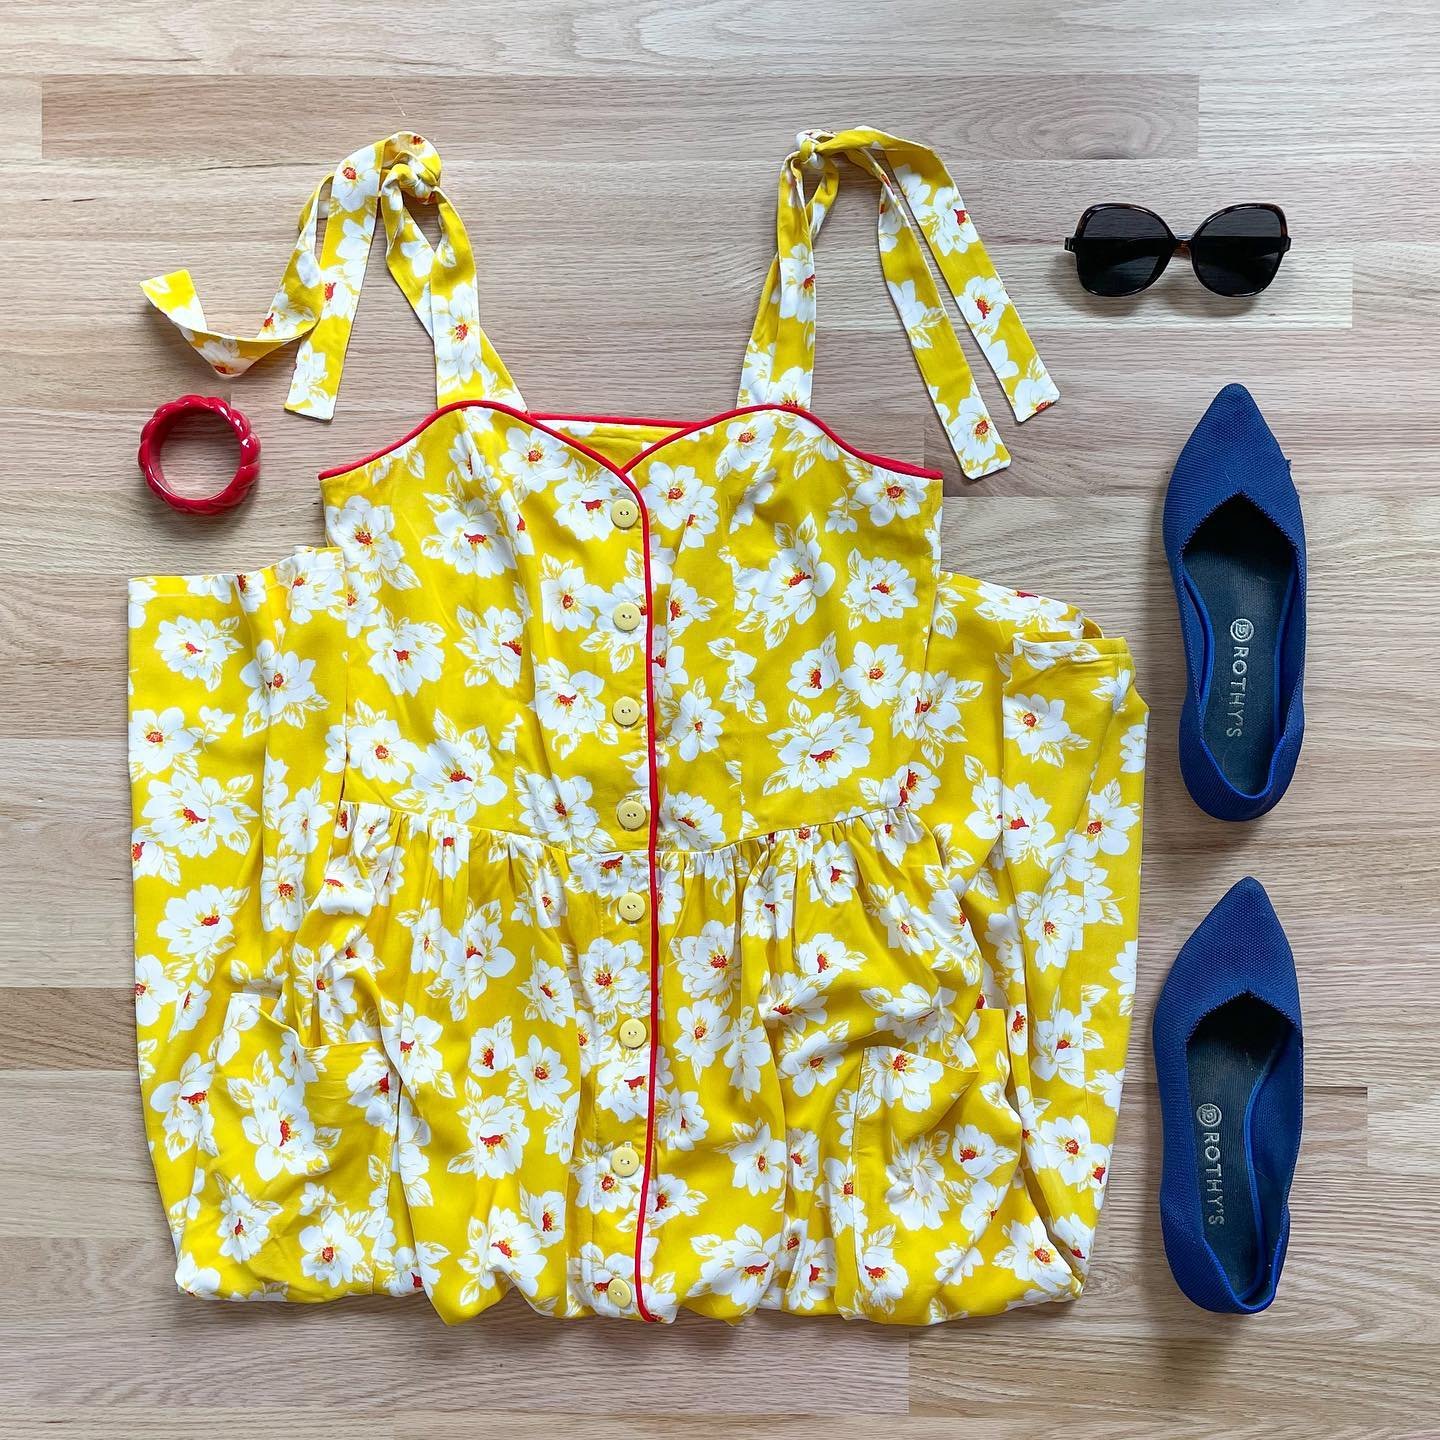
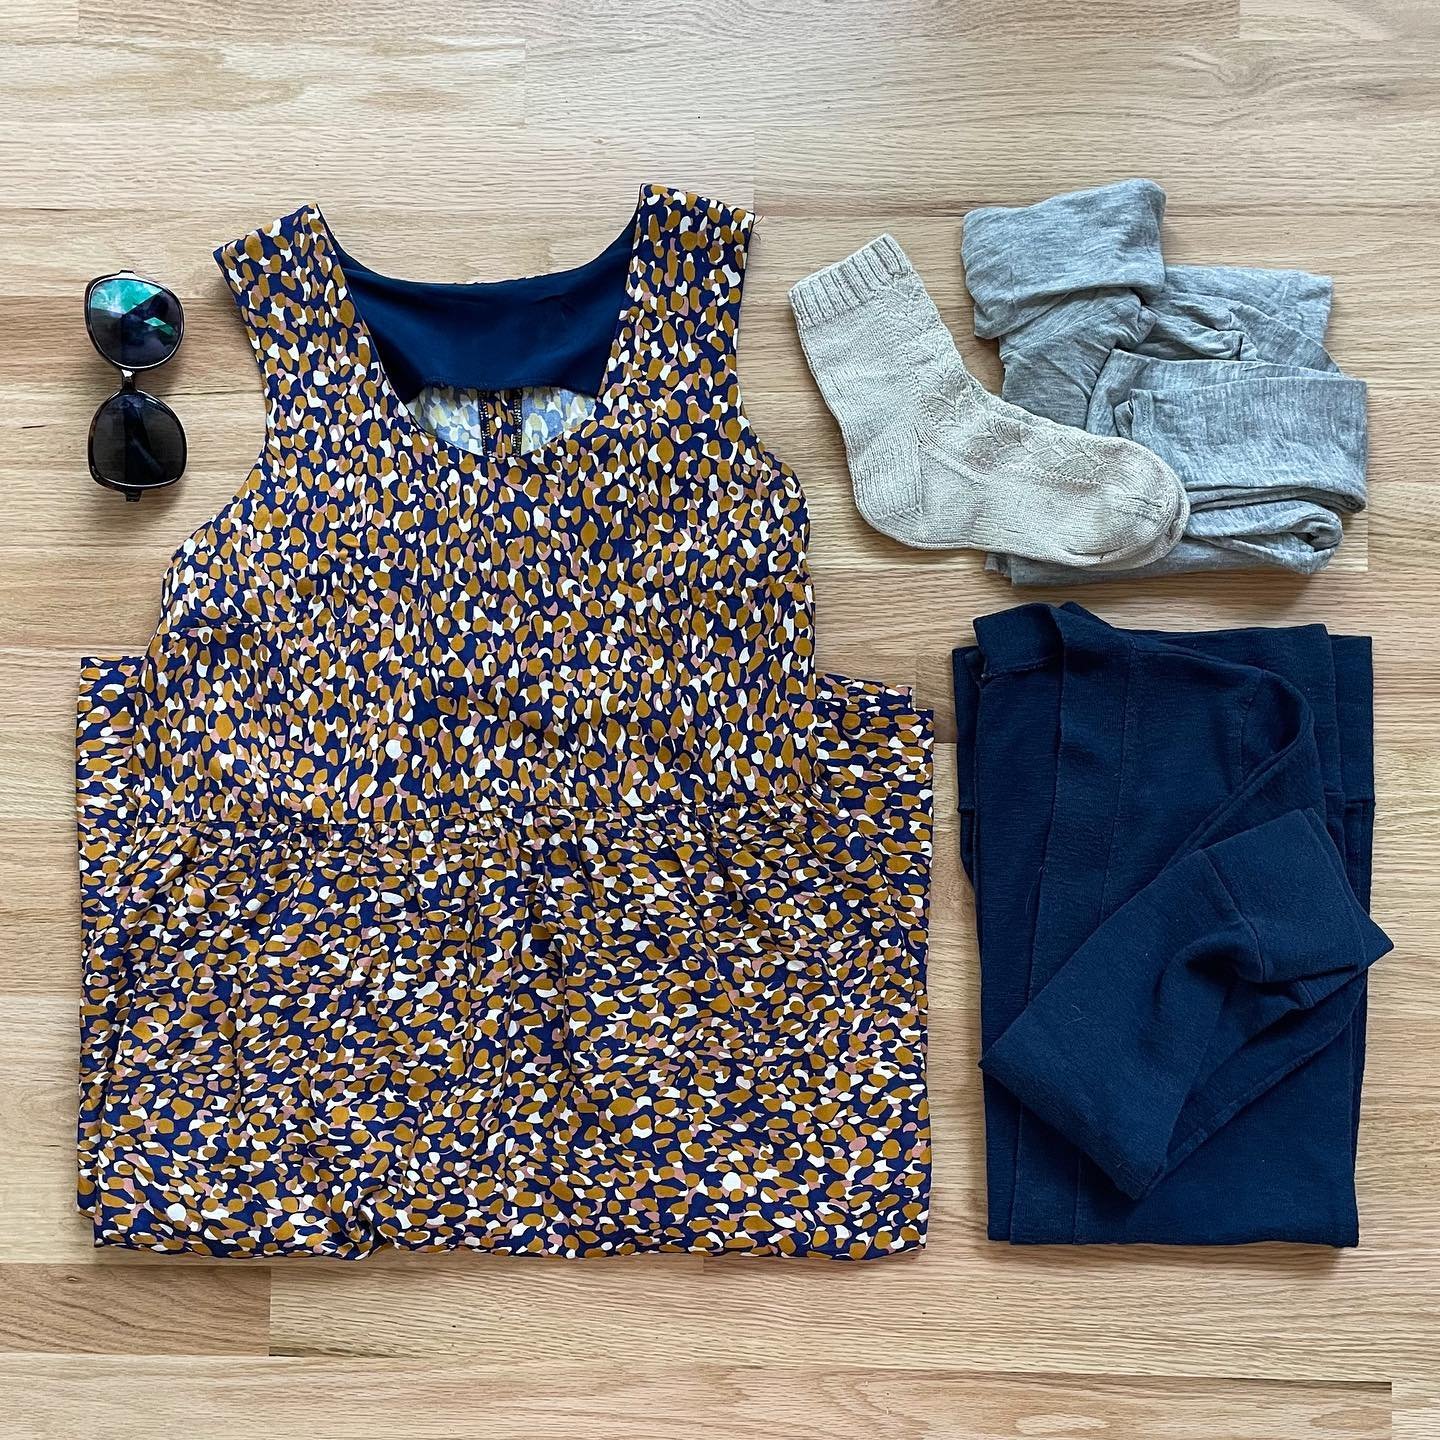
SHOP THIS POST