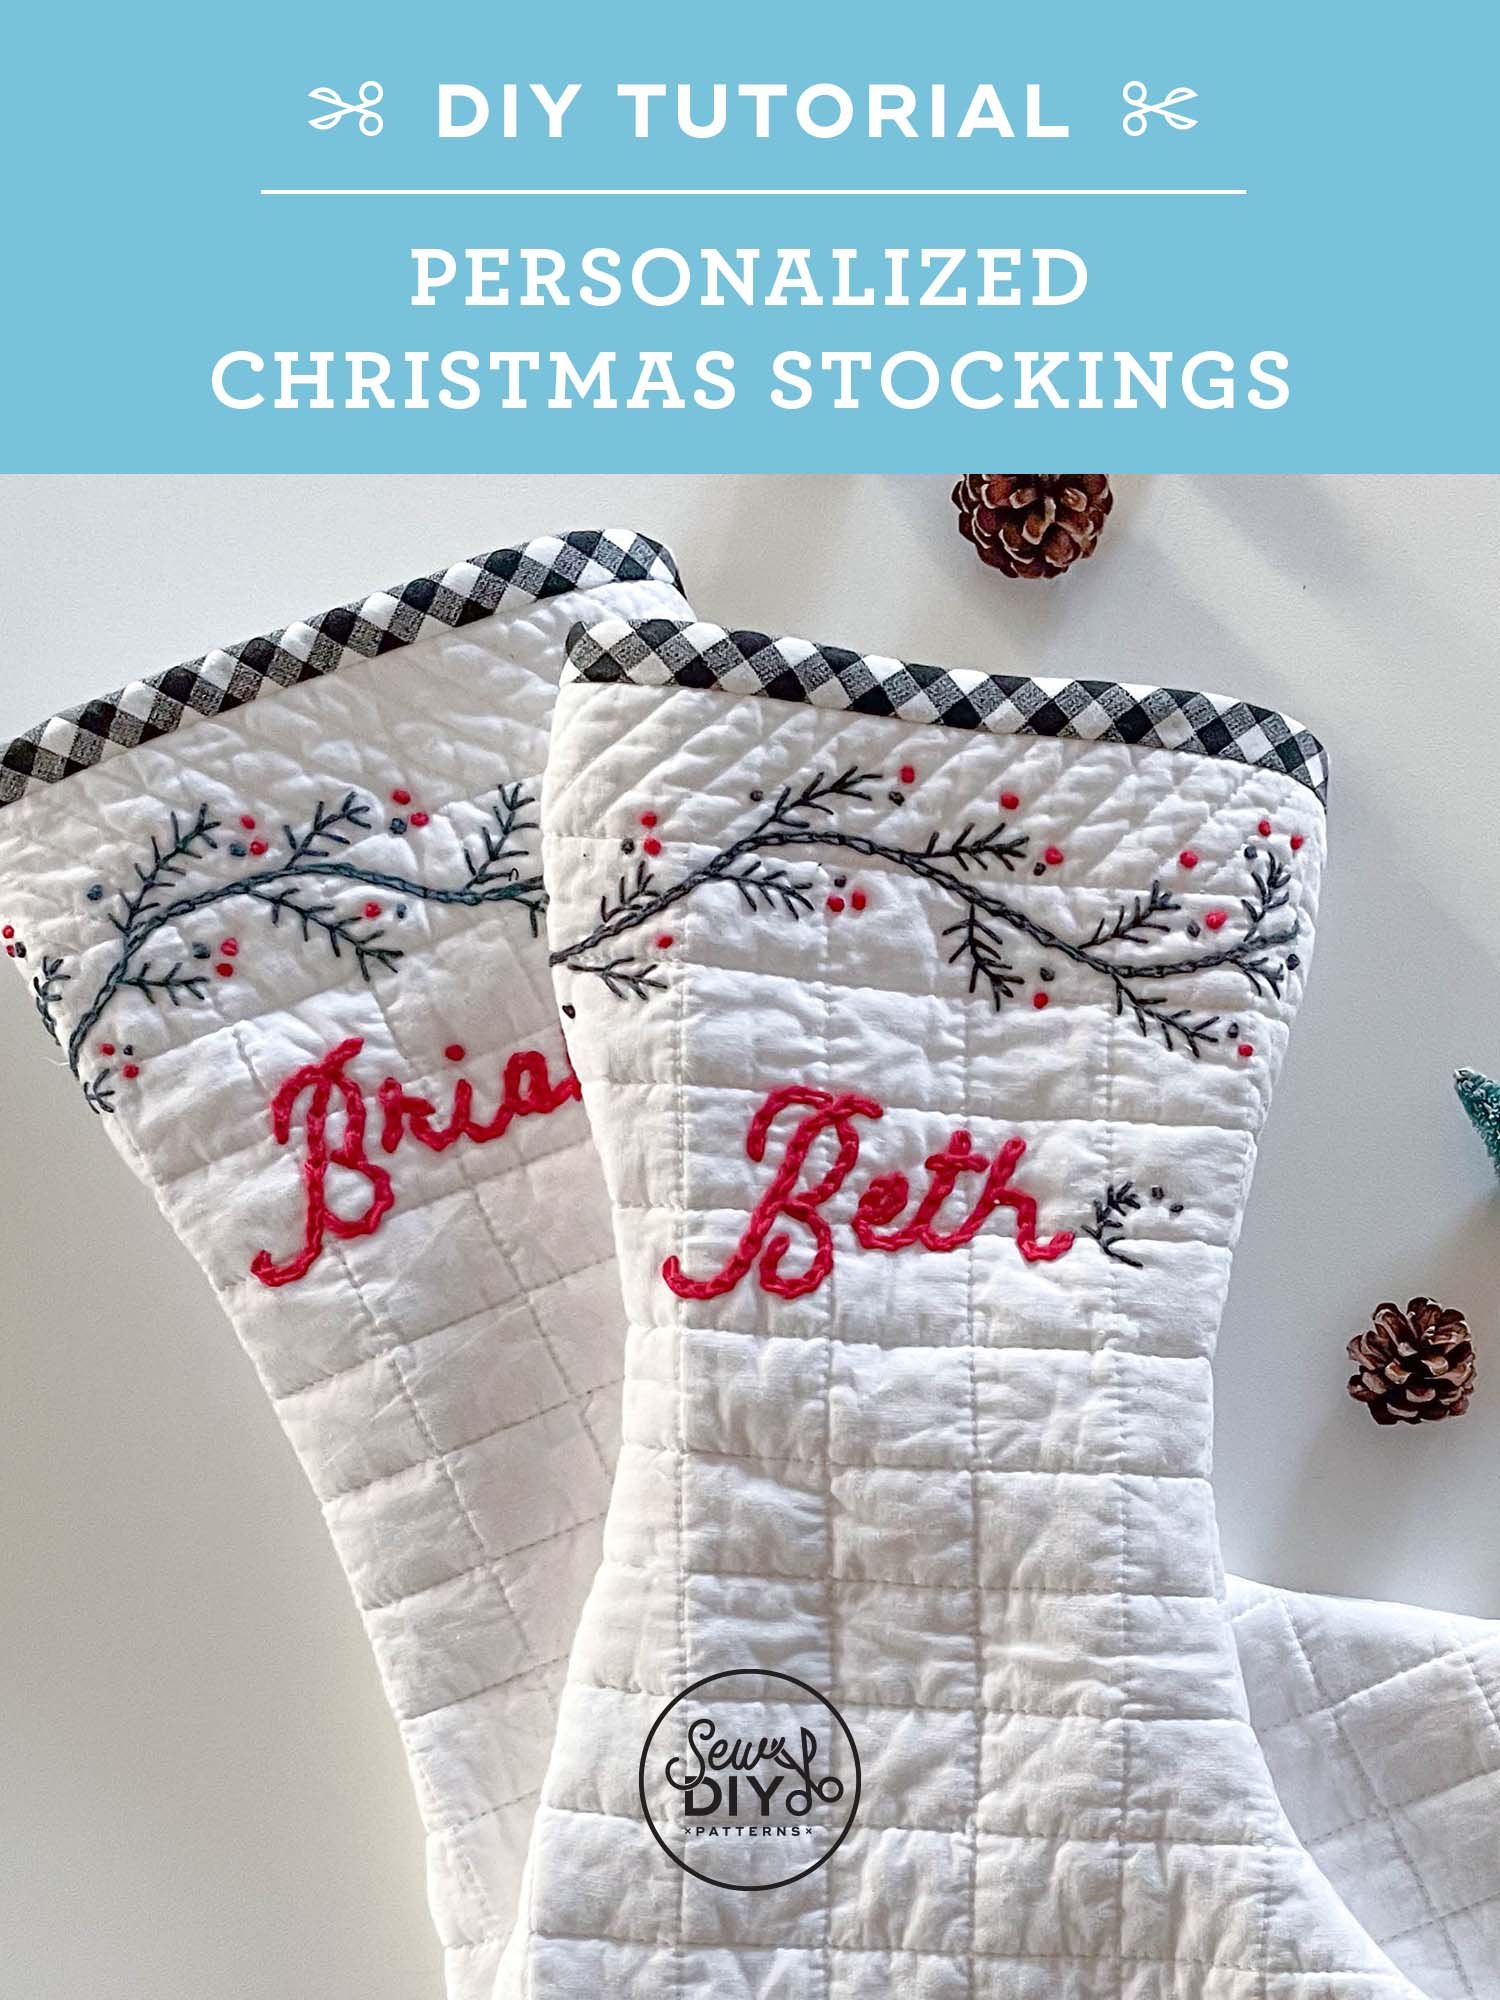
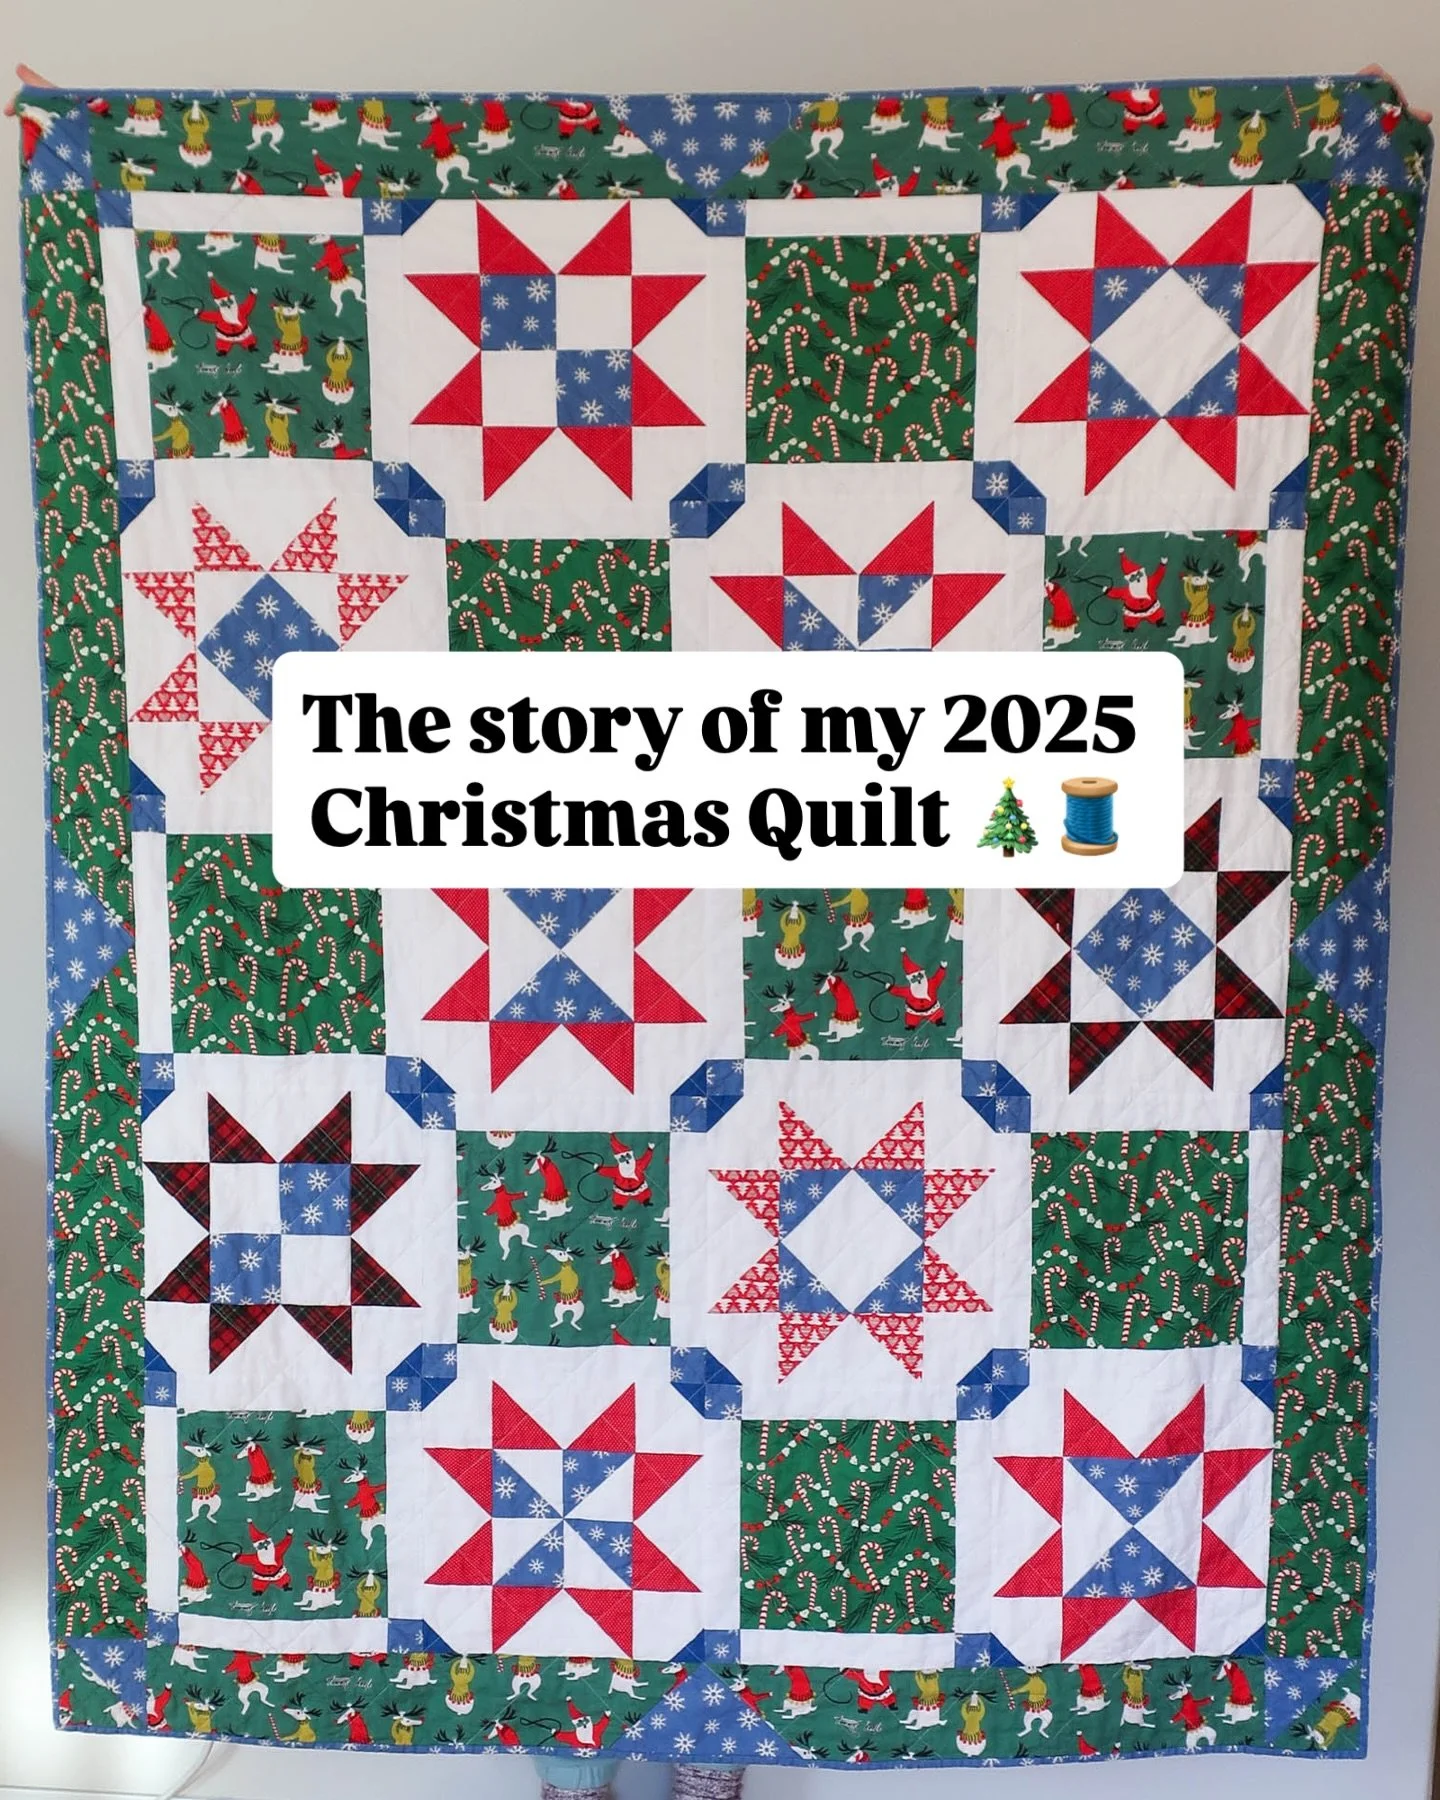
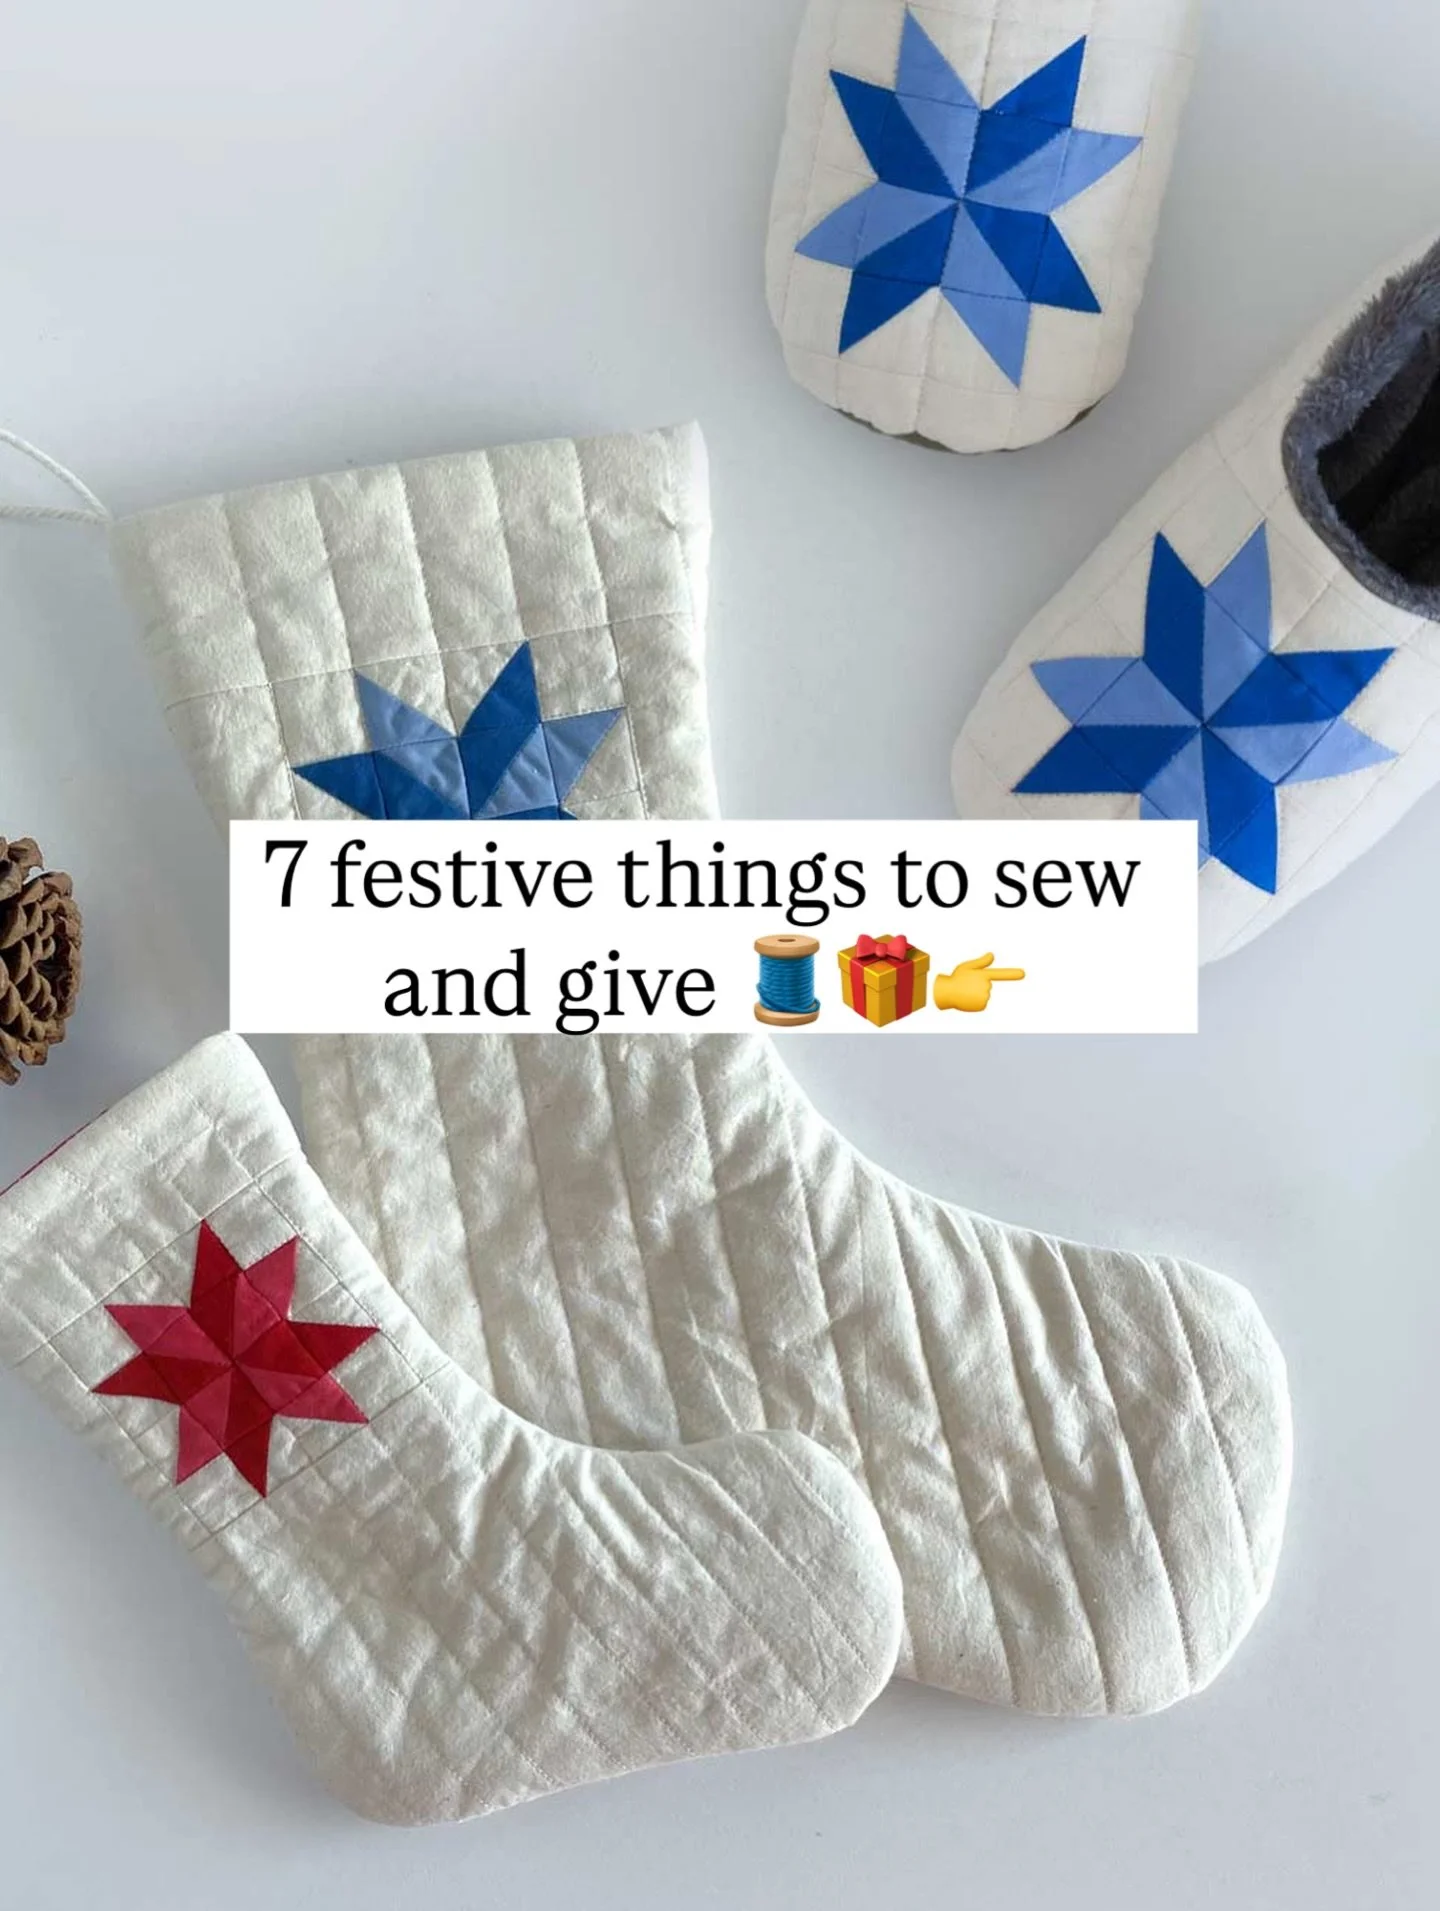
Hello sew-friends! Today's post is all about sewing the mini stocking. I first launched a free version of my Christmas stocking pattern last year and last week I released an expanded version of the pattern with four sizes. (The original medium size is still available for free when you sign up for the newsletter. Click here to see the original blog post.)
The expanded pattern includes four sizes—large, medium (the original), small and mini. The large, medium and small are all very similar in shape, construction and fabric recommendations. But the mini, due to its teeny tiny, uber-cute size is a little different. It's so cute and there are a ton of ways that you can use it but due to its size, the mini can be tricky to sew.

First off, let's talk about the fun ways that the mini stocking can be used. My testers and I thought of a bunch of ideas and I love all of them.
Ideas for using the mini stocking
Christmas tree ornaments
Gift decorations (Instead of a bow, tie on a mini stocking and put a to/from note inside. Bonus, the stockings can be saved and used again in following years)
Garlands
Advent calendar (If desired, add a number to the stocking with embroidery or a fabric pen
Gift card holder (One of my testers is planning to use it for teacher gifts at the end of the year.)
I’m sure there are lots of other fun ways that these stockings could be used. For example, if you are traveling for the holidays and don’t have a lot of room to pack decorations or stockings, these could be a great tiny alternative.

Before you cut out your fabric, please read this post about selecting fabric. In these samples, I’m using quilting cotton and I feel like it’s the best weight for the mini size.
Pre-Sewing Tip: Accuracy in cutting and seam allowance is very important because the mini is so small. If the cuff isn't fitting, double check that you're using a 3/8" seam allowance and that you've cut the fabric accurately.
The tricky part of sewing the mini stocking is attaching the cuff to the body of the stocking. I think if you sew doll clothes or children’s clothing, it might not be that hard. But if you're used to sewing adult clothing, then sewing something so small will feel unfamiliar. The good thing is that it’s a short seam so the tricky part is over quickly.
Some of my testers preferred sewing the stocking with the body of the stocking wrong side out and the cuff on the outside. I tried both ways multiple times and I didn't notice a difference. I personally prefer to turn the stocking right side out, pin the cuff to the inside and then stitch (as instructed in the pattern). This way, after sewing, it's super quick to flip the cuff to the right side and be done. The other method feels a little fussier to turn to the right side. But, as always, do what works best for you.
In the video above, I recorded sewing the cuff to the body of the stocking two ways—first, with the stocking right side out and second, with the stocking wrong side out (starting at 1:02). As you’ll see in the video, you’ll need to use your fingers to rotate the fabric as you stitch. I used my right pointer finger to hold the fabric taut as it fed under the feed dogs.
Tips for stitching the mini stocking:
Use small pins or no pins, as they get in the way of the presser foot (You’ll see in the video that I used long pins and they definitely got in the way.)
Imagine that the fabric is the letter “O” and place the bottom of the “O” under the presser foot. You’ll then rotate the “O” around as you stitch.
Stitch slowly. You can expect to spend about half your time adjusting the fabric and half your time stitching. You won’t need to push or pull the fabric, just help that “O” move so that there’s more fabric in the front (for better visibility).
If right side out doesn’t work for you, try stitching the cuff with the stocking body wrong side out.
Have fun!
One final note, I did try to develop an alternate method of construction with a cuff that has a seam on each side but I couldn't figure out an easy way to put in the hanging loop and finish the cuff. It definitely could be done, but it wasn't as easy to finish as I had hoped.
About the Sew DIY Stocking pattern:
The Sew DIY Stocking is a beginner-friendly holiday stocking, perfect for personalizing your holiday decor. The stocking is available in four sizes—mini, small, medium and large—that can be used in a variety of ways. The small, medium and large sizes work well for the classic stocking usage. Use a mix of sizes and fabrics on your mantel, or pick one for a more uniform look. The mini size can be used for Christmas tree ornaments, an advent calendar, a fun garland, in place of a bow on gifts or even as a gift card holder.
The stockings feature a classic design with a rounded toe and heel, a hanging loop and a fold-over cuff. The stockings are quick to sew and, if desired, the small, medium and large sizes can be sewn with a lining. Make it in velvet for a classic, luxurious feel or sew up a set in plaid cotton flannel for a cozy, homespun vibe.