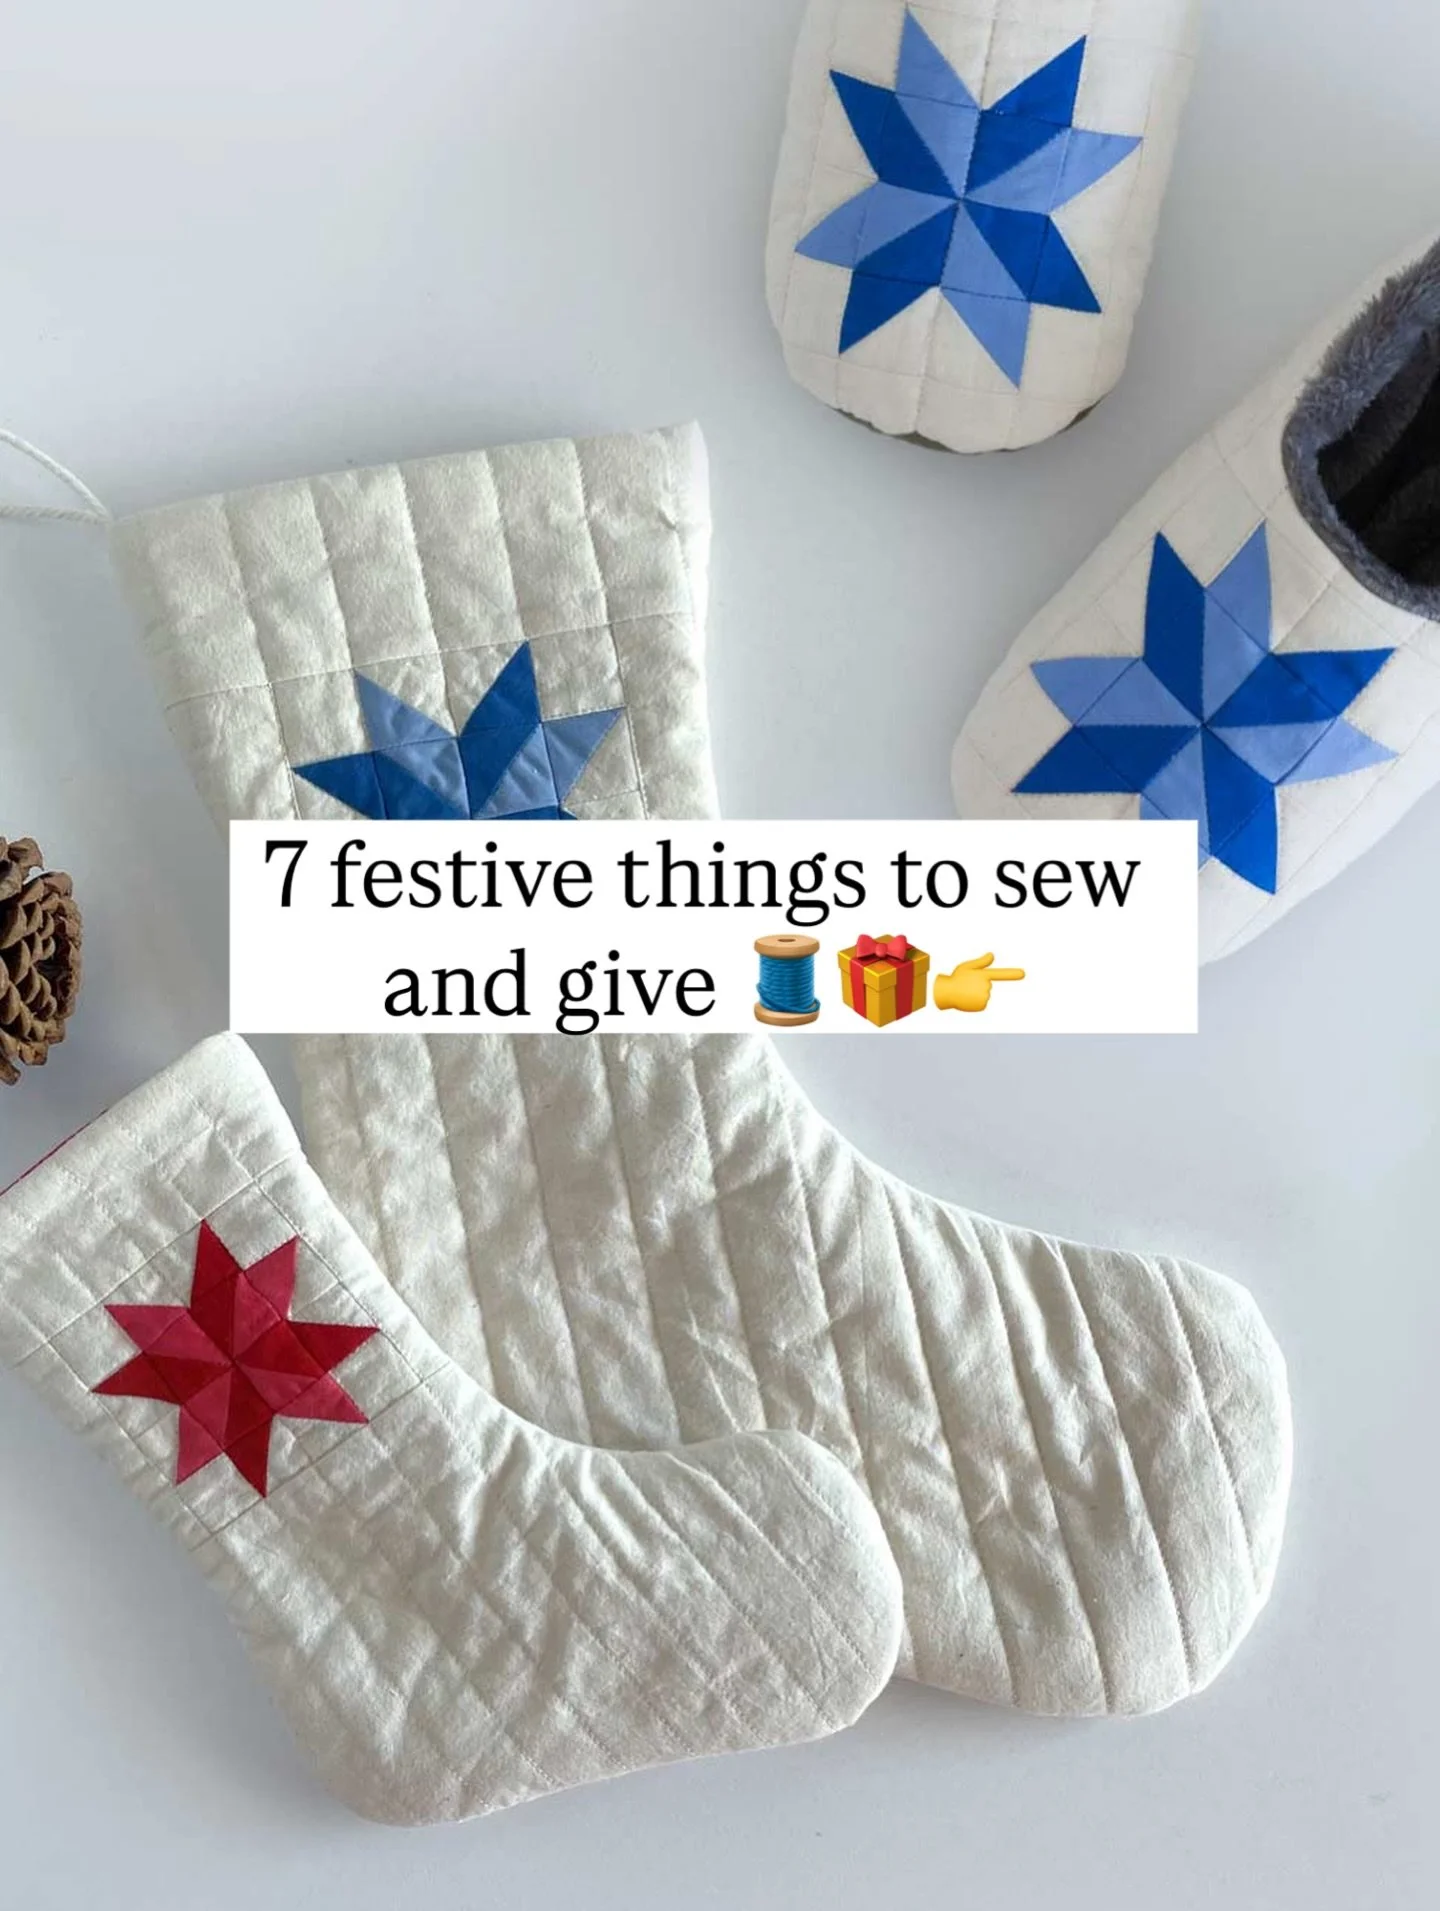
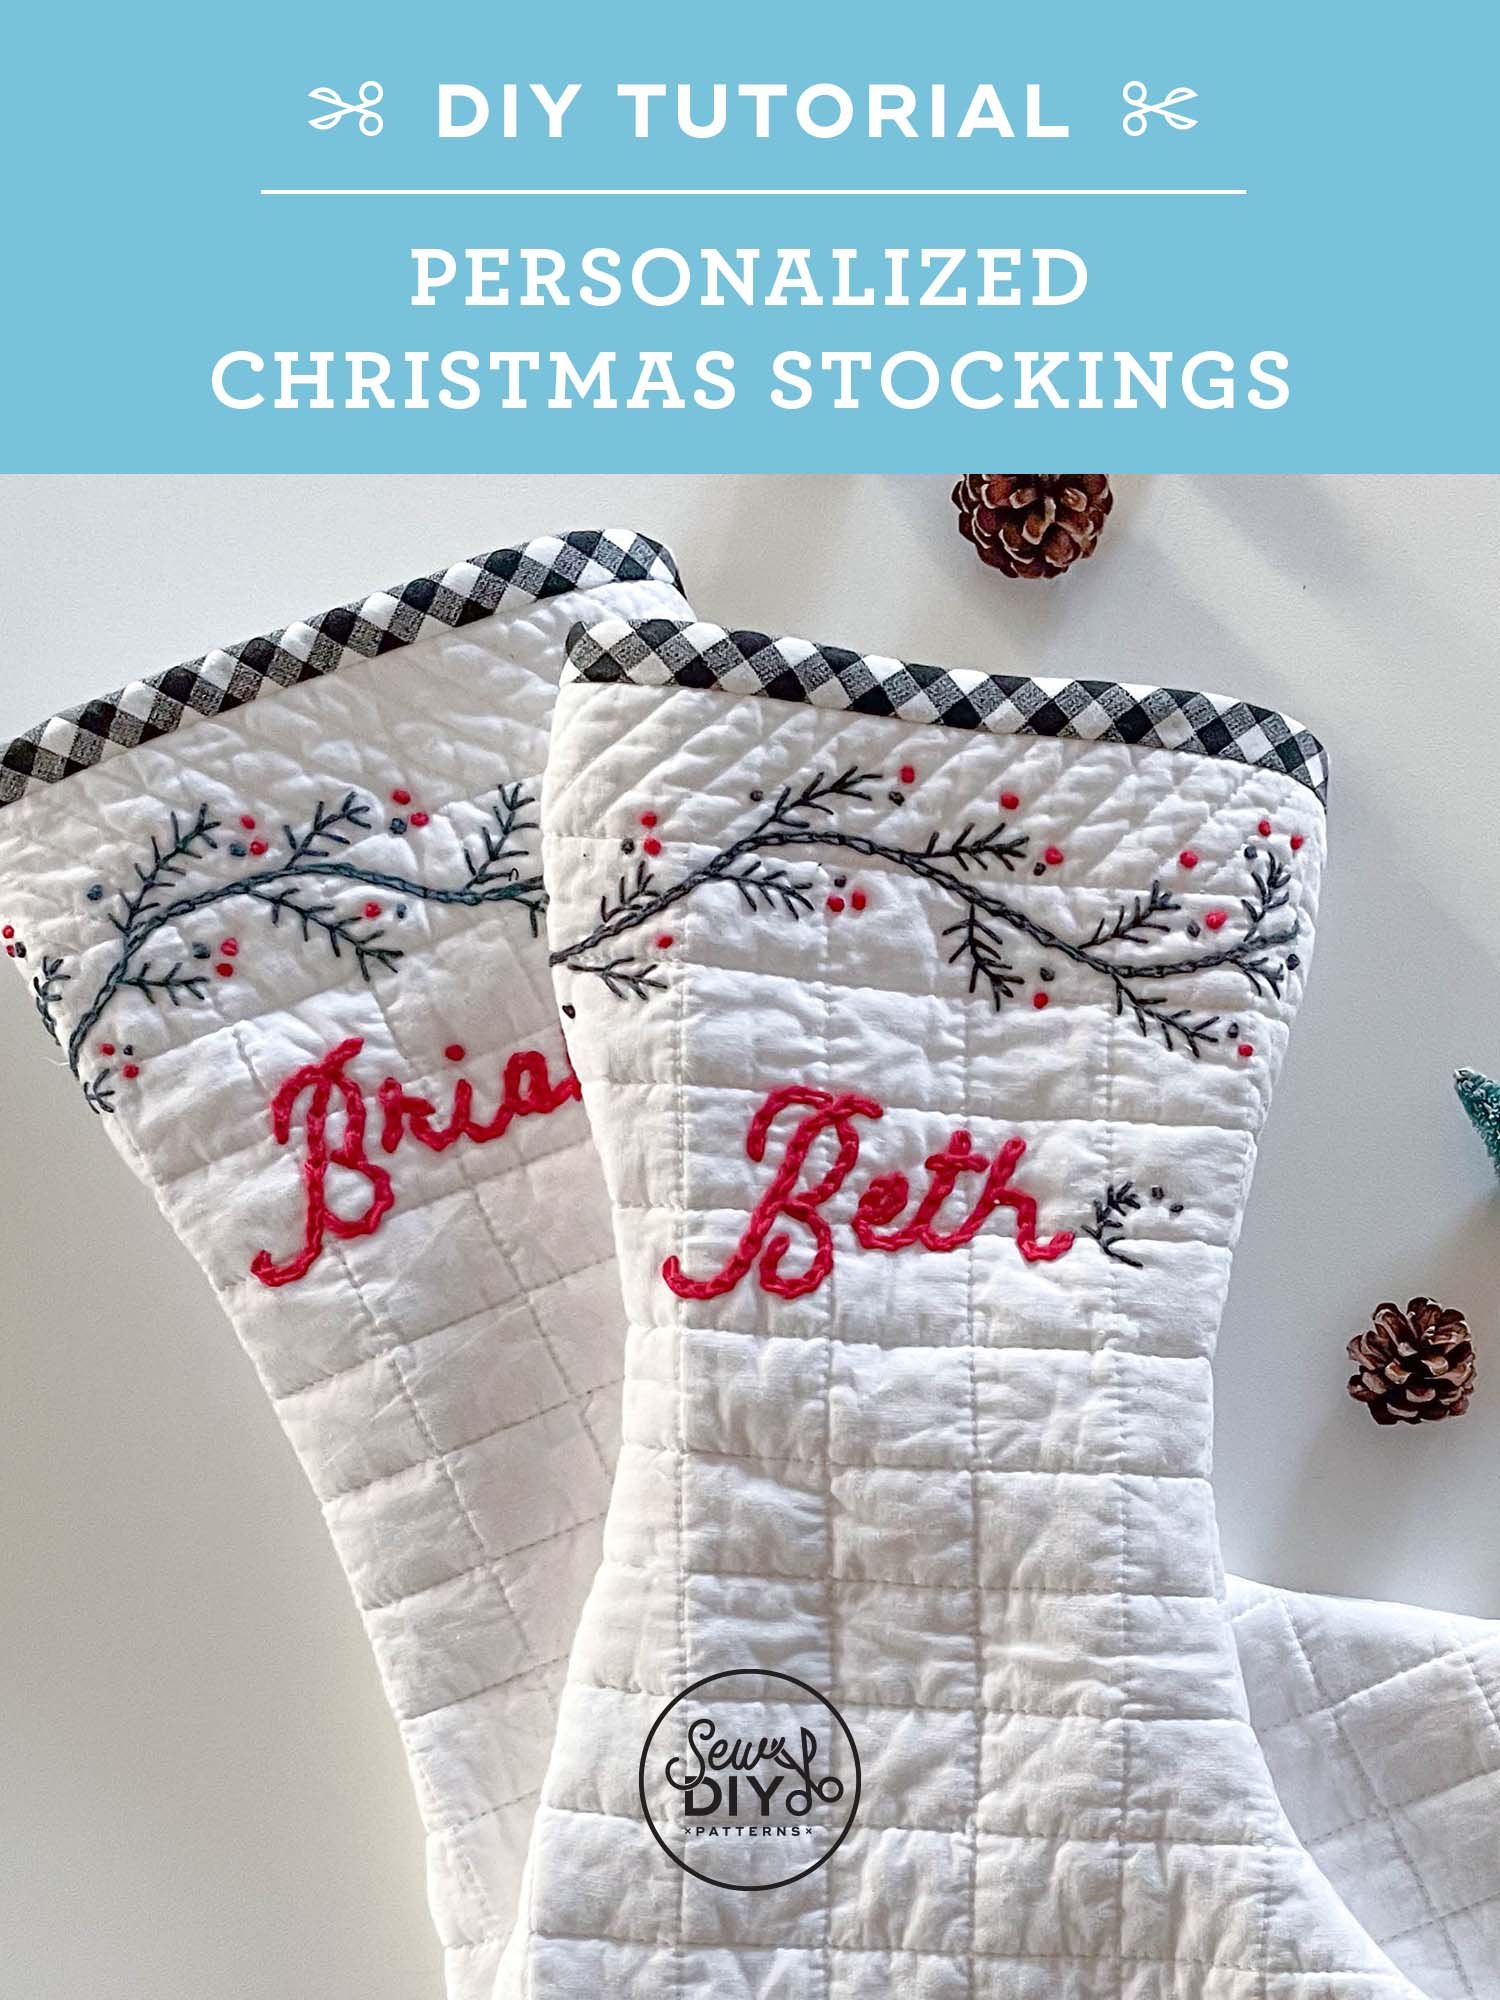
Hello sew-friends! This is the third and final installment in my two-color patchwork star series and today, I’ll be showing you how to add this wintery block to the Sew DIY Stocking pattern. I really love how these stockings turned out and I think they’d be great with different patchwork designs too. You could even do an all over design with multiple blocks. There are so many possibilities!
In case you missed the first couple of posts here are the links:
How to Sew a Two-Color Patchwork Star
How to Add a Patchwork Block to the Quilted Slippers
In order to really show off the patchwork, I eliminated the cuff on the stocking. Because we're not using a cuff here, the construction is slightly different. In the original pattern, the cuff covers up the raw edges of the stocking body and lining. For this version, the raw edges at the top of the stocking will be enclosed on the inside by the lining. So, when you stitch the lining, you’ll need to leave an opening to turn it right side out. It’s just a little different and still pretty simple to sew.
Alternately, you might try finishing the top edge with bias binding. That said, I would still recommend sewing the lining separately from the body so that the raw edges will be covered on the interior.

DOWNLOAD A FREE PDF INSTRUCTION BOOKLET
I have made illustrated pdf instruction booklets for sewing the the patchwork star and adding it to the slippers and the stocking (one booklet for each pattern). The booklets are free to download when you sign up for the newsletter via the form below.
When you sign up, you'll get a link and password to the Sew DIY resource library. The password will give you access to a web page where you can download the instruction booklets as well as all the pdfs and pattern add-ons that are used in our tutorials. If you are already signed up for the newsletter, you don't need to sign up again. Just check your email for the latest newsletter to find the password.

FABRIC RECOMMENDATIONS
I recommend using quilting cotton for this project, as it will be the easiest fabric to work with. You might also use flannel or linen. Fabrics that are medium-weight and press well will work the best. For my stockings, I used quilting cottons (or similar) for the colored fabric, and muslin for the background fabric. I love the natural look of the muslin as opposed to a stark white.


HOW TO SEW A PATCHWORK STOCKING
TOOLS & SUPPLIES
Background Fabric (See pattern for quantities and note above on types. The star patchwork requires just a few scraps of fabric.)
Two finished patchwork blocks (Follow the tutorial in this blog post (or download the instruction booklet) to make the patchwork star blocks. If you follow the instructions, you’ll have two identical blocks, one for each side of the stocking.)
Thread
Batting
Rotary cutter
Walking foot
STEP 1: Stitch background fabric to the sides, and then the top and bottom of the patchwork block to create a piece of fabric a little larger than the slipper pattern. There should be about 1" of extra fabric on all sides. You will need two mirror images. (The instruction booklet has diagrams and recommended fabric sizes for this.)
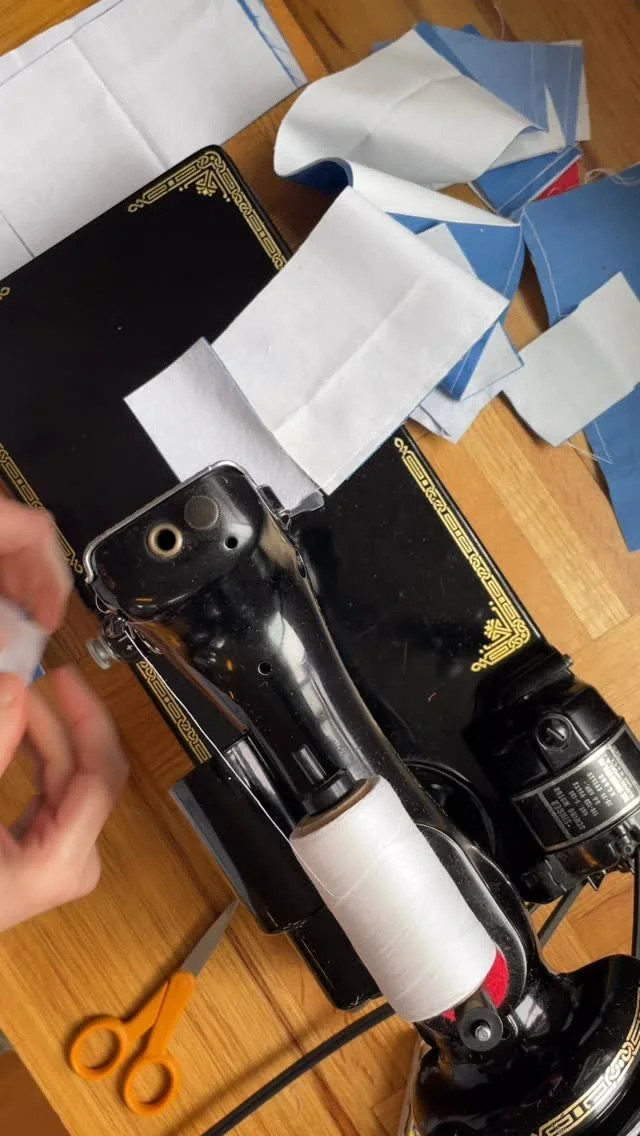
STEP 2: Trace the outline of the stocking onto the fabric. Cut a piece of batting the size of the fabric and quilt. Do not quilt the lining, it will be attached separately. See this video tutorial for how to quilt fabric.
TIP: Cut a window in your pattern where you want the block to sit. When tracing the pattern, align the edges of the patchwork with the window.

STEP 3: Use the pattern to cut the quilted fabric to size. With right sides together, stitch around the body of the stocking leaving the straight top edge open. Trim and clip the seam allowances.
STEP 4: With right sides together, stitch the lining pieces, leaving a 4-5" opening at the bottom of the foot. You will need this opening to turn the stocking right side out. Trim and clip the seam allowances.
STEP 5: Baste the hanging loop to the right side of the stocking at the top heel edge.
Turn the lining right side out and place inside the main body of the stocking with right sides together. Align the raw edges and stitch all the way around the top of the stocking.
STEP 6: Turn right side out and push out all the curves. Close up the hole in the lining by hand or machine. Press if needed.

I hope that you enjoyed this tutorial. You can use this method to insert any patchwork block of your choosing. It's a fun way to add an extra design element to your slippers or stockings. For stockings, you could personalize the stockings for each family member with different block designs. Alternately, you can make multiple patchwork blocks for an all-over design. Then, construct the stocking at described above or include the cuff, if desired. I'd love to hear what you think about this patchwork design and if it's something that you'd like to see more of in the future.