Today, is the second post in my series showing how to sew a patchwork star block and add it to the Quilted Slippers or the Sew DIY Stocking patterns. In yesterday’s post, I shared how to sew the two-color patchwork block and today I’ll be showing you how to add it to the Quilted Slippers.
The Quilted Slippers pattern comes with two styles the bootie style and the skimmer style. The skimmer style has a seam at the heel making the toe area a great place to add a patchwork block. (The bootie style has a curved seam that goes over the center top of the foot so it would be trickier. If you really wanted to add some patchwork to the booties, you could add a block at the heel.)
To learn more, you can check out the Quilted Slippers pattern in the shop and explore the sewalong.

DOWNLOAD A FREE PDF INSTRUCTION BOOKLET
I have made illustrated pdf instruction booklets for sewing the the patchwork star and adding it to the slippers and the stocking (one booklet for each pattern). The booklets are free to download when you sign up for the newsletter via the form below.
When you sign up, you'll get a link and password to the Sew DIY resource library. The password will give you access to a web page where you can download the instruction booklets as well as all the pdfs and pattern add-ons that are used in our tutorials. If you are already signed up for the newsletter, you don't need to sign up again. Just check your email for the latest newsletter to find the password.

FABRIC RECOMMENDATIONS
I recommend using quilting cotton for this project, as it will be the easiest fabric to work with. You might also use flannel or linen. Fabrics that are medium-weight and press well will work the best. For my stockings, I used quilting cottons (or similar) for the colored fabric, and muslin for the background fabric. I love the natural look of the muslin as opposed to a stark white.


HOW TO ADD A PATCHWORK BLOCK TO THE QUILTED SLIPPERS PATTERN
STEP 1: First, you’ll want to select your size of slippers. Measure the length of your foot and consult the size chart in the pattern’s instruction booklet. Your size will determine the size of block you need to make.
For the Quilted Slippers:
Sizes A-F, make a 3" block (finished size).
Sizes G-K, make a 4" block (finished size).
Now, use the tutorial in this blog post (or download the instruction booklet) to make the patchwork star blocks. If you follow the instructions, you’ll have two identical blocks, one for each foot.

STEP 2: Stitch additional pieces of background fabric to the star block to create a piece big enough for the slipper. Start by stitching 3.5" or 4.5" high strips to the sides of the star (depending on the size of your block). Then, add a roughly 2” high strip to the top and an 8" to 9" high strip to the bottom. (The pattern piece for the skimmer slippers body is the same for the left and the right foot, so you'll have two pieces that are the same orientation.)
STEP 3: With the patchwork block in the center, trace the pattern piece onto the fabric. Place the fabric on top of the batting, pin and quilt as desired. (I stitched parallel vertical lines that the same distance apart as the pieces in the block.) After quilting, use the pattern piece to trim the quilted fabric to size.
See this video tutorial for how to quilt fabric.

STEP 4: Assemble the slippers as instructed in the pdf. See this video tutorial for how to assemble the skimmer slippers.
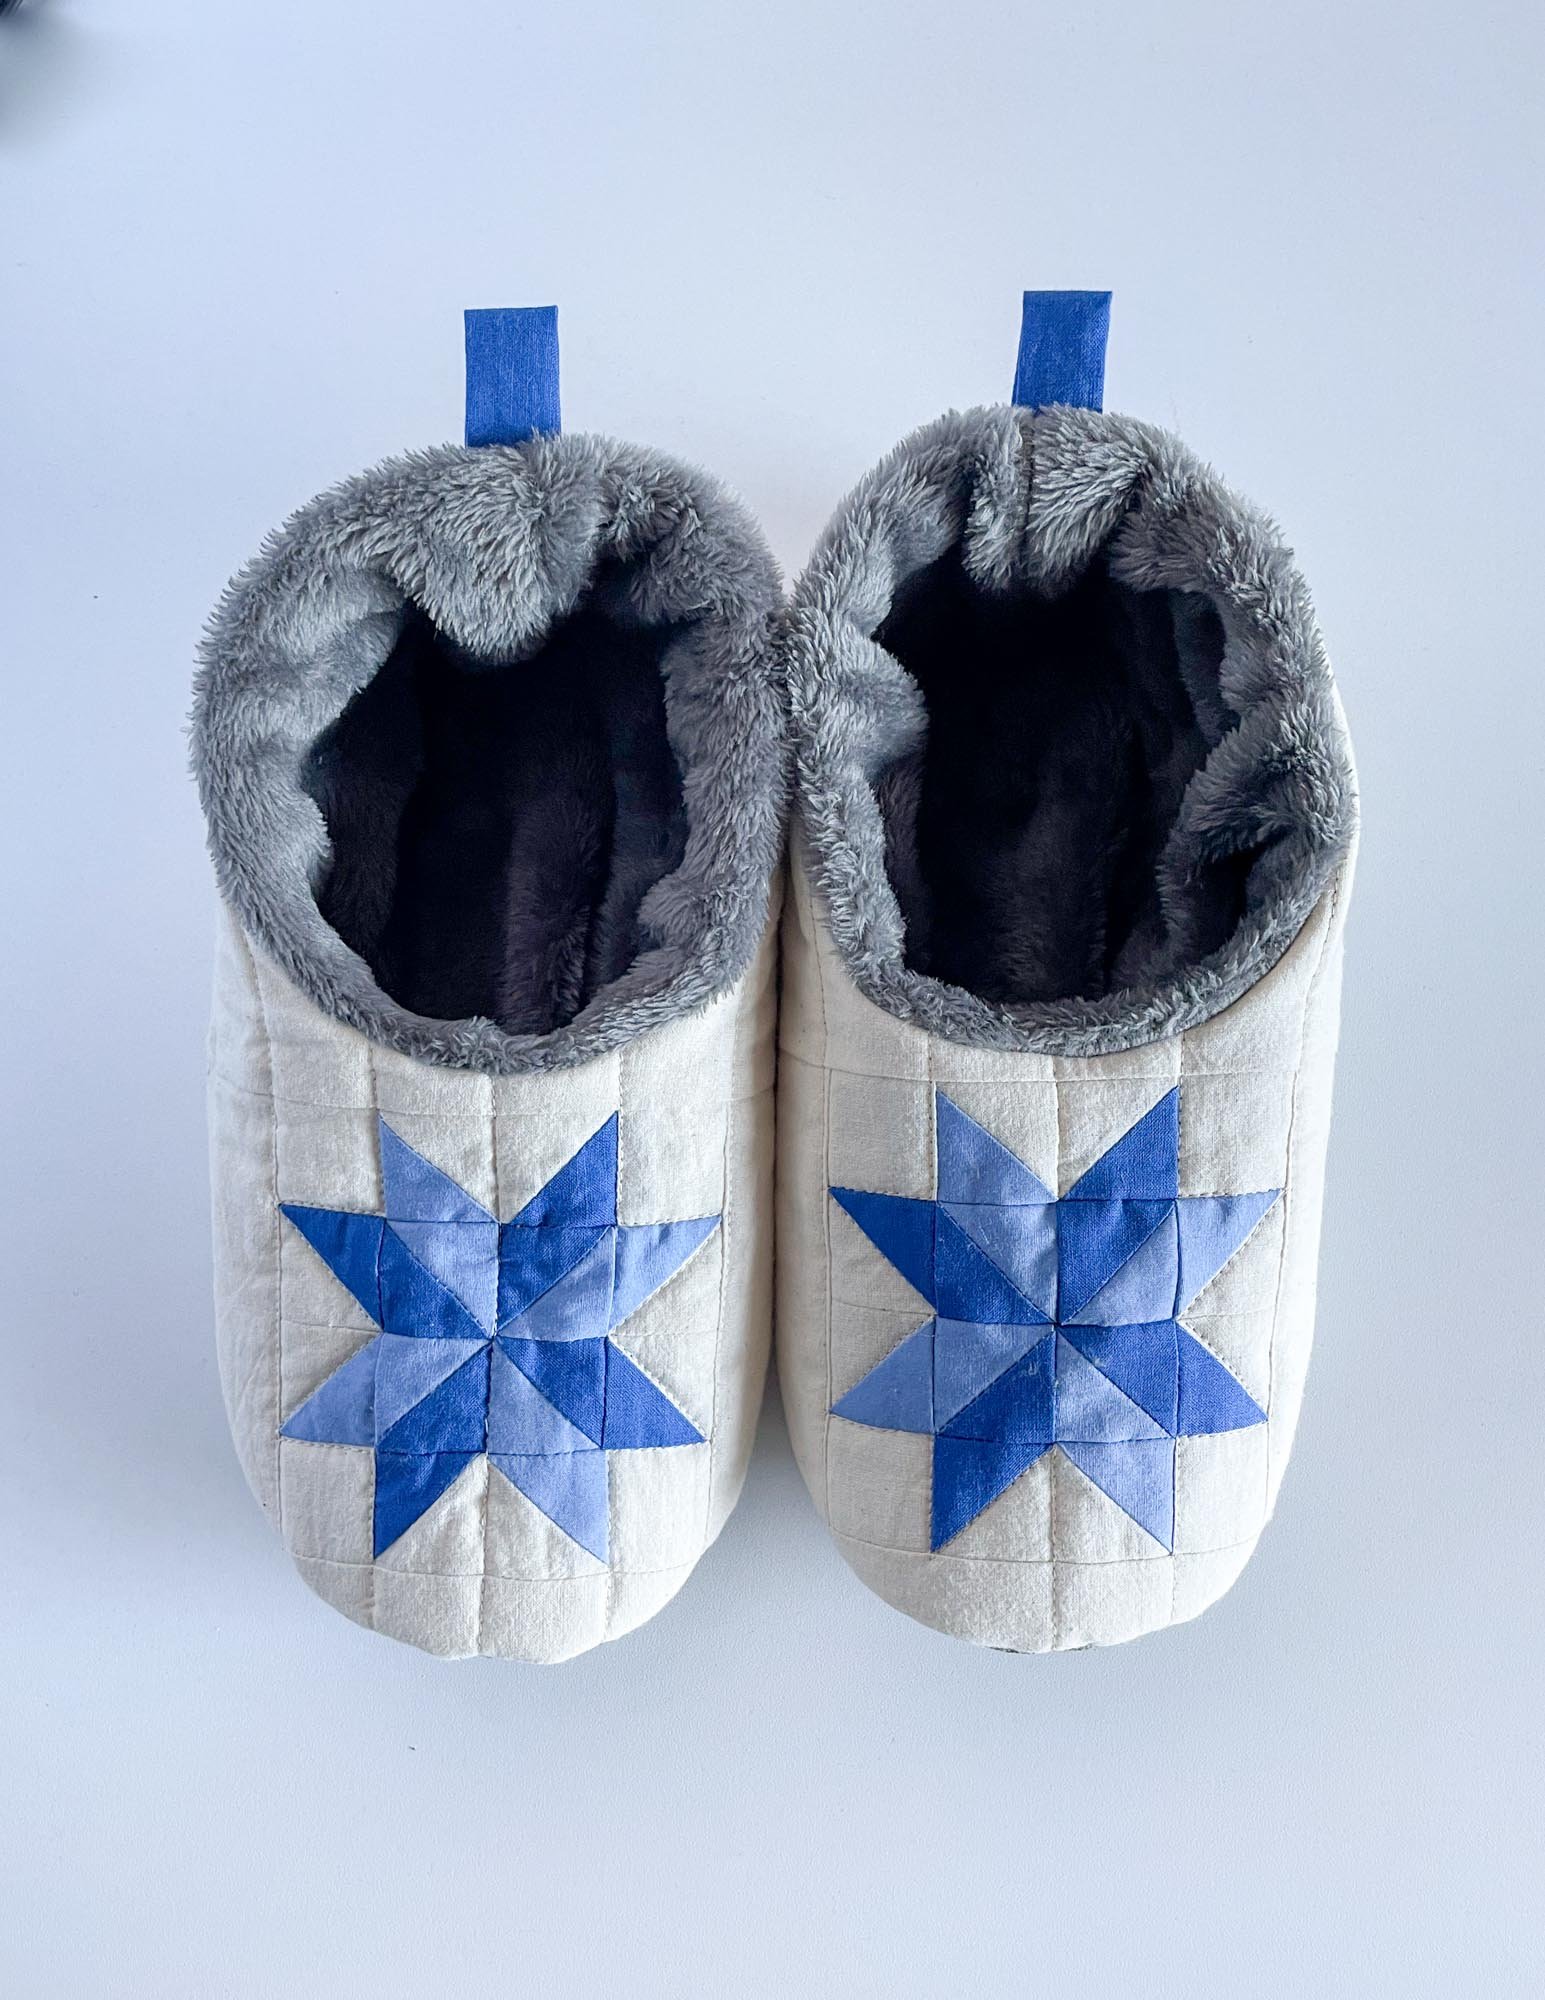
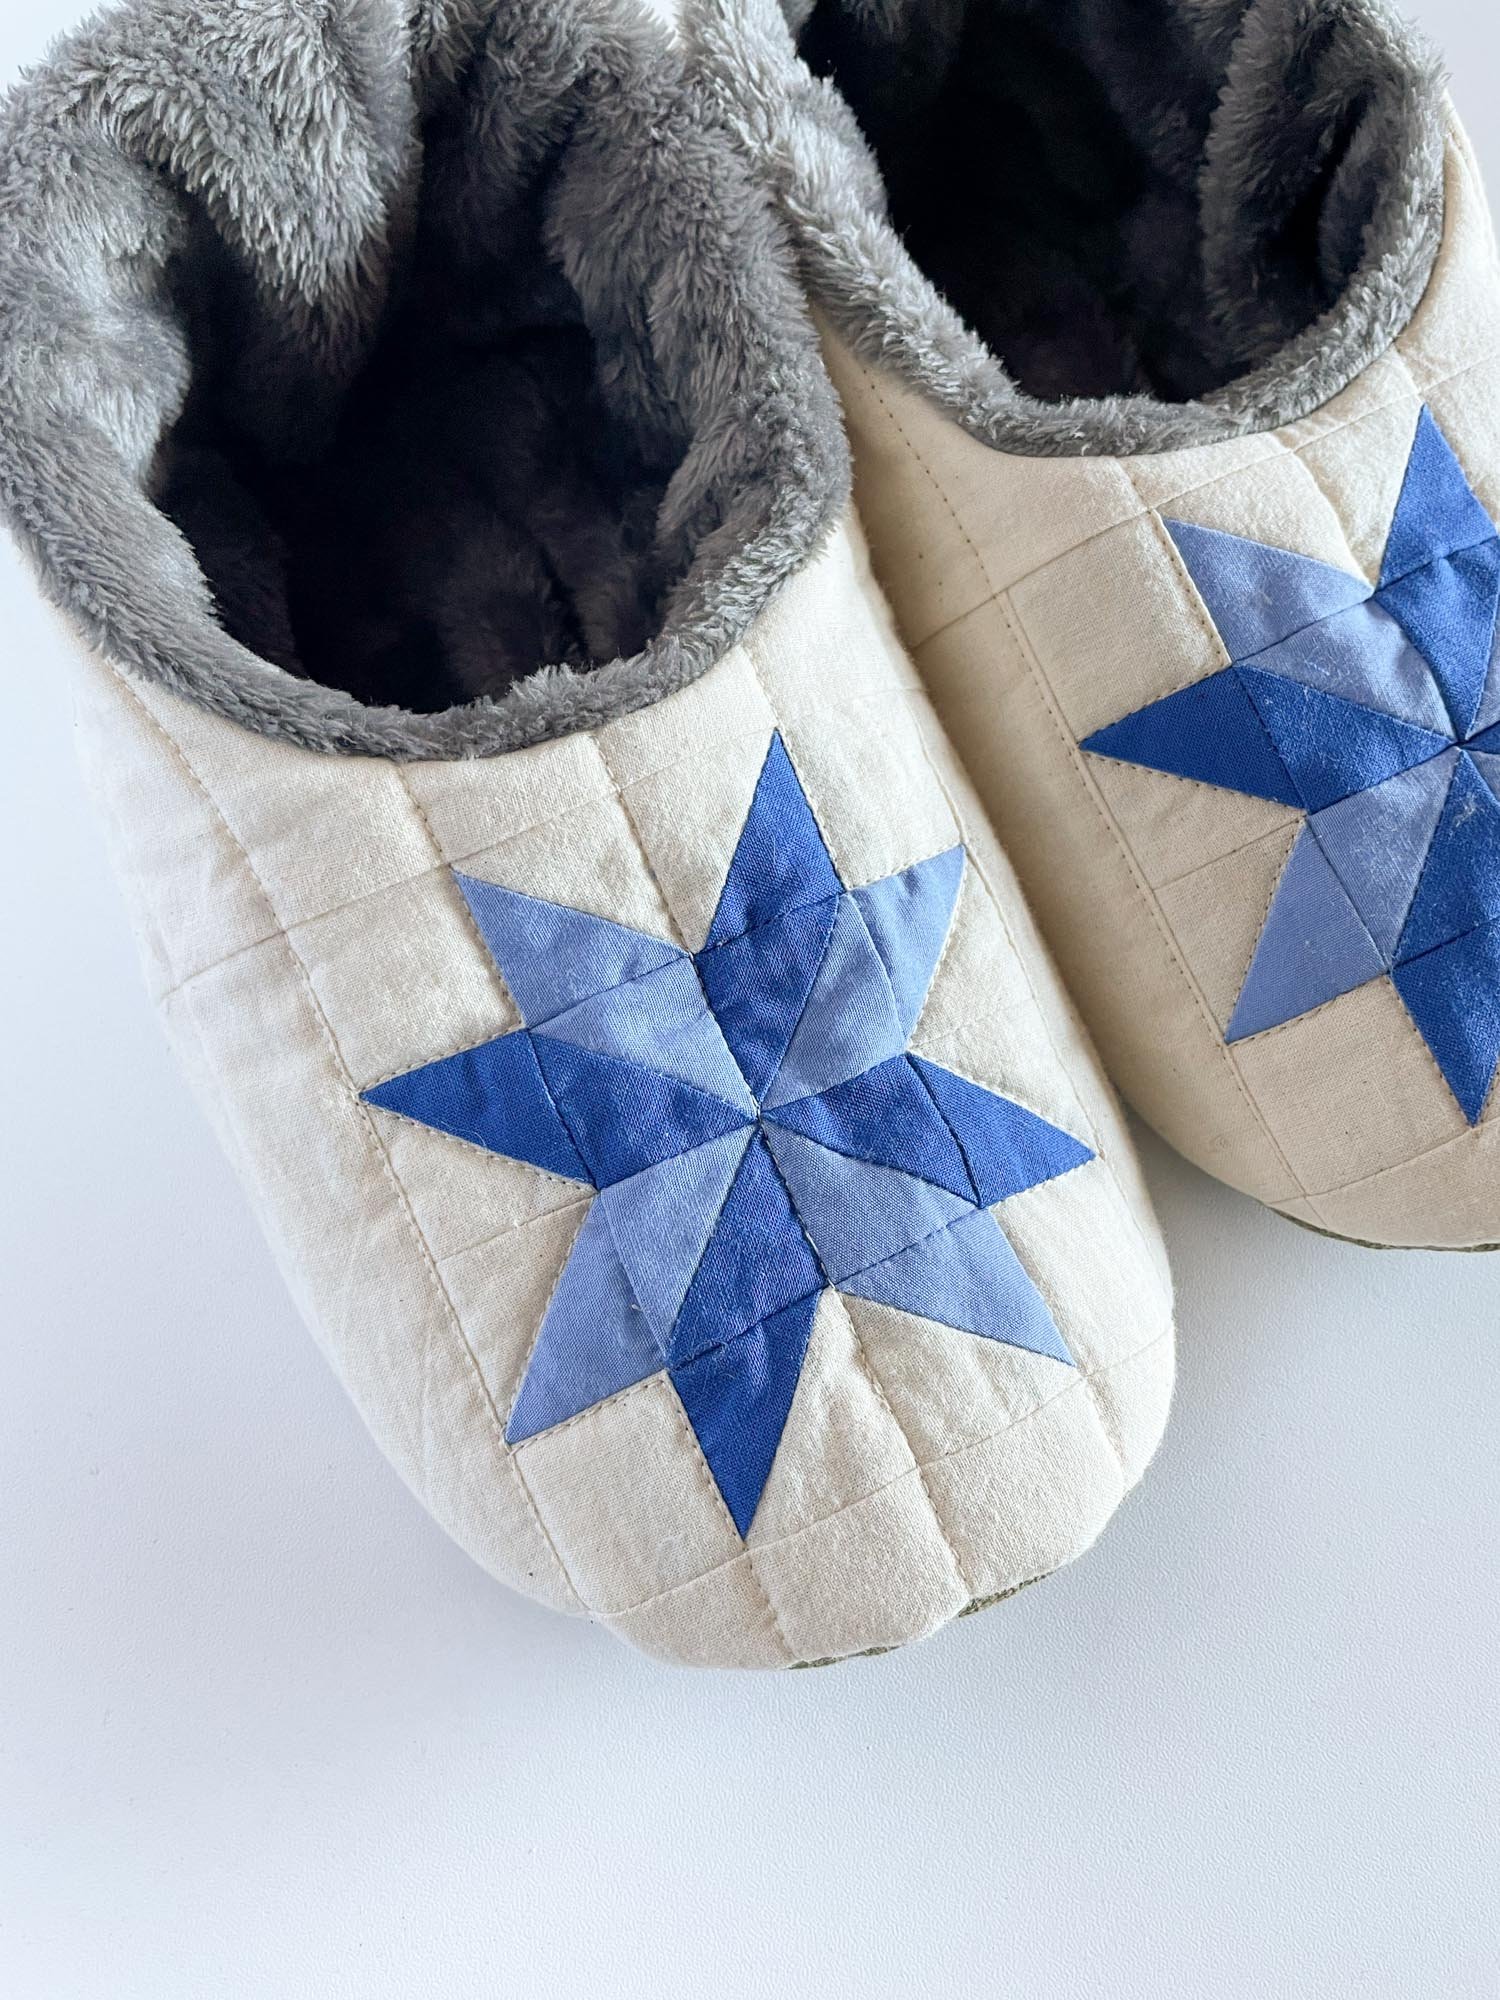
I hope you enjoyed this tutorial. I am completely in love with these slippers and love how they show off this cute two-color star patchwork. You can do this same process for any patchwork block design that you desire. I love giving these slippers as gifts and it could be fun to personalize the slippers with a block design selected especially for the recipient.
In the final installment of this series, I’ll show you how to add this block to my Christmas Stocking pattern. Happy sewing!
UPDATE: The final post is live. Here is the link: