Ali Sweatshirt Sewalong
Directly below are tutorials specifically for the Ali Sweatshirt. Scroll down for blog posts with tips and tutorials for sewing with knit fabric. If you haven't purchased the pattern yet, head over to the shop to download.

Hello sew-friends! Today, I’m continuing my mini series of videos on pattern adjustments. It is very common to need or want to make a few pattern adjustments when sewing your own clothing. Today, I’ll be showing you how to lengthen or shorten the sleeves of a pattern. This is a simple but very common pattern adjustment. I'll demonstrate how make the pattern adjustment to tapered and bell shaped sleeves and explain why you don't want to just adjust at the end of the sleeve.

In today’s super short (and honestly kind of dorky) video, I’m sharing seven ways to style the Ali Sweatshirt. When you add a new garment to your wardrobe, it can sometimes be tricky to figure out how to wear it. These are all outfits that I’ve tried and tested and worn over and over again. One of my goals when designing patterns, is to create garments that can become part of your everyday wardrobe, that will be worn over and over again.

Hello! Today I’m very excited to share my latest Ali Sweatshirt hack AND you can download the pattern piece for FREE. A few weeks ago, I was working on a color blocked version sweatshirt, using the color blocking worksheet that comes with the pattern. I figured out where I wanted my gold and grey colors but then discovered that I didn’t have enough of the gold fabric for full length sleeves. As I was pondering what to do, it occurred to me that I could make a short sleeve sweat shirt. And just like that this hack was born. Sometimes, the best ideas come from dilemmas.

Today, I’m sharing how to sew the kangaroo pocket of the Ali Sweatshirt. I really love the functionality of the kangaroo pocket. I designed it to be pretty big, with the intention that you can easily fit your phone inside, because after all, what else are we carrying around all the time? If you have a little practice sewing and topstitching knits, then this pocket is really not challenging to sew. And it’s definitely worth the time spent for it’s style and functionality.


I used to be really scared to sew knit fabrics but after a lot of research and a lot of practice, I love sewing with knits. One misconception is that you need to have a serger (aka overlocker) to sew knit fabrics when in fact most conventional machines come with a variety of stitches that are made for sewing knit fabric. In this video, I share the tools you need to sew knit fabric, some tips for preventing your fabric from stretching and demonstrate the stitches available on a conventional sewing machine that can be used to sew knit fabric.

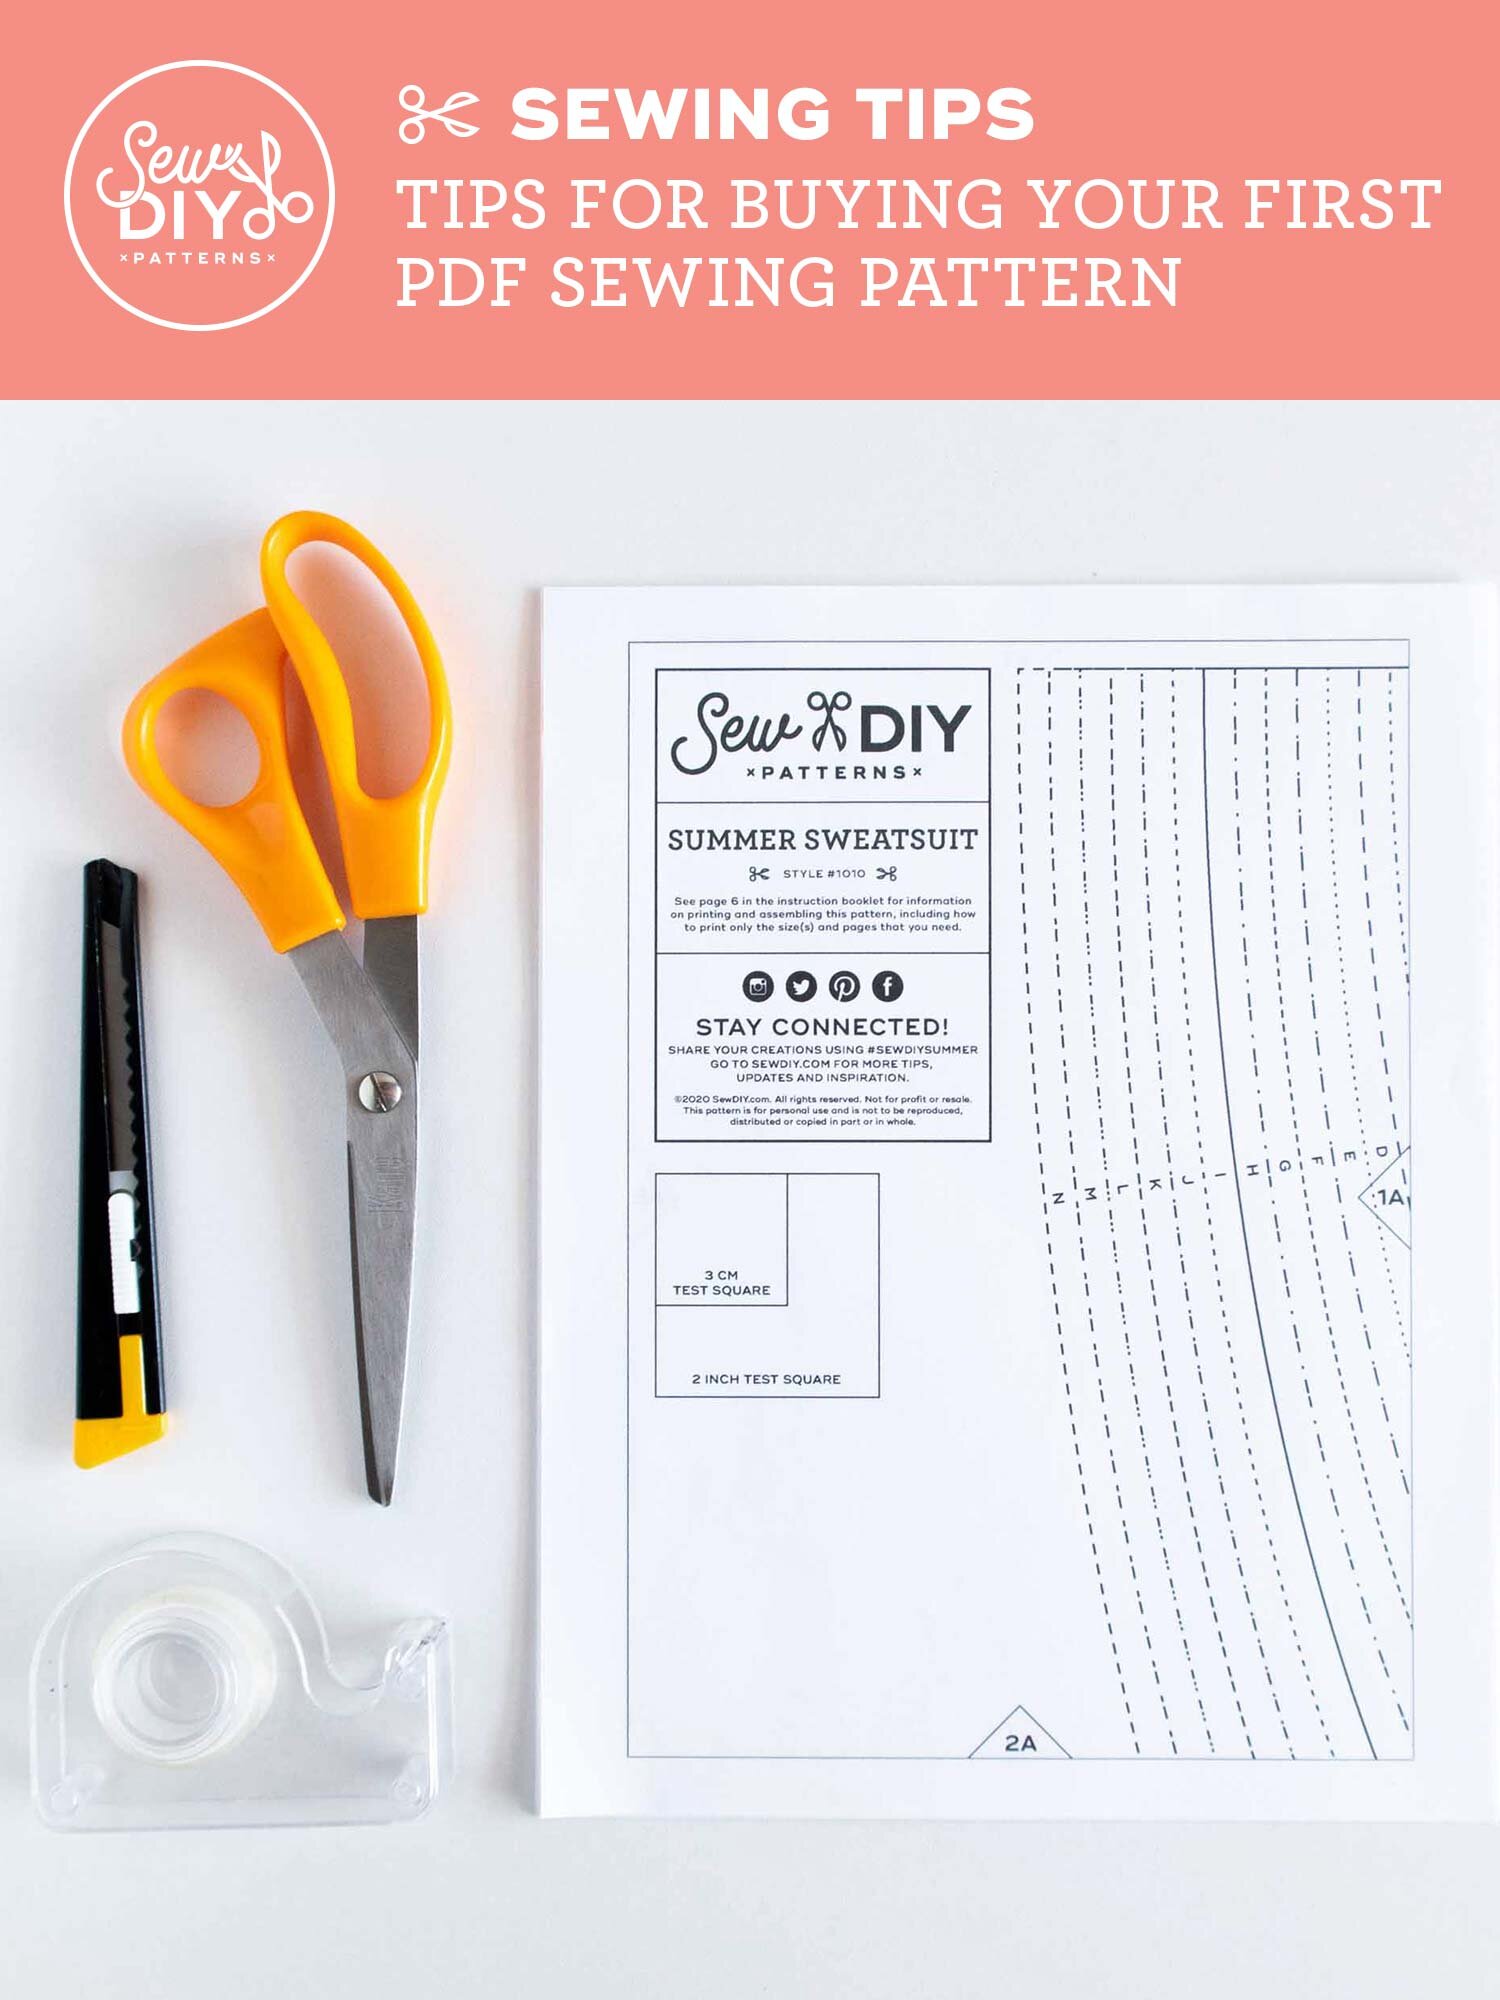
Today’s video is a big one! I share my top reasons why pdf patterns are awesome (just in case you’re not already convinced). Then I share my top tips for how to successfully print pdf patterns (including the printer settings you need to make sure the entire pattern prints on the page). And finally I show how to efficiently assemble and cut the pattern. I even show you the techniques I learned in design school for safely using an exacto knife or blade. I’ve never cut off a finger using these techniques so hopefully it will help you and keep your fingers safe too!

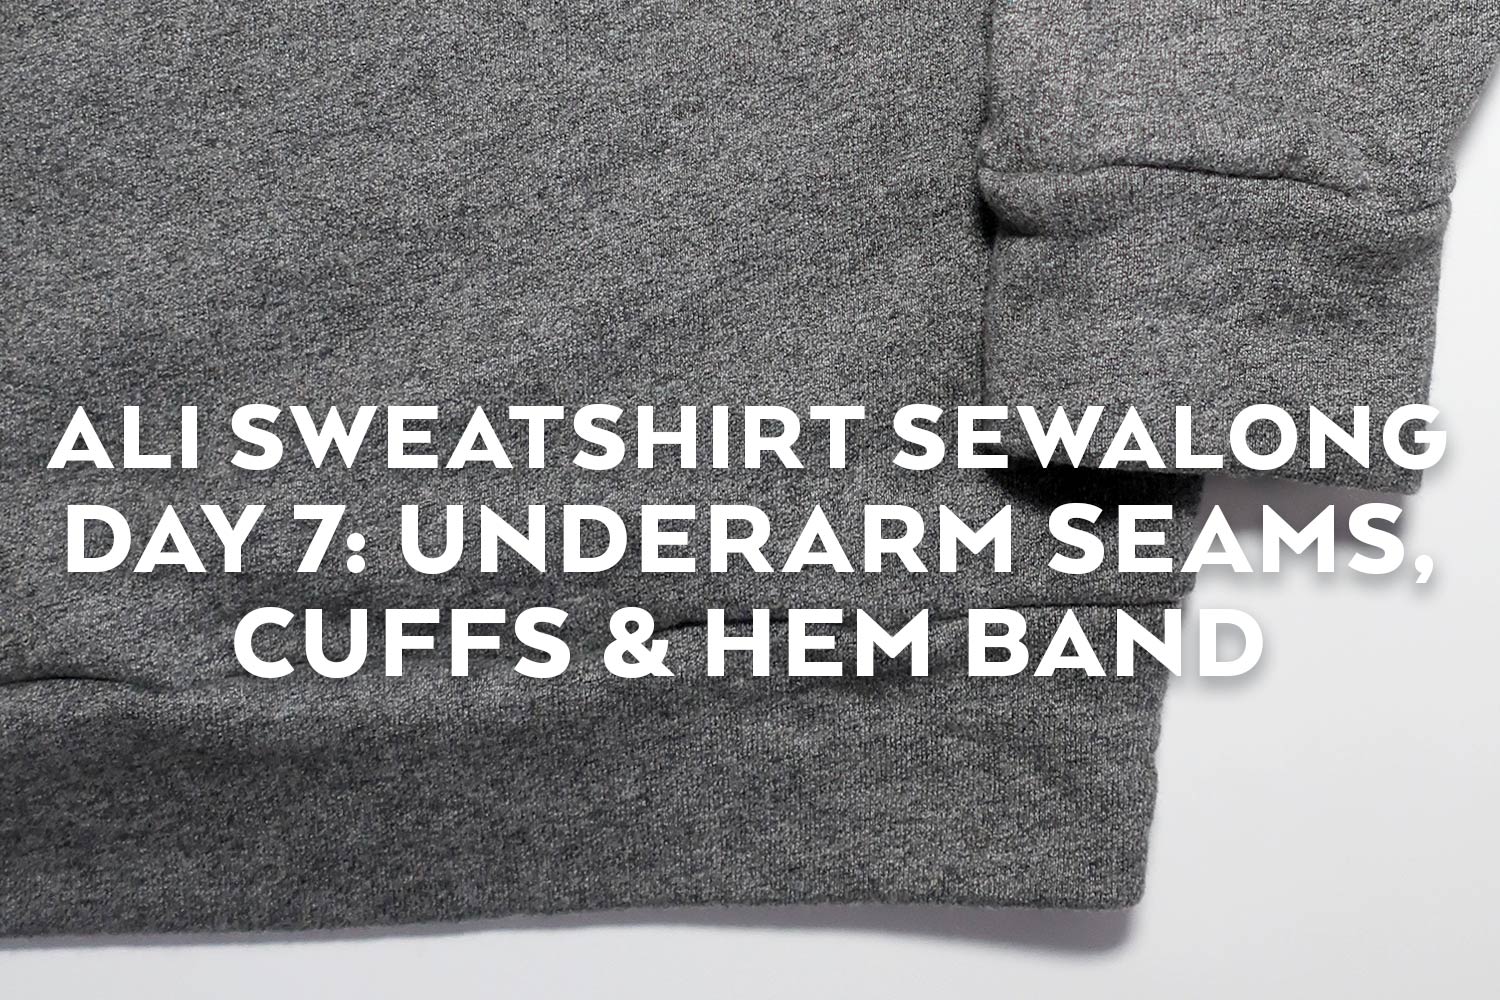
Welcome to Day 7 of the Ali Sweatshirt Sewalong! Today is the last day of the sewalong. Does anyone else get super excited when you're almost done with a new garment? Today we will stitch the underarm seams and attach the bindings to the cuffs and hem. For all of these seams I use the serger but you can also use a stretch stitch or narrow zig zag on a conventional sewing machine. Let's get started!

Welcome to Day 6 of the Ali Sweatshirt Sewalong! Today we are going to finish the neck opening by attaching binding. To finish the neckline, we'll stitch a folded loop of fabric to the opening so that the folded edge becomes the edge of the neckline. This can sometimes be a little tricky to get just right but it's not hard at all. And we will baste everything first so no worries about messing up your garment. For the Lou Box Dress Sewalong I did a post on two ways to finish a knit neckline – in the round and flat. When using sweatshirt fabric, I find that it's easiest to attach the neck binding in the round so that’s what we’ll be covering here today.

Welcome to Day 5 of the Ali Sweatshirt sewalong! If you’ve missed any posts, check out the main page for the sewalong. Today we’re going to assemble the body of the sweatshirt. Last week we assembled the sleeves and yoke and topstitched the seams. For the body, I don’t usually topstitch the seams but if you’d like to topstitch any of these seams, just follow the same steps we did on Day 4. All right! Let’s dive in.

Welcome to Day 4 of the Ali Sweatshirt Sewalong! My favorite part of this sweatshirt, besides the utter coziness, is the topstitching on the yoke and sleeves. The topstitching highlights the design lines and gives it an extra sporty feel. It's is also a great place to play around and get creative, to try out different stitches or thread colors. For today’s installment of the sewalong we are going to assemble our yoke and sleeves and topstitch the center seams of each. This topstitching is totally optional but I encourage you to give it a try. You might like it so much that you want to topstitch even more seams.
For the seams that are topstitched, I use a slightly different method of stitching, to give us a nice flat seam to topstitch. To start, we’ll stitch the seam using a conventional machine. Then we’ll finish the seam allowance together without trimming and press the seam allowance to the side. Now it’s all ready to topstitch. The method is the same for the yoke and the sleeves.

Welcome to Day 3 of the Ali Sweatshirt Sewalong. The Ali Sweatshirt is designed to be used with light to medium weight sweatshirt fabric that has at least 20% stretch. The stretch is very important because without it you may not be able to get the sweatshirt on over your head. I know this from experience. There are fabrics out there that look like sweatshirt fleece but do not stretch.

Welcome to day two of the Ali Sweatshirt Sewalong! Today we will be talking about selecting your size and methods for printing your pattern. This post is actually pretty long as I’ll be taking you through all the steps in determining just the right size for your body/personal style. (I even have a coupon code for US readers so make sure to scroll down :)

I first started developing this pattern in January of 2017. I was looking for a casual and sporty sweatshirt that would be really easy to sew but also had some interesting style lines. The final design is actually pretty similar to that original sweatshirt and I’m happy to say that over the last 20 months or so I’ve worn one almost every week.
Today is the first day of the Ali Sweatshirt sewalong and I’m kicking off by sharing a few similar ready-to-wear sweatshirts as inspiration. Even when you sew your own clothes, it can be helpful to see how certain styles are being styled or worn in the fashion industry.
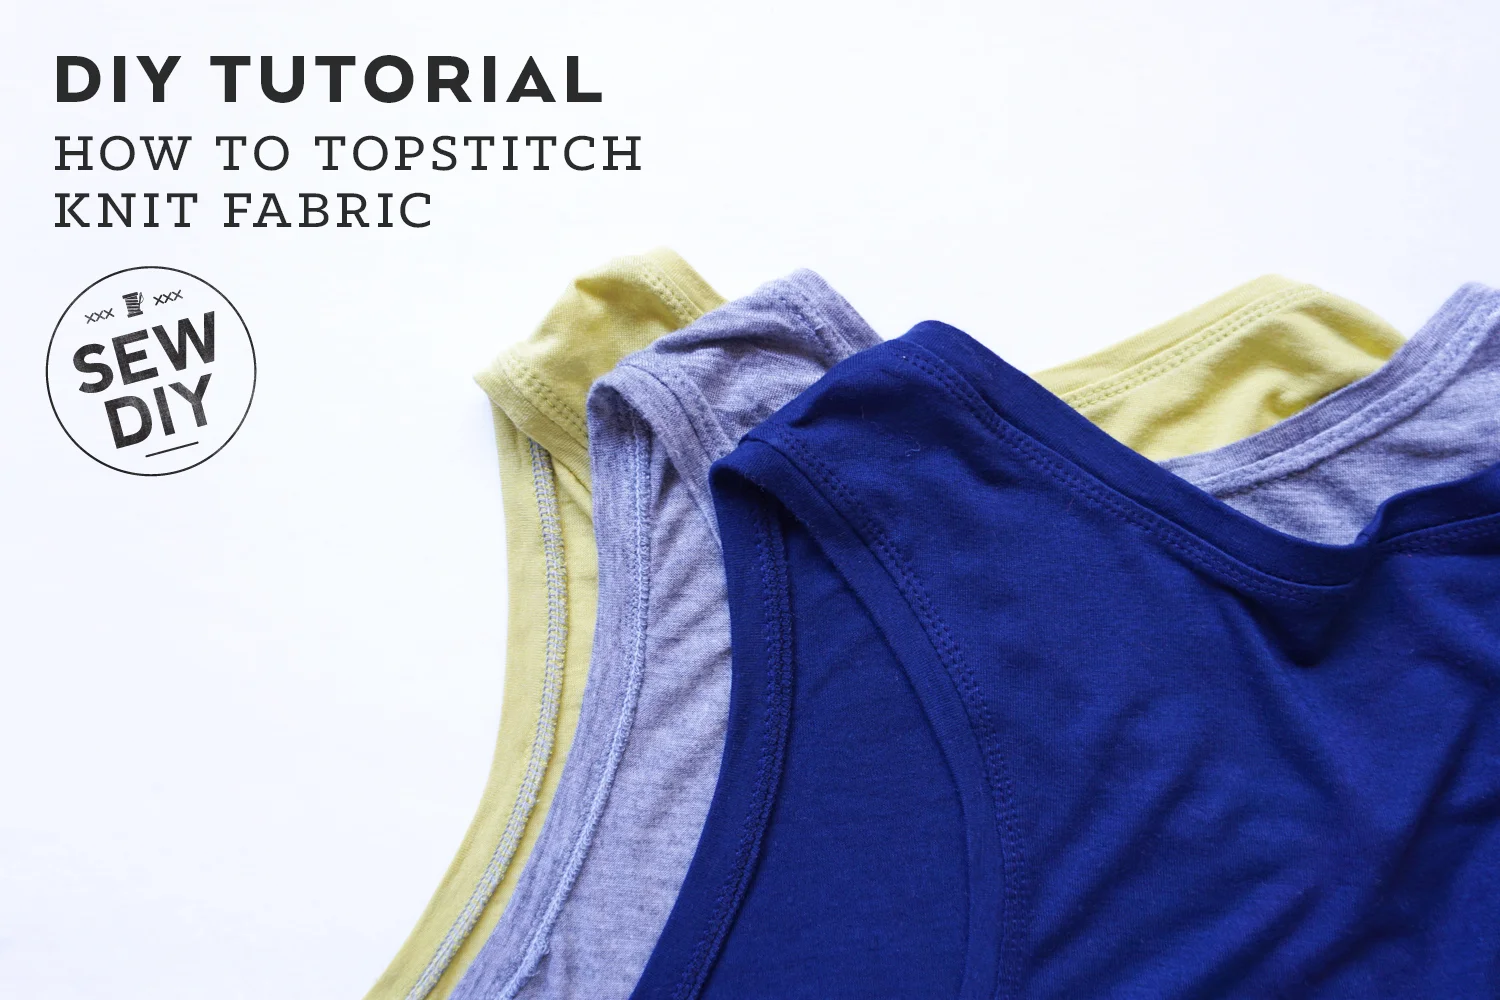
Knit fabrics are great to wear and fun to sew with but they can be a little tricky to handle. I was intimidated by them for a long time but with a lot of practice and a few tricks I picked up along the way, I’ve been able to conquer those stretchy beasts. Today, I’m going to share my favorite method for topstitching knit fabrics plus some tips and insight on why knits can be so bothersome. And don't worry, you don't need a fancy machine, this can all be done on a conventional sewing machine.
Tutorials for sewing with knit fabric

Today, I'm excited to share a new video tutorial for how to sew underwear using fold over elastic. I've sewn lots of underwear and it's a little tricky the first few times. So, I'll be sharing all of my tips and tricks to make sewing your own pair easier. With these tips and a bit of practice, you'll soon be sewing fold over elastic with confidence.

Hello sew-friends! In today’s YouTube video, I’m talking about fabric stretch percentage. If you've ever sewn a pair of leggings or a swimsuit, then you know how important stretch can be in your handmade garments. Read on and watch the video to learn all about fabric stretch, why it’s important, a bit about fabric stretch terminology and, most importantly, how to calculate fabric stretch percentage.
I used to be really scared to sew knit fabrics but after a lot of research and a lot of practice, I love sewing with knits. One misconception is that you need to have a serger (aka overlocker) to sew knit fabrics when in fact most conventional machines come with a variety of stitches that are made for sewing knit fabric. In this video, I share the tools you need to sew knit fabric, some tips for preventing your fabric from stretching and demonstrate the stitches available on a conventional sewing machine that can be used to sew knit fabric.

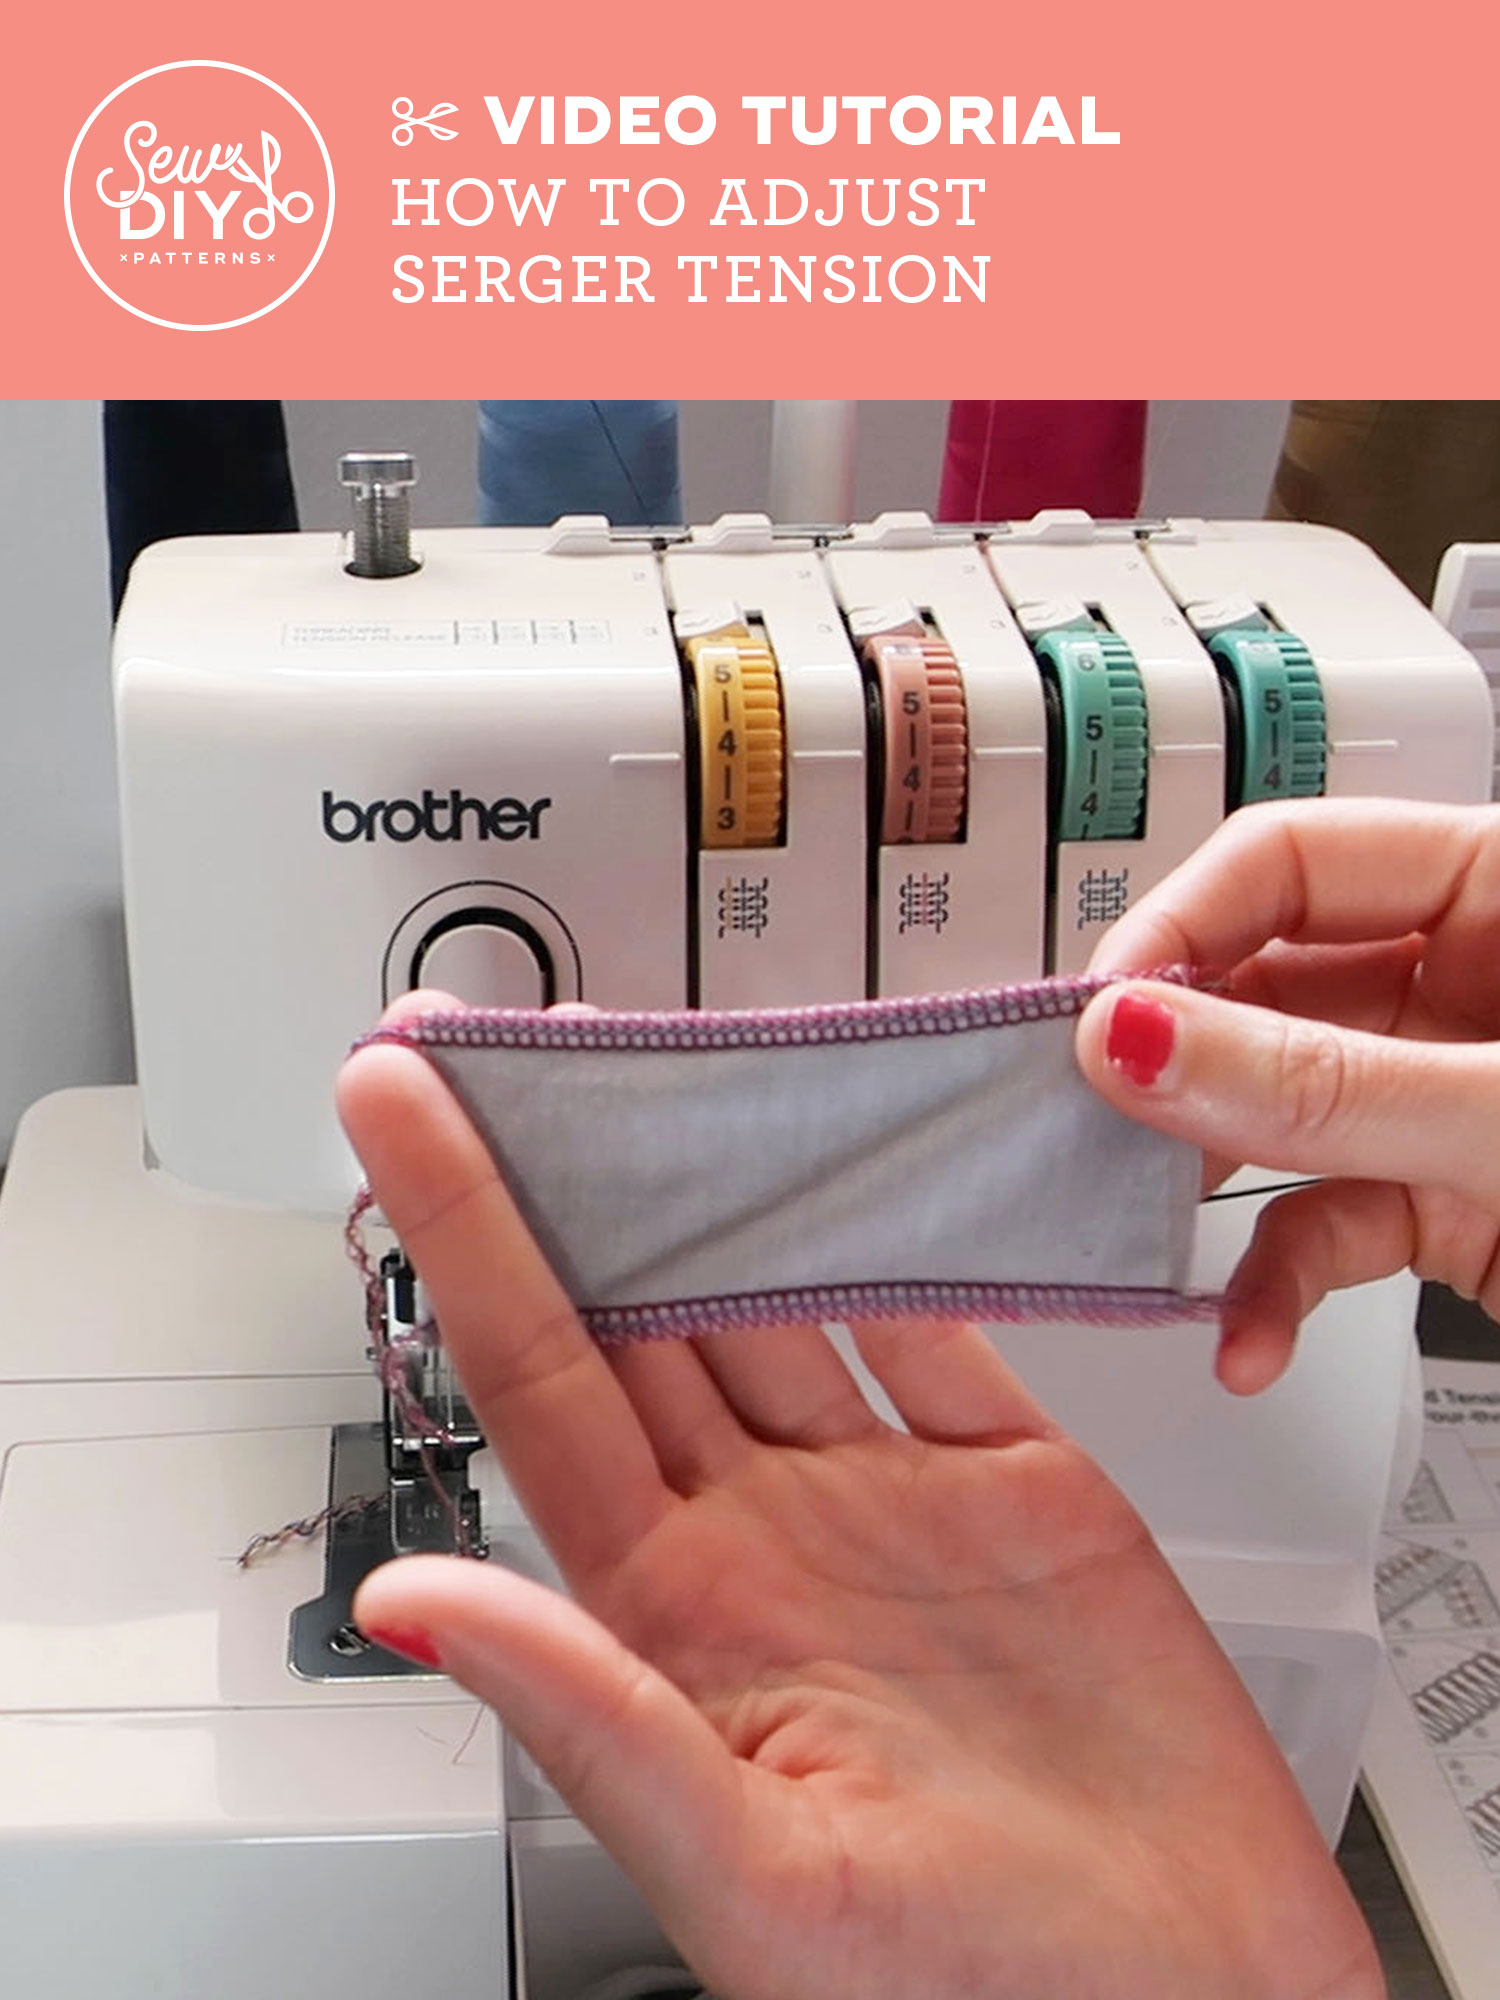
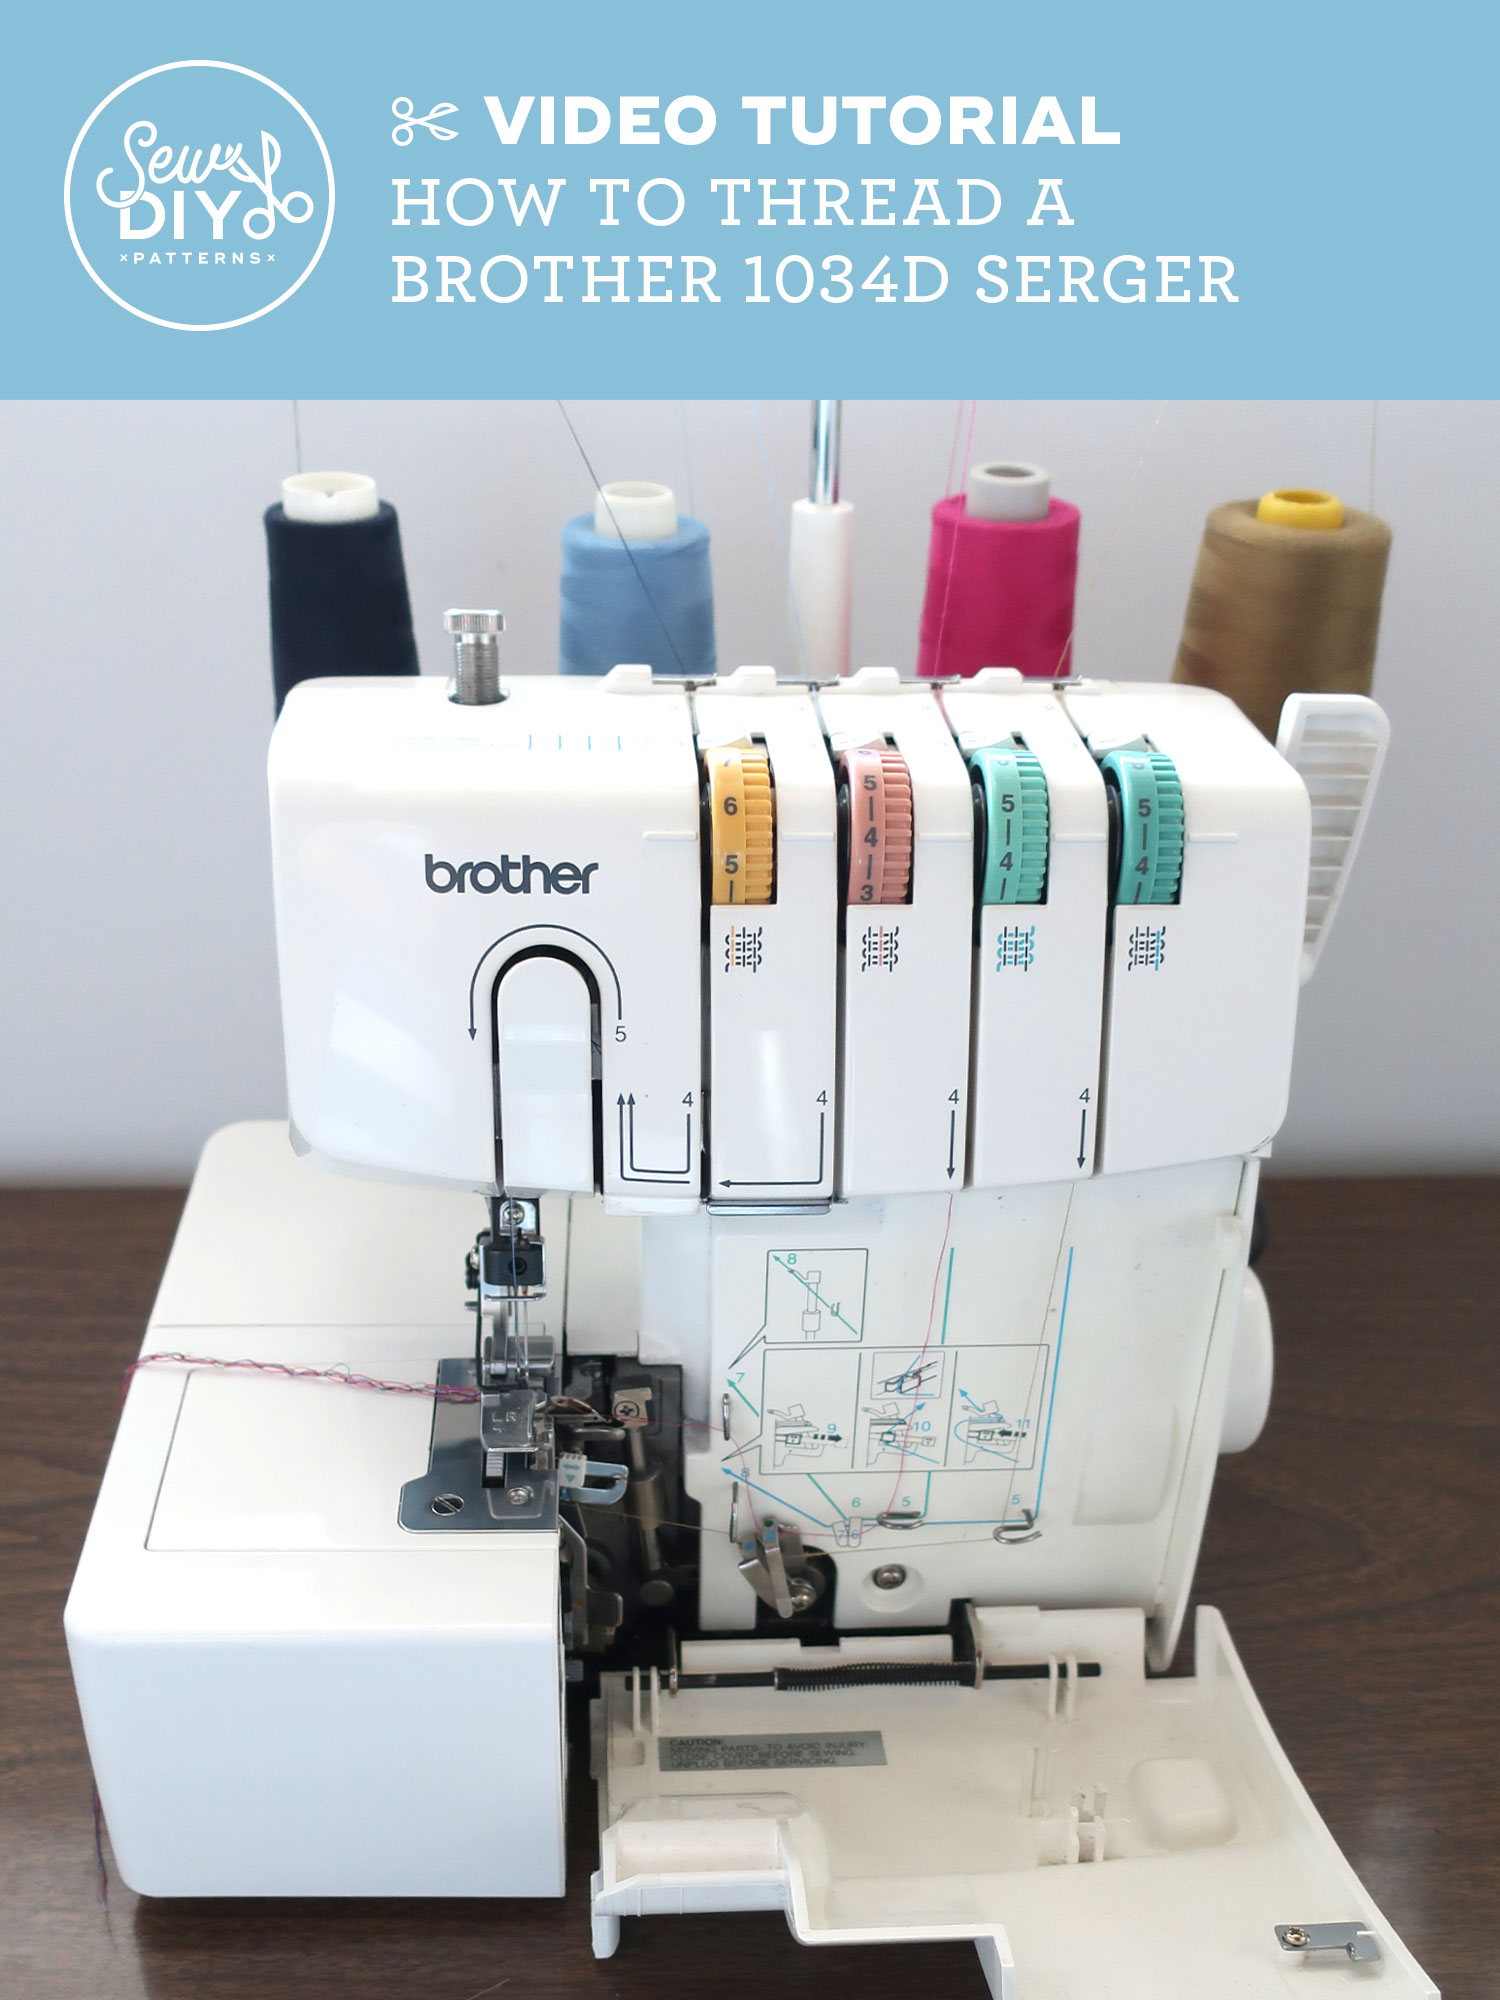

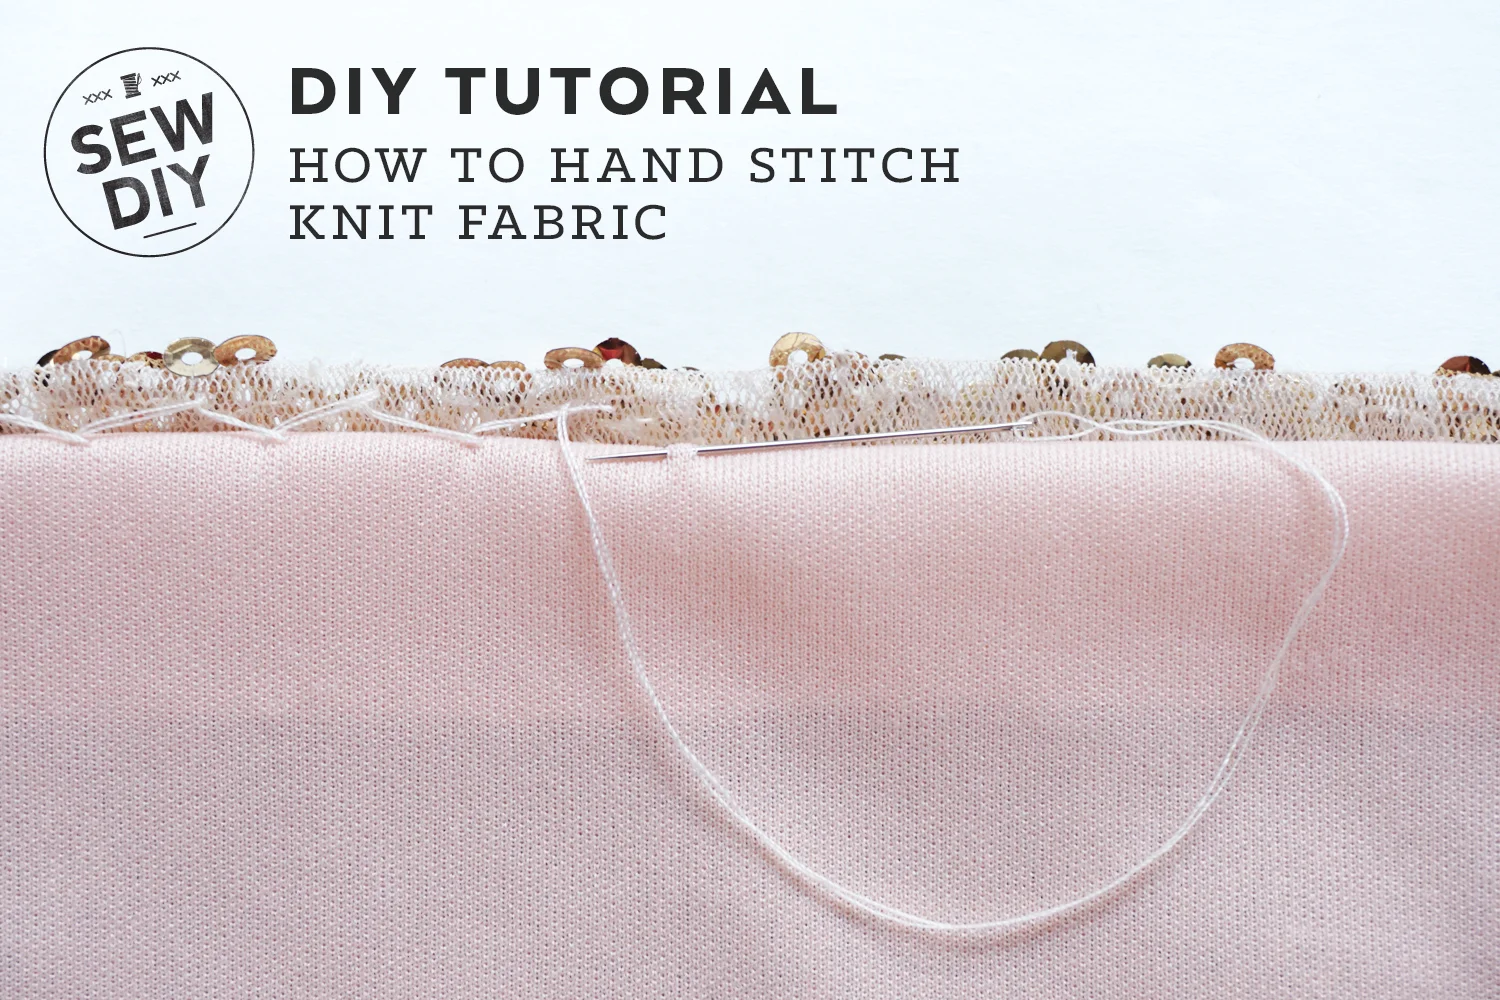
Knit fabrics are great to wear and fun to sew with but they can be a little tricky to handle. I was intimidated by them for a long time but with a lot of practice and a few tricks I picked up along the way, I’ve been able to conquer those stretchy beasts. Today, I’m going to share my favorite method for topstitching knit fabrics plus some tips and insight on why knits can be so bothersome. And don't worry, you don't need a fancy machine, this can all be done on a conventional sewing machine.
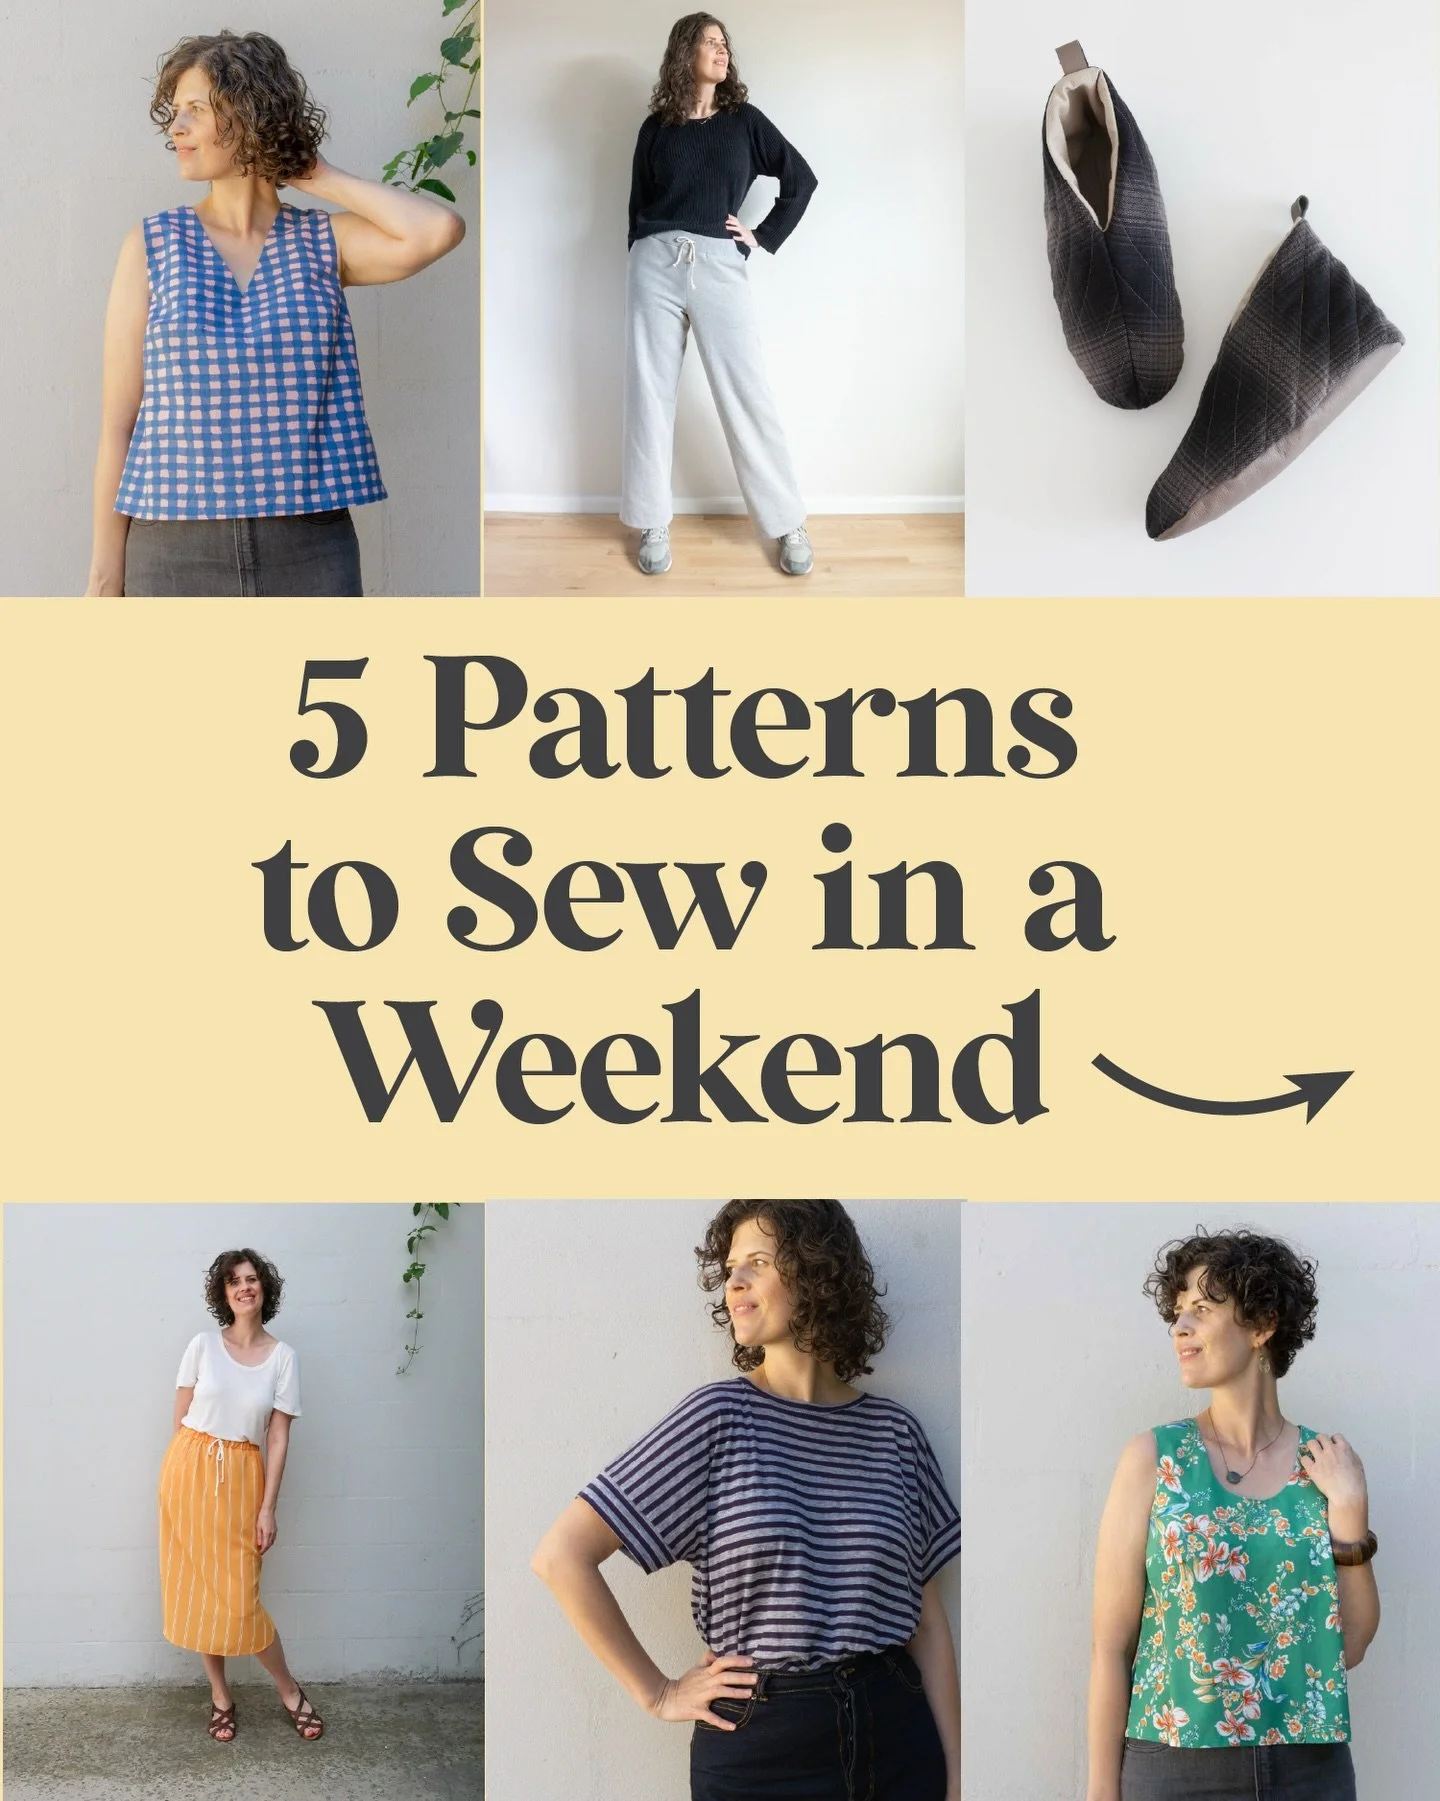
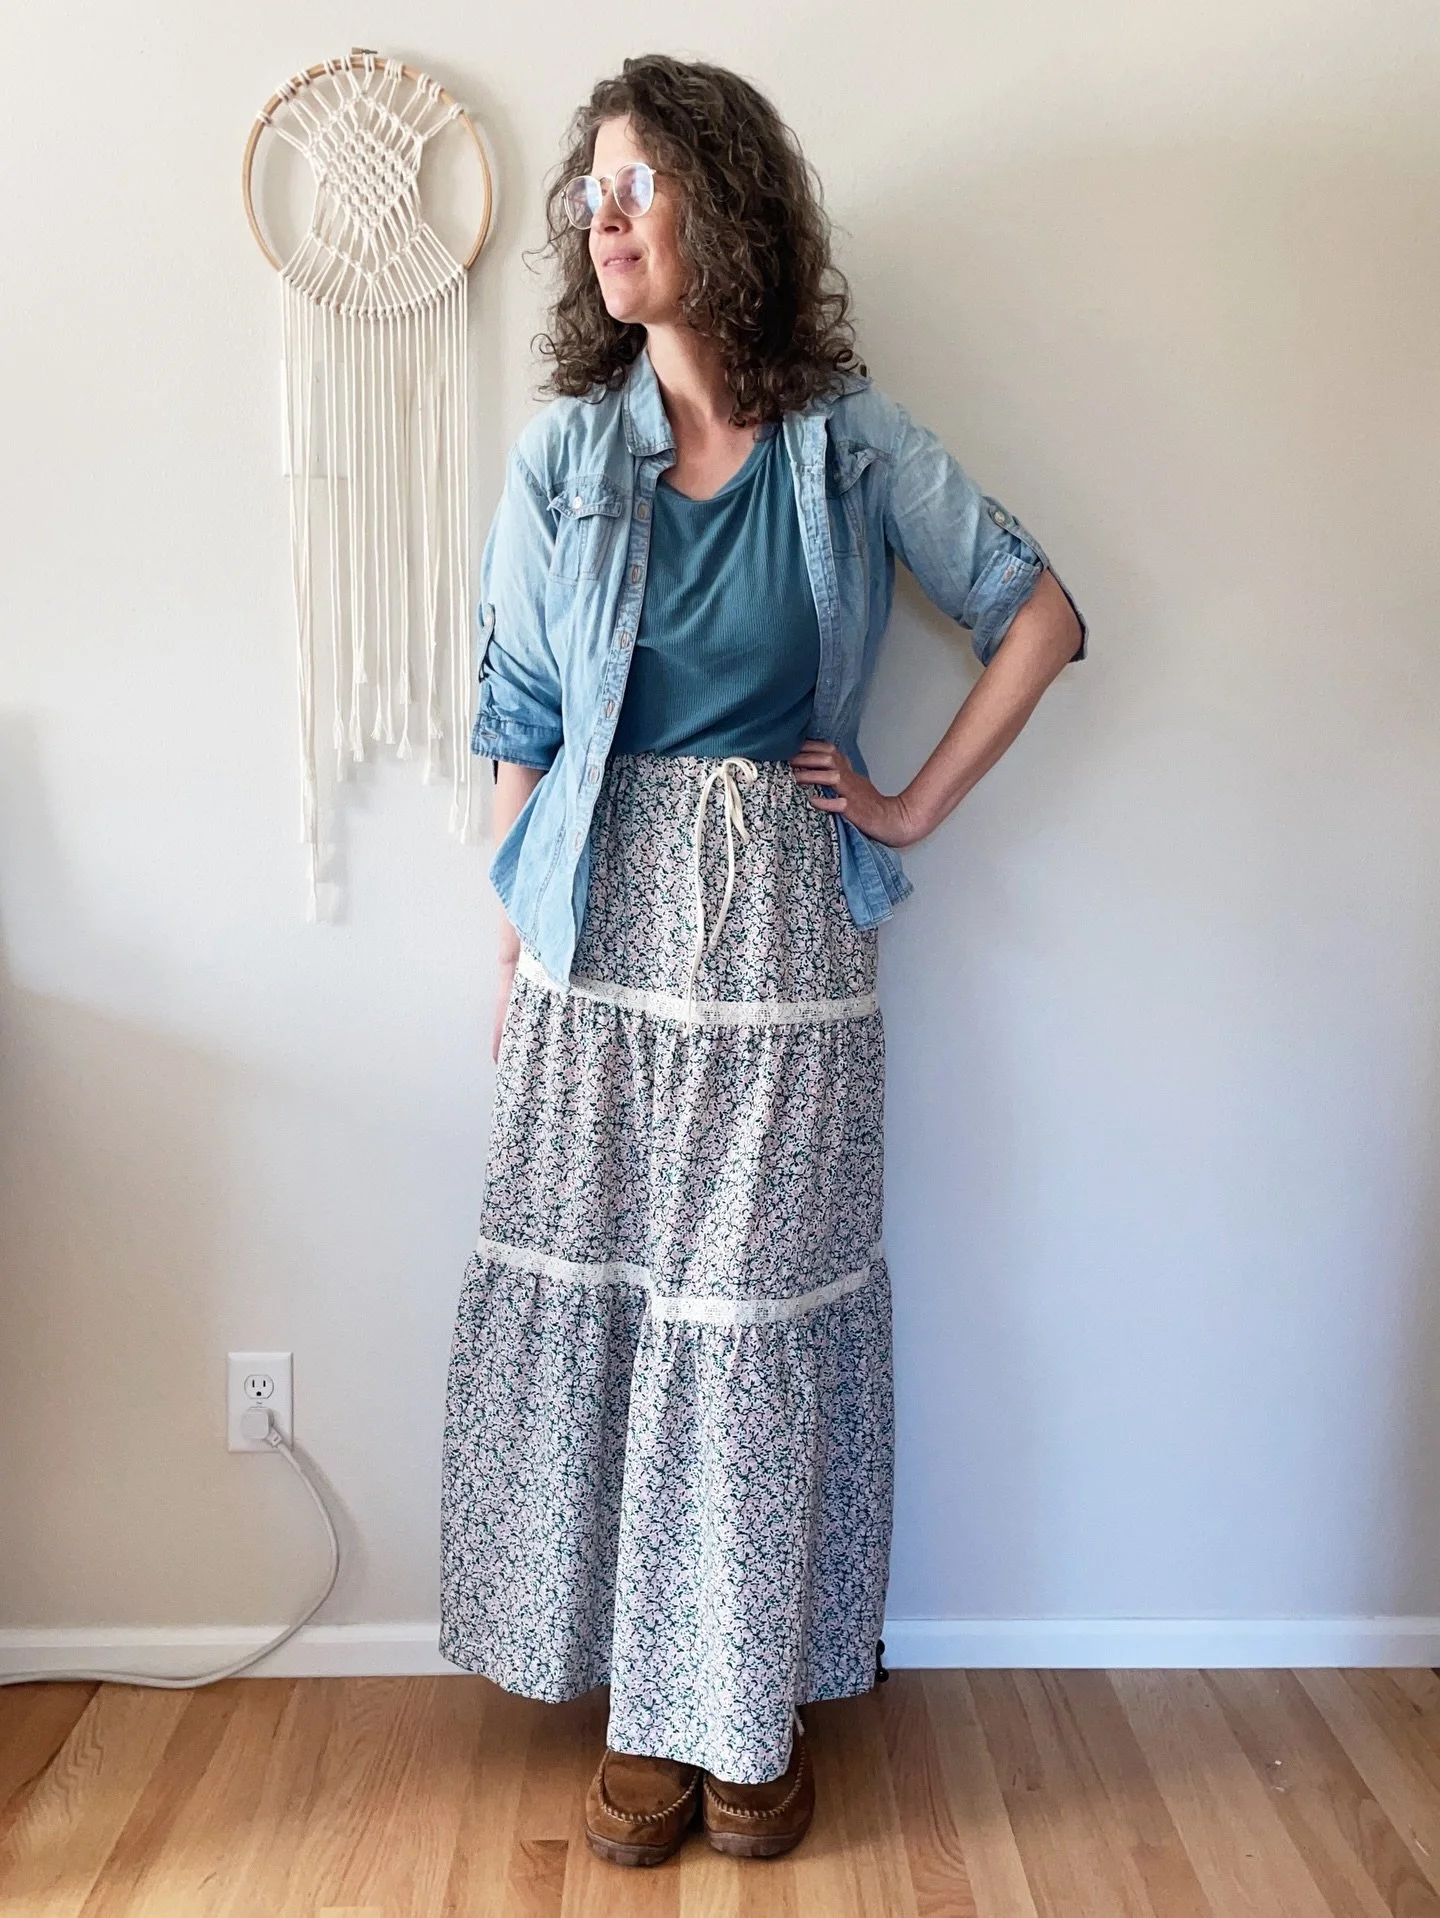
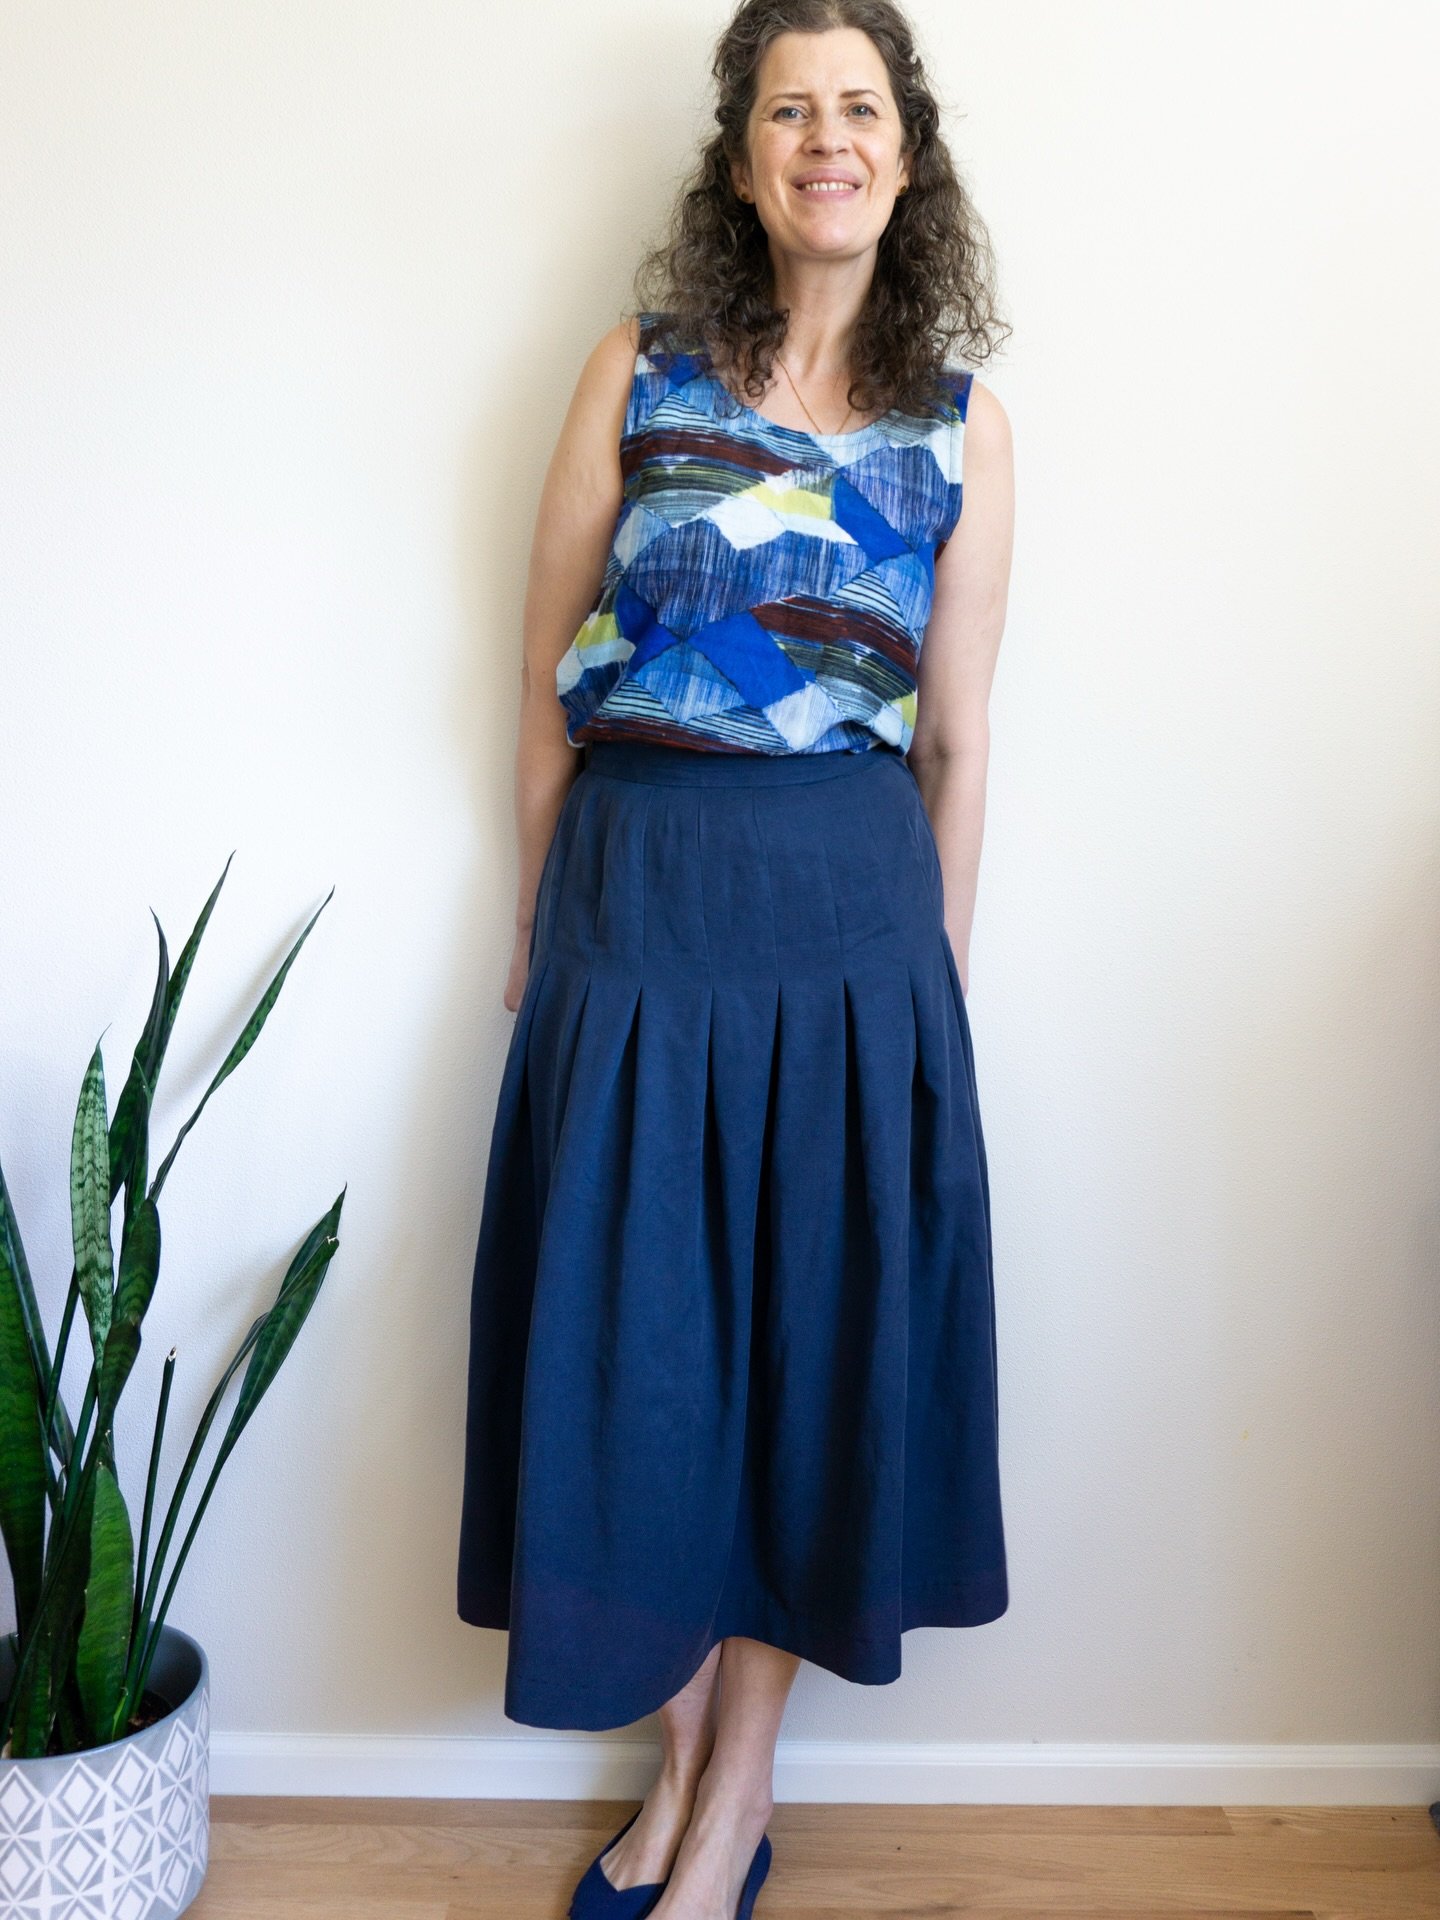
Today, I'm continuing my series of pattern fitting videos with how to lengthen or shorten the bodice of a sewing pattern. The same techniques can be used when altering the length of a blouse or shirt. In the video, I use my new Miri Tank pattern to show how to make the pattern adjustment. Plus, I share some tips for when you're lengthening a top into a dress.