
The Nita Wrap Skirt Sewalong
Explore extra tips and full photo tutorials in the Nita Wrap Skirt Sewalong. Click an image below to go the tutorials. If you haven't purchased a pattern yet, head over to the shop to download.

Hello sew-friends! Today, I have a quick little video for you showing how to sew a one-step buttonhole and how to sew on buttons using your sewing machine. This is my favorite way to sew buttonholes and buttons because it's so quick and easy. The one-step buttonhole foot makes sewing a buttonhole nearly foolproof. Plus, did you know that you can sew on buttons using your sewing machine? It took me years to attempt doing this and it was a total game changer.

In today's video, I'll be showing you how to sew a bias-bound waistband. This is a technique that you’ll often see in ready-to-wear pants and shorts. It creates a really beautiful and professional finish for your handmade garments. It will take a little bit longer than turning under the raw edge but it’s great for when you’re using heavier fabrics like denim.
For this tutorial, I’m using my Nita Wrap Skirt pattern which has a straight, fold over waistband. This technique should work for any skirt or pants pattern including those with a curved or two-piece waistband as well. The only extra supply needed is a strip of bias cut fabric or pre-made bias tape. (If you want to learn more about this flannel lined wrap skirt, check out this blog post.)

In today's video, I'll be showing you how to fuse iron-on interfacing to fabric. Interfacing is an extra layer of fabric that is used to make certain parts of a garment thicker and more sturdy. You'll often find it used in button plackets, collars, waistbands and facings. In the tutorial, I'll share all my tips for how to adhere iron-on interfacing to your fabric and prevent puckering or separating.

In today's video, I'll be showing you a simple pattern adjustment that you can do to move along a side or waist seam. Darts are most often used to shape the bust or waist and are usually found in side or waist seams. Because we all have different bodies, you’ll sometimes get a better fit if you move the dart just slightly. In the video and diagrams, I'll show you how to move a bust dart up or down along a side seam and how to move a waist seam dart to the left or right. (Note, there are more complicated pattern adjustments where you can pivot a dart to move it to a different seam. I’m not covering how to do that in this post.)

Hello sew-friends! Today, I’m happy to bring you a video tutorial for how to mark and sew darts. Darts are most commonly found in fitted woven garments. They are simply a little wedge of fabric that is folded and stitched in order to make the fabric more three-dimensional and to fit the curves of the body. You’ll most often find darts to shape the bust and waist. It’s really a fairly simple feature to sew and it’s worthwhile to practice and become comfortable with it.

Today’s video is a big one! I share my top reasons why pdf patterns are awesome (just in case you’re not already convinced). Then I share my top tips for how to successfully print pdf patterns (including the printer settings you need to make sure the entire pattern prints on the page). And finally I show how to efficiently assemble and cut the pattern. I even show you the techniques I learned in design school for safely using an exacto knife or blade. I’ve never cut off a finger using these techniques so hopefully it will help you and keep your fingers safe too!

If you are brand new to sewing, interfacing might seem a little mysterious. You might even be wondering if you really need it to use it. For a lot of garments you don’t need it but for many it is essential for adding structure to the garment. It is often used on facings, collars, cuffs and button bands to stiffen and reinforce the fabric. Think about ready-to-wear clothing and the areas of the garment that are stiffer than others. These are parts that need to stand up (like a collar), be tough enough to take a buttonhole or simply lie flat along the neckline. Today I’m going to share some basic tips for adhering the interfacing to your fabric. It’s not a hard process but can be a little scary when you first start out.

Most of the year I sew with neutral fabrics that are easy to mix and match and just all around comfortable and dare I say, sensible. But when the holidays come around, it’s time to celebrate and sew something glamorous and not at all sensible. This year I had a holiday party the first weekend of December that required cocktail attire. I considered wearing the sequin Mesa Dress I made last year but it felt a little over the top for this event. So I decided to make a sequin skirt and a camisole. The fabrics are full of textured fabulousness and tons of sparkle. It really made the perfect sophisticated cocktail outfit.
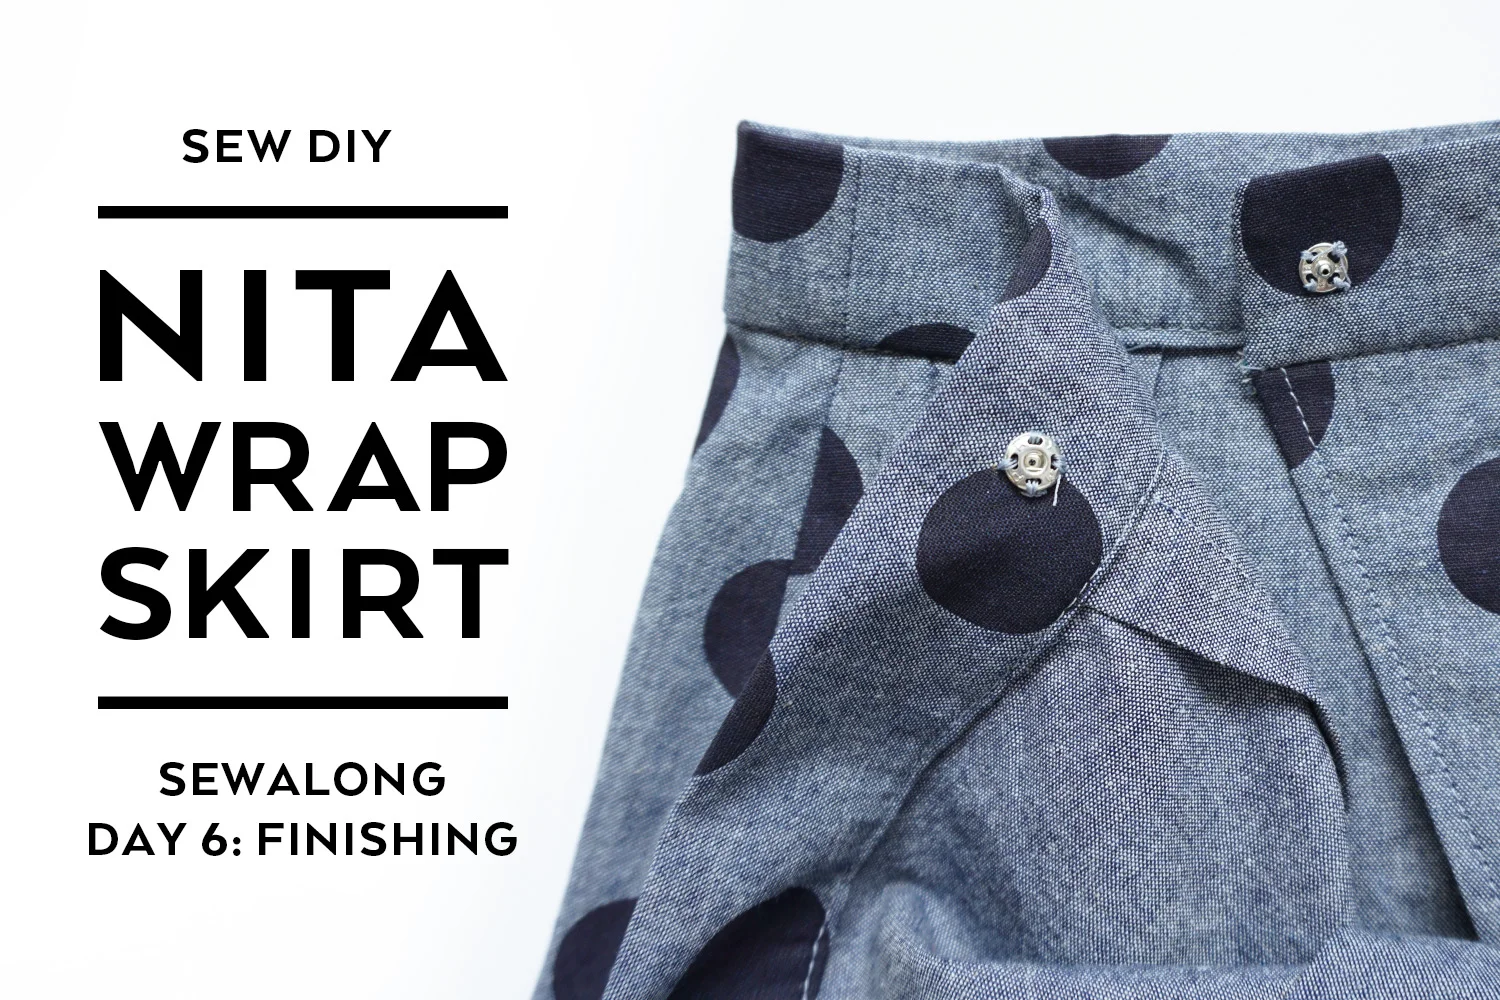


Welcome to Day 4 of the Nita Wrap Skirt Sewalong! If you haven't done so already, grab your copy of the pdf pattern right here and then check out all of the sewalong posts here.
Day 4: How to Attach a Lining
For some fabrics, it’s really nice to have a lining in your skirt. It can protect your skin from itchy fabric, add another layer of coverage to a sheer fabric or give additional weight to garment. It’s really easy to add a lining to the Nita Wrap Skirt. The steps are very similar to making the skirt without a lining, just in a different order. Let's get started!

Welcome to Day 3 of the Nita Wrap Skirt Sewalong! If you haven't done so already, grab your copy of the pdf pattern right here and then check out all of the sewalong posts here.
Day 3: Sewing the Front Facings & Darts
Now that we have all of our pattern pieces ready, it’s time to start sewing our skirt. Today we are going to fold and topstitch the front facings, sew the darts and the side seams. It might seem like a lot but it doesn't take too long. Happy sewing!

Welcome to Day 2 of the Nita Wrap Skirt Sewalong! If you haven't done so already, grab your copy of the pdf pattern right here and then check out all of the sewalong posts here.
Day 2: Cutting Fabric, Applying interfacing
You’ve gathered your supplies and assembled your pattern. Now it’s time to cut your fabric and interfacing. The pattern includes cutting diagrams for the different views and widths of fabric. However, you may find that you’re able to use less fabric by cutting the pattern flat instead of folded.

Welcome to the first day of the Nita Wrap Skirt sewalong. The intent of these posts is to give you some extra tips for sewing your skirt that would have been too cumbersome to include in the pattern. You’ll also find photos for each step, which can be a great addition to the illustrations found in the pattern. For the sewalong, we’ll be making the waistband from view C of the pattern. Don’t worry if you are making views A and C, the steps are very similar.
A note on the schedule: I'm planning these posts more as a reference guide than an actual sewalong so I'll be posting everything all at once. You can find a listing of all the posts on the main sewalong page right here.


I had a great group of pattern testers that very graciously took the time to sew the pattern, send me feedback and photos! Seeing their creations roll into my inbox was exciting and overwhelming. They did a fabulous job and really motivated me to release this pattern so that everyone can have it in time for spring. Click through to see lots of great wrap skirt inspiration.
If you've sewn a garment before, you may have encountered a basting stitch. And, if you keep sewing, you'll be sure to use it with most projects. Basting is a fundamental sewing technique because it's so useful. Even better, it's a very easy stitch to sew. In this post and video, I'll talk about what a basting stitch is, when to use it and demonstrate sewing a basting stitch by hand and by machine.