
bucket tote sewalong
If you haven't purchased the pattern yet, head over to the shop to download.

Today, I have a simple, stash busting variation of the bucket tote to share with you. This hack is inspired by one that one of my testers made that was inspired by the L.L. Bean Boat and Tote. This bag uses fabric for the handles and has a contrast band of fabric around the bottom.
This post has two parts. First, I share how to colorblock this pattern, including the fabrics and dimensions I used for this hack. Then in the second part, I show how to cut and sew fabric to make your own handles (instead of using pre-made webbing).
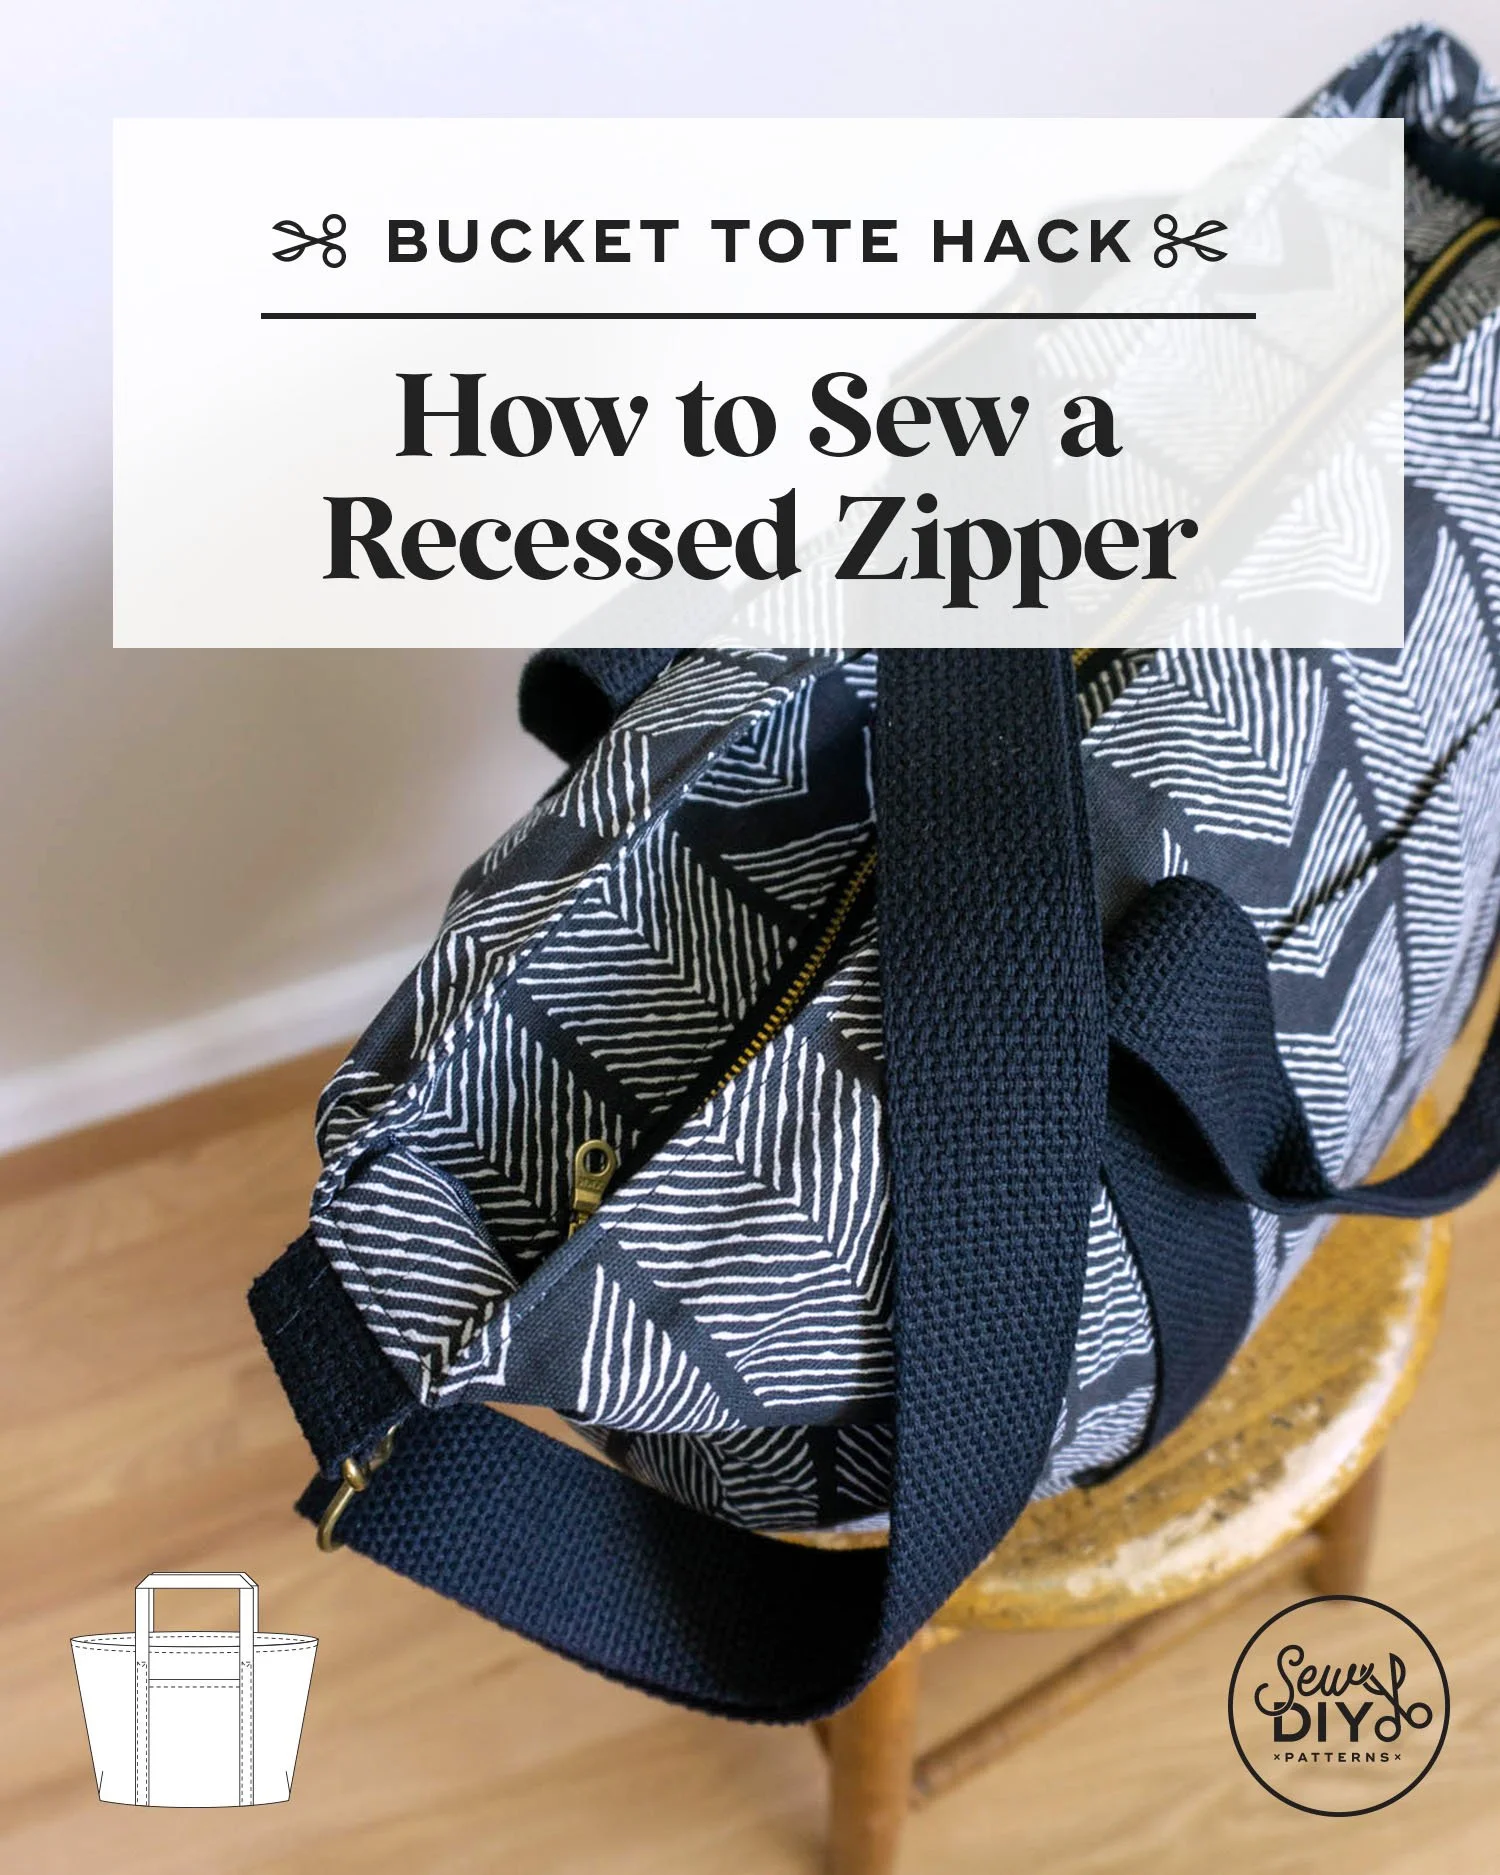
Today, I'm excited to share a hack for my Bucket Tote sewing pattern. This variation of the pattern adds a recessed zipper to the lining and an adjustable strap. To make the recessed zipper, the lining is lowered inside the bag and a zipper with fabric extensions is sewn into the lining. The extensions on either side of the zipper allow the bag more depth when closed, meaning you can put more stuff in your bag. When the zipper is closed, the lining is nearly invisible. Below, you'll find a step-by-step video tutorial, a list of supplies and fabric dimensions.
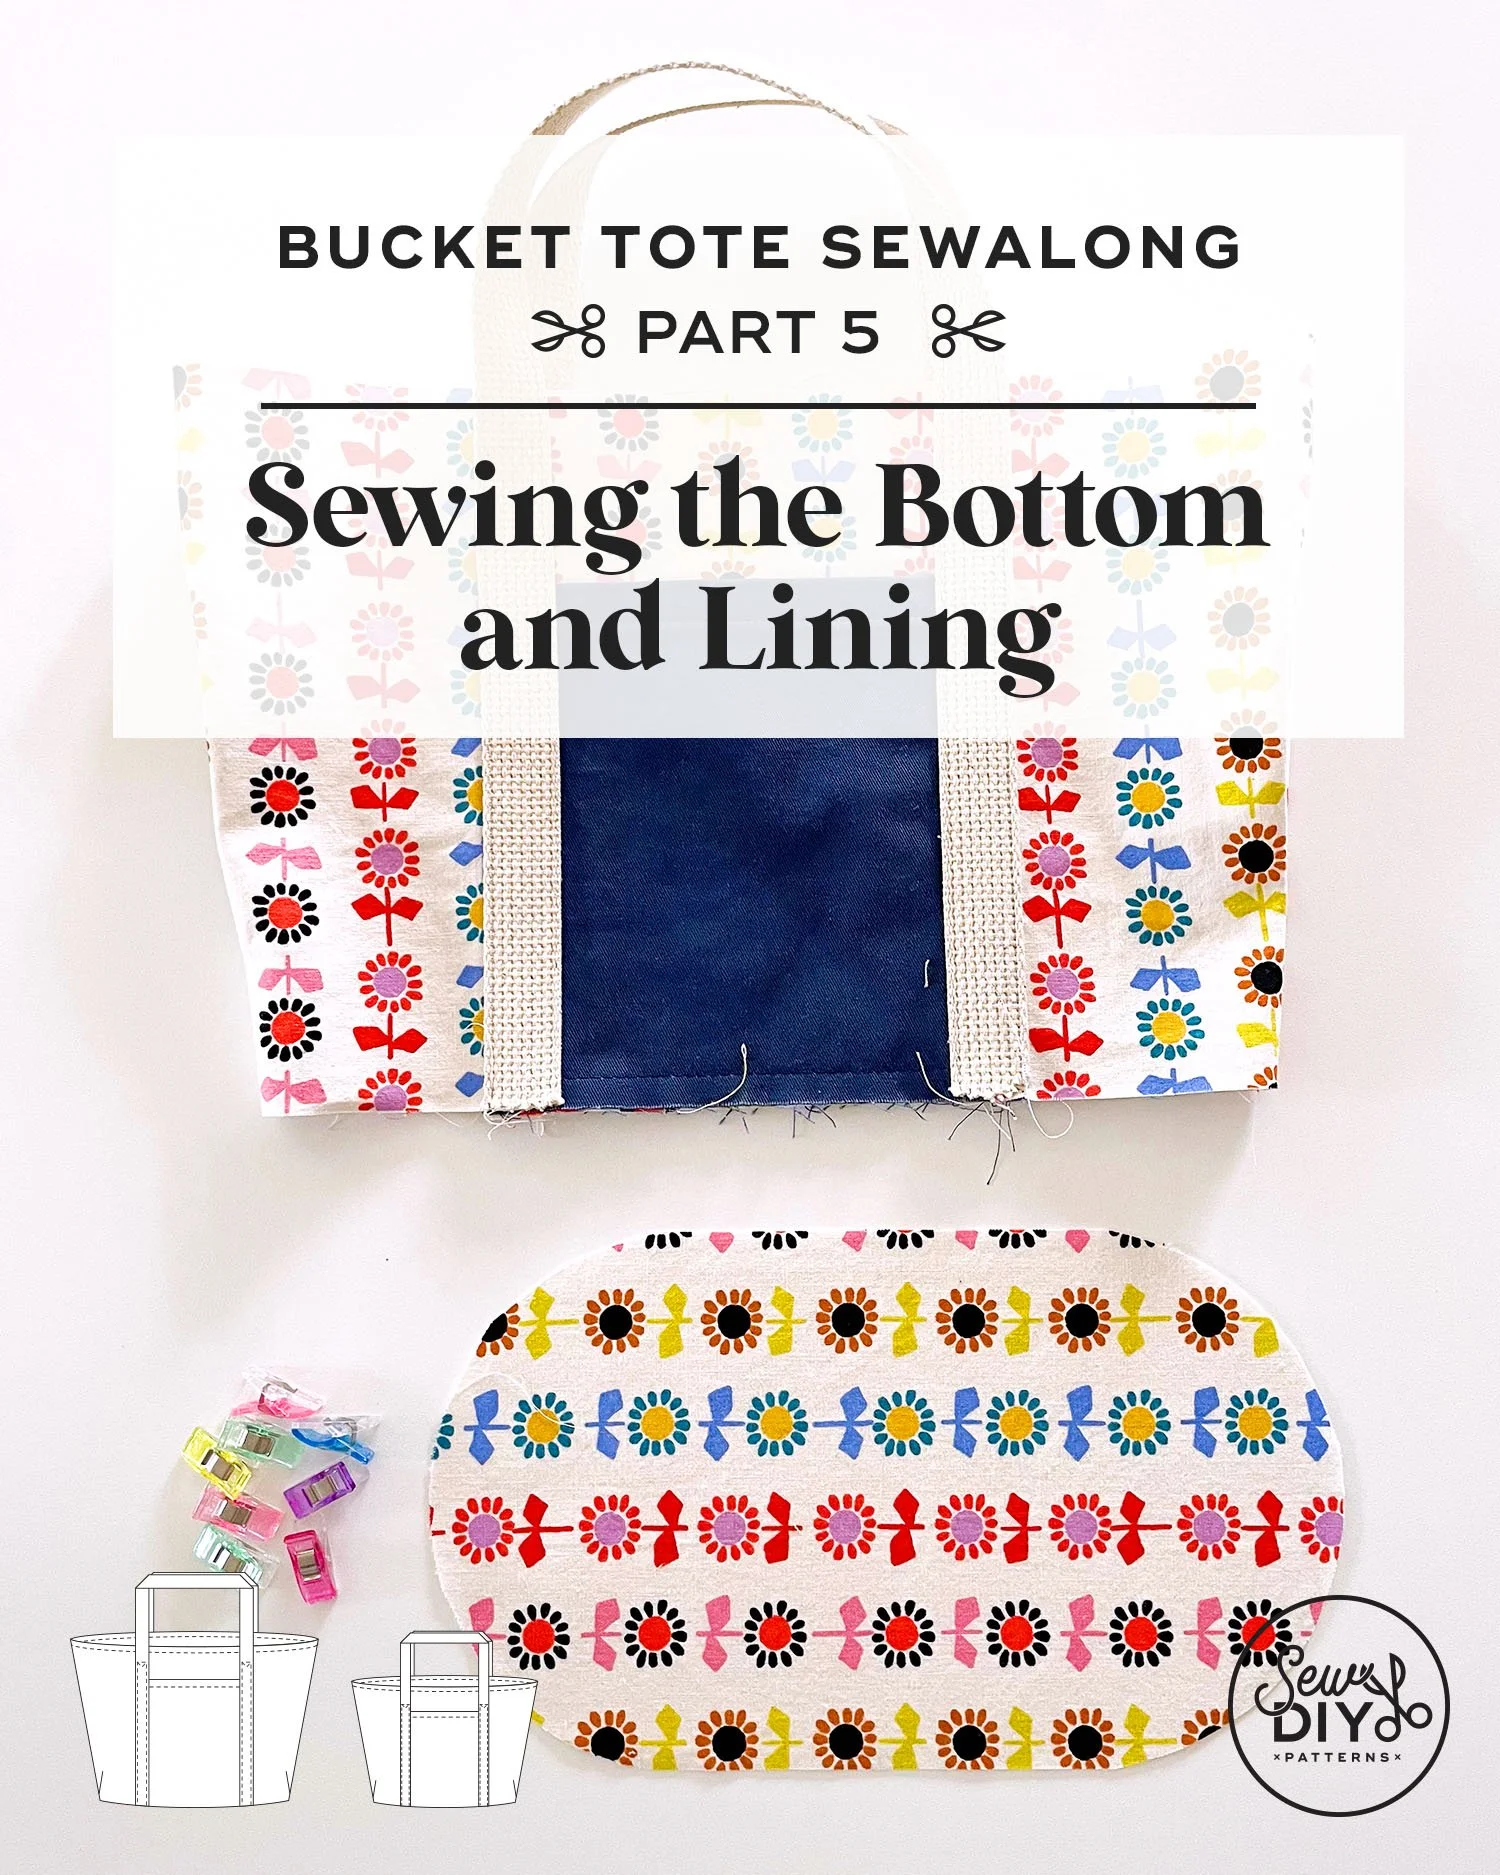
Today is the fifth and final installment of the Bucket Tote Sewalong. In this video, I’ll show how to sew the rounded bottom of the bag to the body and share two different methods for attaching the lining to the exterior. Sewing the rounded corners of the bottom of the bag can be one of the trickiest steps when sewing this pattern, so I make sure to include all of my techniques for sewing the curves with ease.
For sewing the lining of the bag to the exterior, I first demonstrate the method that I use in the instruction booklet which uses a hole in the lining to turn the bag right side out. During the testing of this bag, a couple of testers used a “drop-in” method where they topstitched the lining and exterior together in one step. This is not my personal preferred method BUT it is easier if you are using especially thick layers of fabric. Both methods are included in the video and you can use the time stamps to skip ahead to the section you’re interested in.
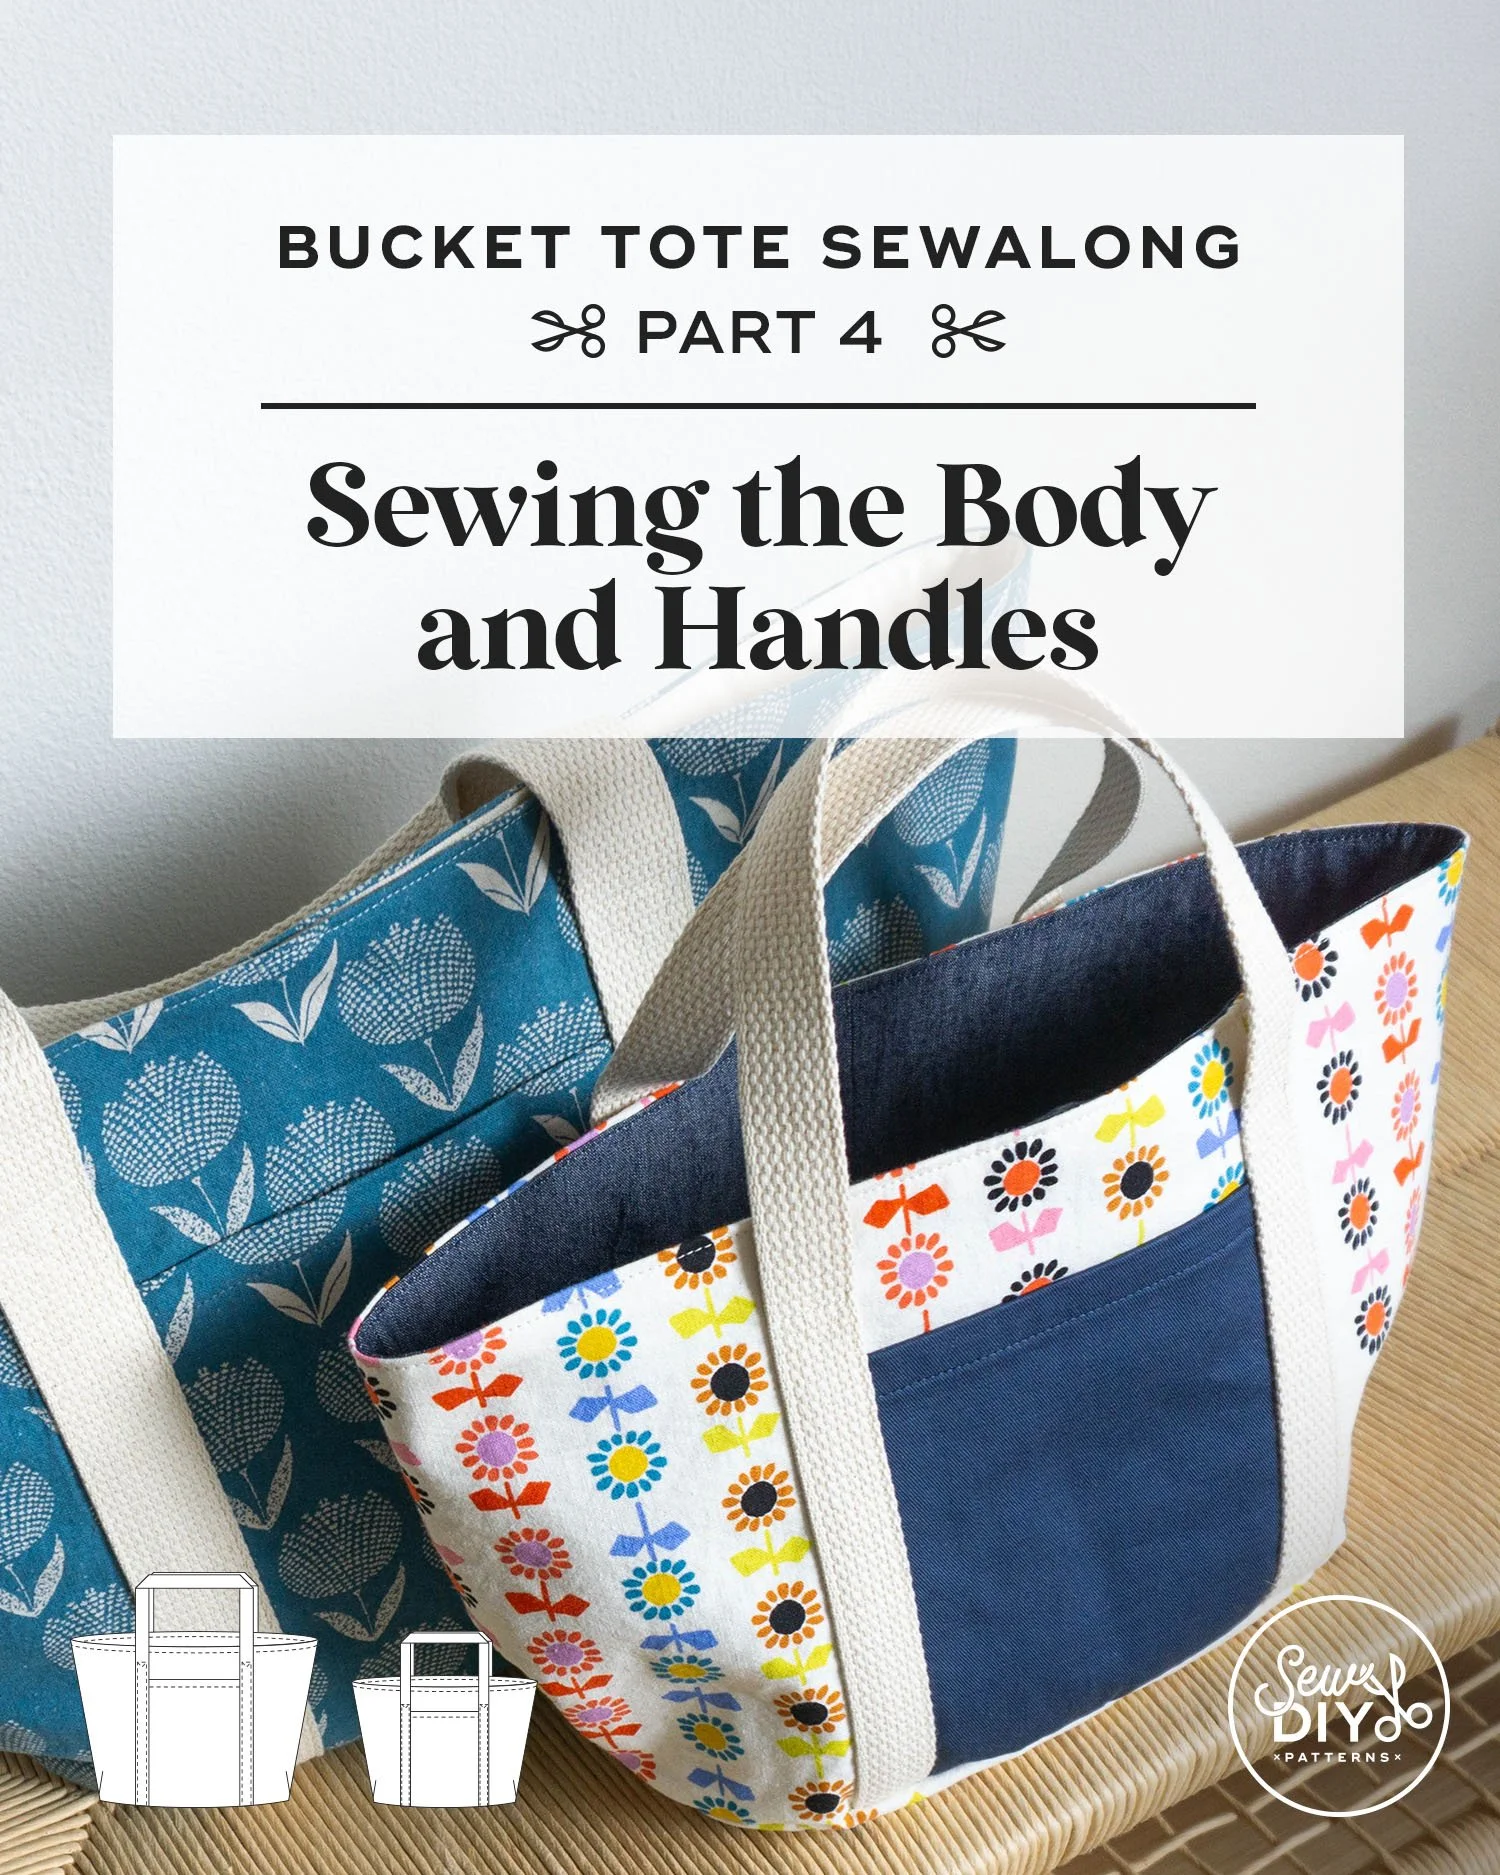
Today, is the fourth installment of the Bucket Tote Sewalong. In this video, I’ll show you how to stitch the pleats, assemble the body of the bag and topstitch the handles. The handles and pleats are key features of the design of the Bucket Tote, from both a functional and style perspective. The pleats create the shape of the bag—narrower at the bottom than the top. The handles are topstitched to the exterior of the bag and anchored into the bottom for security and to show off the center exterior pockets.
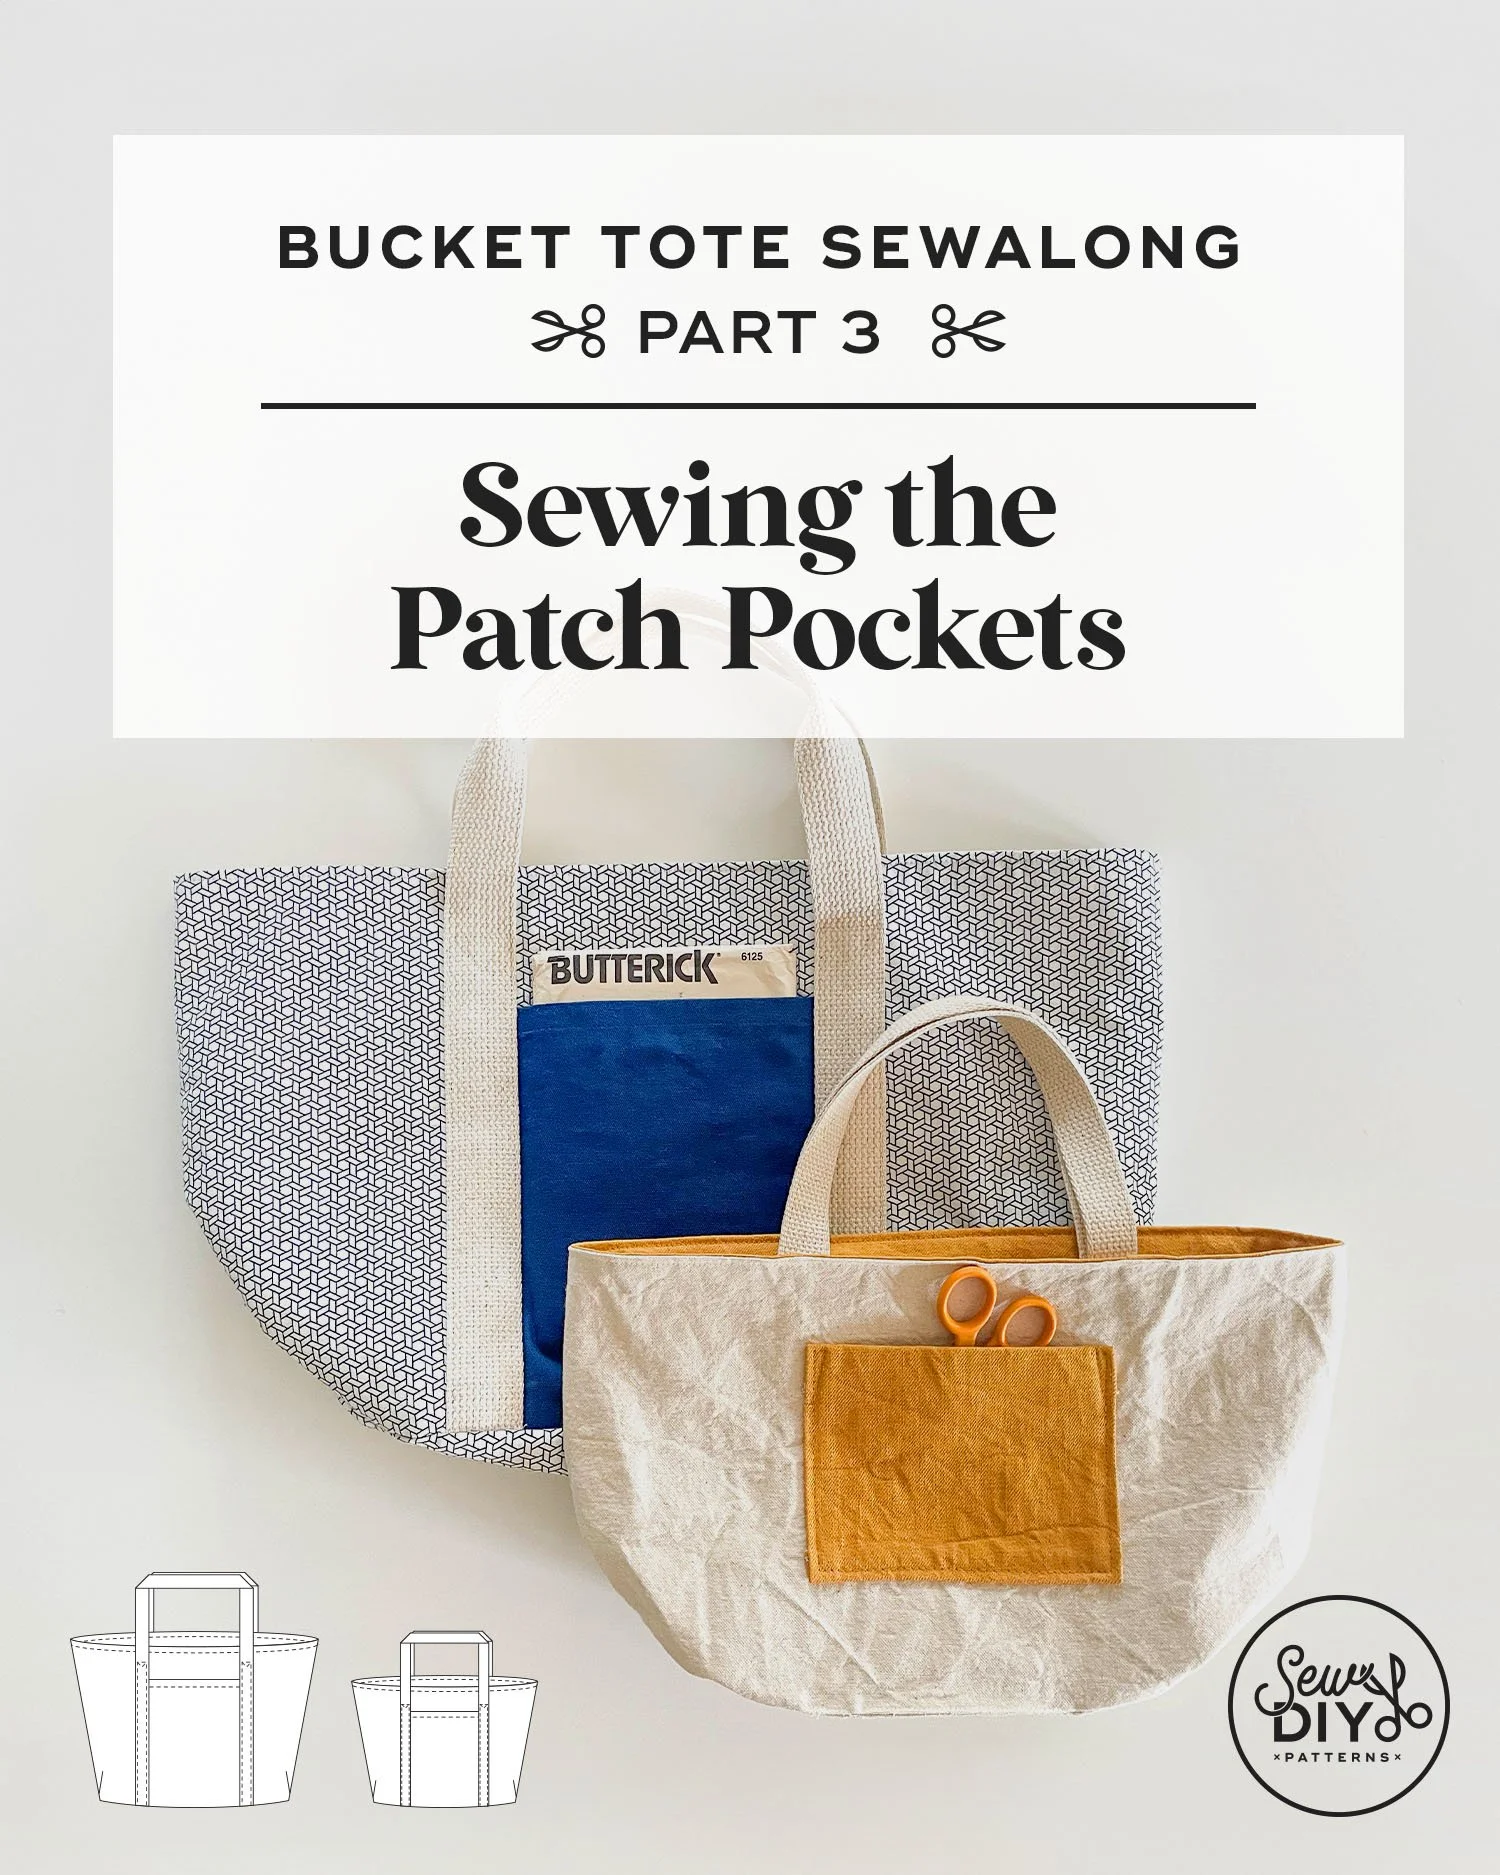
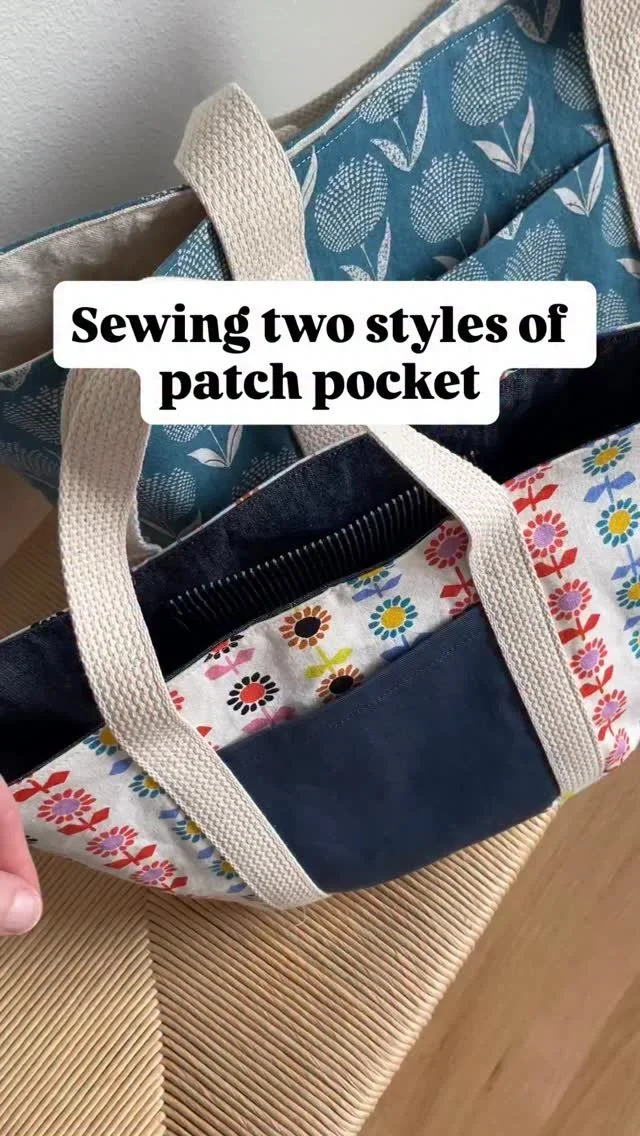
Today, is the third installment of the Bucket Tote Sewalong. Last week, we sewed the zippered welt pocket for the regular size tote and today we’ll sewing the patch pockets. There are two styles of patch pocket in this pattern. First, we’ll sew the traditional patch pocket, which is on the inside of the small tote. This pocket is folded in all sides and then stitched in place. The second style of patch pocket we’re making is the exterior pocket, which is anchored into the seams on the sides and bottom. In the video, I share all of my tips and techniques for sewing these pockets with accuracy and ease.
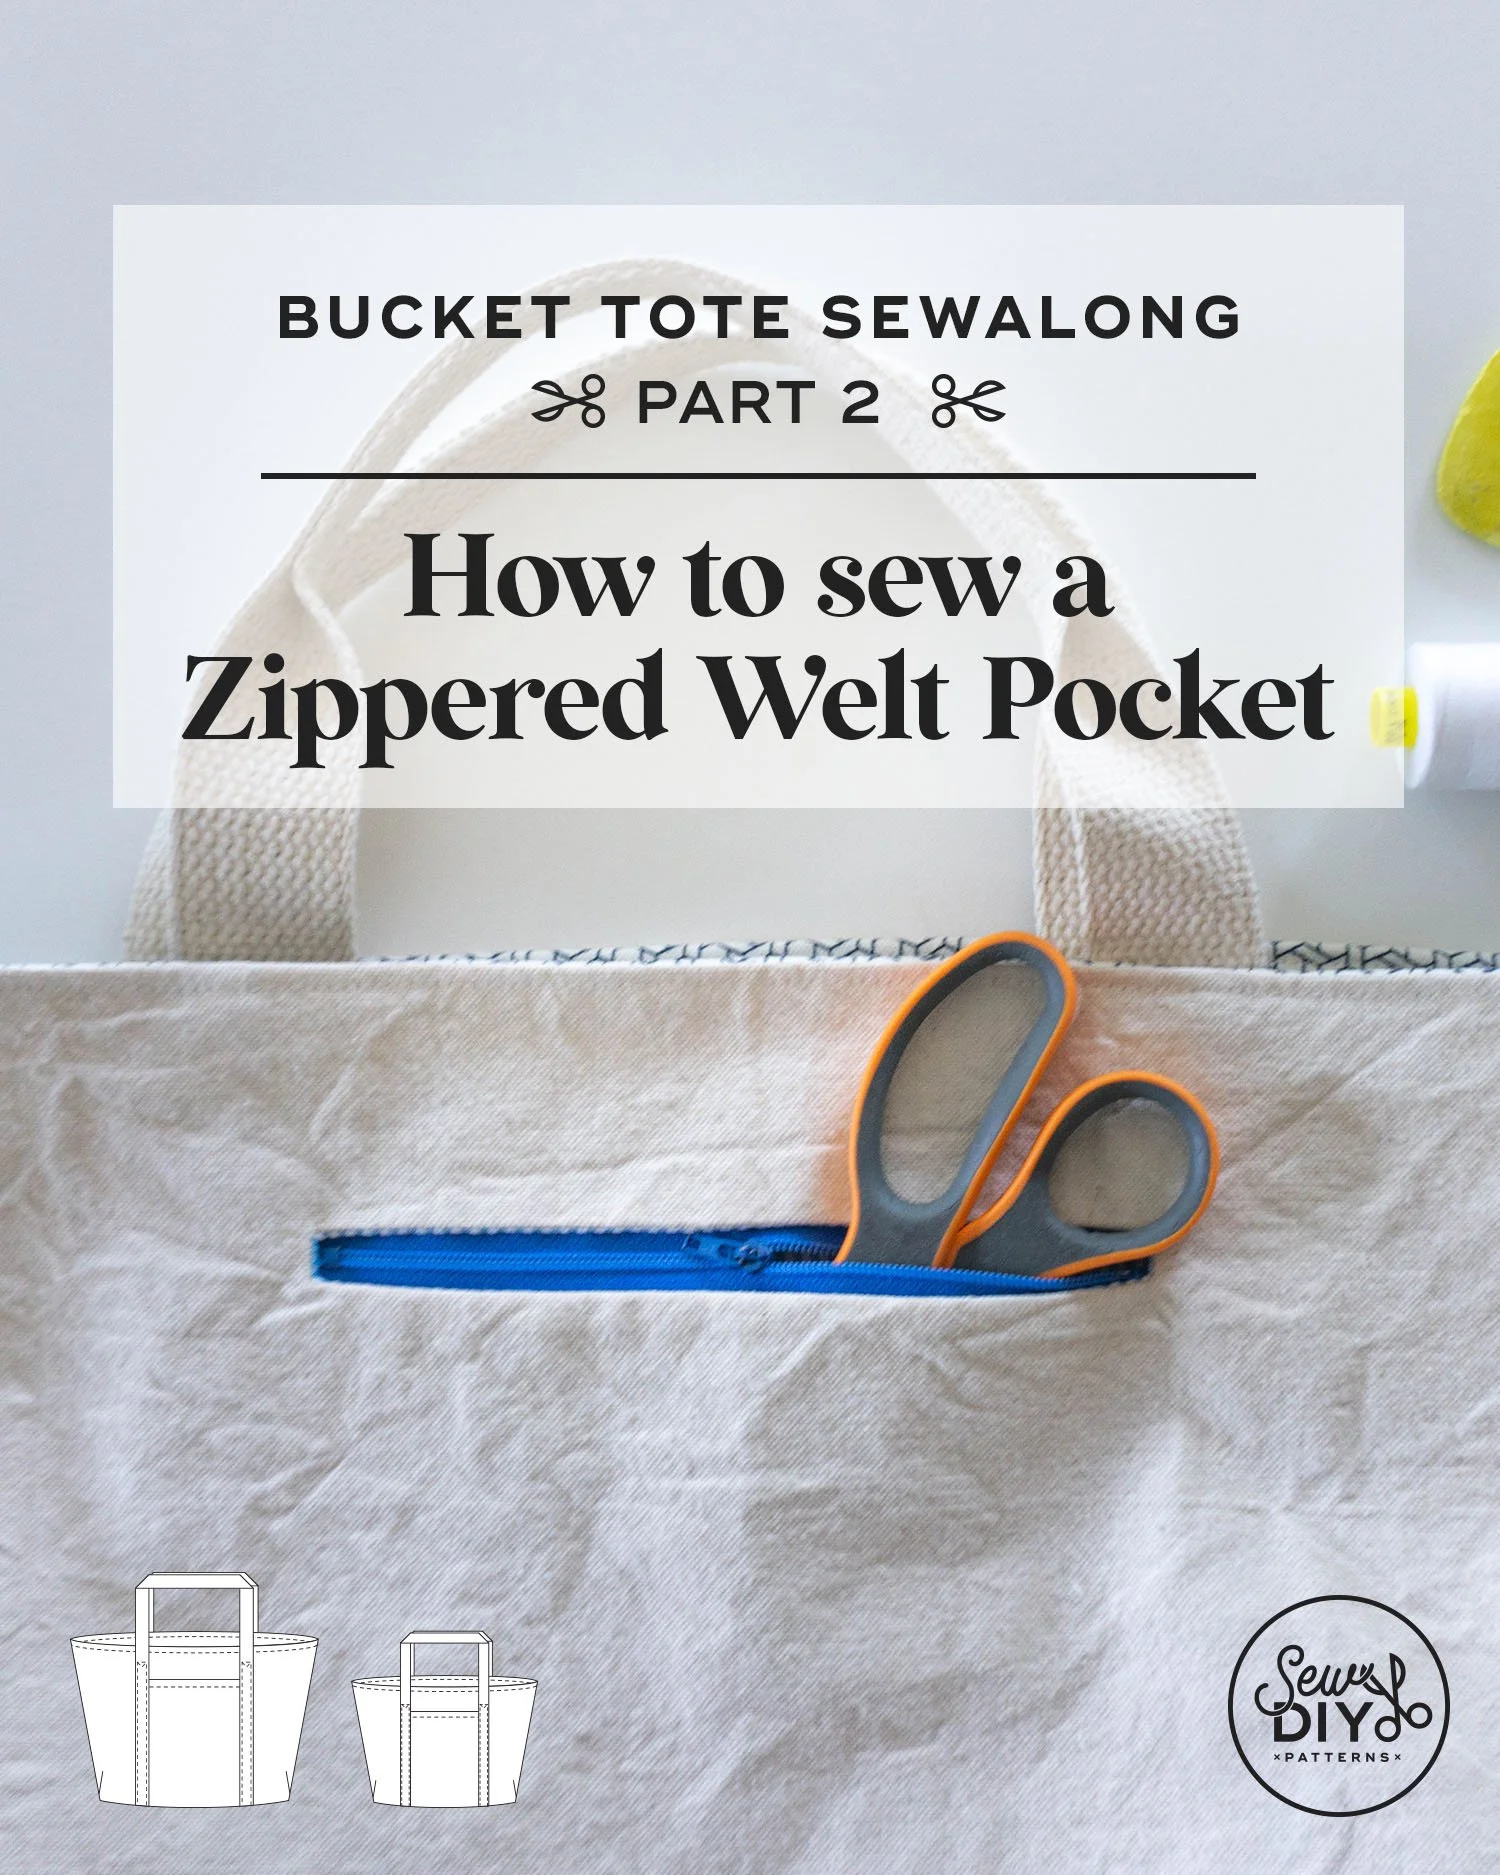
Today, I’m excited to share the second installment of the Bucket Tote Sewalong. Last week, we selected fabric and prepared for sewing and today we can start stitching. The instruction booklet that comes with the pattern uses line drawing illustrations and written instructions so for the sewalong, I like to share a video of the process. In the video, I talk through all the steps and provide extra tips and info that would be too cumbersome to include in the instructions.
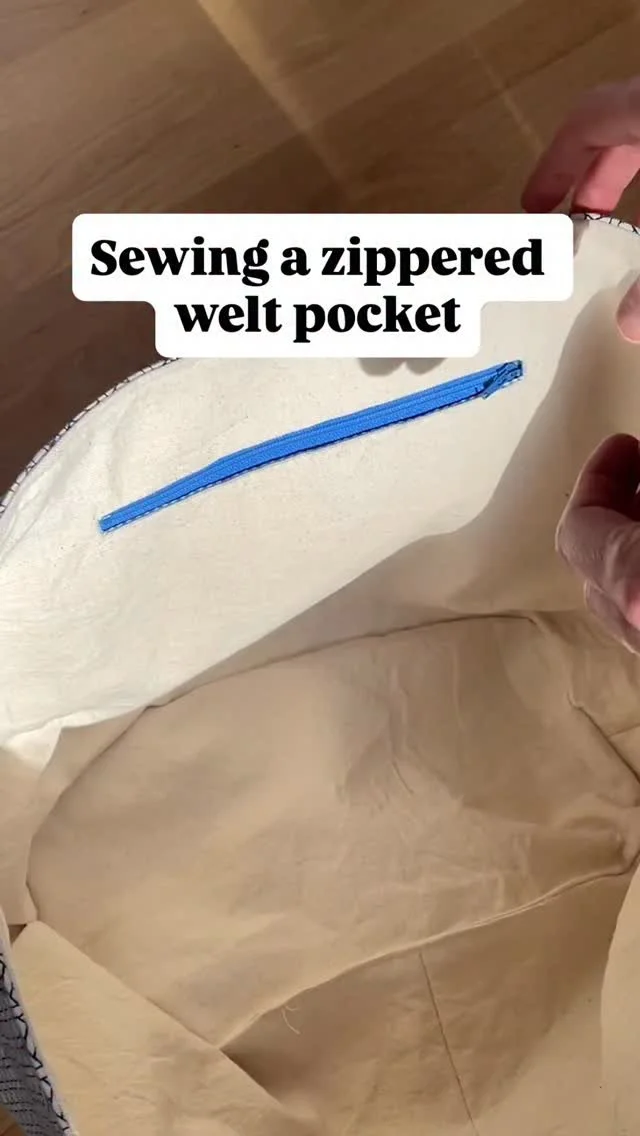
In this part, we’ll be sewing the welt zippered pocket for the Regular Size tote. You can use this same technique to sew a welt zippered pocket anywhere you want one. The cool and scary thing about sewing this style of pocket is that you have to cut a hole in the middle of your fabric. The pocket fabric acts as both a facing for the opening and the pocket bag and when completed, the pocket bag is hidden inside the bag and only the zipper will be visible. It can feel very daunting to sew but if you take it one step at a time, it’s not too hard.
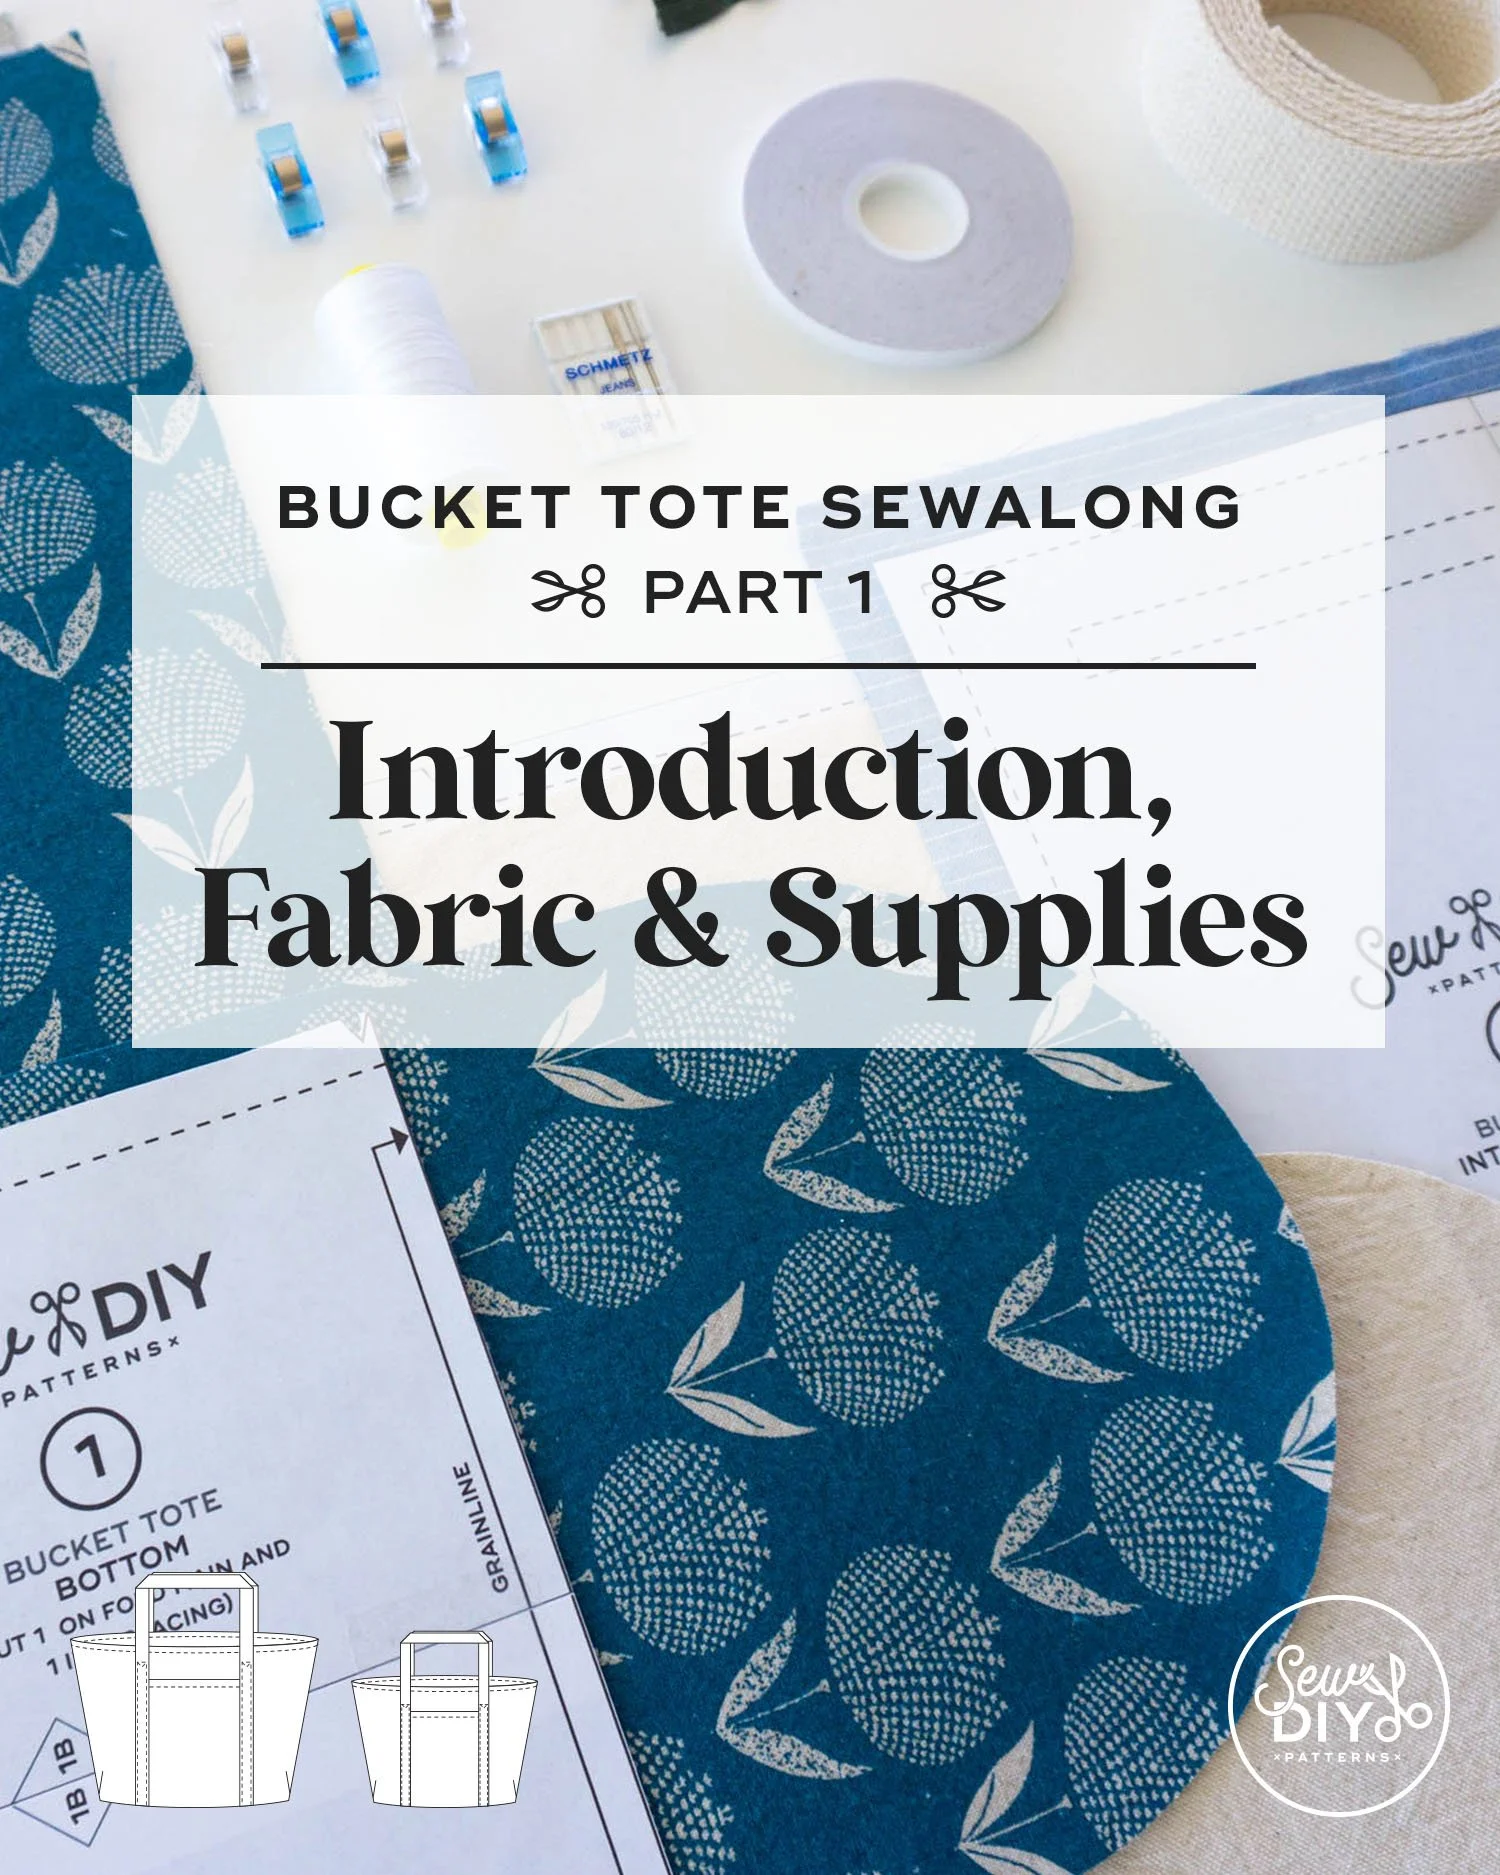
Welcome to the first installment of the Sew DIY Bucket Tote Sewalong. Today’s installment includes everything you need to know to get ready to sew the Bucket Tote. I’m sharing a video where I give an overview of the pattern features and a show-and-tell of different samples that I’ve made and the materials I used. The video also includes an overview of the pattern pieces and a quick interfacing demo. In addition, I’m sharing links to fabric recommendations and a list of supplies and tools that I recommend. Let’s get started!

Last week, I released a new pdf pattern, the Bucket Tote. This fully-lined tote features an oval base, pleats at each end and exterior and interior pockets. It’s designed to open wide at the top for what I’m calling a “throw and go” style. The pattern comes with both a regular and a small size, giving you options for wherever life takes you. You can learn more about it in the introduction post.
One of the most important steps in creating a pattern is the testing phase. I was lucky to have 21 amazing testers for this pattern. They gave me really helpful feedback on both the pattern pieces and the written instructions. Today, I’m sharing a few of their photos to serve as inspiration as well as insight into how different fabric types work with this pattern. I hope you will be as inspired by them as I have been.
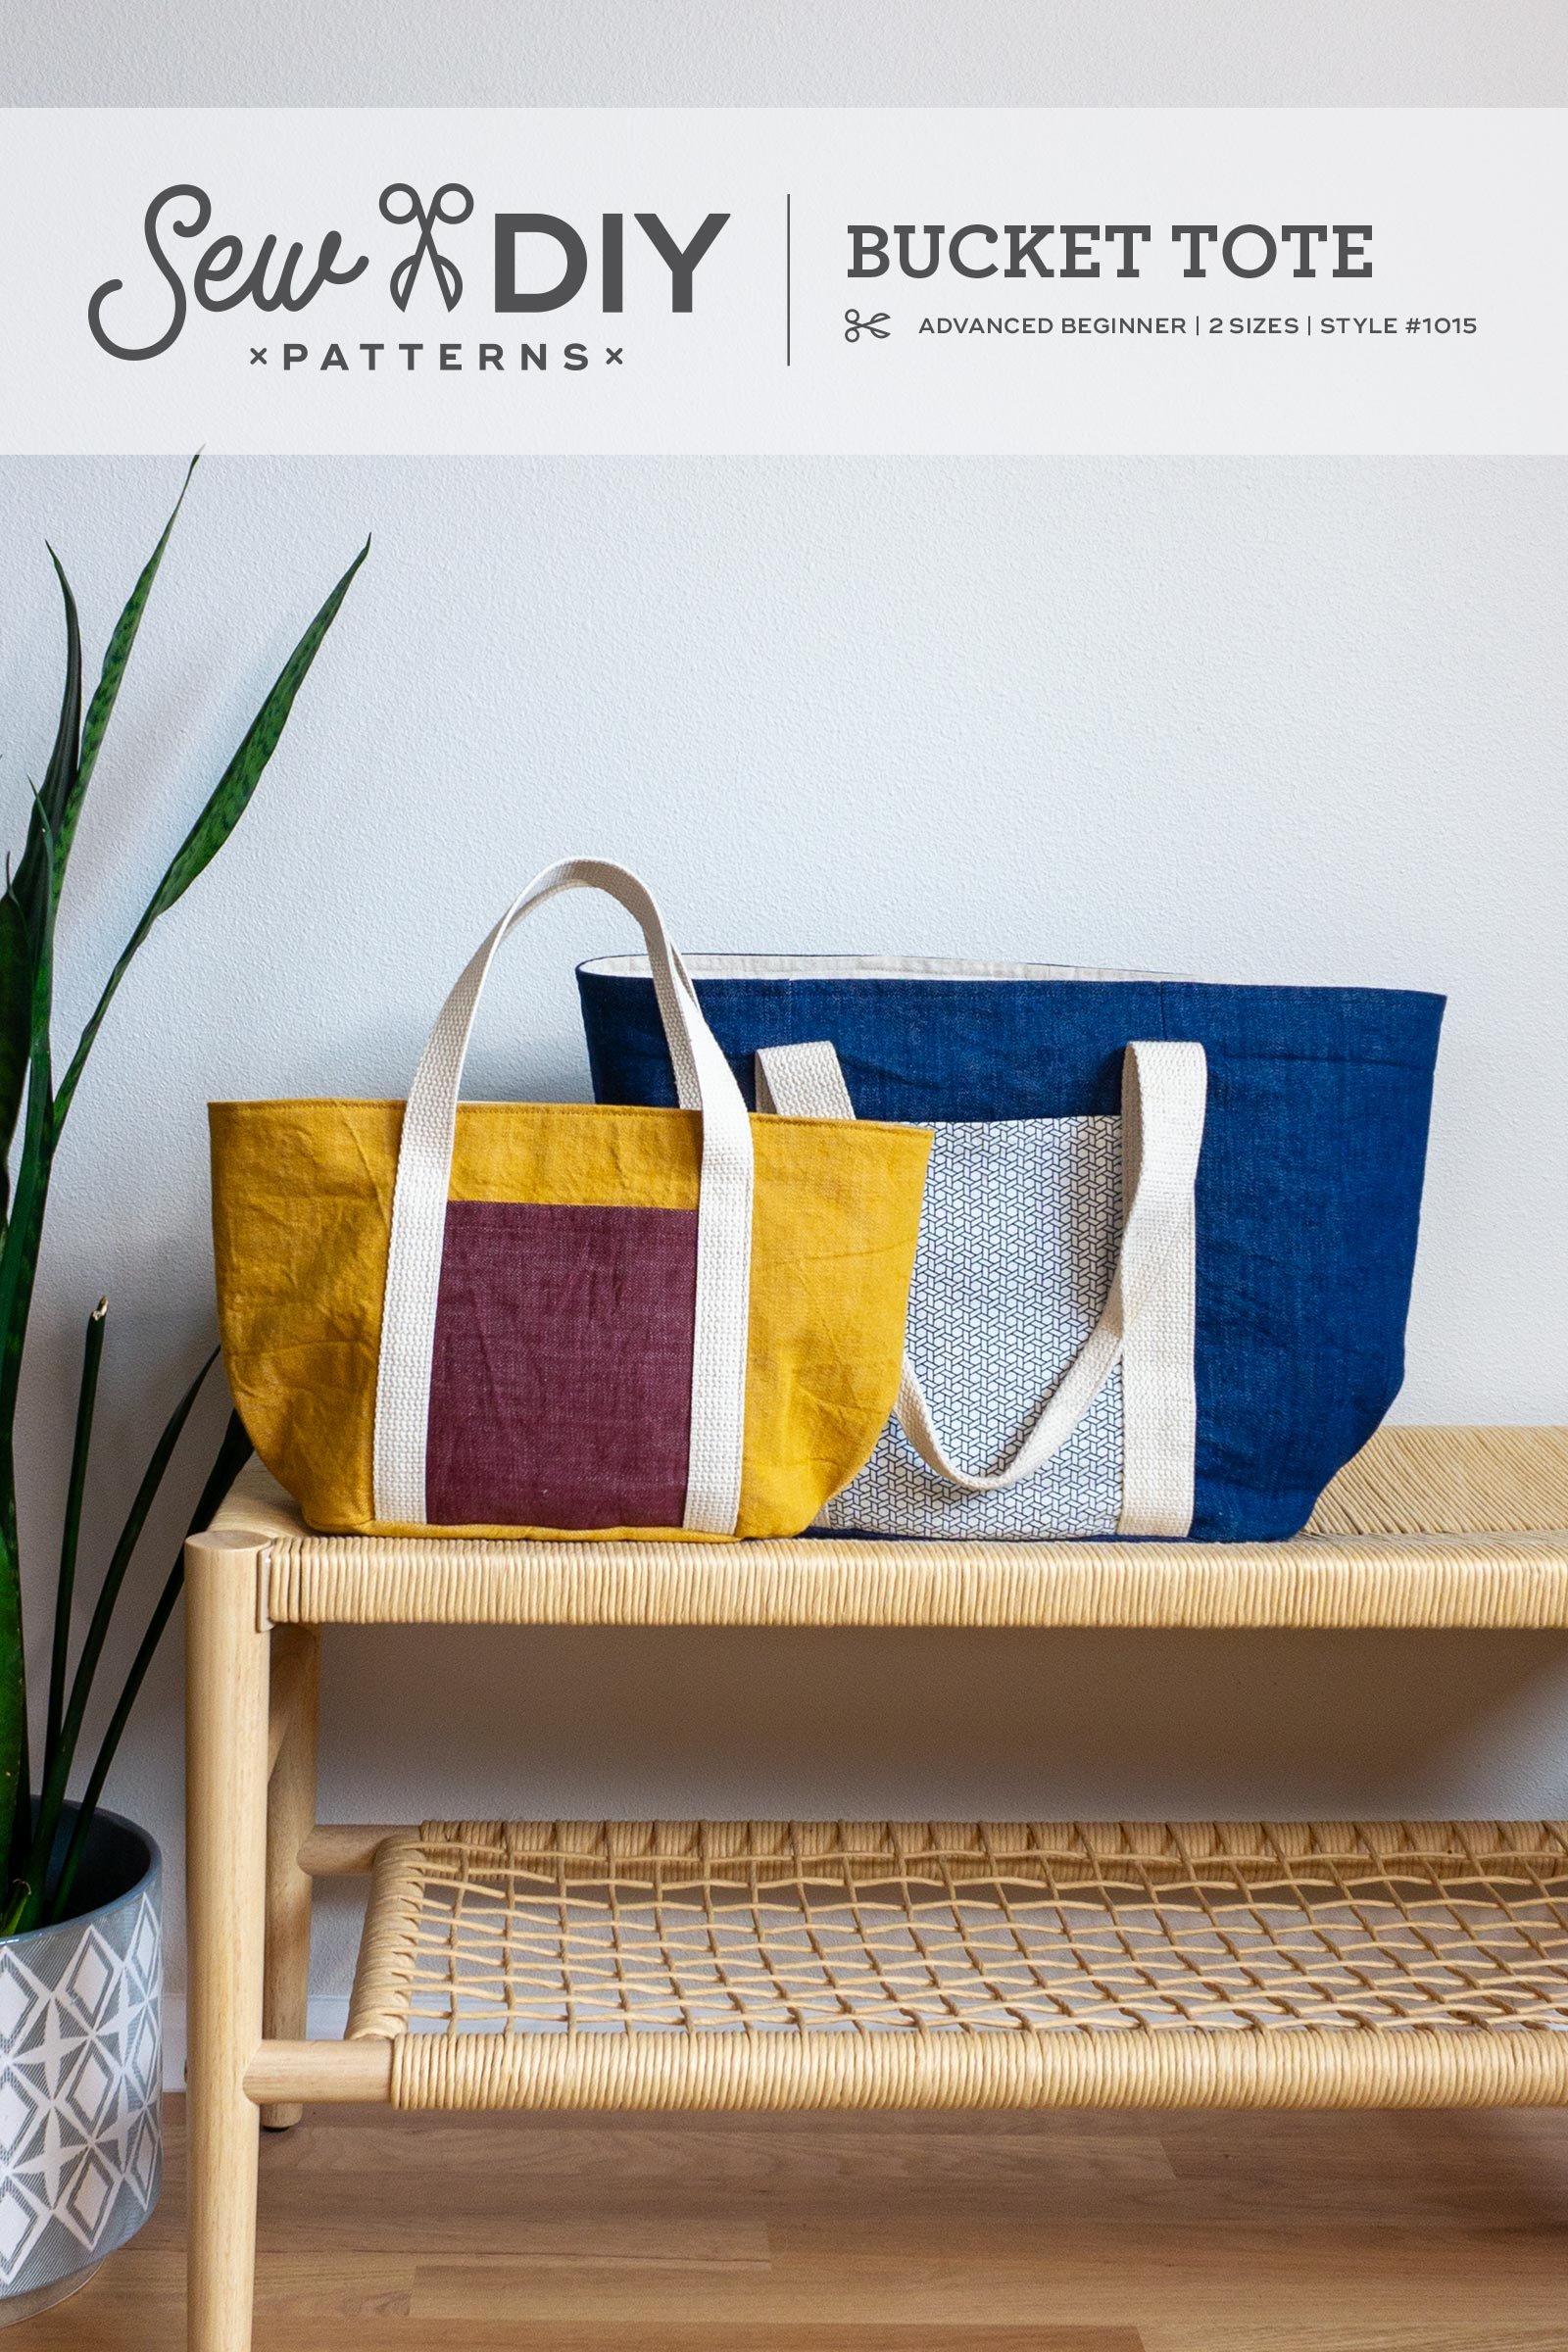
Today, I'm very excited to announce the launch of a new sewing pattern! The Sew DIY Bucket Tote is the perfect "throw & go" bag with a wide top opening so you can easily see and access everything inside. This fully lined tote is thoughtfully designed with an oval base, pleats at each end plus exterior and interior pockets. Sturdy cotton webbing handles complete the design, offering durability and comfort for carrying.
The pattern includes both regular and small sizes, giving you options for wherever life takes you. The regular size is perfect for a day at the pool or a short road trip while the small size can be used to carry your lunch or a small craft project.
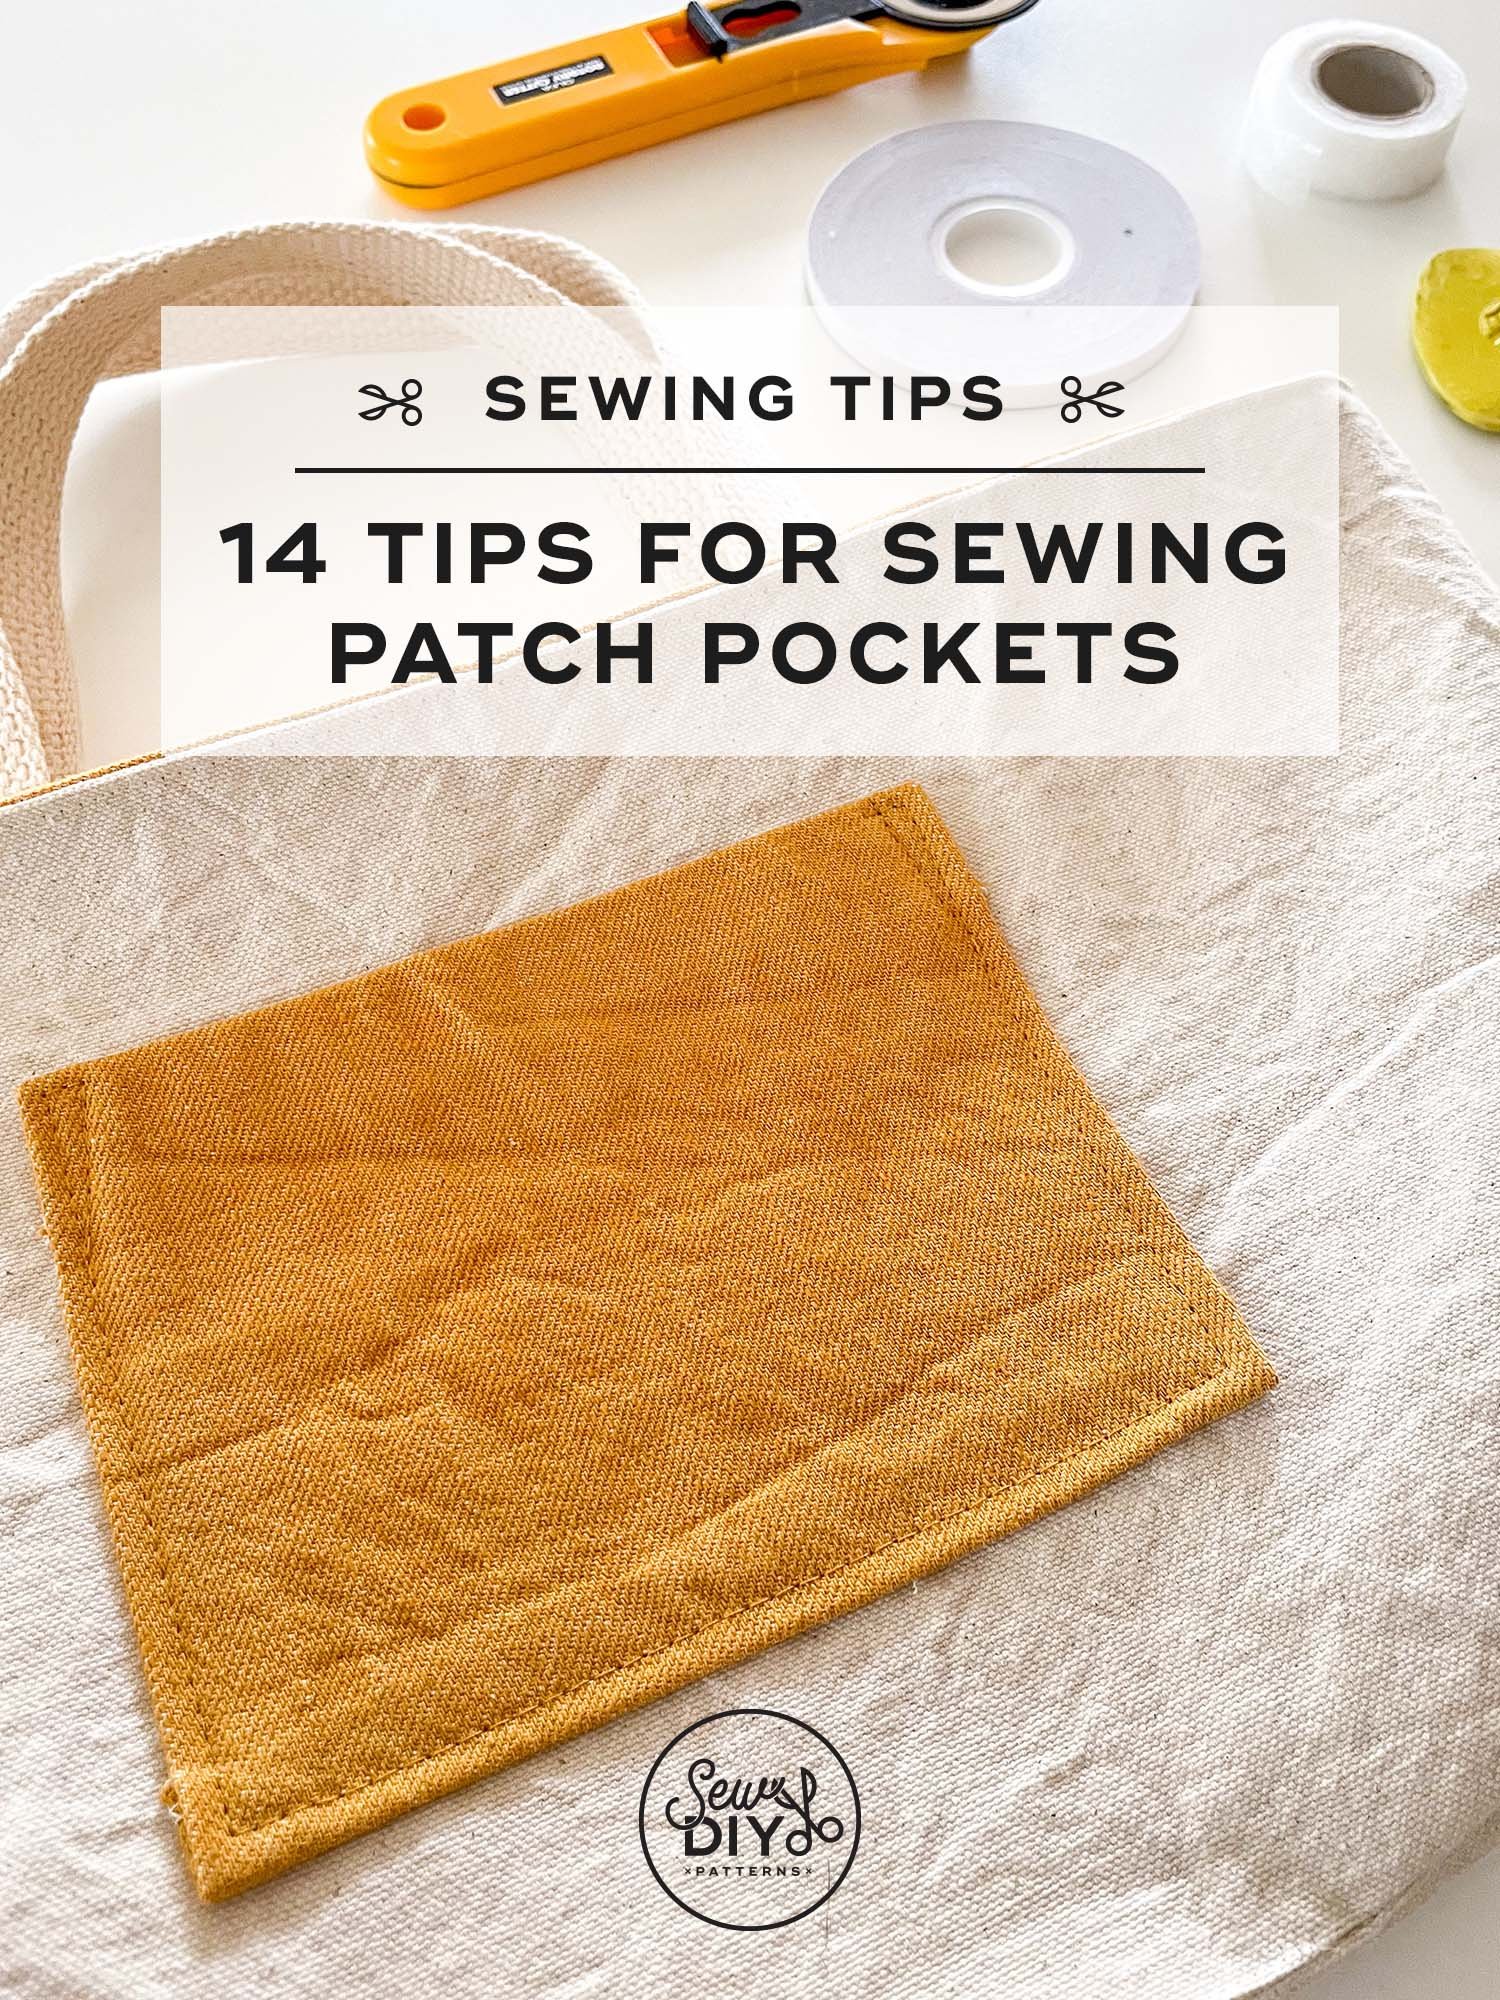
Nice looking patch pockets are all about precision. That starts with cutting and continues to placement and stitching. Over the years, I've gathered a few tricks and tips to help you sew patch pockets with ease. If you're just getting started with sewing, I recommend using a stable woven cotton fabric for your first project because it's less likely to warp and will press nicely. With a sturdy fabric, you won't need too many tricks but the more drapey the fabric is, the more likely it is that you'll want to reach for a special tool or trick.

Hello sew-friends! Today's video is taking a deep dive into marking tools for fabric. After you cut out your fabric, the first thing you need to do is transfer all the pattern markings from the pattern to the fabric. Trust me, you don't want to skip it! In this post, I'll chat briefly about pattern markings and why they're important. Then, I'll share a variety of tools that can transfer marks to fabric and the pros and cons of each. Plus, I'll demonstrate how to mark a dart using a tracing wheel and transfer paper and how to mark a dart using a hole punch and chalk. Let's get started!
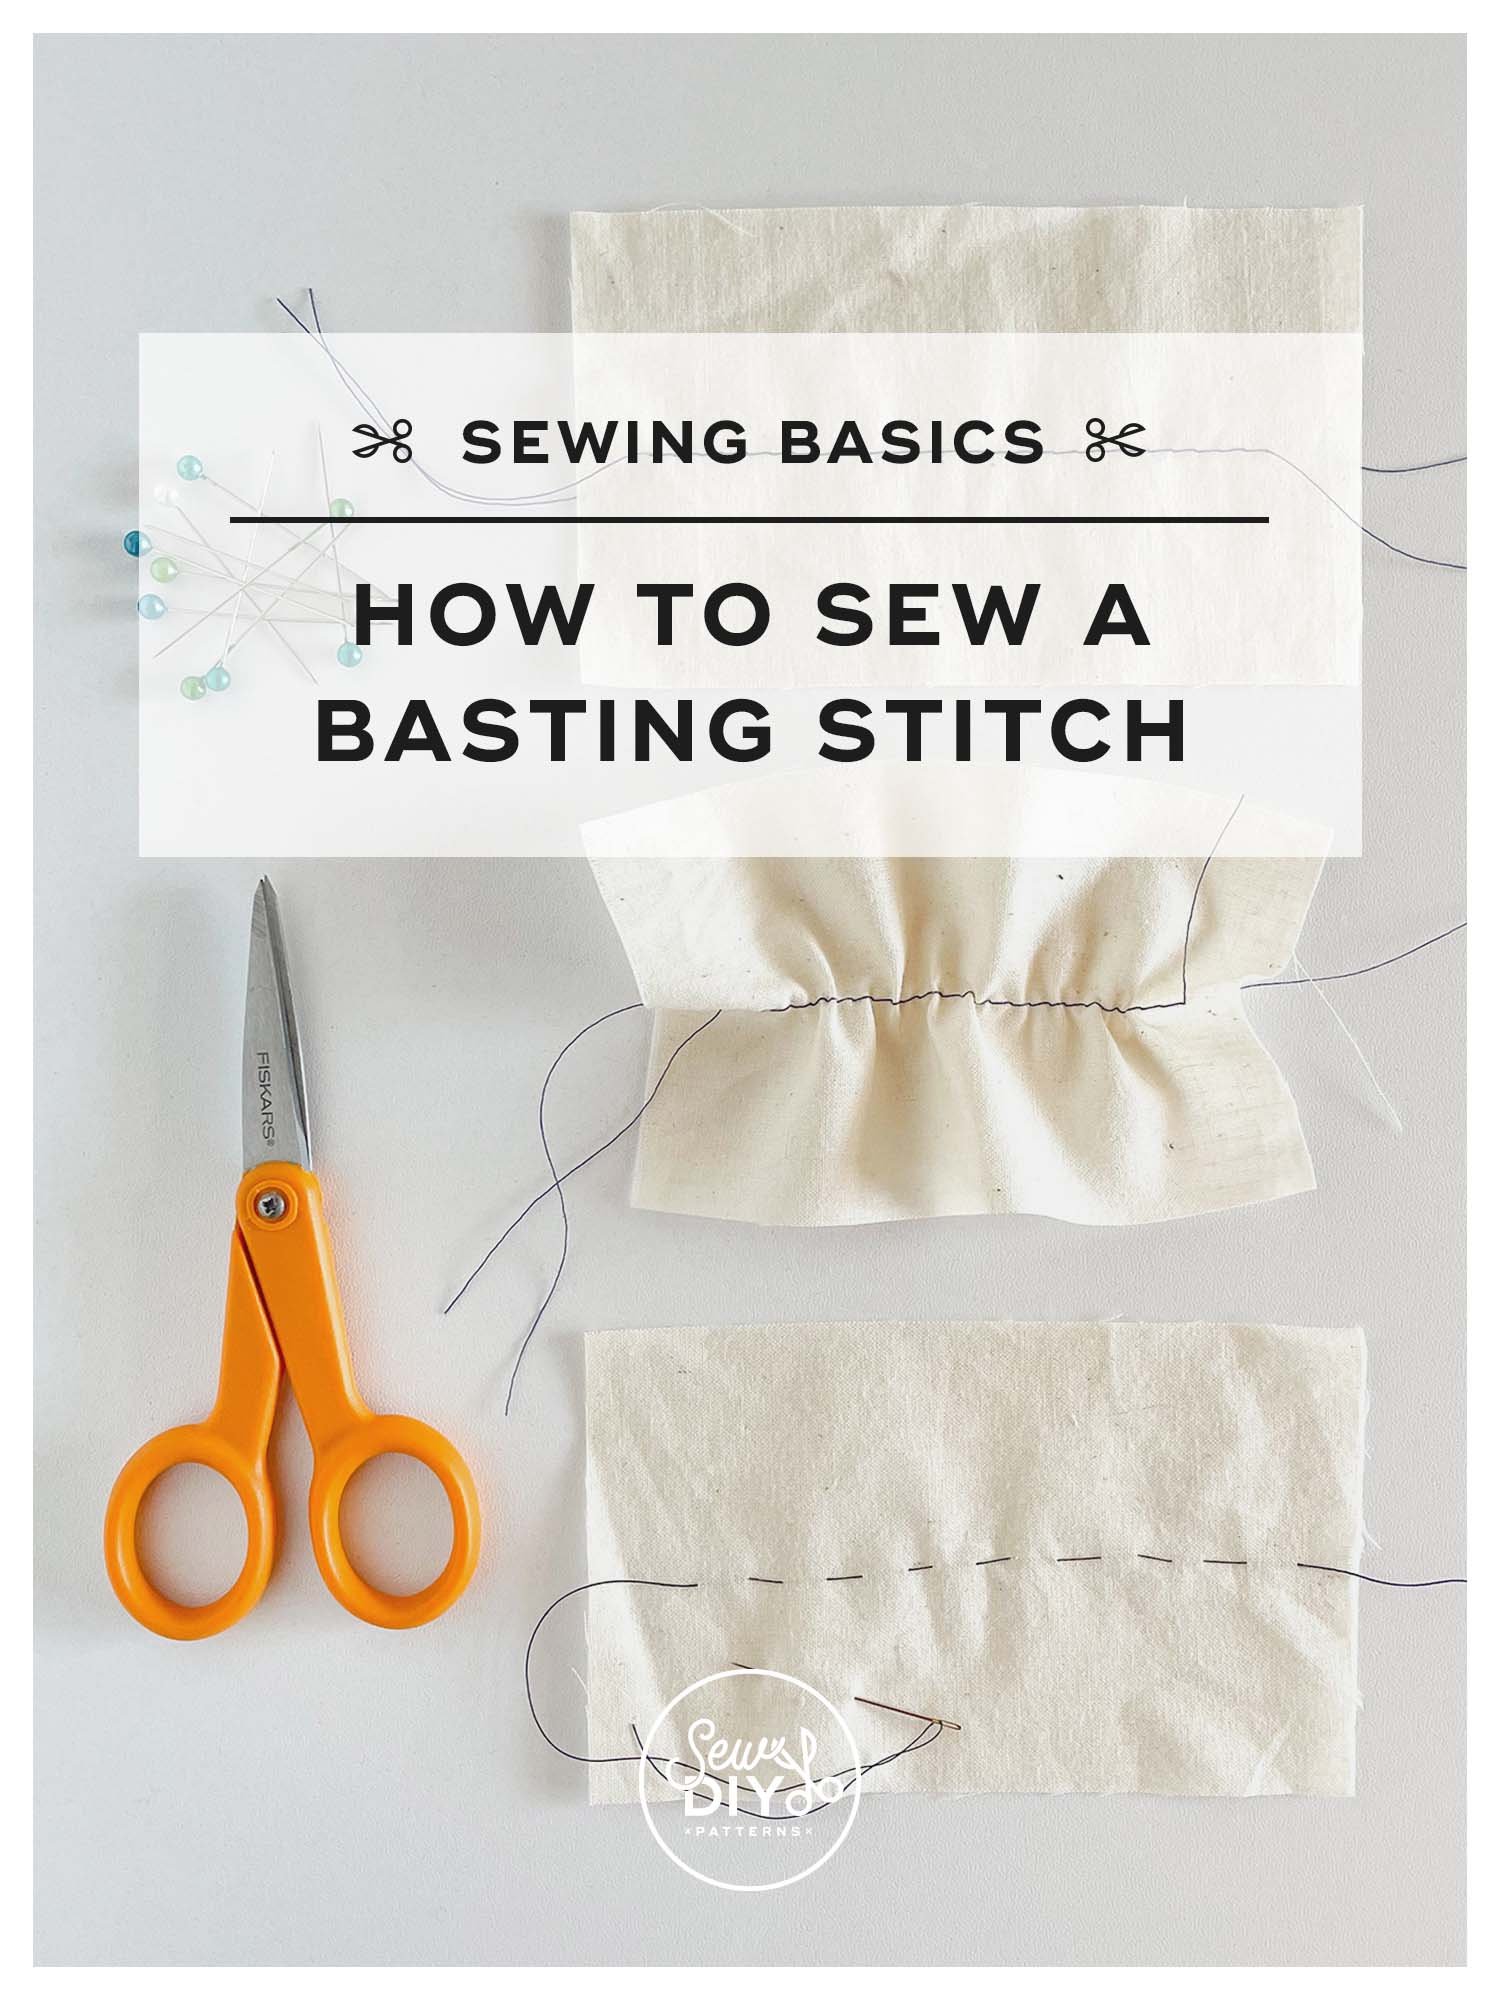
If you've sewn a garment before, you may have encountered a basting stitch. And, if you keep sewing, you'll be sure to use it with most projects. Basting is a fundamental sewing technique because it's so useful. Even better, it's a very easy stitch to sew. In this post and video, I'll talk about what a basting stitch is, when to use it and demonstrate sewing a basting stitch by hand and by machine.

Today’s video is a big one! I share my top reasons why pdf patterns are awesome (just in case you’re not already convinced). Then I share my top tips for how to successfully print pdf patterns (including the printer settings you need to make sure the entire pattern prints on the page). And finally I show how to efficiently assemble and cut the pattern. I even show you the techniques I learned in design school for safely using an exacto knife or blade. I’ve never cut off a finger using these techniques so hopefully it will help you and keep your fingers safe too!
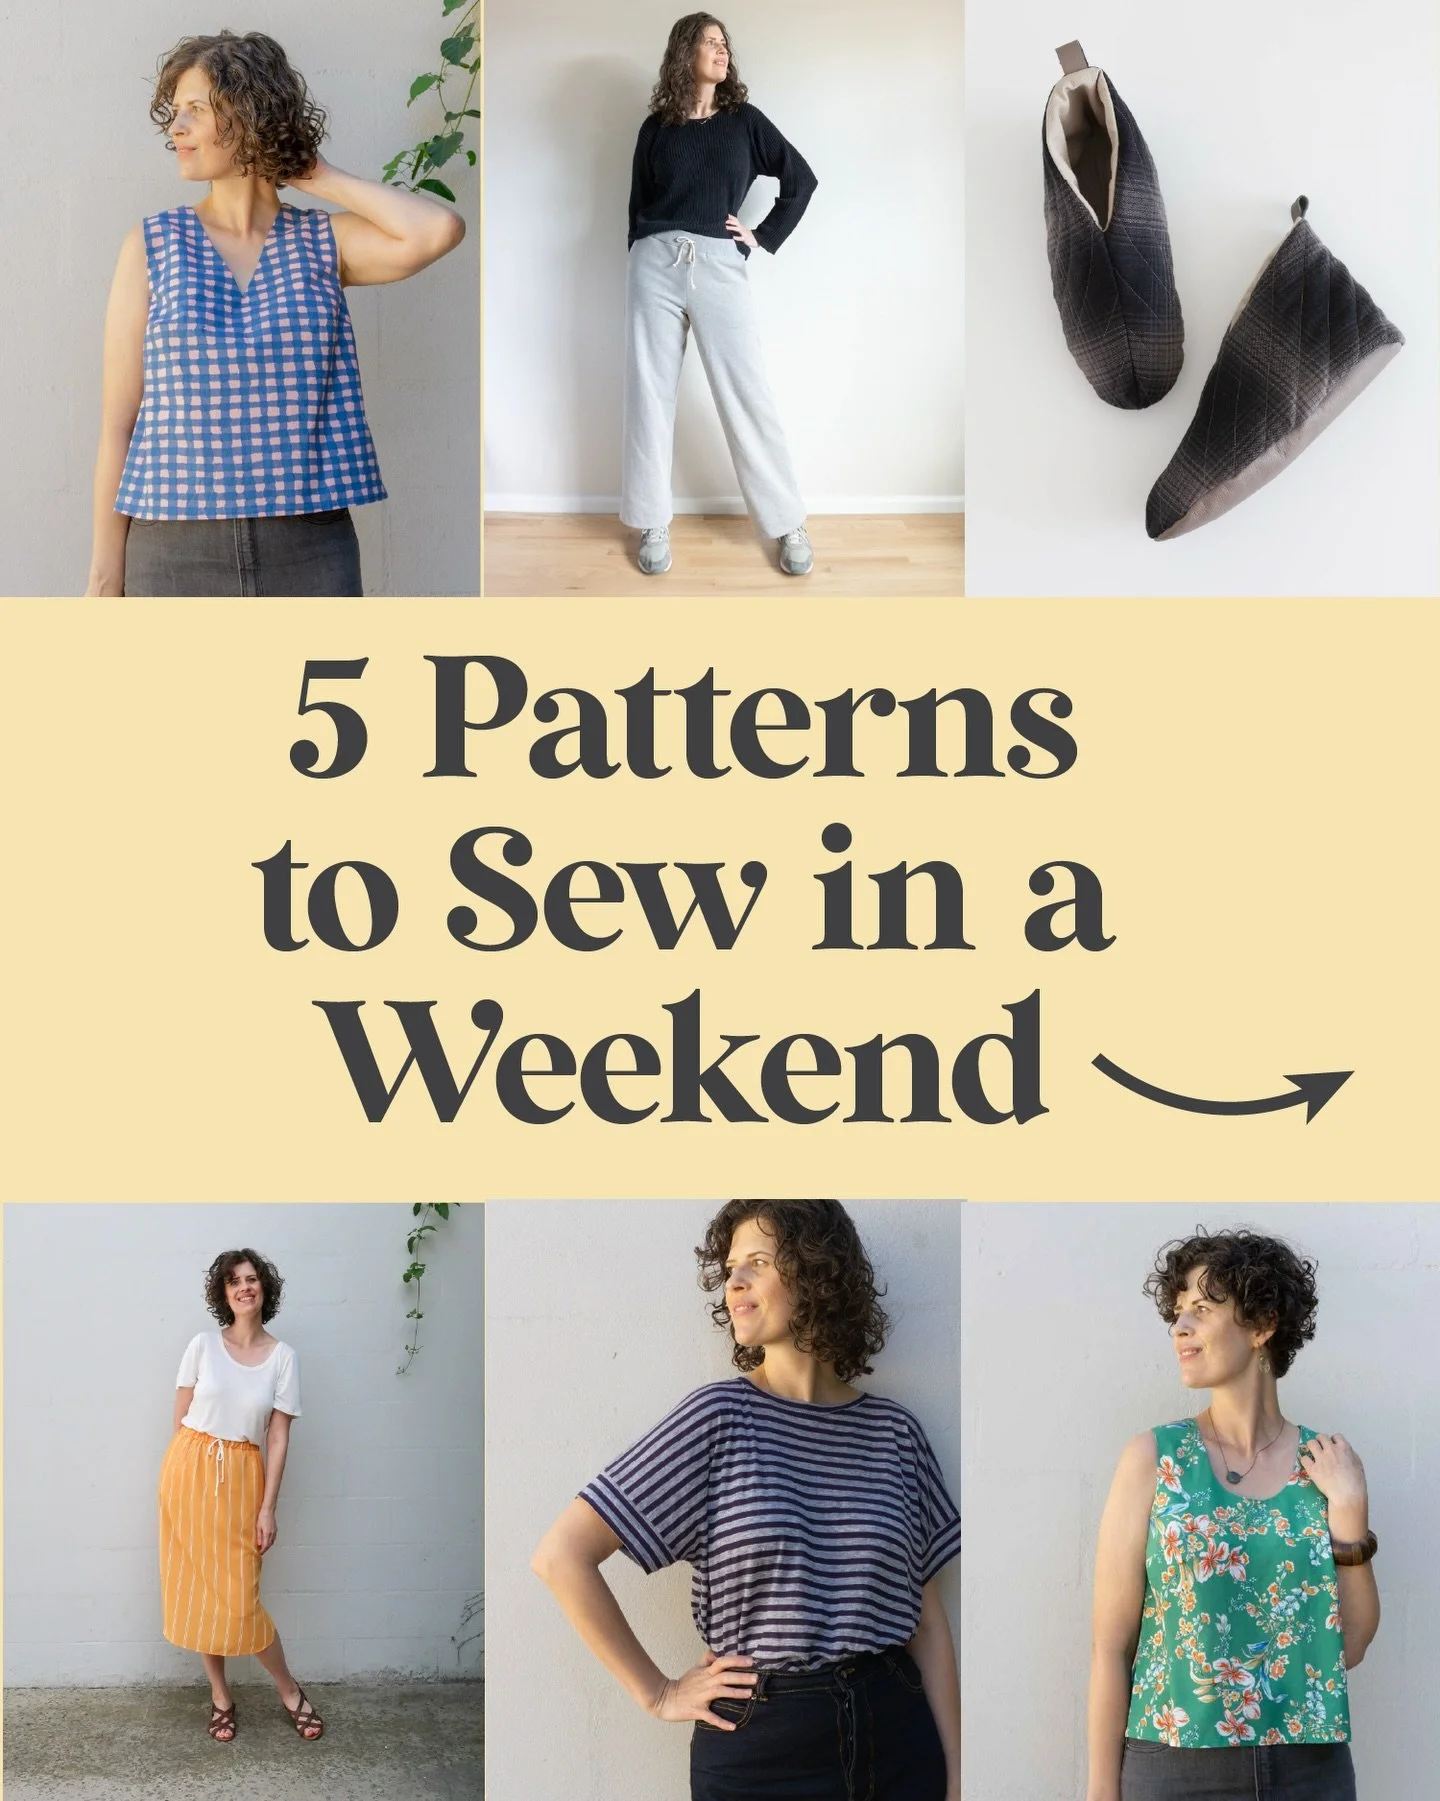
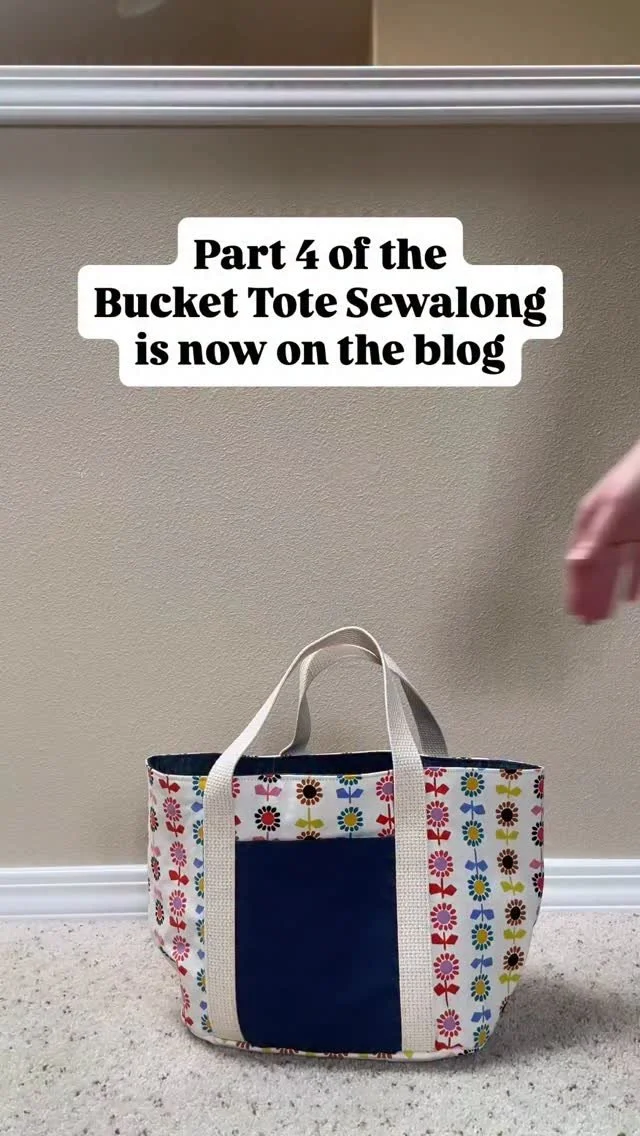

Hello sew-friends! Today, I have another two part hack for my Bucket Tote sewing pattern. For this version of the tote, I've taken the small size and added a recessed drawstring closure to the lining and decorative trim to the handles. You can use both hacks in one bag, or either one individually.
This drawstring hack is similar to the recessed zipper hack that I shared a few weeks ago. The construction is the same as usual for the exterior and the hack is only applied to the lining. Just like with the recessed zipper, the lining is divided to have a narrow facing at the top, a new closure layer and then the lining below. The drawstring casing is made from a separate piece of fabric that is the same circumference as the bag. When not in use, the casing can be pushed flat against the lining of the bag. When the drawstring is tightened, the casing covers the top of the bag.