Lou Box Dress 1 & 2 Sewalong
Directly below are tutorials specifically for the Lou Box Dresses. Scroll down for blog posts with tips and tutorials for sewing with knit fabric. Click an image below to go the tutorials. If you haven't purchased a pattern yet, head over to the shop to download.

The Lou Box Dress 2 is a loose-fitting gathered waist dress with a ballet neckline, scoop pockets, a knee length skirt and dolman sleeves. View A features three-quarter length sleeves. View B features full-length tapered sleeves and a low scoop back. Instructions are included for sewing the dress in both woven and knit fabrics.
This digital pattern includes an illustrated, step-by-step instruction booklet, a print-at-home layered pattern for letter or A4 size paper, a US copy shop pattern and an A0 size pattern.
Model is 5’11” and is wearing a size 12.
THIS IS NOT A PHYSICAL PRODUCT. After checkout, you will receive a link to the pattern that will be active for 24 hours after you click it. Prices are in USD.
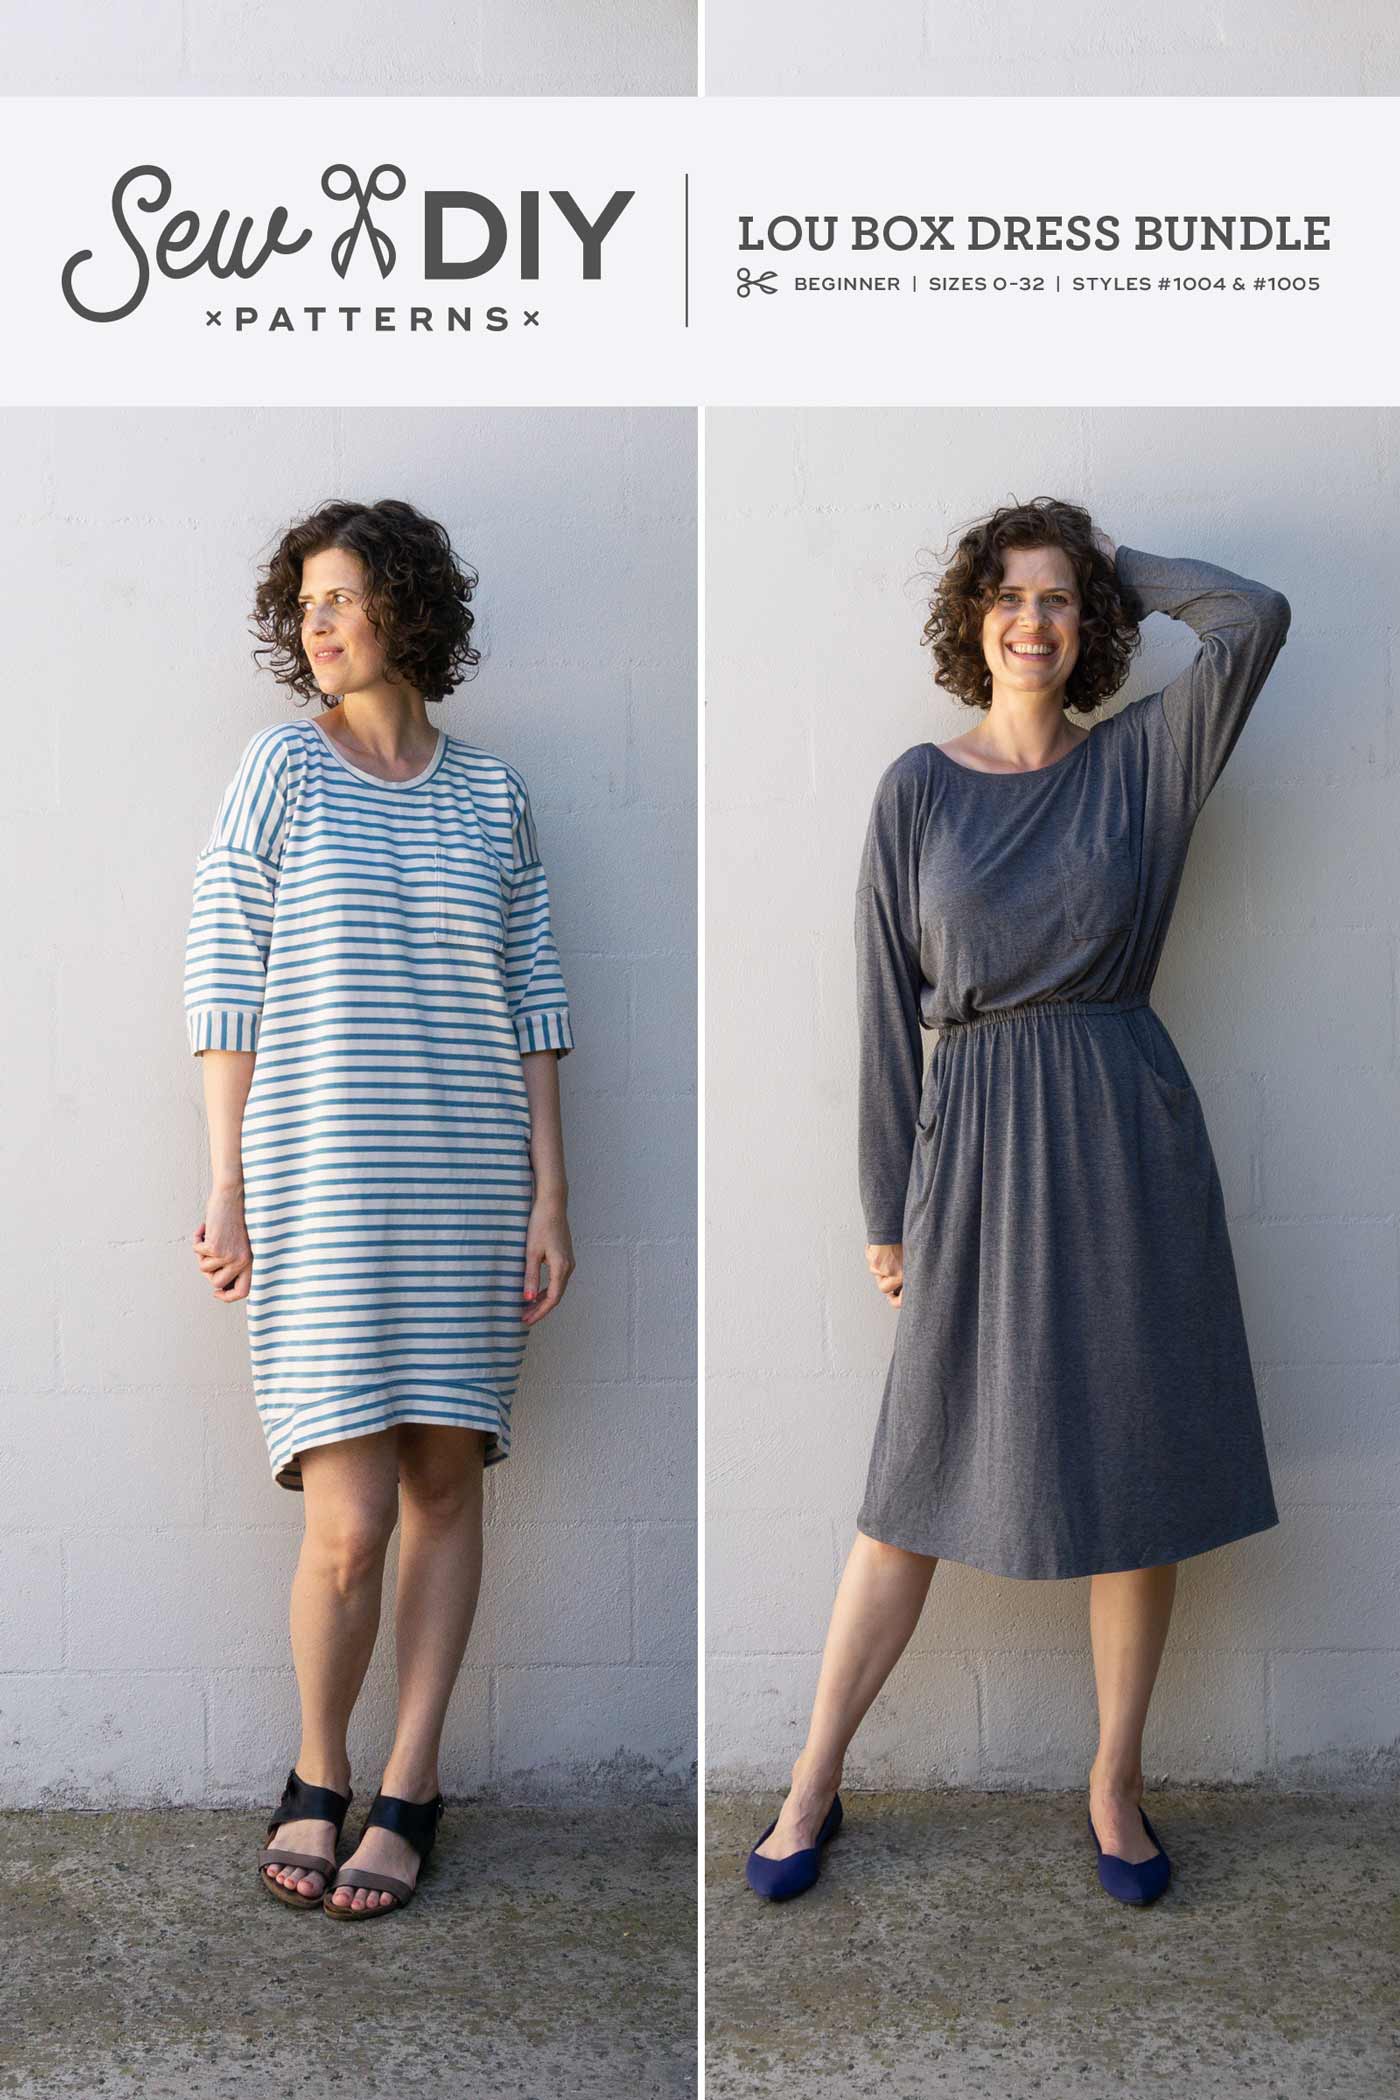
This item includes the Lou Box Dress 1 and the Lou Box Dress 2 pdf sewing patterns for a discounted price.
Lou Box Dress 1
The Lou Box Dress 1 is a loose-fitting cocoon style dress. Worn alone, it’s perfect for warm summer days. Paired with a sweater, tights and boots, it will take you through the colder months. Make it in linen for a casual look or printed silk for a luxurious night out. View A features a medium scoop neck, 3/4 length sleeves with cuffs, in-seam pockets and a knee-length skirt. View B features short cuff sleeves and patch pockets. Instructions are included for sewing the dress in both woven and knit fabrics.
Lou Box Dress 2
The Lou Box Dress 2 is a loose-fitting gathered waist dress with a ballet neckline, scoop pockets, a knee length skirt and dolman sleeves. View A features three-quarter length sleeves. View B features full-length tapered sleeves and a low scoop back. Instructions are included for sewing the dress in both woven and knit fabrics.
The bundle includes two digital PDF patterns each with a print-at-home pattern, copy shop pattern, A0 pattern and illustrated instructions. THIS IS NOT A PHYSICAL PRODUCT.
After checkout, you will receive a link to the pattern that will be active for 24 hours after you click it. Prices are in USD.
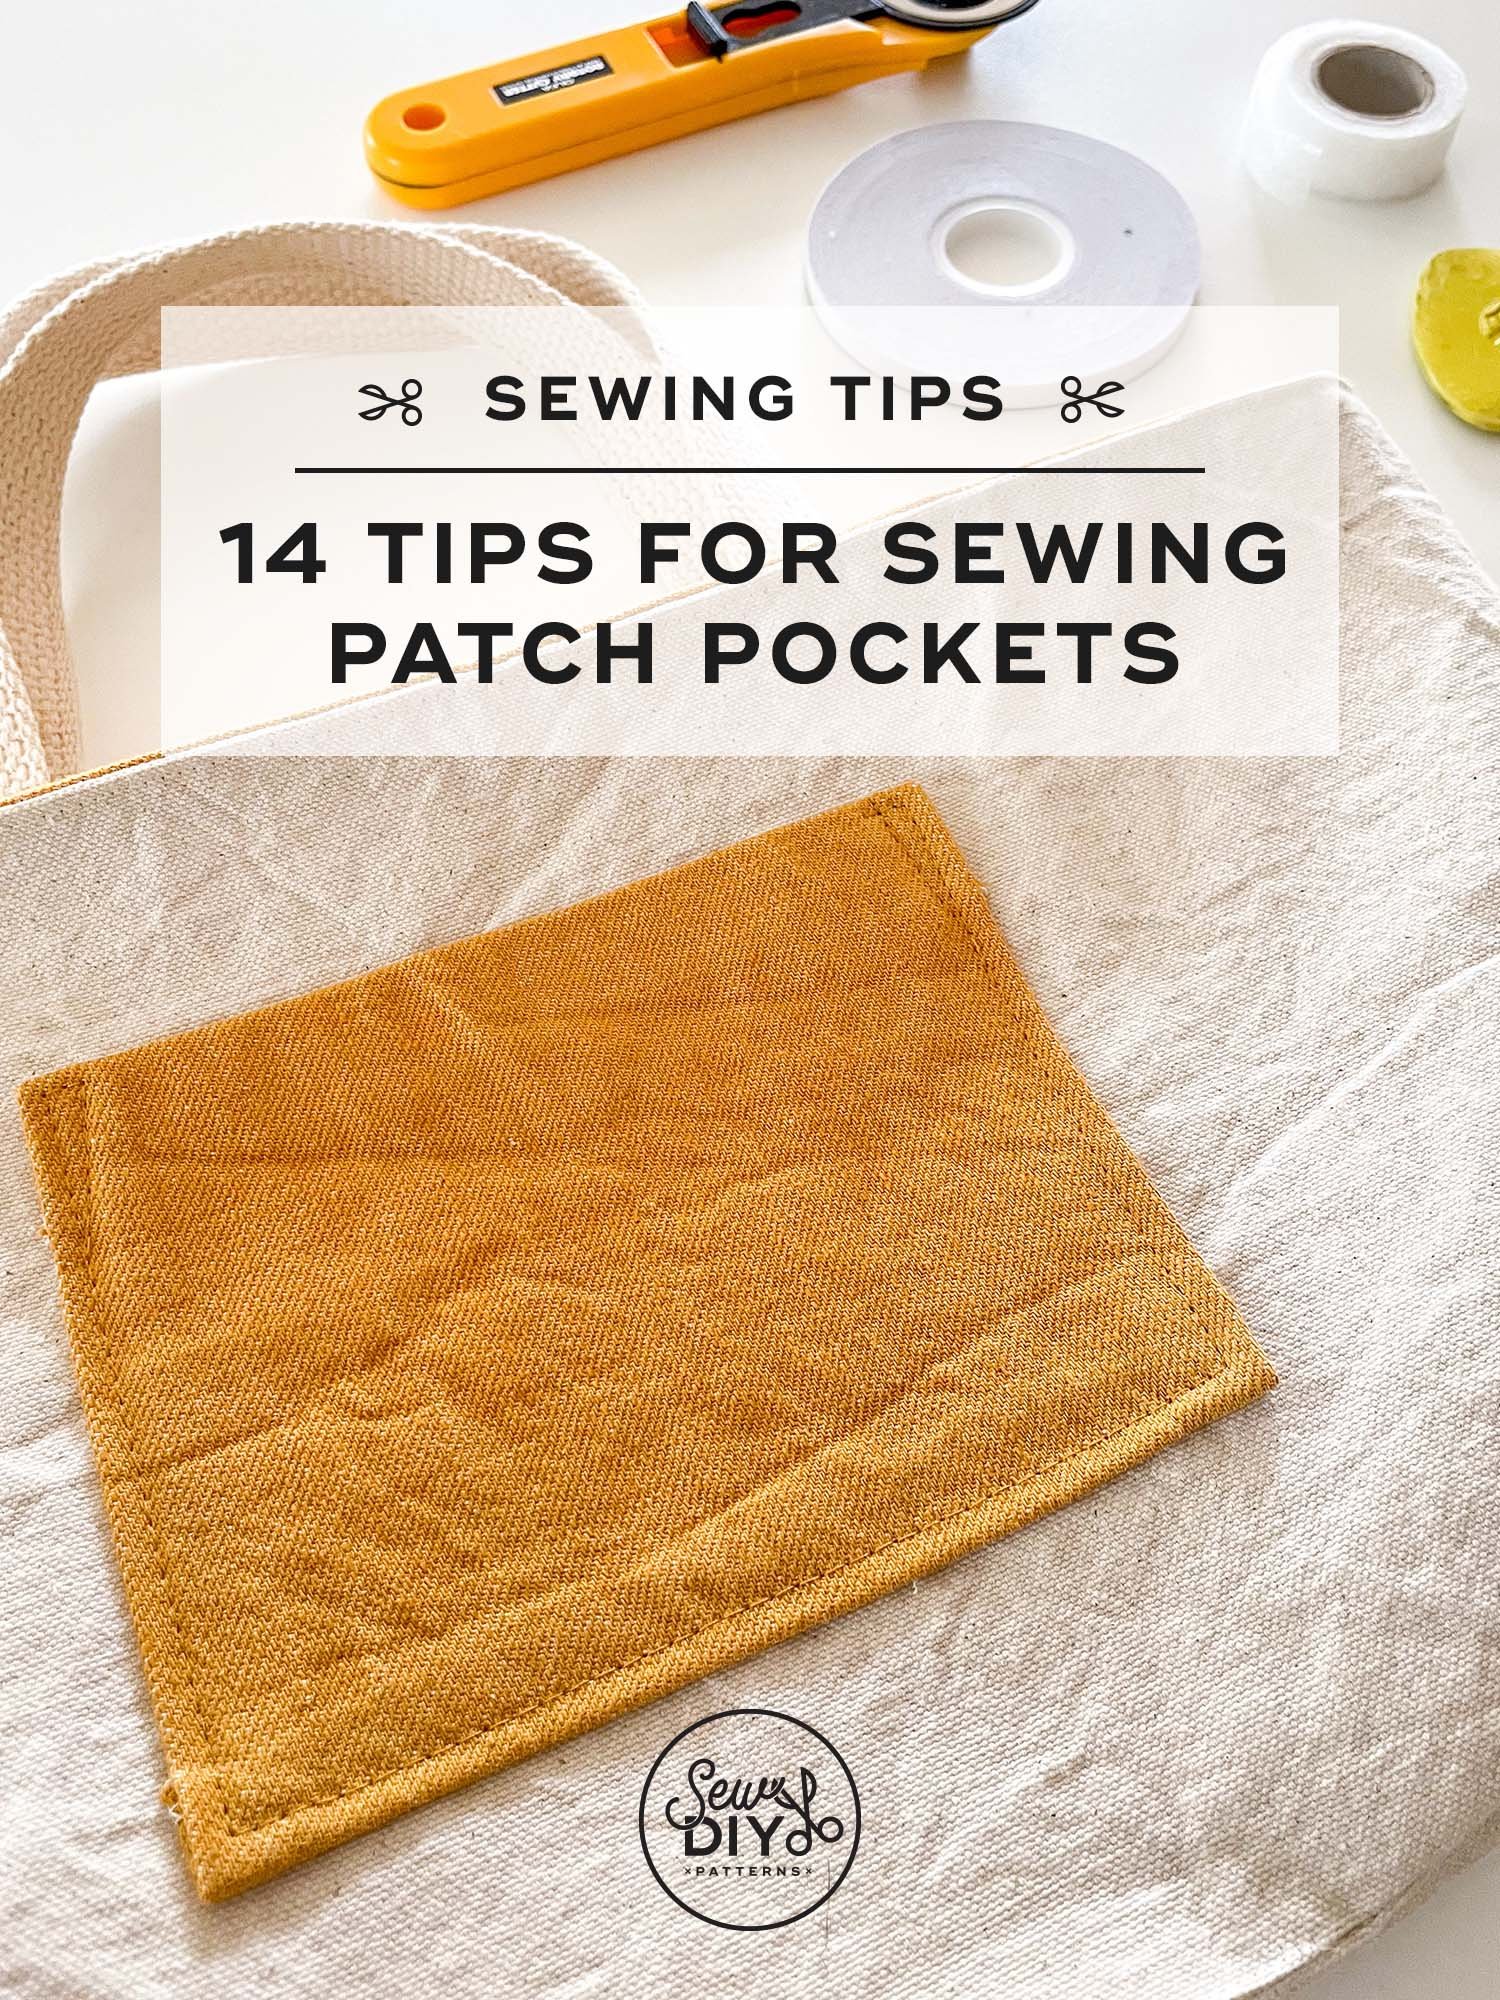
Nice looking patch pockets are all about precision. That starts with cutting and continues to placement and stitching. Over the years, I've gathered a few tricks and tips to help you sew patch pockets with ease. If you're just getting started with sewing, I recommend using a stable woven cotton fabric for your first project because it's less likely to warp and will press nicely. With a sturdy fabric, you won't need too many tricks but the more drapey the fabric is, the more likely it is that you'll want to reach for a special tool or trick.
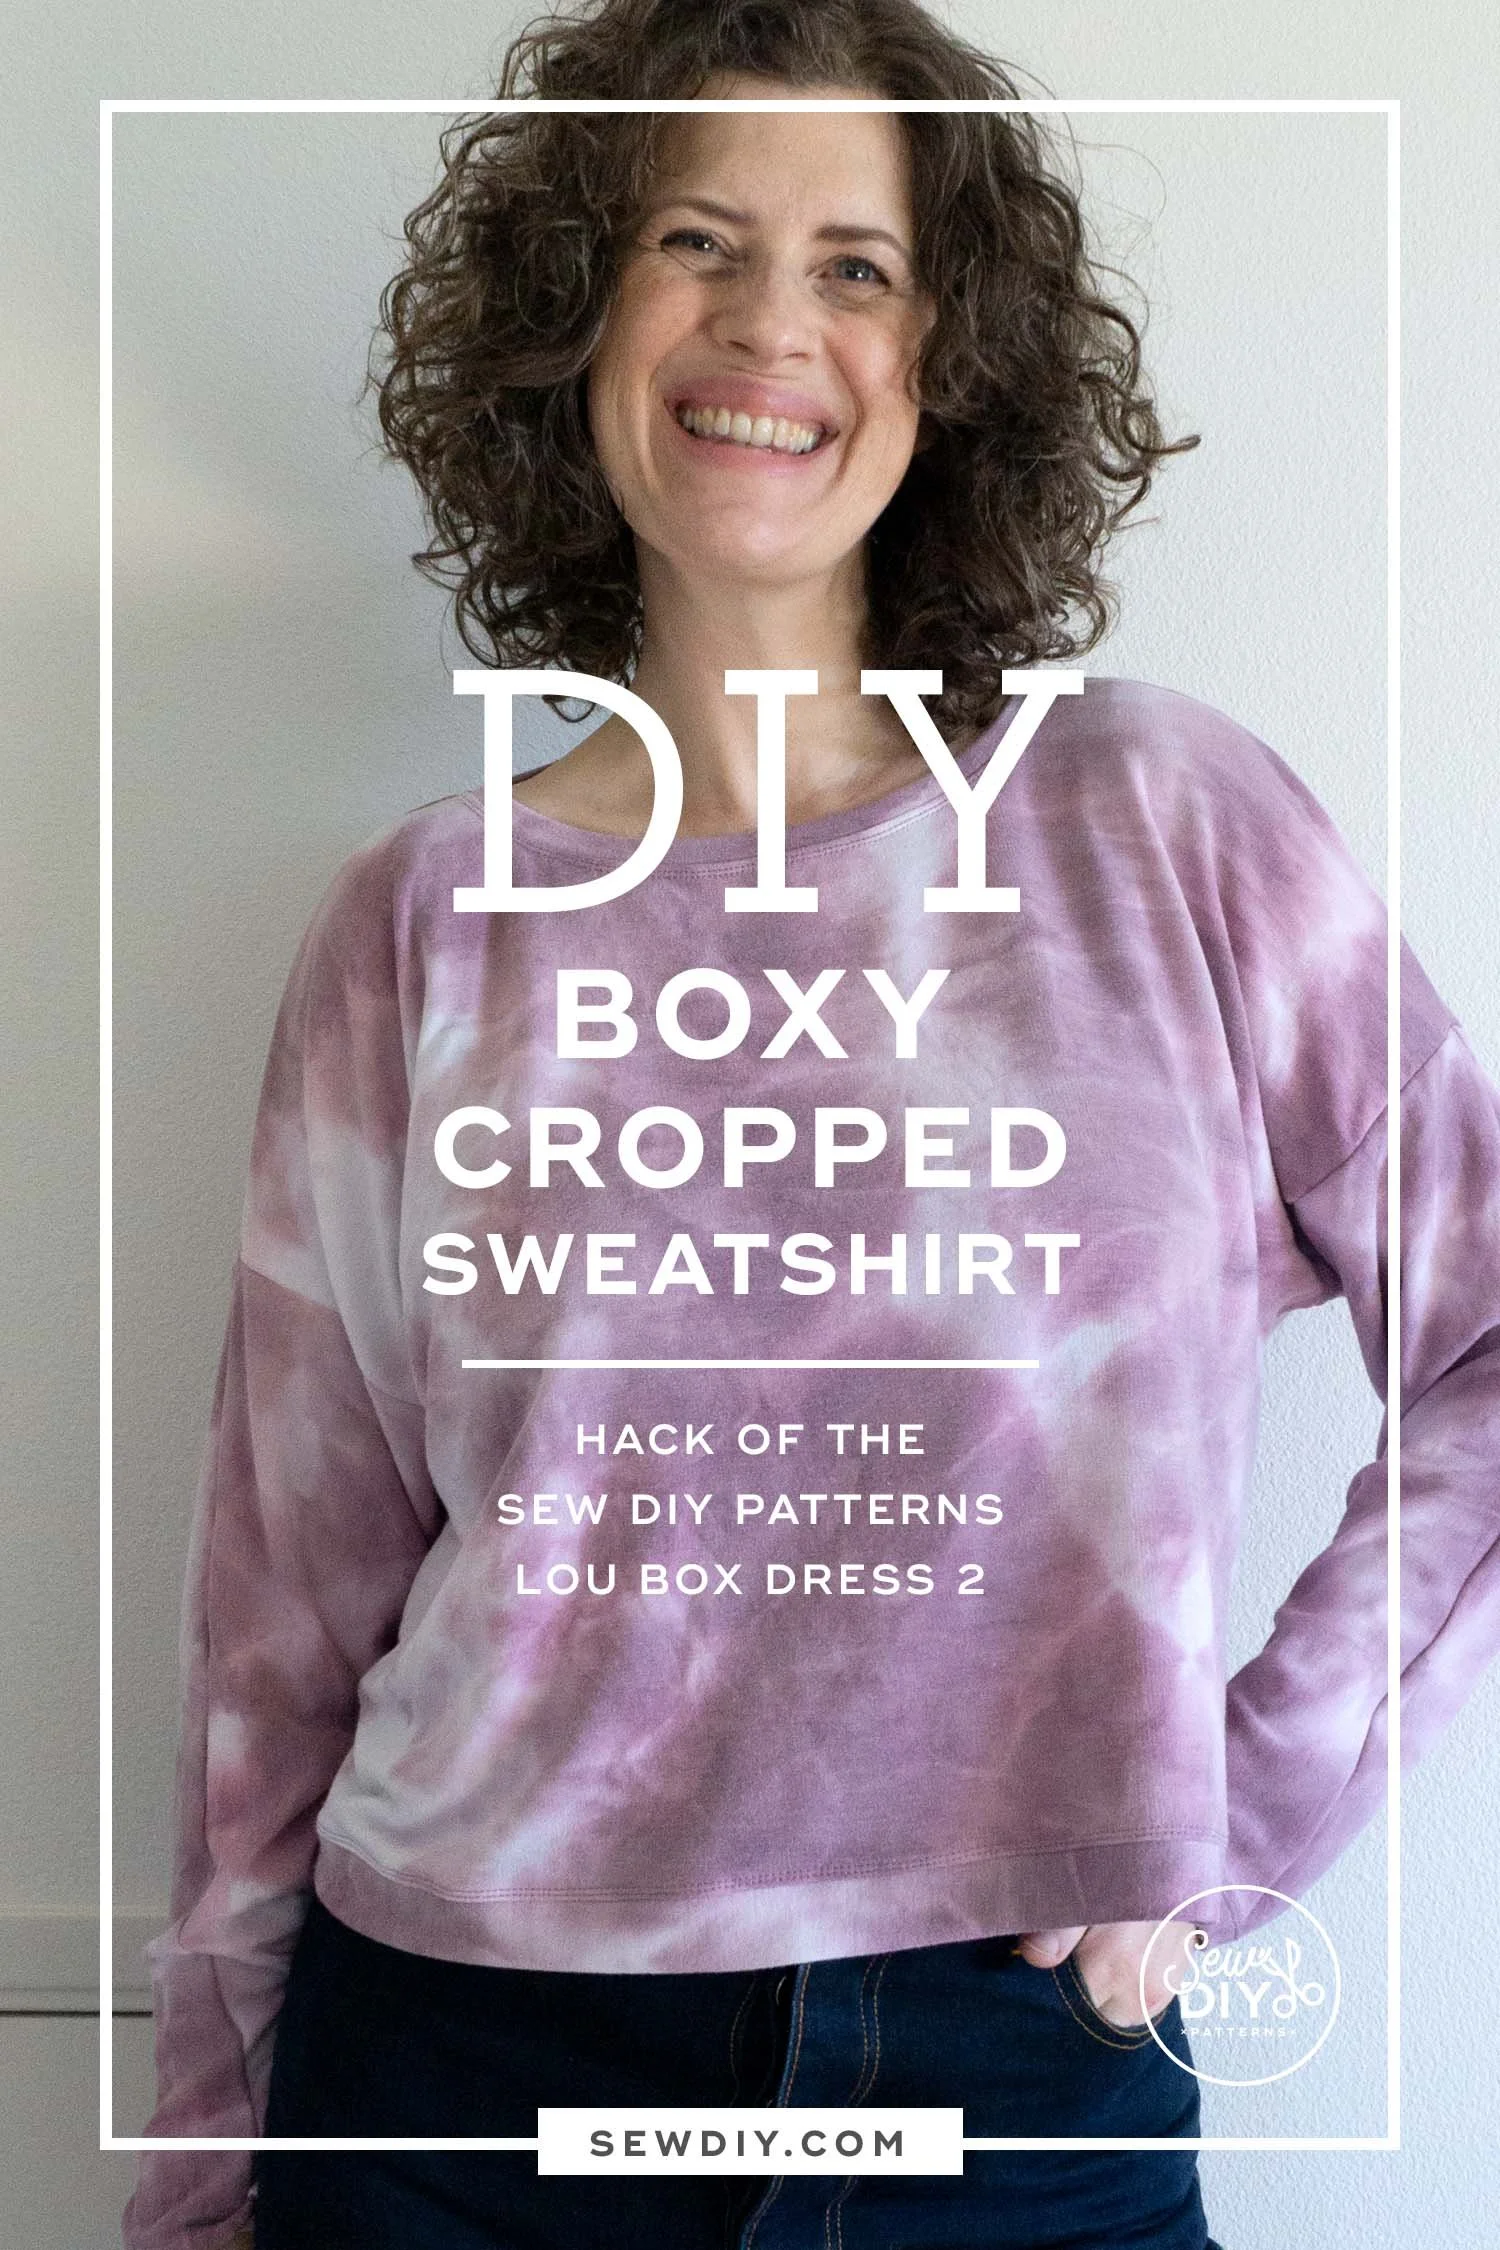
Today, I have a super cute, casual and easy hack of my Lou Box Dress 2 pattern. As a bonus, it's also a great stash busting project. I made this long-sleeved boxy top out of a fabric remnant that was just under 1 yard long! I'll share cutting layouts, pattern adjustments and tips for how I hacked the layout to make it work. This DIY boxy top is a great cozy, oversized top and I've been loving wearing it. Use a lighter weight knit fabric for a boxy top or a medium-weight loop-back fabric for a true sweatshirt style.
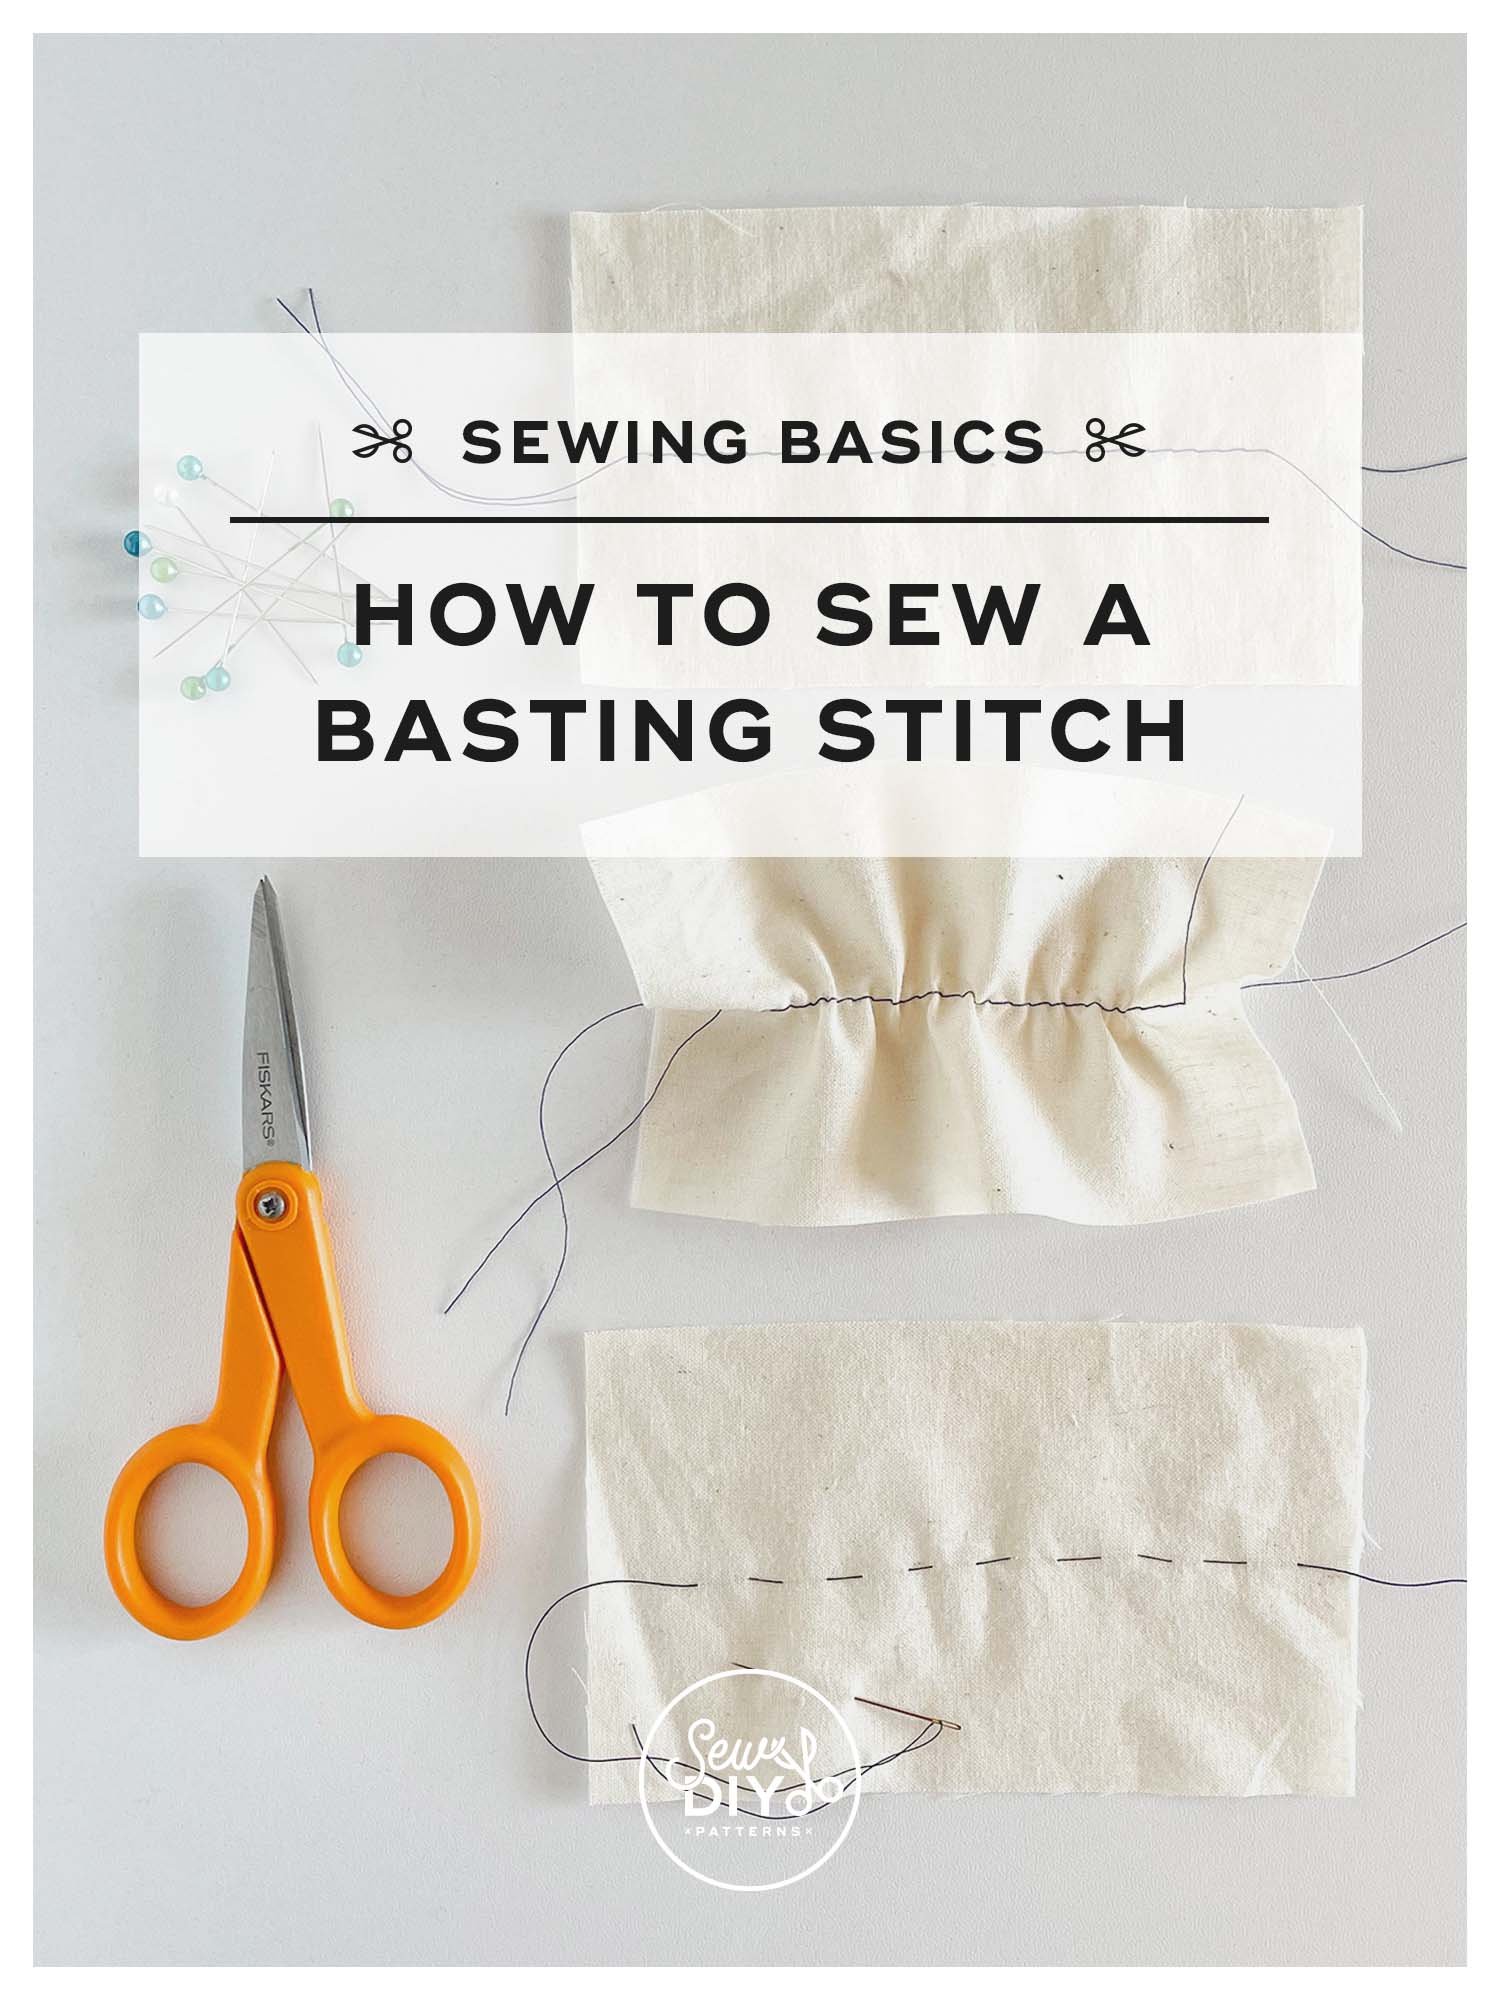
If you've sewn a garment before, you may have encountered a basting stitch. And, if you keep sewing, you'll be sure to use it with most projects. Basting is a fundamental sewing technique because it's so useful. Even better, it's a very easy stitch to sew. In this post and video, I'll talk about what a basting stitch is, when to use it and demonstrate sewing a basting stitch by hand and by machine.

In today's video, I'm going to be showing you how to understitch. Understitching is a technique that is most often used when sewing woven fabric garments but occasionally with knit fabrics as well. It's mostly used when you are sewing a facing, a lining or an in-seam pocket. The purpose of understitching is to keep those parts of the garments hidden and out of view.

Today's tutorial is a follower request! In today's video, I'll be showing you how to sew in-seam pockets. I think it's pretty universally agreed that everyone loves pockets and garments are instantly 100% better when they incorporate them. In-seam pockets can be added to the side seam of a dress, skirt, pants or shorts. They are probably the most commonly found type of pocket (I did not research that statement! lol). But, I do think they are the most beginner friendly and that's why they are found in so many sewing patterns. They are nearly invisible when wearing and do not alter the style lines of a garment. Which means, because all that stitching is on the interior, it doesn't have to be perfect or topstitched, like a patch pocket. Also, if your sewing pattern doesn't come with an in-seam pocket pattern piece, I even have one for you to download for free.

Today, is the final video in my series of how to adjust the length of different parts of a pattern. I hope that this will be a useful series for you as you move through your sewing journey. Today’s video tutorial will teach you how adjust the length of a skirt or dress. In the video, I’ll be using my Lou Box Dress 1 and an example A-line skirt to demonstrate both how to lengthen and how to shorten a skirt. If diagrams and written text are a better way for you to learn, I have those below the video. Happy sewing!

Hello sew-friends! Today, I’m continuing my mini series of videos on pattern adjustments. It is very common to need or want to make a few pattern adjustments when sewing your own clothing. Today, I’ll be showing you how to lengthen or shorten the sleeves of a pattern. This is a simple but very common pattern adjustment. I'll demonstrate how make the pattern adjustment to tapered and bell shaped sleeves and explain why you don't want to just adjust at the end of the sleeve.

In today’s video, I’ll be showing you how to sew a french seam. The french seam sewing method stitches the seams and finishes them in a two step process. In this method, you will stitch each seam twice, enclosing the raw edge of the fabric on the second pass creating an attractive and clean finish. This is a simple method to sew and well worth mastering.
Can I confess something? I used to hate sewing French seams. It just took forever and I always ended up with bits of thread showing on the right side of the garment. It’s very possible that in my impatience, I was skipping the very important trimming step. But over the years, I’ve figured out how to sew this seam finish without going crazy. I actually enjoy sewing it now and rarely feel impatient to move on to the next project.
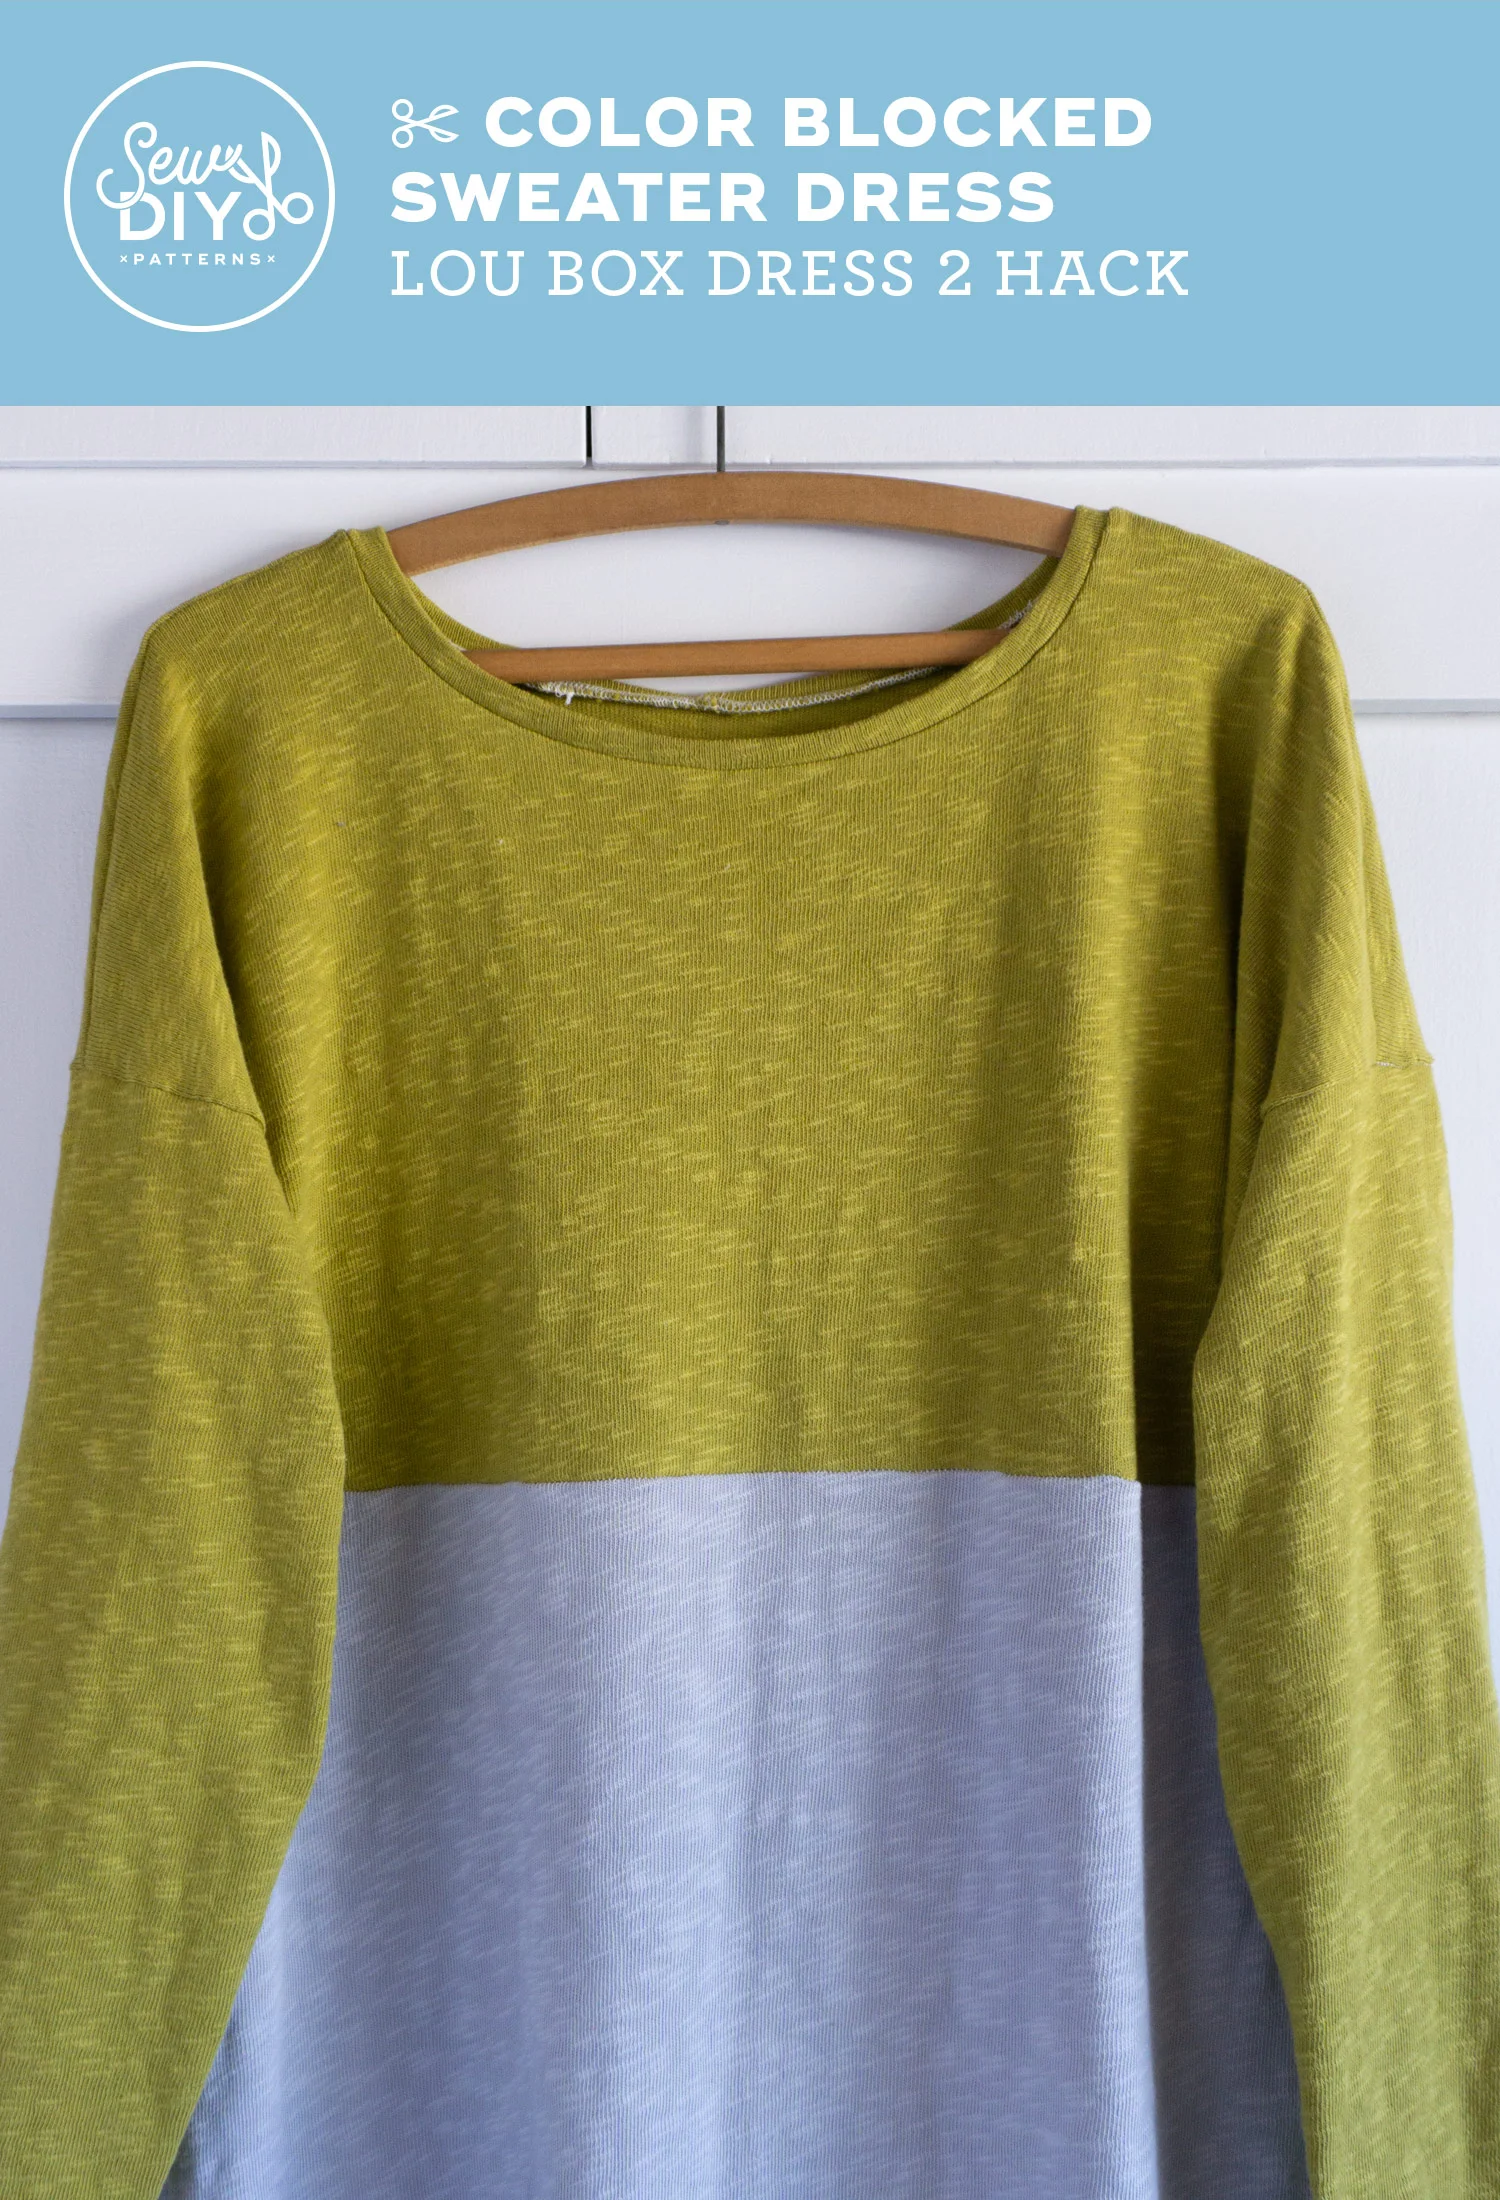
Today I have a fun and easy Lou Box Top/Dress hack to share with you – a split hem, color-blocked sweater dress. This dress is made using the cotton sweater knit currently in my shop. When I selected this fabric, I had a vision of this dress and I’m so pleased that it turned out exactly how I envisioned it. There was a moment during the making of it that I thought it was going to be an utter failure but it worked out. phew!

Hello sew-friends! Earlier this month I re-released the Lou Box Dress patterns and today is the final installment of the sewalong additions. When the pattern was first released, I did a full photo sewalong and during this second round of testing, I asked my testers what part of the construction process would be most helpful to see as a video. One popular suggestion was the elastic waist casing of the Lou Box Dress 2, so I’ll be showing you how to sew that in today’s video. I’ll take you through all the steps of how to sew the casing and inserting the elastic with lots of helpful tips along the way.

Hi sew-friends! Last week, I released the updated Lou Box Dress patterns and over the next few weeks I’ll be adding a few additional posts to the existing sewalong. These patterns are rated at a beginner level but everyone could use a little help now and then! Today, I’m sharing a video tutorial, showing you how to sew the short cuff sleeves of the Lou Box Dress 1 pattern. These cuffs are a little bit tricky to attach because they are a smaller piece fitting into a larger armhole but do not fear! I’m going to show you my methods for sewing them without any wrinkles or puckers.

Today I’m super excited to share a Lou Box Dress mashup with you. (If you follow me on Instagram, then you might recognize it from a couple of sneaky posts last week.) In case you’re not familiar with these patterns, the Lou Box Dress 1 and Lou Box Dress 2 are both based on the Lou Box Top (pretty obvs right?). The coolest part is that now that the dresses have had the sizing updated, all the pattern pieces can be mixed and matched for endless variations. I have been thinking about trying to calculate how many variations are possible but decided that would take away too much sewing time. ;)

In today's video, I show how to finish a neckline or armhole using bias tape to create a facing that is flat and won't peek out on the right side of the garment. Bias facing can be used to finish the raw edge a neckline, armhole or even a hem. This is a technique that is commonly used in a lot of garments including my Lou Box Top pattern so it’s a great method to practice and perfect. The benefit to bias facing over a traditional facing is that it has less bulk and if you have particularly thin fabric, it won’t create a ridge under your garment at the end of the facing.

Today’s video is a big one! I share my top reasons why pdf patterns are awesome (just in case you’re not already convinced). Then I share my top tips for how to successfully print pdf patterns (including the printer settings you need to make sure the entire pattern prints on the page). And finally I show how to efficiently assemble and cut the pattern. I even show you the techniques I learned in design school for safely using an exacto knife or blade. I’ve never cut off a finger using these techniques so hopefully it will help you and keep your fingers safe too!


In today’s blog post and video, we will be showing you how to make a full bust adjustment to the Lou Box Top pattern. If you haven’t already read it, we recommend reading our post and watching the video about selecting your size and measuring yourself. To recap that post, we recommend making a full bust adjustment to this pattern if your bust/full bust is 4 or more inches larger than your upper bust. This pattern has plenty of ease but during the testing phase, we discovered that if you have a full bust, the hem of the top may lift up and look uneven. A full bust adjustment will help solve that issue.
Because the Lou Box Top is designed for both woven and knit fabrics, we have two methods for how to do the full bust adjustment (FBA for short). The first method will create a dart at the side seam. The second will have no dart. If you are using woven fabric you can use either method. If you are using knit fabric, we recommend the method without a dart.

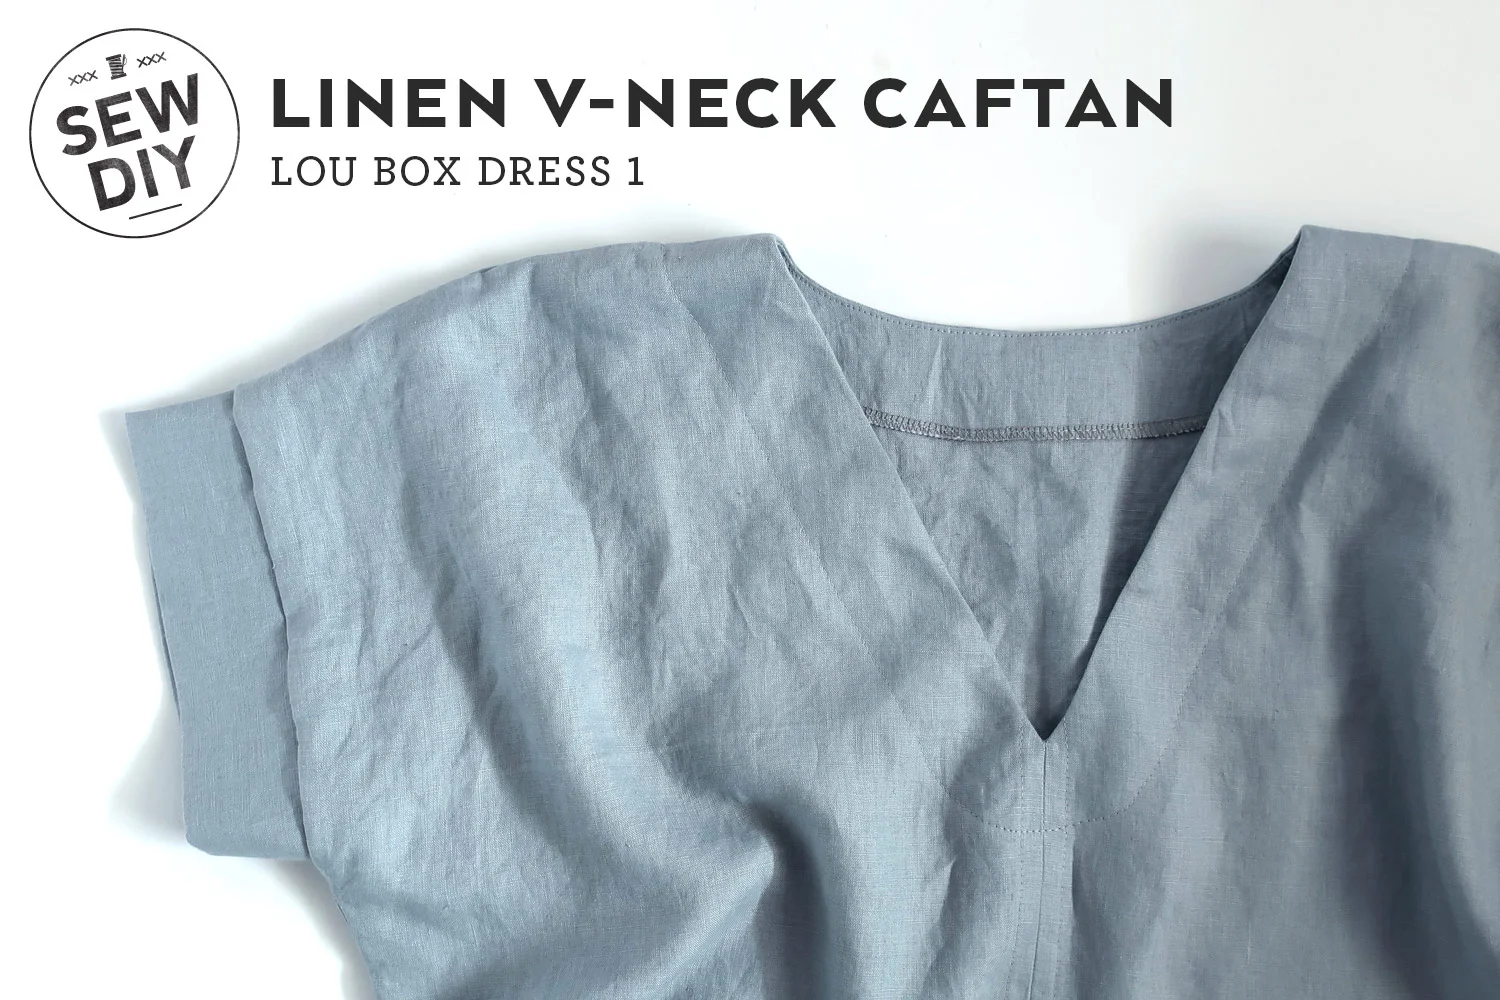
As soon as I returned from my trip to Denmark last month, I’d focused my sewing queue on my next trip to Hawaii next month. Going on trips and sewing for them is kind of the best cycle of activity, right? When I’m in Hawaii I like to dress in light loose layers with lots of coverage to protect from the sun. A caftan fulfills all of those requirements. For this caftan I modified my Lou Box Dress 1 pattern. This is actually a variation of the design that I initially considered including in the pattern but thought it would be a little challenging to sew in knit fabric.
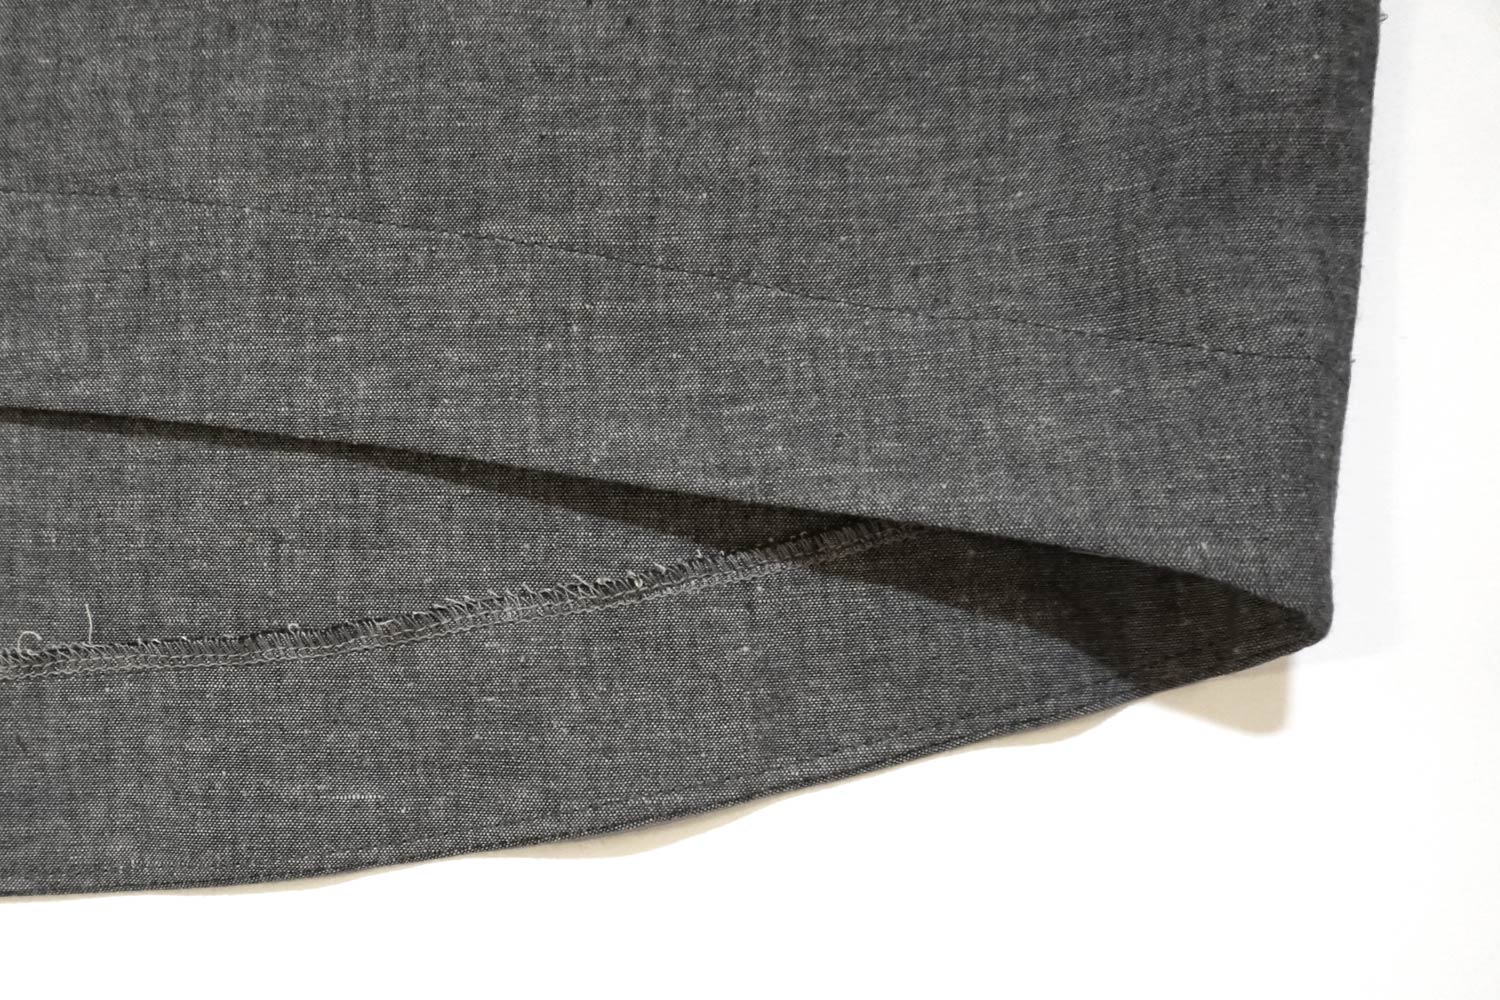
The Lou Box Dress 1 features a rather dramatic curved hem so I decided to include a hem facing to finish the woven version. (The knit version features a hem band. I have not included that in the sewalong but I’d be happy to add it if there is interest. Just let me know in the comments.) I like to use the hem facing because it creates a really clean finish to the hem and will create the appearance of a tall hem. Plus its really pretty easy to do. You can of course do a standard double turn narrow hem if you don’t wish to use the hem facing.

The Lou Box Dress 2 features a waist that is gathered with elastic housed inside a casing making it figure flattering and comfortable. This pattern uses my favorite method for making a concealed waist casing in a dress. It uses the seam allowance to create a casing for the elastic so there are fewer pattern pieces to cut out and a nice clean finish. At this point, you will have already finished the bodice and the skirt. Today, we’re going to stitch the two parts together and you'll have a dress! Read on for all the details.

Today I’m going to show you how to sew the cuff sleeves for the Lou Box Dress 1 View B. I like to think of View B as the more casual of the two views, with its large patch pockets and these little cuffs. This cuff is a short folded piece of fabric that should cover just the upper half of the bicep. The angled part of the cuff reduces the bulk a the underarm. These cuffs are very easy to sew and really give the dress a nice extra detail.

In today’s post I’ll show you how to sew the sleeves and cuffs for the Lou Box Dress 1, view A. These sleeves are a three-quarter length with a cuff and if I was pressed to choose a favorite sleeve from the Lou Box Dress options, this would be it. I'll show you how to sew a turned back cuff as seen in the black dress above, and one that is more of a sleeve extension as seen in the blue striped dress above. I recommend the latter method when working with thicker fabrics like ponte or sweatshirt fabric.

In today’s post, I’ll show you how to put together the pockets for the Lou Box Dress 2. These pockets are a little more involved than in-seam pockets but still easy enough for a beginner to sew. These pockets are scooped out of the front of the skirt and the pocket pattern piece will be visible when the garment is finished. I’ll be using a serger for most of the seams but you can follow the same steps using a conventional machine. The steps for the pockets are also the same for knit and woven fabric. Read on for all the details.

The Lou Box Dress 1, view A features traditional in-seam pockets. During my development of the pattern, I found two methods for attaching them when using a knit fabric. The first is detailed in the instruction booklet and is more similar to sewing with a woven fabric. This second method uses a serger for the majority of the sewing and a conventional machine to finish it off.

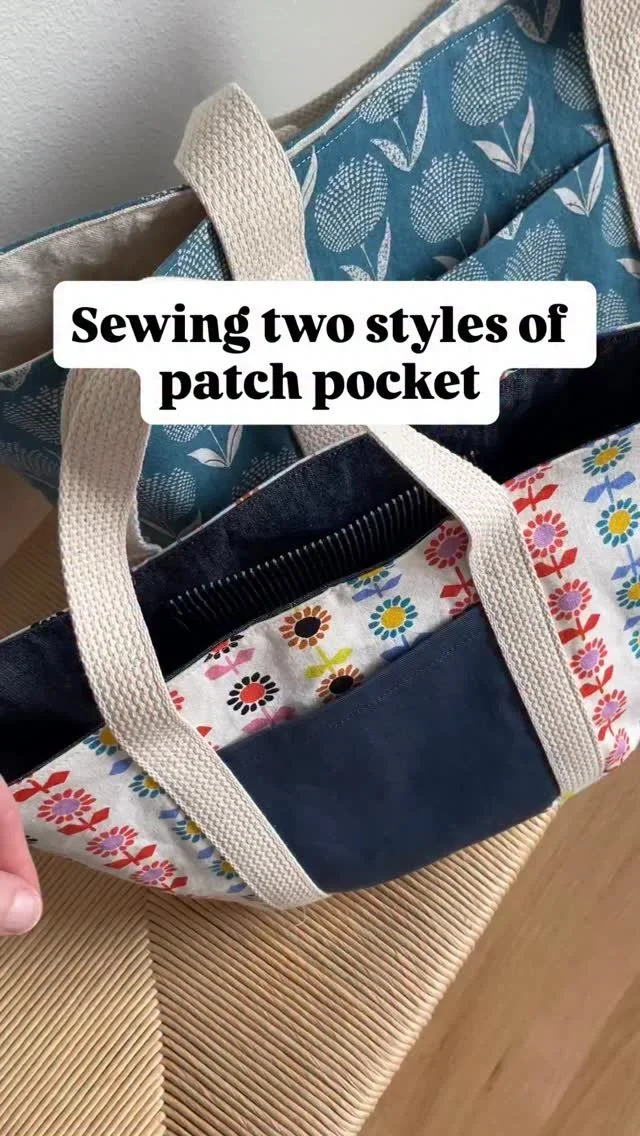
Today I’m going to share a few tips for sewing patch pockets with knit fabric. These techniques can be used for the bodice pocket on the Lou Box Dress 2 or Lou Box Dress 1, view A or for the larger patch pockets on the Lou Box Dress 1, view B. Pockets are not very challenging when sewn with a cooperative linen or cotton but can become quite tricky when using a slippery silk or jersey. But with some patience and one or two of these tricks, you’ll be able to sew beautiful topstitched patch pockets.

One of the features of the Lou Box Top and Dresses is an opening at the back neck with a button and loop closure. The feature is both functional and decorative. For a high neck, the opening to necessary for getting the garment over your head. But for the scoop neck versions it is not strictly necessary. For the Lou Box Top Sewalong, I showed you how to finish a woven neckline with the back opening. Today I’m going to show you how to finish the neckline in the round, without a back neck opening. This method is recommended for the Lou Box Dress 2 view B with the low scoop back but you can use this for any view of the Lou Box Dress 1 or 2.

Finishing a knit neckline is not hard but it can be intimidating if you haven’t done it before. To finish a knit neckline, we’ll stitch a folded strip of fabric to the neckline opening and today I’m sharing two different methods – with one shoulder open and in the round. You can use either one to sew a Lou Box Dress. The second method is a little bit cleaner but I think the first method is easier for beginners. Give both a try and see which one you prefer. However, I do recommend using method two (in the round) if you have a thicker knit fabric.
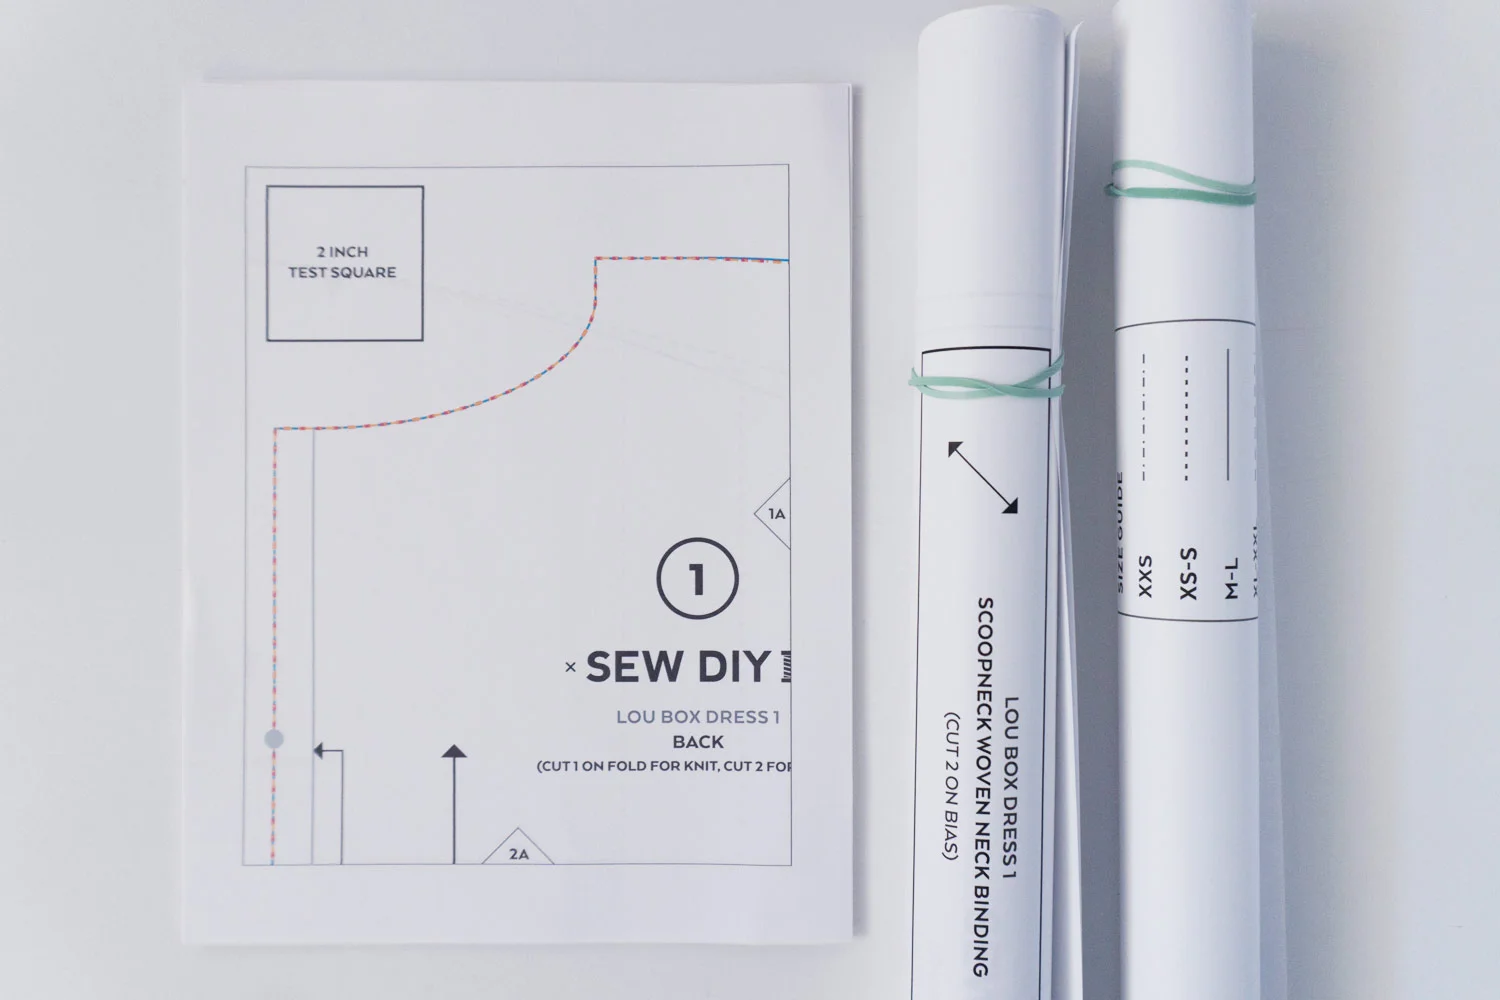
PDF sewing patterns are relatively new to the sewing scene and while I LOVE them, I know that a lot of people don’t. I love the immediacy of being able to buy a pattern from the comfort of my couch, print it out and start my project right away. I also love that I have a digital copy of the pattern that I can save forever and print again and again. But I do recognize that a lot of the dislike of pdf patterns is from the need to print the pattern yourself. Today I’m going to share a few of my tips for printing and storing pdf patterns. (A lot of this stuff is just personal preference and you’ll need to find what works best for you. But, maybe some of these tips can help you find what works more quickly.)
Tips and Tutorials for Sewing With Knit Fabrics

Today, I'm excited to share a new video tutorial for how to sew underwear using fold over elastic. I've sewn lots of underwear and it's a little tricky the first few times. So, I'll be sharing all of my tips and tricks to make sewing your own pair easier. With these tips and a bit of practice, you'll soon be sewing fold over elastic with confidence.

Hello sew-friends! In today’s YouTube video, I’m talking about fabric stretch percentage. If you've ever sewn a pair of leggings or a swimsuit, then you know how important stretch can be in your handmade garments. Read on and watch the video to learn all about fabric stretch, why it’s important, a bit about fabric stretch terminology and, most importantly, how to calculate fabric stretch percentage.

I used to be really scared to sew knit fabrics but after a lot of research and a lot of practice, I love sewing with knits. One misconception is that you need to have a serger (aka overlocker) to sew knit fabrics when in fact most conventional machines come with a variety of stitches that are made for sewing knit fabric. In this video, I share the tools you need to sew knit fabric, some tips for preventing your fabric from stretching and demonstrate the stitches available on a conventional sewing machine that can be used to sew knit fabric.
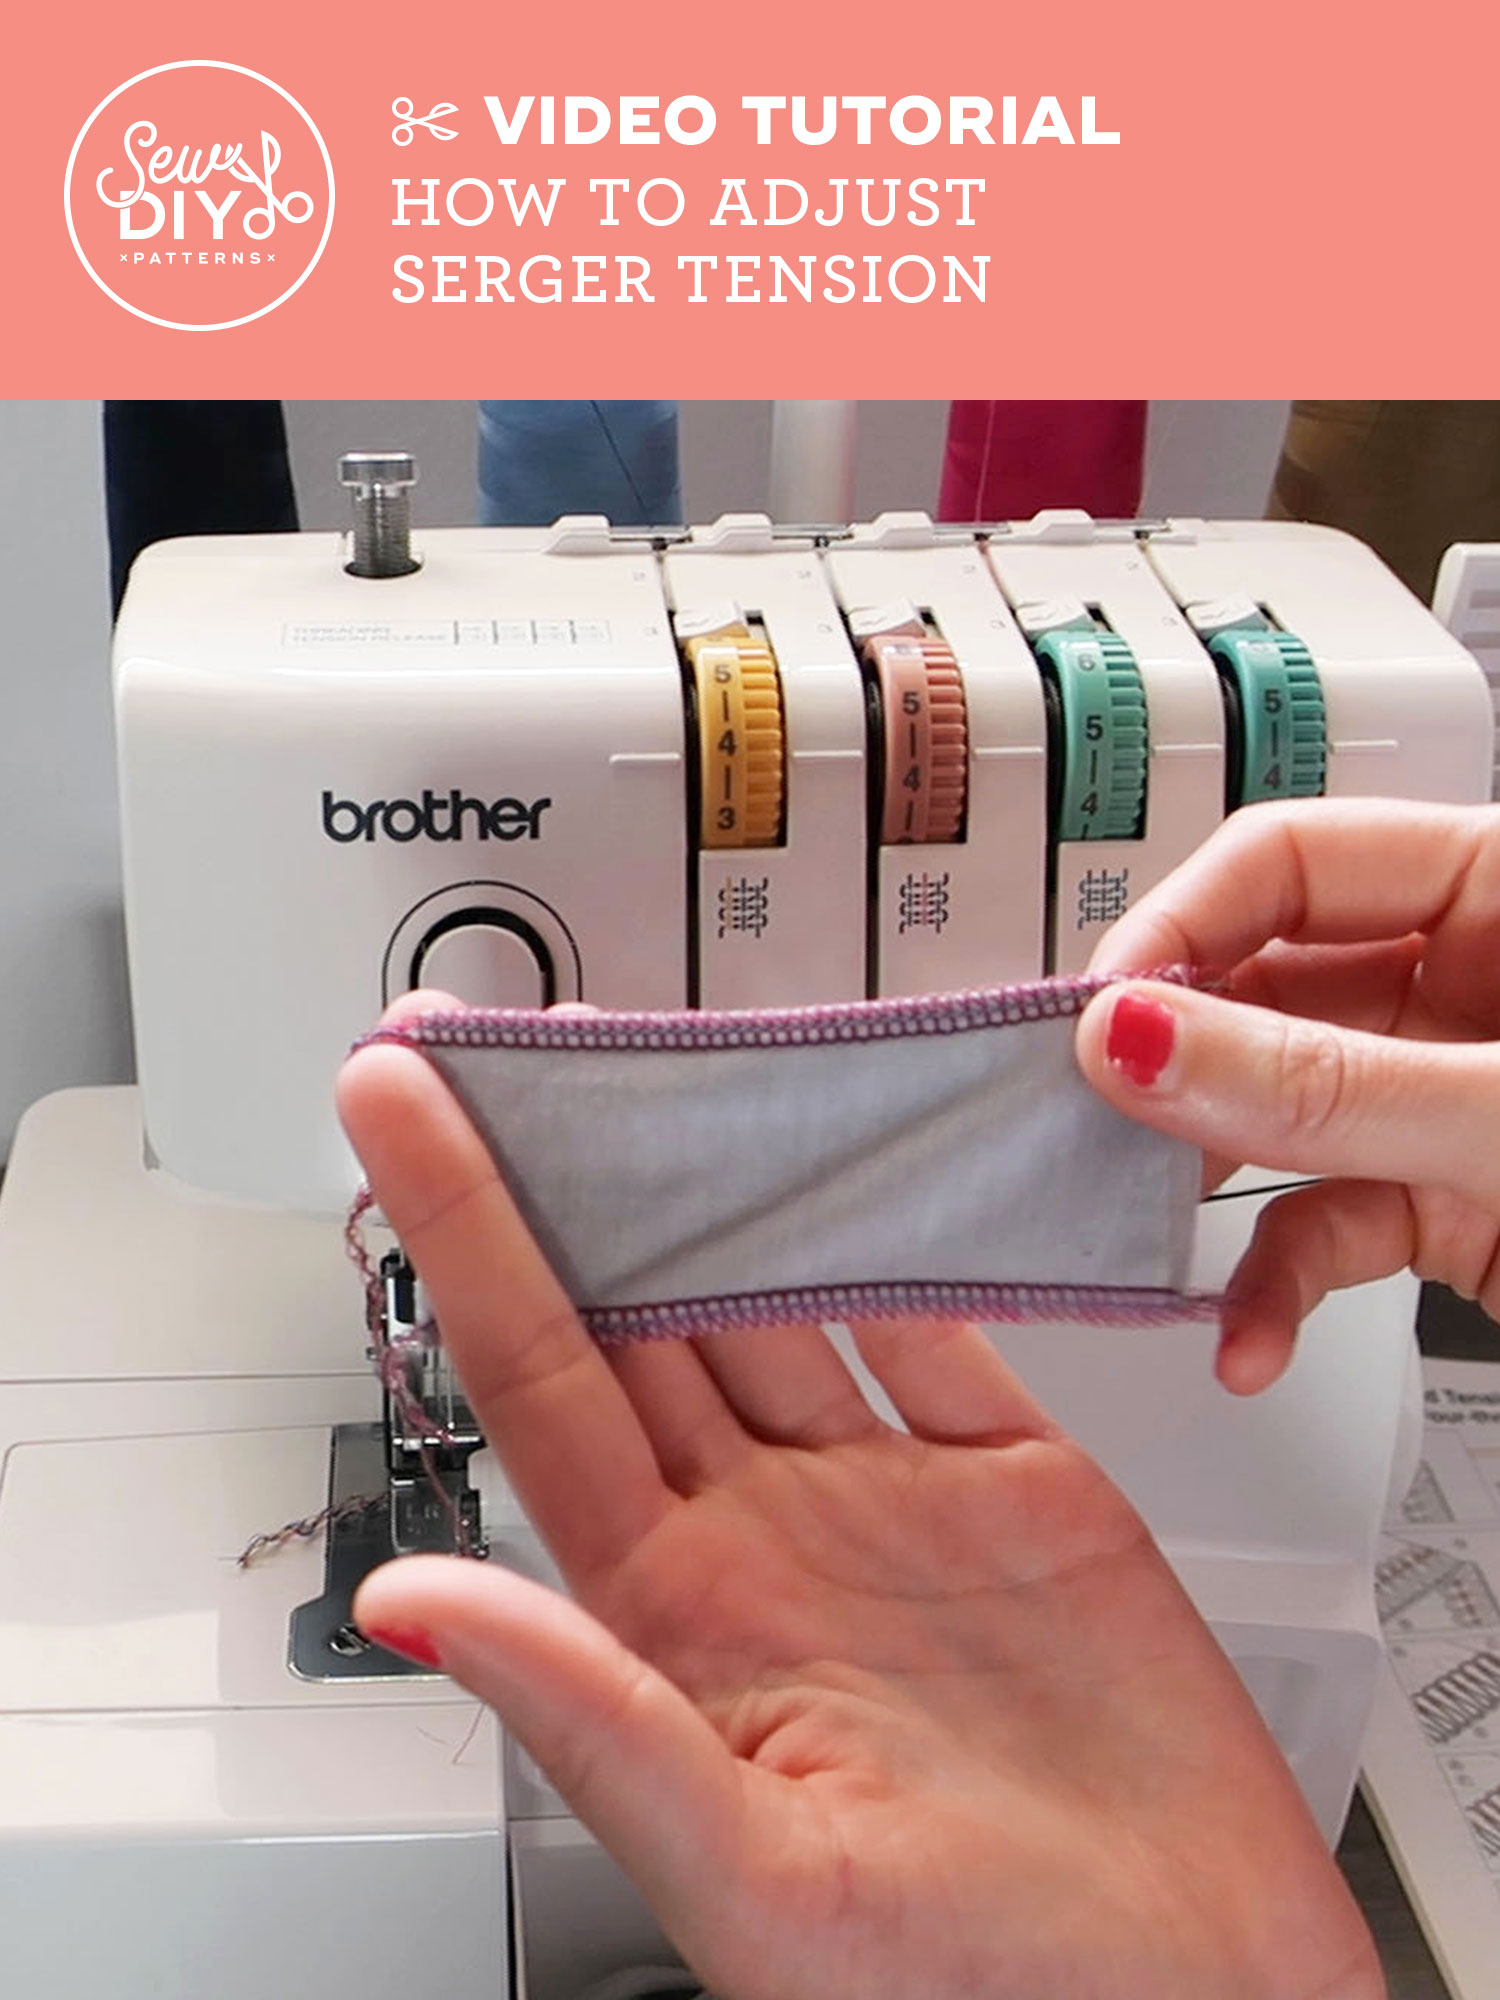

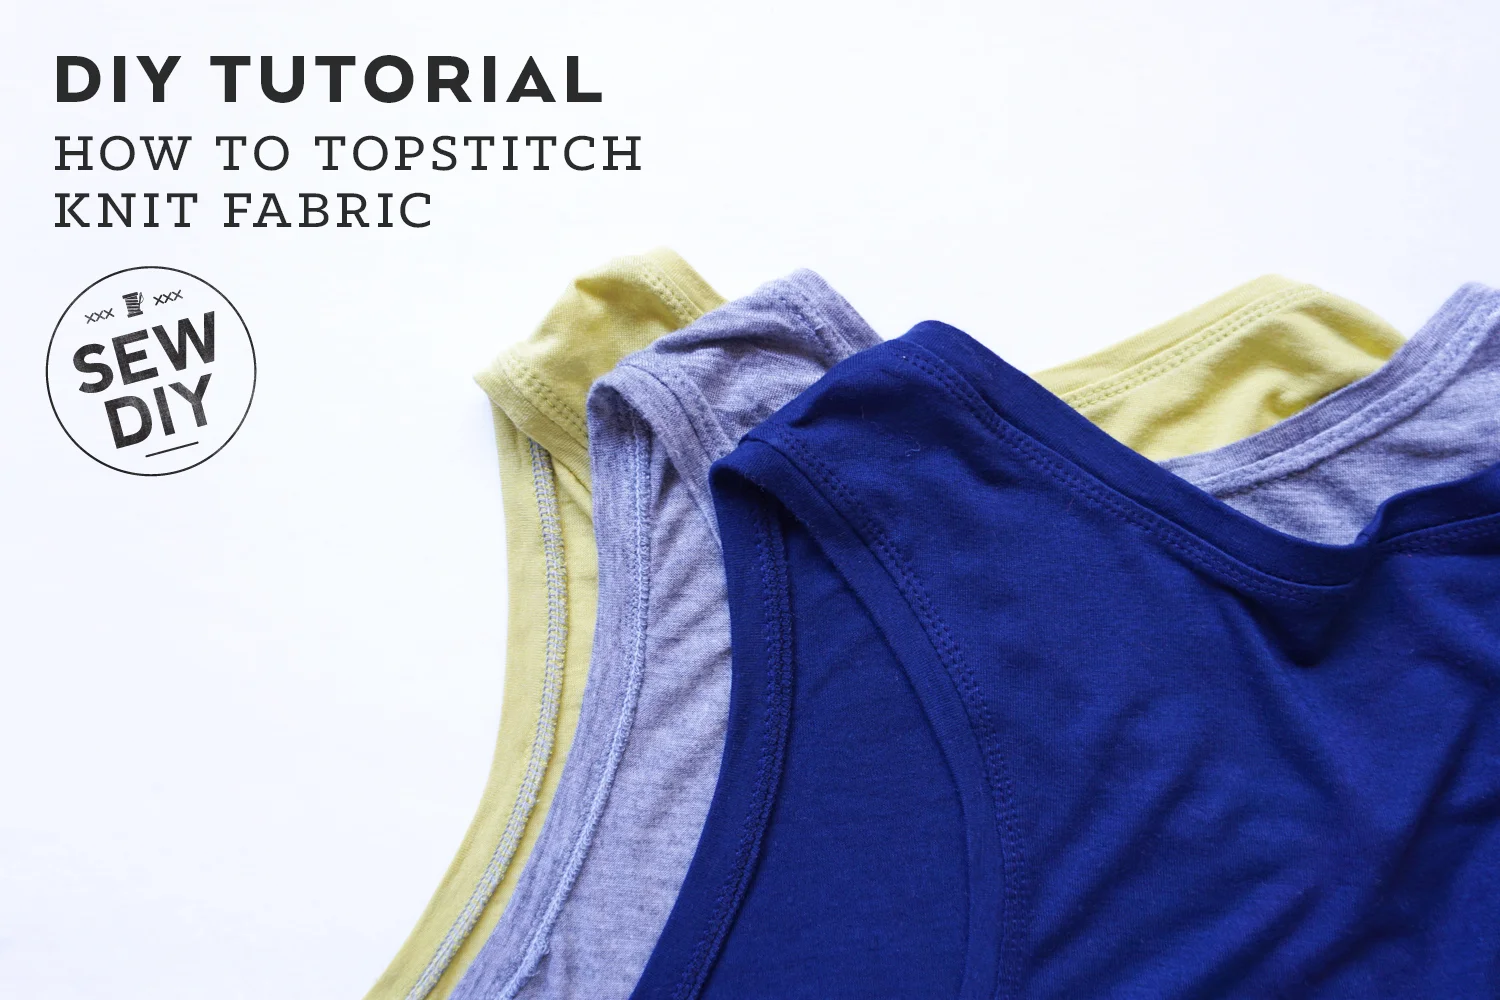
Knit fabrics are great to wear and fun to sew with but they can be a little tricky to handle. I was intimidated by them for a long time but with a lot of practice and a few tricks I picked up along the way, I’ve been able to conquer those stretchy beasts. Today, I’m going to share my favorite method for topstitching knit fabrics plus some tips and insight on why knits can be so bothersome. And don't worry, you don't need a fancy machine, this can all be done on a conventional sewing machine.
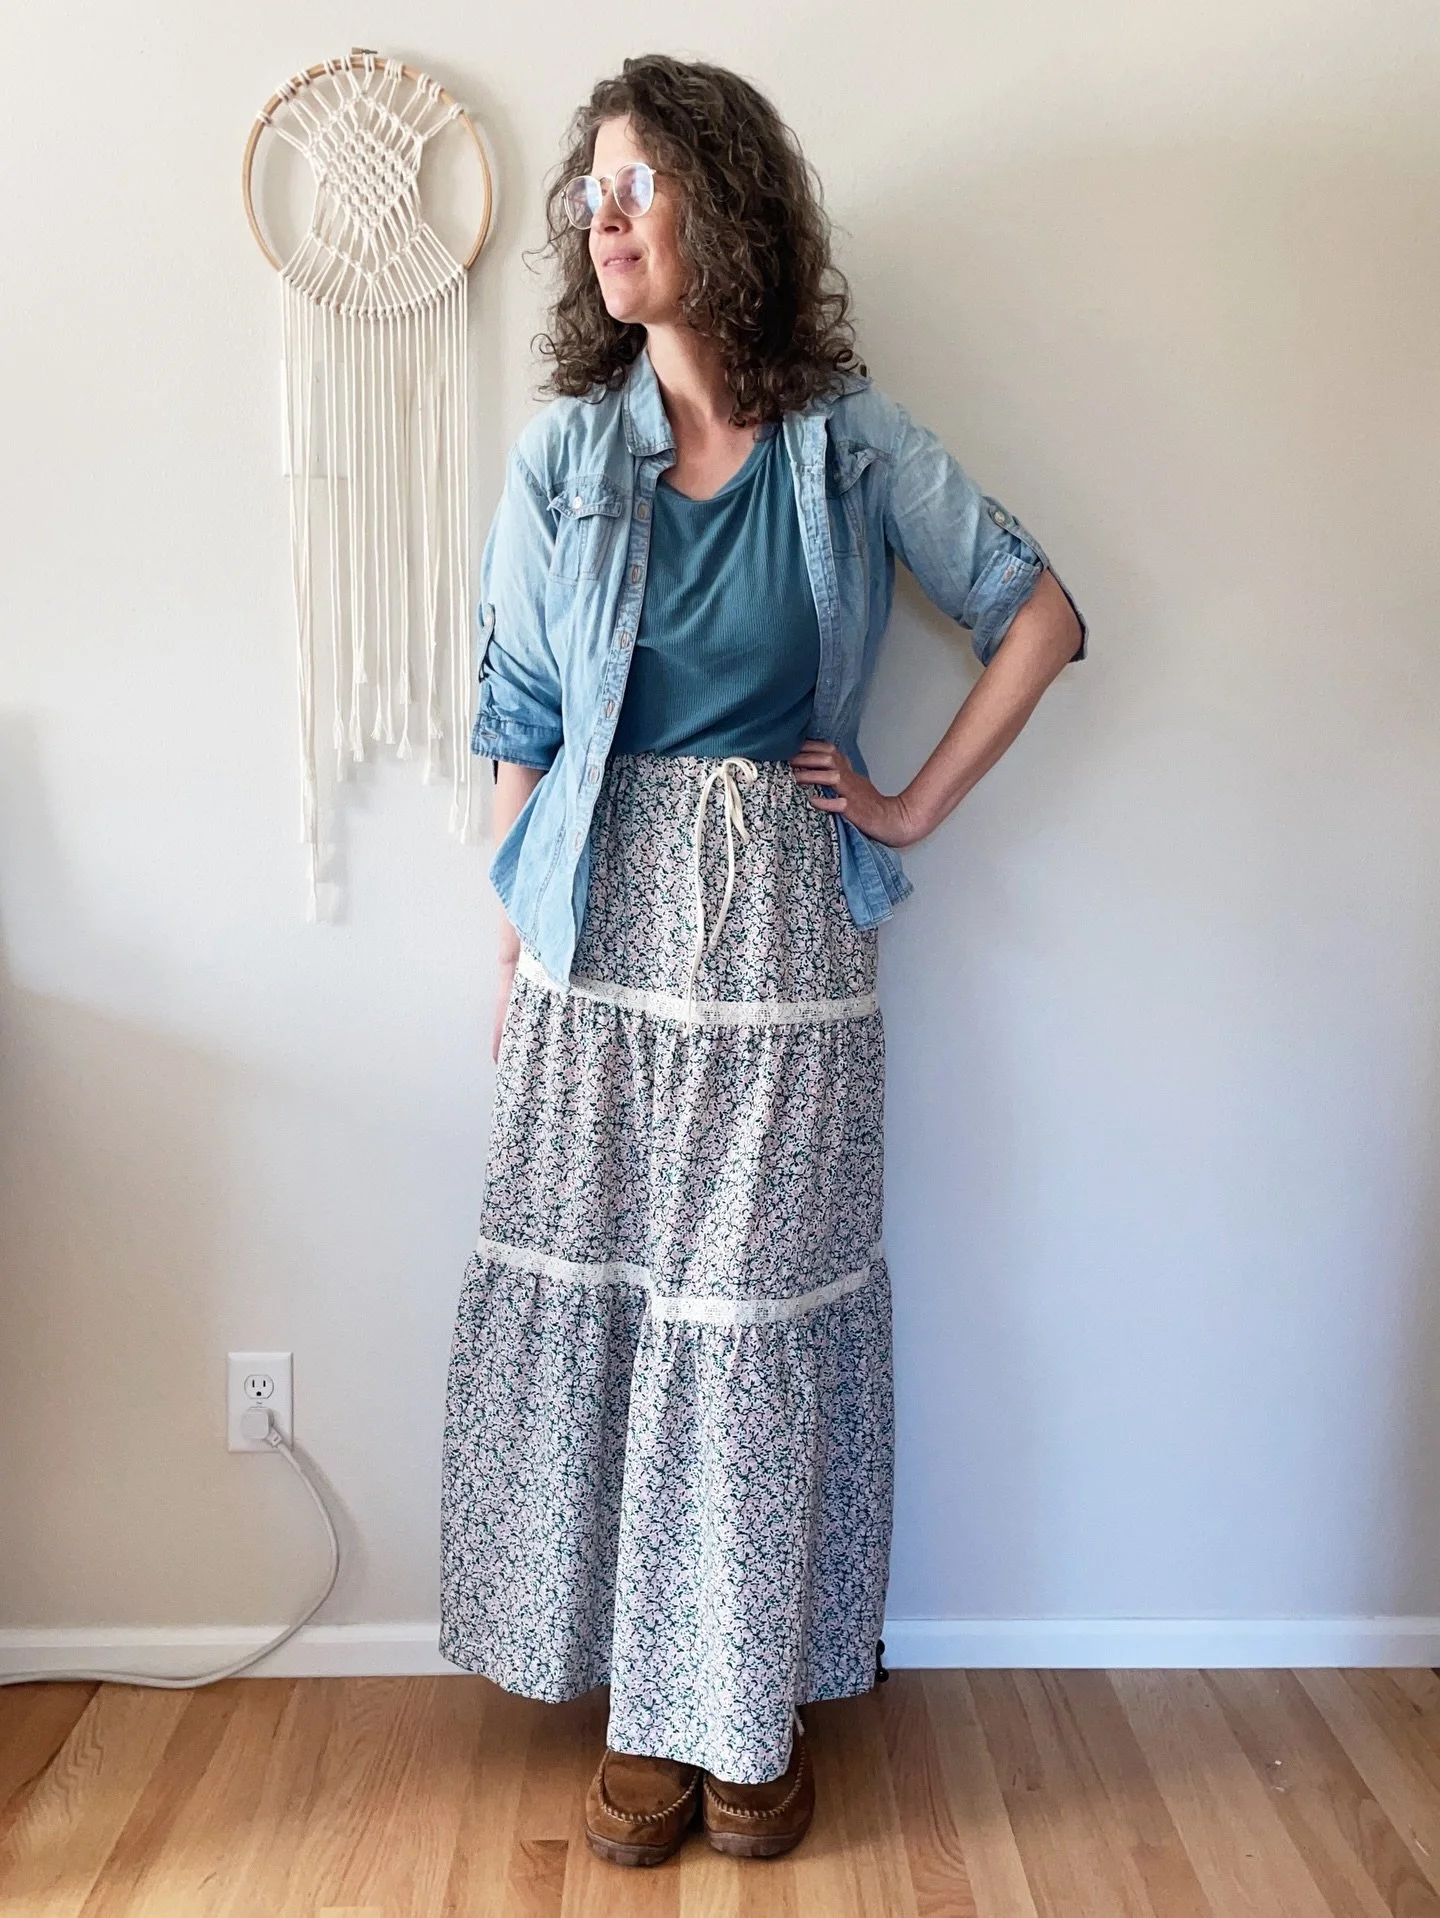
The Lou Box Dress 1 is a loose-fitting cocoon style dress. Worn alone, it’s perfect for warm summer days. Paired with a sweater, tights and boots, it will take you through the colder months. Make it in linen for a casual look or printed silk for a luxurious night out. View A features a medium scoop neck, 3/4 length sleeves with cuffs, in-seam pockets and a knee-length skirt. View B features short cuff sleeves and patch pockets. Instructions are included for sewing the dress in both woven and knit fabrics.
This digital pattern includes an illustrated, step-by-step instruction booklet, a print-at-home layered pattern for letter or A4 size paper, a US copy shop pattern and an A0 size pattern.
Model is 5’11” and is wearing a size 12.
THIS IS NOT A PHYSICAL PRODUCT. After checkout, you will receive a link to the pattern that will be active for 24 hours after you click it. Prices are in USD.