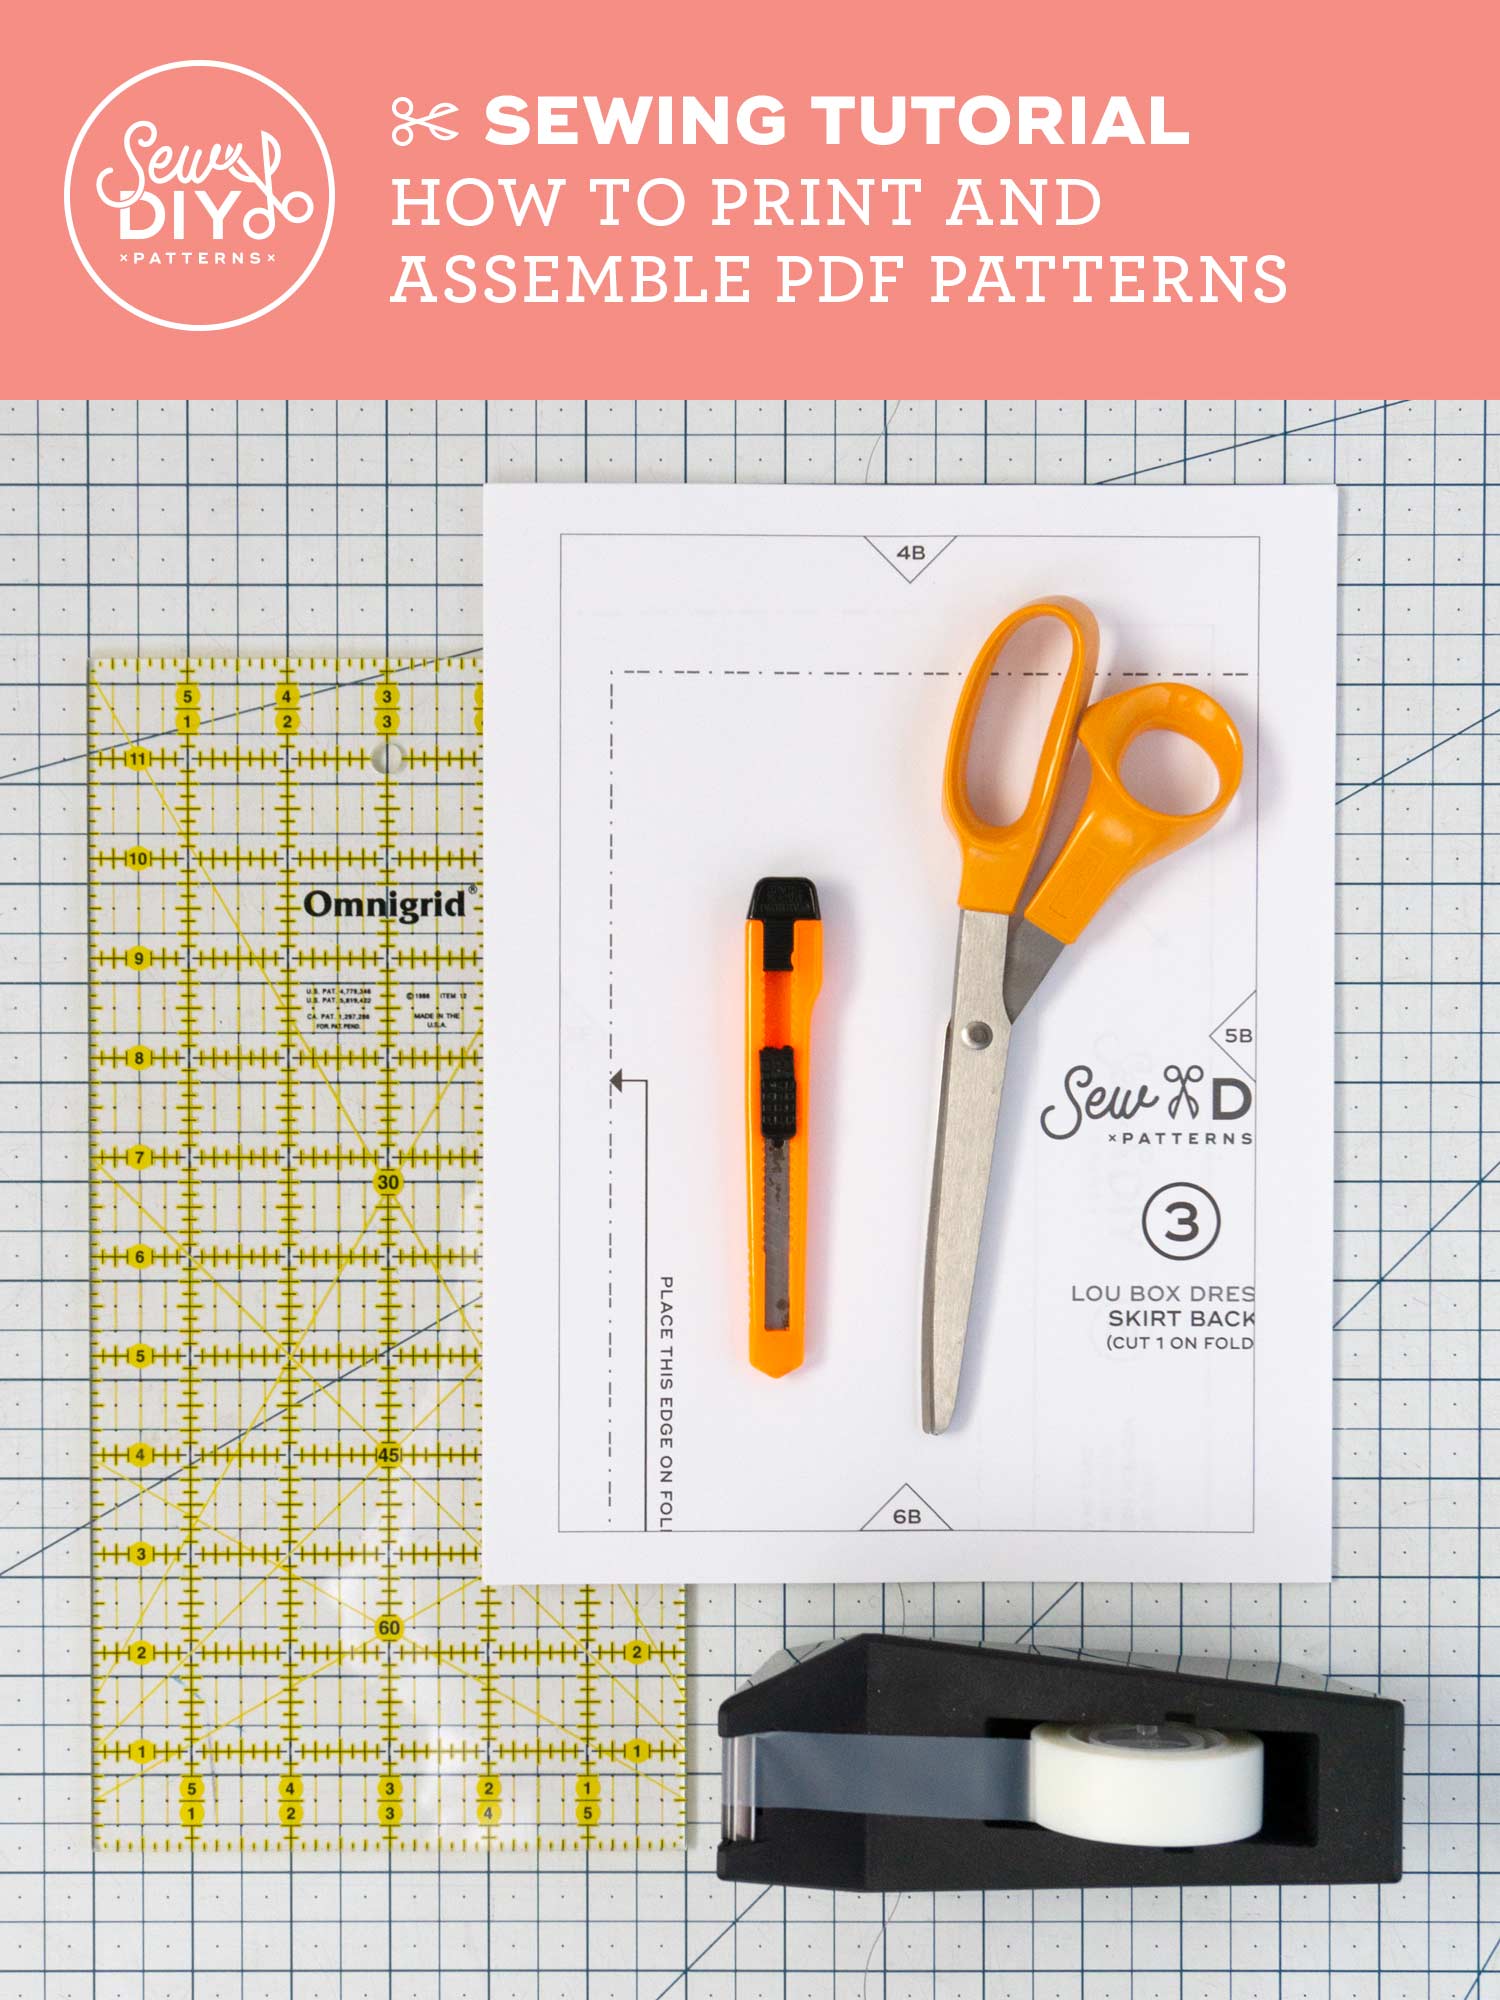
Today’s video is a big one! I share my top reasons why pdf patterns are awesome (just in case you’re not already convinced). Then I share my top tips for how to successfully print pdf patterns (including the printer settings you need to make sure the entire pattern prints on the page). And finally I show how to efficiently assemble and cut the pattern. I even show you the techniques I learned in design school for safely using an exacto knife or blade. I’ve never cut off a finger using these techniques so hopefully it will help you and keep your fingers safe too!

If you want to skip ahead to printing tips go to the time stamp 3:20. To jump to how to assemble a pdf pattern skip to 6:20. And if you’re looking for some super cute cat photobombs make sure to watch the assembling part. I really hope that you enjoy this video and that it helps make your sewing adventures easier and more fun. If you haven’t started following my on YouTube yet, I would be so honored if you do so. (Just click right here to subscribe.) I release a new video about sewing every week so there’s lots of helpful and fun sewing related content for you to watch. Happy sewing!

Hello sew-friends! Today, I have a quick little video for you showing how to sew a one-step buttonhole and how to sew on buttons using your sewing machine. This is my favorite way to sew buttonholes and buttons because it's so quick and easy. The one-step buttonhole foot makes sewing a buttonhole nearly foolproof. Plus, did you know that you can sew on buttons using your sewing machine? It took me years to attempt doing this and it was a total game changer.

In today's video, I'll be showing you how to sew a bias-bound waistband. This is a technique that you’ll often see in ready-to-wear pants and shorts. It creates a really beautiful and professional finish for your handmade garments. It will take a little bit longer than turning under the raw edge but it’s great for when you’re using heavier fabrics like denim.
For this tutorial, I’m using my Nita Wrap Skirt pattern which has a straight, fold over waistband. This technique should work for any skirt or pants pattern including those with a curved or two-piece waistband as well. The only extra supply needed is a strip of bias cut fabric or pre-made bias tape. (If you want to learn more about this flannel lined wrap skirt, check out this blog post.)

In today's video, I'll be showing you how to fuse iron-on interfacing to fabric. Interfacing is an extra layer of fabric that is used to make certain parts of a garment thicker and more sturdy. You'll often find it used in button plackets, collars, waistbands and facings. In the tutorial, I'll share all my tips for how to adhere iron-on interfacing to your fabric and prevent puckering or separating.

In today's video, I'll be showing you a simple pattern adjustment that you can do to move along a side or waist seam. Darts are most often used to shape the bust or waist and are usually found in side or waist seams. Because we all have different bodies, you’ll sometimes get a better fit if you move the dart just slightly. In the video and diagrams, I'll show you how to move a bust dart up or down along a side seam and how to move a waist seam dart to the left or right. (Note, there are more complicated pattern adjustments where you can pivot a dart to move it to a different seam. I’m not covering how to do that in this post.)
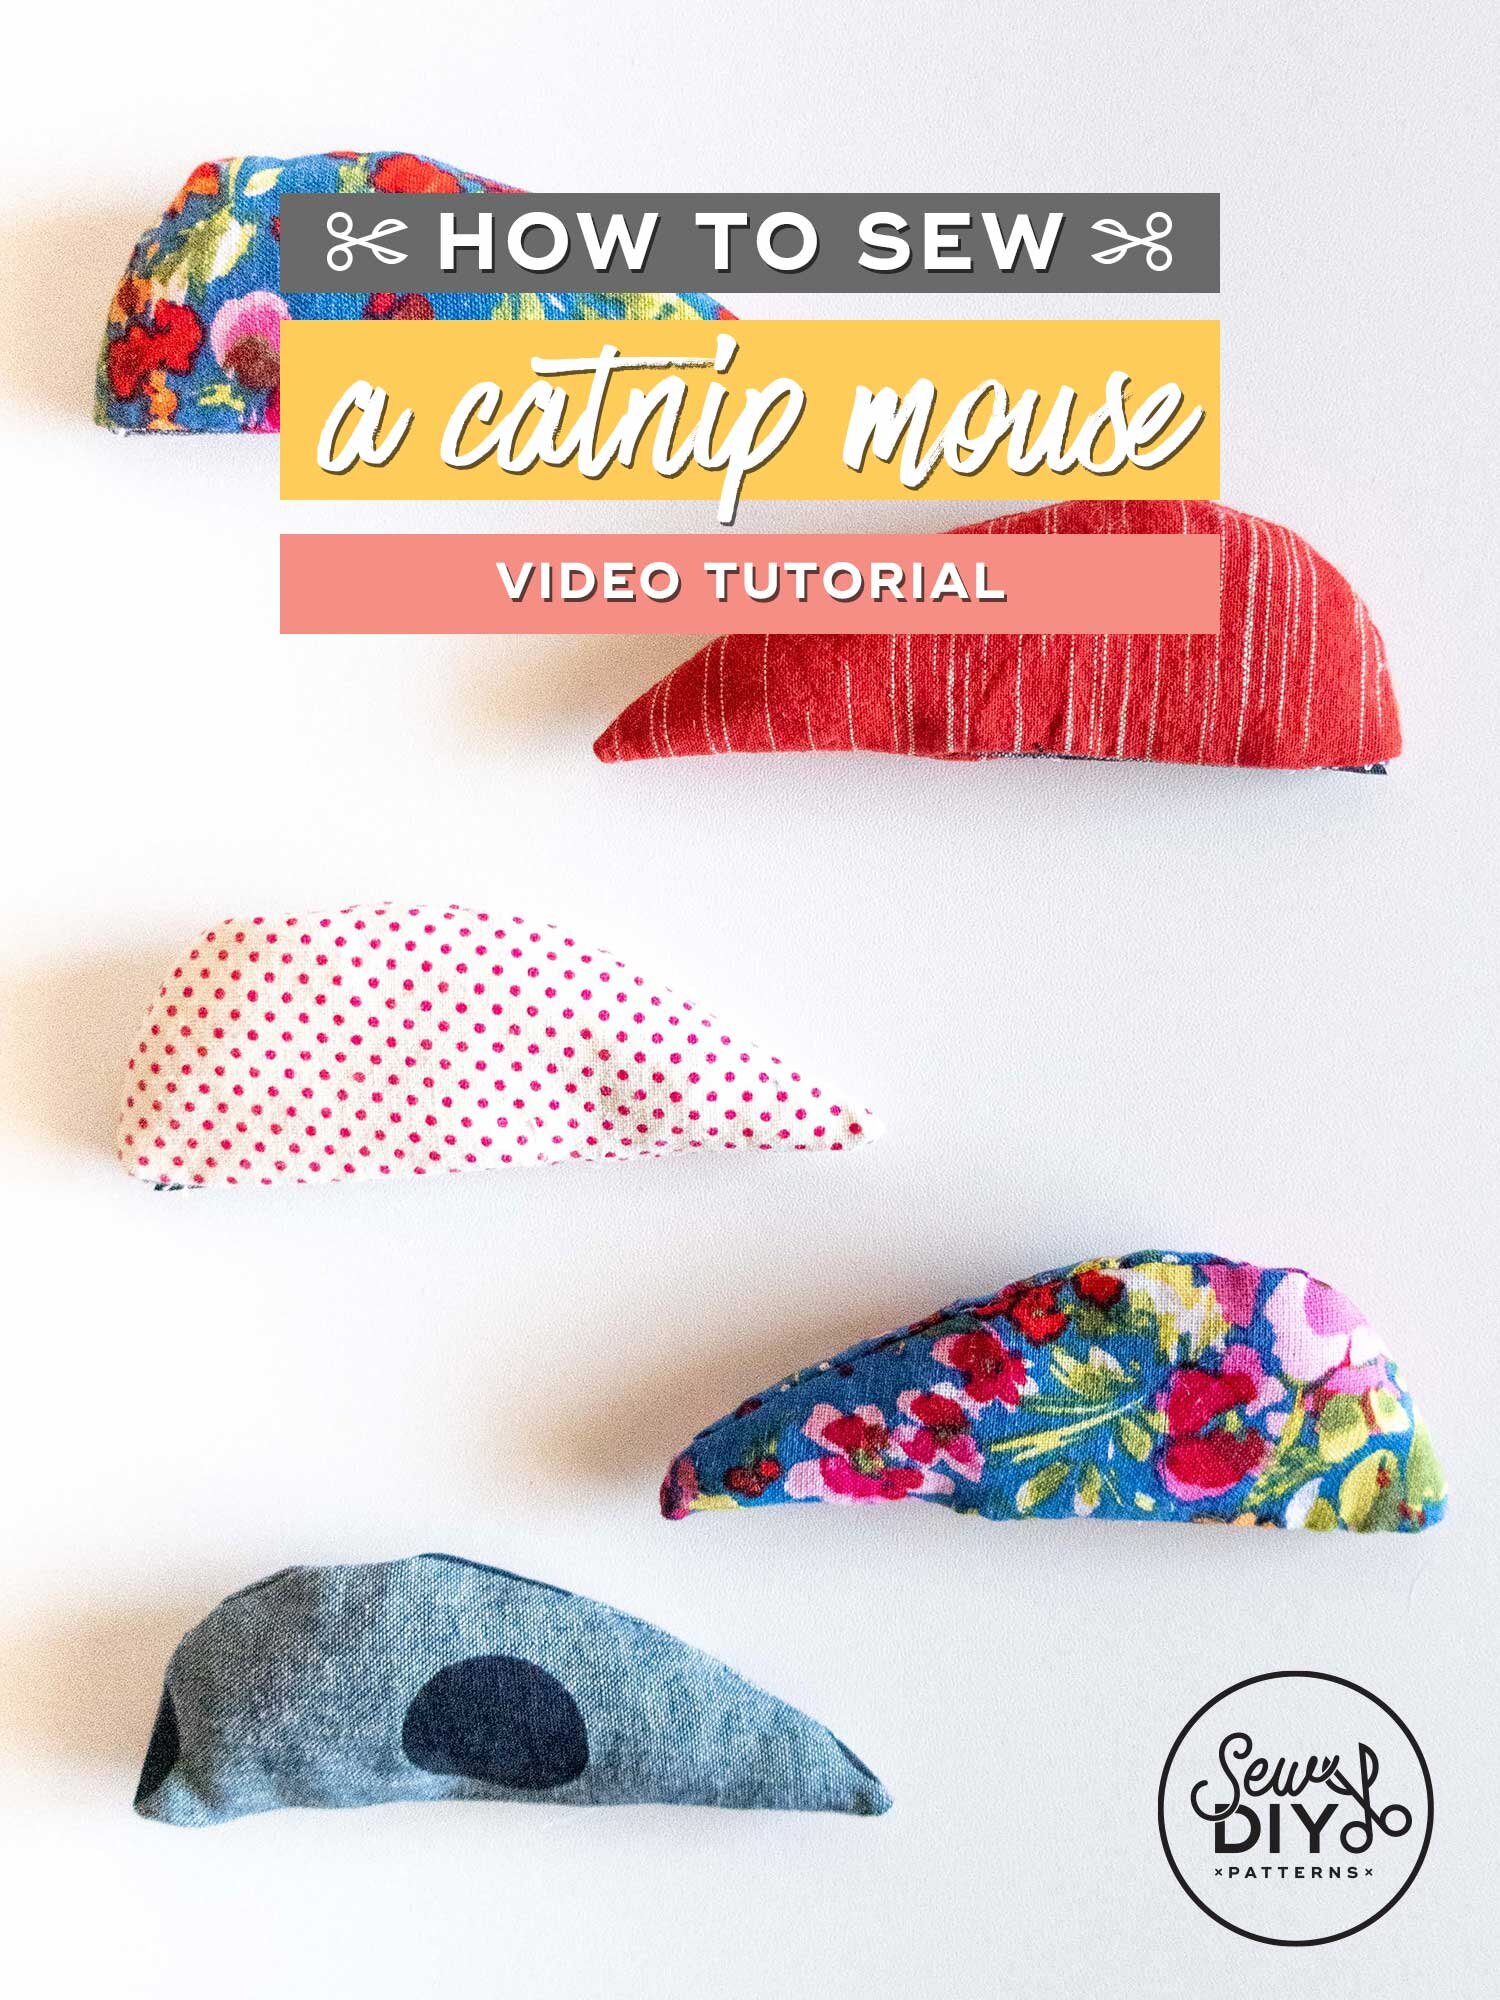
Today, I'm very excited to bring you a tutorial for sewing a cat toy. I love my kitty and he LOVES catnip so catnip toys are very popular in my house. This project is inspired by a couple of toys that I bought that have a pocket that closes with velcro where you can put catnip. The pocket means you can replace the catnip when it loses potency and the velcro means that the catnip won’t fall all over the place while your cat is playing. Read on to download the (free!) template and watch the video.

In this video tutorial, I’ll show you how to sew a pair of quilted bootie-style slippers with a lining. I’m using my Quilted Slippers pattern which I released back in June. It’s been one of my most popular patterns and it’s a really fun one to sew. It’s a small project and great for using scrap fabric, like I did here. This project also makes a great gift. The pattern is drafted for a wide range of sizes from US Women’s 4 up to a US Men’s 14.
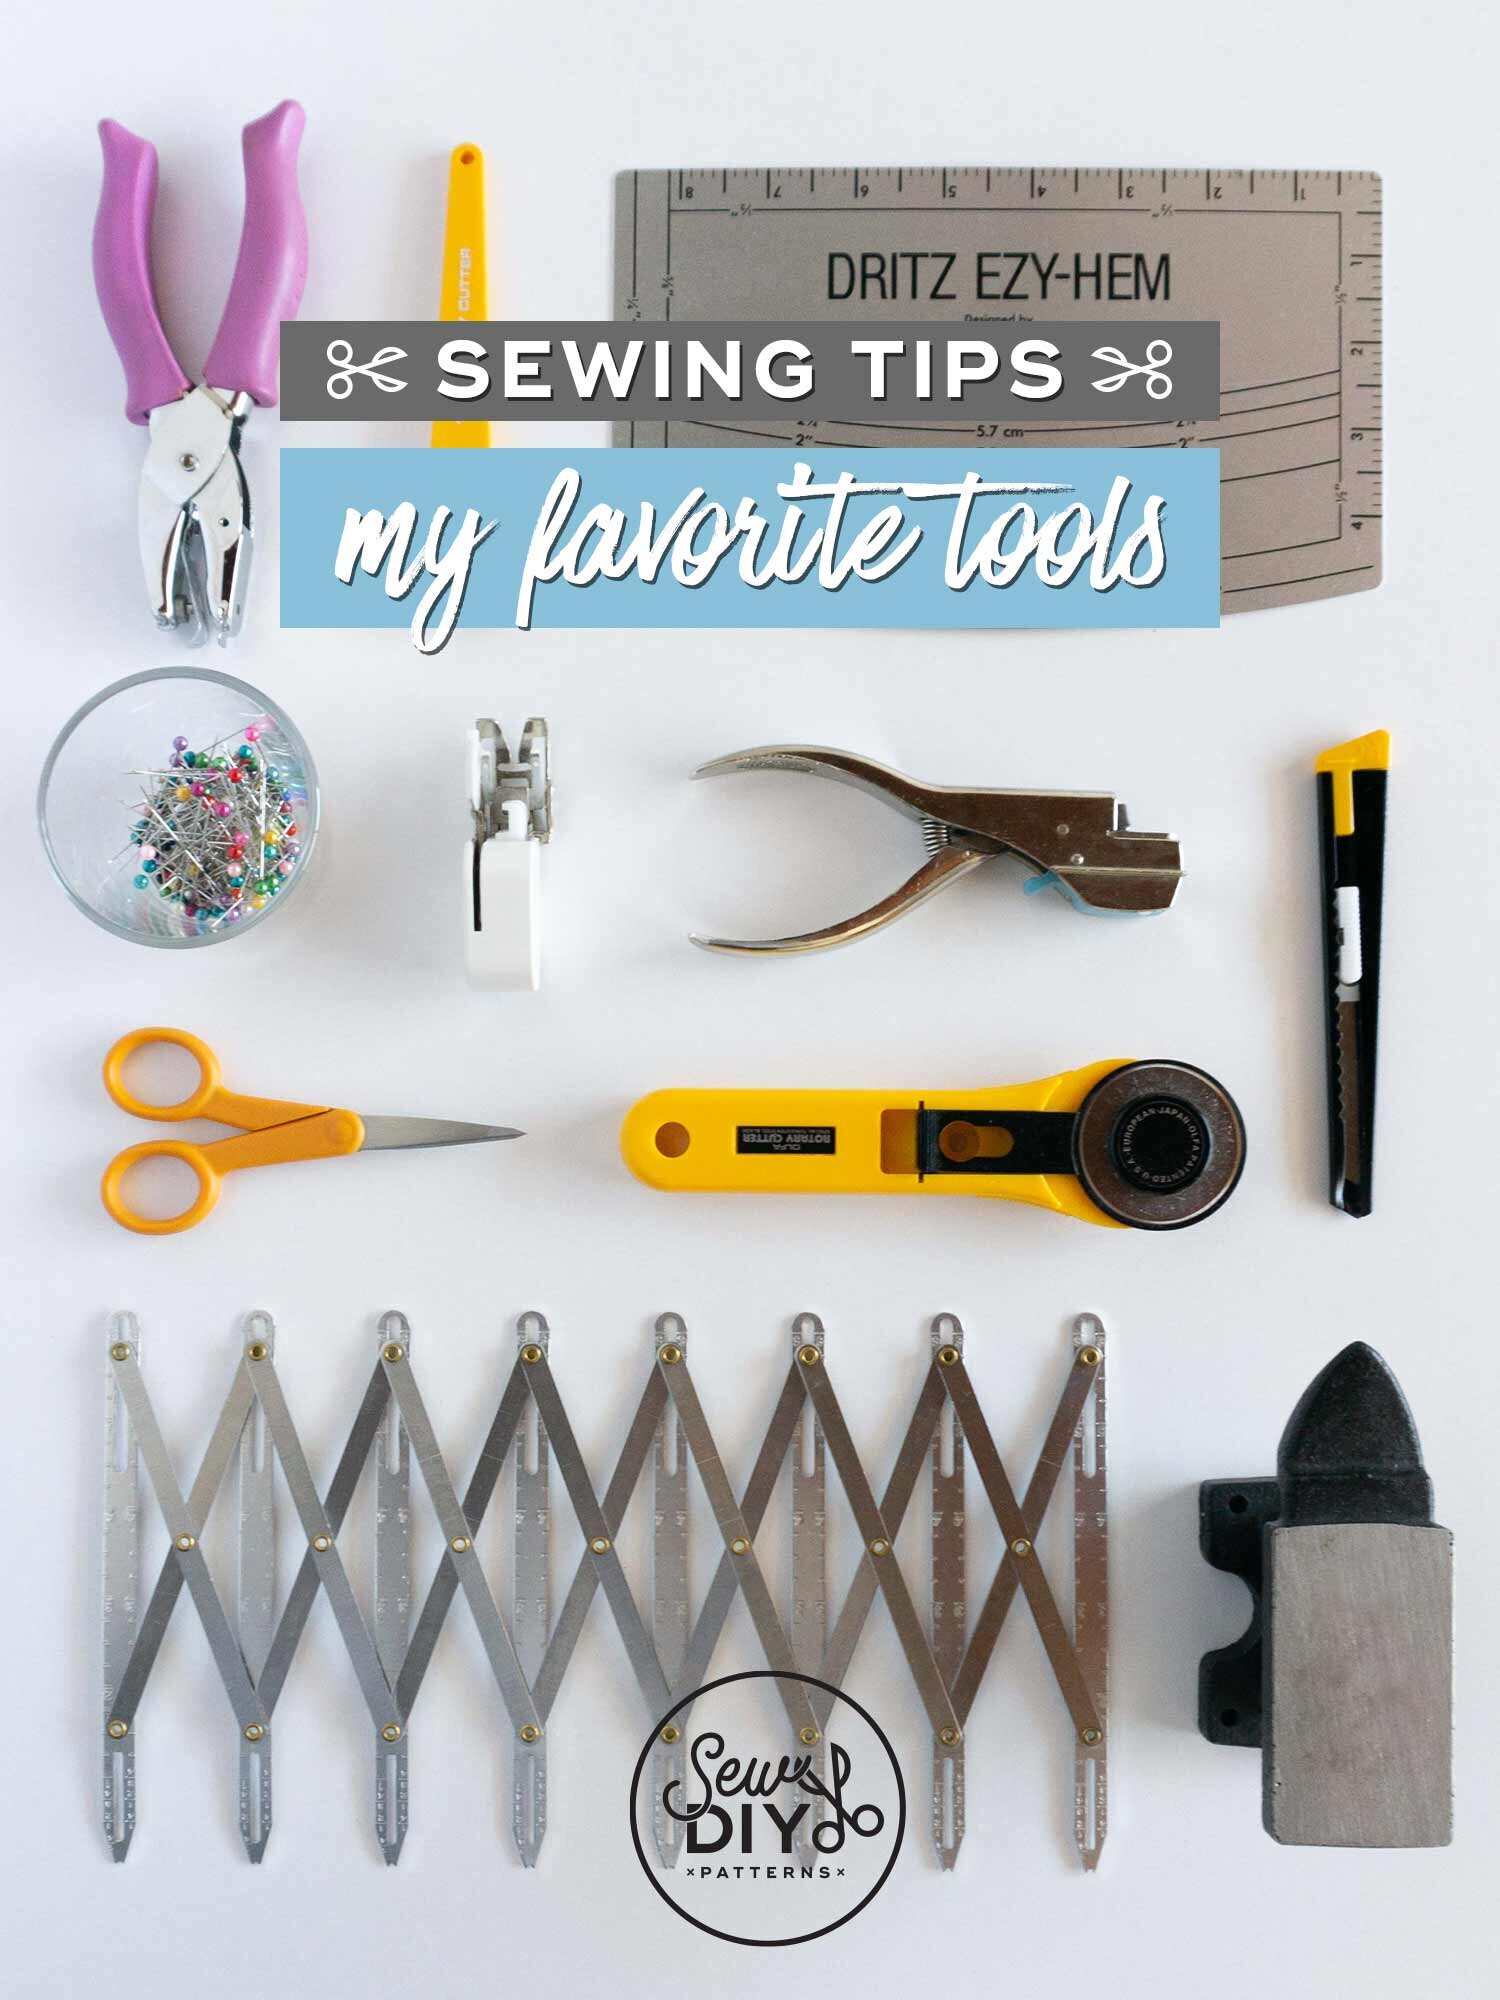
Today, I'm sharing my favorite sewing tools. These are the tools that I use often and that make a huge difference in the quality and/or ease of my sewing. I share why I love these tools and a little bit about how I use them.
I'm generally, pretty minimalist when it comes to tools. I only like to have things that I know are going to be useful. So, even though there are nineteen sewing tools on my list, you can rest assured that I use these all the time. If you're looking for ideas on how to build out your sewing tool kit or help someone else build theirs, this is a great video for you.

Today, I'm very excited to bring you a tutorial for the apron that first got me obsessed with sewing way back in the '90s. I learned how to sew this simple apron in my high school sewing class when I was about 15 years old. I immediately fell in love with sewing and made an apron for all my relatives that Christmas. I still have the apron I first made, way back then. I'm happy to say that I still use and wear that original apron and it's held up remarkably well. You can get a peek of it in the video below.

In today’s YouTube video, I'm continuing my series of videos using fabric scraps to sew handmade gifts, with a tutorial for sewing a reusable flower tote. This is a great tote to take to the farmer's market and reduce your plastic use. Plus, it's also a really nice way to wrap flowers as a gift. Use this tote to give flowers as a hostess gift or, because it's 2020 and we're all social distancing, you can also leave the flowers wrapped in this tote at your friend's door. After the flowers are spent, they'll still be able to use and reuse the tote.

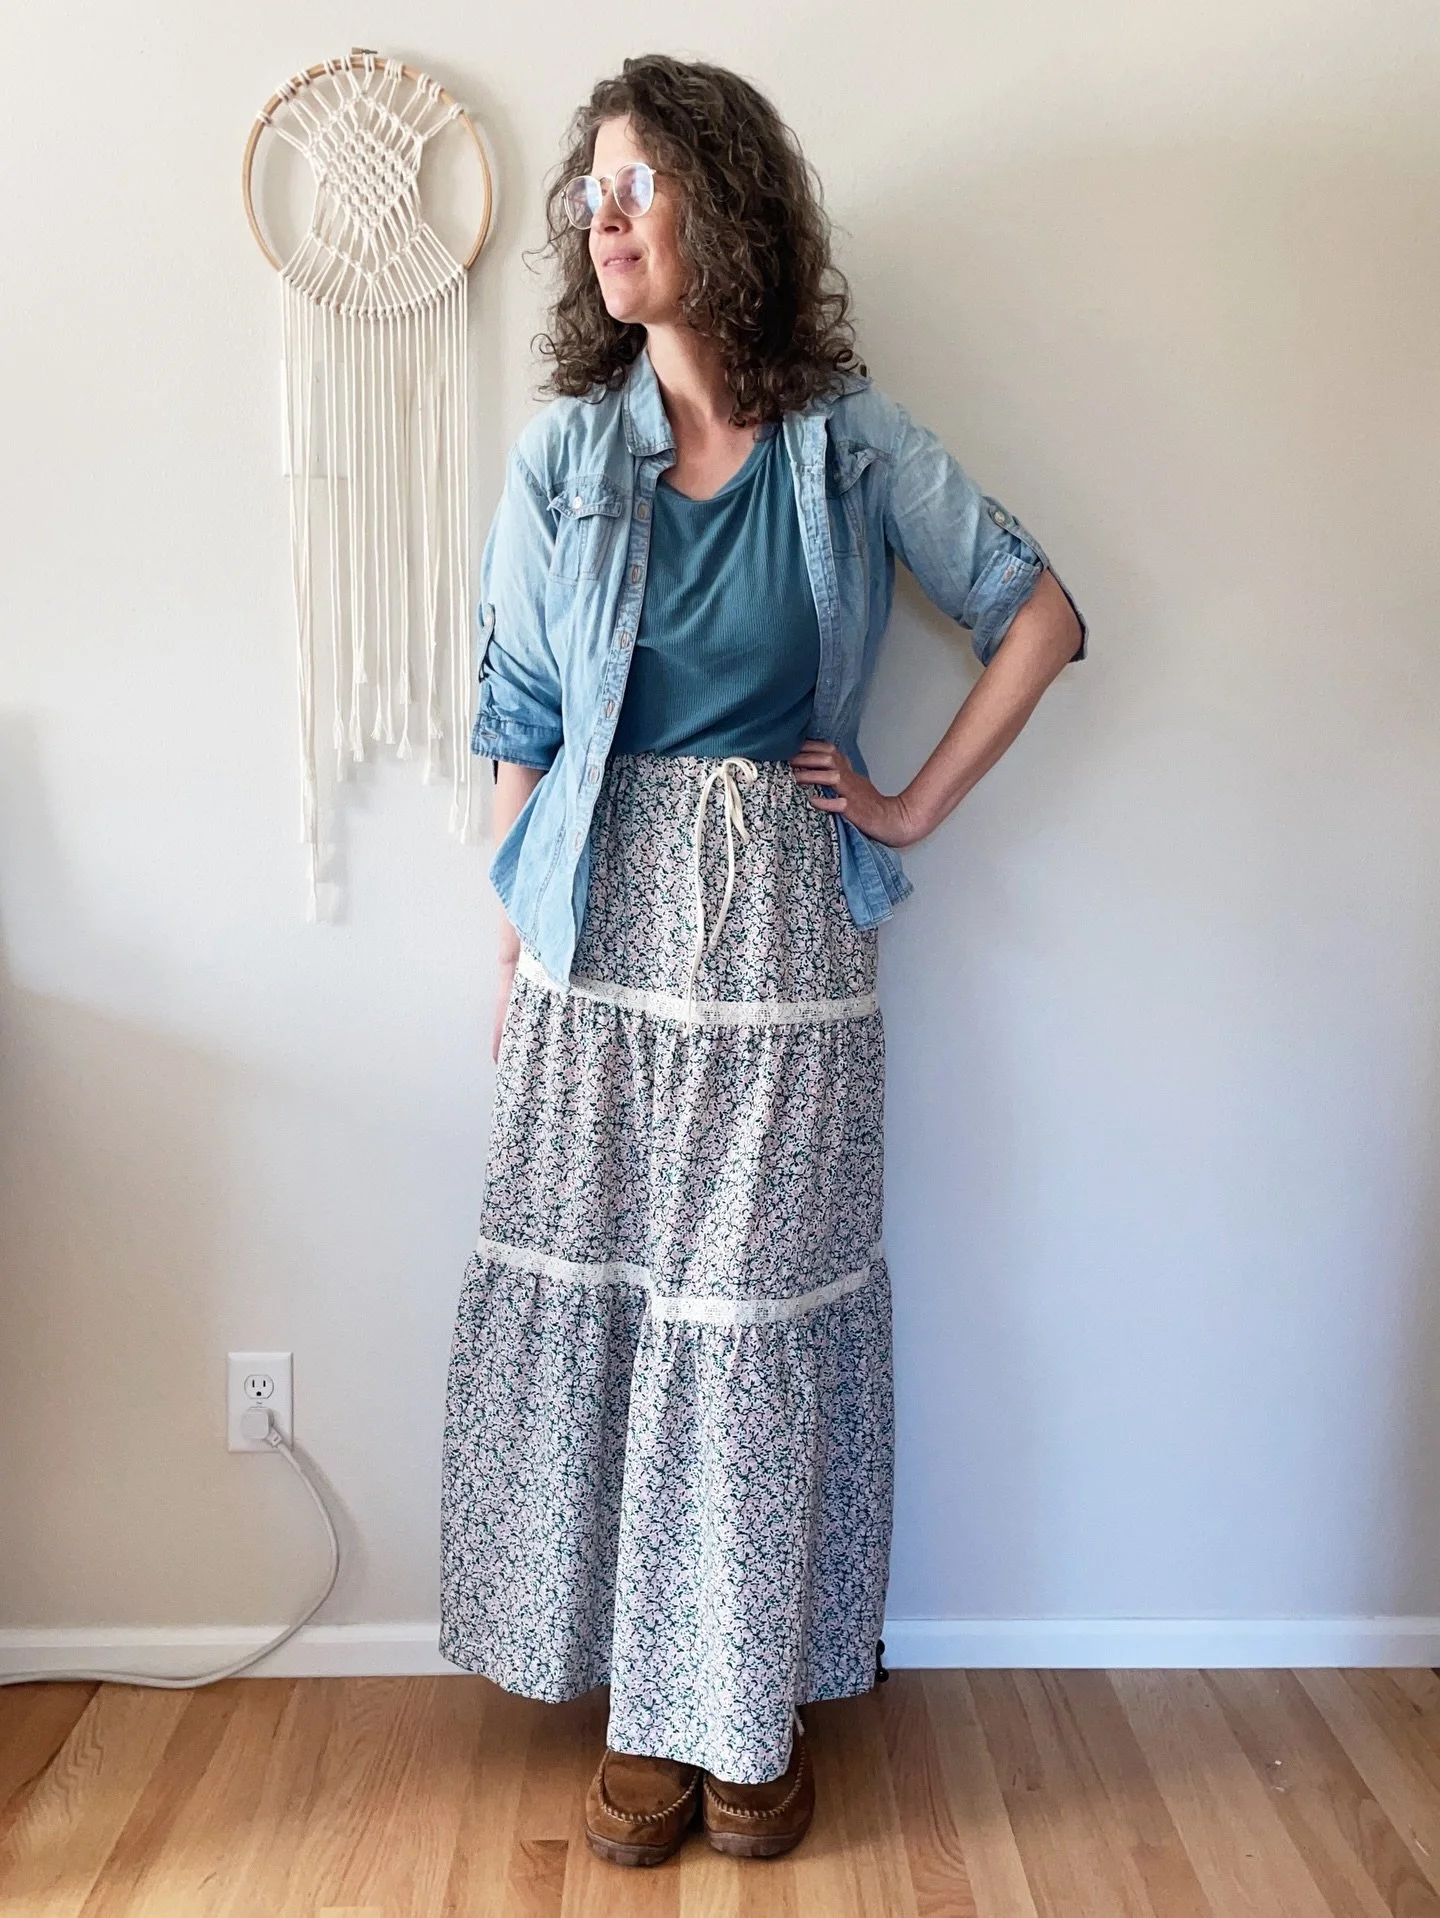
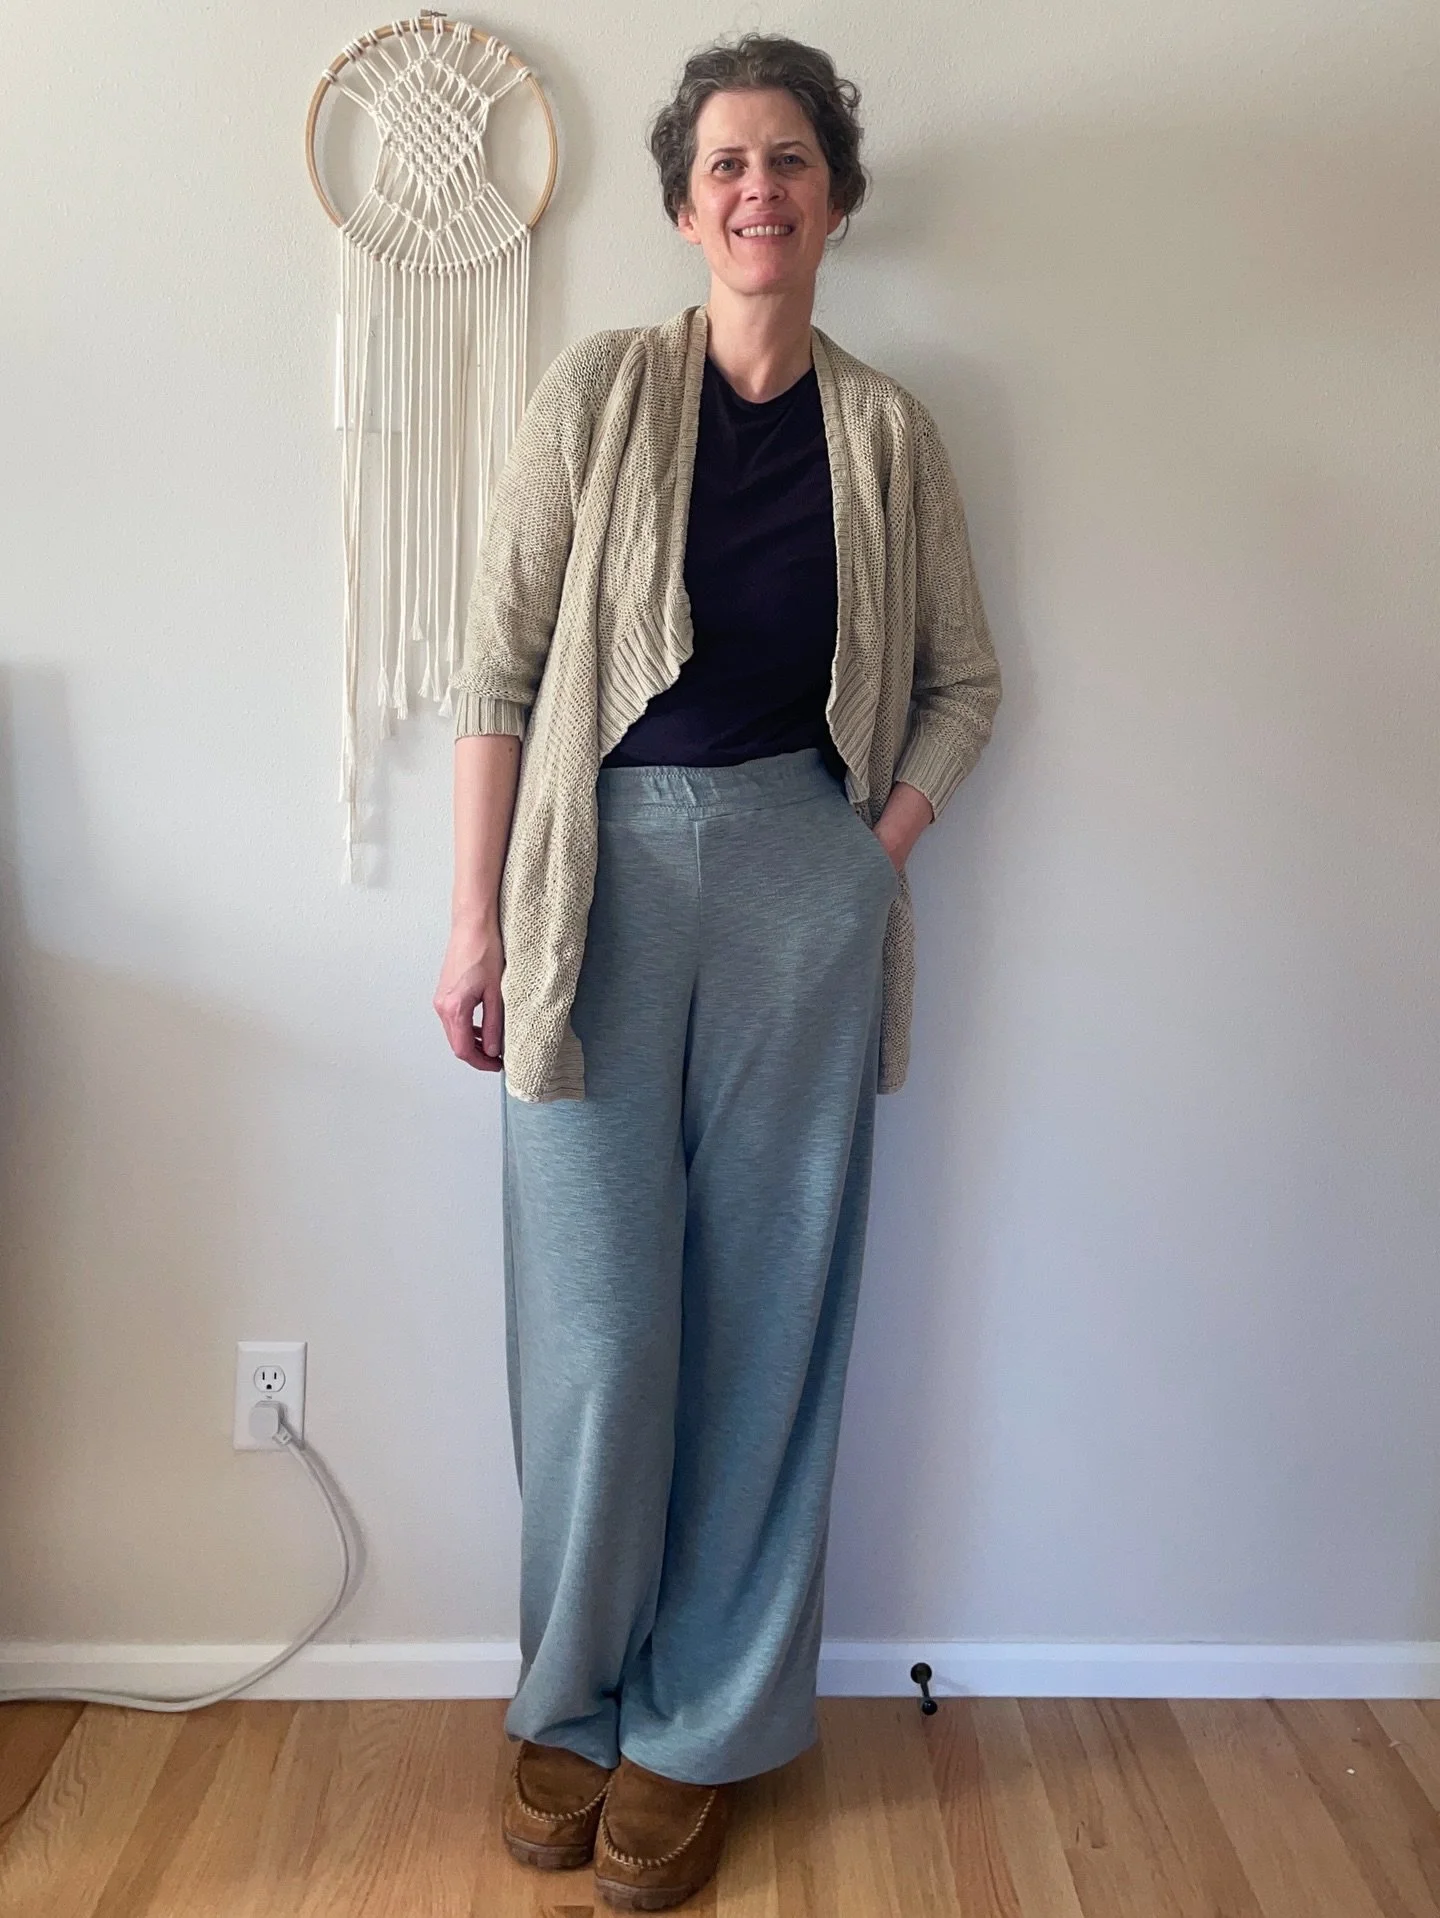
I've always had a strong appreciation for comfortable clothing and during the last couple of years, that has only increased. Spending my days at home, my go-to garment is a pair of joggers or lounge pants. I'll occasionally wear leggings but my first choice is always the joggers. I realized recently that I've sewn joggers from four different patterns so I thought it would be fun to share all of them in today's post and do a little compare and contrast.