

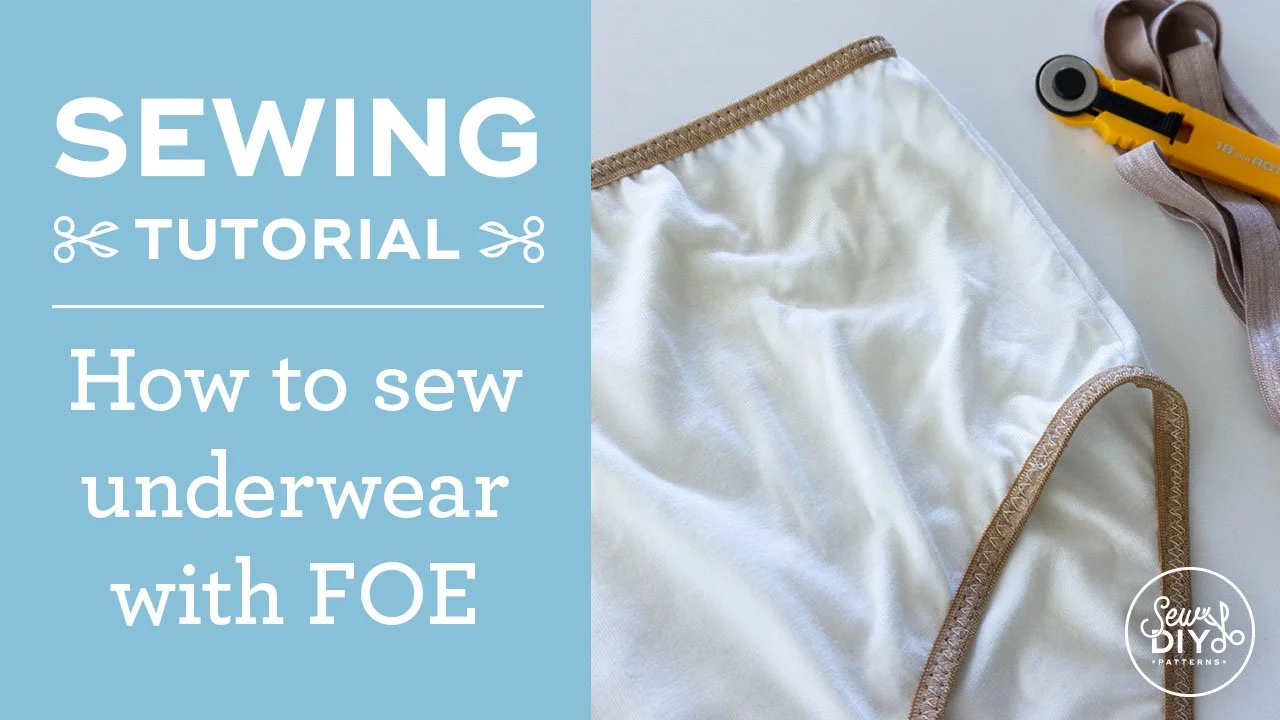
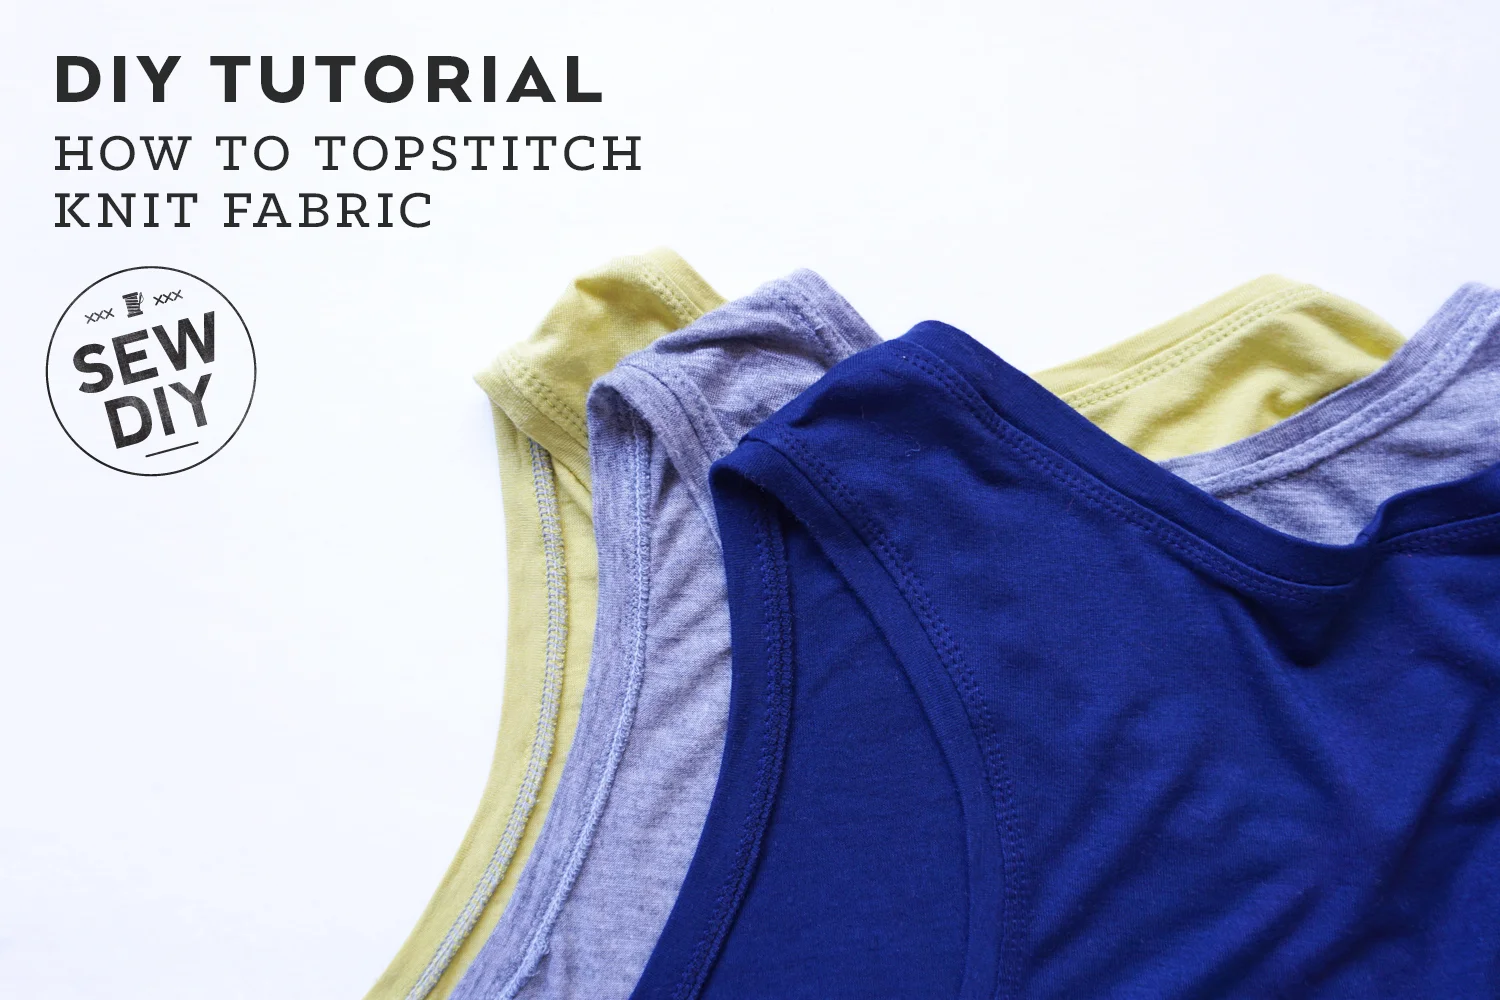
Today, I'm excited to share a new video tutorial for how to sew underwear using fold over elastic. I've sewn lots of underwear and it's a little tricky the first few times. So, I'll be sharing all of my tips and tricks to make sewing your own pair easier. With these tips and a bit of practice, you'll soon be sewing fold over elastic with confidence.
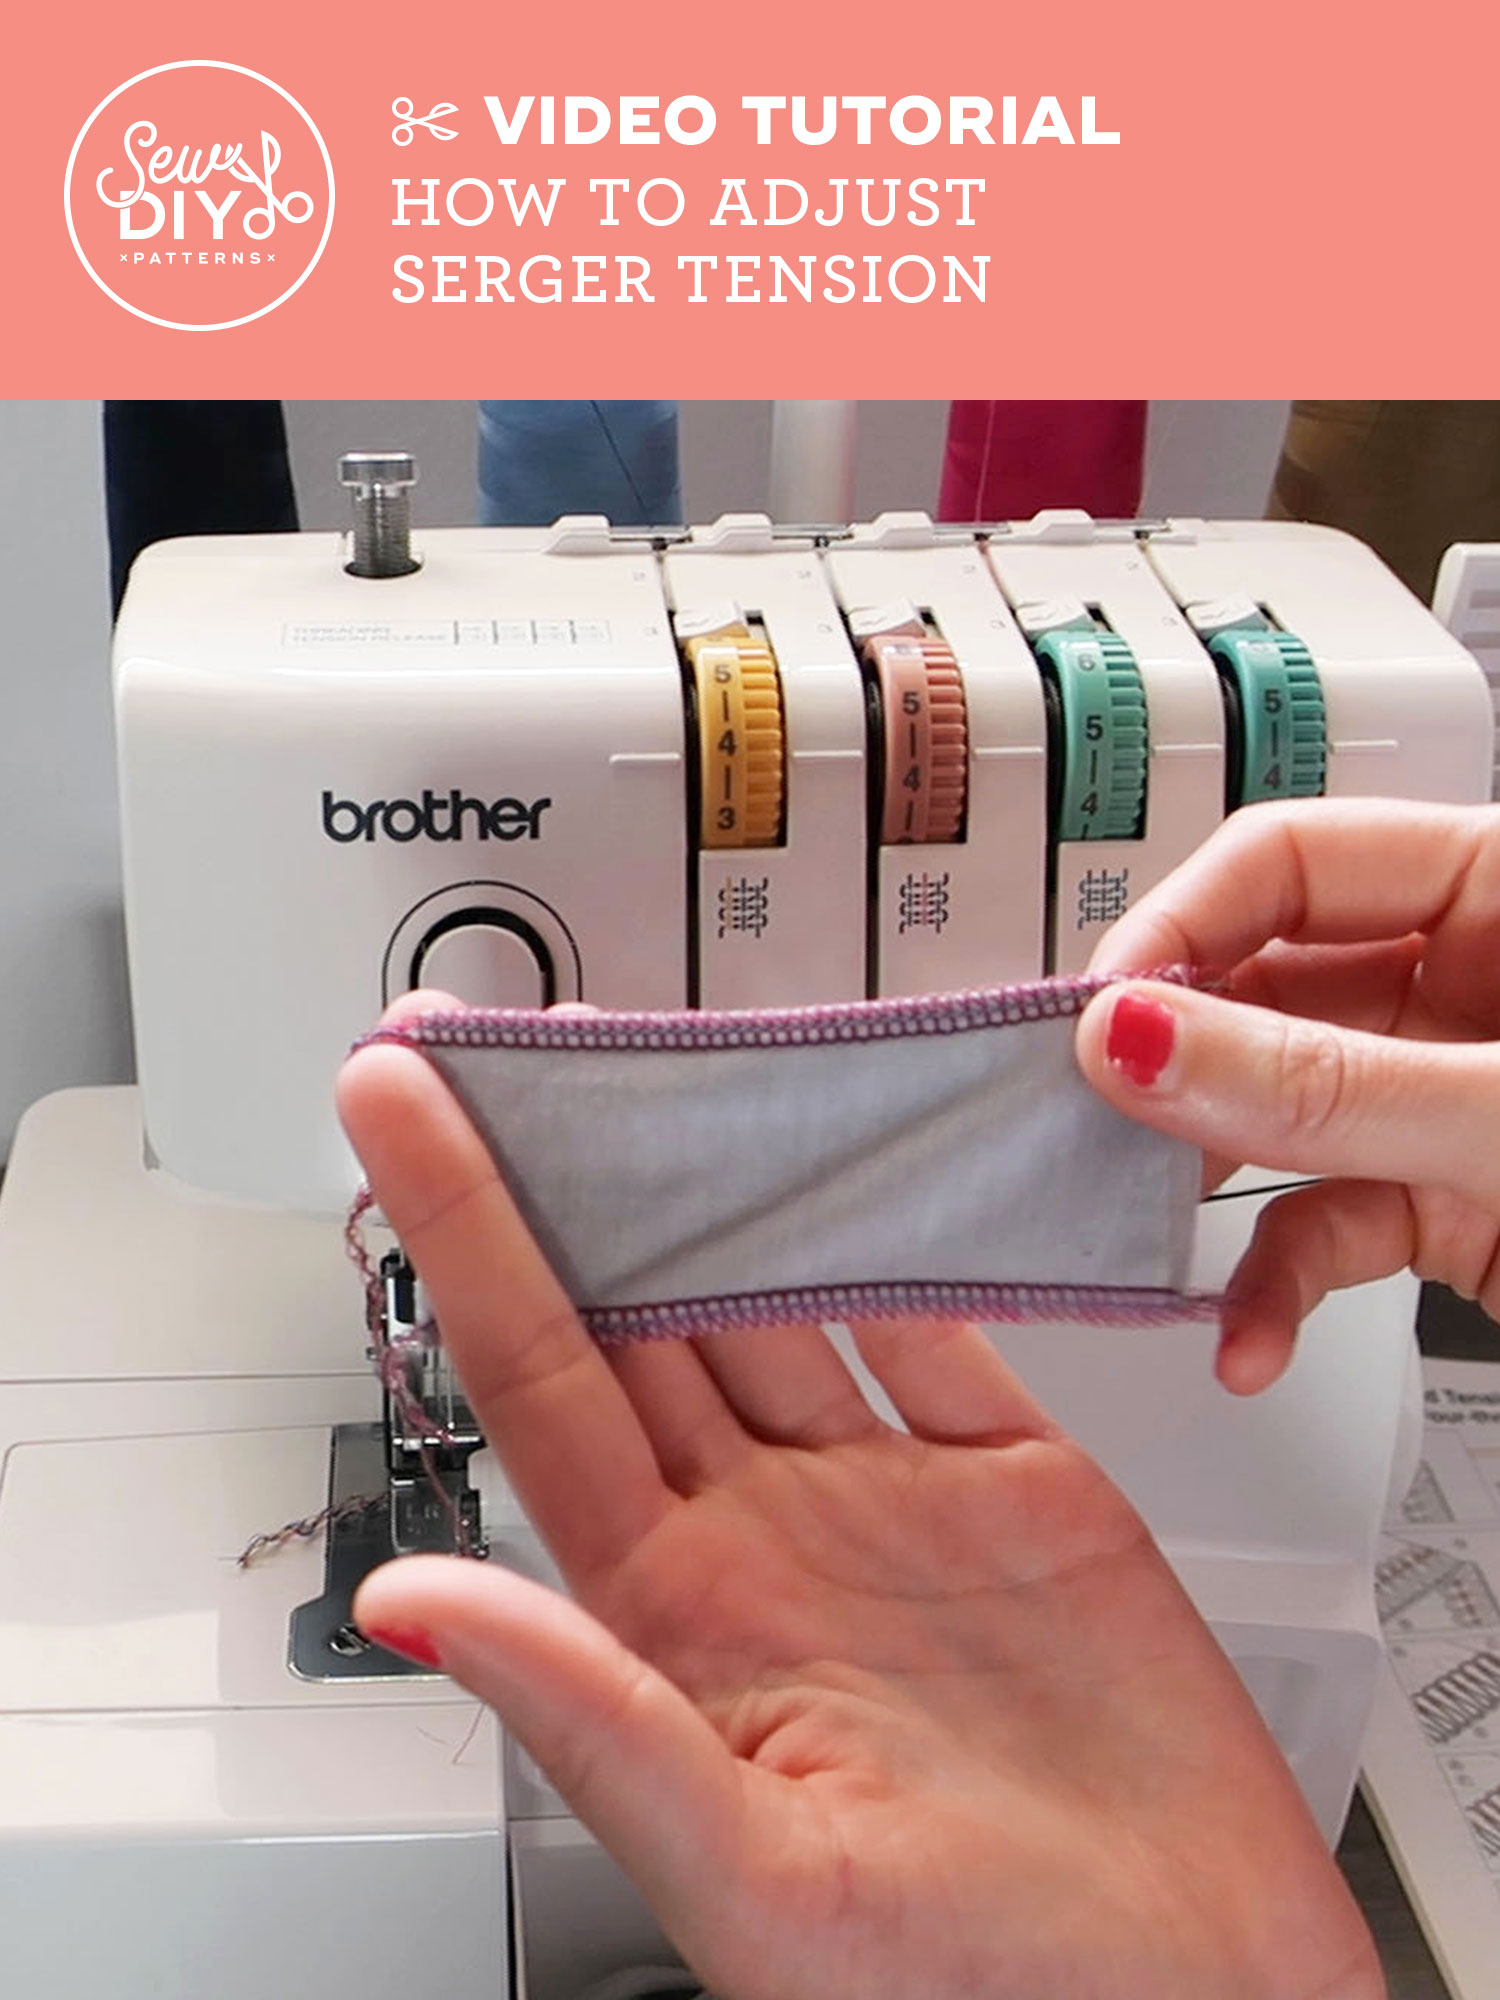
You don’t need any special, advanced equipment to sew your own underwear. I sew the fabric parts of the undies with a serger but you can also use a conventional sewing machine with a zig zag or stretch stitch. To attach the elastic, I use a zig zag stitch and a walking foot. The sewing process is fairly simple. There are only four small seams to sew. The trickiest part is getting the layers of fabric sandwiched and burrito-ed in the correct order. To attach the elastic, I find it easiest to work with the elastic in the round because it's easier to stretch the elastic while sewing. When sewing elastic flat, I've found that I have to leave long tails behind the presser foot in order to get enough tension to stretch the elastic.

PATTERN
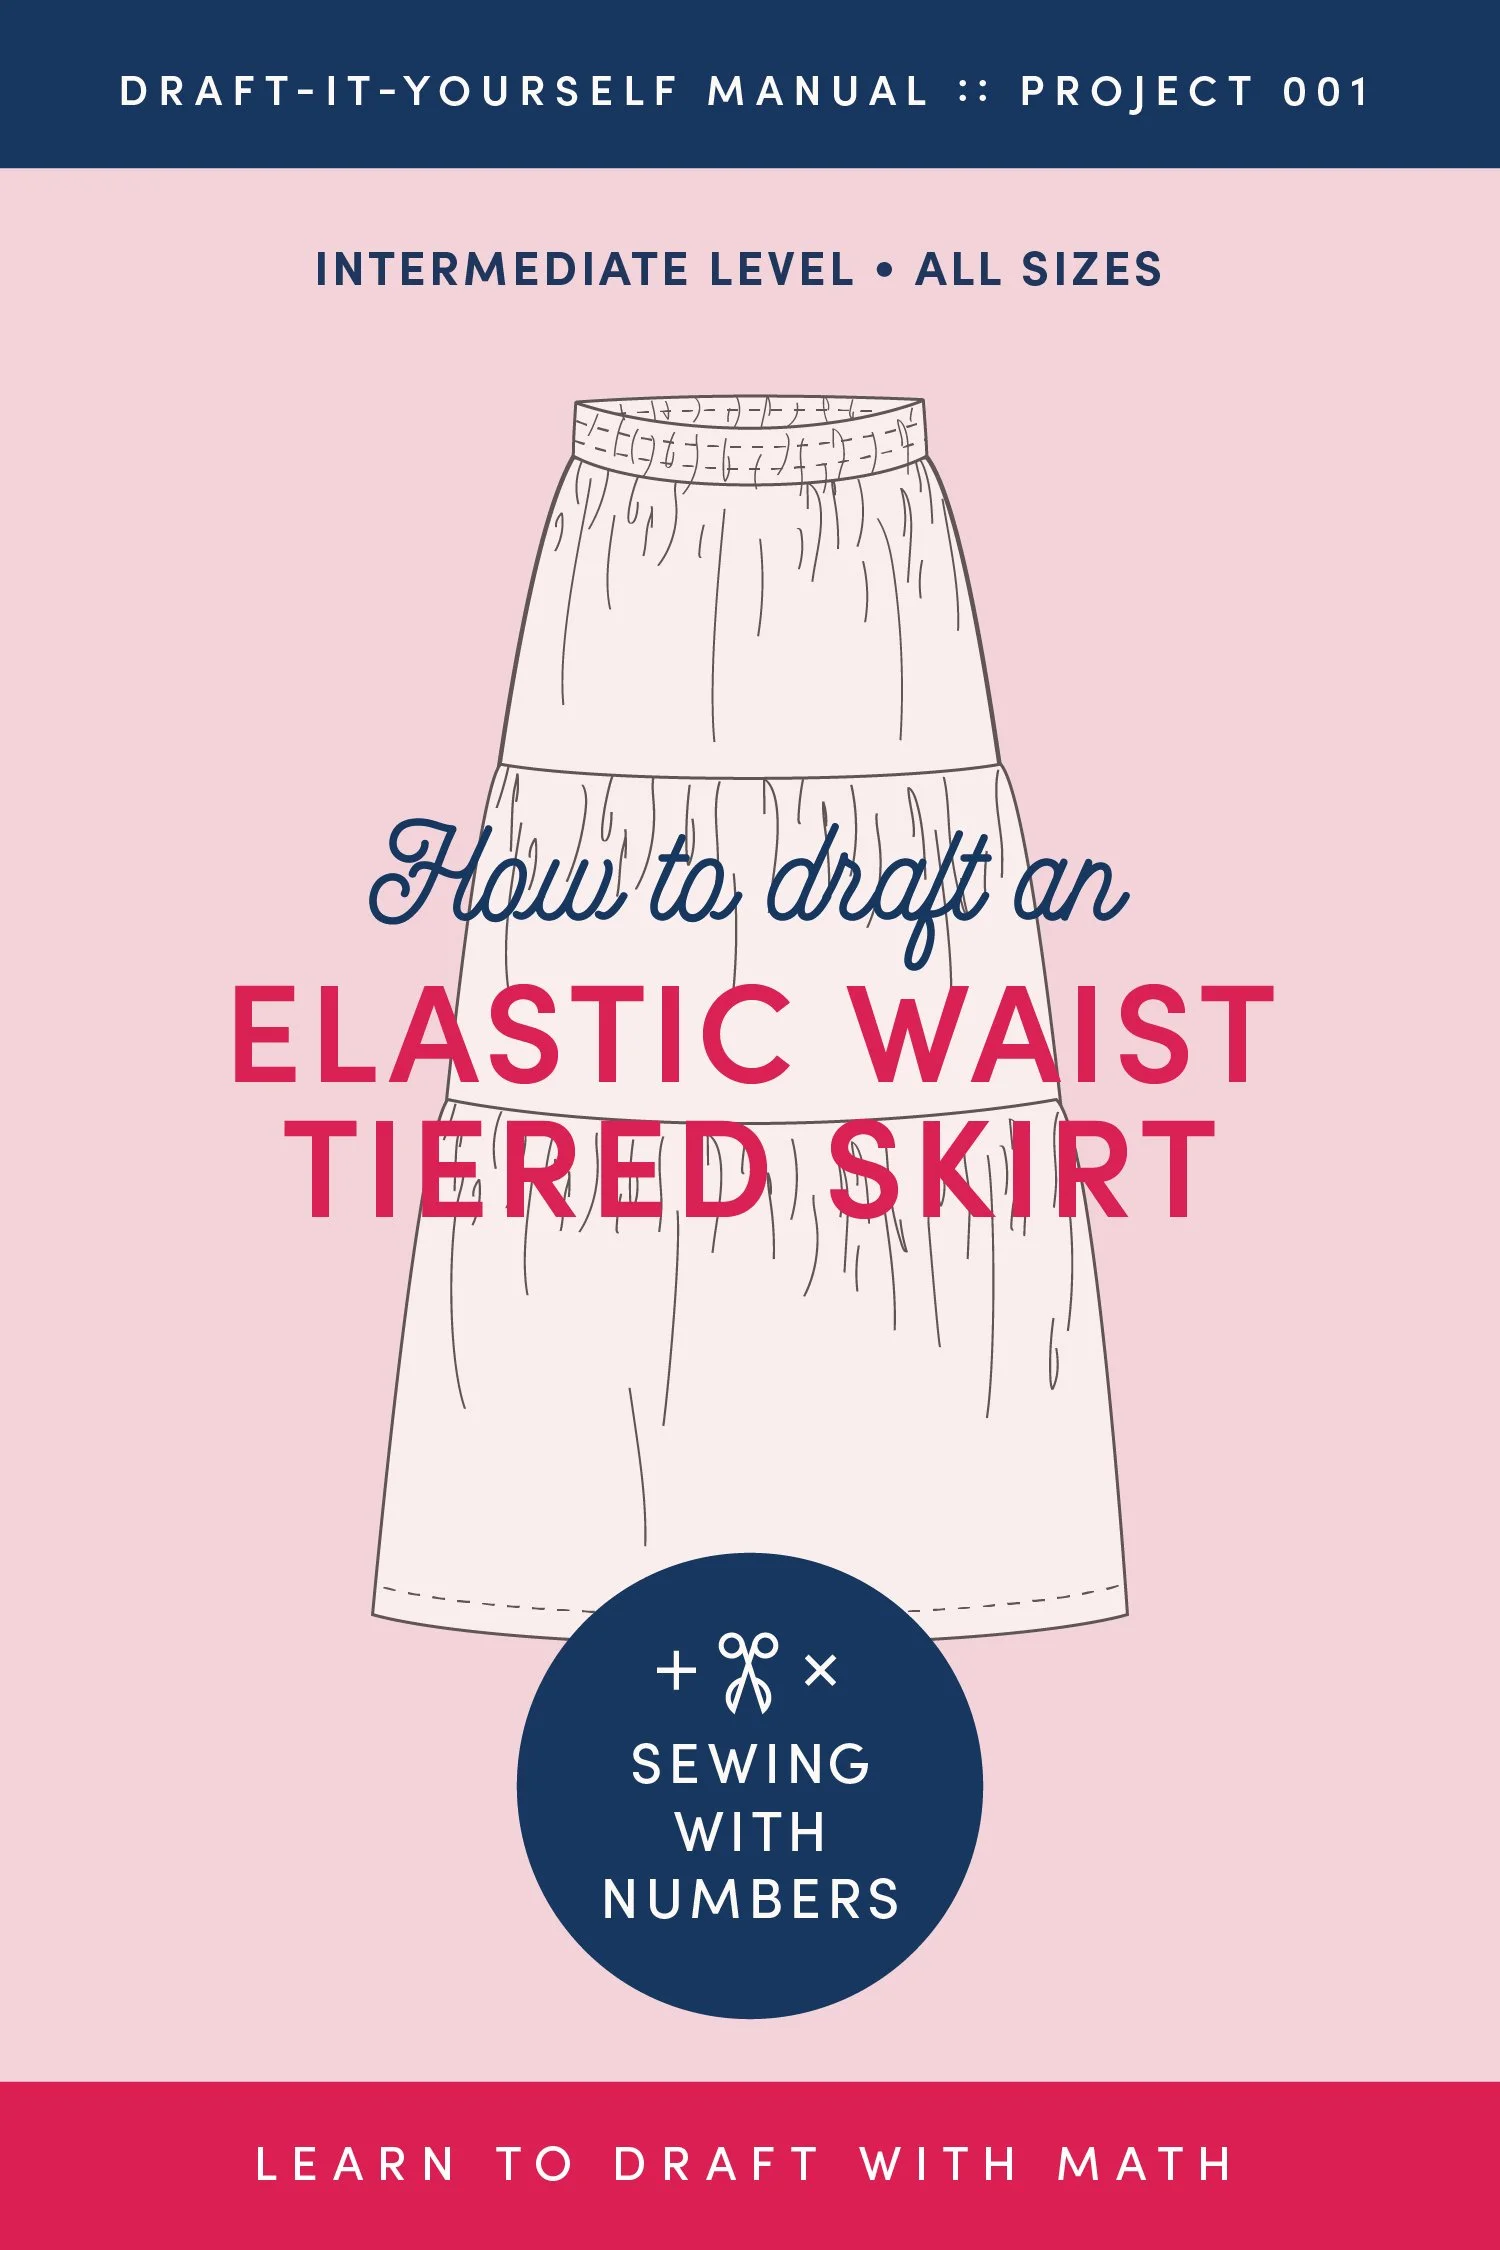
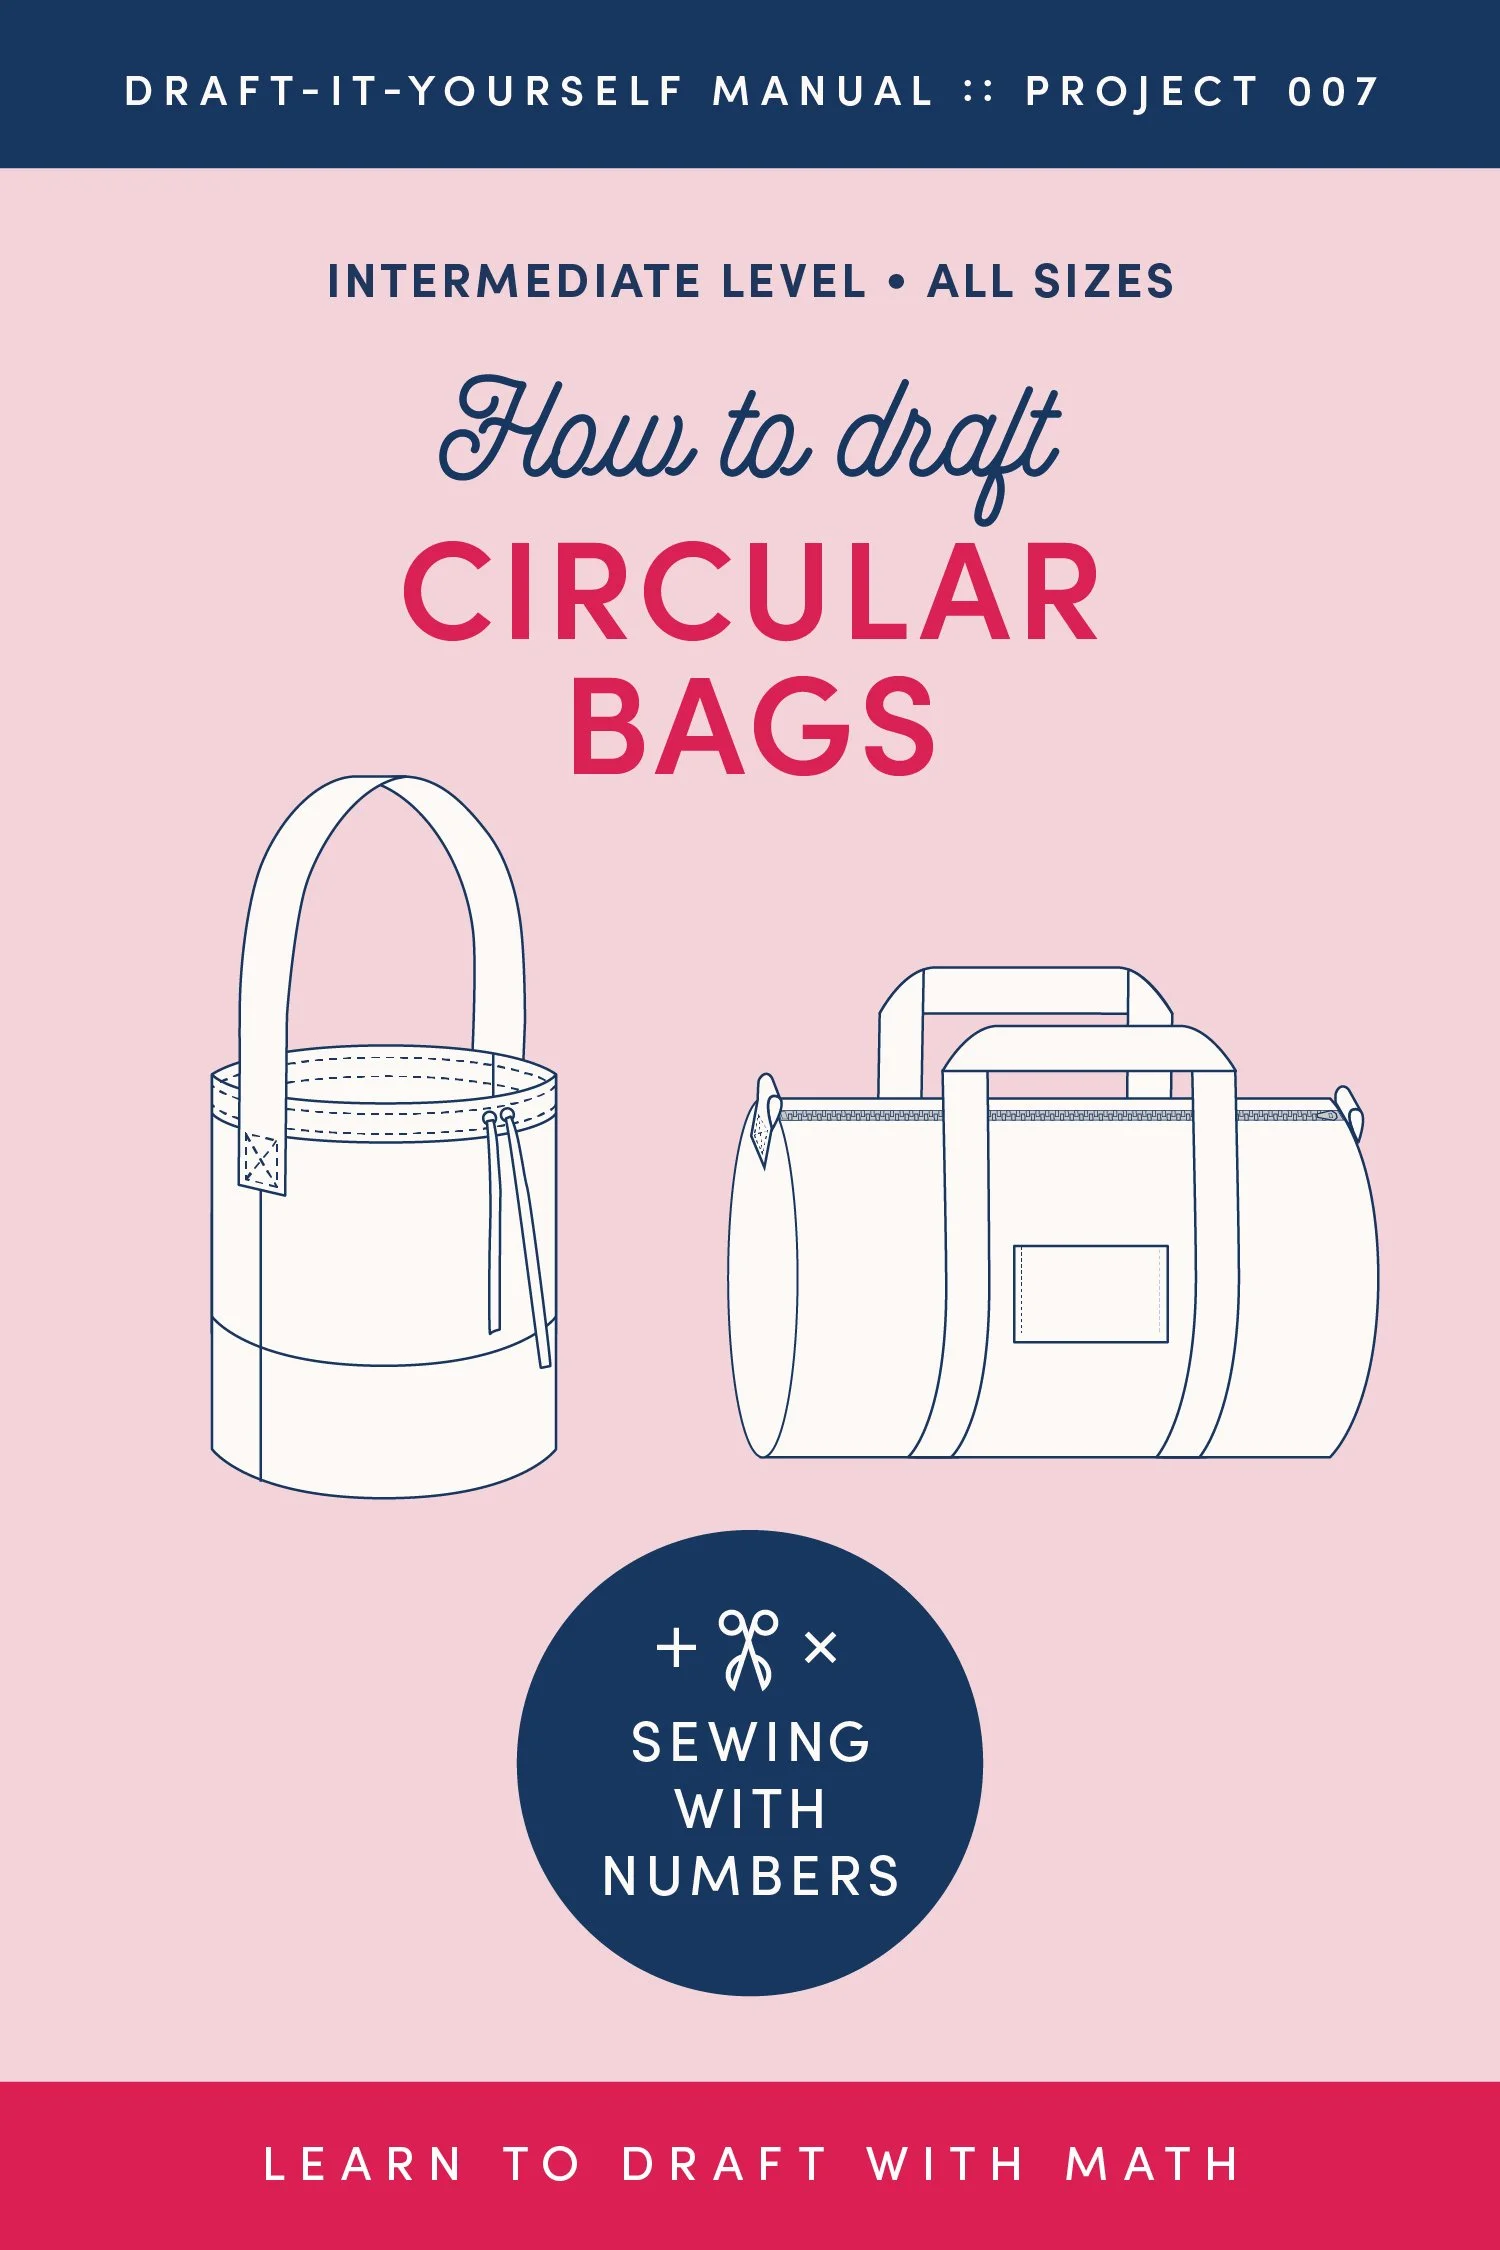
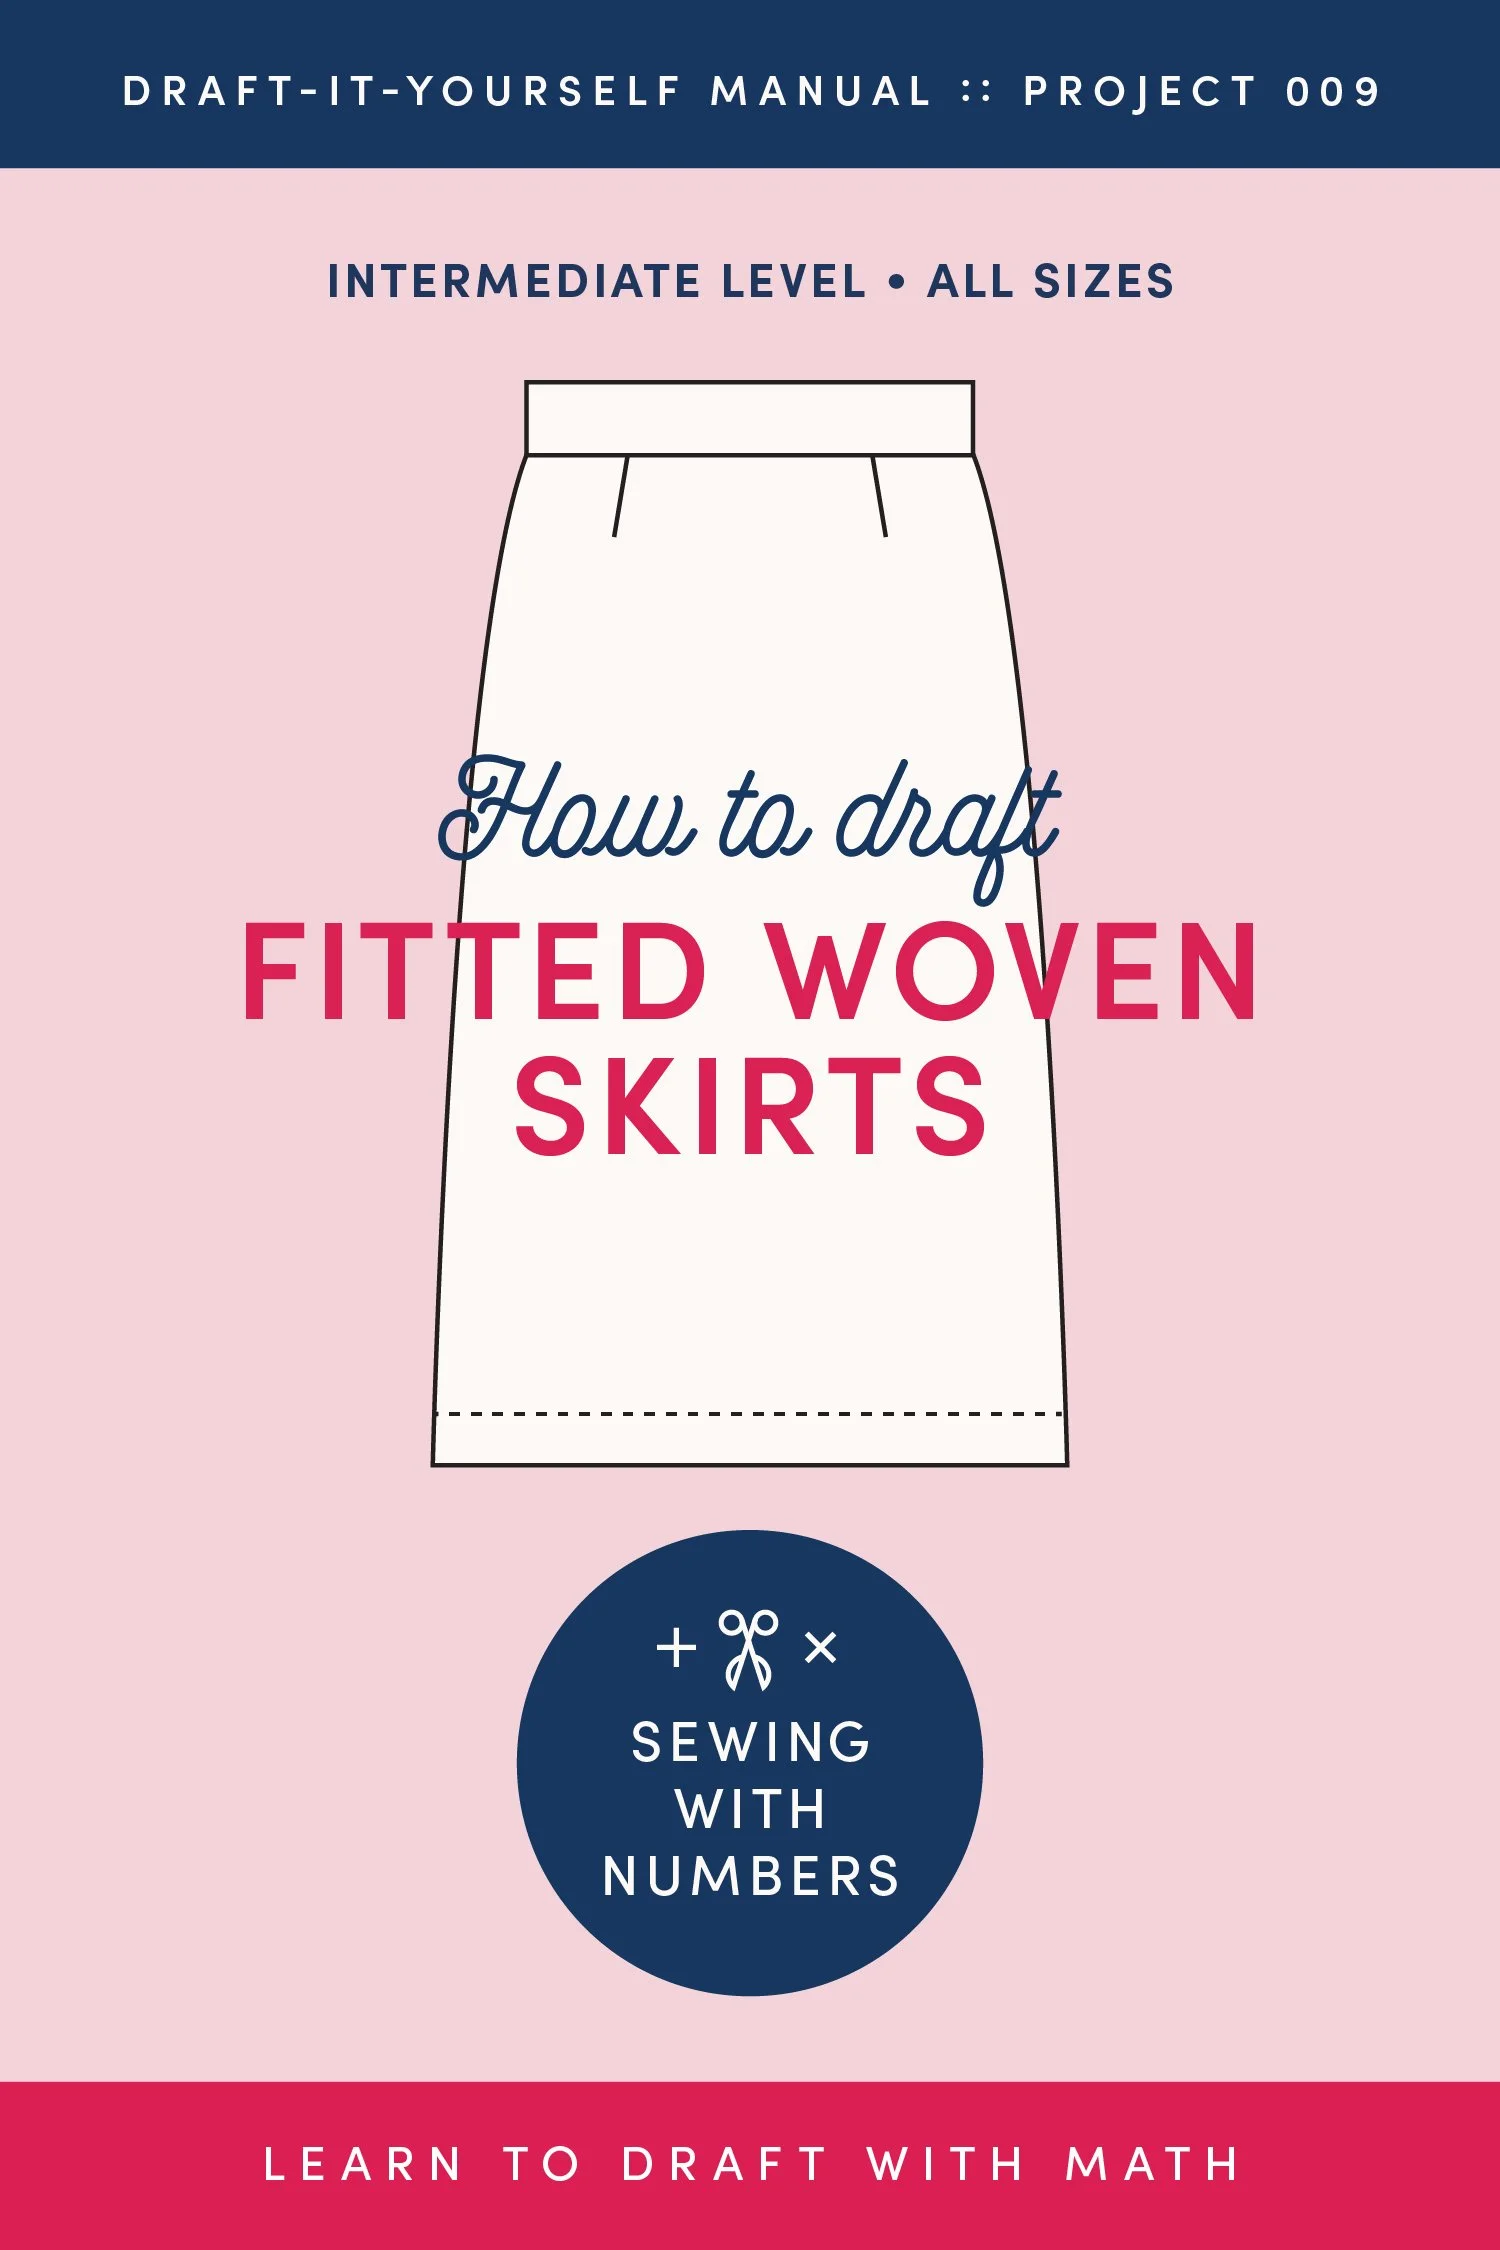
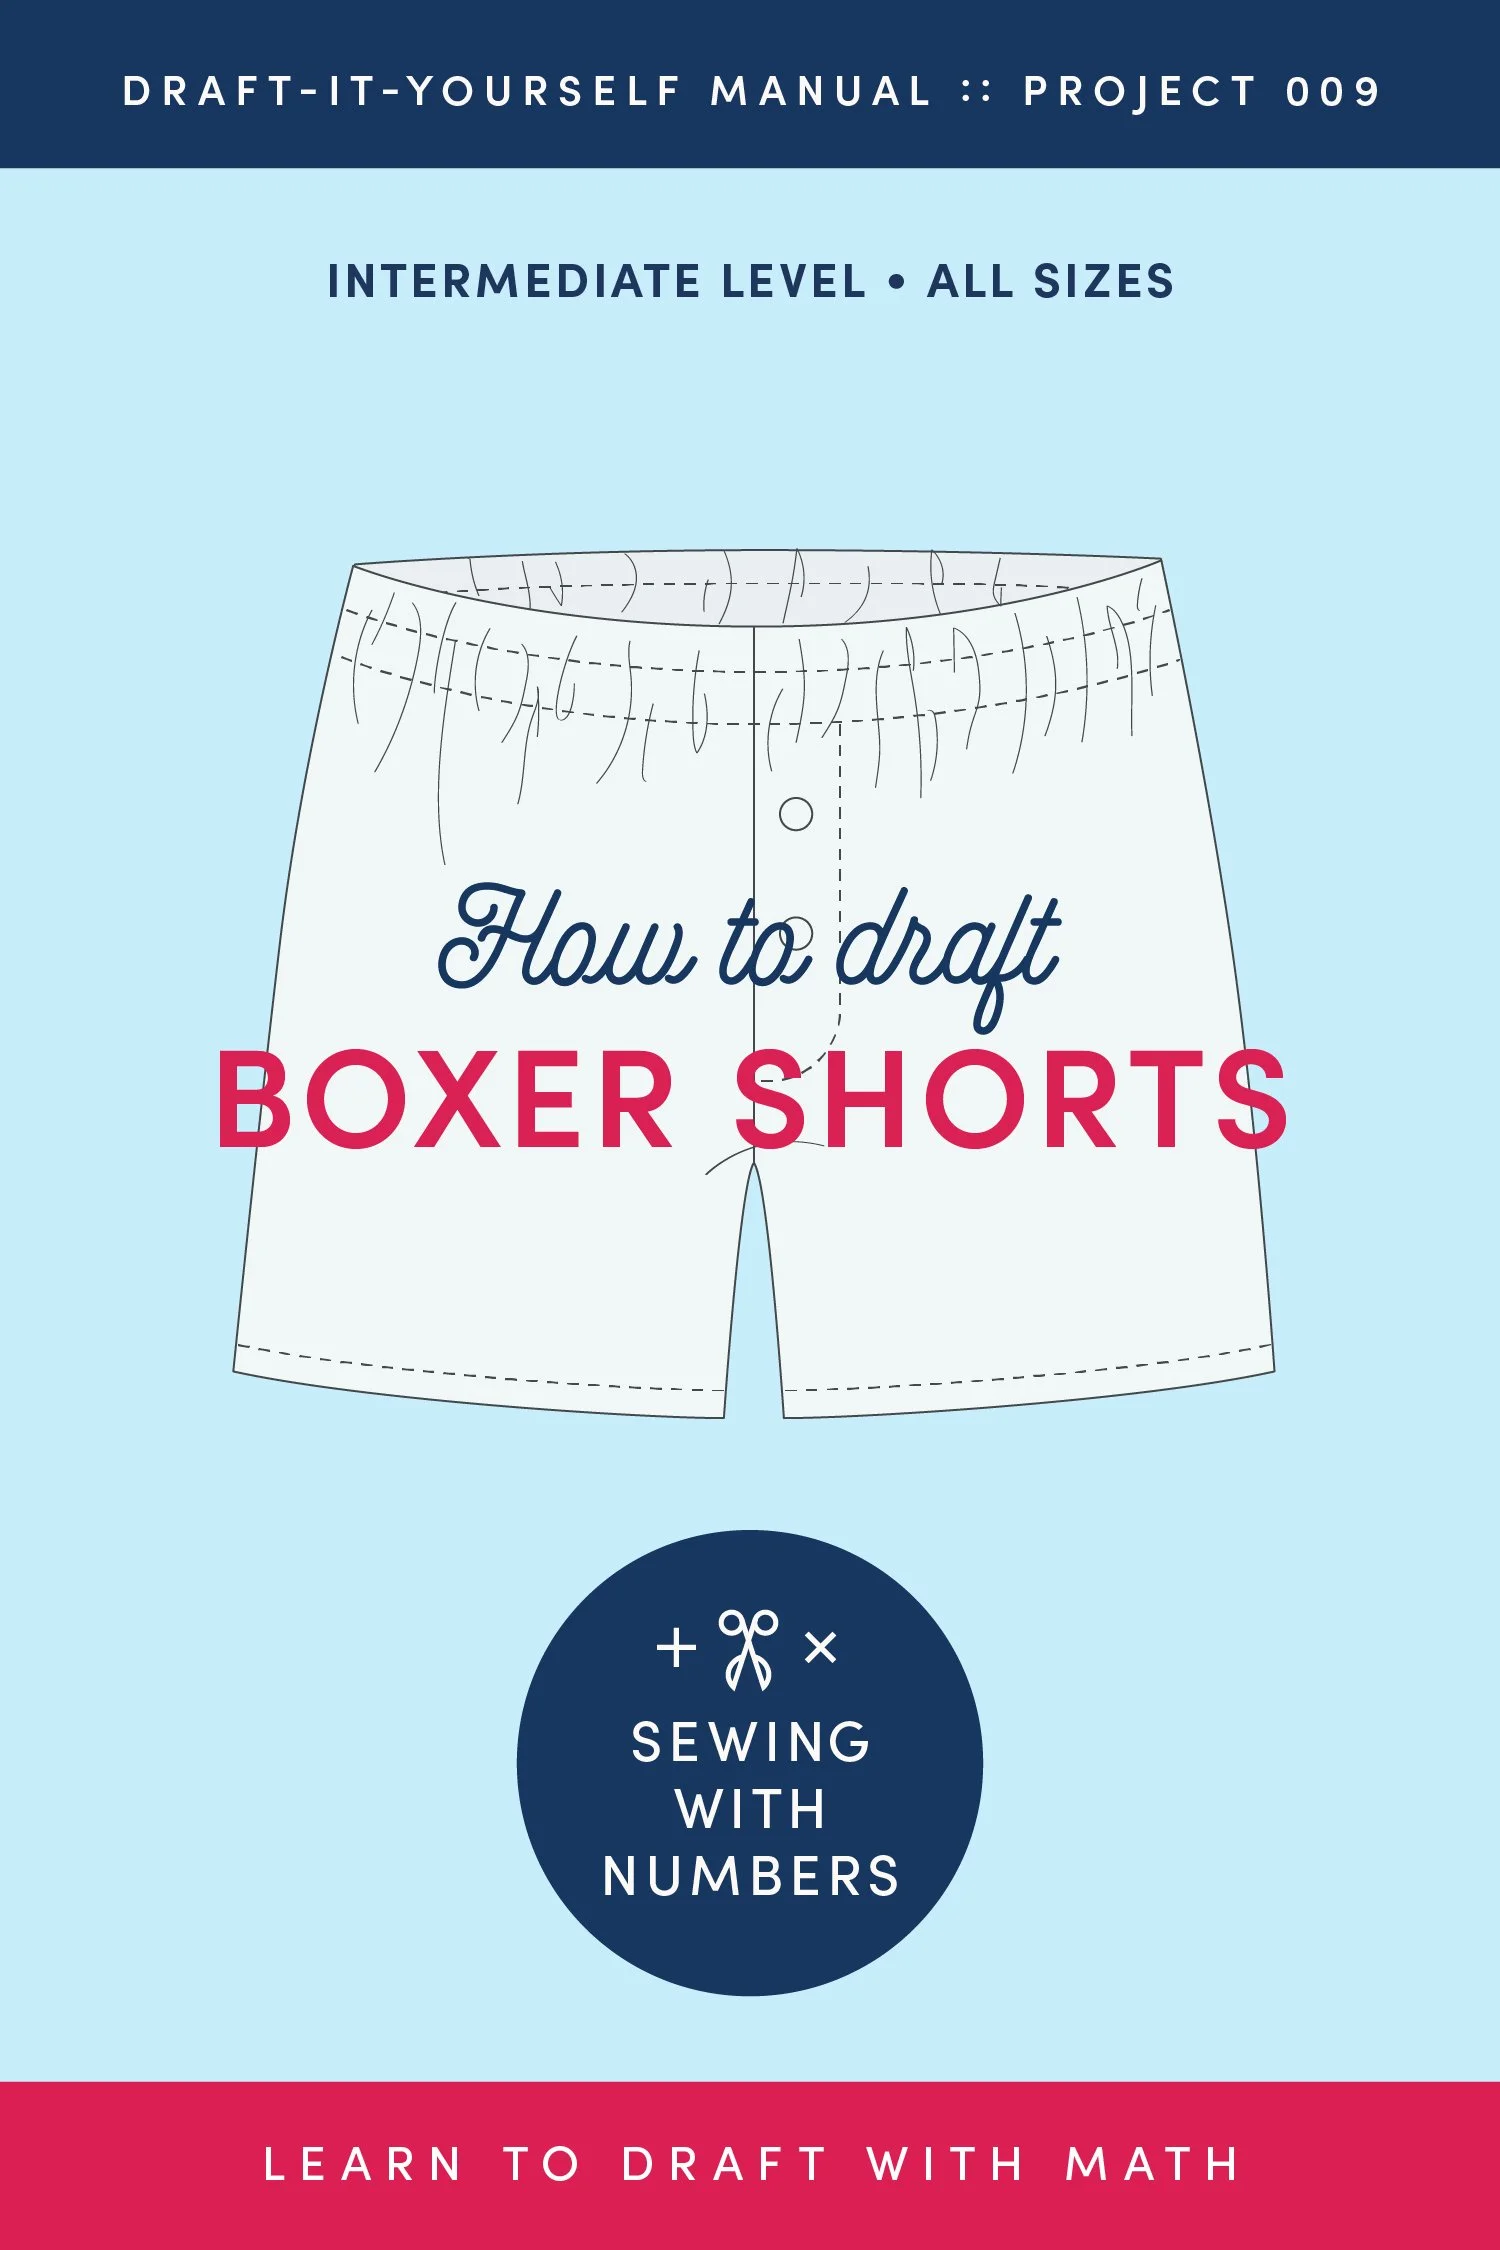
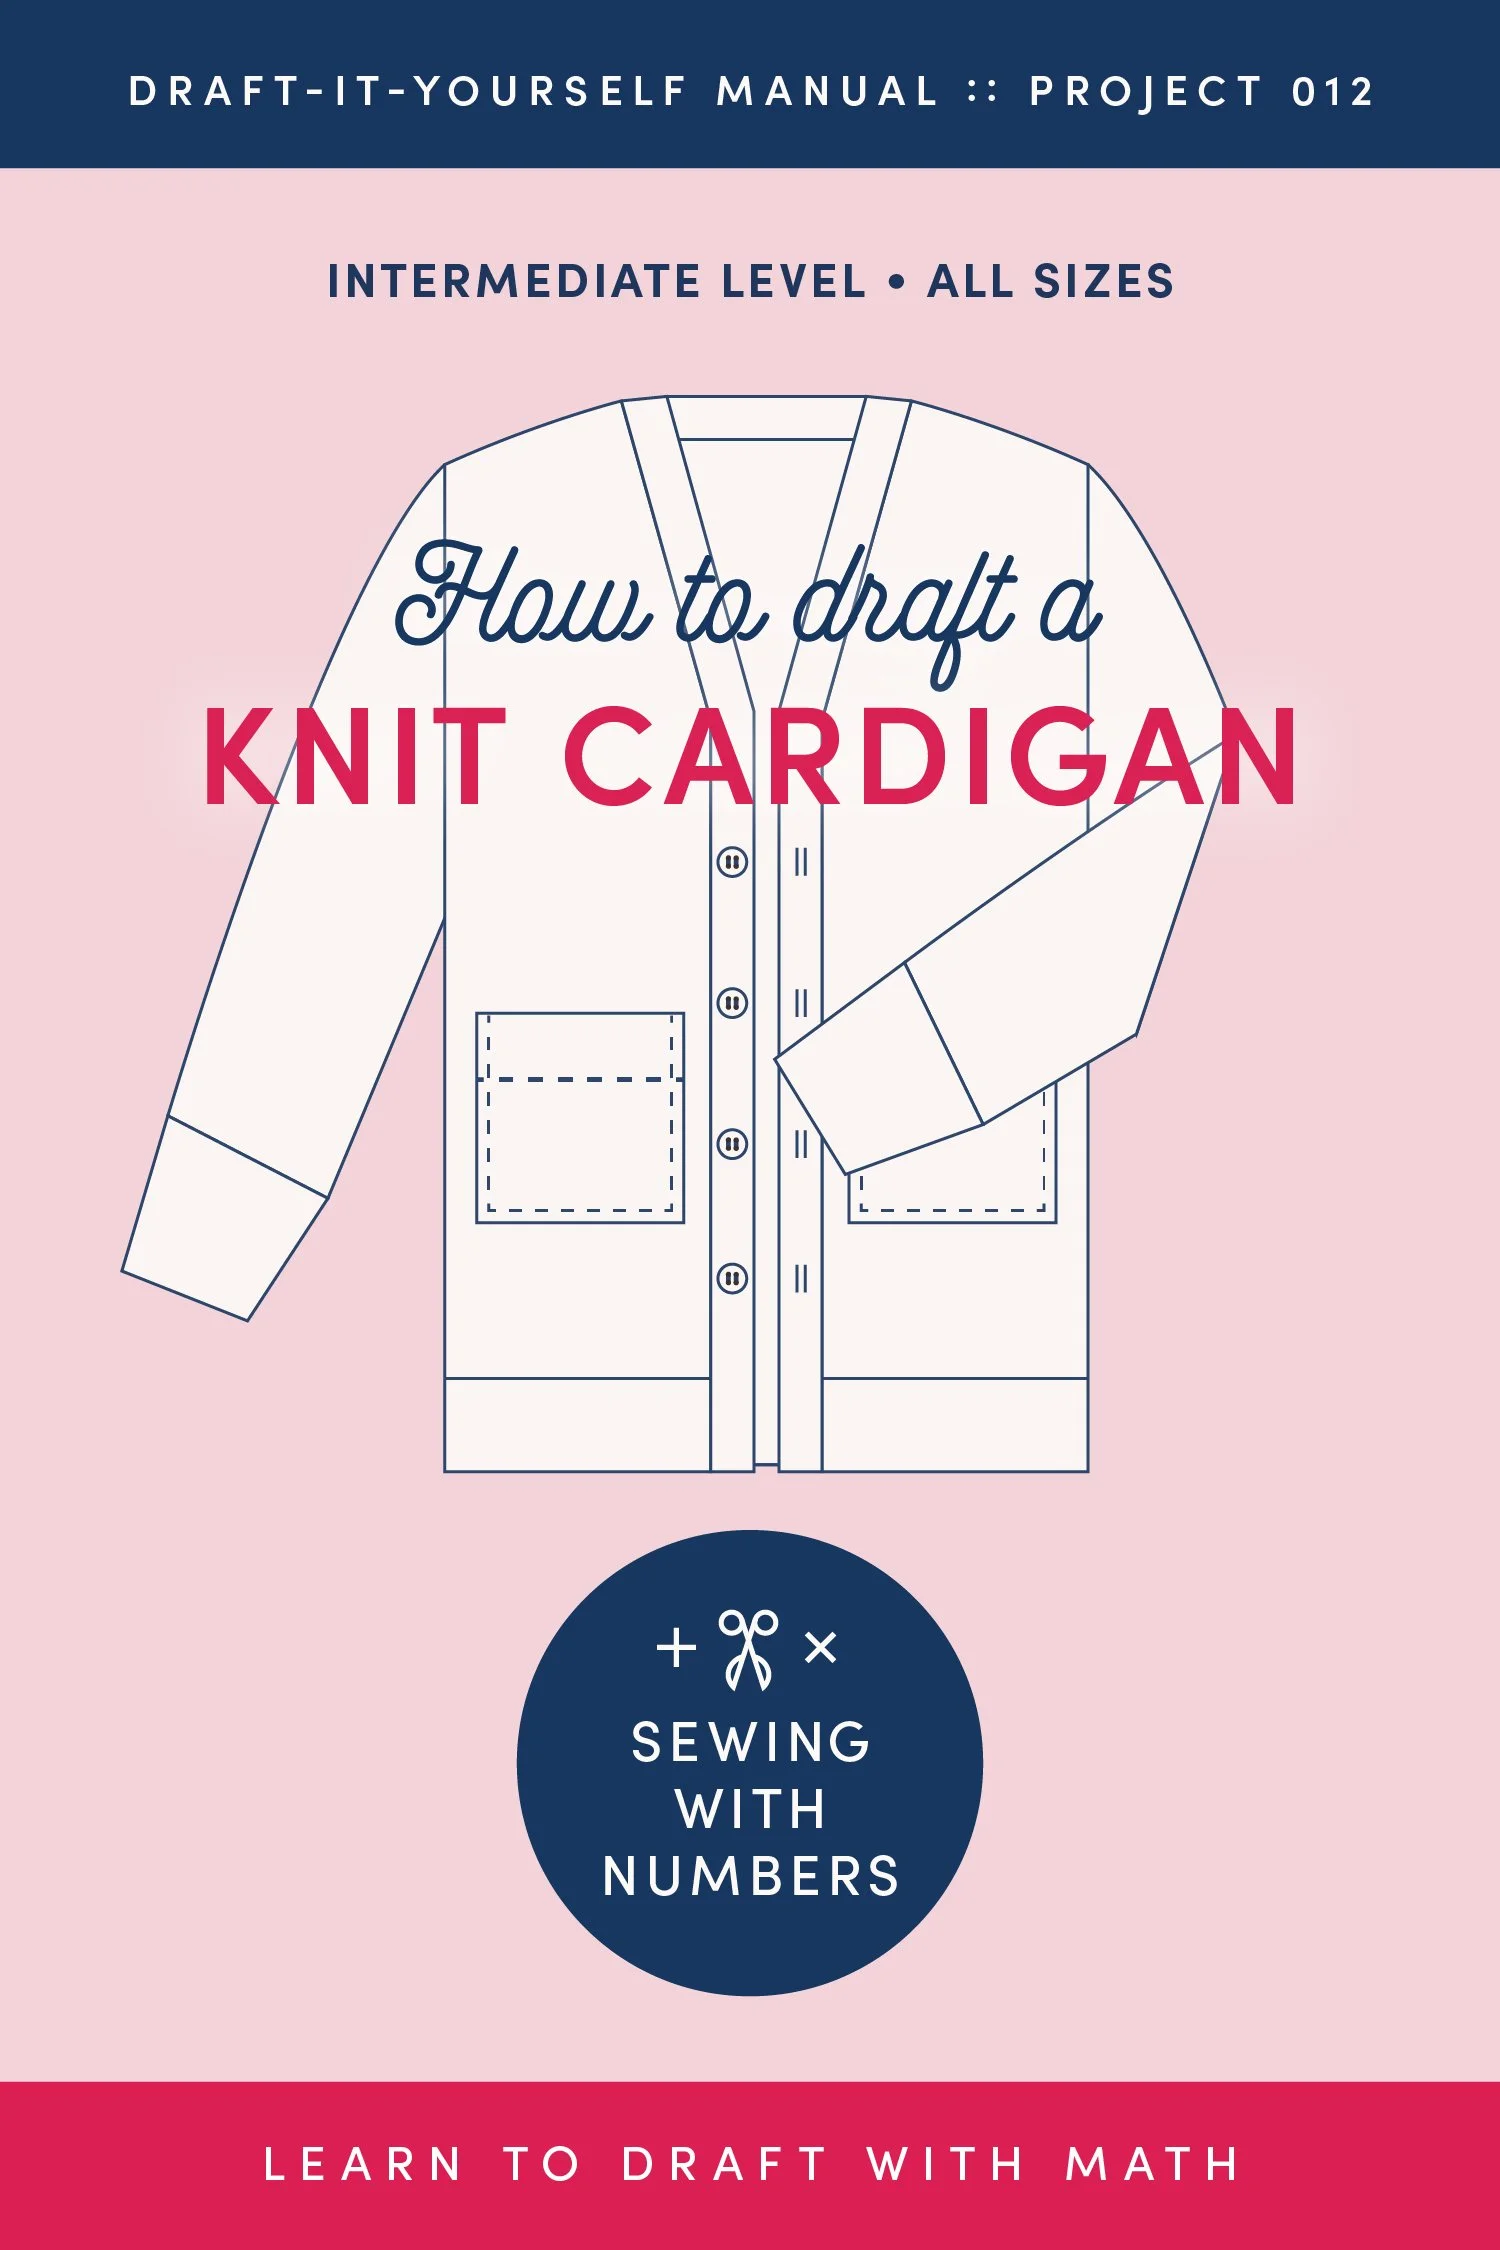
I drafted my own pattern for this tutorial as part of my most recent series on my Substack, Sewing With Numbers. Over there, I share simple pattern drafting tutorials. I show you how to use your own measurements to draft custom patterns fit to your style and preferences. The tutorials are free to read for 3 months and then they are archived for paid subscribers. So, make sure to check out the posts if you're interested. There is a tutorial for how to draft bikini briefs and one for how to draft high waisted briefs (which I'm using here).
If you are interested in learning more about pattern drafting but don't want to sign up for the subscription, the projects are also available as pdf manuals in my shop. You can browse below.


This pattern is made up of three pieces, a front, a back and a gusset. The gusset pieces are attached to both the front and back and enclose the raw edges of the undies. In the video, I'll show you how to sandwich and then burrito the gusset pieces to enclose all of the raw edges.
If you don't want to sew your own pattern, there are lots available online. Megan Nielsen has one called the Acacia that is free to download.

SUPPLIES
The way this pattern is drafted, you'll need to use a knit fabric that has some stretch to it. I really like using scraps of knit fabric leftover from other projects. It's a great way to use up knit scraps. You can even add some color blocking to the panty pattern so that you can use smaller scraps. When you cut out your fabric, make sure to have the stretch going crosswise—horizontally around the body.
Check out my blog post 101 ideas for using fabric scraps
For this tutorial, I'm using a 1.5cm wide fold over elastic (also called FOE). This elastic comes in lots of different colors and different widths. The elastic is woven so that it can easily fold down the middle. In this tutorial, we'll fold the elastic so that it covers the raw edge of the fabric. I cut the elastic to about 85% the circumference of the waistband and leg opening plus 1/4 inch seam allowance on each end.
How to Sew a Pair of Underwear using Fold Over Elastic
You can watch the video above or on YouTube. If you want to skip to certain sections, time stamps are below. I'm also including important steps in written text below.
Step 1: Cut out the fabric and elastic
TIME STAMP 01:22
For this pattern, I cut out 1 Back piece, 1 Front piece and 2 Gusset pieces. Plus, I cut three pieces of FOE for the waist and leg openings.
Step 2: Sew the gusset
TIME STAMP 05:06
First, make a sandwich with the Back and the exterior and interior gusset. Layer them as follows:
1: Interior Gusset right side up
2: Back right side up
3: Exterior Gusset right side down
Stitch. Next, make a burrito with the Front and the exterior and interior gusset.
First layer the Front right side up. Next, place the exterior gusset right side down. (Optional, baste these two layers together.)
Now, we need to make a burrito to attach the gusset lining and enclose the seams. Roll up the Front and Back pieces. Wrap the Gusset Lining underneath so that its right side matches the wrong side of the Front. Stitch.
Step 3: Sew the side seams with right sides together.
TIME STAMP 08:04
Step 4: Attach the elastic to the waistband
TIME STAMP 09:04
First, prepare the elastic by stitching in loops. I treat the shiny side as the right side and stitch the ends together with a 1/4 inch seam allowance and narrow zig zag stitch. Backstitch at both ends.
Next mark the quarter points of the waistband and waistband elastic, including the center front, center back and half in between. With WRONG sides together, pin the elastic to the waistline, matching the quarter points. The raw edge of the fabric should line up with the center of the fold over elastic.

With the right side of the fabric facing up stitch the fabric to the elastic using a zig zag stitch. I used a 3.0 width and a 3.0-4.0 length. As you stitch, use your right hand to stretch the elastic to match the length of the fabric. Use your left hand to keep the edge of the fabric aligned with the center of the FOE. This can take some practice but you can be reassured that this stitching is only visible on the inside. (See photo.)
After stitching all the way around, check for any unwanted wrinkles. Trim any bits of fabric that crept over the center of the FOE.

Fold the FOE over the raw edge of the fabric to enclose it and top stitch in place. I used a zig zag stitch that is 4.5 wide and 3.0 long. As you stitch, gently stretch the elastic so that the fabric is flat. Try to not stretch the fabric. (See photo.)
Step 5: Attach the elastic to the leg openings
TIME STAMP 16:14
Before attaching the leg elastic, I recommend basting together the two layers of the gusset. This will help ensure that both layers are caught in the FOE.
To attach the loops of elastic to the leg openings, you'll follow the same process as for the waistline in step 4. I debated whether to include step 5 at all but I thought it might be helpful to see the visual of it because the leg opening has more curves to it. If you're having trouble visualizing how to fold the leg opening in quarters, I recommend using the side seam as the starting point. You can watch the video for a visual.
If you’d like more tips for sewing with knit fabrics, you can scroll through the blog posts linked below.


I hope that you enjoyed this tutorial and found it useful. Sewing your own underwear is a great way to use fabric scraps and with a little practice, it’s really easy as well. Make sure to pin the image below to save this post for later. Happy sewing!


