The Lou Box Top Sewalong
Explore extra tips and full photo tutorials in the Lou Box Top Sewalong. Directly below are tutorials specifically for the Lou Box Top. Scroll down for blog posts with tips and tutorials for sewing with knit fabric. If you haven't purchased a pattern yet, head over to the shop to download.
Click an image below to go the tutorials.
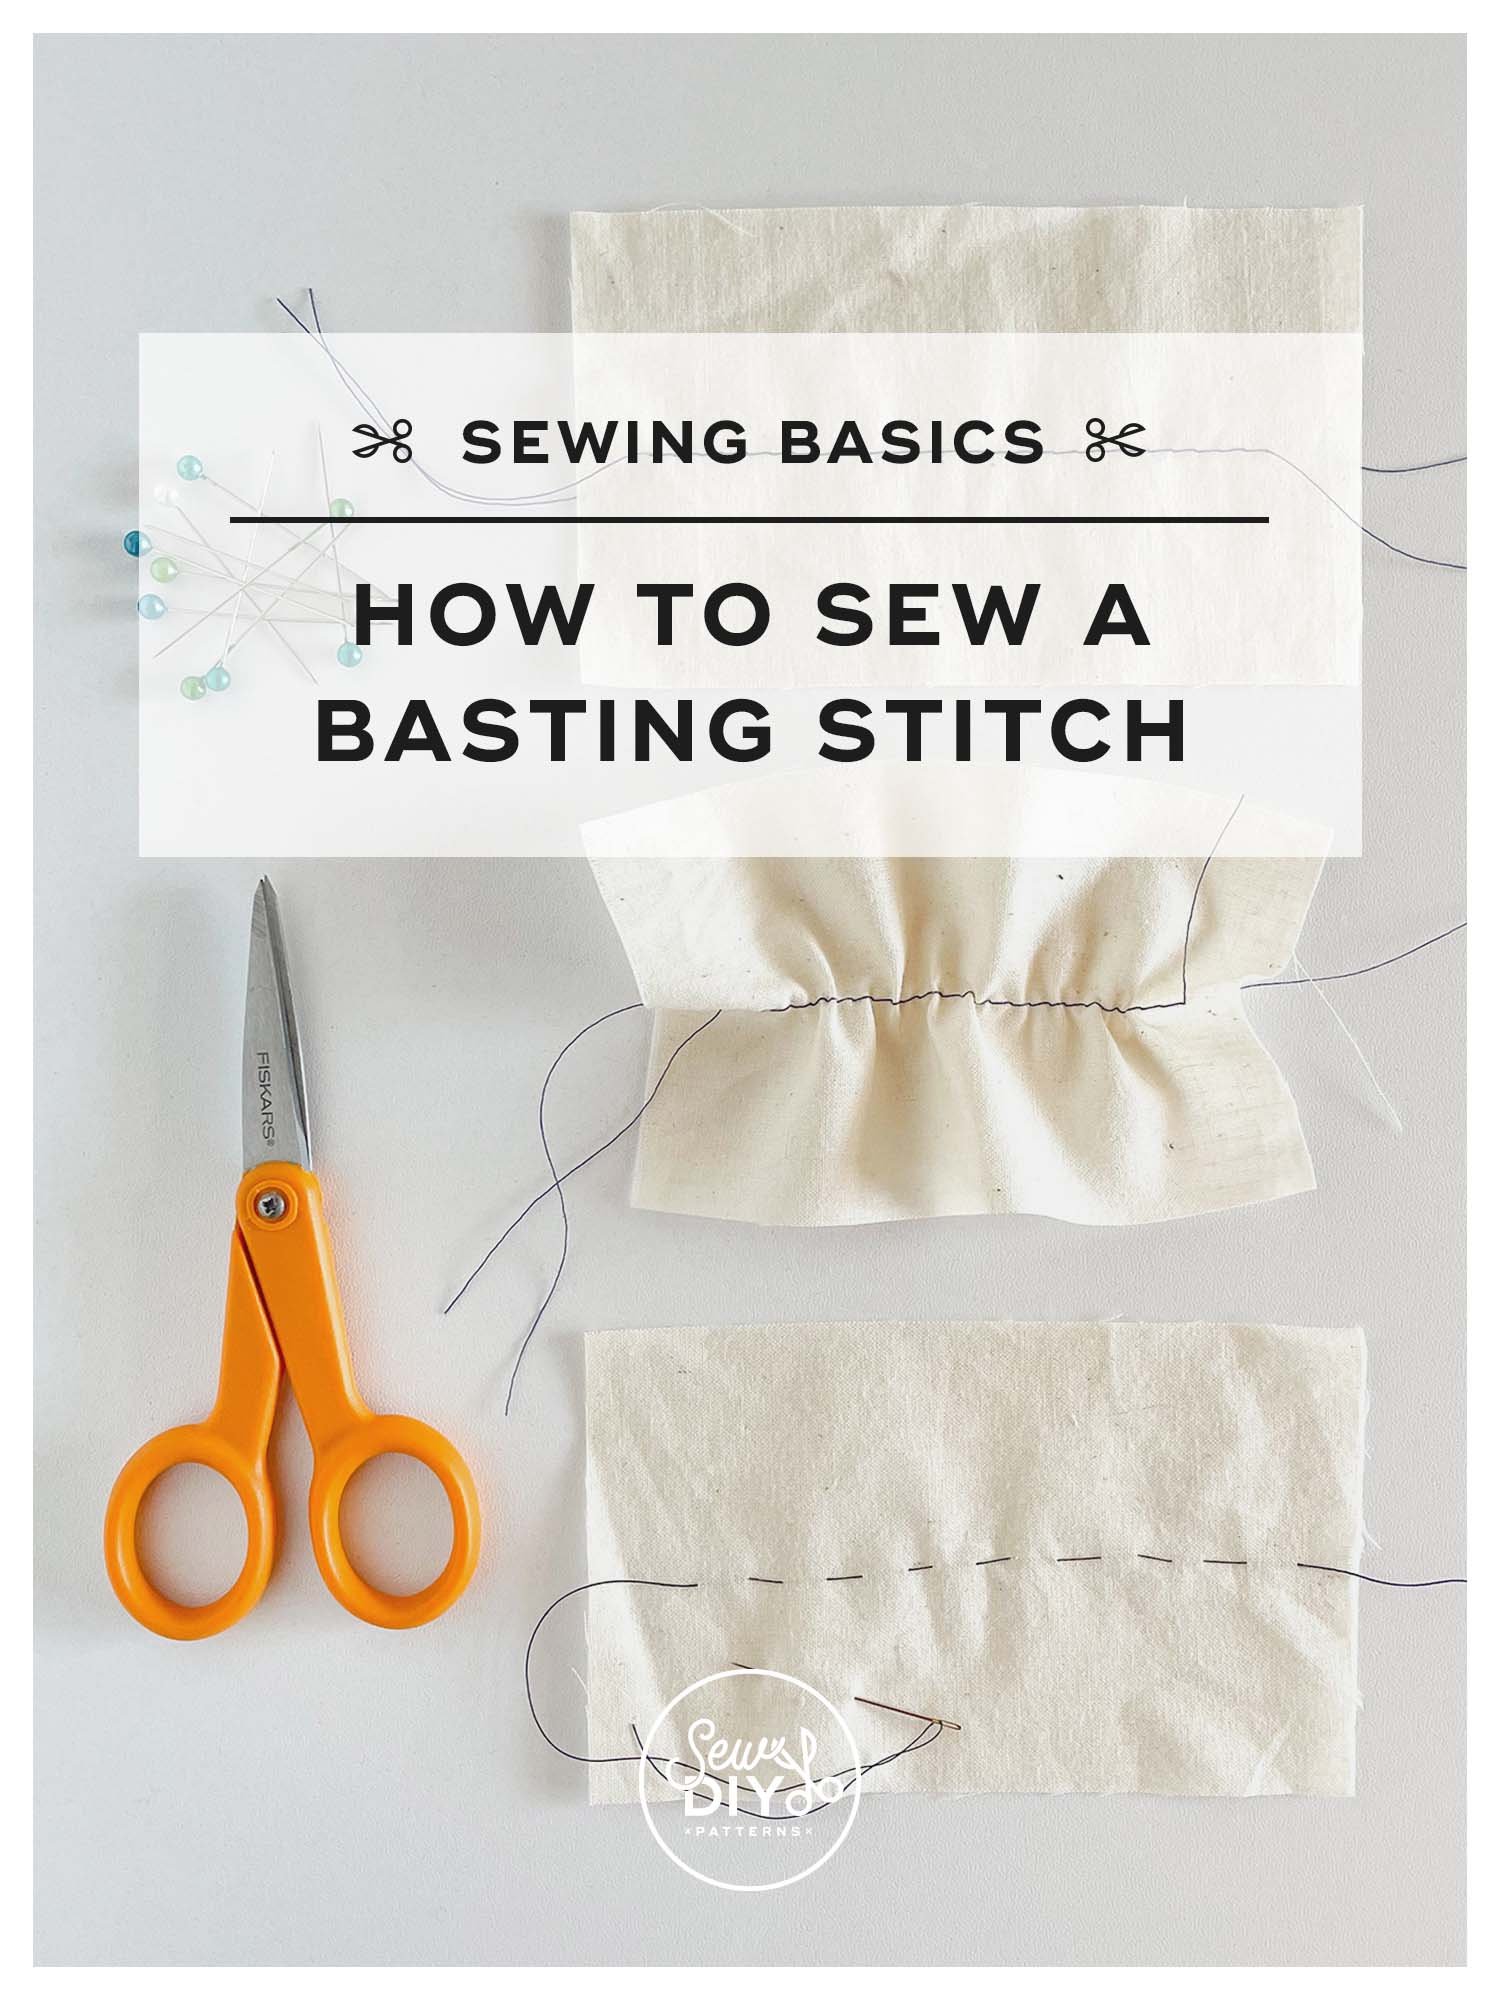
If you've sewn a garment before, you may have encountered a basting stitch. And, if you keep sewing, you'll be sure to use it with most projects. Basting is a fundamental sewing technique because it's so useful. Even better, it's a very easy stitch to sew. In this post and video, I'll talk about what a basting stitch is, when to use it and demonstrate sewing a basting stitch by hand and by machine.

In today's video, I'm going to be showing you how to understitch. Understitching is a technique that is most often used when sewing woven fabric garments but occasionally with knit fabrics as well. It's mostly used when you are sewing a facing, a lining or an in-seam pocket. The purpose of understitching is to keep those parts of the garments hidden and out of view.
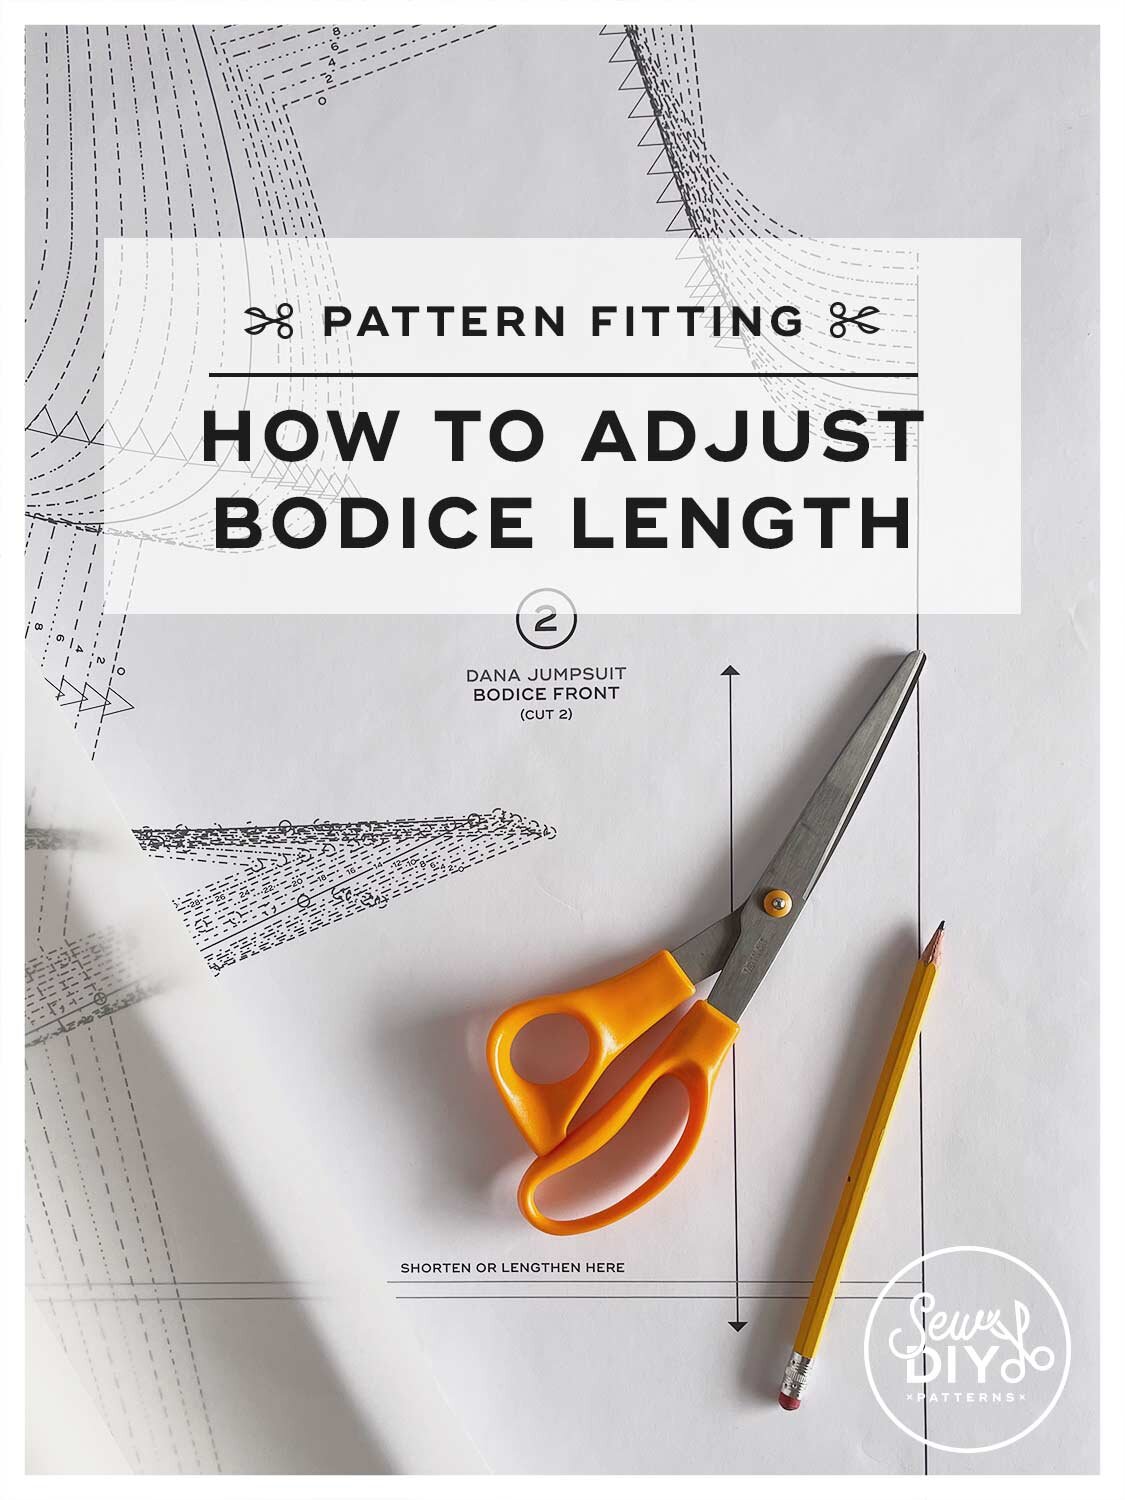
Today, I'm continuing my series of pattern fitting videos with how to lengthen or shorten the bodice of a sewing pattern. The same techniques can be used when altering the length of a blouse or shirt. In the video, I use my new Miri Tank pattern to show how to make the pattern adjustment. Plus, I share some tips for when you're lengthening a top into a dress.

In today’s video, I’ll be showing you how to sew a french seam. The french seam sewing method stitches the seams and finishes them in a two step process. In this method, you will stitch each seam twice, enclosing the raw edge of the fabric on the second pass creating an attractive and clean finish. This is a simple method to sew and well worth mastering.
Can I confess something? I used to hate sewing French seams. It just took forever and I always ended up with bits of thread showing on the right side of the garment. It’s very possible that in my impatience, I was skipping the very important trimming step. But over the years, I’ve figured out how to sew this seam finish without going crazy. I actually enjoy sewing it now and rarely feel impatient to move on to the next project.

I used to be really scared to sew knit fabrics but after a lot of research and a lot of practice, I love sewing with knits. One misconception is that you need to have a serger (aka overlocker) to sew knit fabrics when in fact most conventional machines come with a variety of stitches that are made for sewing knit fabric. In this video, I share the tools you need to sew knit fabric, some tips for preventing your fabric from stretching and demonstrate the stitches available on a conventional sewing machine that can be used to sew knit fabric.
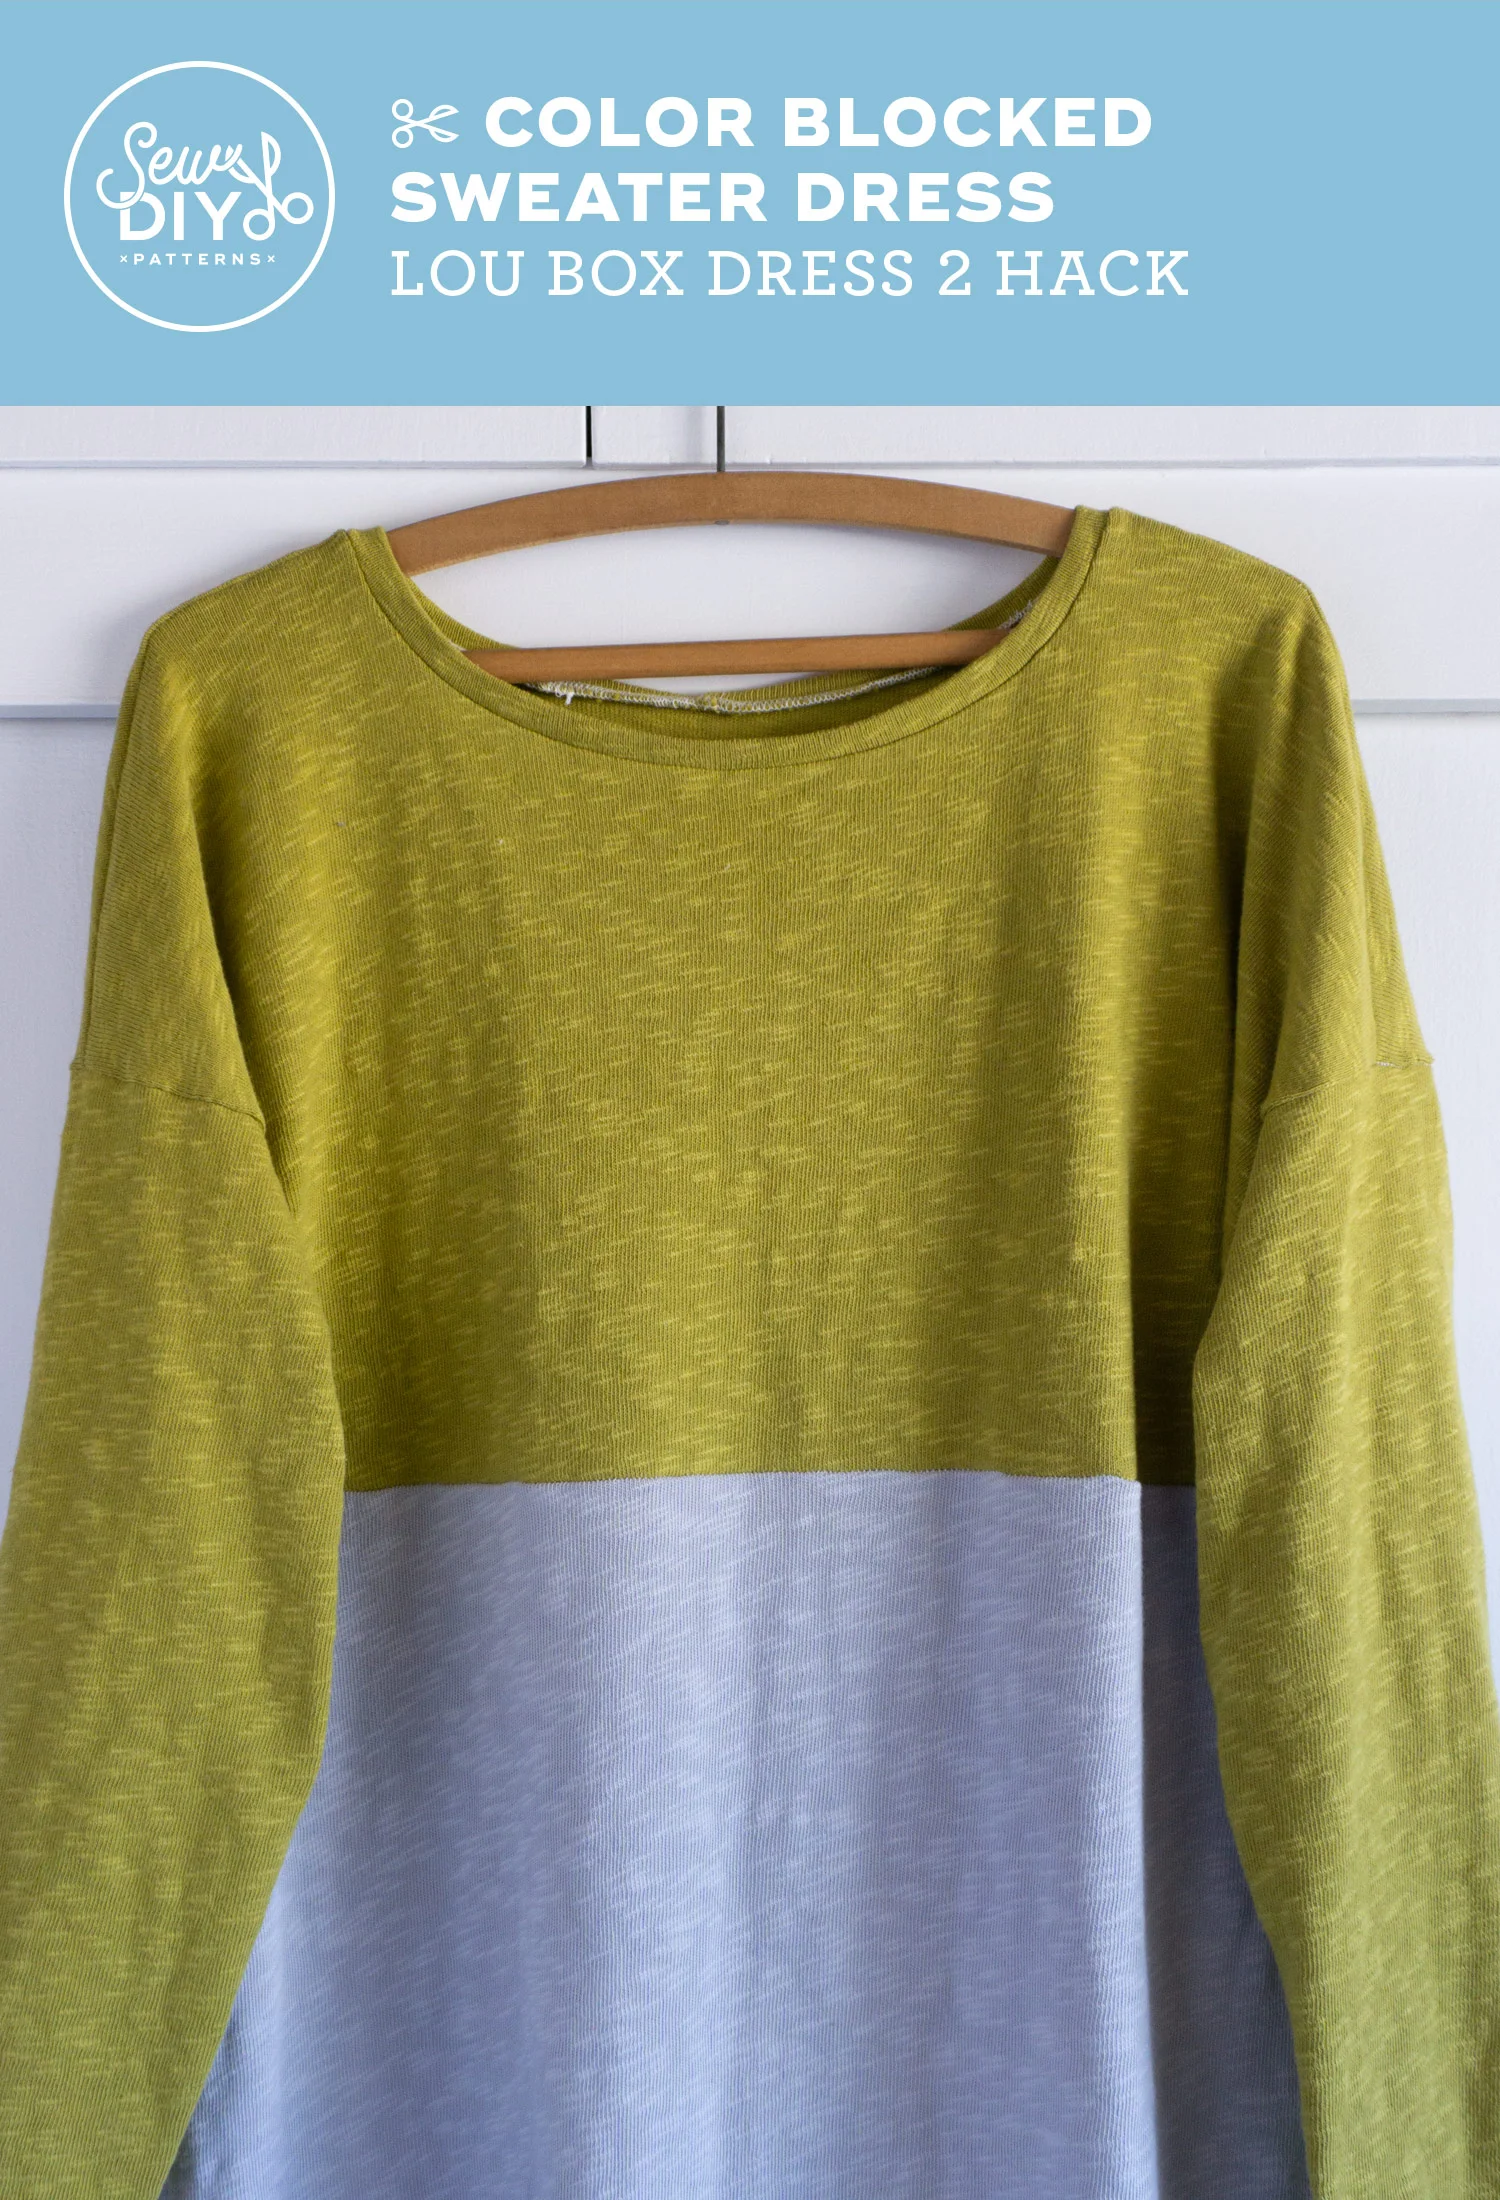
Today I have a fun and easy Lou Box Top/Dress hack to share with you – a split hem, color-blocked sweater dress. This dress is made using the cotton sweater knit currently in my shop. When I selected this fabric, I had a vision of this dress and I’m so pleased that it turned out exactly how I envisioned it. There was a moment during the making of it that I thought it was going to be an utter failure but it worked out. phew!

In today's video, I show how to finish a neckline or armhole using bias tape to create a facing that is flat and won't peek out on the right side of the garment. Bias facing can be used to finish the raw edge a neckline, armhole or even a hem. This is a technique that is commonly used in a lot of garments including my Lou Box Top pattern so it’s a great method to practice and perfect. The benefit to bias facing over a traditional facing is that it has less bulk and if you have particularly thin fabric, it won’t create a ridge under your garment at the end of the facing.

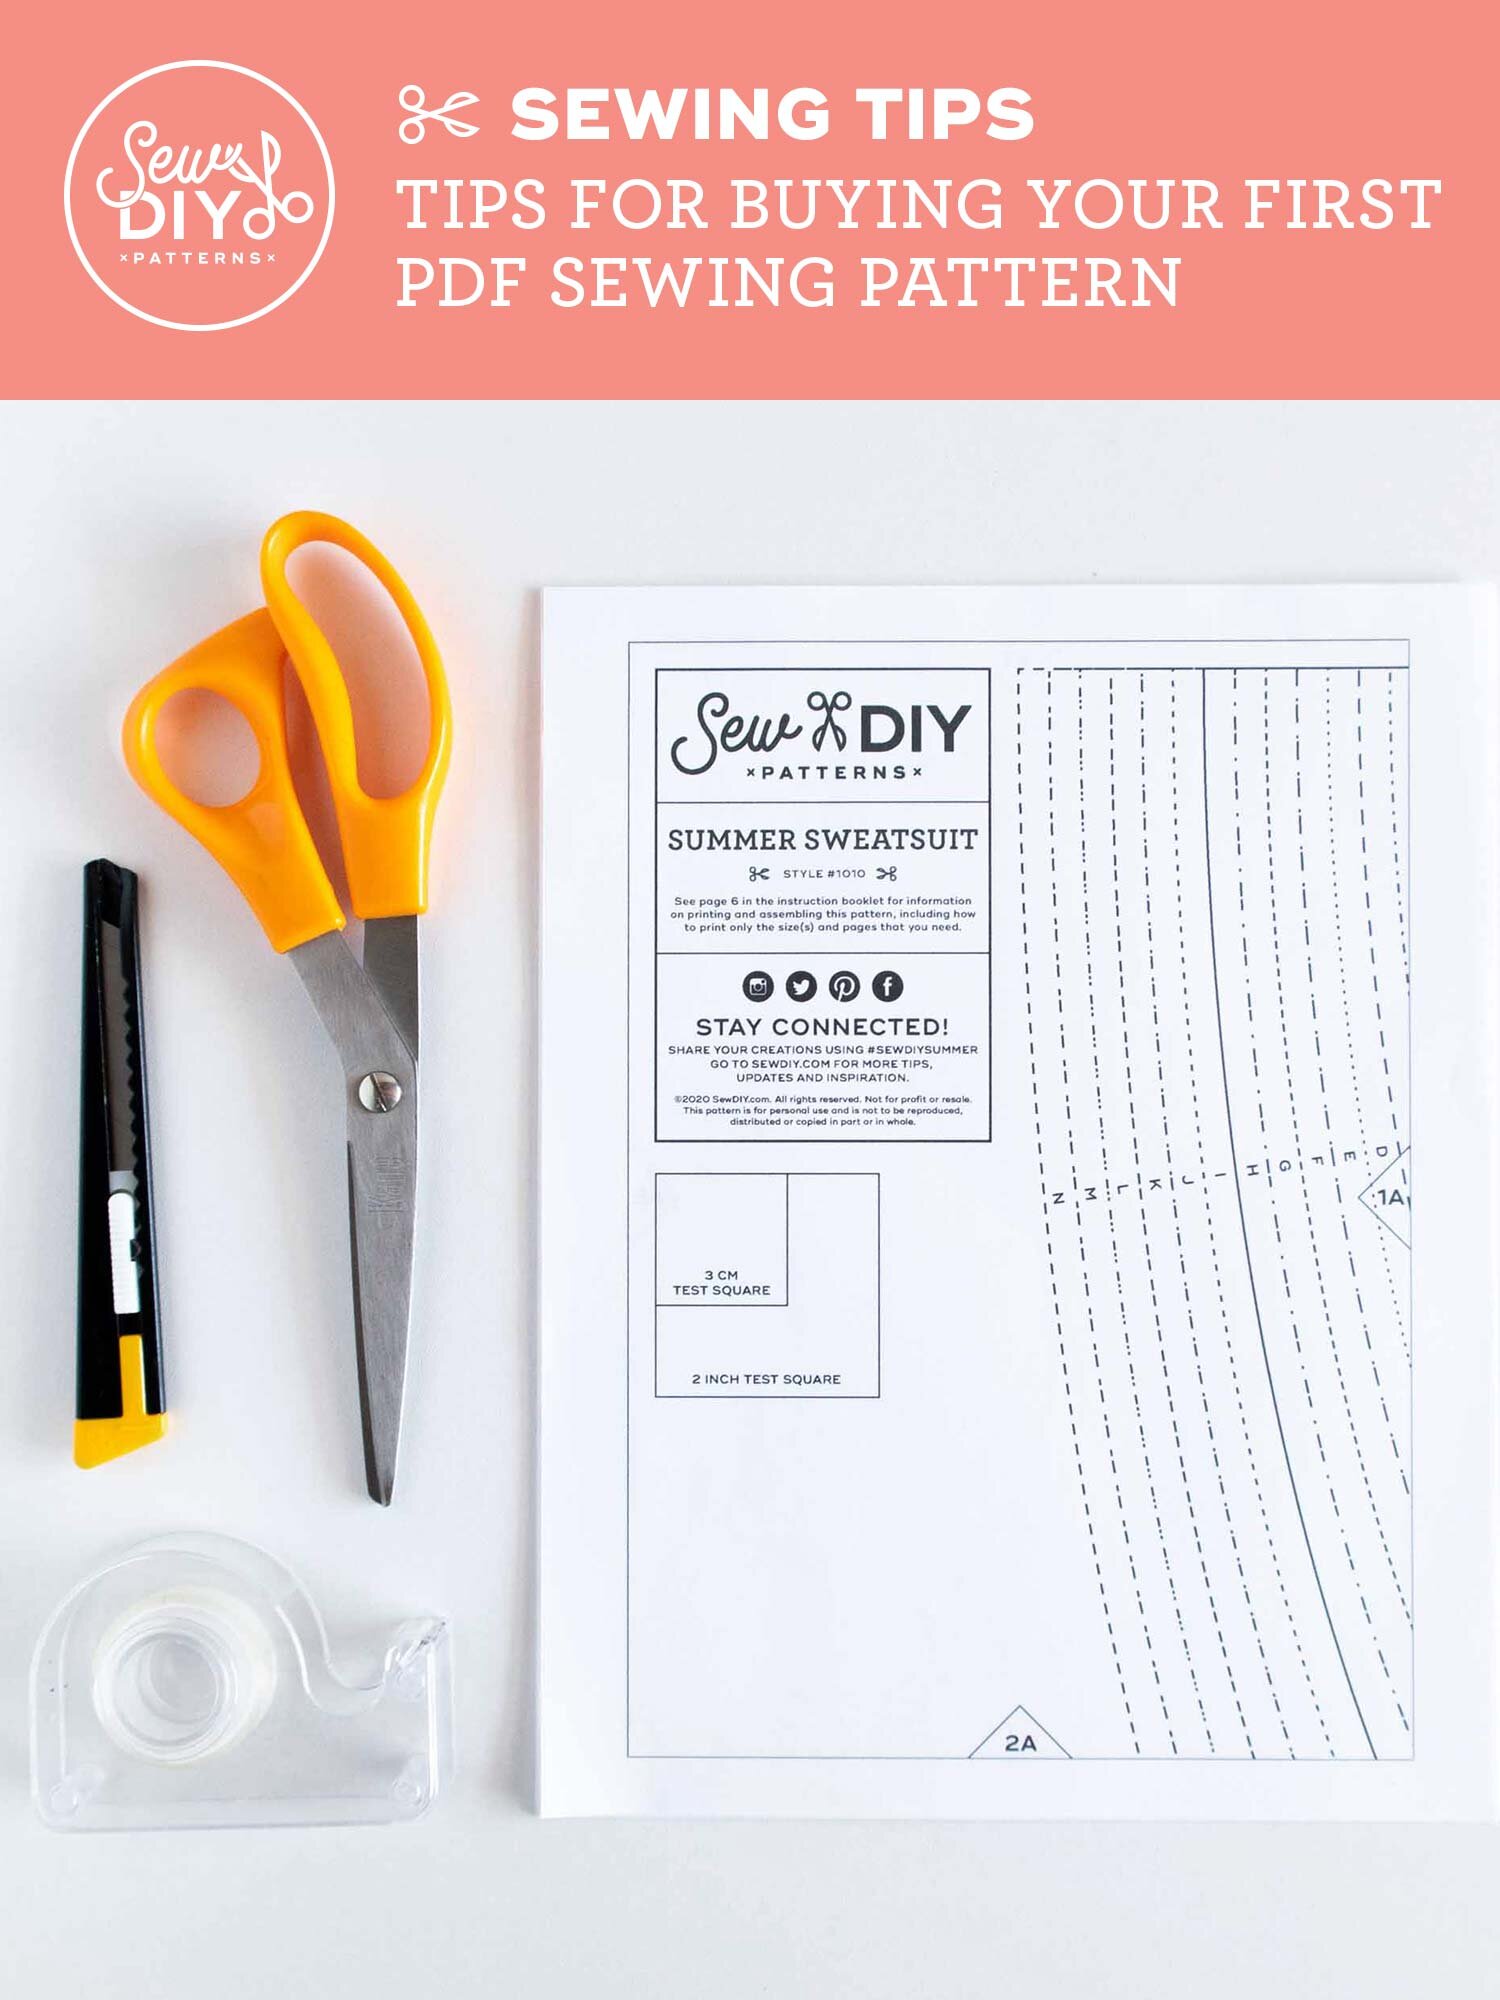
Today’s video is a big one! I share my top reasons why pdf patterns are awesome (just in case you’re not already convinced). Then I share my top tips for how to successfully print pdf patterns (including the printer settings you need to make sure the entire pattern prints on the page). And finally I show how to efficiently assemble and cut the pattern. I even show you the techniques I learned in design school for safely using an exacto knife or blade. I’ve never cut off a finger using these techniques so hopefully it will help you and keep your fingers safe too!

I love using my sewing machine but there are times that I prefer to sew by hand. And most of the time, I use a slip stitch. The slip stitch is very useful in place of topstitching on hems and bias facings when sewing with delicate fabric. The magic of this stitch is that it is nearly invisible from the right side of the garment. And because it’s invisible, even if you have a difficult fabric, no one will know that your stitches aren’t perfect.
If you are looking for ways to slow down your sewing practice, hand sewing is a great practice. Not only will you have a beautiful garment, but you’ll get to relax a little bit into the process and really take your time and take care of your fabric.


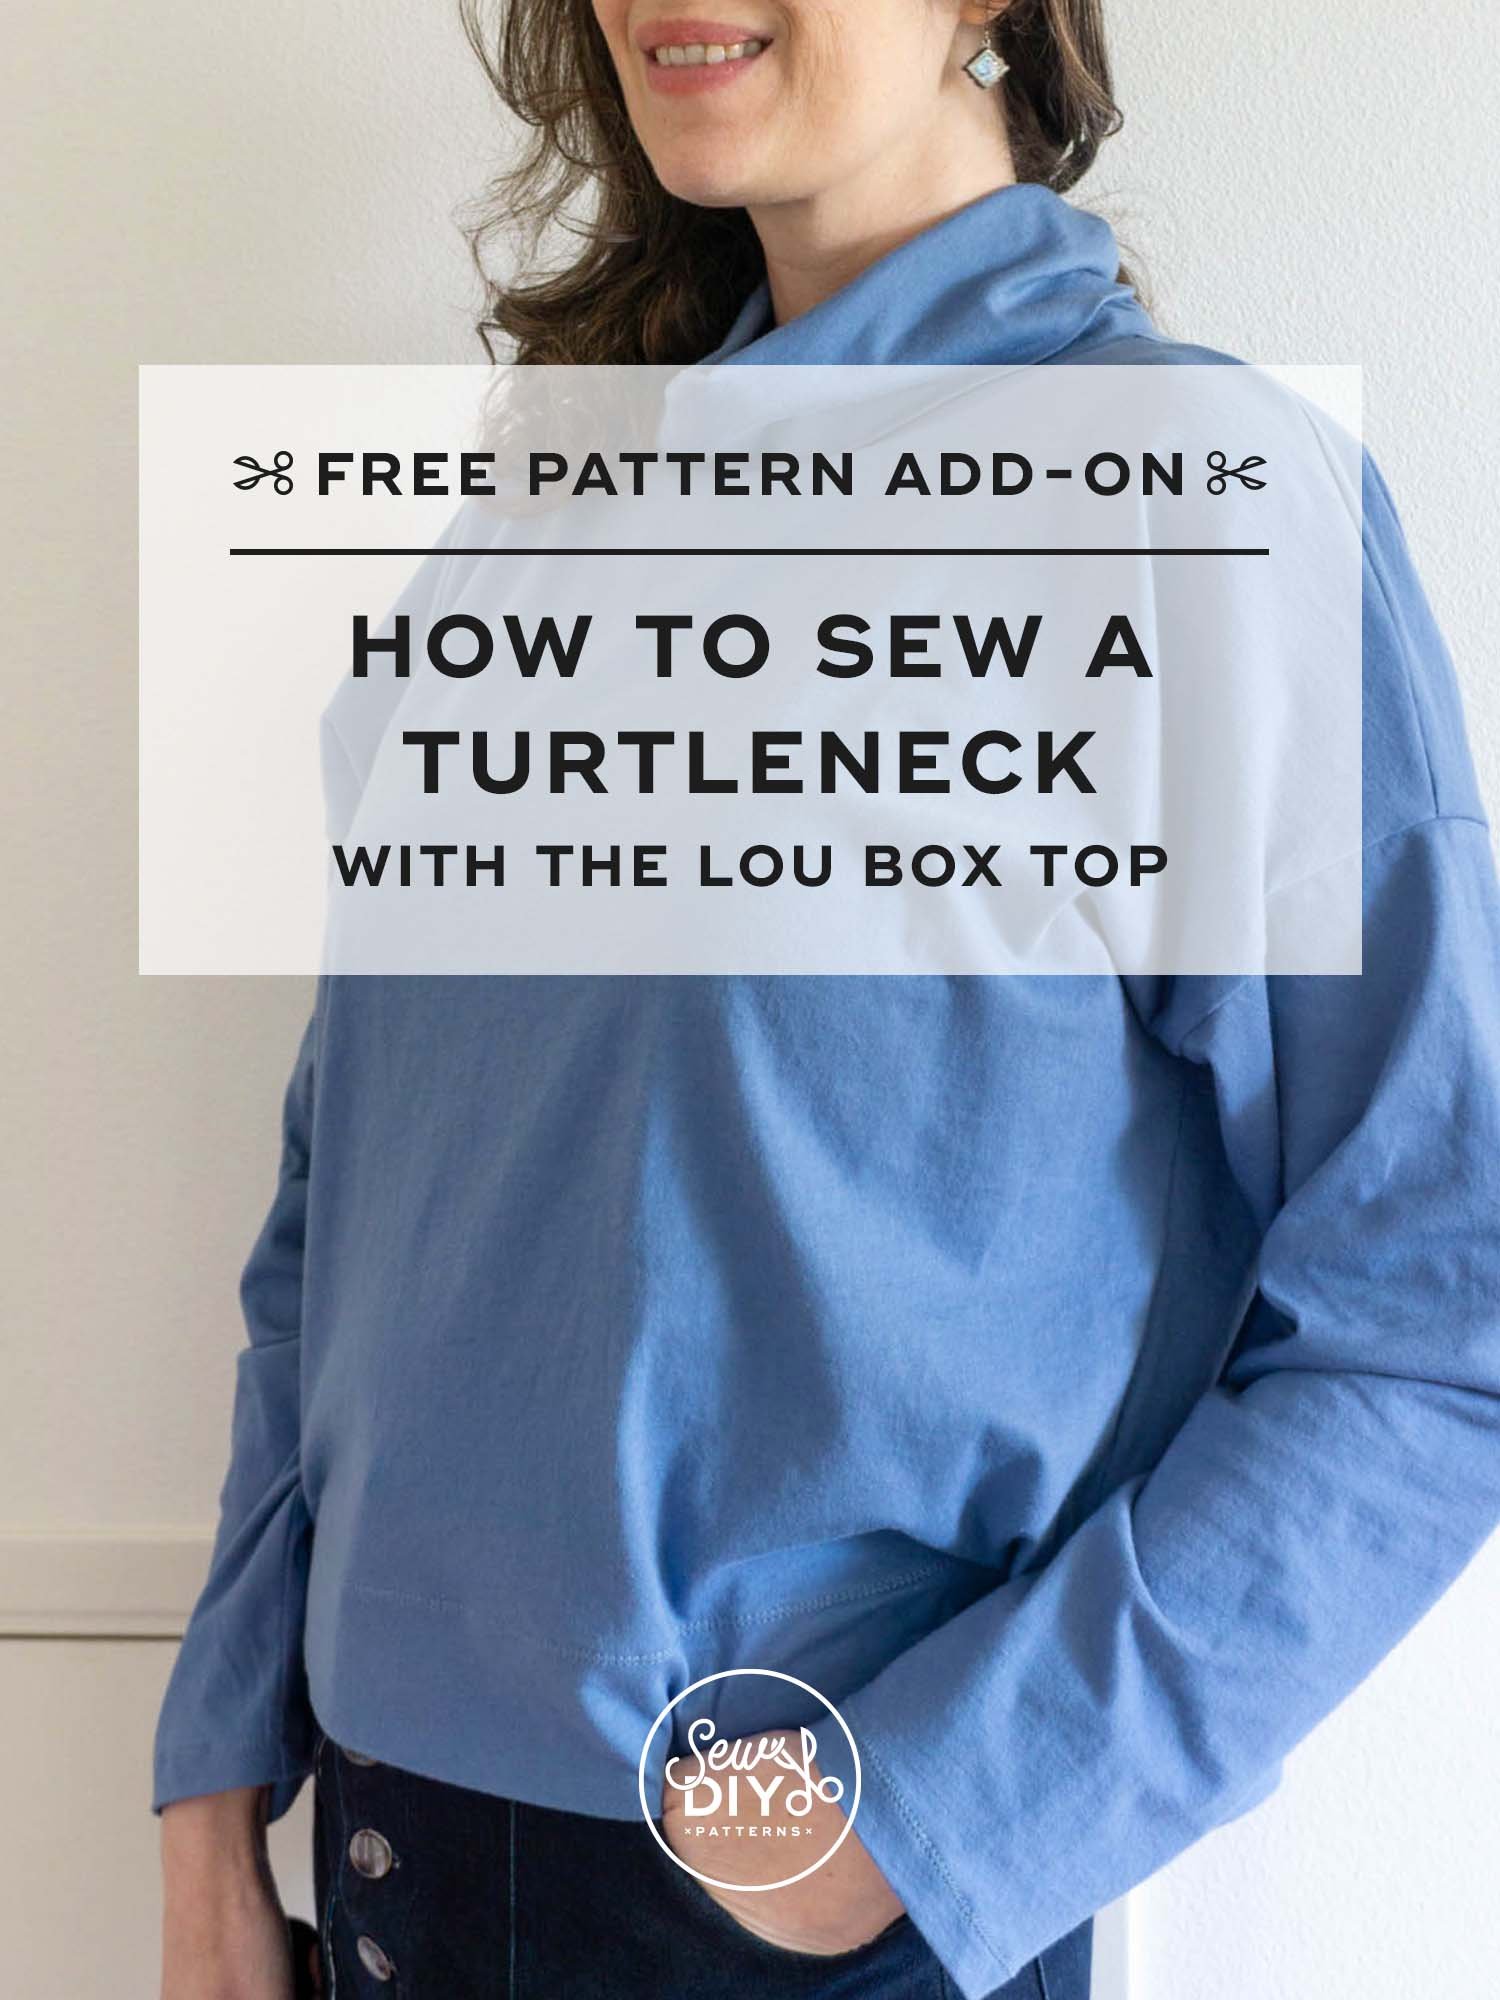
In today’s blog post and video, we will be showing you how to make a full bust adjustment to the Lou Box Top pattern. If you haven’t already read it, we recommend reading our post and watching the video about selecting your size and measuring yourself. To recap that post, we recommend making a full bust adjustment to this pattern if your bust/full bust is 4 or more inches larger than your upper bust. This pattern has plenty of ease but during the testing phase, we discovered that if you have a full bust, the hem of the top may lift up and look uneven. A full bust adjustment will help solve that issue.
Because the Lou Box Top is designed for both woven and knit fabrics, we have two methods for how to do the full bust adjustment (FBA for short). The first method will create a dart at the side seam. The second will have no dart. If you are using woven fabric you can use either method. If you are using knit fabric, we recommend the method without a dart.

In today’s post, we will be giving tips for how to measure yourself and going over the most important measurements for sewing the Lou Box Top. The video is packed full of tips for measuring yourself and important things to think about when you select your size. These tips are focused on the Lou Box Top but will be helpful for any time you sew a pattern.
A few important things to know about this pattern. The Lou Box Top is designed for someone who is 5’10” and has a C-cup bust (meaning the bust is 3” larger than the upper bust). This pattern has 10” of ease at the bust and hangs straight down from there. The size chart does not cover waist and hip because it’s the same as the bust in this pattern.

Today I’m very pleased to share a few photos from the tester group for the new draft the Lou Box Top. (To learn more about the updates to the pattern, check out yesterday’s post.) Testers are so integral to the pattern design process. I’m eternally grateful for their help. If you are looking for more Lou Box Top inspiration, check out the #louboxtop hashtag on Instagram.
Leanne (above) had this to say about the pattern:
“I'm so excited that Beth is expanding her sizes, as I can now fit into her patterns. The Lou Box top was such a fun and easy sew, and I can't wait to make a lot more to fill out some holes in my me made wardrobe. The instructions are super easy to follow along with and I'd recommend this pattern to any beginner looking to sew up a boxy shirt!”
Read on for lots more photos and loads of inspiration.


This top all started with the fabric. I found this piece of super soft striped mystery fabric at the Michael Levine LOFT and snatched it right up. It would have made a fabulous scarf. Did I mention it’s super soft? But I decided it would also make a great Lou Box Top. If you're not familiar with the LBT (as I call it), it's a loose fitting top for wovens and knits with three different hem options and two necklines. It's extremely versatile and it's also my most popular pattern.

Hello lovelies! Today I have yet another variation of the Lou Box Top to share with you. This version is inspired by two lovely sewists that I've had the pleasure of meeting online, Emily of In the Folds and Rebecca from Vida Doce. I have more of these tops than I can count and this one quickly became a favorite. I've been wearing it at least once a week since I finished it, usually with my Birkin Flares (yay! for me-made). But without further ado, on to the details of this top.
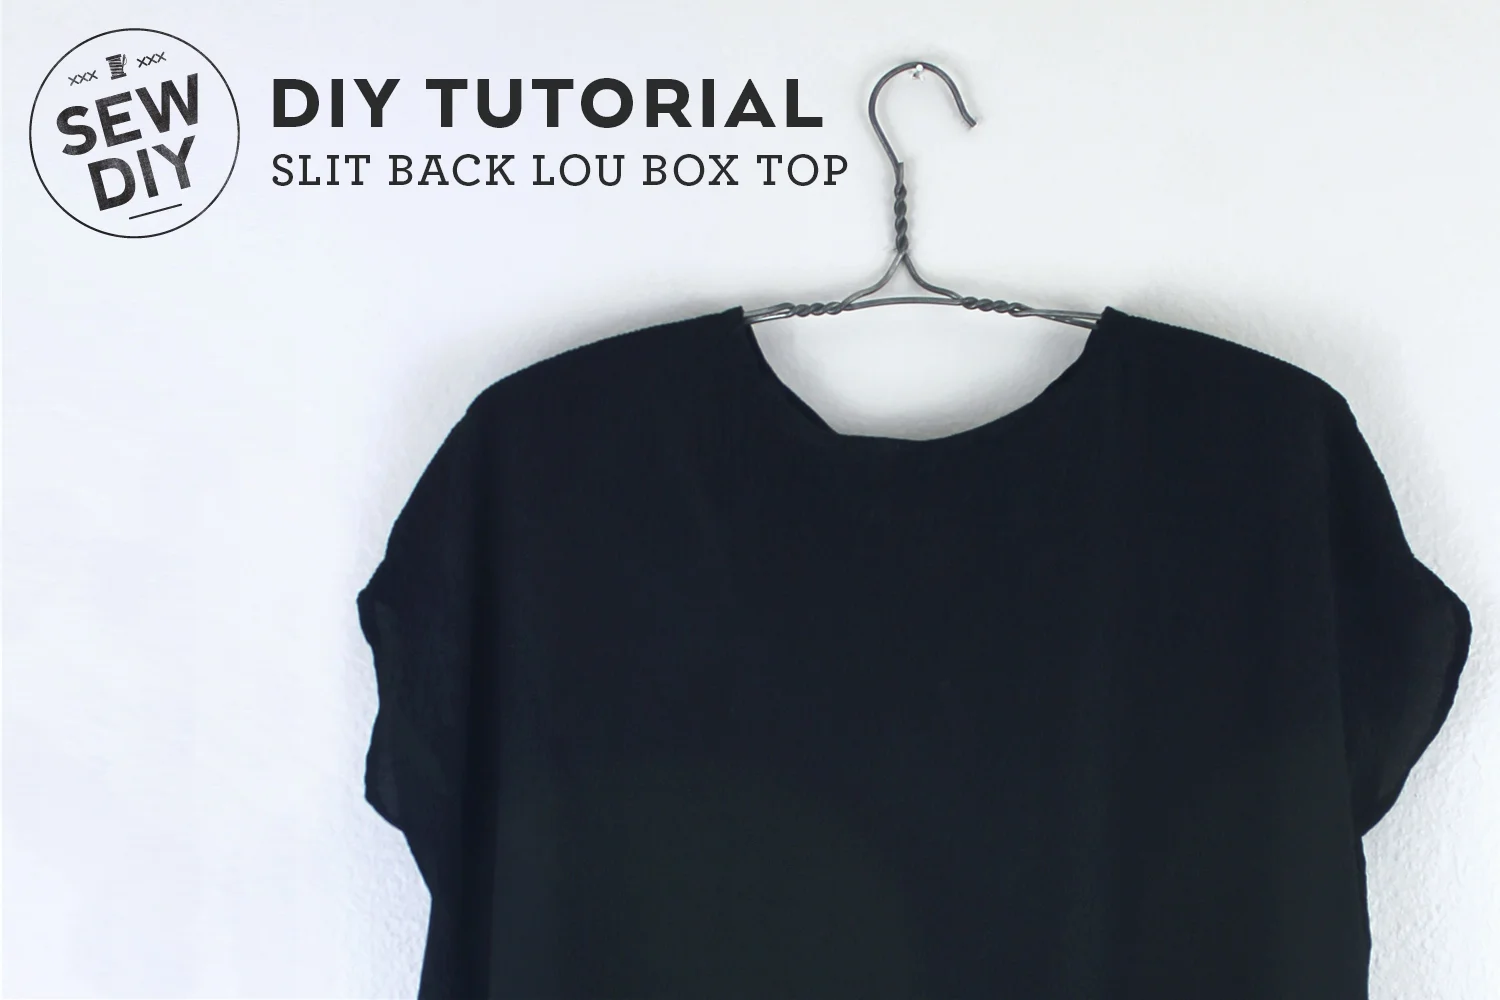
Today I'm excited to share a super simple hack for the Lou Box Top pdf pattern. Back slits are totally on trend right now and they are very easy to make. I made a couple of slit back tops a few years ago using Simplicity 1661 (here and here) and I really like the unexpected drama of a slit back. I knew I'd love this version too. This top is part of my Fall Sewing Plans and (lucky you!) I'm going to tell you how to make it. And, did I mention, it's super, super easy? Yup. Just the way I like it.
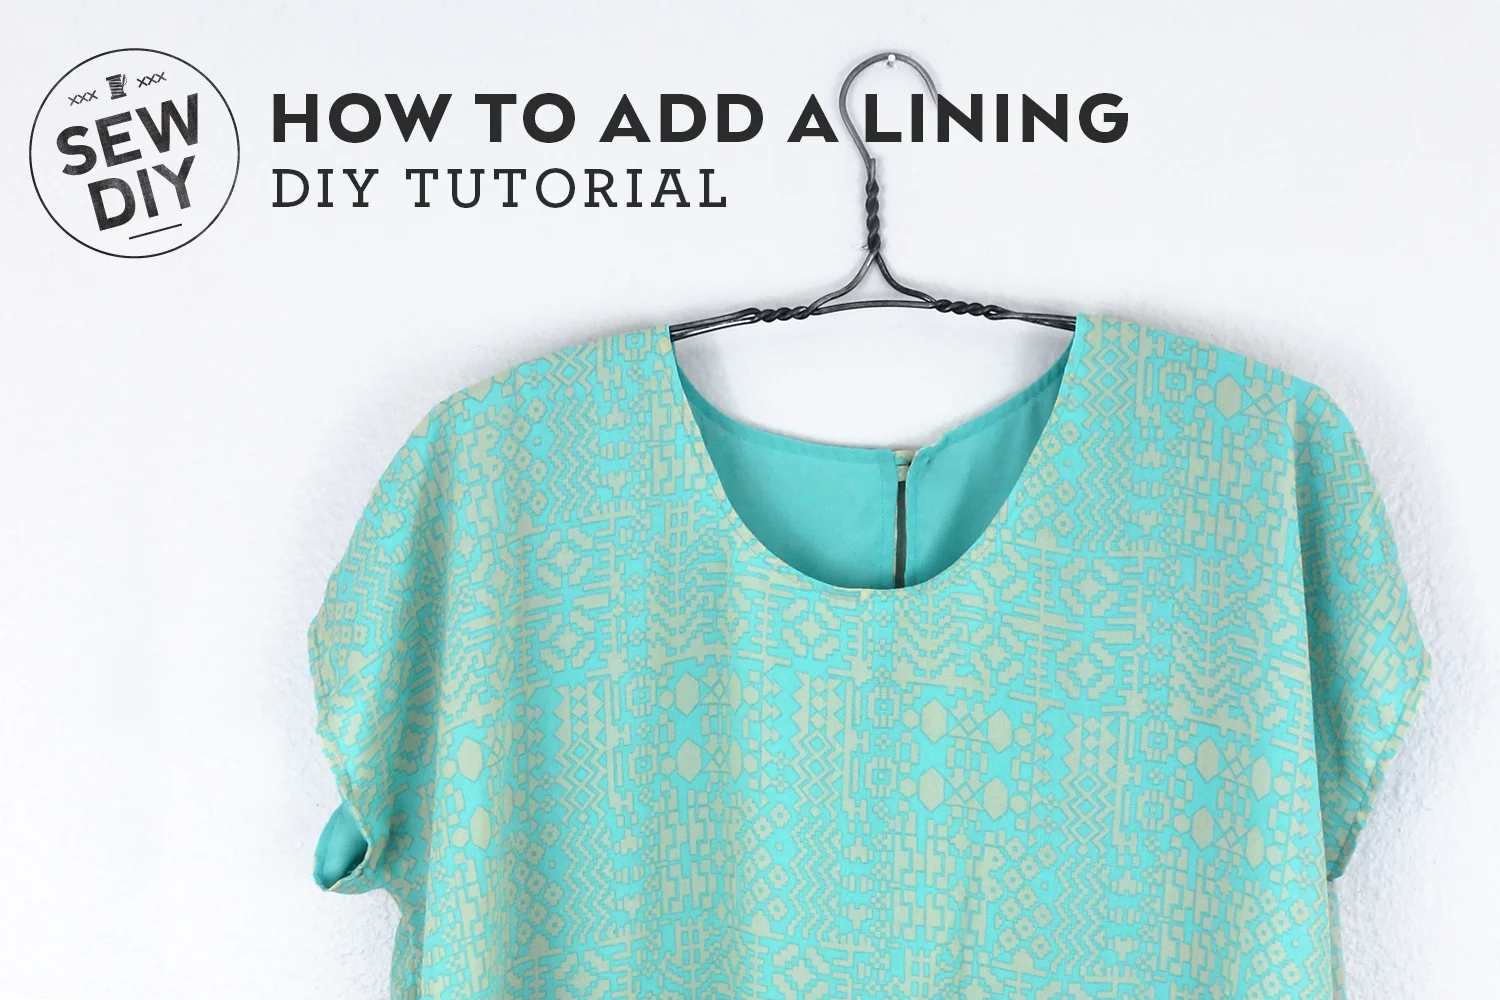
I've been asked a few times about how to line the Lou Box Top and I finally got around to trying it. It turned out to be much easier than I anticipated and possibly easier than the traditional method! It's a little harder to visualize but very easy to sew as you won't need to do any binding. for the neck edge.
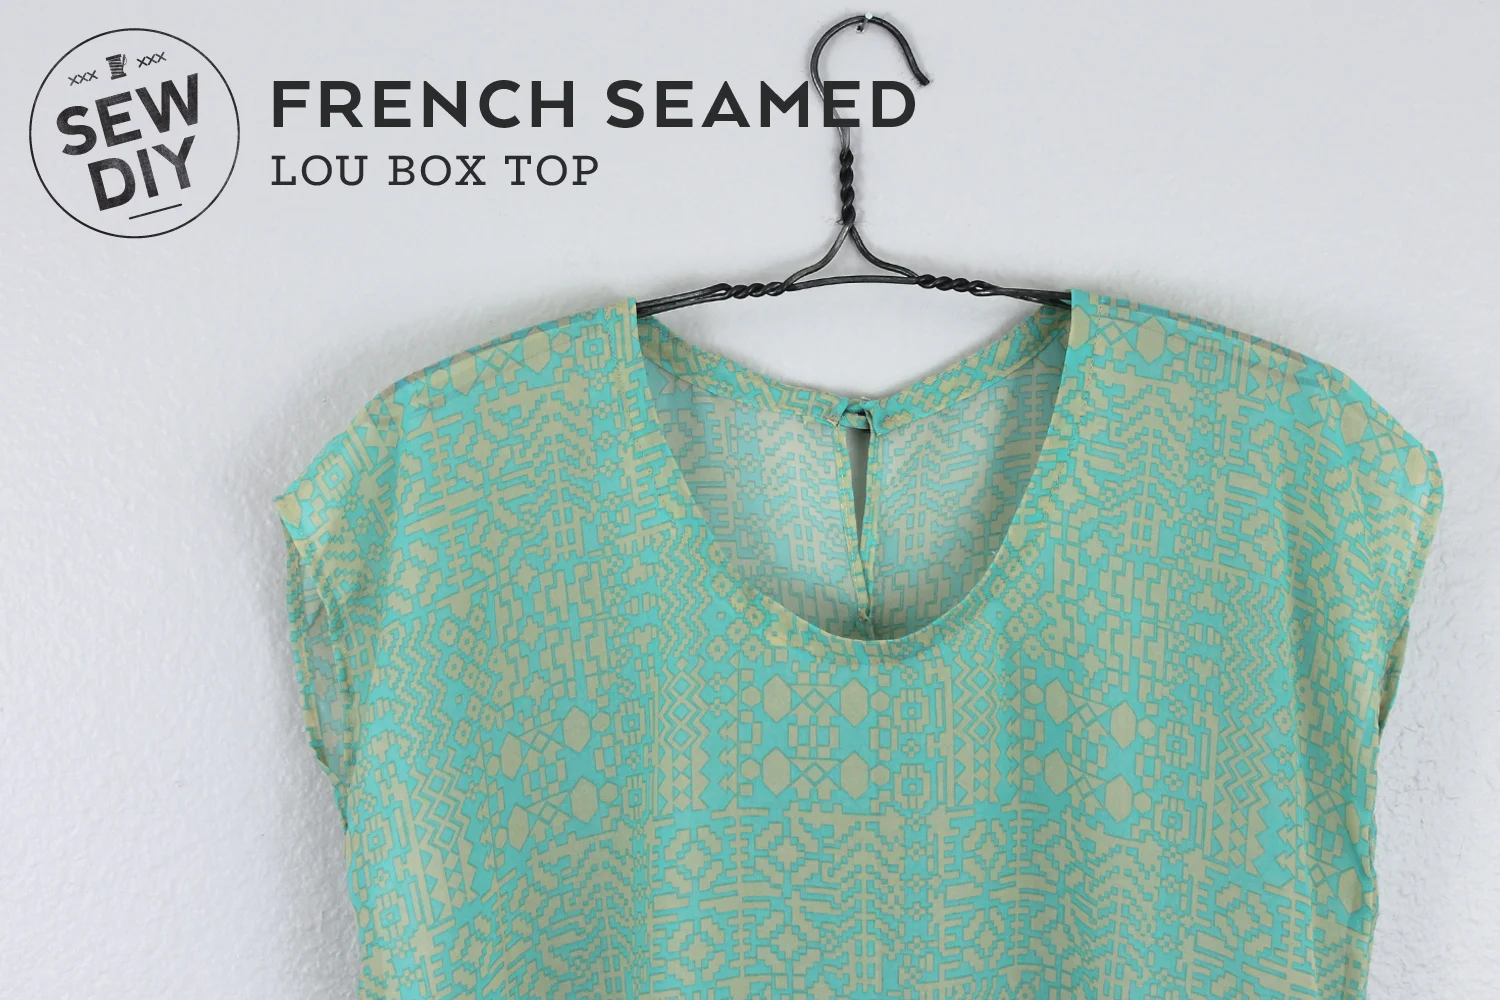
During the testing of the Lou Box Top pattern a few pattern testers mentioned that they did french seams for a very clean finish on the inside. Personally, I don't like doing french seams because it feels like such a tedious process. But, I thought it was high time that I give it a try for the Lou Box Top. And the good news is that it's really easy to do. Read on to see my tips.
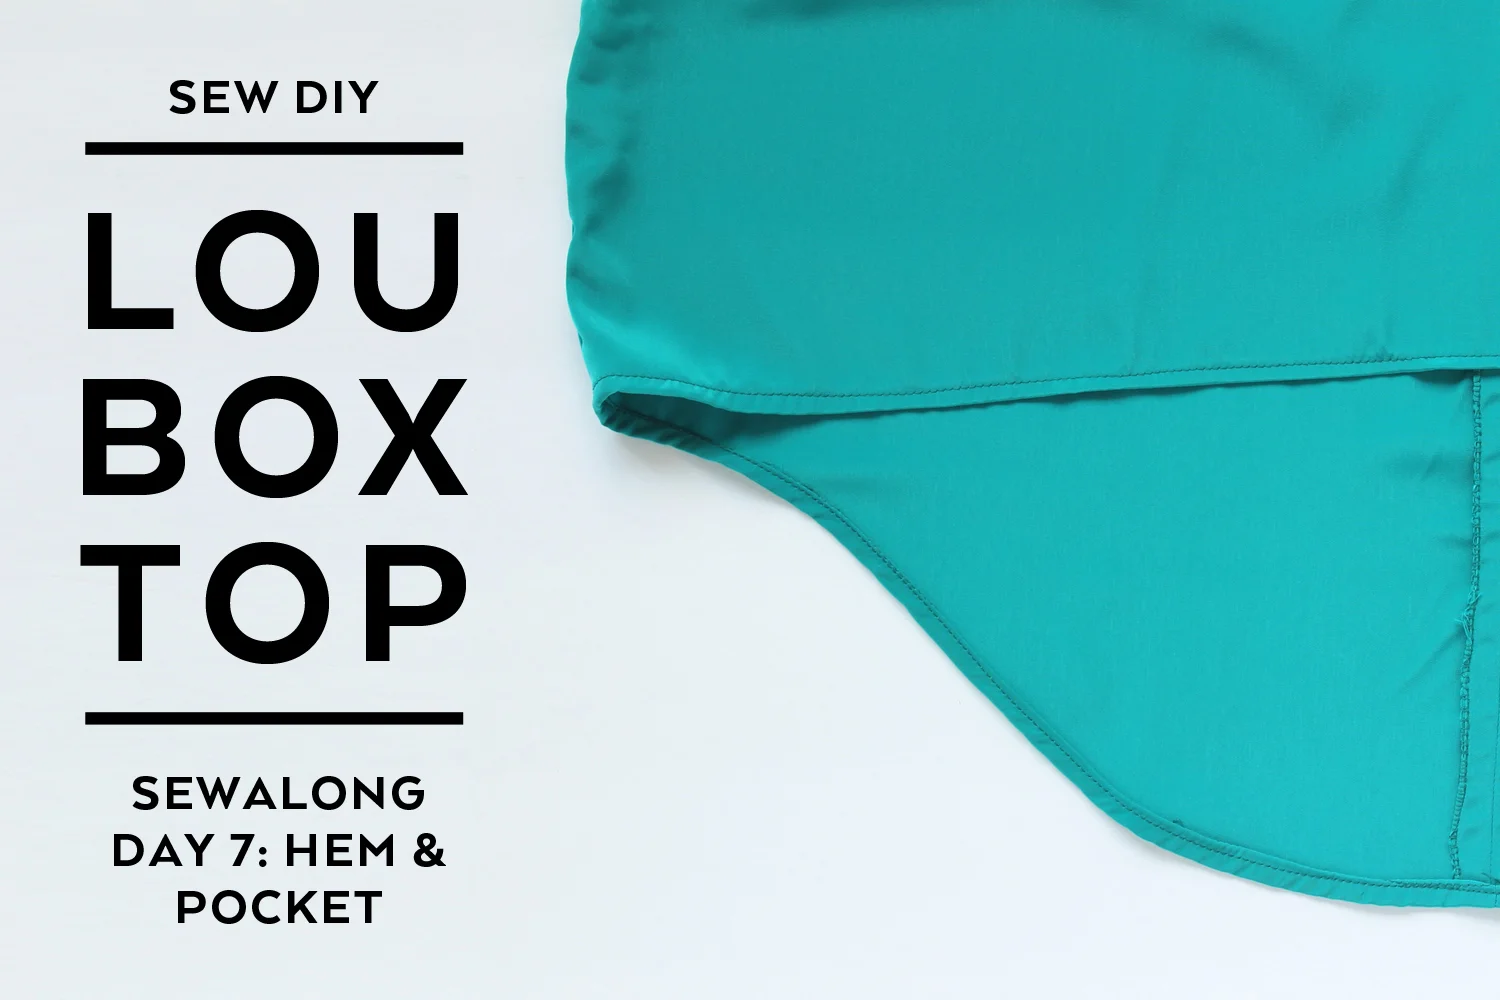
Today is the last day of the sew along! You almost have a top all finished and ready to wear. This is the point where I get really excited that I will have a new garment to wear soon and also immediately start thinking about my next project.
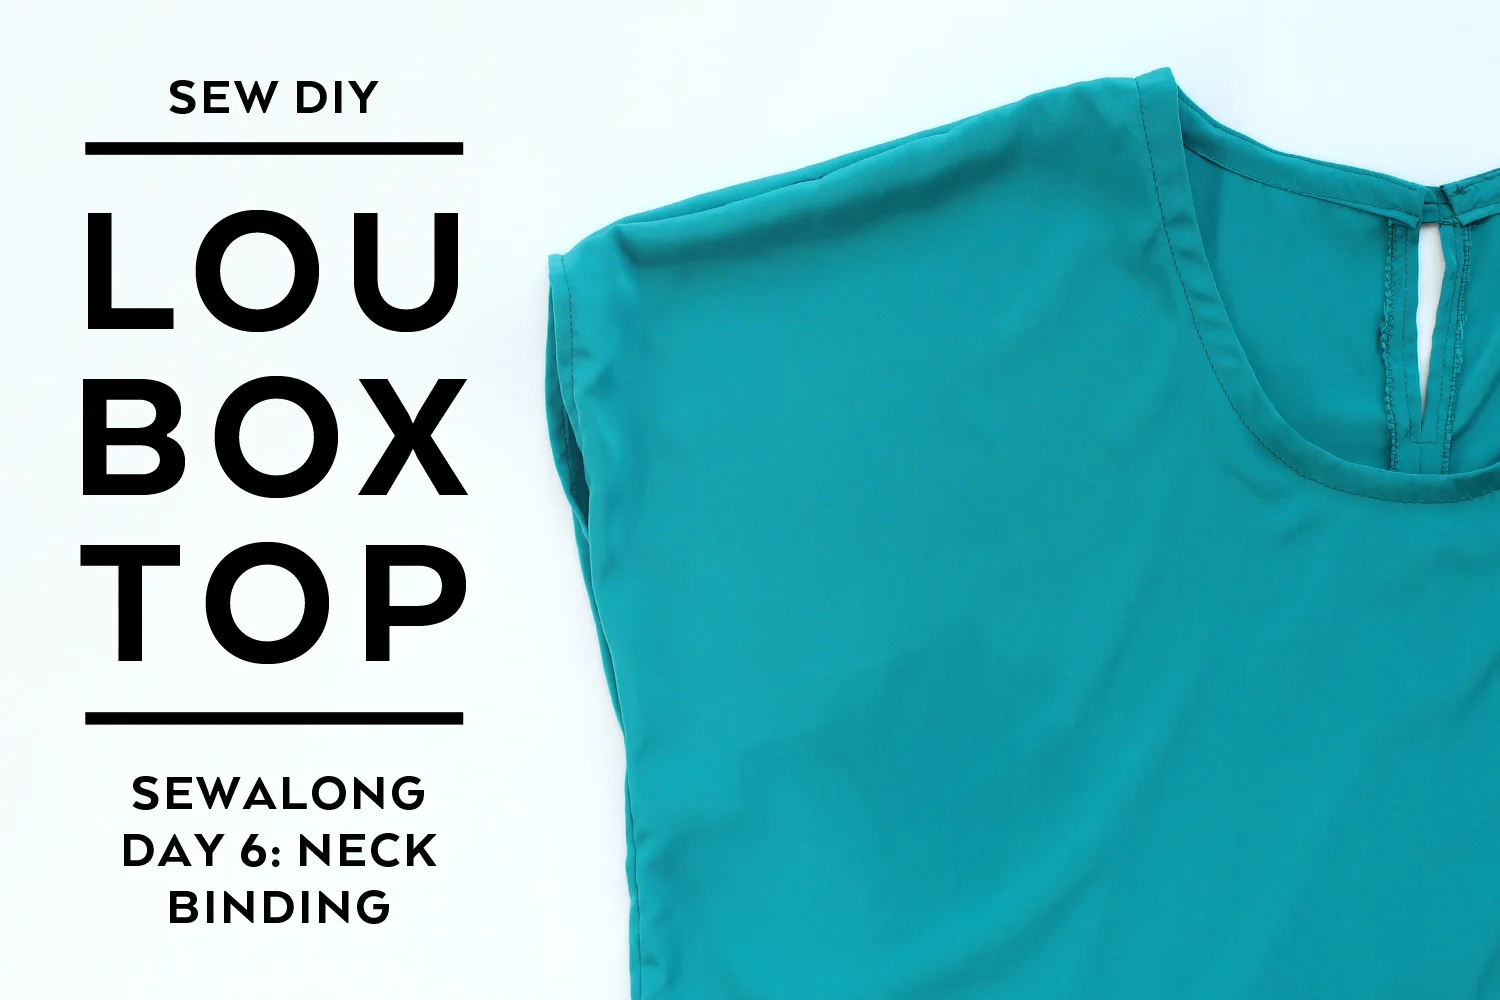
Today we're going to prepare the bias strip neck binding and apply it to the neck edge. There are a lot of steps and it's a little bit harder than yesterday but you can totally do it. I have photos of all the steps so you'll be able to see every detail. Click on any photo to enlarge it. Let's get started!
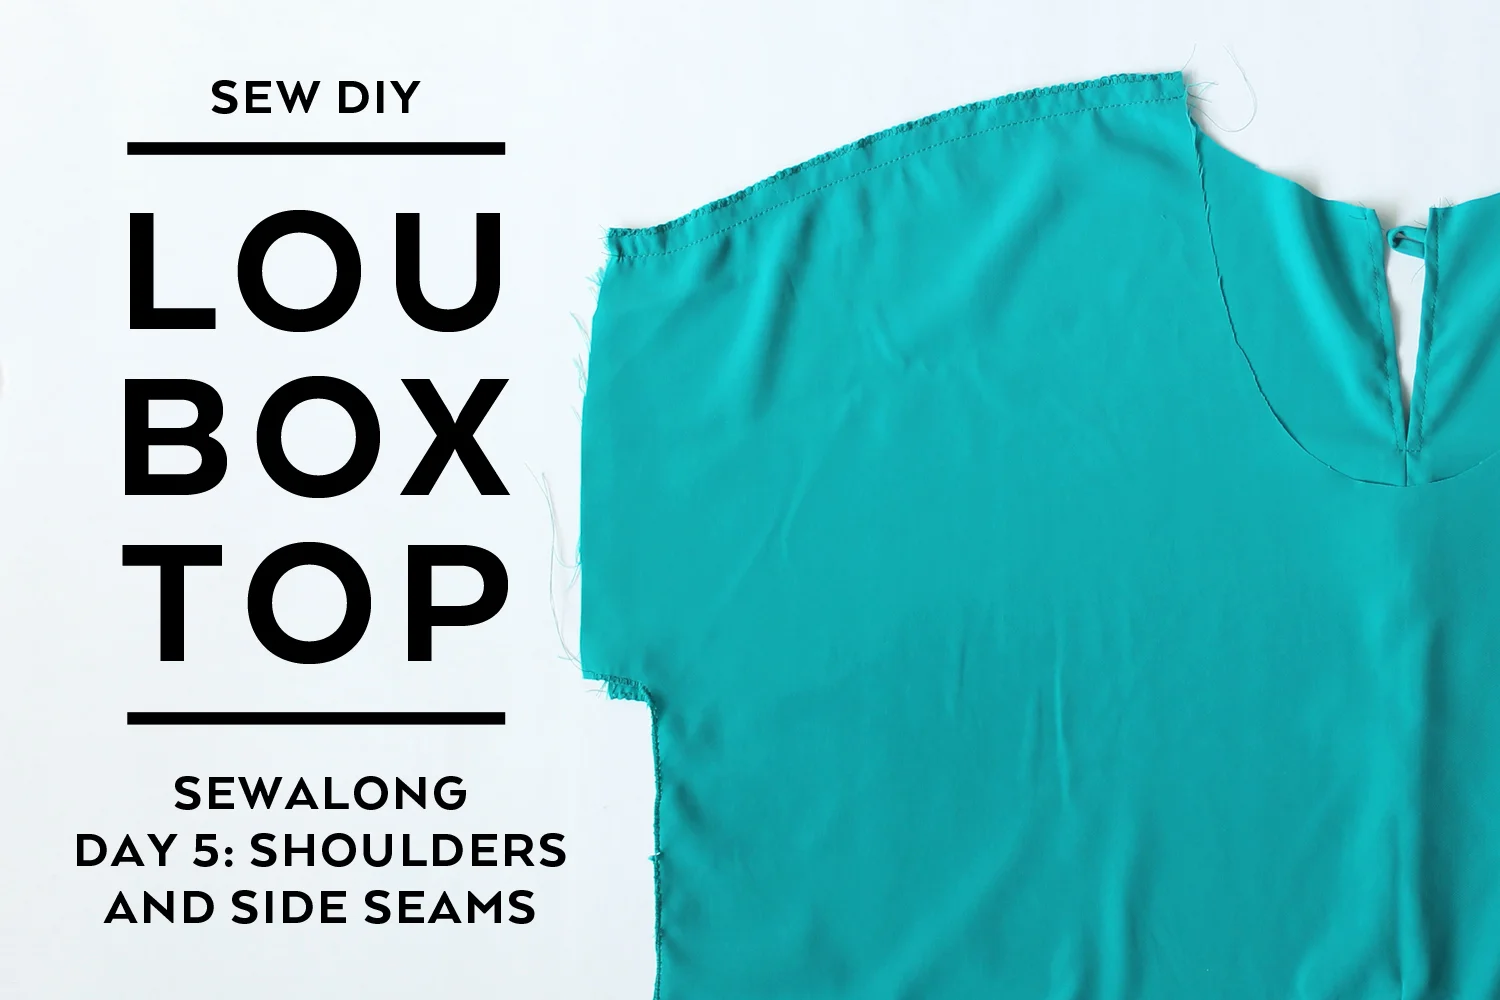
Last time, we sewed the center back seam, made a button loop and stitched the vent at the back neck. Good work! Now we're ready to make the top take a shape. Today is going to be a little bit easier than the last round, perfect for a Monday, right? Let's get started!
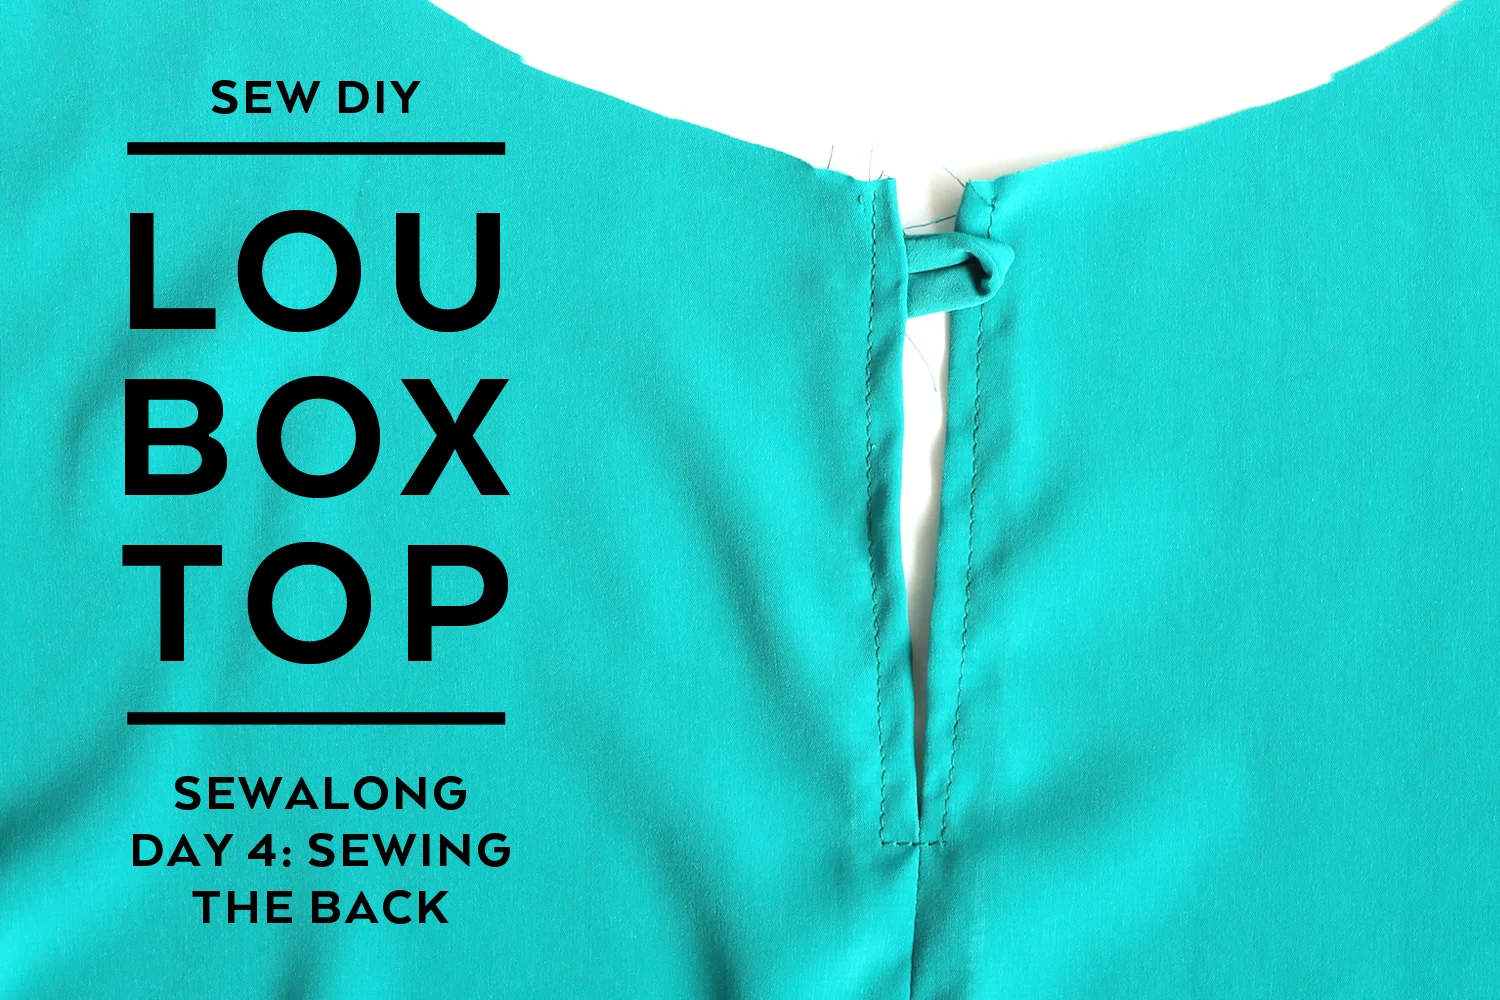
Now that we've done all of our preparation work and cutting, we're finally ready to start stitching! So, thread up your machine in a color that matches your fabric and insert a fresh machine needle. And let's get started!
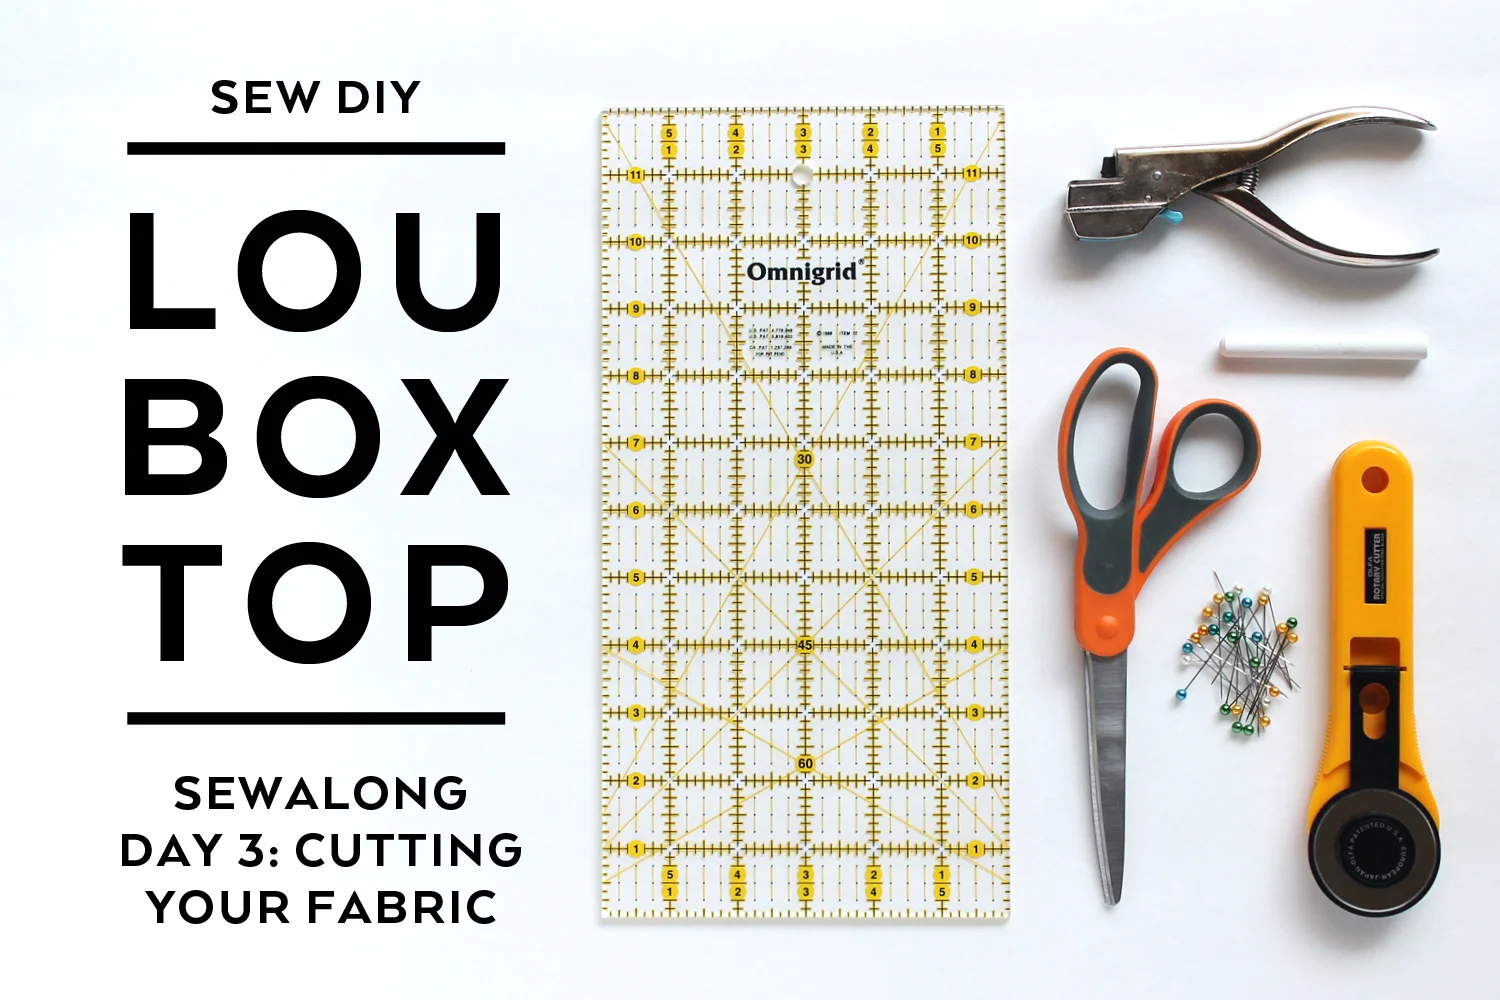
Now that you have your pattern assembled and your fabric pre-washed, it's time to cut out the fabric pieces. First you'll need to fold the fabric on the straight of grain. Hold your fabric up in the air with right sides together and selvages meeting. The fabric should hang straight without any diagonal wrinkles. Adjust the selvages left and right until it hangs straight. This might take a little practice to perfect but you'll soon be able to recognize when your fabric is not lined up correctly.
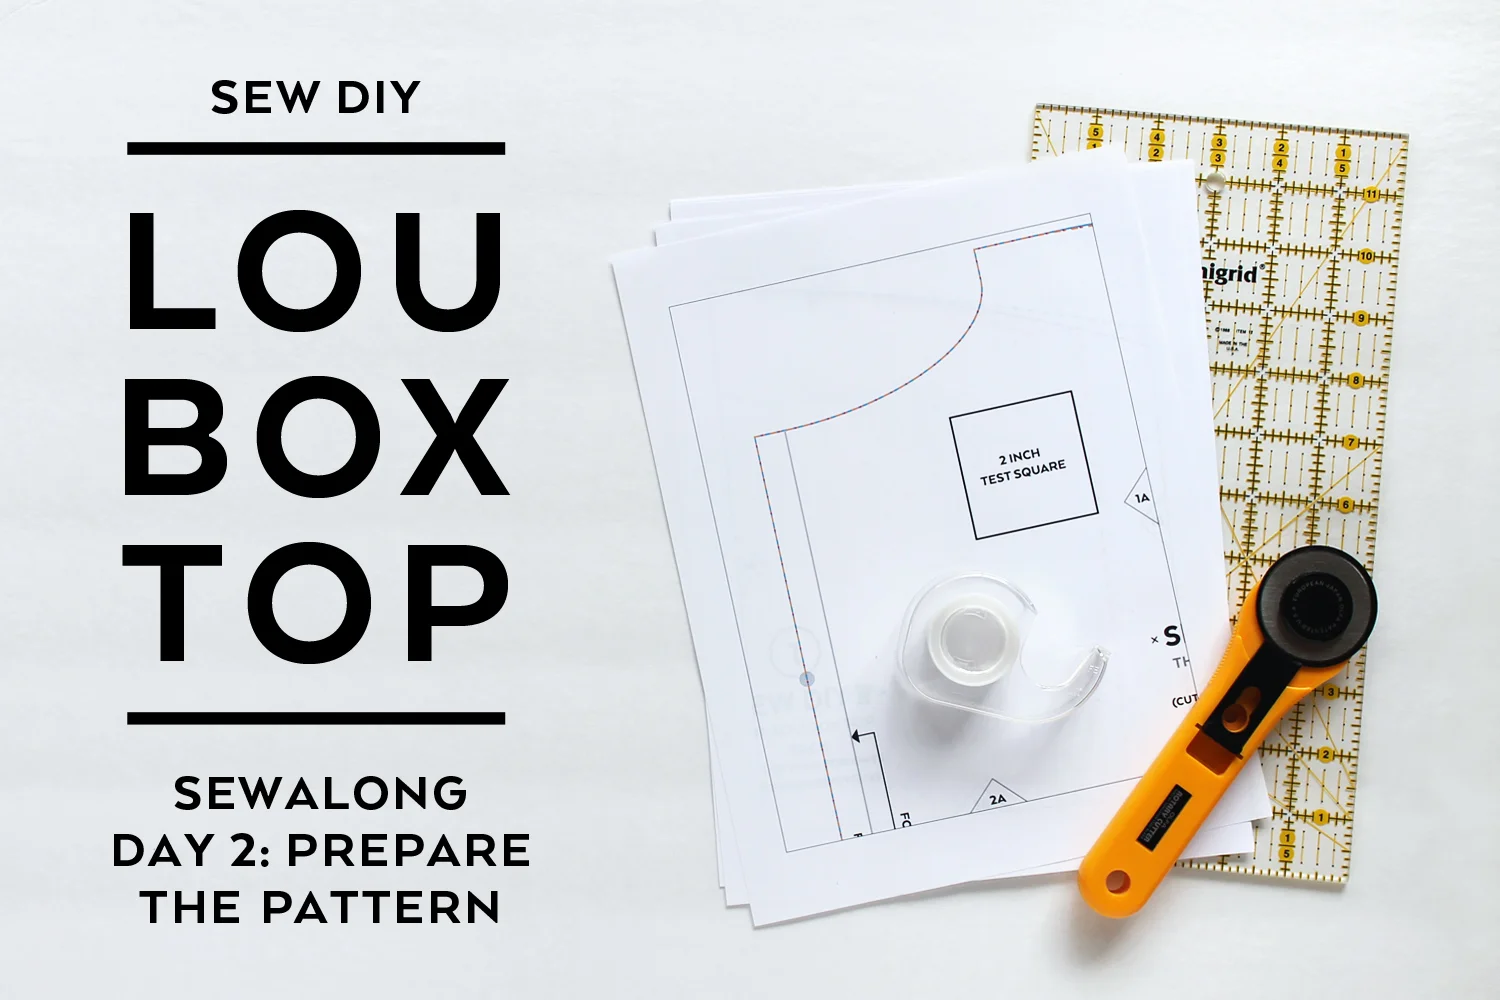
Today I'm going to share a few of my super easy tricks for cutting and taping pdf sewing patterns. I know some people can't stand putting together pdf patterns but I find it to be pretty quick and easy. I hope that if you're pdf pattern averse, this will help give you a jump start. I love pdf patterns because they are so easy to download (hello, instant gratification!) and if I mess up I can always reprint. Let's get started!
Tutorials for sewing with knit fabric

Today, I'm excited to share a new video tutorial for how to sew underwear using fold over elastic. I've sewn lots of underwear and it's a little tricky the first few times. So, I'll be sharing all of my tips and tricks to make sewing your own pair easier. With these tips and a bit of practice, you'll soon be sewing fold over elastic with confidence.

Hello sew-friends! In today’s YouTube video, I’m talking about fabric stretch percentage. If you've ever sewn a pair of leggings or a swimsuit, then you know how important stretch can be in your handmade garments. Read on and watch the video to learn all about fabric stretch, why it’s important, a bit about fabric stretch terminology and, most importantly, how to calculate fabric stretch percentage.
I used to be really scared to sew knit fabrics but after a lot of research and a lot of practice, I love sewing with knits. One misconception is that you need to have a serger (aka overlocker) to sew knit fabrics when in fact most conventional machines come with a variety of stitches that are made for sewing knit fabric. In this video, I share the tools you need to sew knit fabric, some tips for preventing your fabric from stretching and demonstrate the stitches available on a conventional sewing machine that can be used to sew knit fabric.
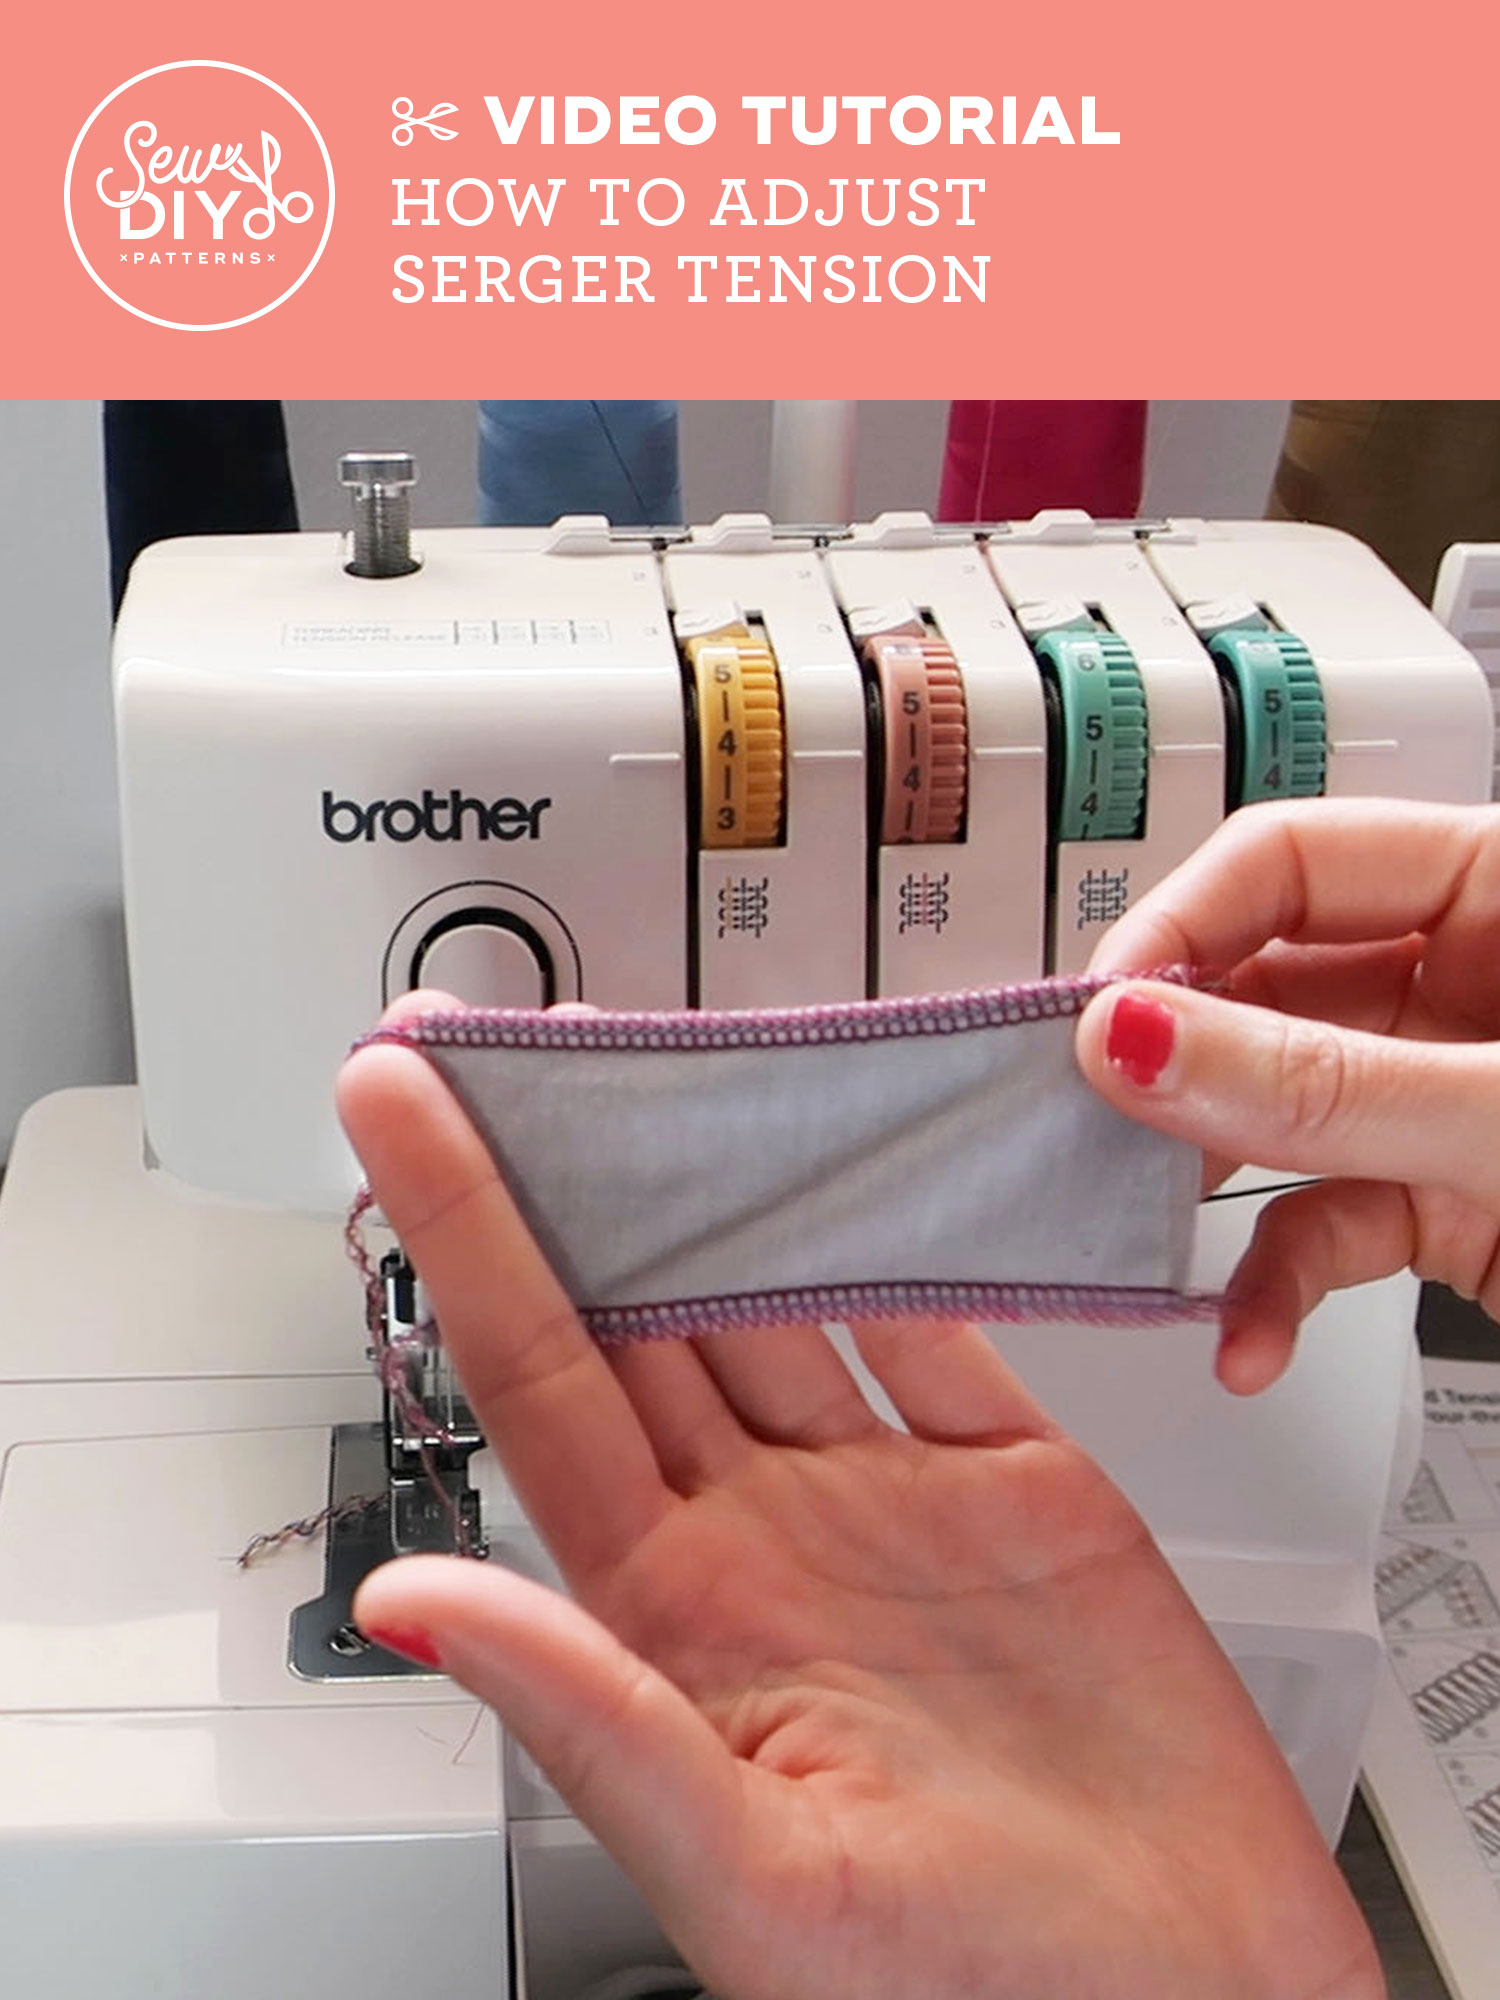
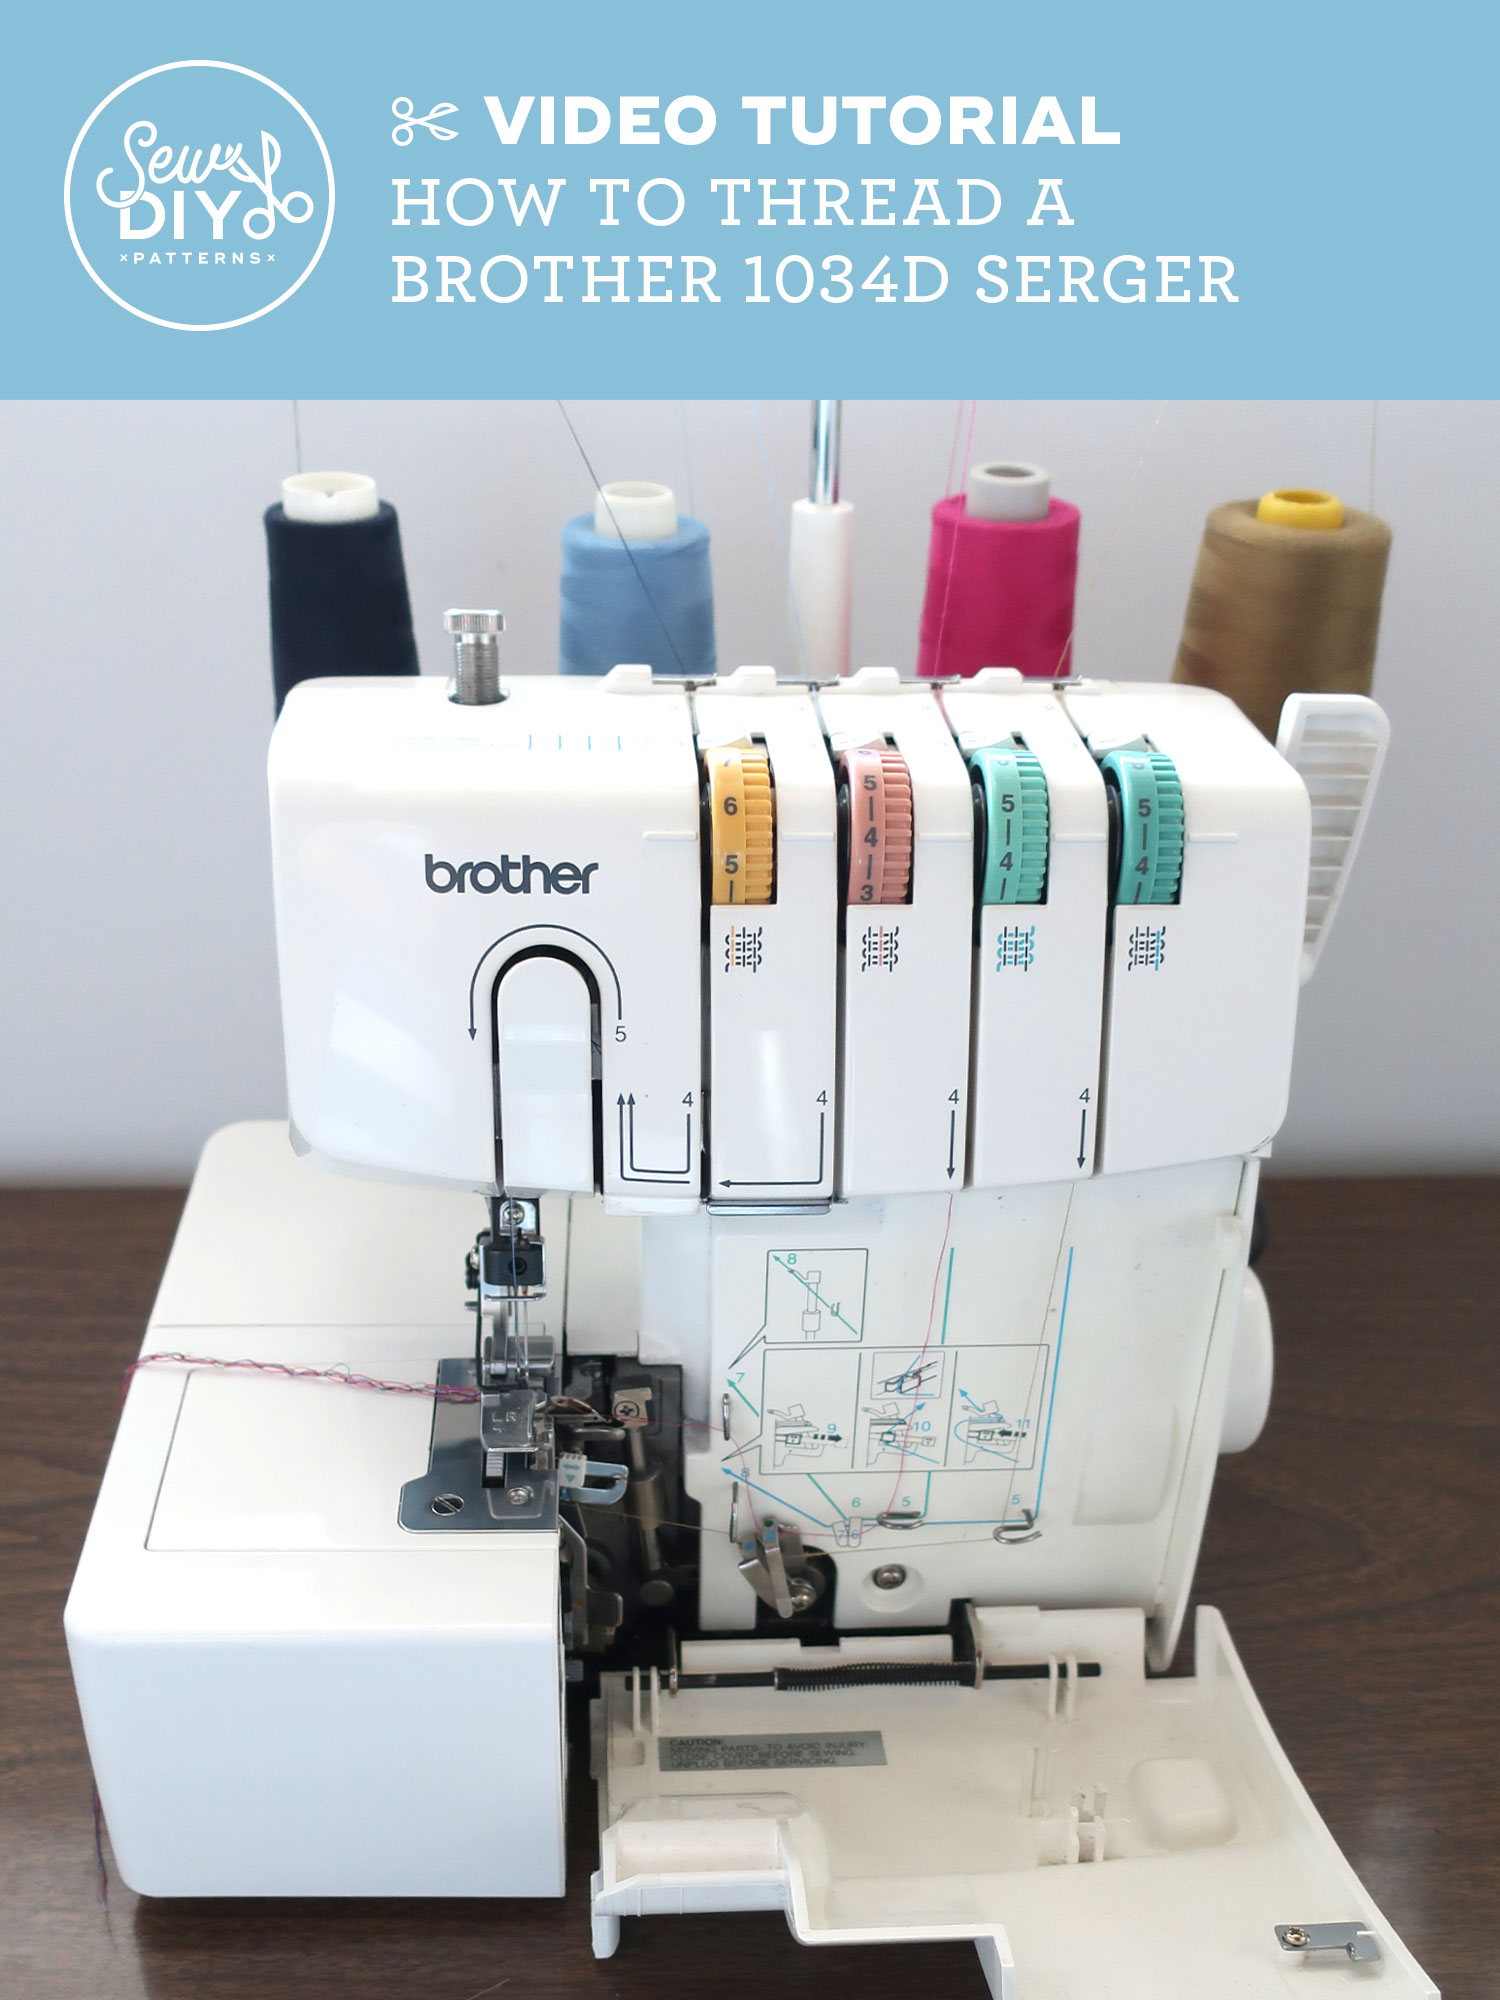

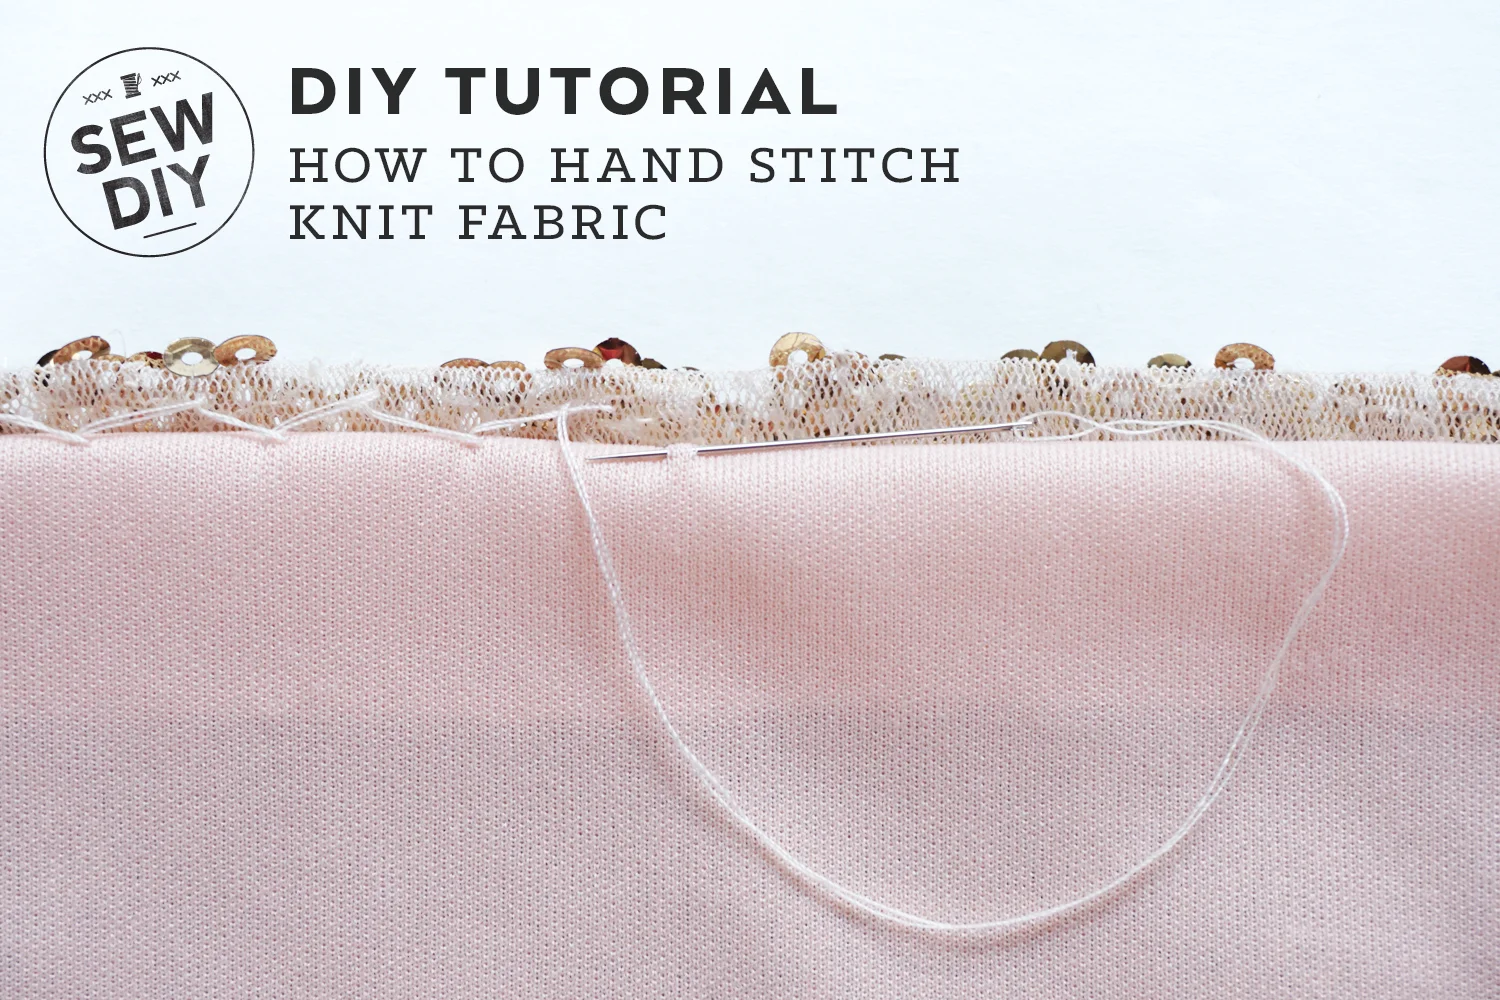
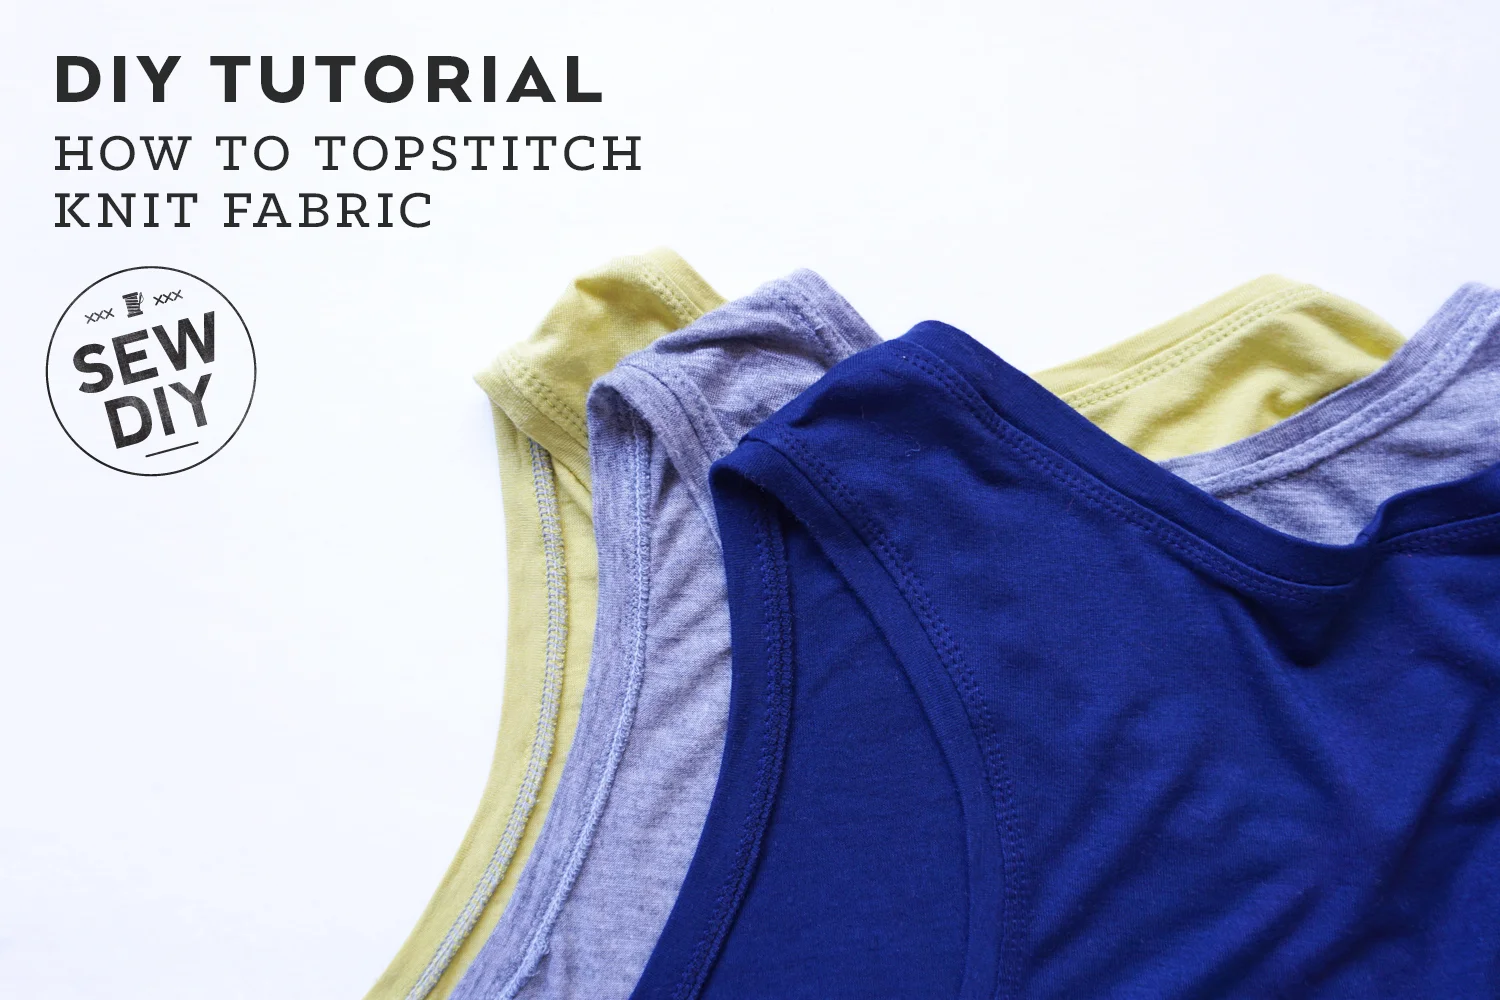
Knit fabrics are great to wear and fun to sew with but they can be a little tricky to handle. I was intimidated by them for a long time but with a lot of practice and a few tricks I picked up along the way, I’ve been able to conquer those stretchy beasts. Today, I’m going to share my favorite method for topstitching knit fabrics plus some tips and insight on why knits can be so bothersome. And don't worry, you don't need a fancy machine, this can all be done on a conventional sewing machine.
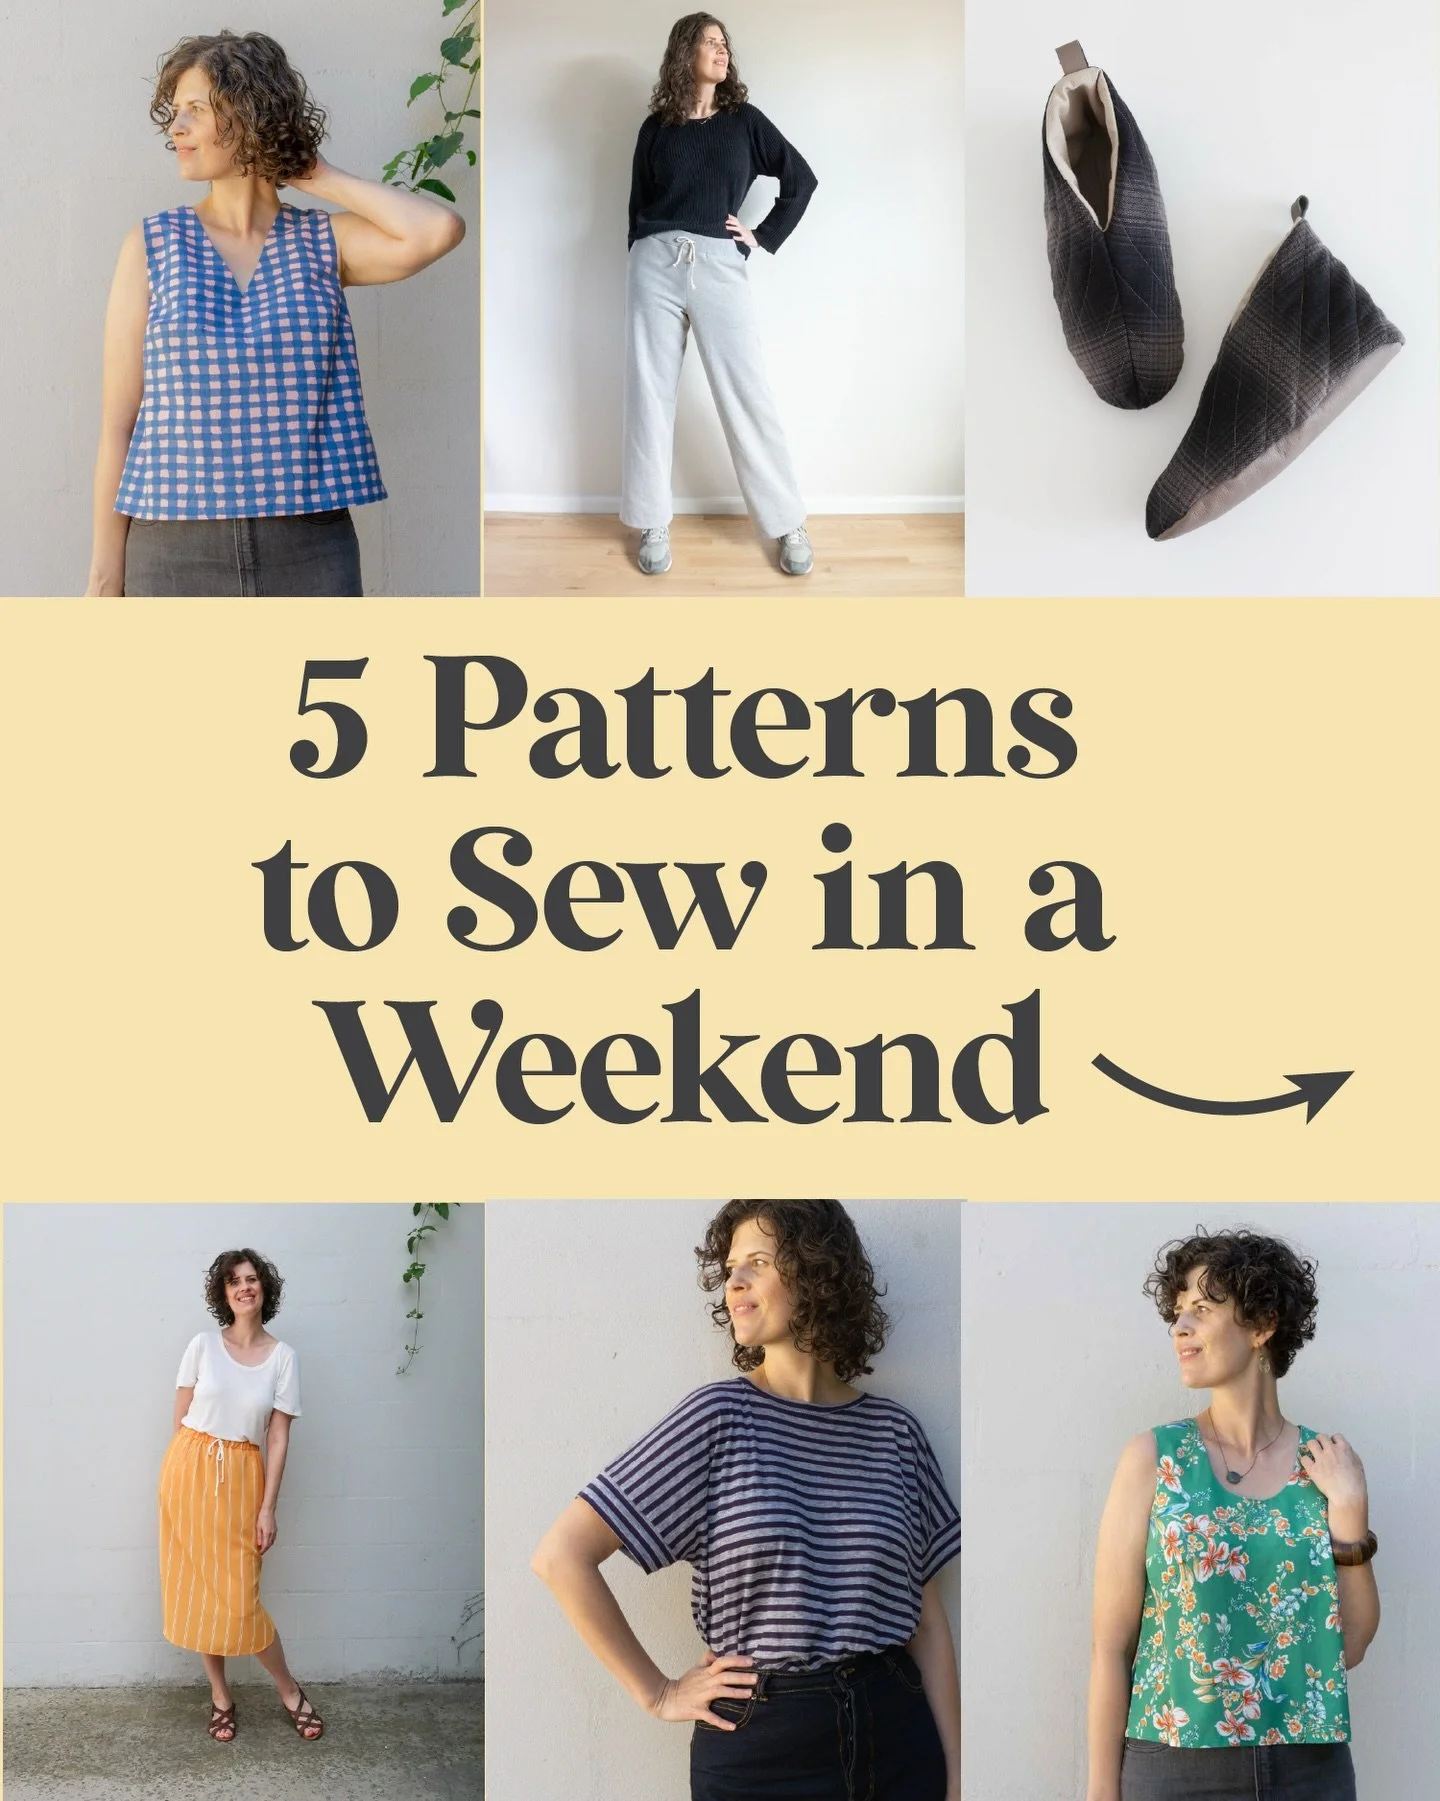
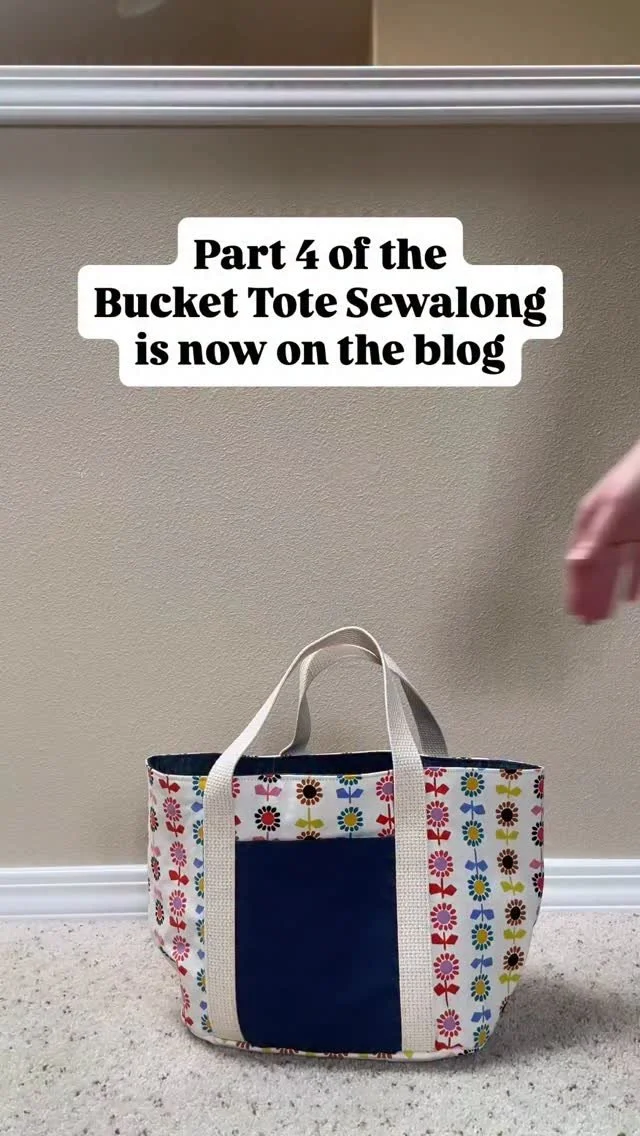
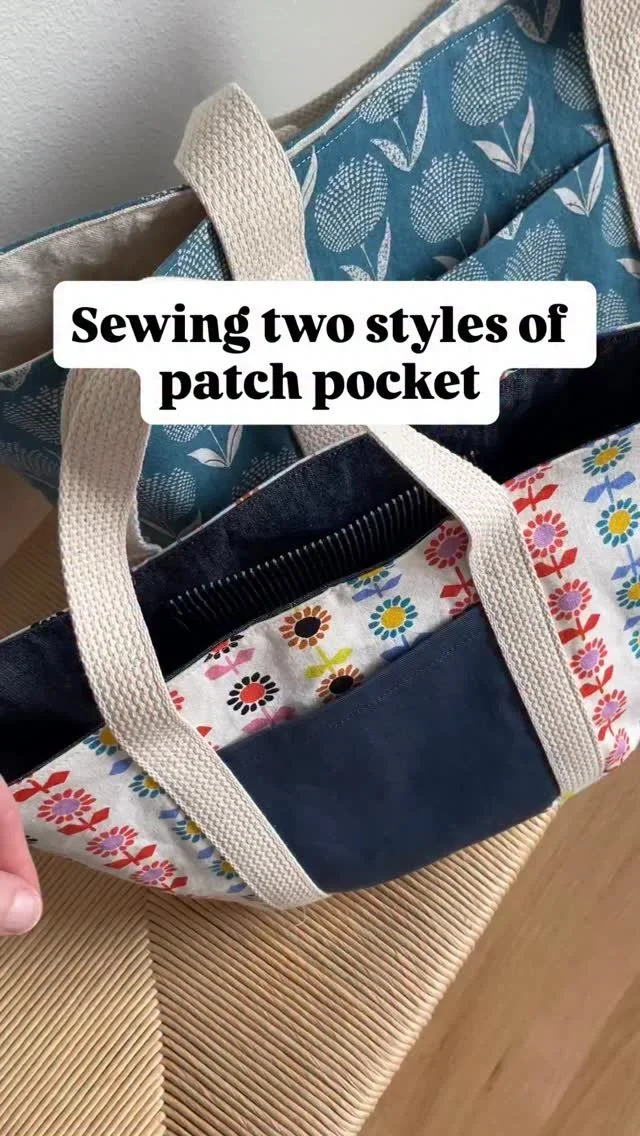
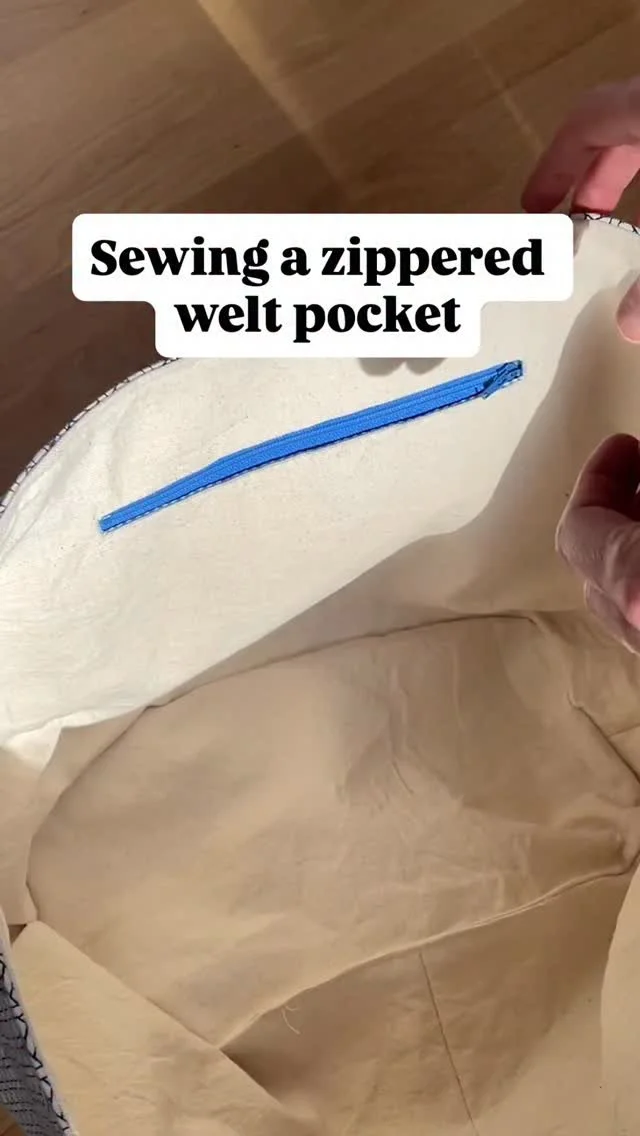
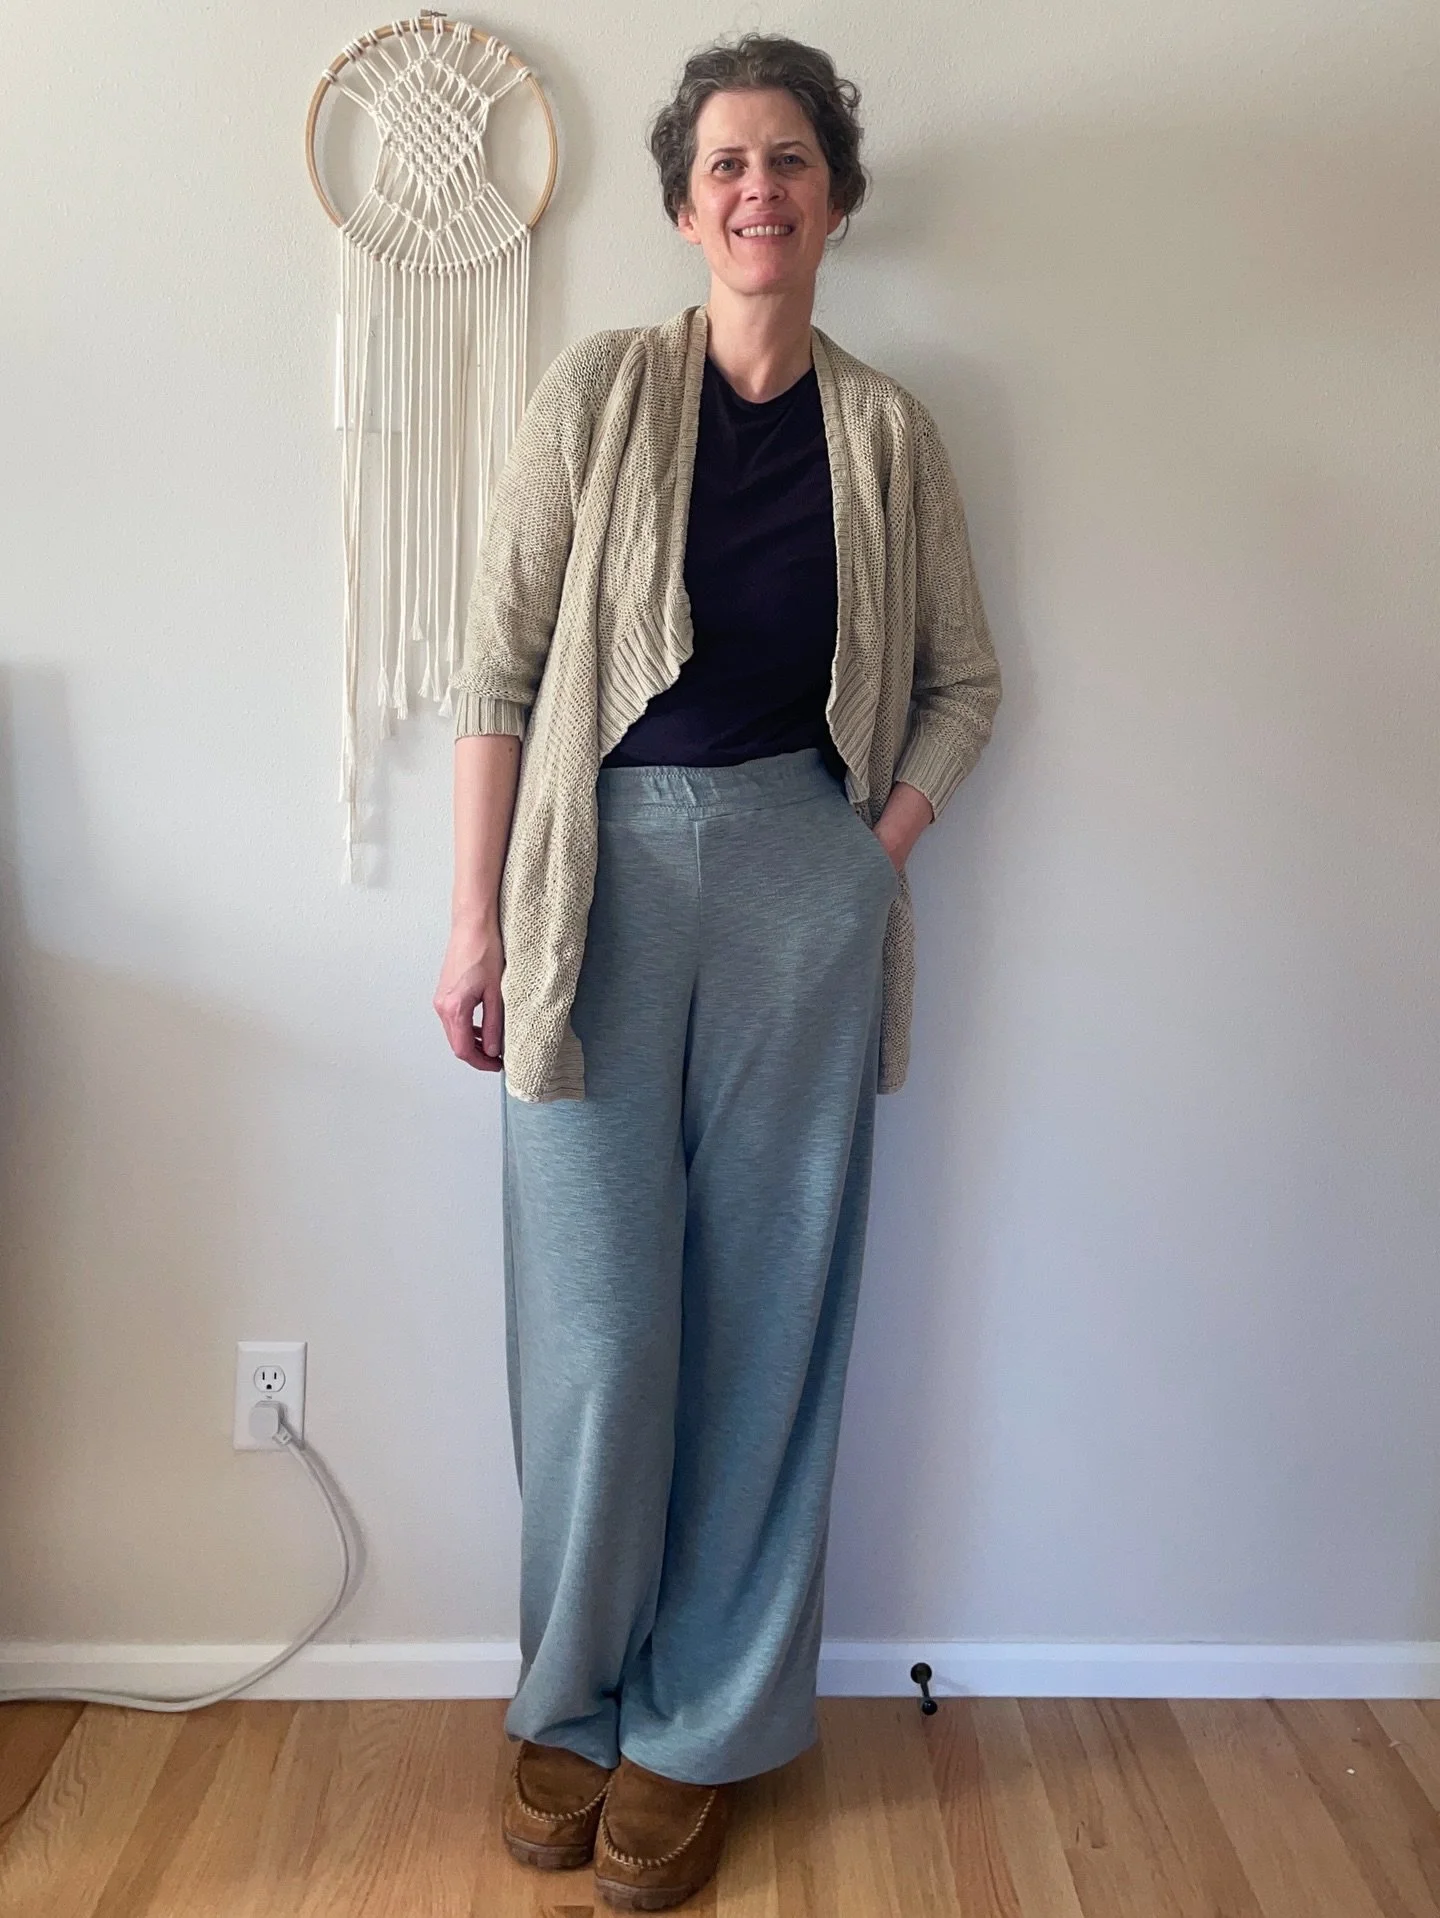
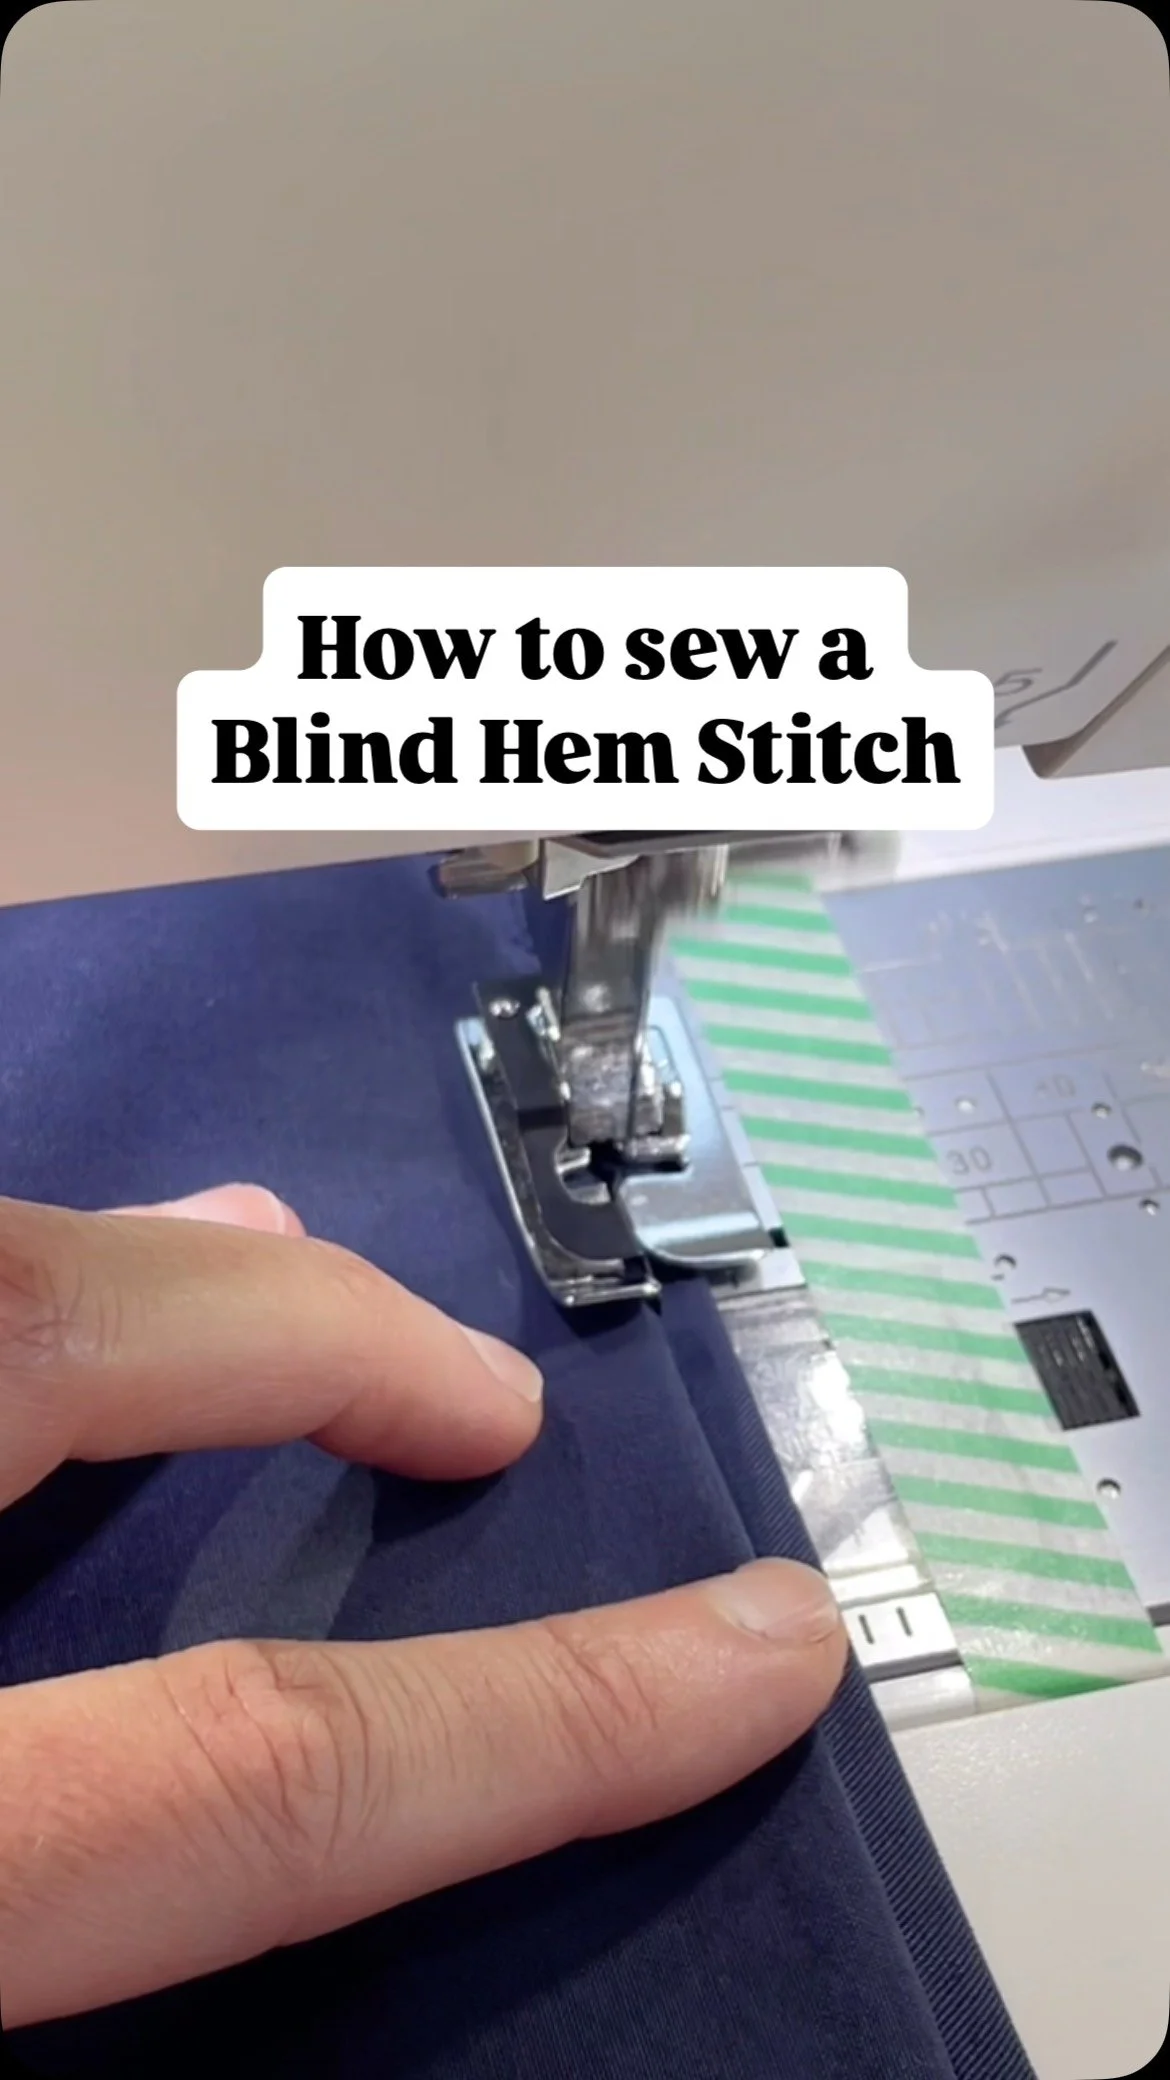
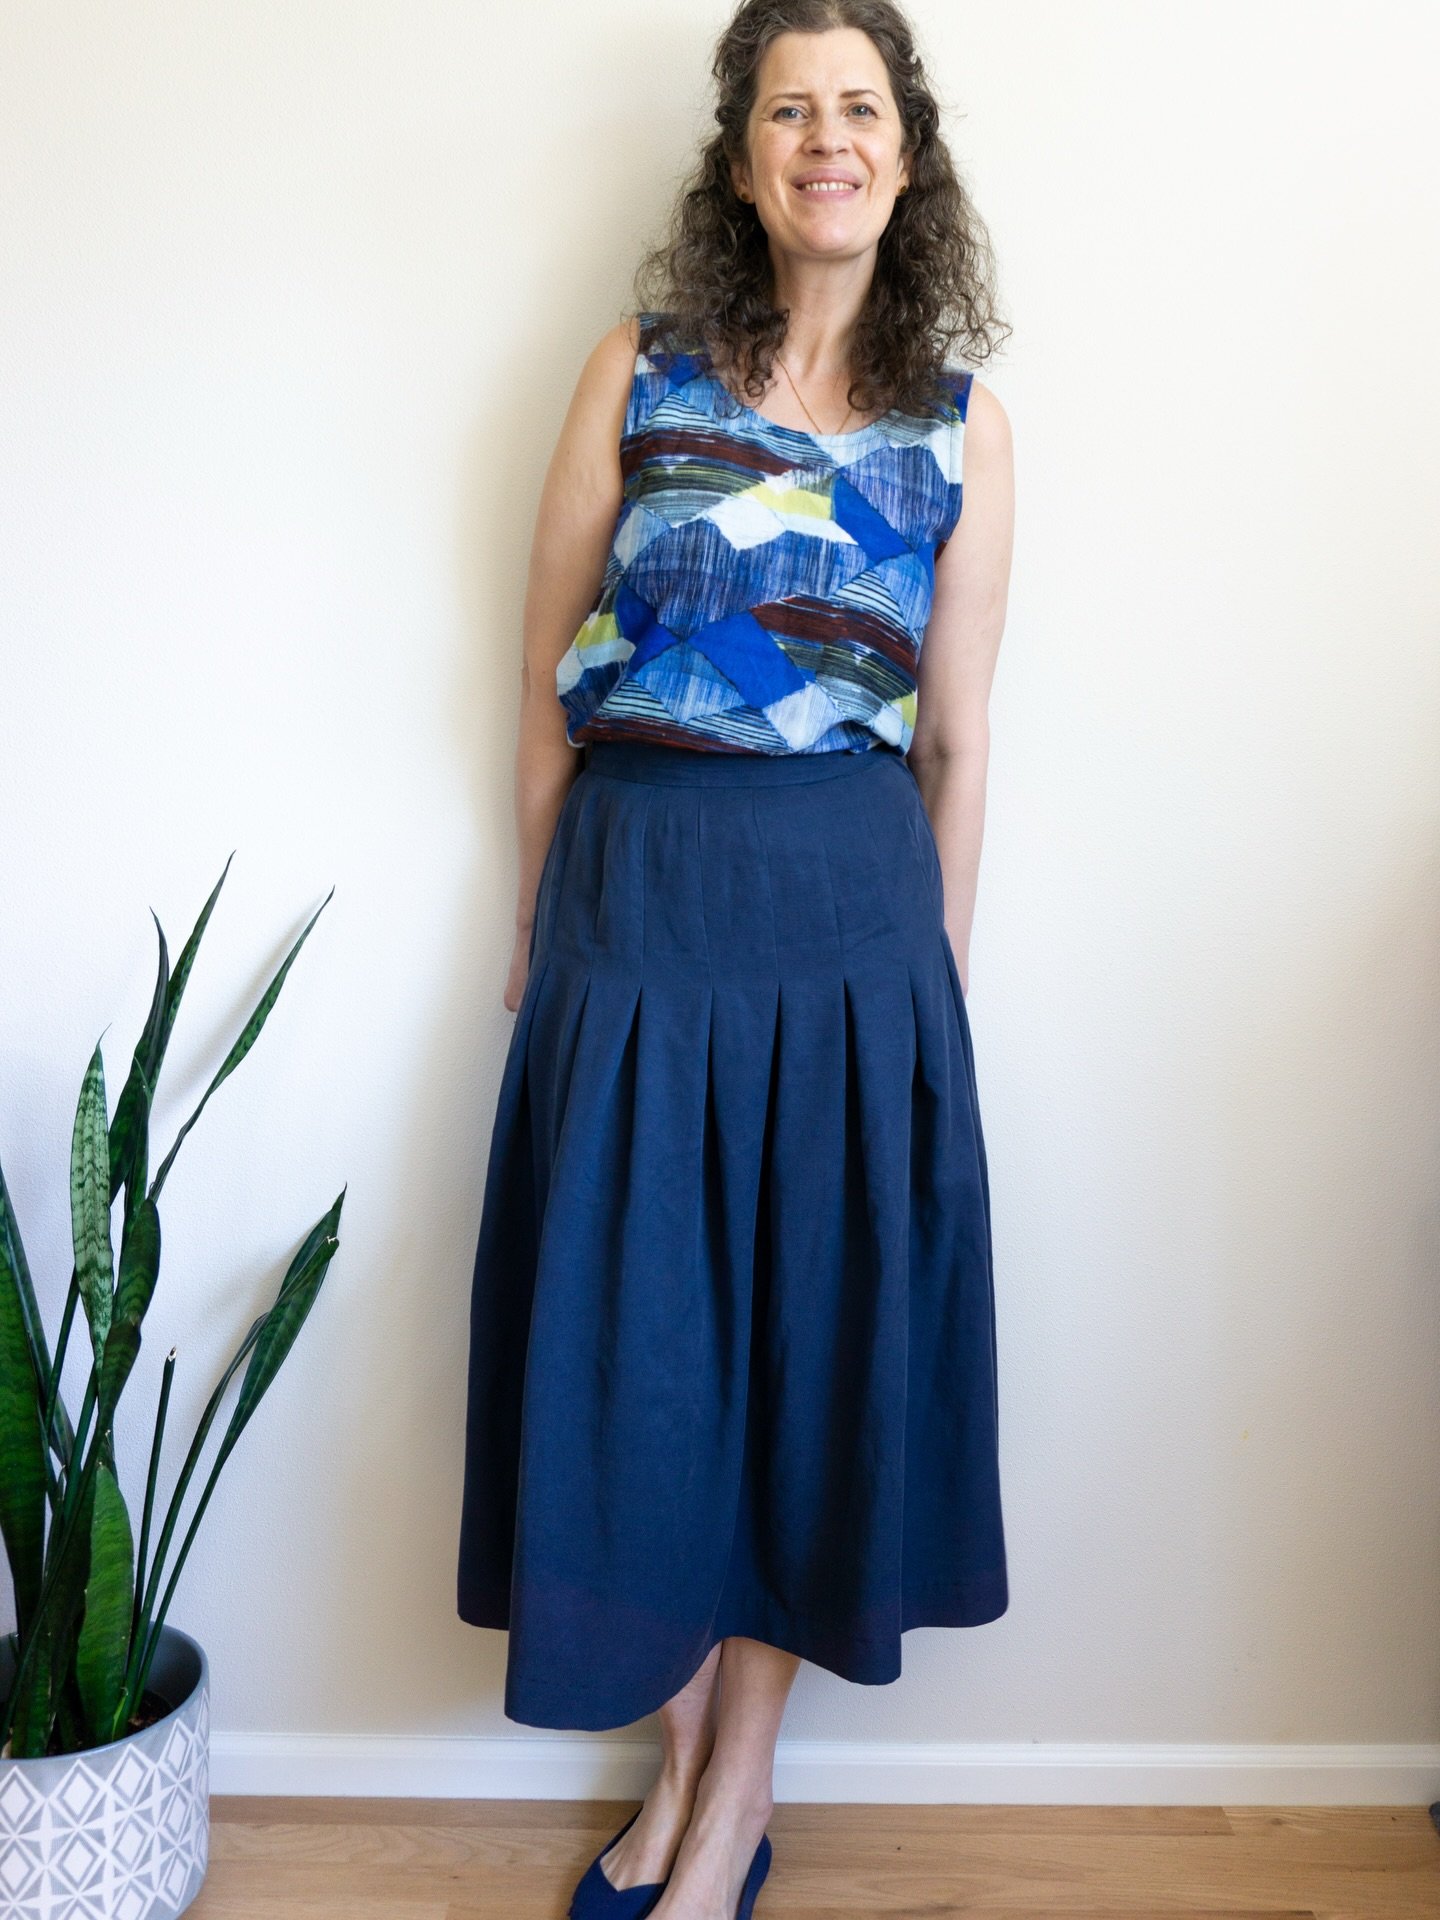
Nice looking patch pockets are all about precision. That starts with cutting and continues to placement and stitching. Over the years, I've gathered a few tricks and tips to help you sew patch pockets with ease. If you're just getting started with sewing, I recommend using a stable woven cotton fabric for your first project because it's less likely to warp and will press nicely. With a sturdy fabric, you won't need too many tricks but the more drapey the fabric is, the more likely it is that you'll want to reach for a special tool or trick.