
The dana jumpsuit resources
Explore extra tips and tutorials to help you sew the Dana Jumpsuit. Click an image below to go the tutorials. If you would like a little extra help, including full video tutorials of every step of the sewing process, you can purchase the Dana Jumpsuit online class. Learn more about the class here.
If you haven't purchased the pattern yet, head over to the shop to download.
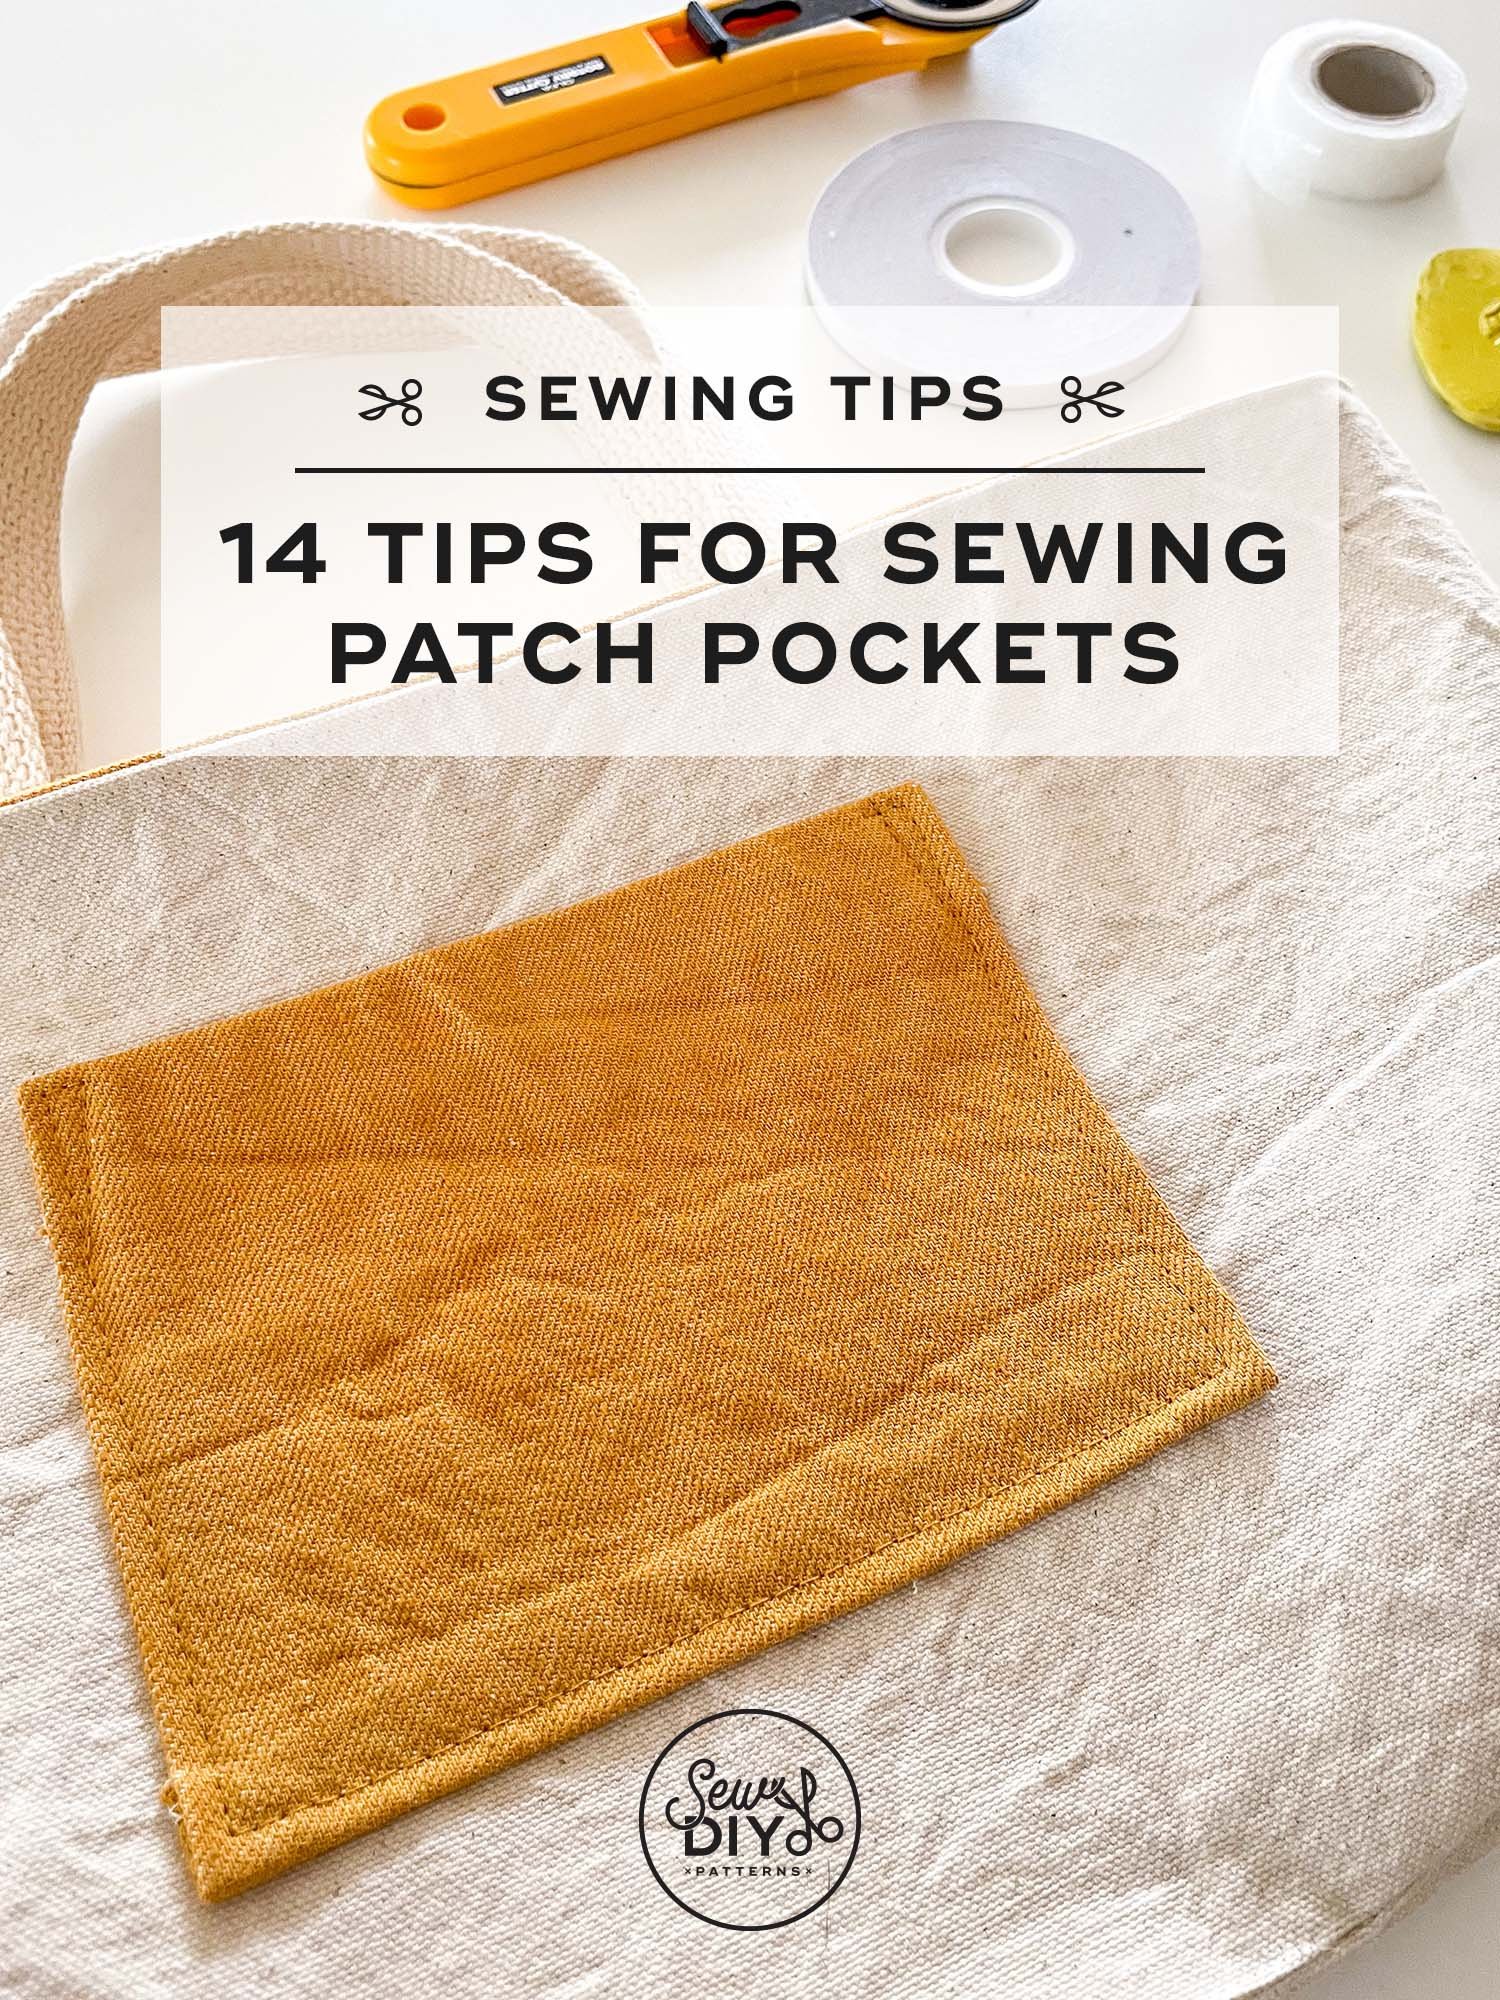
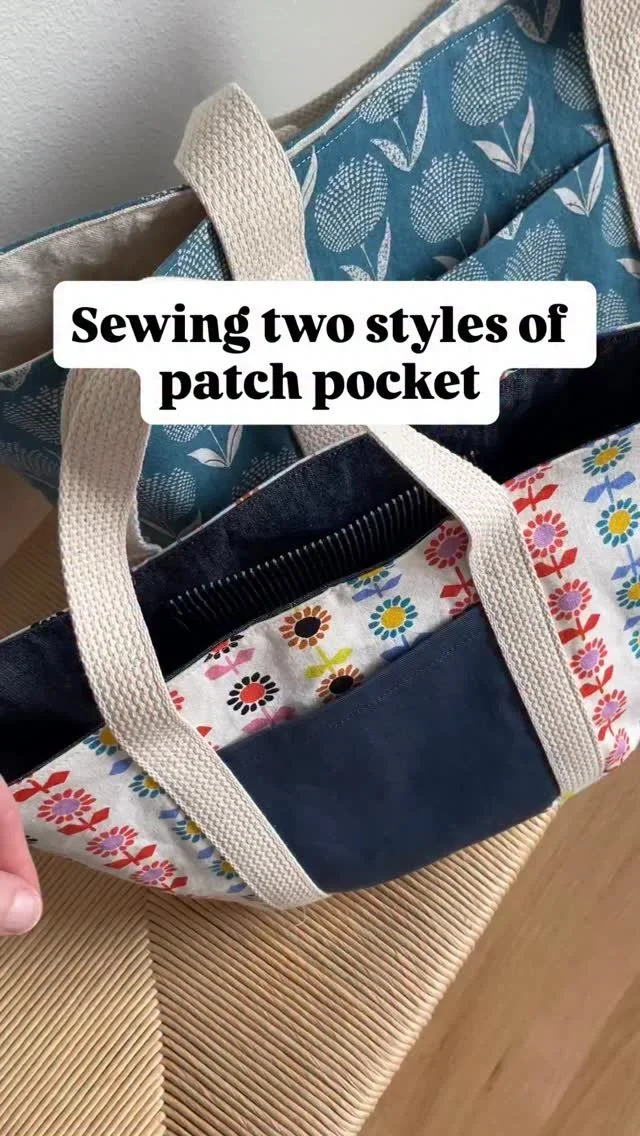
Nice looking patch pockets are all about precision. That starts with cutting and continues to placement and stitching. Over the years, I've gathered a few tricks and tips to help you sew patch pockets with ease. If you're just getting started with sewing, I recommend using a stable woven cotton fabric for your first project because it's less likely to warp and will press nicely. With a sturdy fabric, you won't need too many tricks but the more drapey the fabric is, the more likely it is that you'll want to reach for a special tool or trick.
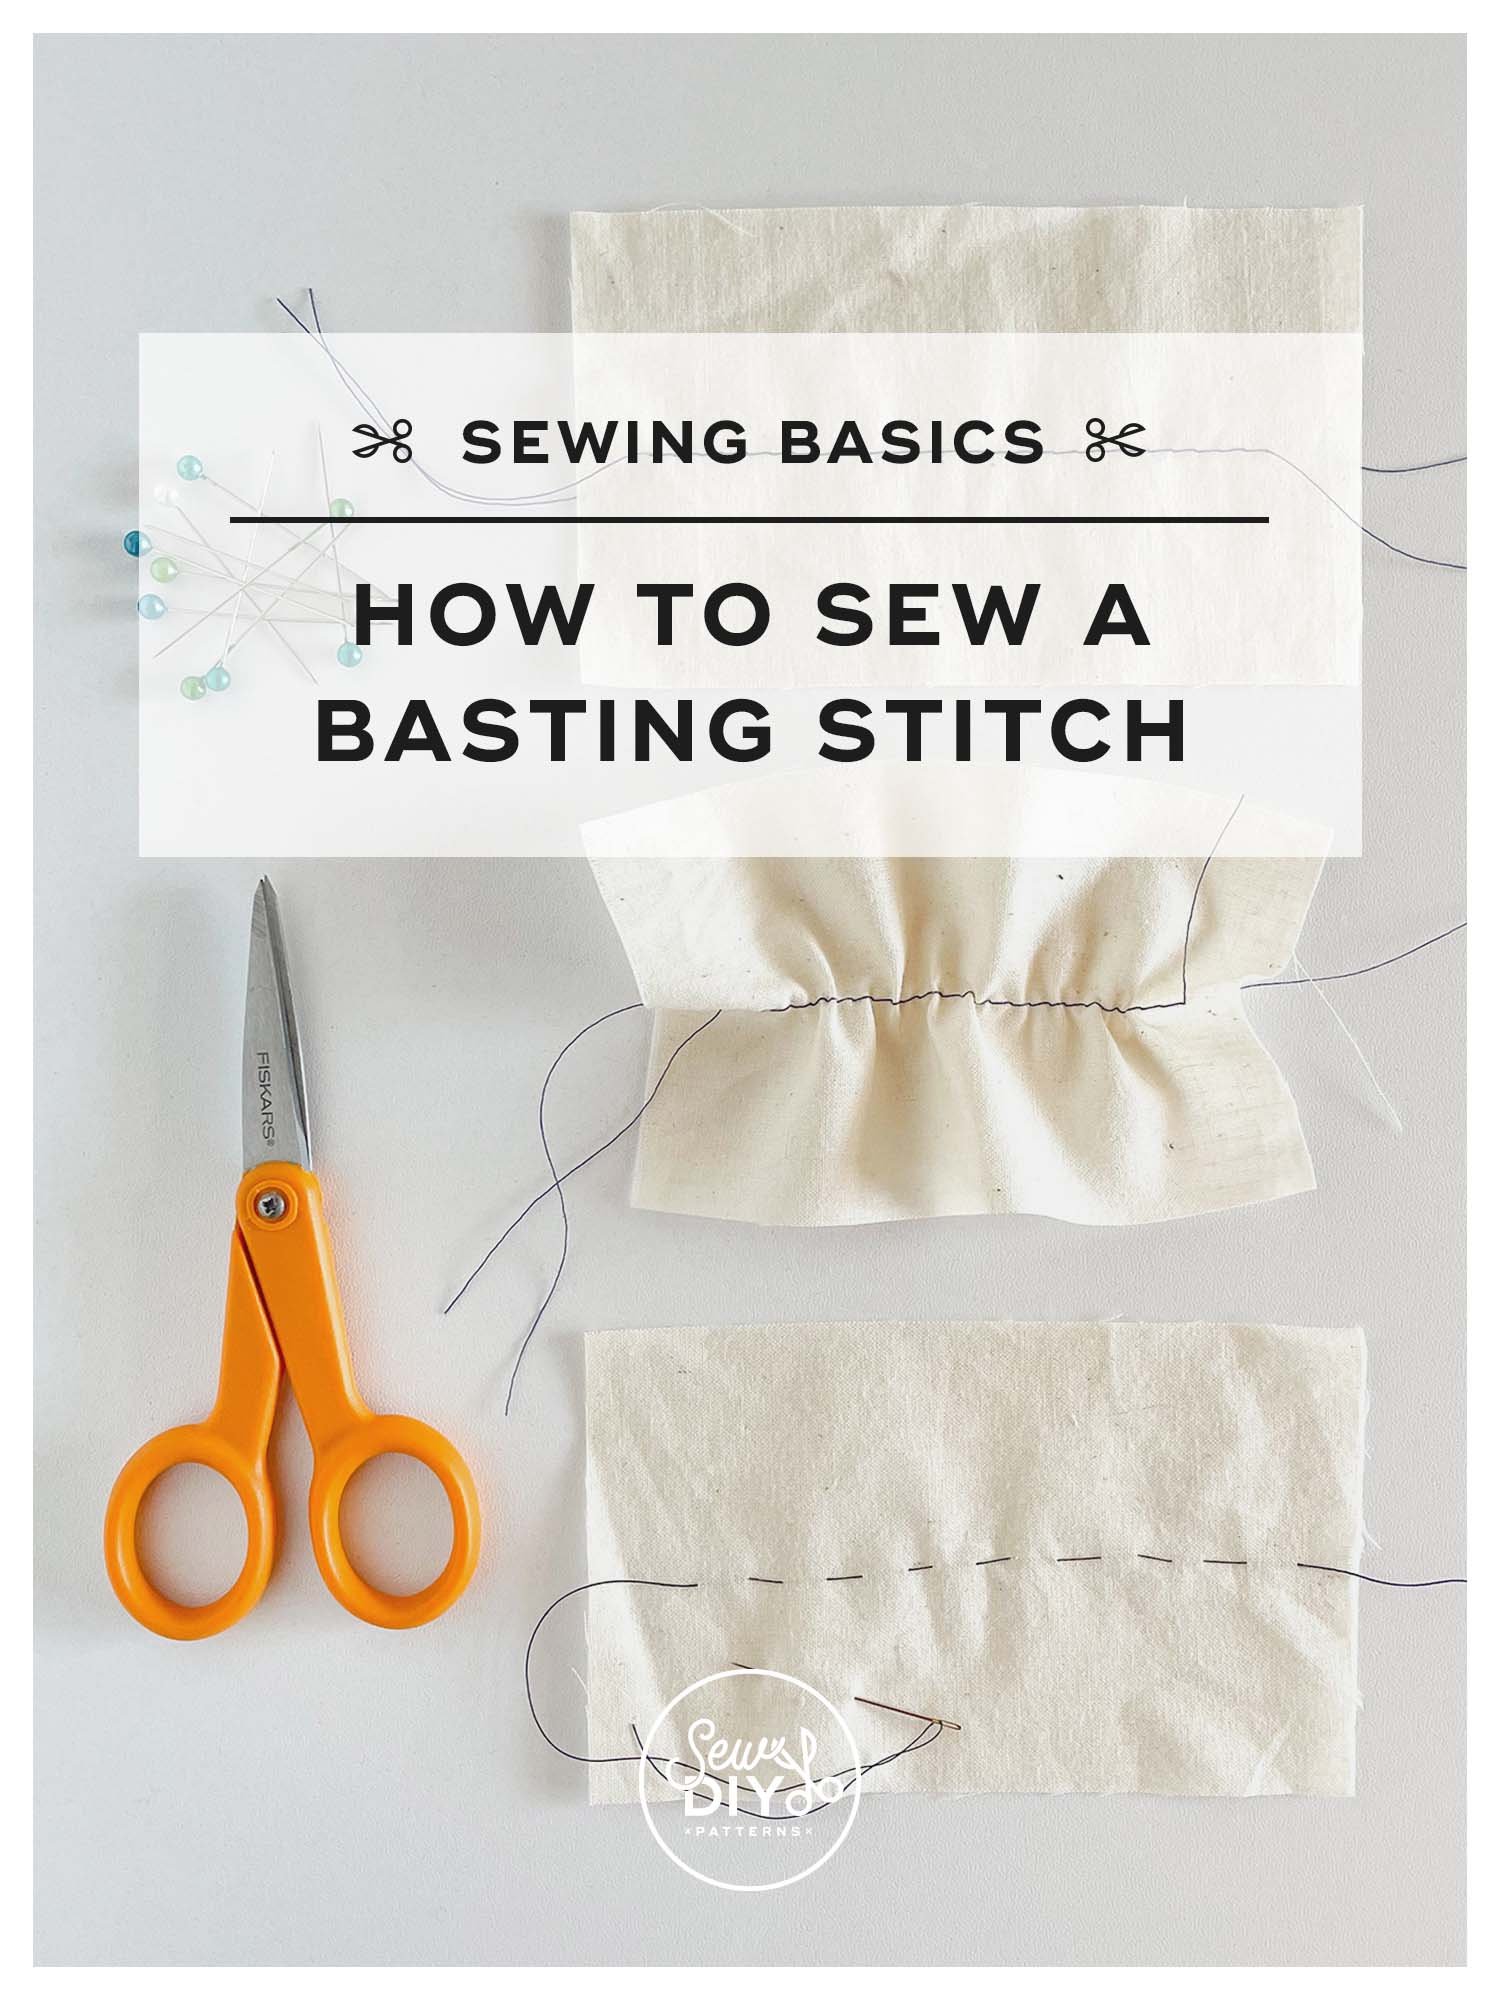
If you've sewn a garment before, you may have encountered a basting stitch. And, if you keep sewing, you'll be sure to use it with most projects. Basting is a fundamental sewing technique because it's so useful. Even better, it's a very easy stitch to sew. In this post and video, I'll talk about what a basting stitch is, when to use it and demonstrate sewing a basting stitch by hand and by machine.

In today's video, I'm going to be showing you how to understitch. Understitching is a technique that is most often used when sewing woven fabric garments but occasionally with knit fabrics as well. It's mostly used when you are sewing a facing, a lining or an in-seam pocket. The purpose of understitching is to keep those parts of the garments hidden and out of view.

This week's video tutorial teaches how to sew gathers. I've heard that sewists are sometimes intimidated by gathers, so I'm sharing my favorite methods for sewing stress-free, evenly spaced gathers.
Gathers are a common design detail found in a variety of garments. Most often, you’ll find them in skirts or sleeves. For my Miri dress hack, I made a simple gathered skirt using rectangles of fabric. It's a really easy way to add a skirt or peplum and is zero-waste friendly.
I’m sharing the traditional method of sewing lines of basting stitches with thread. There are other ways to do it but I’ve always had success with my tried-and-true methods. Scroll on to watch the video and read the written instructions. Happy sewing!
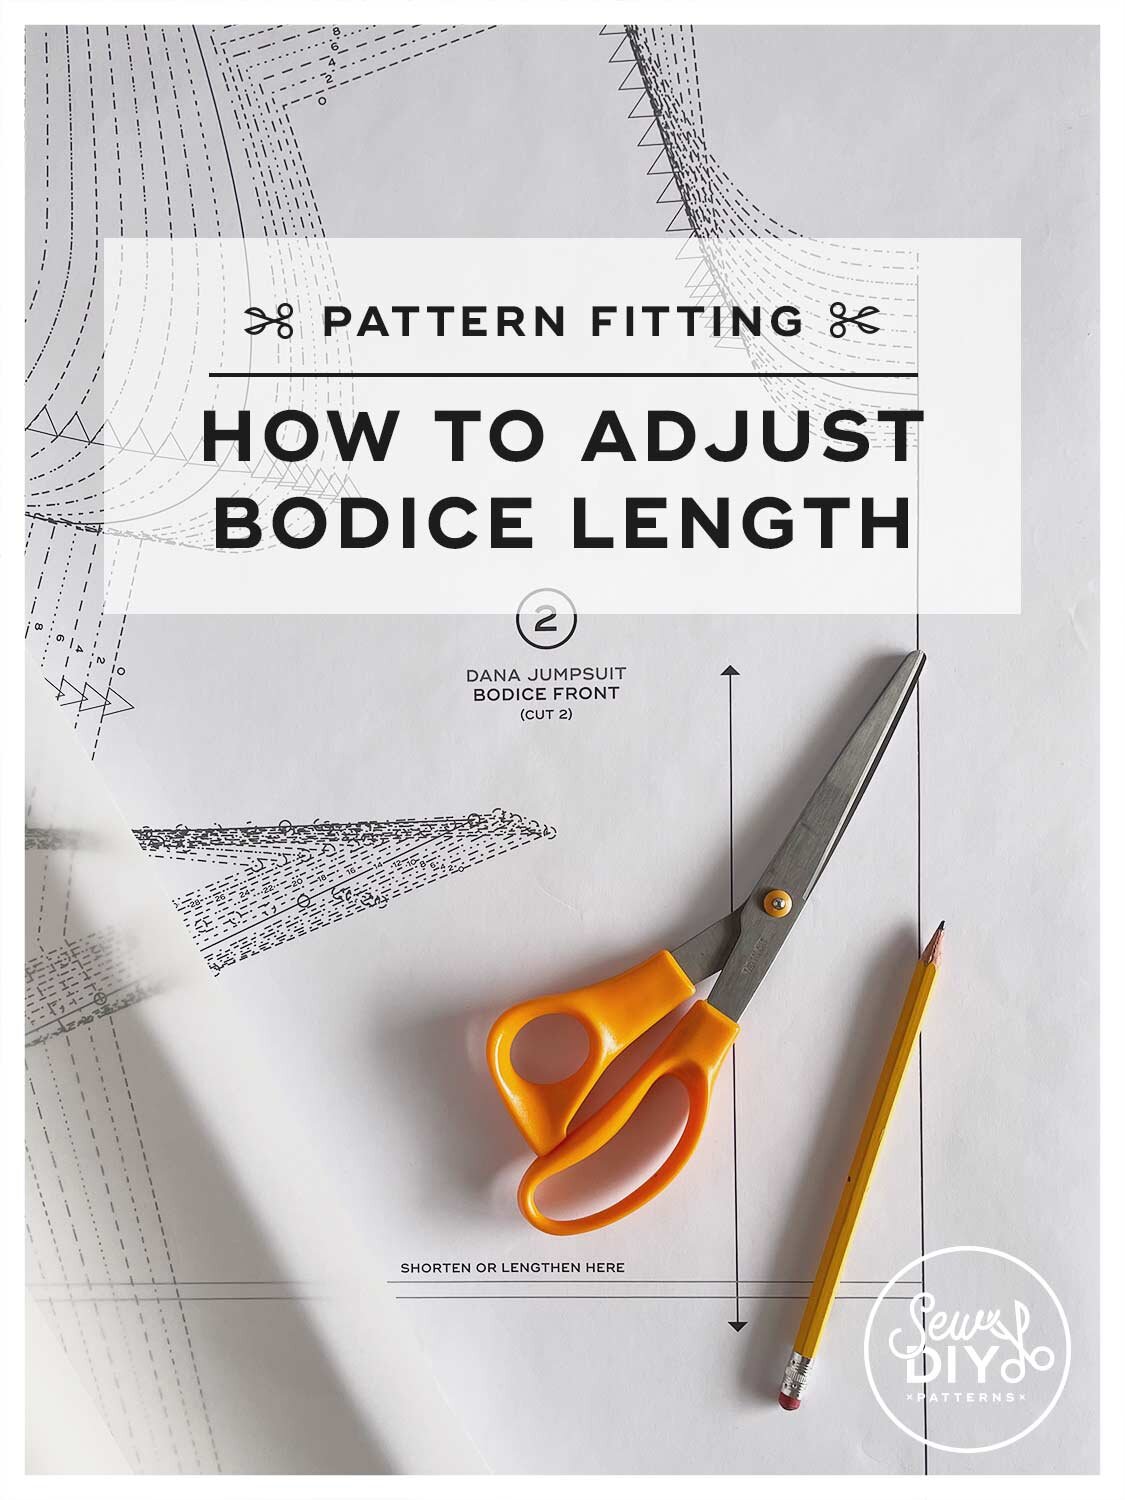
Today, I'm continuing my series of pattern fitting videos with how to lengthen or shorten the bodice of a sewing pattern. The same techniques can be used when altering the length of a blouse or shirt. In the video, I use my new Miri Tank pattern to show how to make the pattern adjustment. Plus, I share some tips for when you're lengthening a top into a dress.

Hello sew-friends! Today, I’m continuing my mini series of videos on pattern adjustments. It is very common to need or want to make a few pattern adjustments when sewing your own clothing. Today, I’ll be showing you how to lengthen or shorten the sleeves of a pattern. This is a simple but very common pattern adjustment. I'll demonstrate how make the pattern adjustment to tapered and bell shaped sleeves and explain why you don't want to just adjust at the end of the sleeve.

Hello sew-friends! Today, I’m kicking off a mini series of videos on pattern adjustments. It is very common to need or want to make a few pattern adjustments when sewing your own clothing. One of the most common adjustments (especially if you’re a tall sewist like I am) is to alter the length. Today, we’ll be starting with pants patterns.

In today's video, I'll be showing you how to fuse iron-on interfacing to fabric. Interfacing is an extra layer of fabric that is used to make certain parts of a garment thicker and more sturdy. You'll often find it used in button plackets, collars, waistbands and facings. In the tutorial, I'll share all my tips for how to adhere iron-on interfacing to your fabric and prevent puckering or separating.

In today's video, I'll be showing you a simple pattern adjustment that you can do to move along a side or waist seam. Darts are most often used to shape the bust or waist and are usually found in side or waist seams. Because we all have different bodies, you’ll sometimes get a better fit if you move the dart just slightly. In the video and diagrams, I'll show you how to move a bust dart up or down along a side seam and how to move a waist seam dart to the left or right. (Note, there are more complicated pattern adjustments where you can pivot a dart to move it to a different seam. I’m not covering how to do that in this post.)

Hello sew-friends! Today, I’m happy to bring you a video tutorial for how to mark and sew darts. Darts are most commonly found in fitted woven garments. They are simply a little wedge of fabric that is folded and stitched in order to make the fabric more three-dimensional and to fit the curves of the body. You’ll most often find darts to shape the bust and waist. It’s really a fairly simple feature to sew and it’s worthwhile to practice and become comfortable with it.

A facing is essentially a piece of fabric that finishes a raw edge. It’s especially useful if you want a stable edge or if you want a really unique shape. With a facing, it’s easy to create pretty much any shape you want from a scallop edged skirt to a sweetheart neckline.
Yesterday, I shared my holiday Dana Jumpsuit hack with a v-neck and today I’m going to show you how to draft a facing. The Dana Jumpsuit, like many other patterns, uses a facing to finish the neckline edge. So, if you want to alter the neckline, you’ll also need to alter the neckline facing. Fortunately, drafting a neckline is really easy. In fact, if you’re totally new to pattern drafting, this is a really good place to start. Watch the video below for all the details.


One of the most essential steps of pattern testing is testing the pattern, to test both the instructions and the actual pattern pieces. I have so much gratitude for all of my testers and their willingness and enthusiasm to try out a new pattern. The Dana Jumpsuit is my most complicated pattern and most “out there” design to date so it was really exciting to see people sew up their jumpsuits and love them as much as I do. So, today I’m sharing a few photos from my group of amazing testers. Hopefully, you will be as inspired by them as I have been.

One reason people often recommend starting off sewing a skirt rather than pants is that skirts are usually much easier to fit than pants. That crotch curve can create all sorts of fitting dilemmas and one of the easiest to solve is the rise, also called the crotch depth or crotch length. In today’s video tutorial, I’ll show you how to shorten and lengthen the crotch depth evenly across the front and back. And as a bonus, I’ll show you how to adjust only the back rise. This is a really simple pattern adjustment to make and very useful if you are petite or tall (like me!)

Today’s video is a big one! I share my top reasons why pdf patterns are awesome (just in case you’re not already convinced). Then I share my top tips for how to successfully print pdf patterns (including the printer settings you need to make sure the entire pattern prints on the page). And finally I show how to efficiently assemble and cut the pattern. I even show you the techniques I learned in design school for safely using an exacto knife or blade. I’ve never cut off a finger using these techniques so hopefully it will help you and keep your fingers safe too!

I love using my sewing machine but there are times that I prefer to sew by hand. And most of the time, I use a slip stitch. The slip stitch is very useful in place of topstitching on hems and bias facings when sewing with delicate fabric. The magic of this stitch is that it is nearly invisible from the right side of the garment. And because it’s invisible, even if you have a difficult fabric, no one will know that your stitches aren’t perfect.
If you are looking for ways to slow down your sewing practice, hand sewing is a great practice. Not only will you have a beautiful garment, but you’ll get to relax a little bit into the process and really take your time and take care of your fabric.

Today I have a quick little video to share my top seven methods for finishing seams. Finishing (also called neatening) seams is really important for ensuring that your garments will last a long time. It’s worth the time to learn different finishes and find the ones you like best for your fabric.
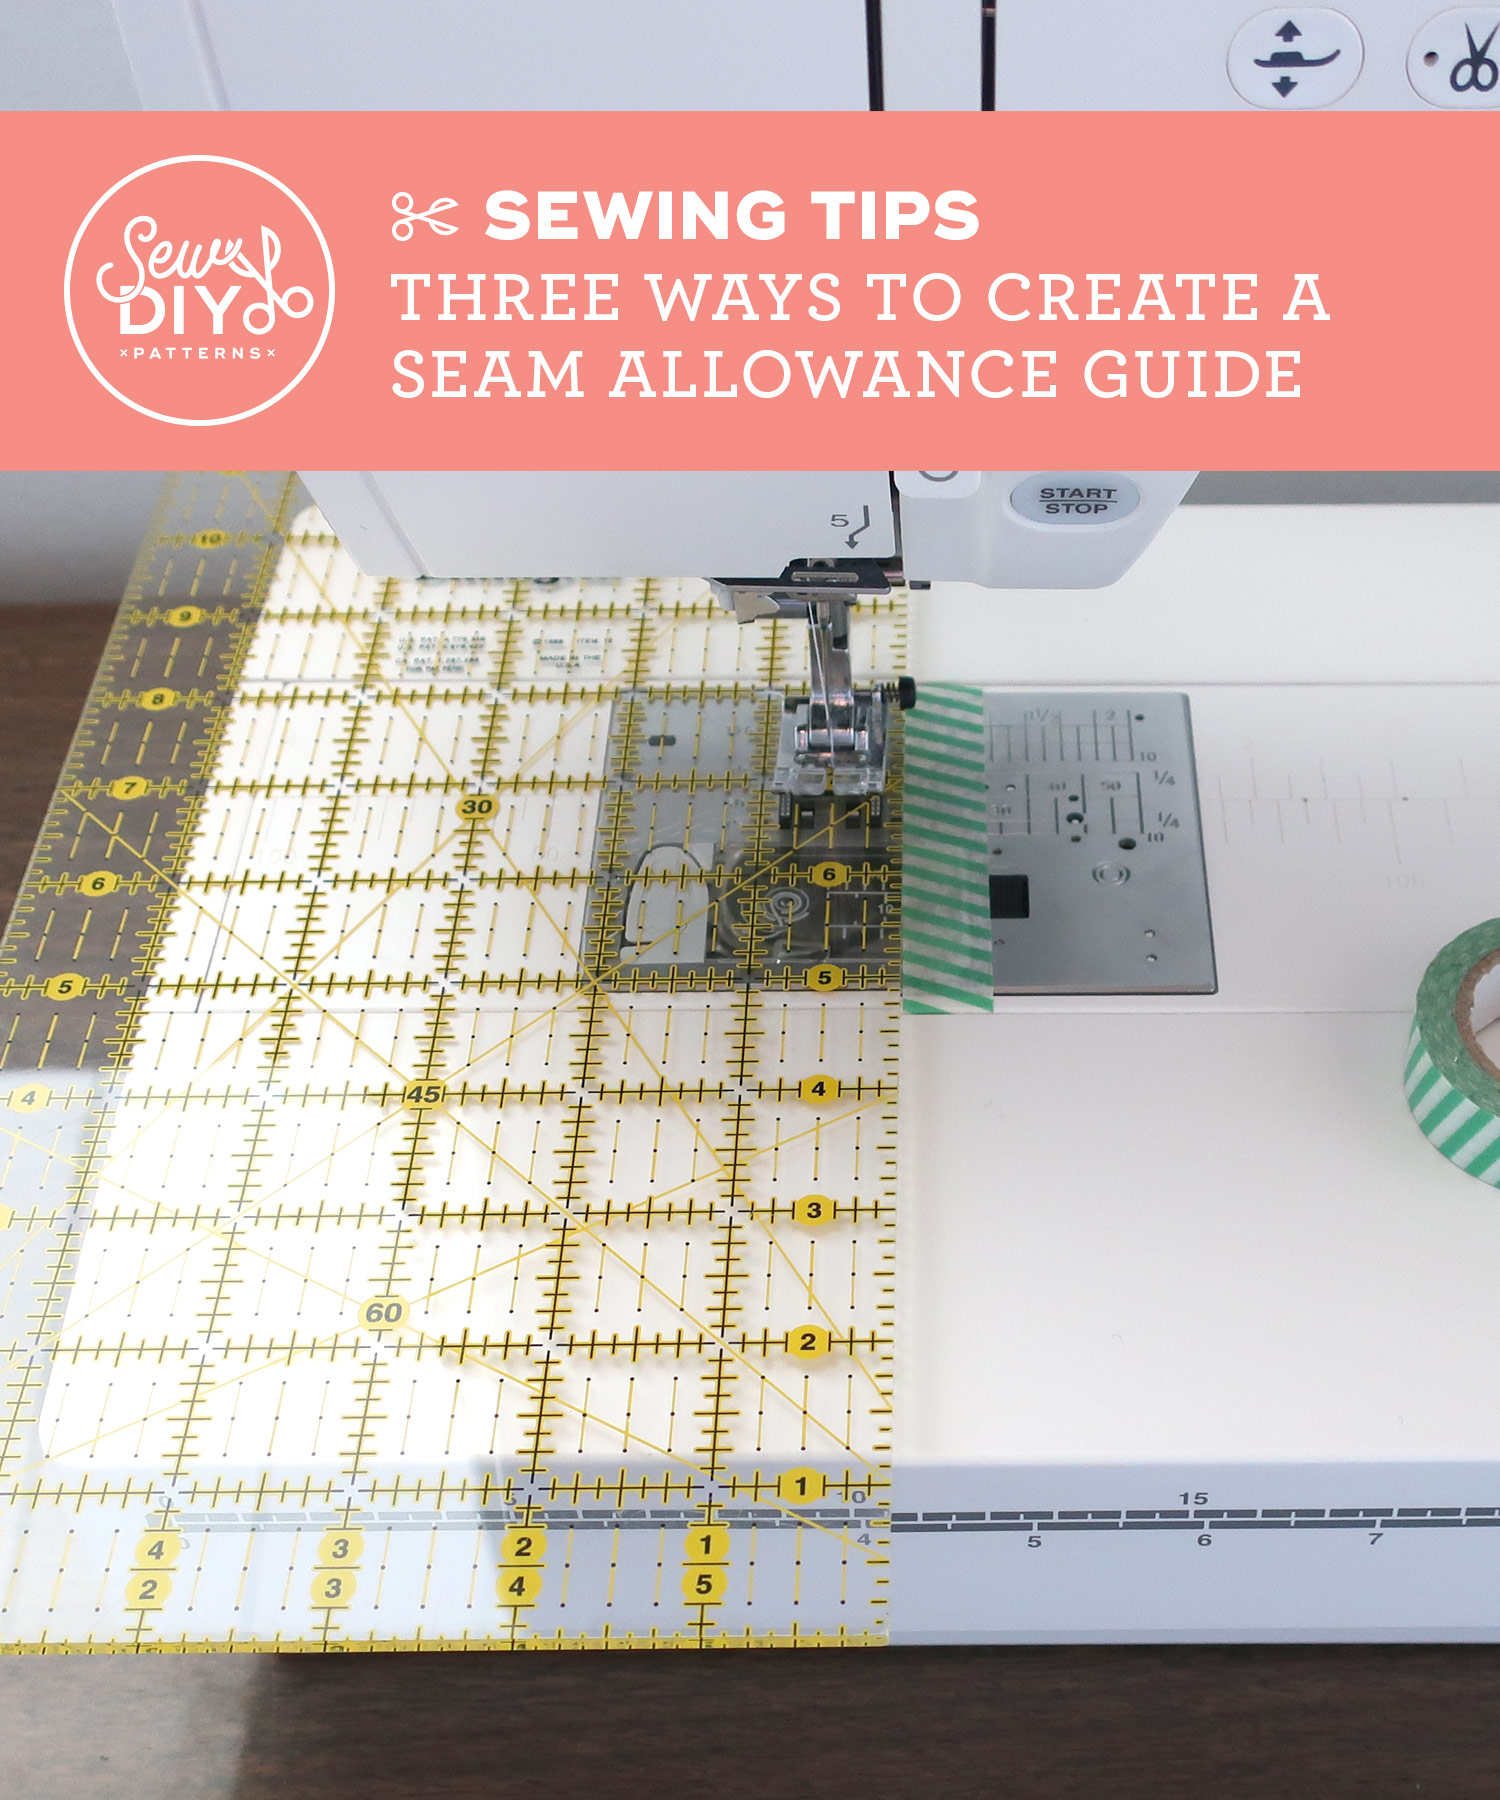

If you are brand new to sewing, interfacing might seem a little mysterious. You might even be wondering if you really need it to use it. For a lot of garments you don’t need it but for many it is essential for adding structure to the garment. It is often used on facings, collars, cuffs and button bands to stiffen and reinforce the fabric. Think about ready-to-wear clothing and the areas of the garment that are stiffer than others. These are parts that need to stand up (like a collar), be tough enough to take a buttonhole or simply lie flat along the neckline. Today I’m going to share some basic tips for adhering the interfacing to your fabric. It’s not a hard process but can be a little scary when you first start out.
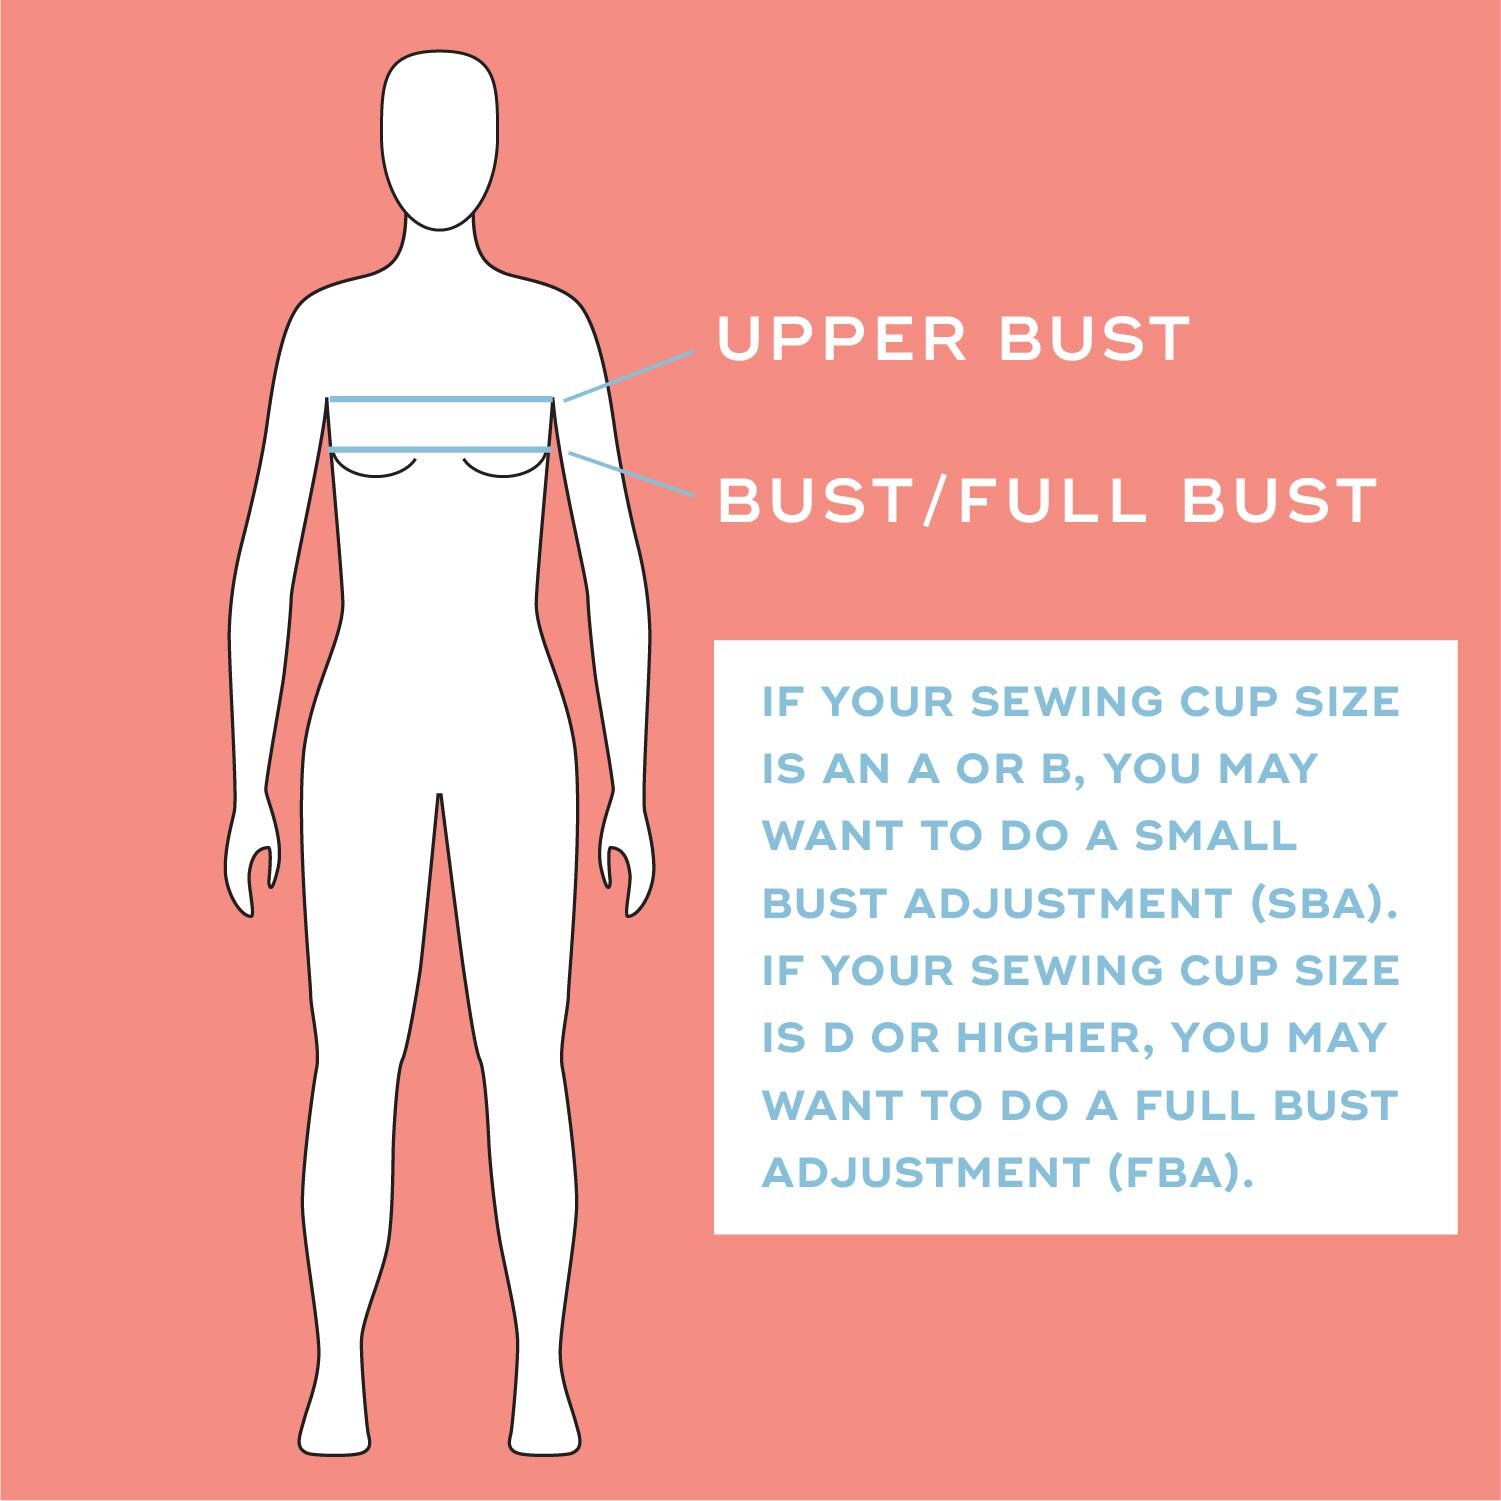
Today’s post is a deep dive into how to make bust adjustment to a pattern with a side dart. The objective of the bust adjustment is to make the dart bigger or smaller so that the shaping fits your body better. I share details on what a full or small bust adjustment is, what you might want to make one and how to do it. I show how to calculate a bust adjustment and how to make the adjustment to your pattern. I’ve included illustrations, written instructions and videos for how to do a full bust adjustment and a small bust adjustment.