
One of the best things about the start of the new year is getting a new calendar and planning all the things I want to make. Today I’m very excited to release my annual sewing calendar for 2019. Like the last few years, this calendar is a FREE pdf download that you can print at home and use throughout the year to track and organize your sewing projects.
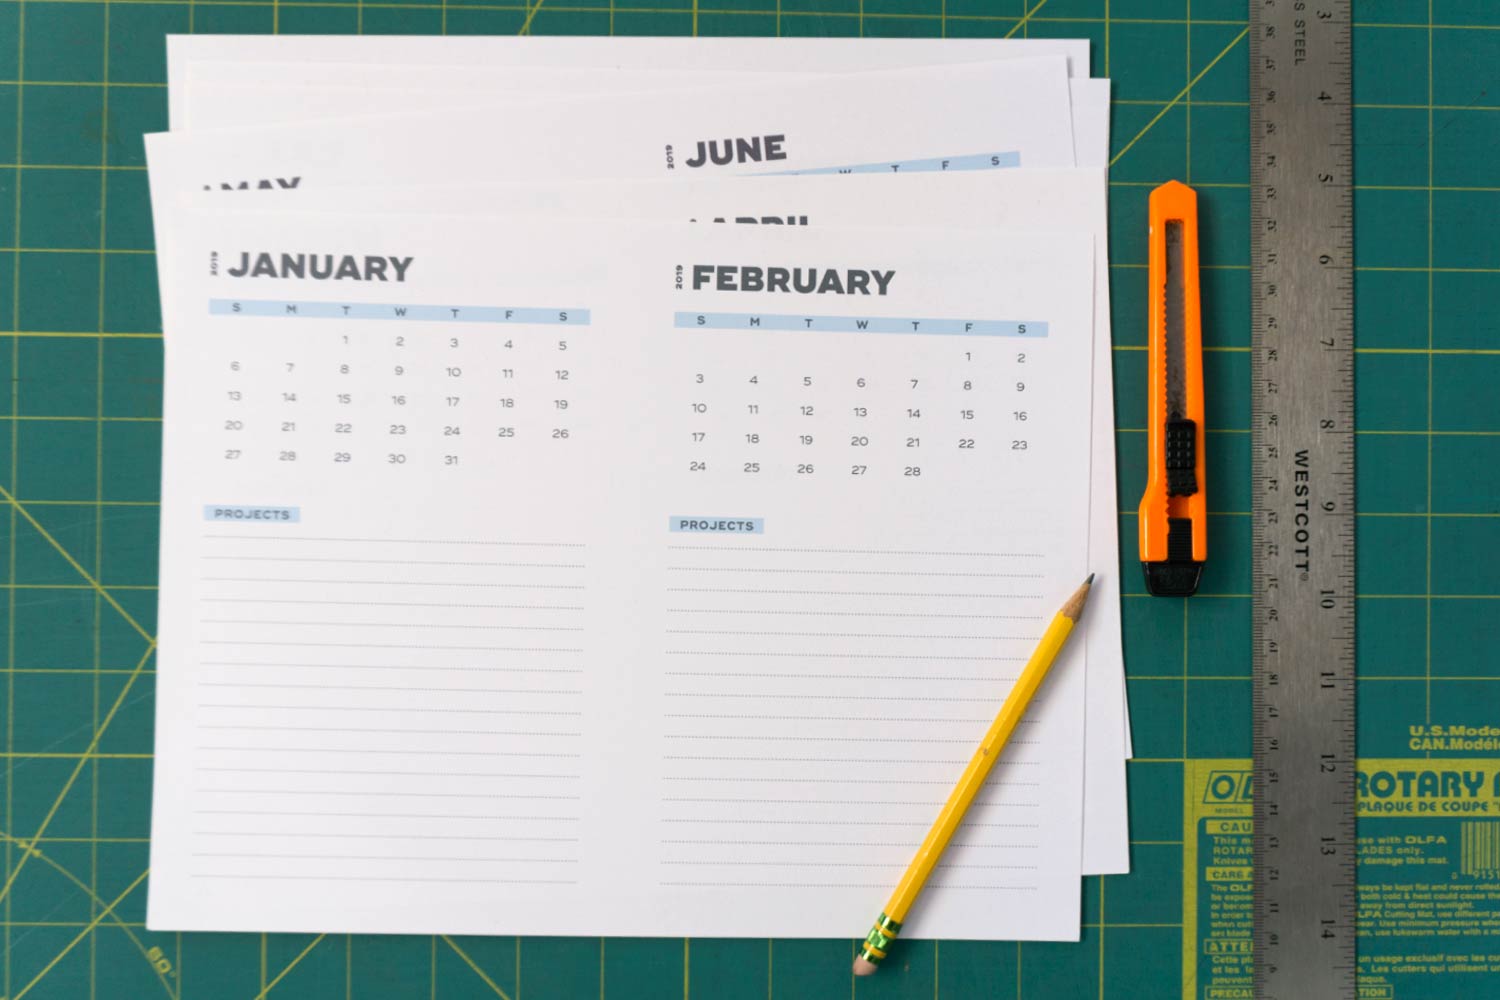
This year, I’ve provided multiple sizes and printing options because the calendar is designed to pair with a pdf printable sewing planner that I will be launching tomorrow. (Stay tuned for that! So excited! UPDATE: Check out the Sewing Planner here.) I’ve also included a few new pages in addition to the monthly calendar including a cover page, 2019 year-at-a-glance and lined notes. The design is fairly simple and clean and there are LOTS of lines for recording your makes.
A little more about the sizes. There are four sizes: Letter, A4, half-letter and A5. For a larger calendar, you can print directly on Letter or A4 size paper. Or, for a smaller calendar (Half-Letter or A5), you have three printing options. First, if your printer allows it, you can print directly to half-letter or A5 size paper. The second option is to print 2-up, meaning two pages of half-letter (or A5) will print on one letter (or A4) sheet. After printing, cut each page in half. Lastly, you can use the file with crop marks to print a single half-letter (or A5) page on letter (or A4) paper. This last method is the least efficient but is good if you just need to print one page. (I’ve included this last method mostly so that if you are thinking about getting the sewing planner, you can review the size and printing options before purchasing.) One last thing to note about all the pdf options, the 2-up calendar files are arranged so that if you want to print double sided, the correct months will print back to back. If you print single sided, you can just reorganize as needed.
How to make your Sewing Calendar
SUPPLIES
Free PDF Printable Calendar (CLICK HERE TO DOWNLOAD ALL SIZES)
Card stock in preferred size (6-12 pieces of Letter, Half-letter, A4 or A5)
Cutting implement of choice: Metal Ruler & Utility Knife or Paper Trimmer
Hole Punch (optional)
INSTRUCTIONS
1. Open the PDF calendar and load your printer with card stock. (Note, if you are printing Half-Letter 2-up you will need to load Letter size paper. And, if you are printing A5 2-up, you will need to load A4 paper.)
2. Print out the calendar of your choice. (Later this week I’ll be posting tips for how to print the planner and those will be helpful if you want to print your calendar double sided.)
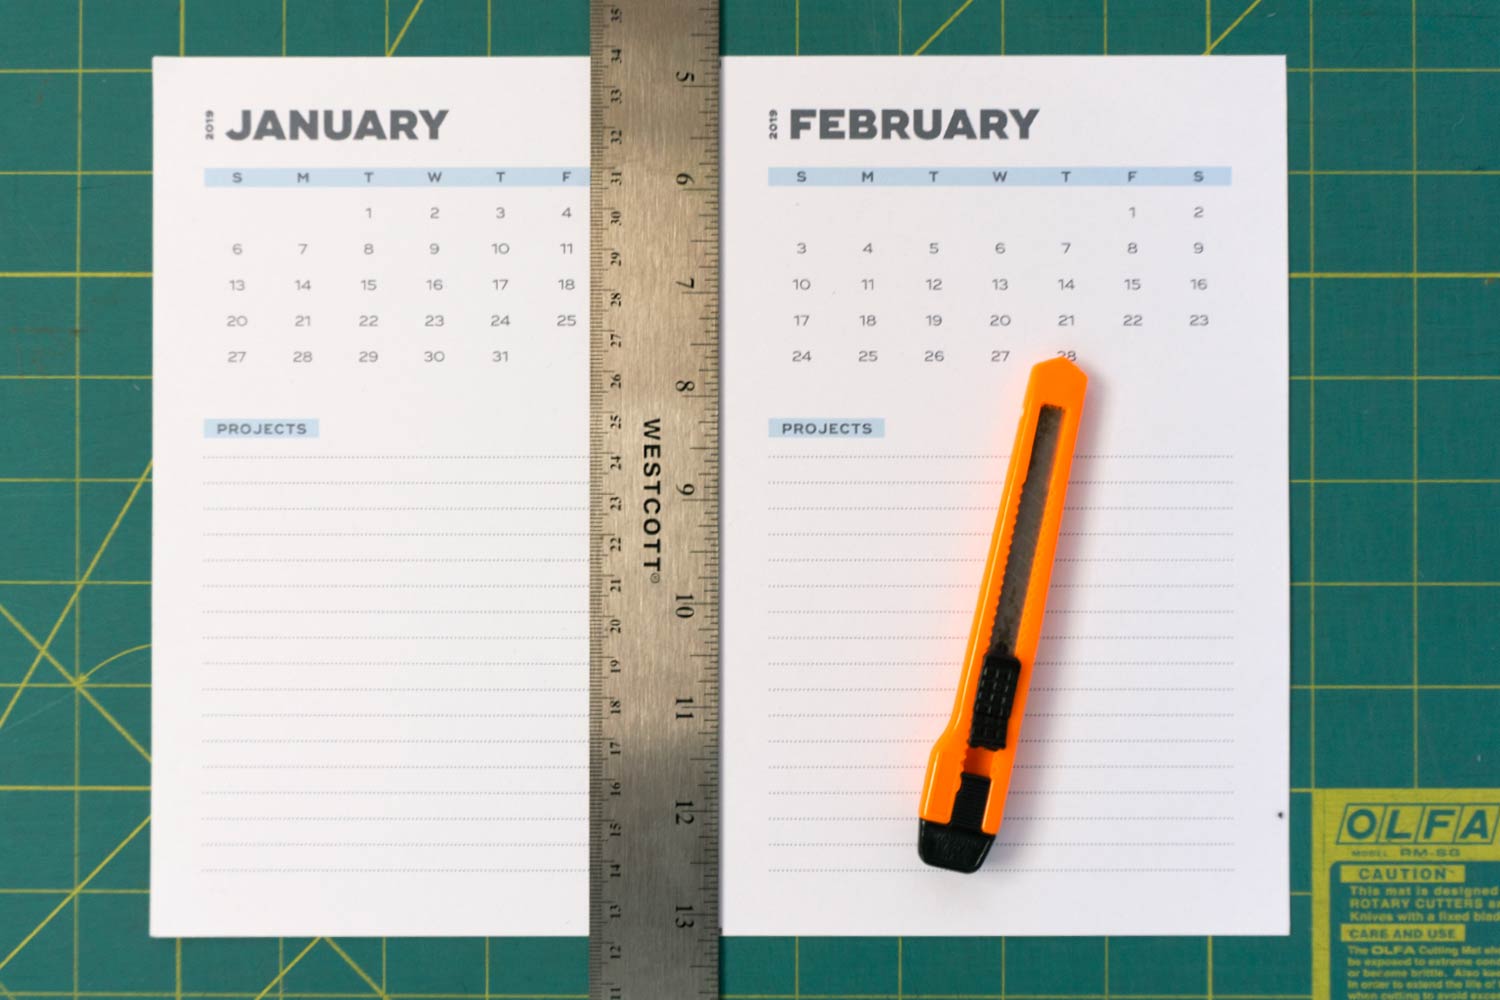
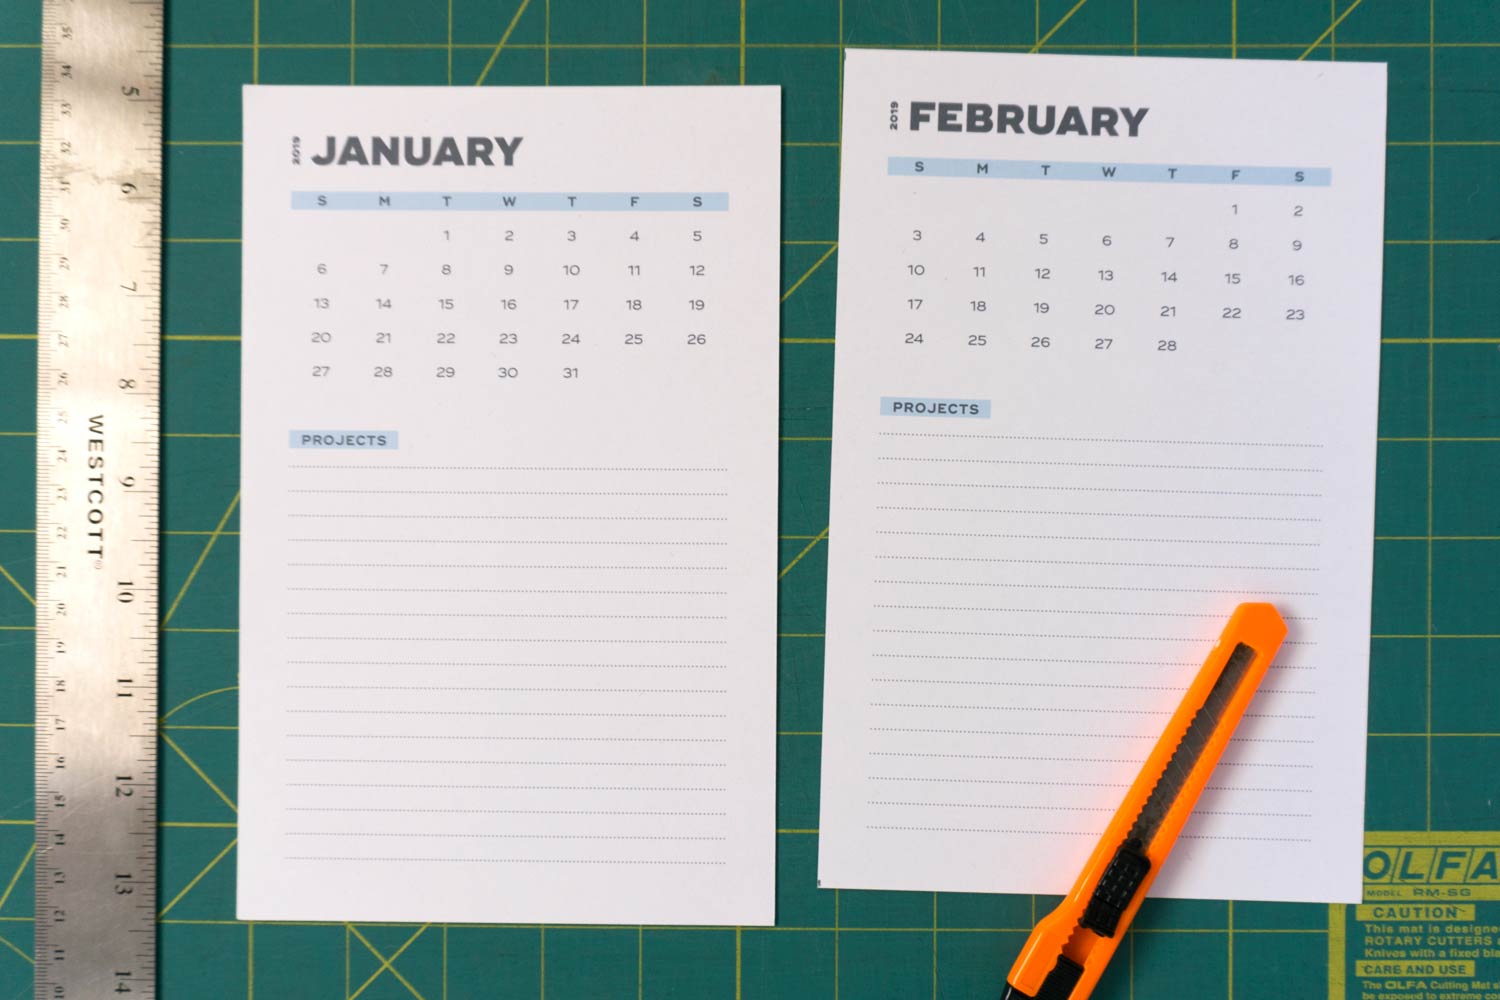
3. If printing 2-up, use a pencil to make a small mark at the midpoint of the page (one mark at the top and one at the bottom is enough). Line up your straight edge to the marks and use the utility knife to cut the paper in half. You can cut one sheet at a time or stack them up and cut them all at once. So fast! I prefer to use a straight edge (either a quilting ruler or a metal ruler will do) and a utility knife but you can use scissors or a paper trimmer if you prefer.
If printing with crop marks, align your ruler to the crop marks and cut from one mark to the next, without cutting all the way through the paper. Repeat for all four sides.
4. If desired, use the hole punch to make holes along one edge of the calendar for use in a ring binder. Or make one hole at the top to hang it on the wall.
(Please note the calendar is for personal use only and not for profit or resale.)
I hope you enjoy your calendar and don't forget, if you share it on Instagram, use the hashtag #SewDIYCalendar.


