
Today I’m going to share a few tips for sewing patch pockets with knit fabric. These techniques can be used for the bodice pocket on the Lou Box Dress 2 or Lou Box Dress 1, view A or for the larger patch pockets on the Lou Box Dress 1, view B. Pockets are not very challenging when sewn with a cooperative linen or cotton but can become quite tricky when using a slippery silk or jersey. But with some patience and one or two of these tricks, you’ll be able to sew beautiful topstitched patch pockets.
In the instructions for my Lou Box patterns, I recommend attaching the pocket towards the end of construction as I like to try on the top and decide where to place the pocket while I’m wearing it. However, it may be easier for you to attach the pocket earlier in construction, even before stitching the shoulder seams. The pattern provides suggested pocket placement if you choose to sew on your pocket earlier in the construction process.
Tips for sewing patch pockets
TIP 1: Glue Stick
My favorite way to hold my pockets in place is a regular old glue stick. Just swipe a bit of glue on the wrong side of the pocket (just on the seam line) and stick it in place. You don’t need a lot of glue, just a touch will do. In case you're wondering, I haven’t had any trouble with the glue gumming up my needle.
TIP 2: Wash away adhesive tape
Ok, so tip 1 and 2 are actually kind of the same thing – glue basting – just different tools. If the glue stick won't provide enough help holding that pocket in place, you can buy a roll of wash-away adhesive tape. It has more adhesive power than the glue stick and it’s easy to sew through. The only drawback I’ve found is that it takes a good washing or two to fully wash away the adhesive.
TIP 3: Spray starch
Spray starch will help stabilize a lightweight or drapey fabric. You can use it in combination with either of the two above options for extra stabilization.
TIP 4: Use a hump jumper
Yes, you can actually buy a tool called a hump jumper! It's a little plastic device that you stick under the back end of your presser foot to lift it up to the same height as (in this case) the pocket. You can also use a folded piece of fabric as I'll show you in the steps below.
TIP 5: Sew slowly
Use a walking foot or place tissue paper under the fabric if you need help moving the fabric under the presser foot. Sew slowly and use your presser foot as a guide to keep the stitching straight and even.
How to Sew a Patch Pocket
Today I’m going to discuss sewing a patch pocket with knit fabric. If you are using a woven fabric, check out this post from the Lou Box Top sewalong.
Step 1: Finish edges of pocket. With right sides together, fold top of pocket along fold line. Stitch from folded edge to edge of pocket.
Step 2: Turn pocket right side out and press. Fold in raw edges 1/2 inch to wrong side and press. If desired, topstitch the top edge of the pocket about 1.5 inches from the top folded edge.
Step 3: Use the pocket placement guidelines to pin the pocket onto the dress. Try on the dress and adjust placement if desired.
Step 4: If you are using a tricky fabric, use one of the adhesives mentioned above to glue tack the pocket in place. In general, I like to use four pins place in the center of the pocket, pointing towards the corners but not in the stitching line. In this position, the pins will hold the pocket in place without any warping and the glue will hold the edge down.
Step 5: I find that when I'm at a corner of the pocket and the height of the fabric is uneven, my presser foot can get caught in the layers and have a hard time moving which means that the stitching will look all jumbled. To help the presser foot walk along, I fold up a scrap of fabric and slide it under the presser foot with the edge butting up against the edge of the pocket. This creates and even height of fabric. You won't stitch on the scrap of fabric at all and it will fall away after a few stitches. When you get to the bottom corners of the pocket, don't forget to put the hump jumper back in place for the first few stitches.
Today I'm going to use a twin needle to topstitch. If you don't have a twin needle you can use a zig zag stitch to topstitch the pocket in place. After you're done stitching, pull the loose threads to the wrong side, tie in a knot and trim.
First off, I recommend reading my tutorial here for tips for sewing with a twin needle. To turn a corner with a twin needle, stitch to a corner, raise the presser foot and raise the needle. Very carefully turn the fabric 90 degrees moving the fabric as little as possible. By hand lower the needle into what was the right hand side of the double row of stitching. Put your hump jumper under the back of the presser foot. Stitch to the second corner and repeat. Pull loose threads to the wrong side, tie in a knot and trim.
That's it! Pocket all done. See below for the rest of the sewalong schedule, links to the patterns or to catch up on previous posts. Happy sewing!
LOU BOX DRESS SEWALONG SCHEDULE
DAY 1 RTW Inspiration Tues Jan 9
DAY 2 Fabric & Supplies Wed Jan 10
DAY 3 How to Print and Store PDF patterns Thurs Jan 11
DAY 4 How to Finish a Knit Neckline Mon Jan 15
DAY 5 How to Finish a Woven Neckline Tues Jan 16
DAY 6 How to Sew a Patch Pocket Wed Jan 17
DAY 7 How to Sew In-Seam Pockets with a Serger Thurs Jan 18
DAY 8 How to Sew Lou Box Dress 2 Scoop Pockets Mon Jan 22
Day 9 How to Sew Lou Box Dress 1, View A Sleeves Tues Jan 23
DAY 10 How to Sew Lou Box Dress 1, View B Sleeves Wed Jan 24
DAY 11 How to Sew Lou Box Dress 2 Waist Casing Thurs Jan 25
DAY 12 How to Sew a Hem Facing Fri Jan 26
If you haven't picked up your pattern yet, they are available in the shop at the links below.

The Lou Box Dress 1 is a loose-fitting cocoon style dress. Worn alone, it’s perfect for warm summer days. Paired with a sweater, tights and boots, it will take you through the colder months. Make it in linen for a casual look or printed silk for a luxurious night out. View A features a medium scoop neck, 3/4 length sleeves with cuffs, in-seam pockets and a knee-length skirt. View B features short cuff sleeves and patch pockets. Instructions are included for sewing the dress in both woven and knit fabrics.
This digital pattern includes an illustrated, step-by-step instruction booklet, a print-at-home layered pattern for letter or A4 size paper, a US copy shop pattern and an A0 size pattern.
Model is 5’11” and is wearing a size 12.
THIS IS NOT A PHYSICAL PRODUCT. After checkout, you will receive a link to the pattern that will be active for 24 hours after you click it. Prices are in USD.

The Lou Box Dress 2 is a loose-fitting gathered waist dress with a ballet neckline, scoop pockets, a knee length skirt and dolman sleeves. View A features three-quarter length sleeves. View B features full-length tapered sleeves and a low scoop back. Instructions are included for sewing the dress in both woven and knit fabrics.
This digital pattern includes an illustrated, step-by-step instruction booklet, a print-at-home layered pattern for letter or A4 size paper, a US copy shop pattern and an A0 size pattern.
Model is 5’11” and is wearing a size 12.
THIS IS NOT A PHYSICAL PRODUCT. After checkout, you will receive a link to the pattern that will be active for 24 hours after you click it. Prices are in USD.
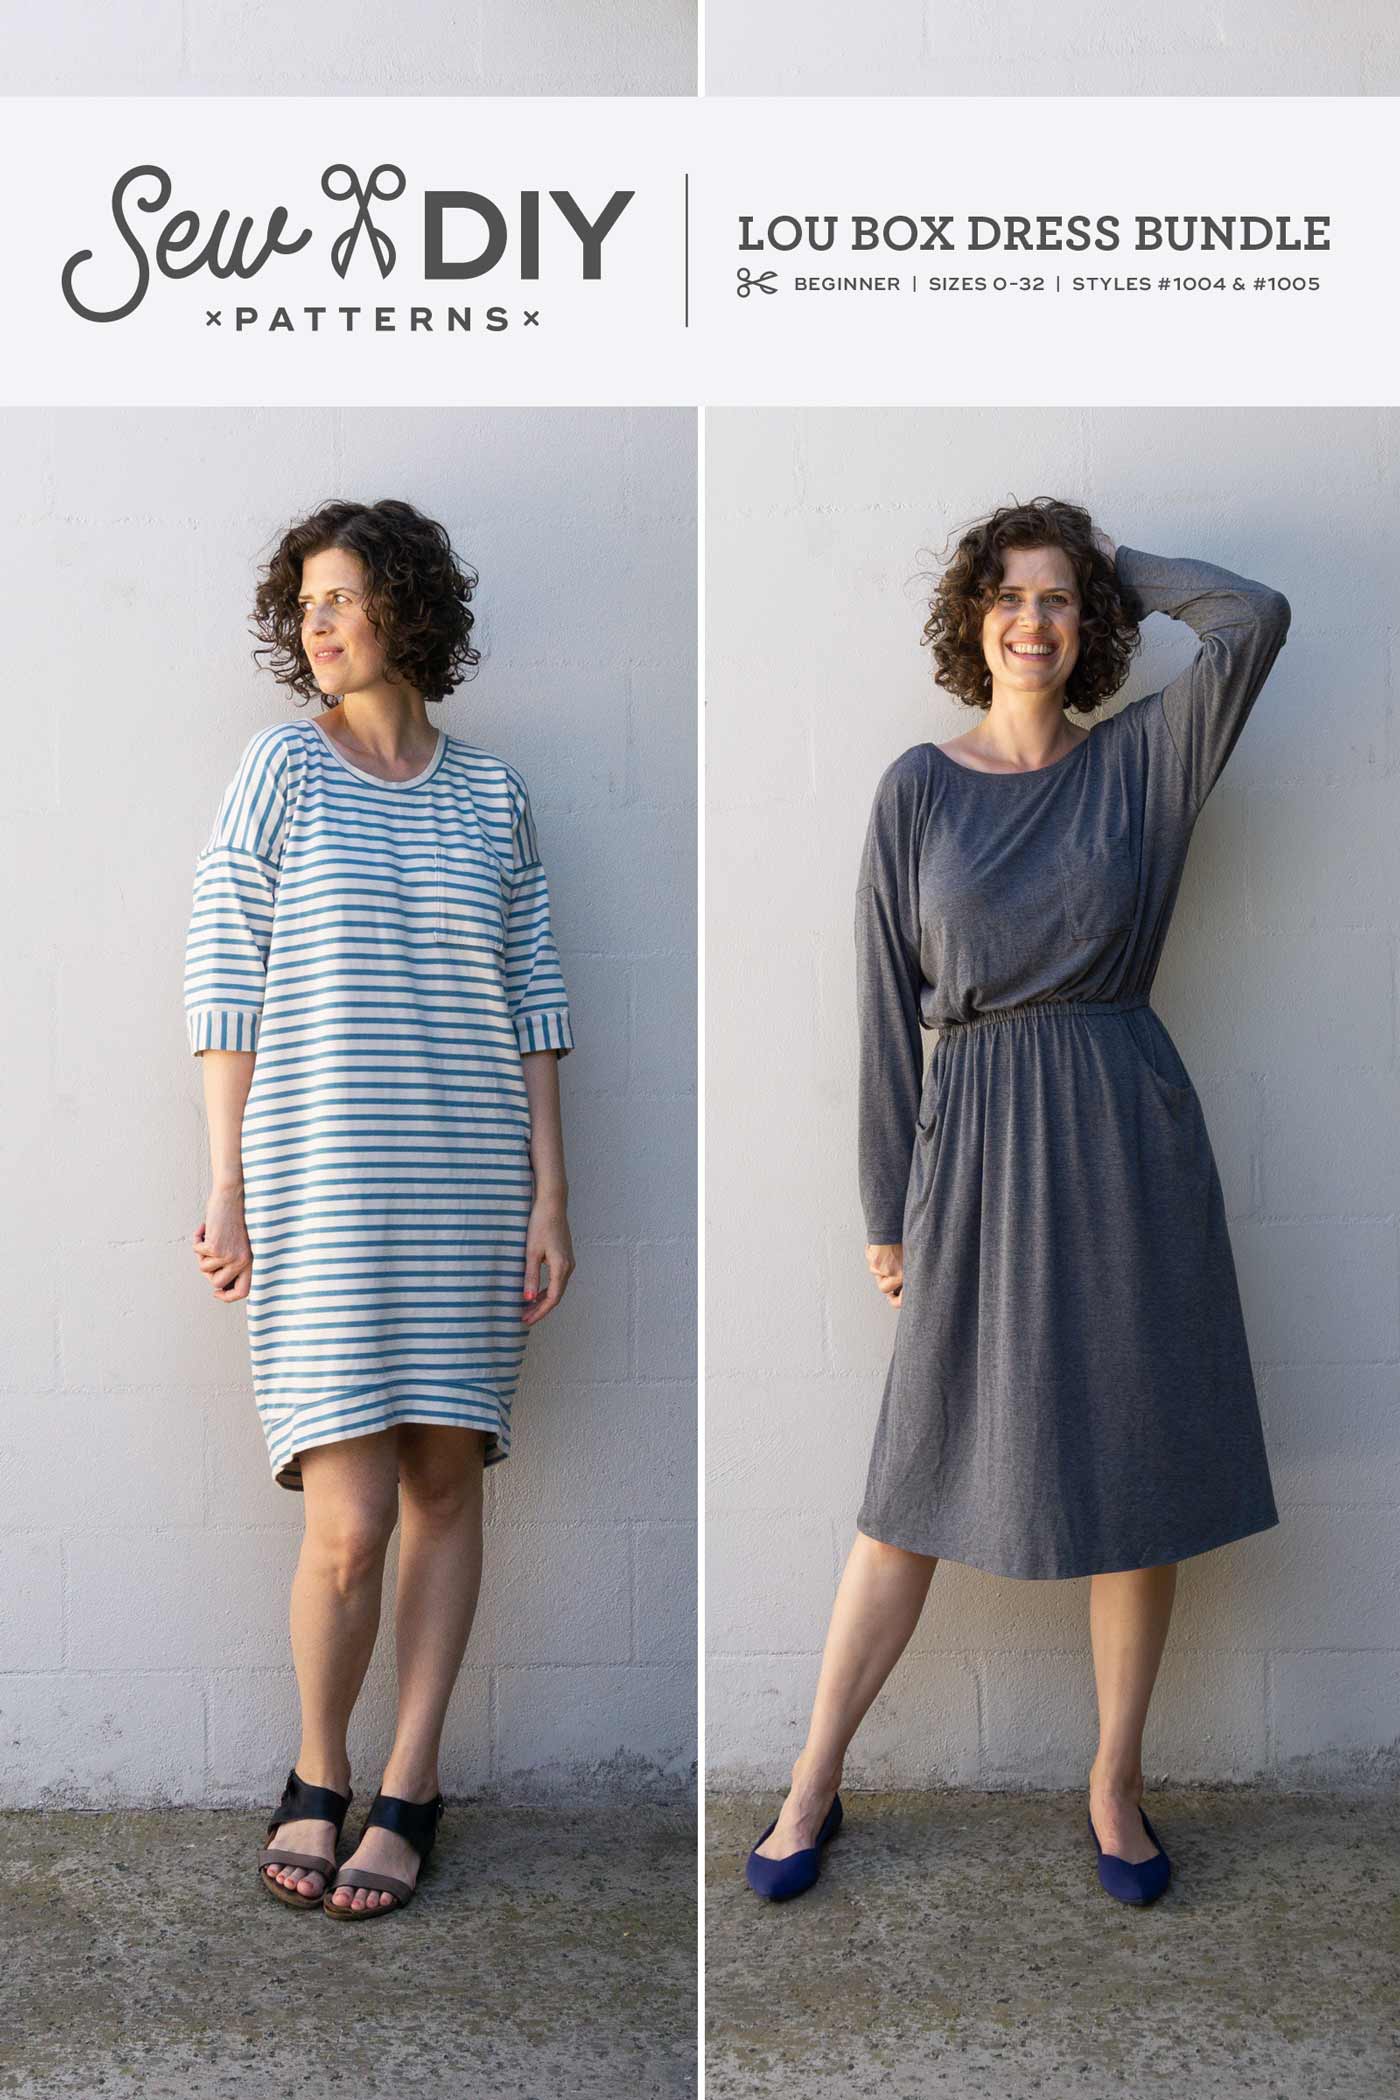
This item includes the Lou Box Dress 1 and the Lou Box Dress 2 pdf sewing patterns for a discounted price.
Lou Box Dress 1
The Lou Box Dress 1 is a loose-fitting cocoon style dress. Worn alone, it’s perfect for warm summer days. Paired with a sweater, tights and boots, it will take you through the colder months. Make it in linen for a casual look or printed silk for a luxurious night out. View A features a medium scoop neck, 3/4 length sleeves with cuffs, in-seam pockets and a knee-length skirt. View B features short cuff sleeves and patch pockets. Instructions are included for sewing the dress in both woven and knit fabrics.
Lou Box Dress 2
The Lou Box Dress 2 is a loose-fitting gathered waist dress with a ballet neckline, scoop pockets, a knee length skirt and dolman sleeves. View A features three-quarter length sleeves. View B features full-length tapered sleeves and a low scoop back. Instructions are included for sewing the dress in both woven and knit fabrics.
The bundle includes two digital PDF patterns each with a print-at-home pattern, copy shop pattern, A0 pattern and illustrated instructions. THIS IS NOT A PHYSICAL PRODUCT.
After checkout, you will receive a link to the pattern that will be active for 24 hours after you click it. Prices are in USD.


