

In today’s video, I’ll be showing you how to sew a french seam. The french seam sewing method stitches the seams and finishes them in a two step process. In this method, you will stitch each seam twice, enclosing the raw edge of the fabric on the second pass creating an attractive and clean finish. This is a simple method to sew and well worth mastering.
Can I confess something? I used to hate sewing French seams. It just took forever and I always ended up with bits of thread showing on the right side of the garment. It’s very possible that in my impatience, I was skipping the very important trimming step. But over the years, I’ve figured out how to sew this seam finish without going crazy. I actually enjoy sewing it now and rarely feel impatient to move on to the next project.


In the video, I’ll show you how to sew a French seam as efficiently and accurately as possible. I like to use this method when sewing delicate fabrics that cannot withstand an overlocker. French seams also work well when sewing sheer fabrics, where I don’t want to see the seam finishes from the right side. It’s best to use this method with light to medium weight fabrics as heavy fabrics can become too bulky.

One of the things that really used to confuse me about French seams was figuring out the seam allowance (probably because I was trying to avoid trimming!). The main thing is, you’re going to be sewing the seam twice so you want the seam allowances from each of those seams to add up to the seam allowance designated in the pattern.
For example, if your pattern's seam allowance is 5/8", first sew a 1/4" seam allowance, then 3/8" seam allowance. (Alternately, you can start with 3/8" and end with 1/4".)
If your pattern's seam allowance is 1/2", sew 1/4" seam allowance for each seam.
If your pattern's seam allowance is 3/8", first sew 1/8" seam allowance, then sew 1/4" seam allowance to finish.
How to sew a French seam
Step 1:
Pin the fabric with wrong sides together and stitch. For this example, my seam allowance is .5 inch. For the first seam line, I will stitch at 1/4 inch.
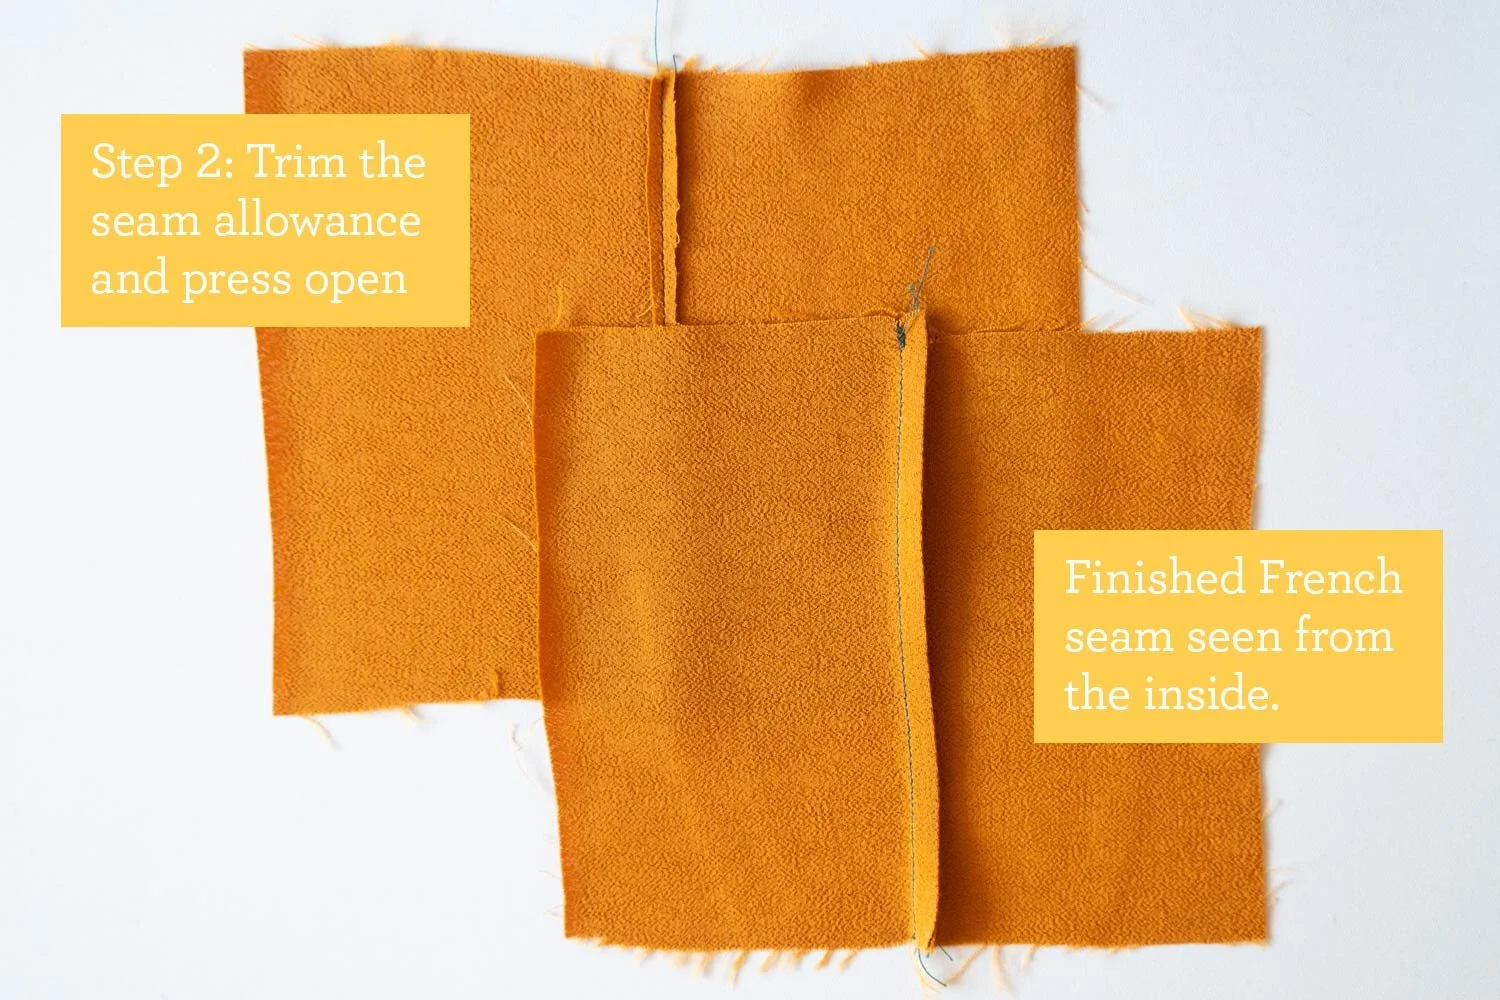
Step 2:
Trim the seam allowance to 1/8 inch. Press the seam open. The raw edges will be visible from the right side.
Note: A lot of tutorials will have you press the seam open and then trim the seam allowance. Although it is tricky to press open the tiny seam allowance, I think it’s easier and faster to trim first and press second.
Step 3:
Fold the fabric with the right sides together along the first line of stitching. Pin and stitch. Press seam allowance to the side.
That’s it! Just three easy steps and you will have a beautiful French seam finish. If you’re wondering where you might try your hand at sewing a French seam, it would work well for sewing the Lou Box Top or the Lou Box Dresses. The French seam is a really nice finish that will protect your fabric and create a long lasting garment. It’s also a great way to embrace the practice of slow sewing.
Pin the image below to save this tutorial for later. Happy sewing!


