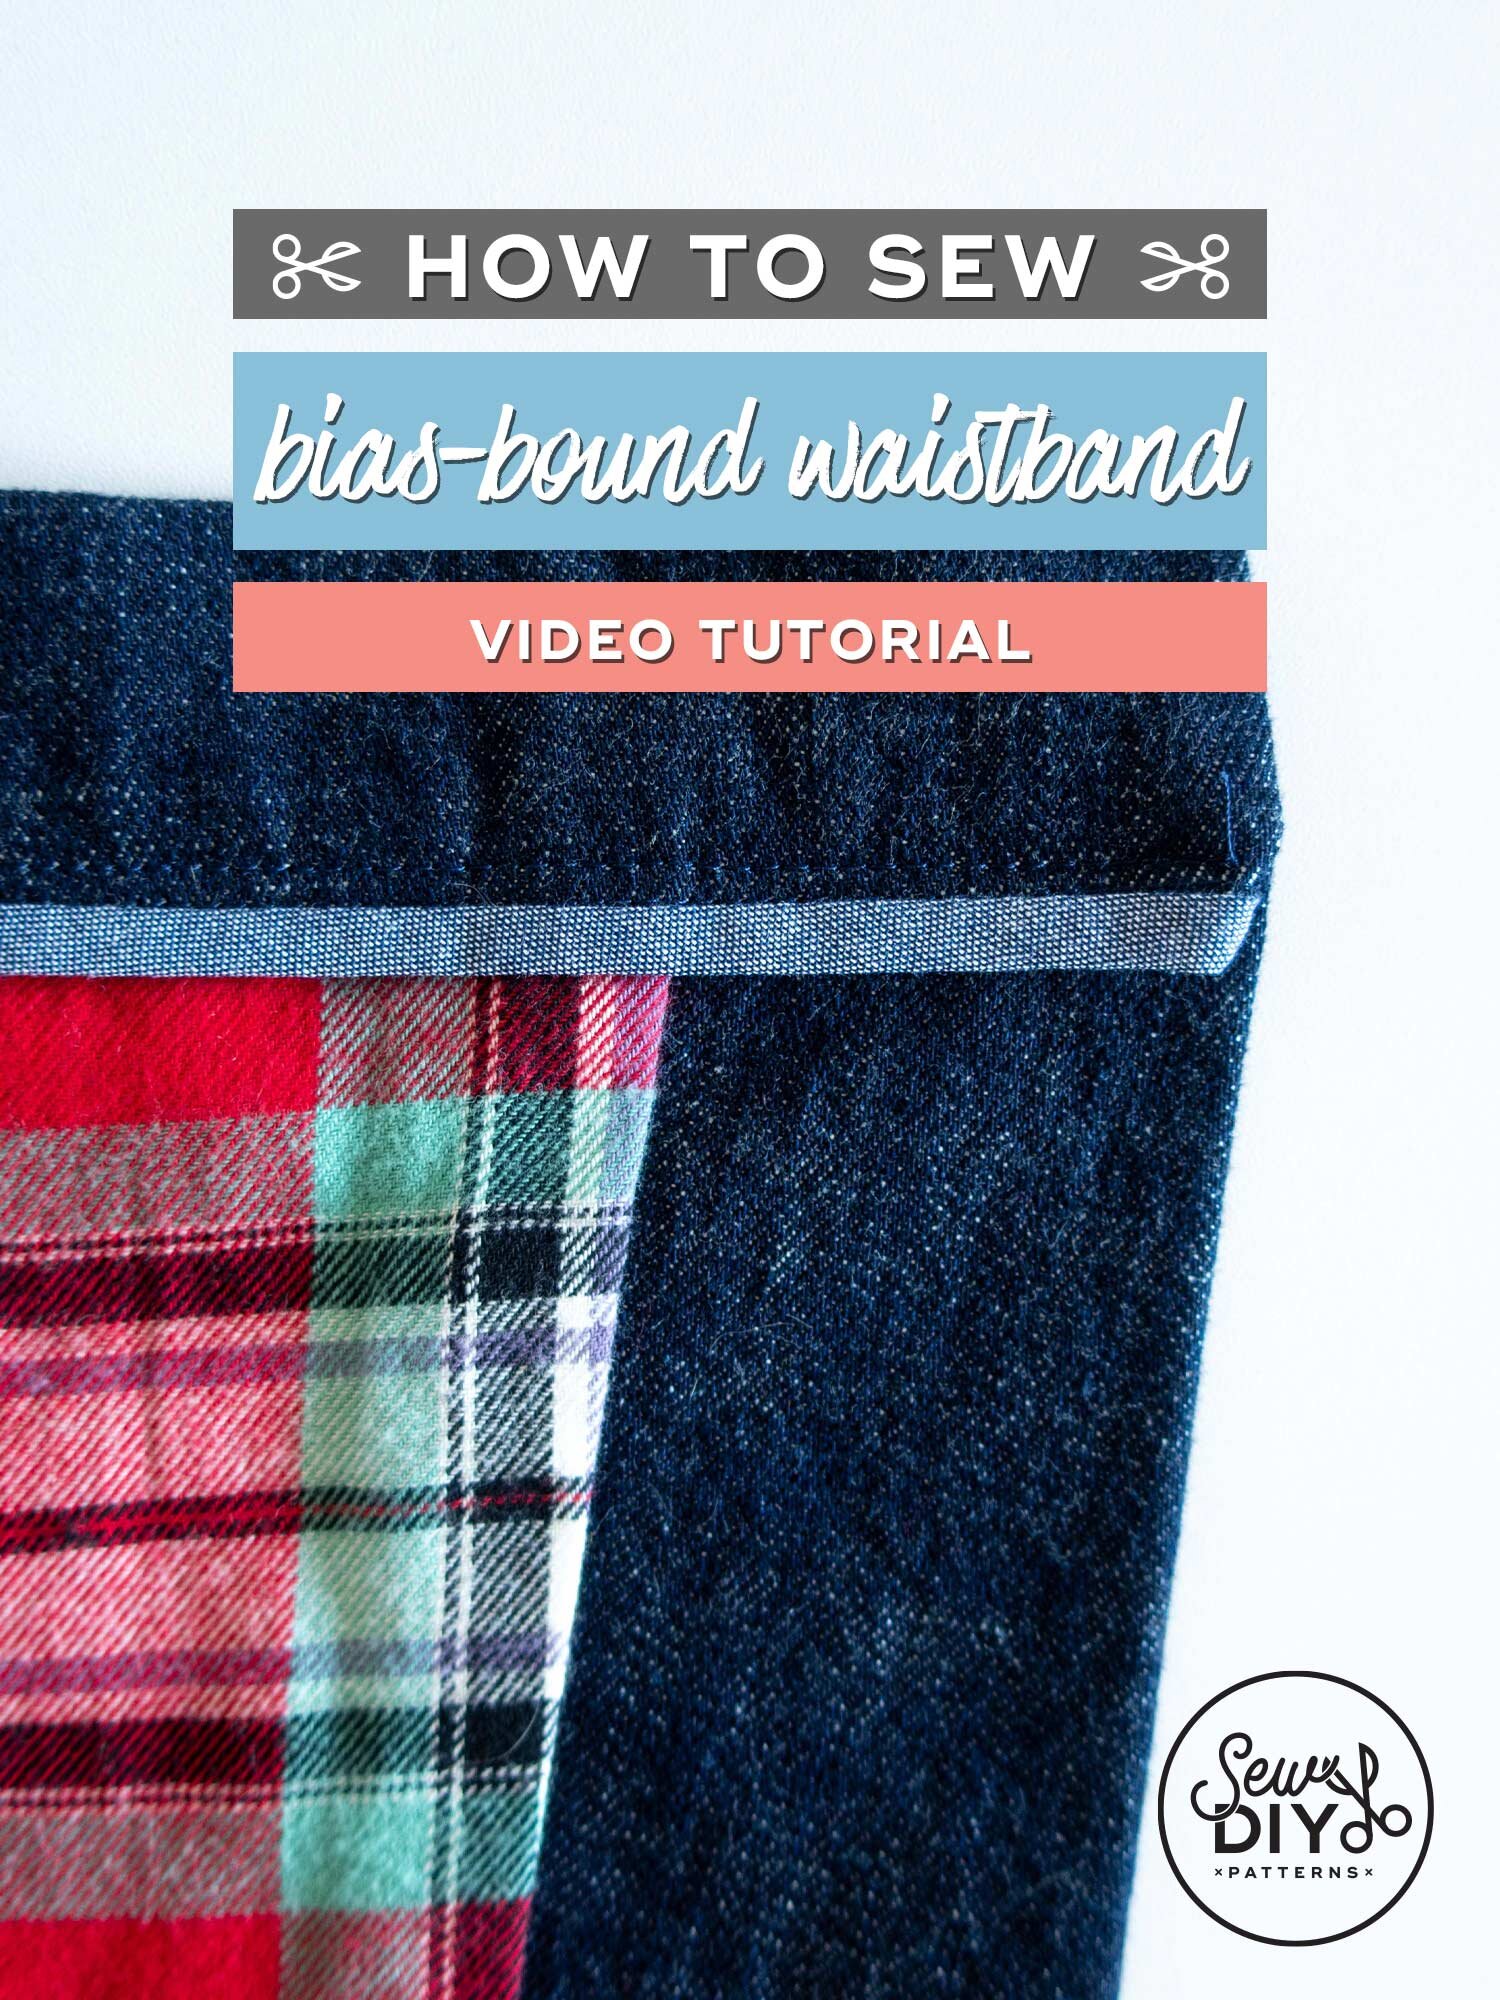
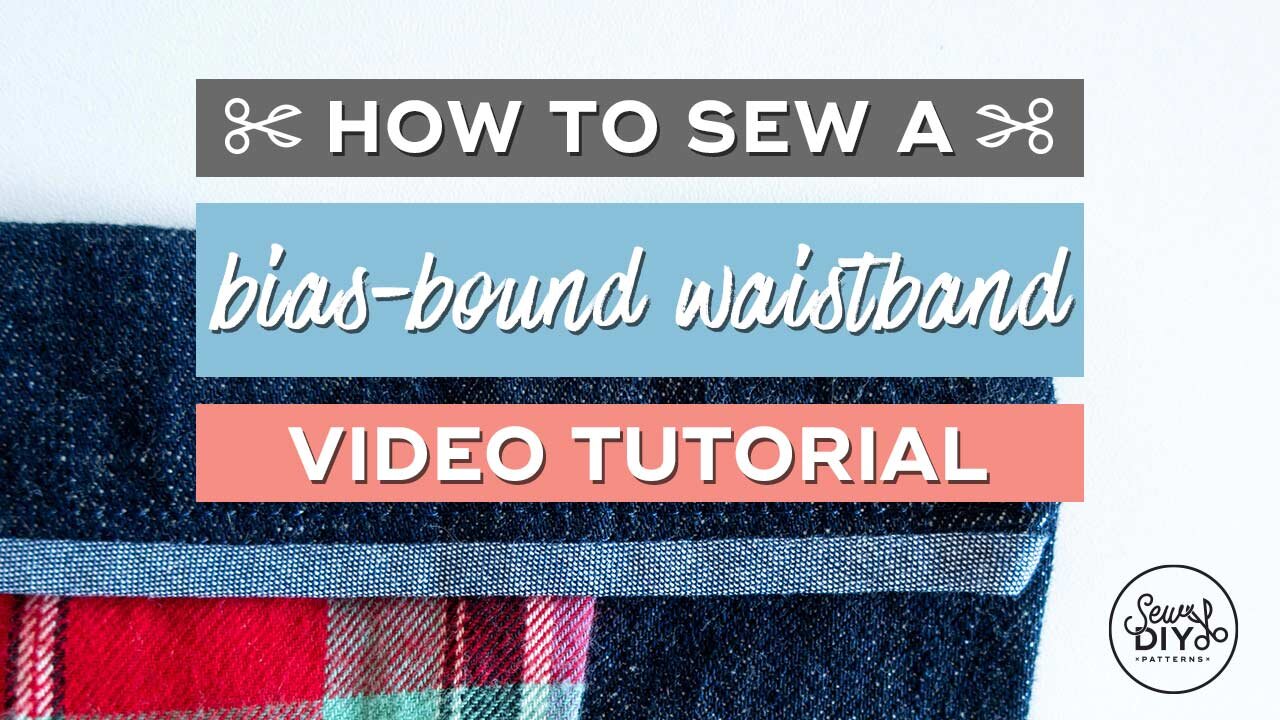
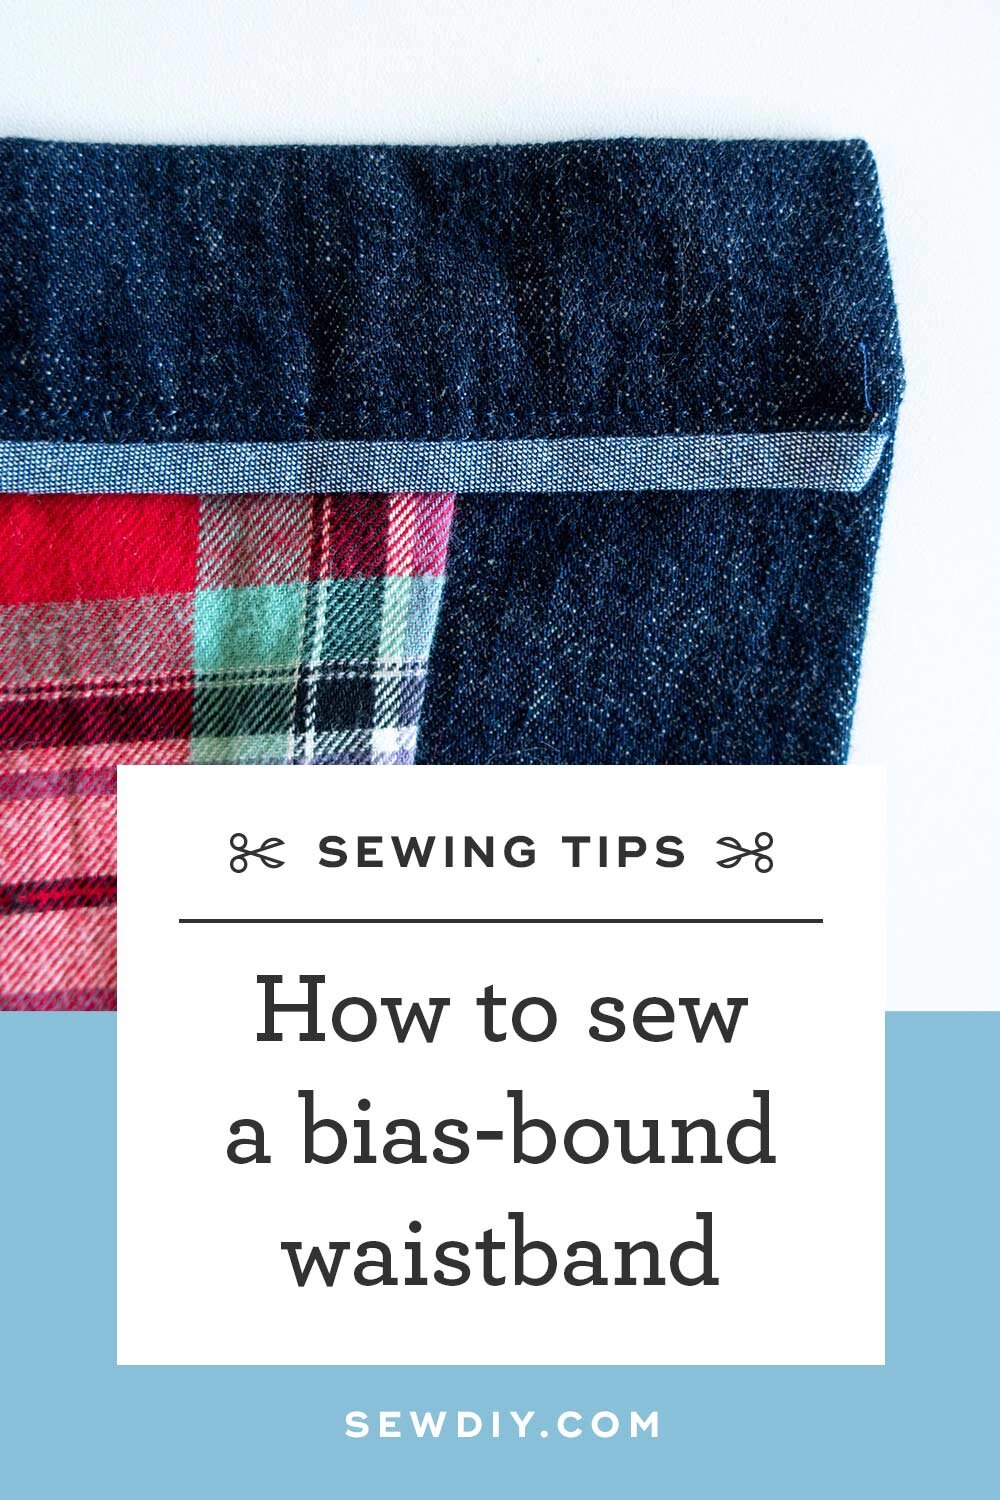
In today's video, I'll be showing you how to sew a bias-bound waistband. This is a technique that you’ll often see in ready-to-wear pants and shorts. It creates a really beautiful and professional finish for your handmade garments. It will take a little bit longer than turning under the raw edge but it’s great for when you’re using heavier fabrics like denim.
For this tutorial, I’m using my Nita Wrap Skirt pattern which has a straight, fold over waistband. This technique should work for any skirt or pants pattern including those with a curved or two-piece waistband as well. The only extra supply needed is a strip of bias cut fabric or pre-made bias tape. (If you want to learn more about this flannel lined wrap skirt, check out this blog post.)
Watch the video above or if it’s not working, you can watch it on YouTube here.
HOW TO SEW A BIAS-BOUND WAISTBAND
Step 1: Cut a strip of 1.25” wide bias fabric. Using a .25” seam allowance and with right sides together, stitch the bias fabric to one long edge of the waistband. (The bias fabric should be stitched to the edge that will be at the bottom of the inside edge of the waistband. If your pattern has separate pieces for the outside of the waistband and the waistband facing, stitch the bias fabric to the lower edge of the facing.)
Step 2: Press the bias fabric to the wrong side, turning in the raw edge.
Step 3: Stitch the bias fabric in place by stitching in the ditch of the first seam.
Step 4: Stitch the waistband to the skirt, following the pattern’s instructions.
Step 5: Stitch the short ends of the waistband. Trim the seam allowance and turn waistband right side out. Press.
Step 6: Topstitch the waistband. In the video, I “stitch in the ditch” for a mostly invisible finish. You can topstitch using your preferred method.
The pattern that I’m using in the video is my Nita Wrap Skirt pattern. If you want to skip the bias tape, I’ve also had success just serging (overlocking) the raw edge of the waistband and stitching it down, without turning under.
I hope that you found this tutorial helpful. To save it for later, you can pin the image above. And if you’d like to support this content, please check out the pattern shop below. Happy sewing!