

Hello friends! Today, I'm sharing my latest scrap quilt. This quilt is made using scraps of fabric leftover from my garment sewing projects. There are scraps from dresses, shirts and even overalls all mixed up in there. Making these improv quilts is my favorite way to use my garment making scraps. I love that I'm able to make something useful from what may otherwise be concerned trash. And, the process of piecing the fabric together is a great way to get in the flow and just enjoy the making process.

I started working on this quilt in earnest at the beginning of this year. These quilts take months to complete, especially when the scraps are small and the quilt is big. The front and back of this quilt are fully pieced so it really took a lot of time. I'd be lying if I didn't say that after a few months I was ready to be done piecing this beast. My sewing room is very small so it's really hard to have more than one project going at a time, especially with a quilting project like this that has tons of fabric. I felt a little trapped into continuing to work on this, even when I had other projects that I wanted to do.
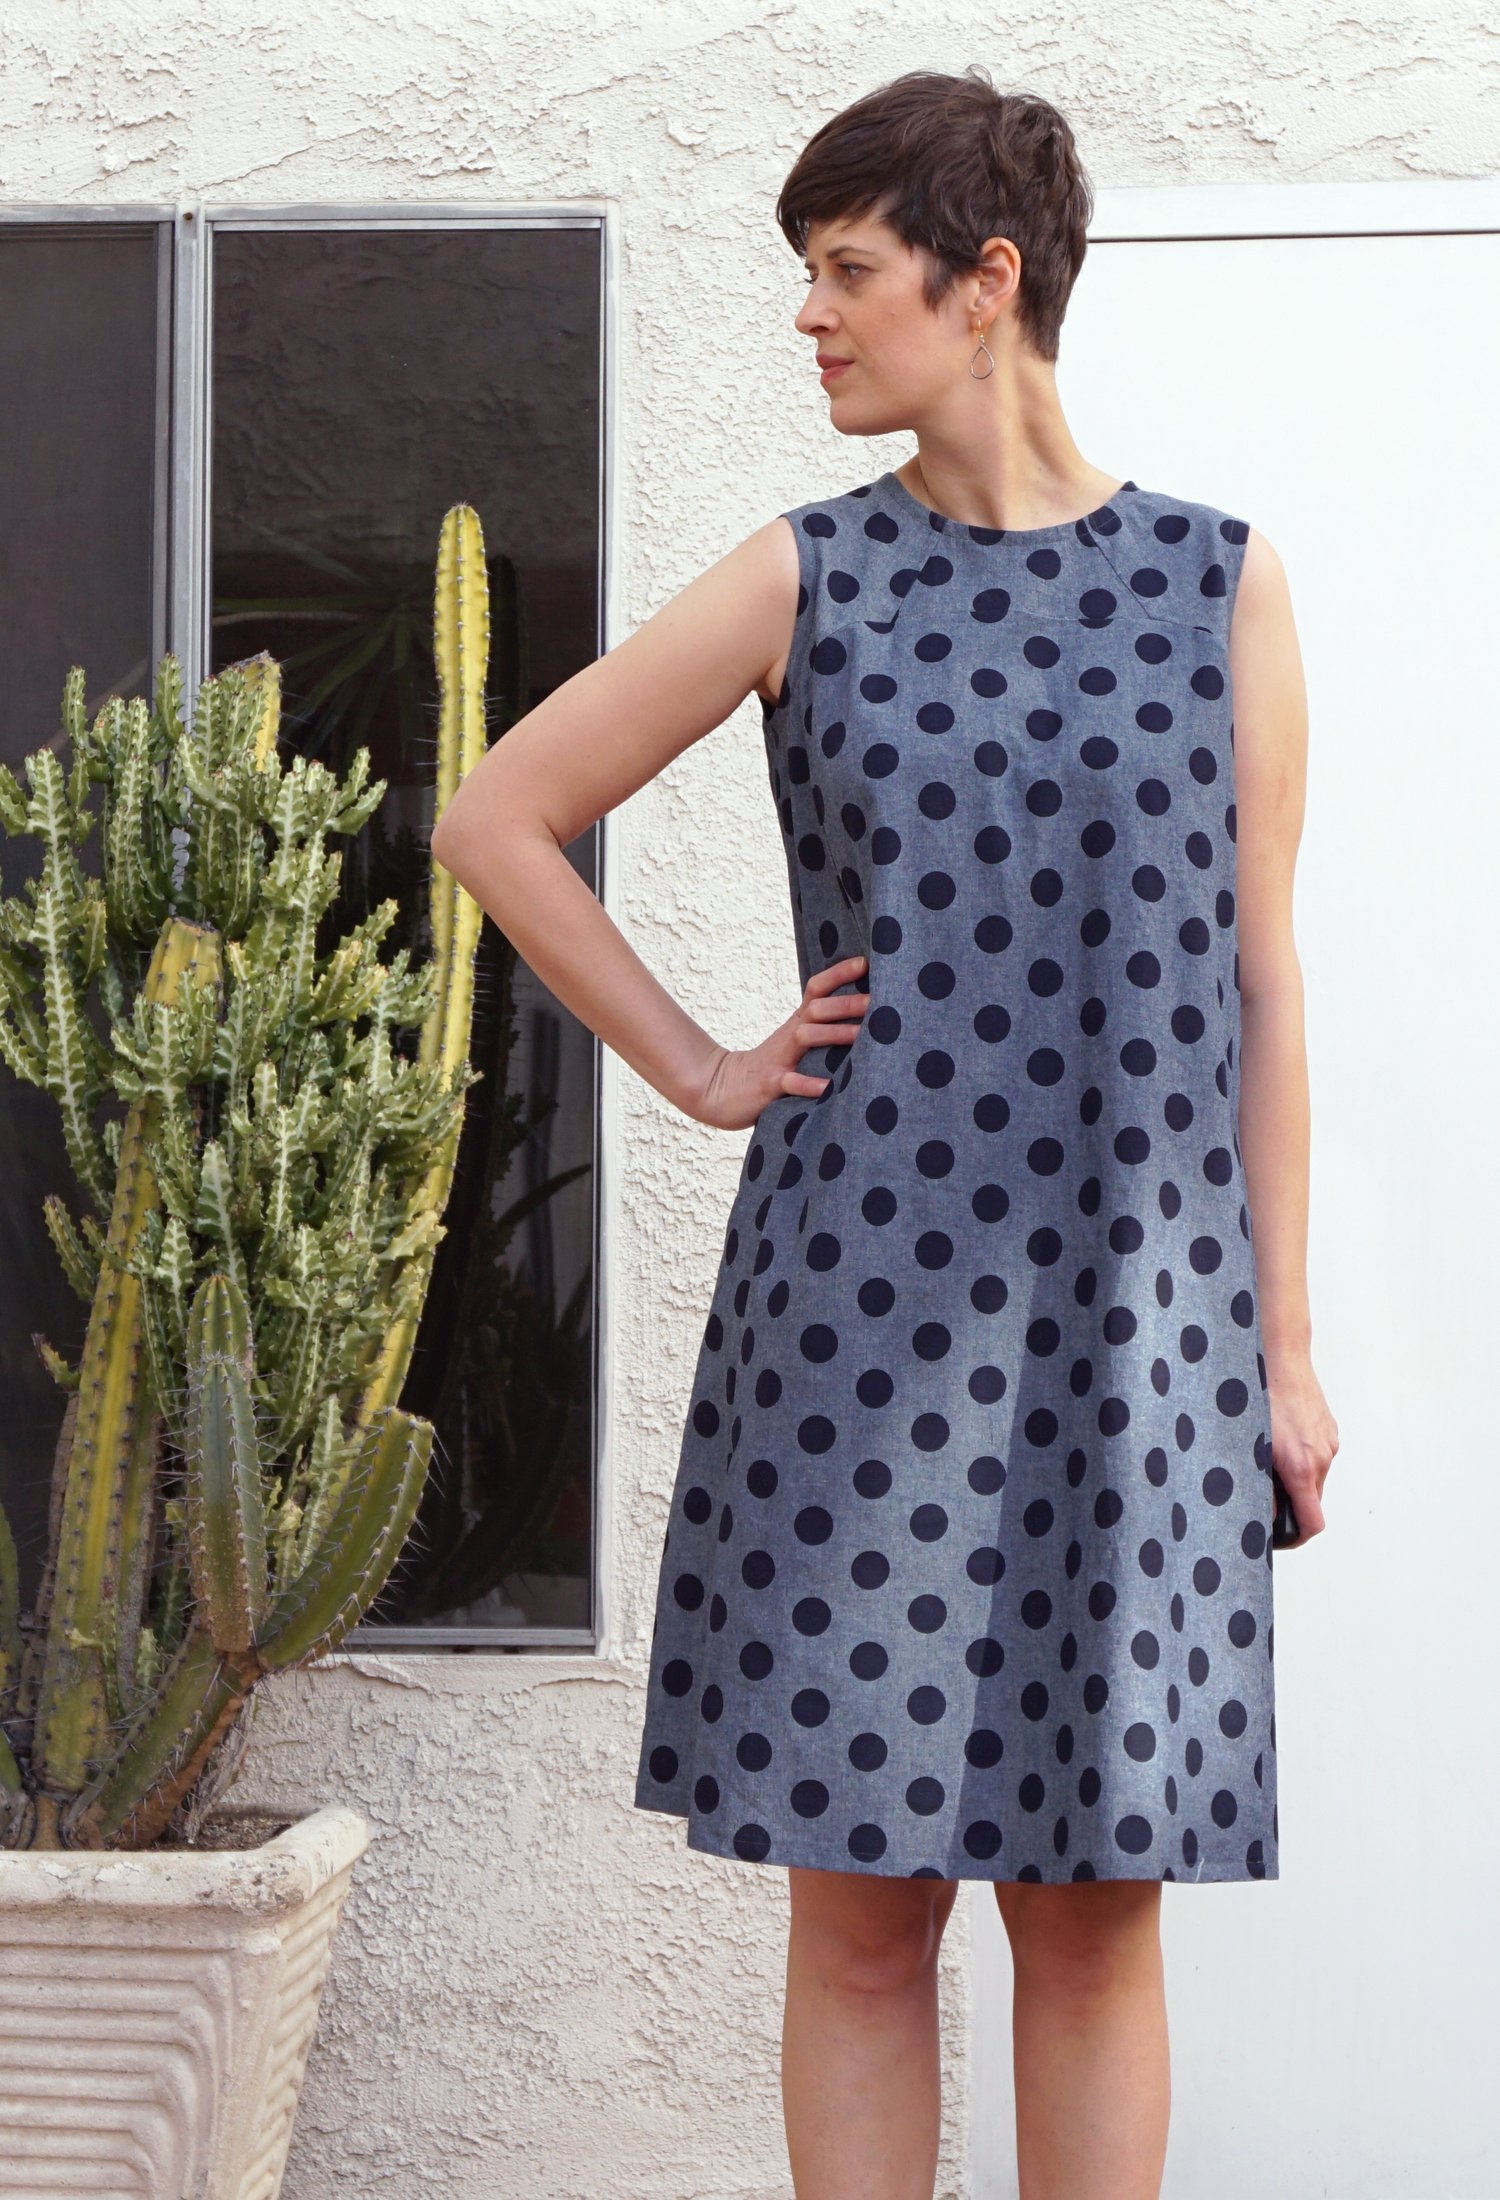
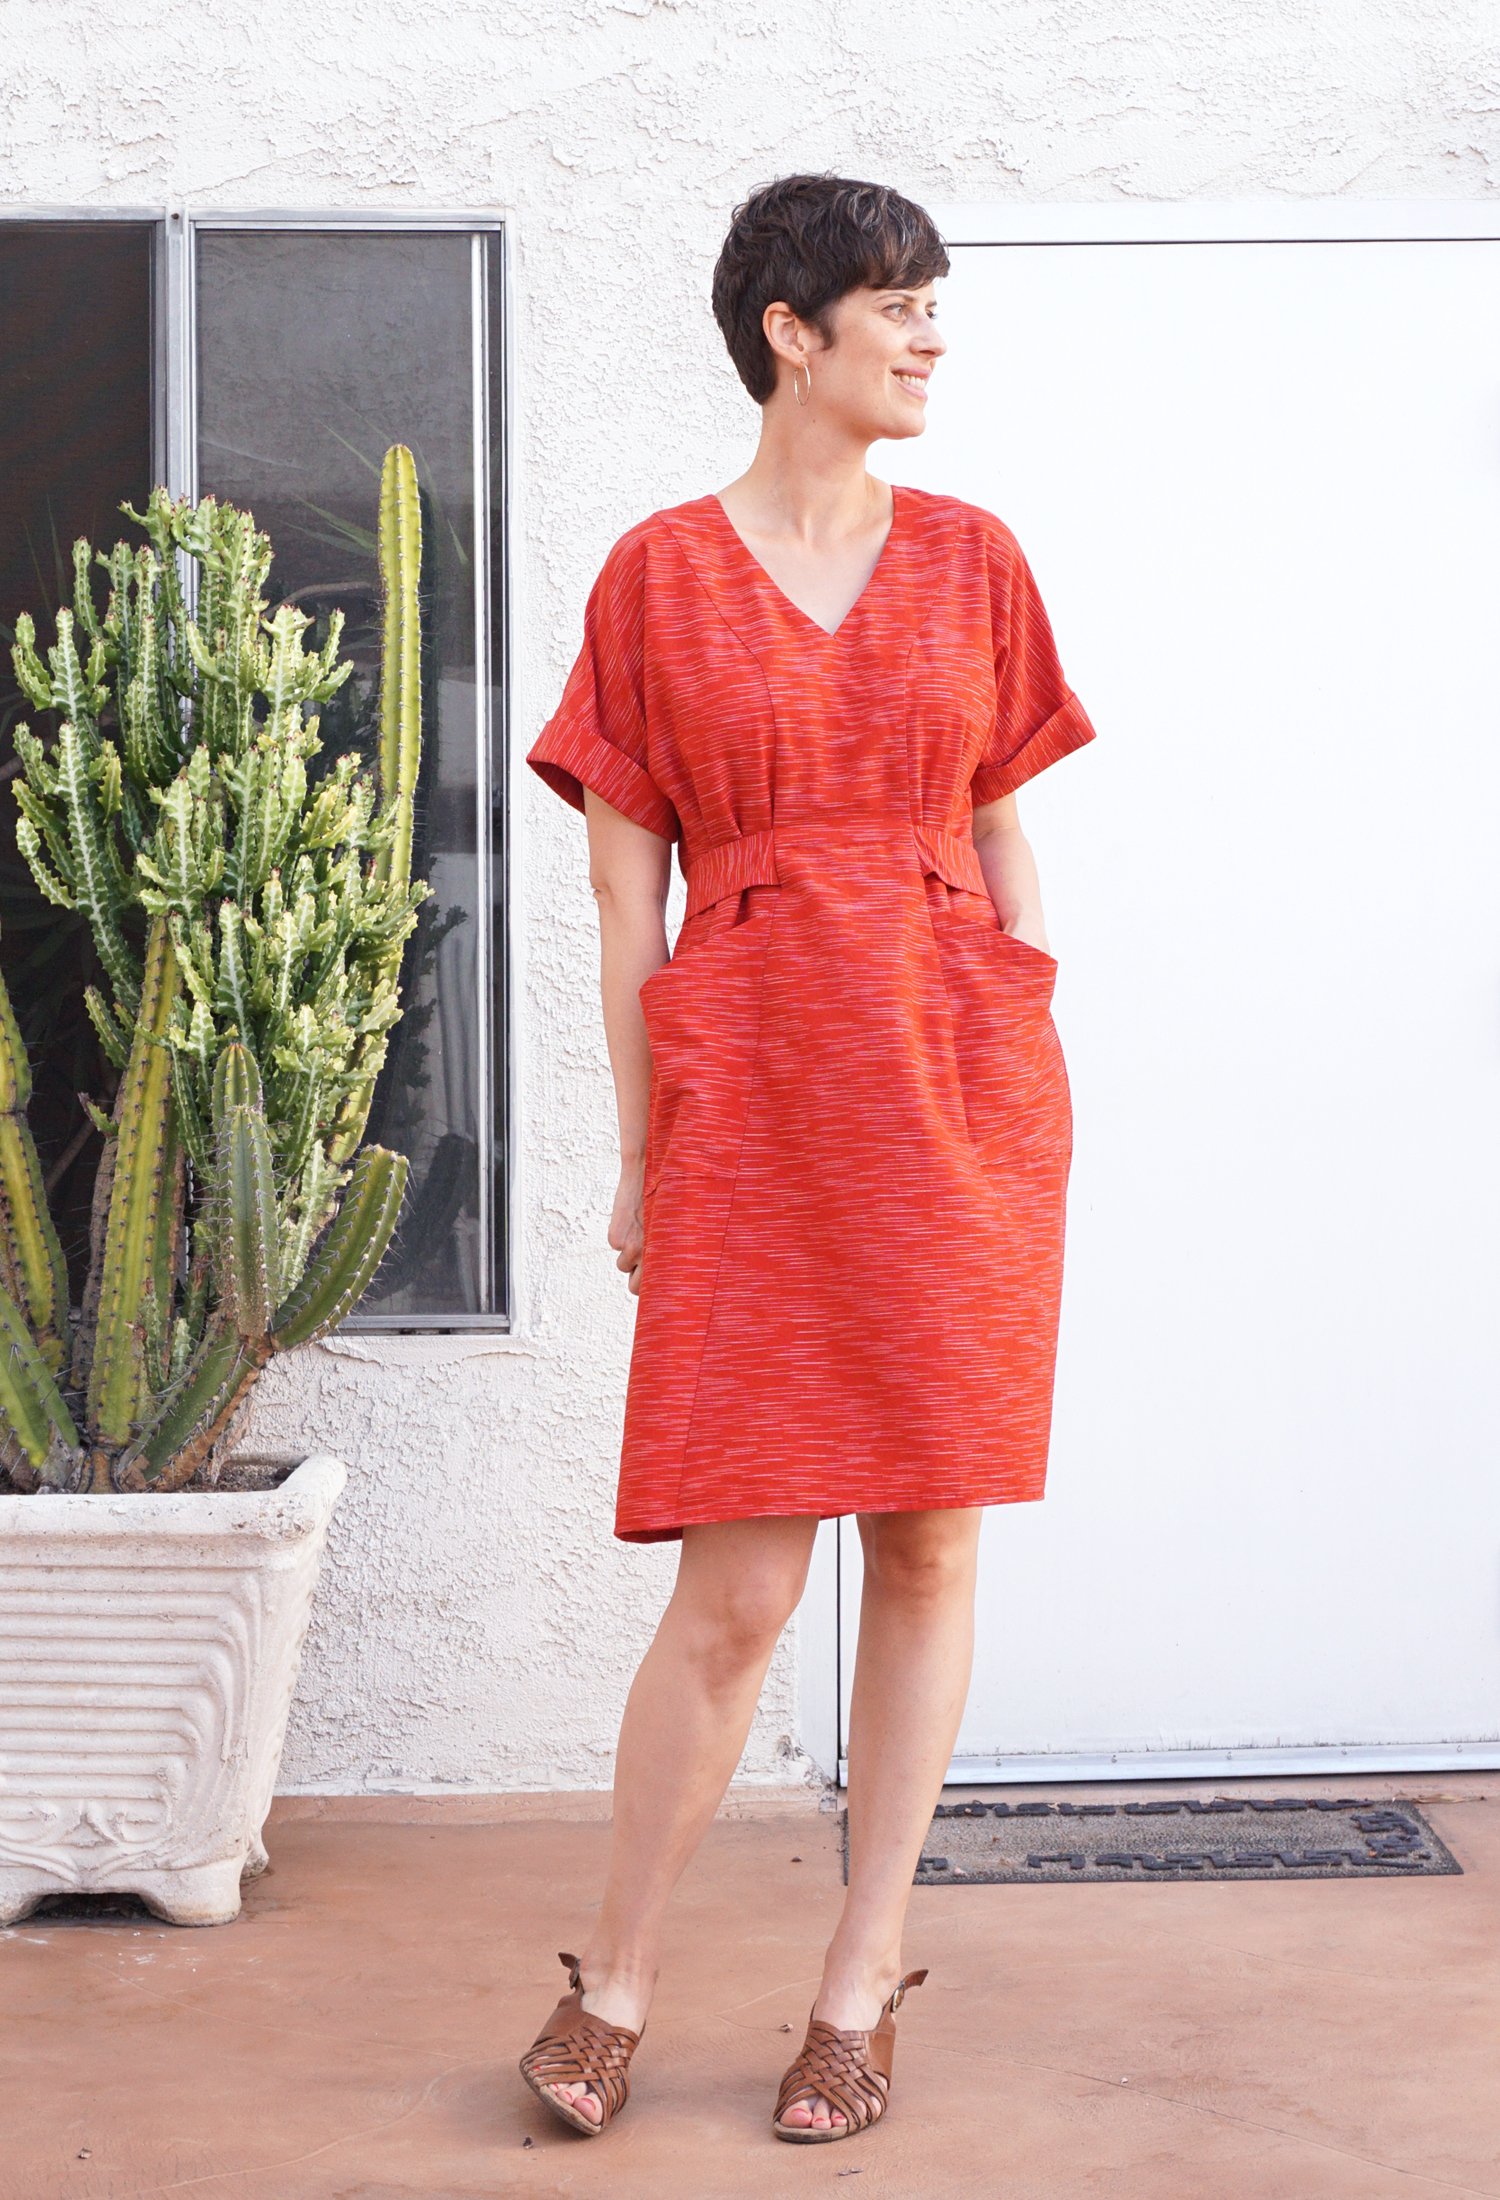
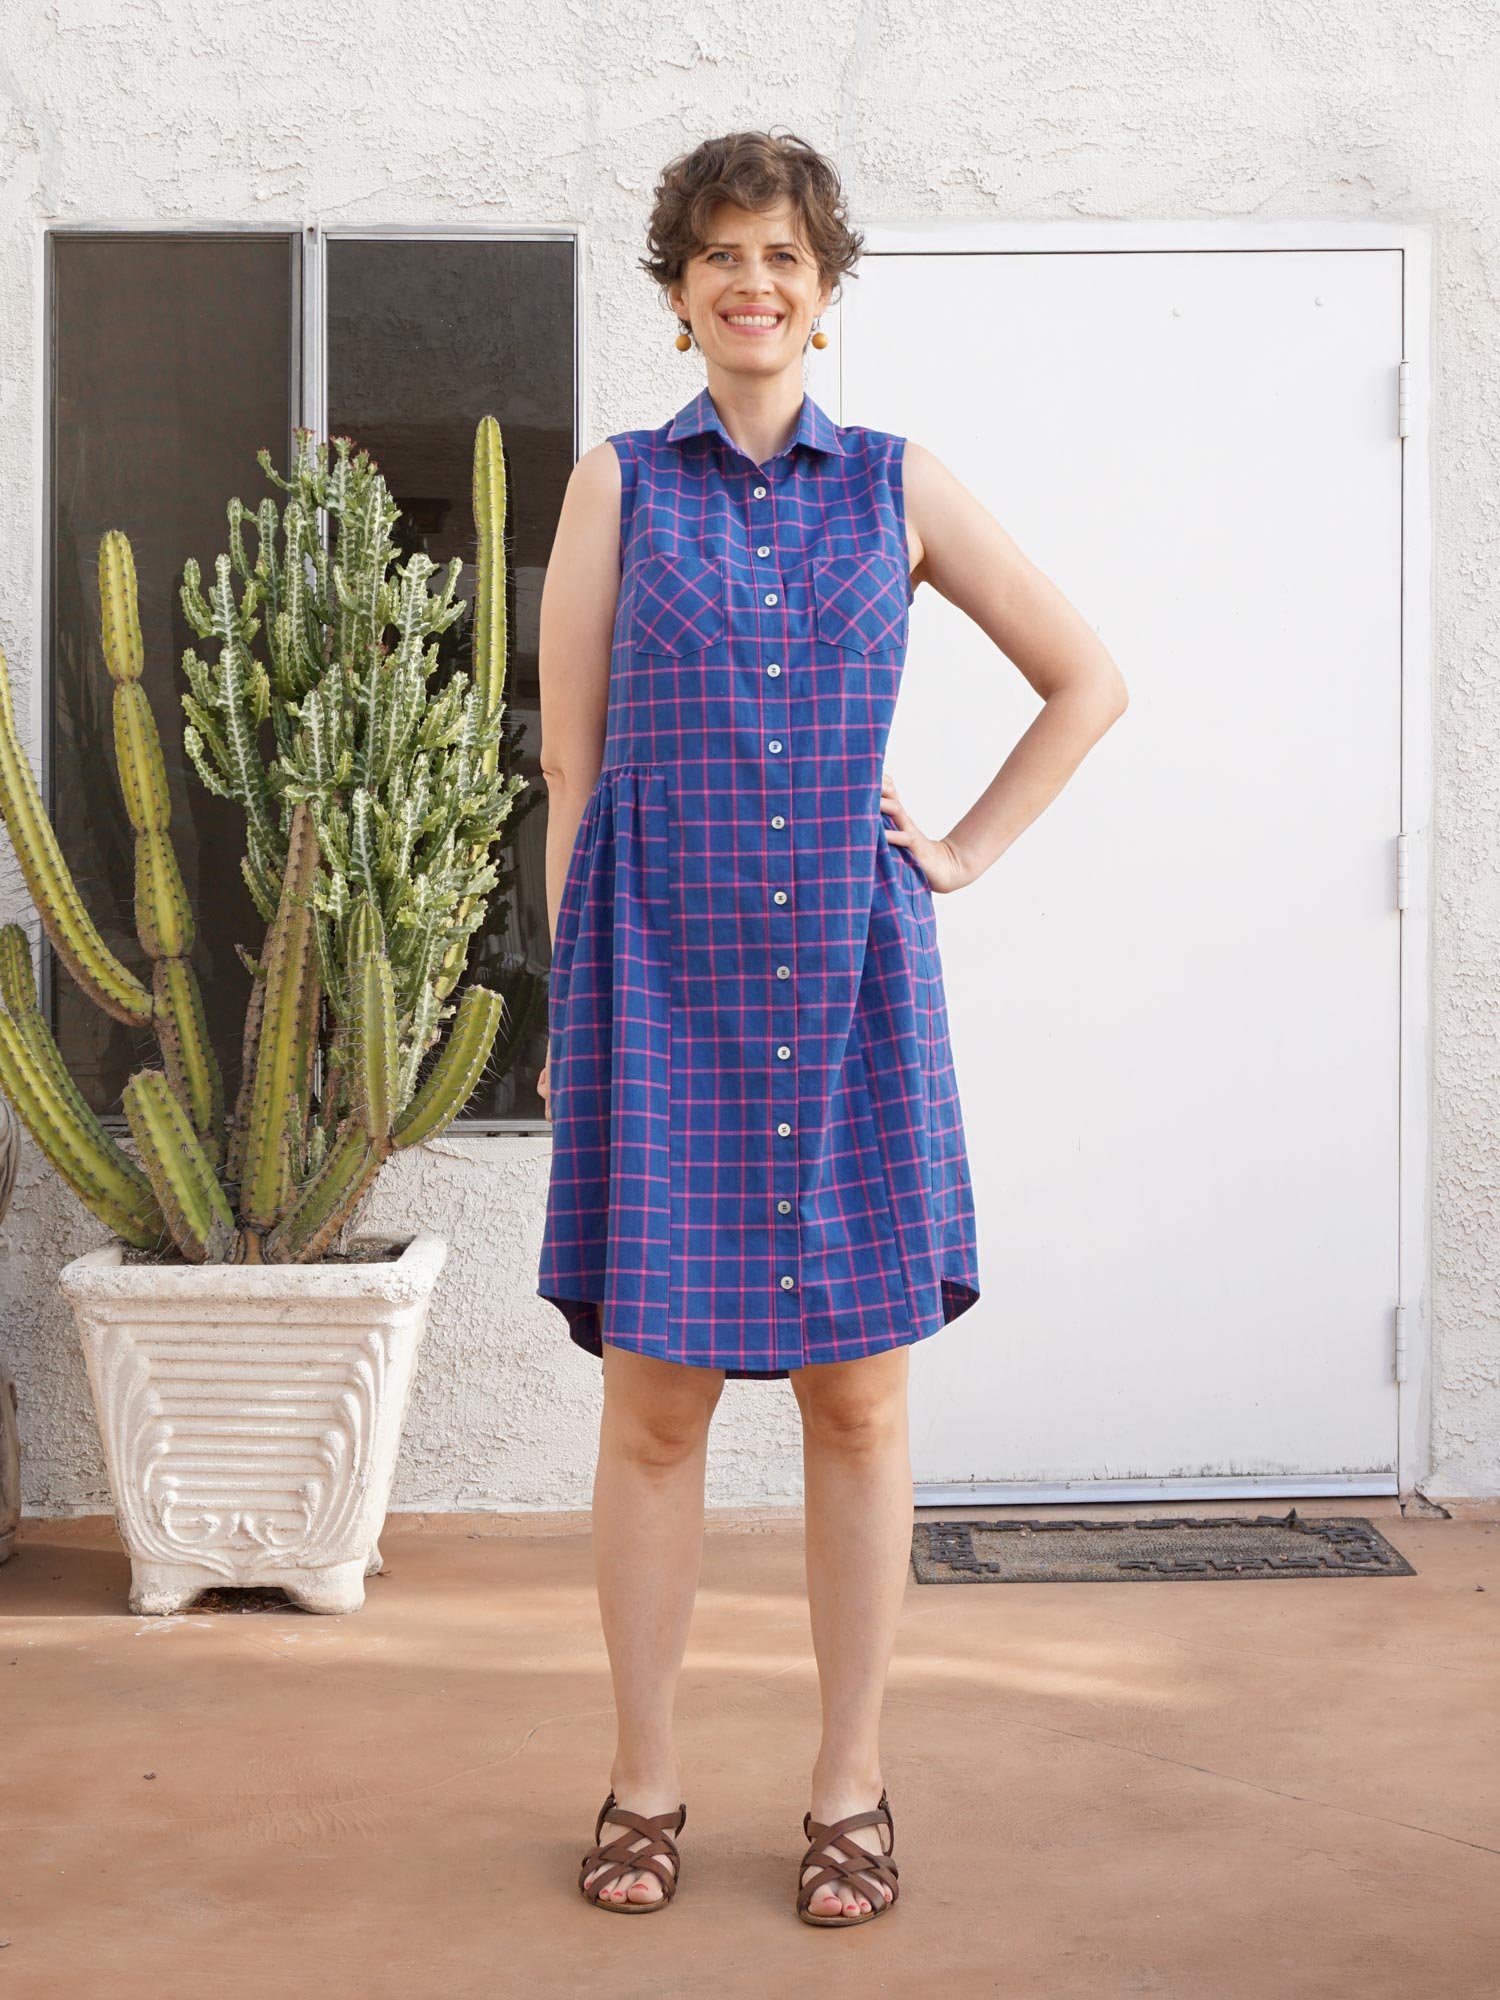
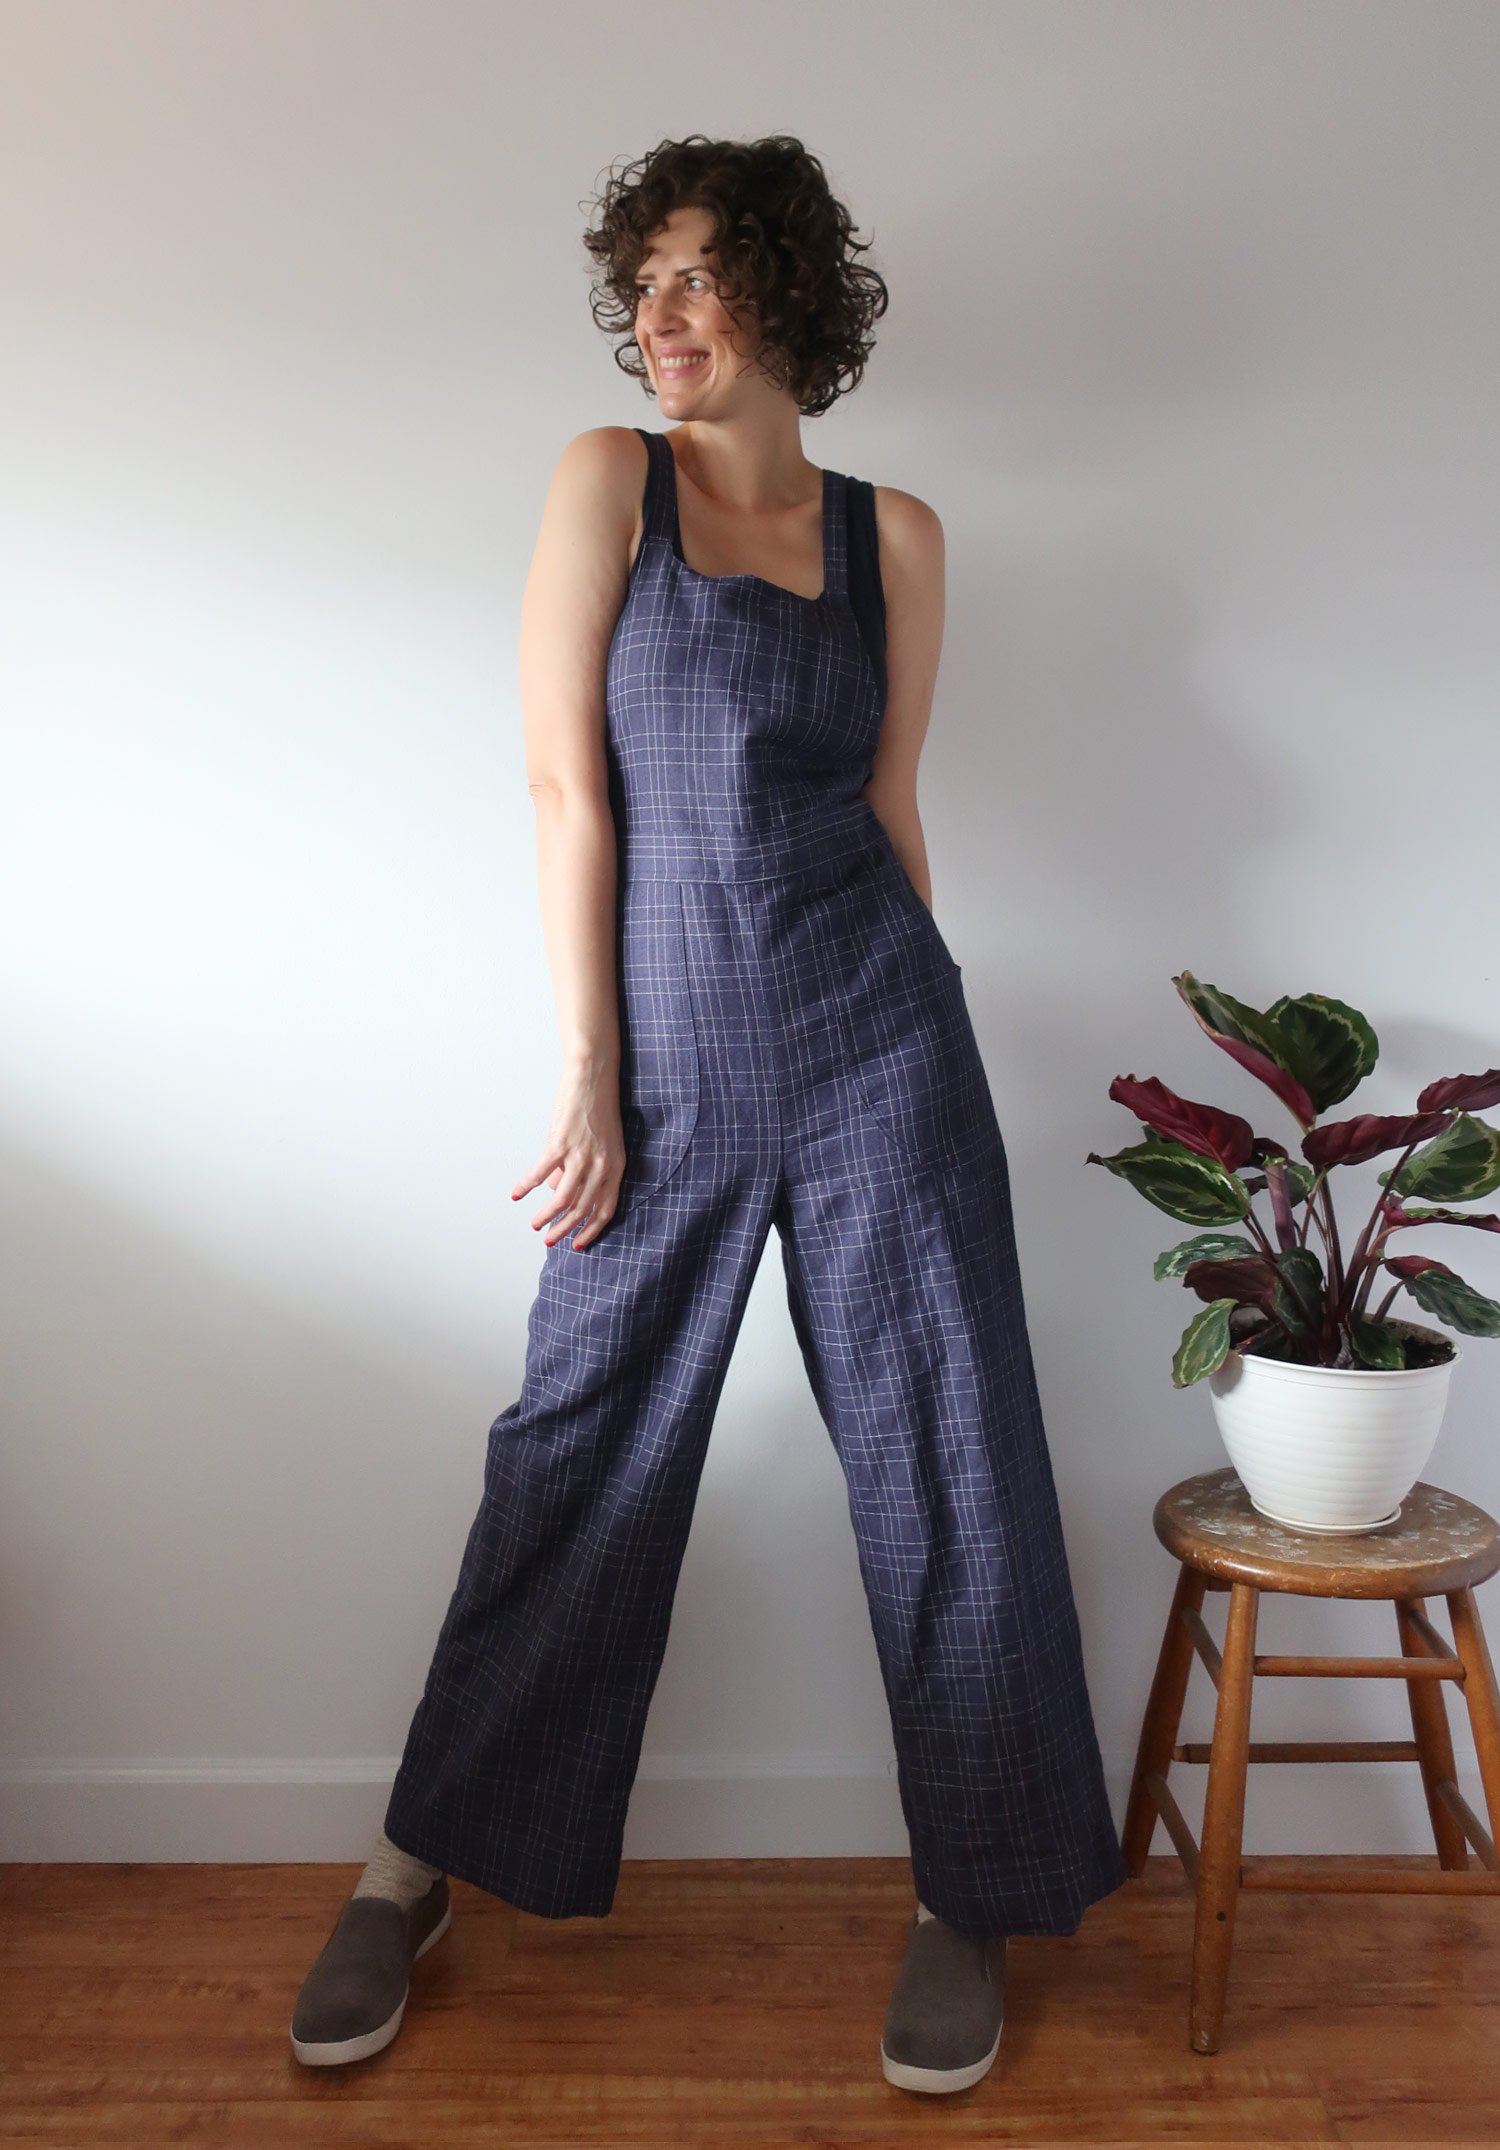
These scraps are from many, many, many years of sewing. They are mostly cotton, linen or cotton/linen blends, making them ideal for piecing and quilting. (I totally support using other kinds of fabrics and have done so, it's just important to be aware that they may degrade faster from wear and washing than the cotton fabrics.) Above you can click through photos of some of the garments that I made with these fabrics. Below are links to blog posts:
Polka Dot Fabric—The Rushcutter Dress
Blue and Pink Check, Alder Dress


I keep my scrap fabric organized into color groups according to the quilt that I want to make with them. (To learn more about how I store my scraps, check out this video.) I guess my favorite (or most used color is blue) because most of my quilts have turned out to be in the blue family. This one is a little more adventurous because I added in plaids and red. I mostly tried to keep the red on one side of the quilt but I really like seeing bits of it on the back side too.

To piece this quilt, I mostly used my vintage Singer Featherweight machine. (You can watch a video I made about it here.) As I say in the video, it's a really lovely machine to use for piecing. I love the mechanical hum it makes while sewing. Since finishing the quilt, I've bought a couple of accessories to help my piecing with this machine—a 1/4" piecing foot and a horizontal thread holder for the big spools of cotton thread that I like to use. When improv piecing, I don't worry too much about seam allowance but it will be nice to have the foot for future projects.

I've been doing this style of quilting for a number of years now, and I was really looking for a way to change things up so for this quilt, I also played around with applique. When scraps didn't line up completely, rather than increasing my seam allowance or trimming away fabric, I purposefully allowed there to be little holes in my piecing. Then I used applique to patch over those holes. It was an experiment and while I wouldn't necessarily recommend leaving holes in your quilt top, it was a fun way to create additional creative challenges in the project. I especially like that applique is a good way to add rounded shapes. The rounded shapes are always my favorite parts of a quilt design.
Conceptually, leaving holes and using applique to fill them was also a way to maximize my fabric usage and use more of my scraps through layering. One of my goals with making these quilts is to use as much of my scraps as possible so this was a great way to do it. It's not a faster way to make a quilt but it does create extra opportunities.

To do the appliques, I tried a few different techniques, including needle turn applique and a technique that uses interfacing. I felt like the needle turn was most successful. It's a nice way to incorporate hand sewing and as I mentioned before, those rounded shapes. I do need a little more practice though as I think some of my seam allowances on the needle turn were too small and it's already starting to fray. Maybe time for another layer of applique! I liked the interfacing technique in theory but found that it didn't work that well in practice. In the past, I've done other applique techniques, using freezer paper or a permanent adhesive and those both worked very well.


If you would like to learn how to turn your fabric scraps into improvisational quilts like this one, I have an e-course designed to do just that. The class is self-paced and a combination of video, photo and text. I go into color theory and how to plan your quilt, plus all of the technical skills you need to piece and quilt your own improvisational quilt. Click here to learn more about the course. I don't currently have a section about applique in the course but I plan on adding one now that I've done some trial and error with it.


