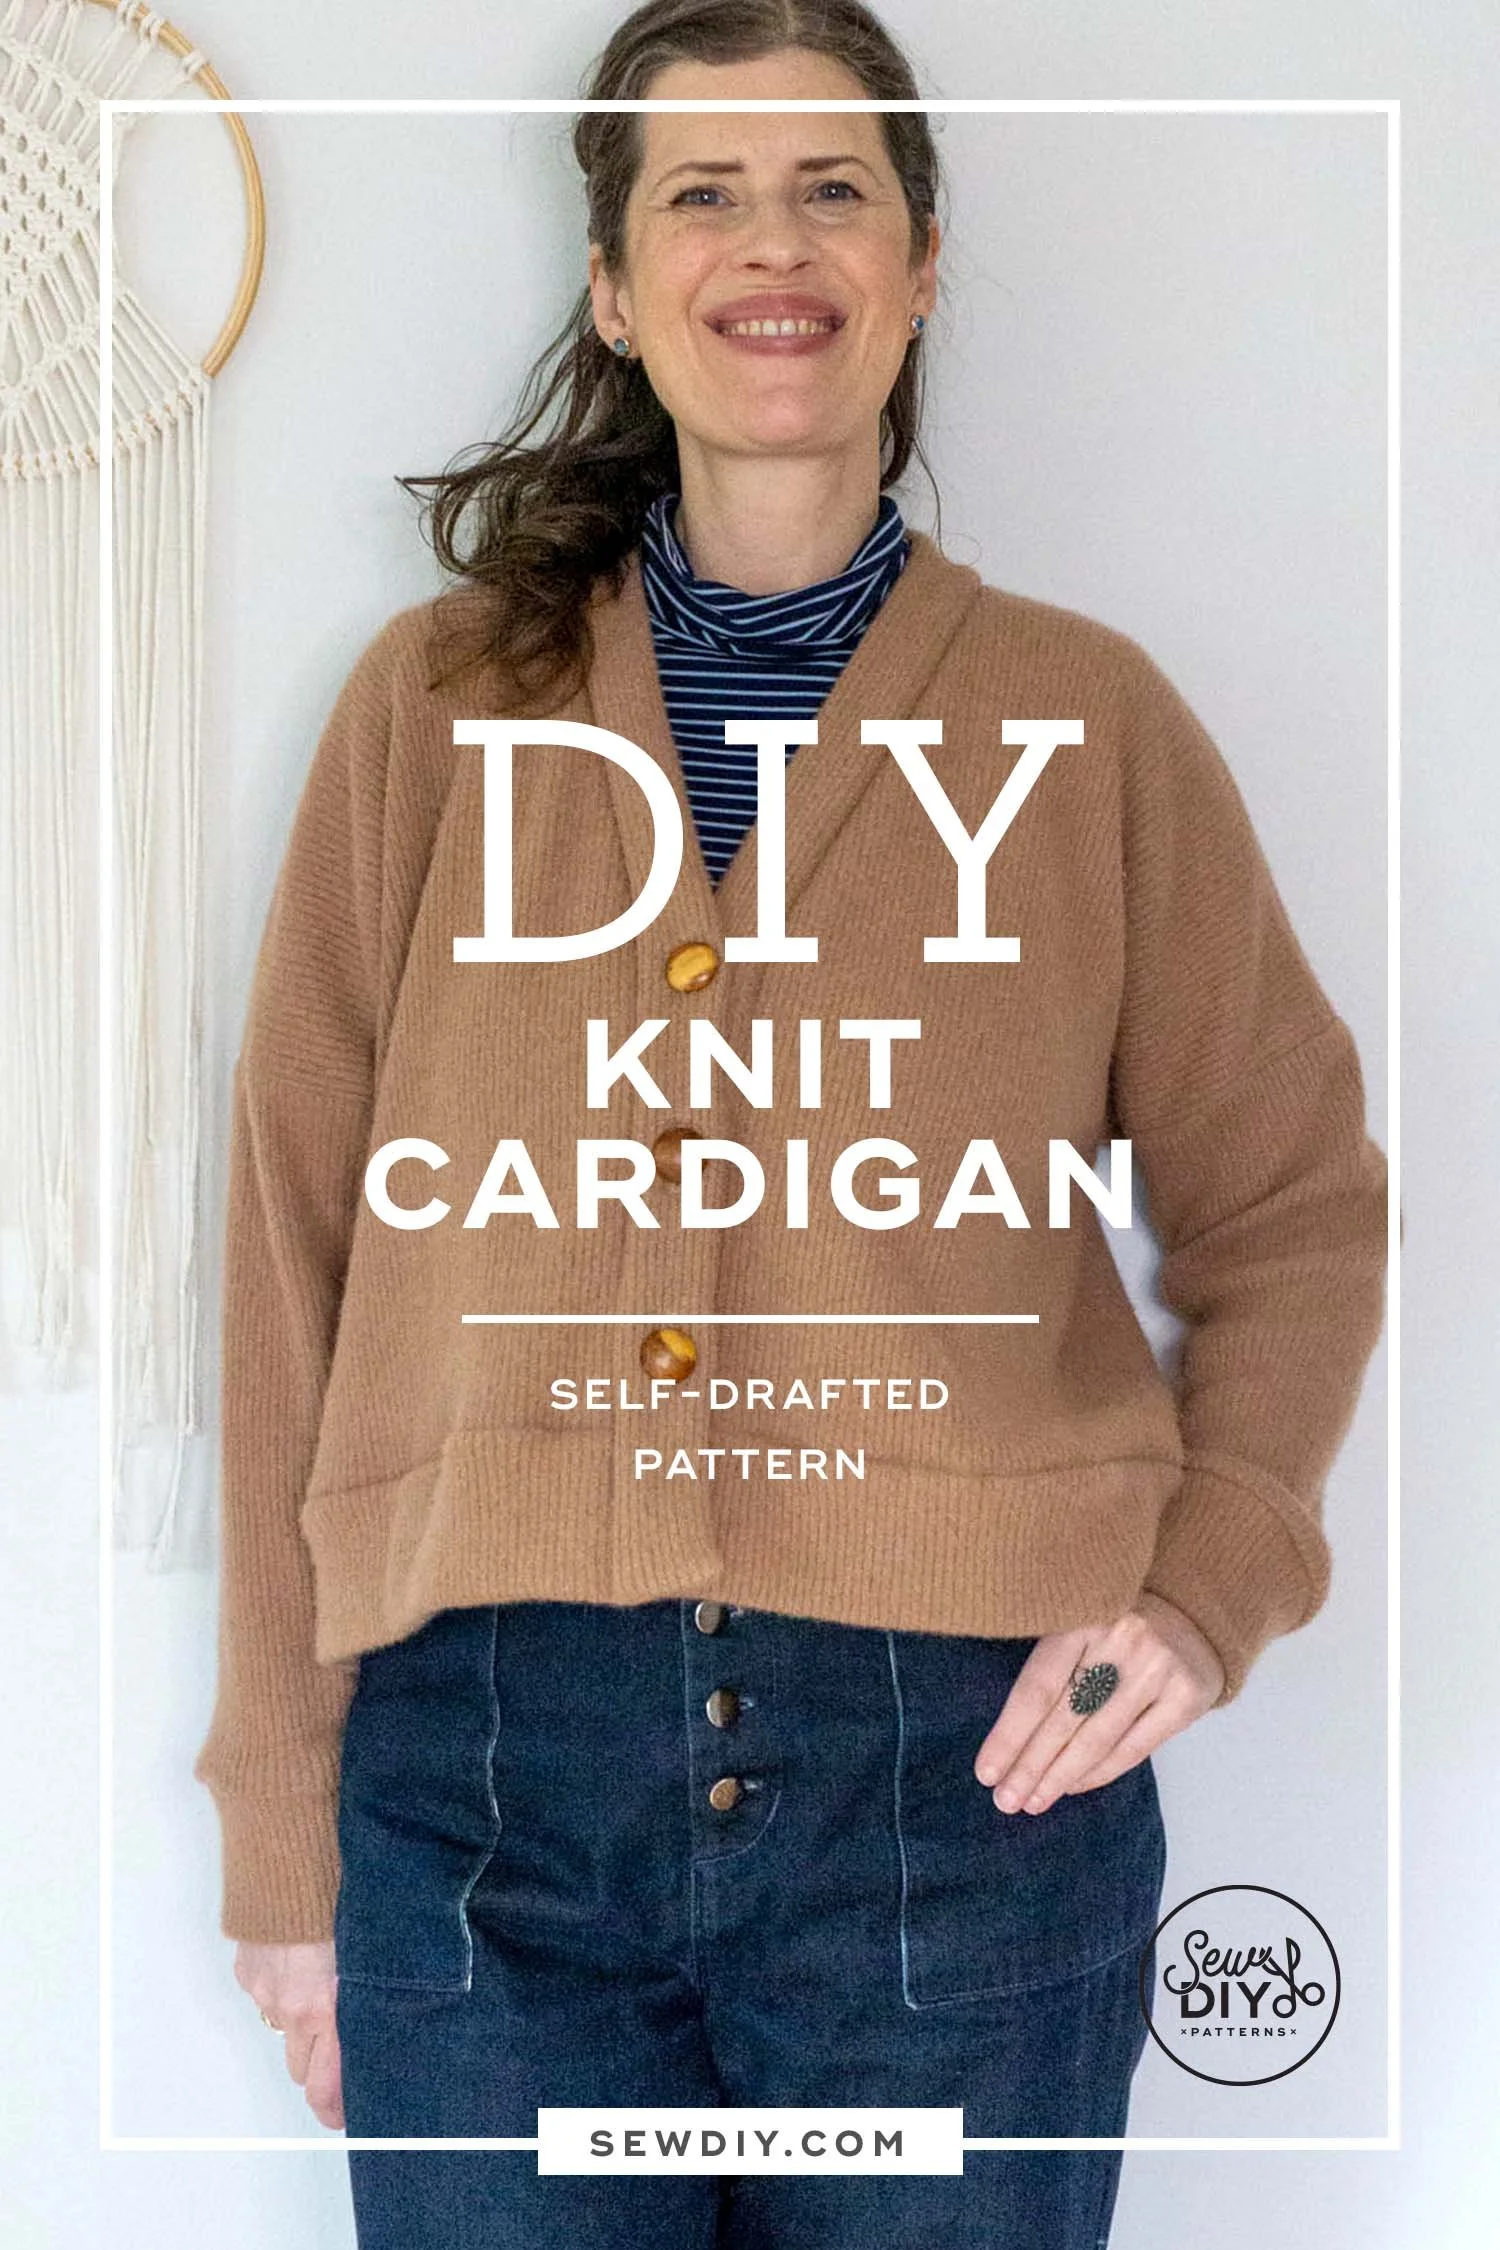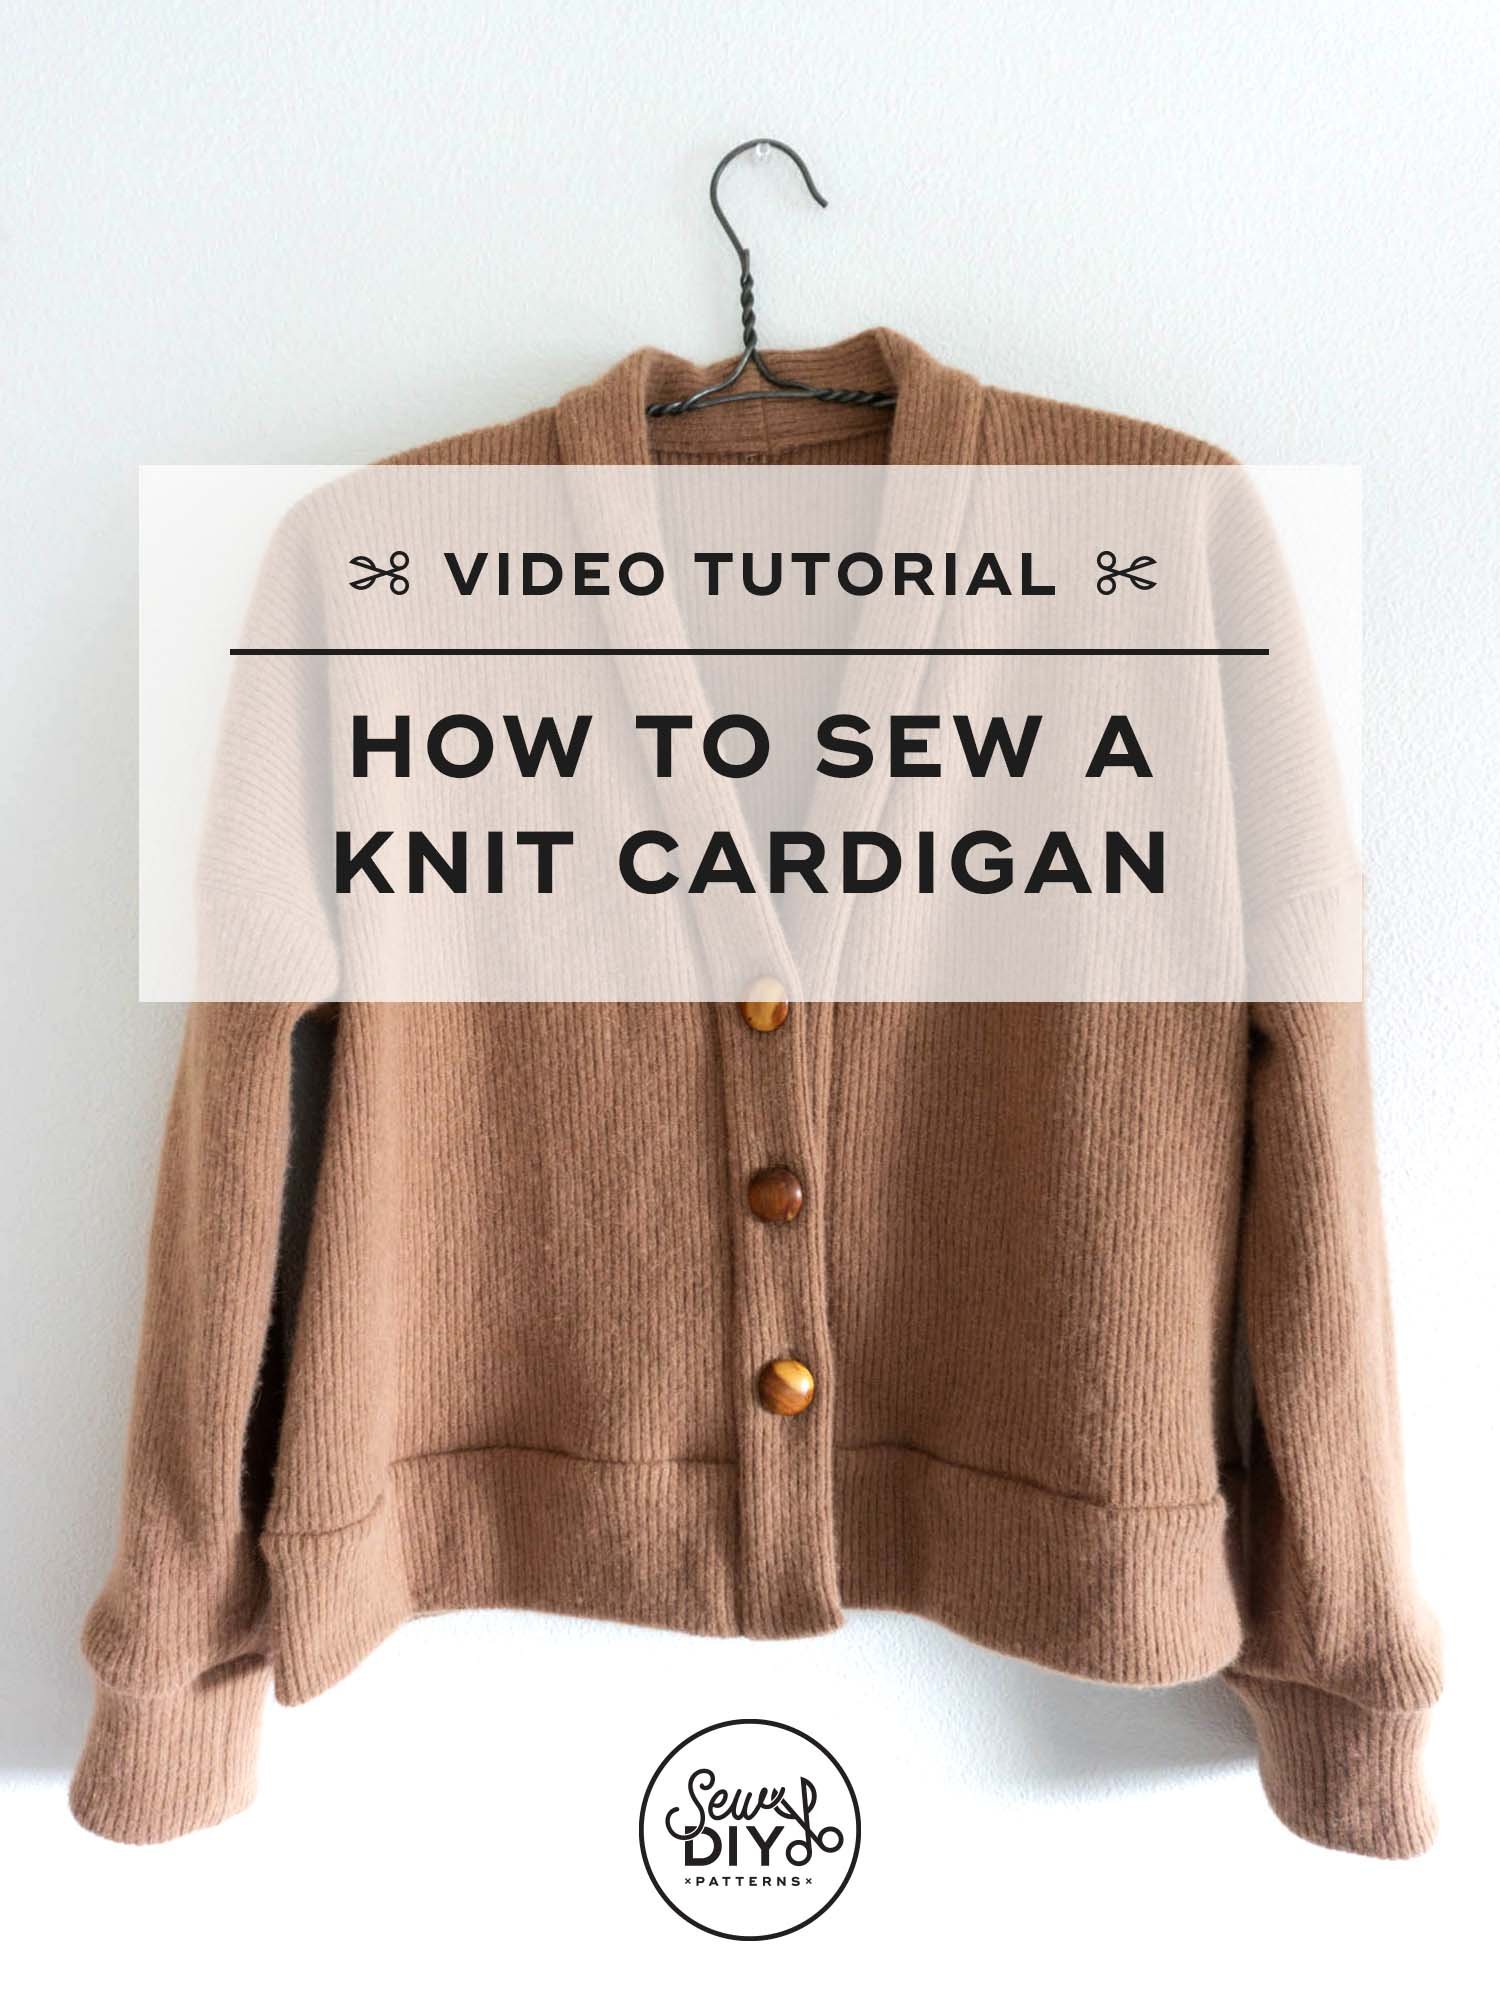
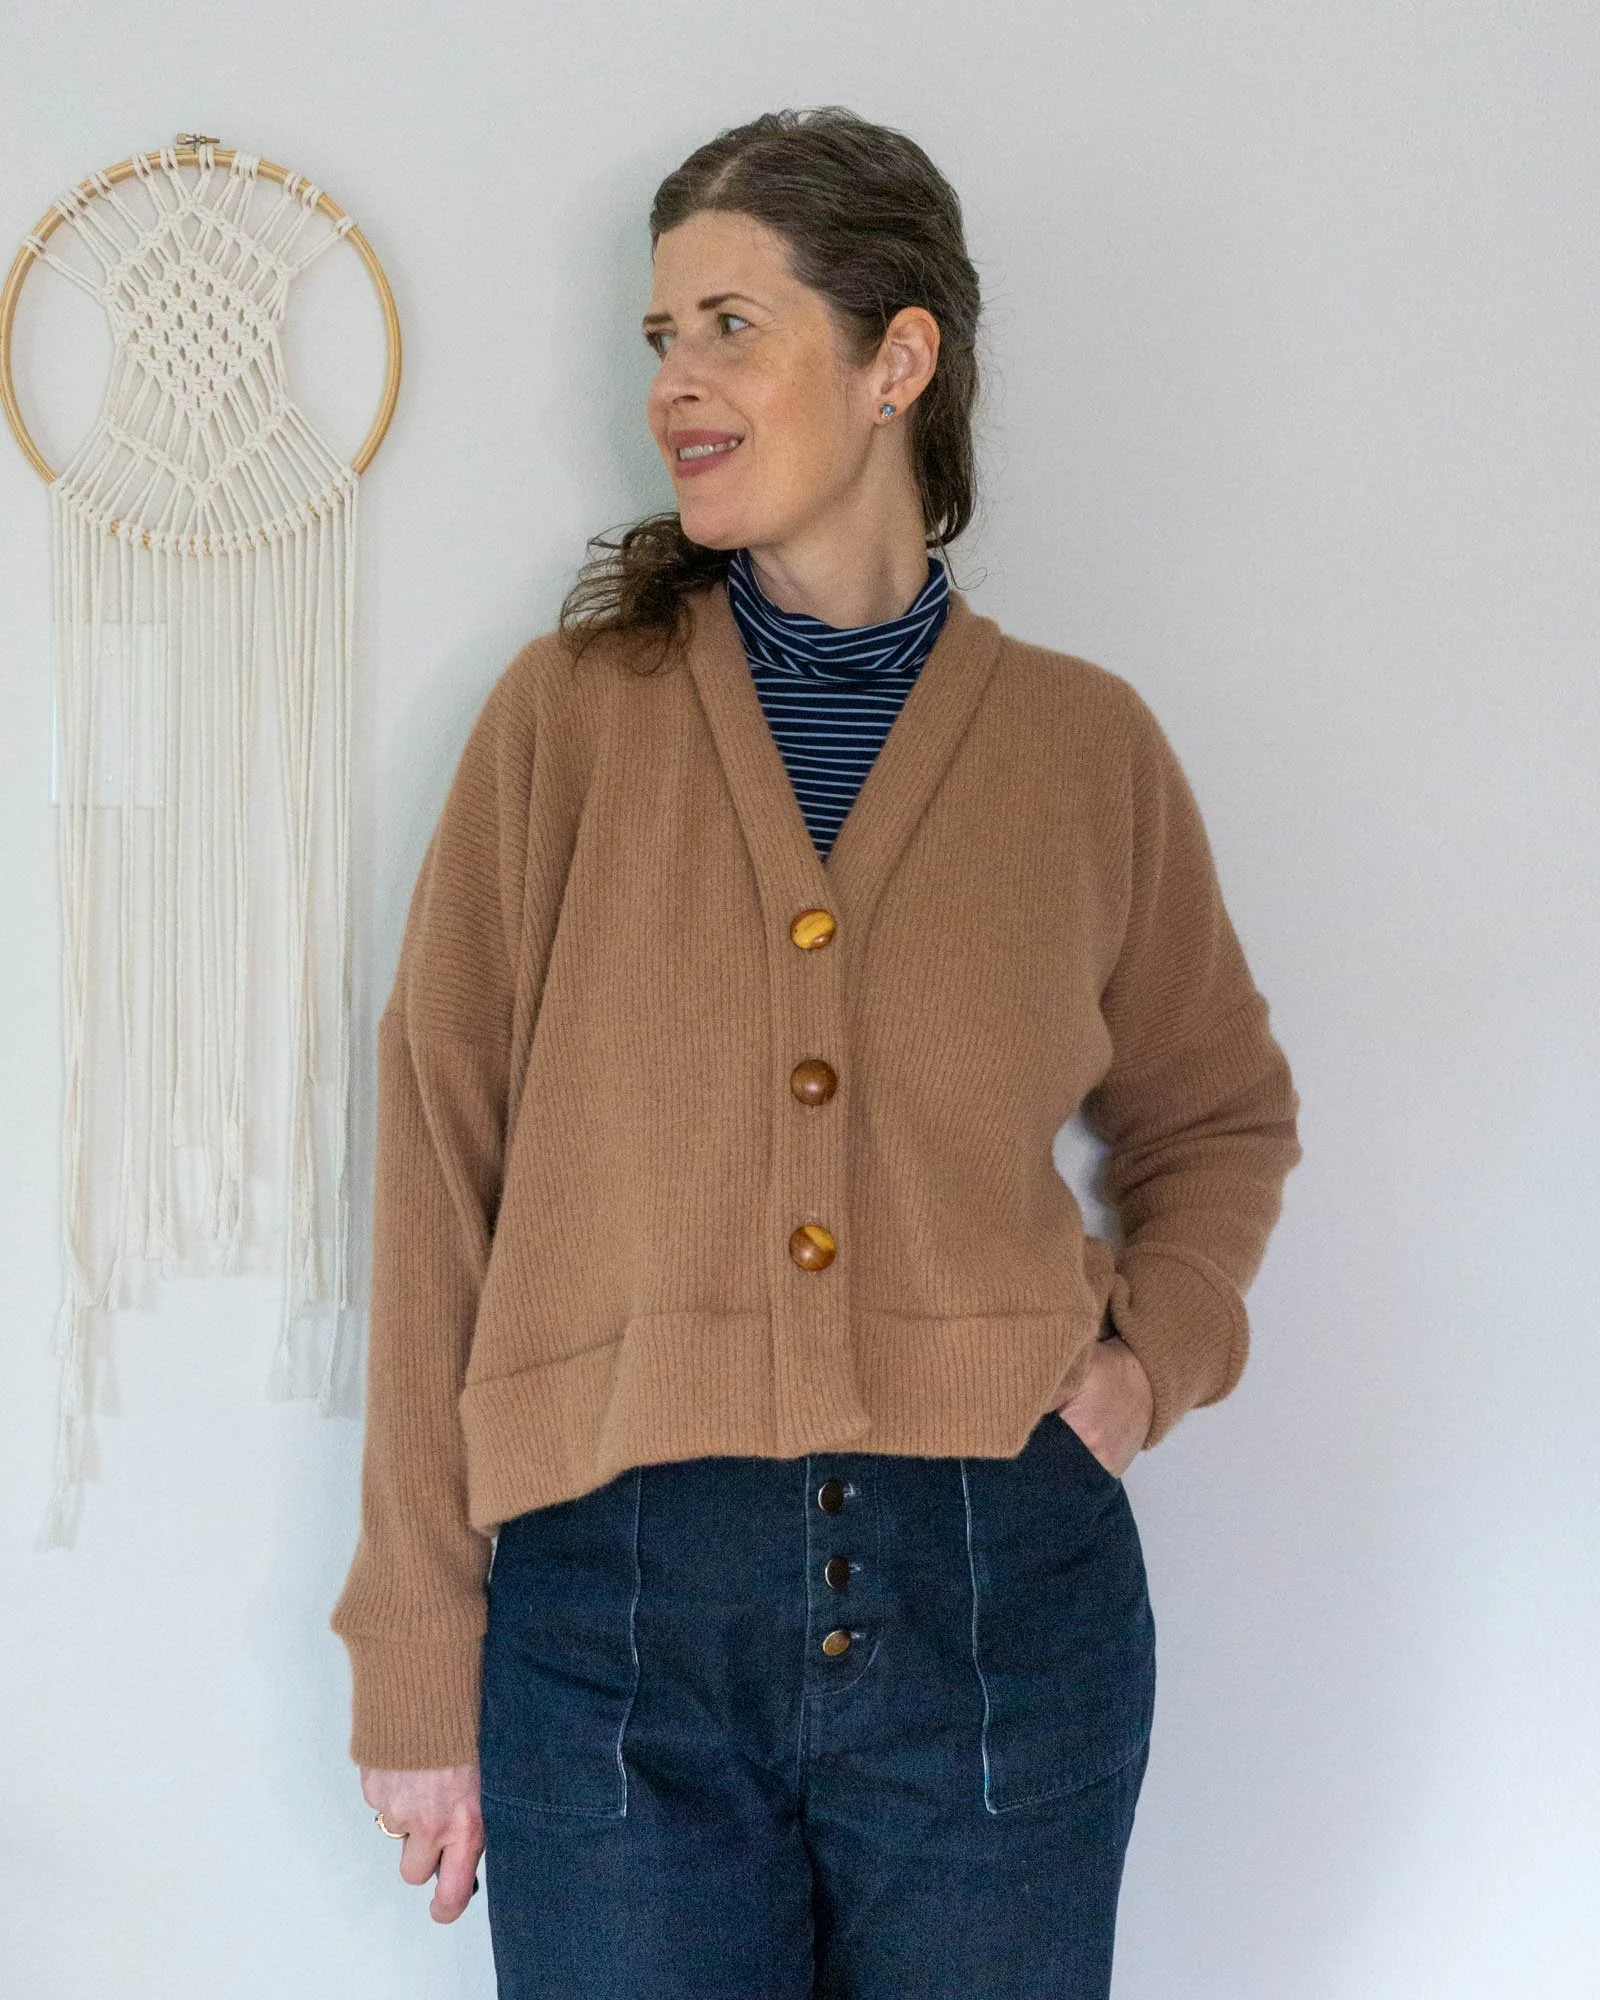
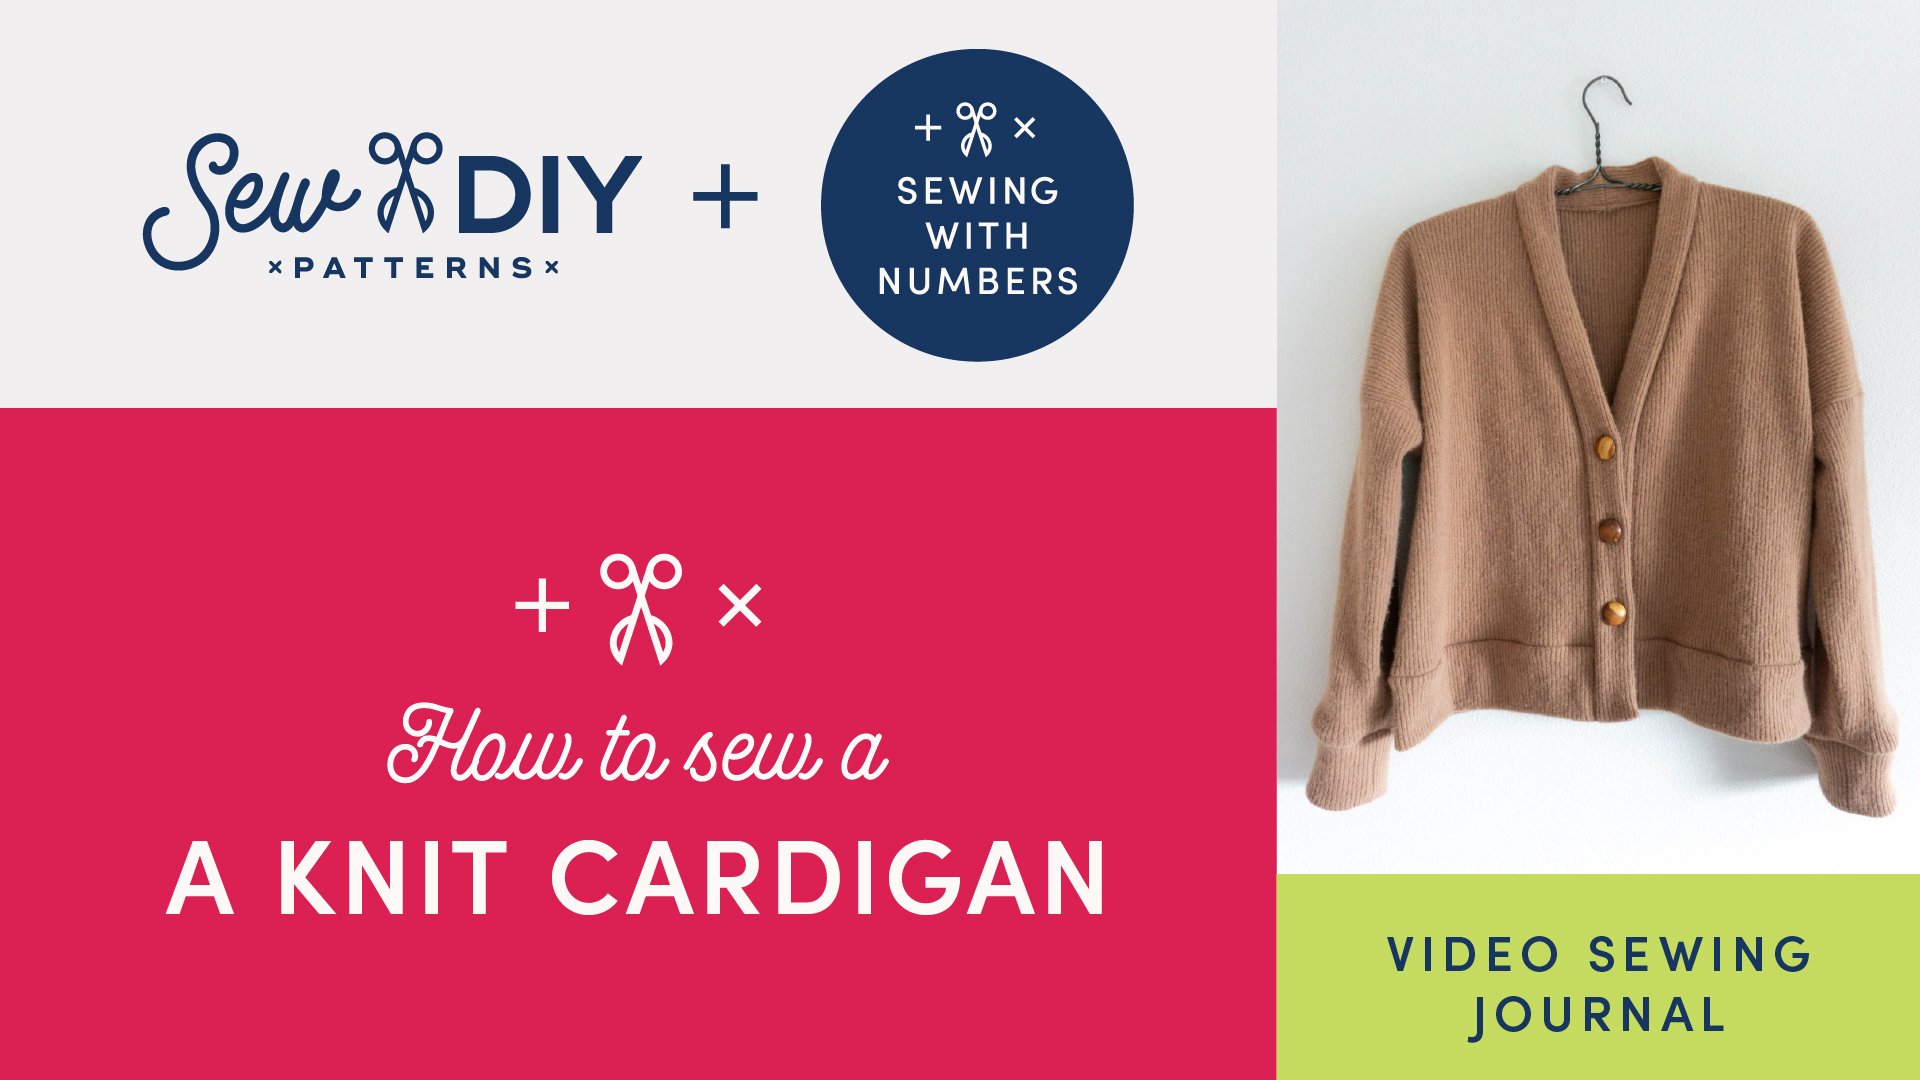
Today I have a new video tutorial to share with you. I recently drafted a cardigan sewing pattern and while sewing it, I filmed the whole process. This is a super cozy cardigan made from a thick rib knit fabric. In the video, I show the step-by-step process of sewing this cardigan as well as some tips for handling a thick knit fabric.
DRAFTING
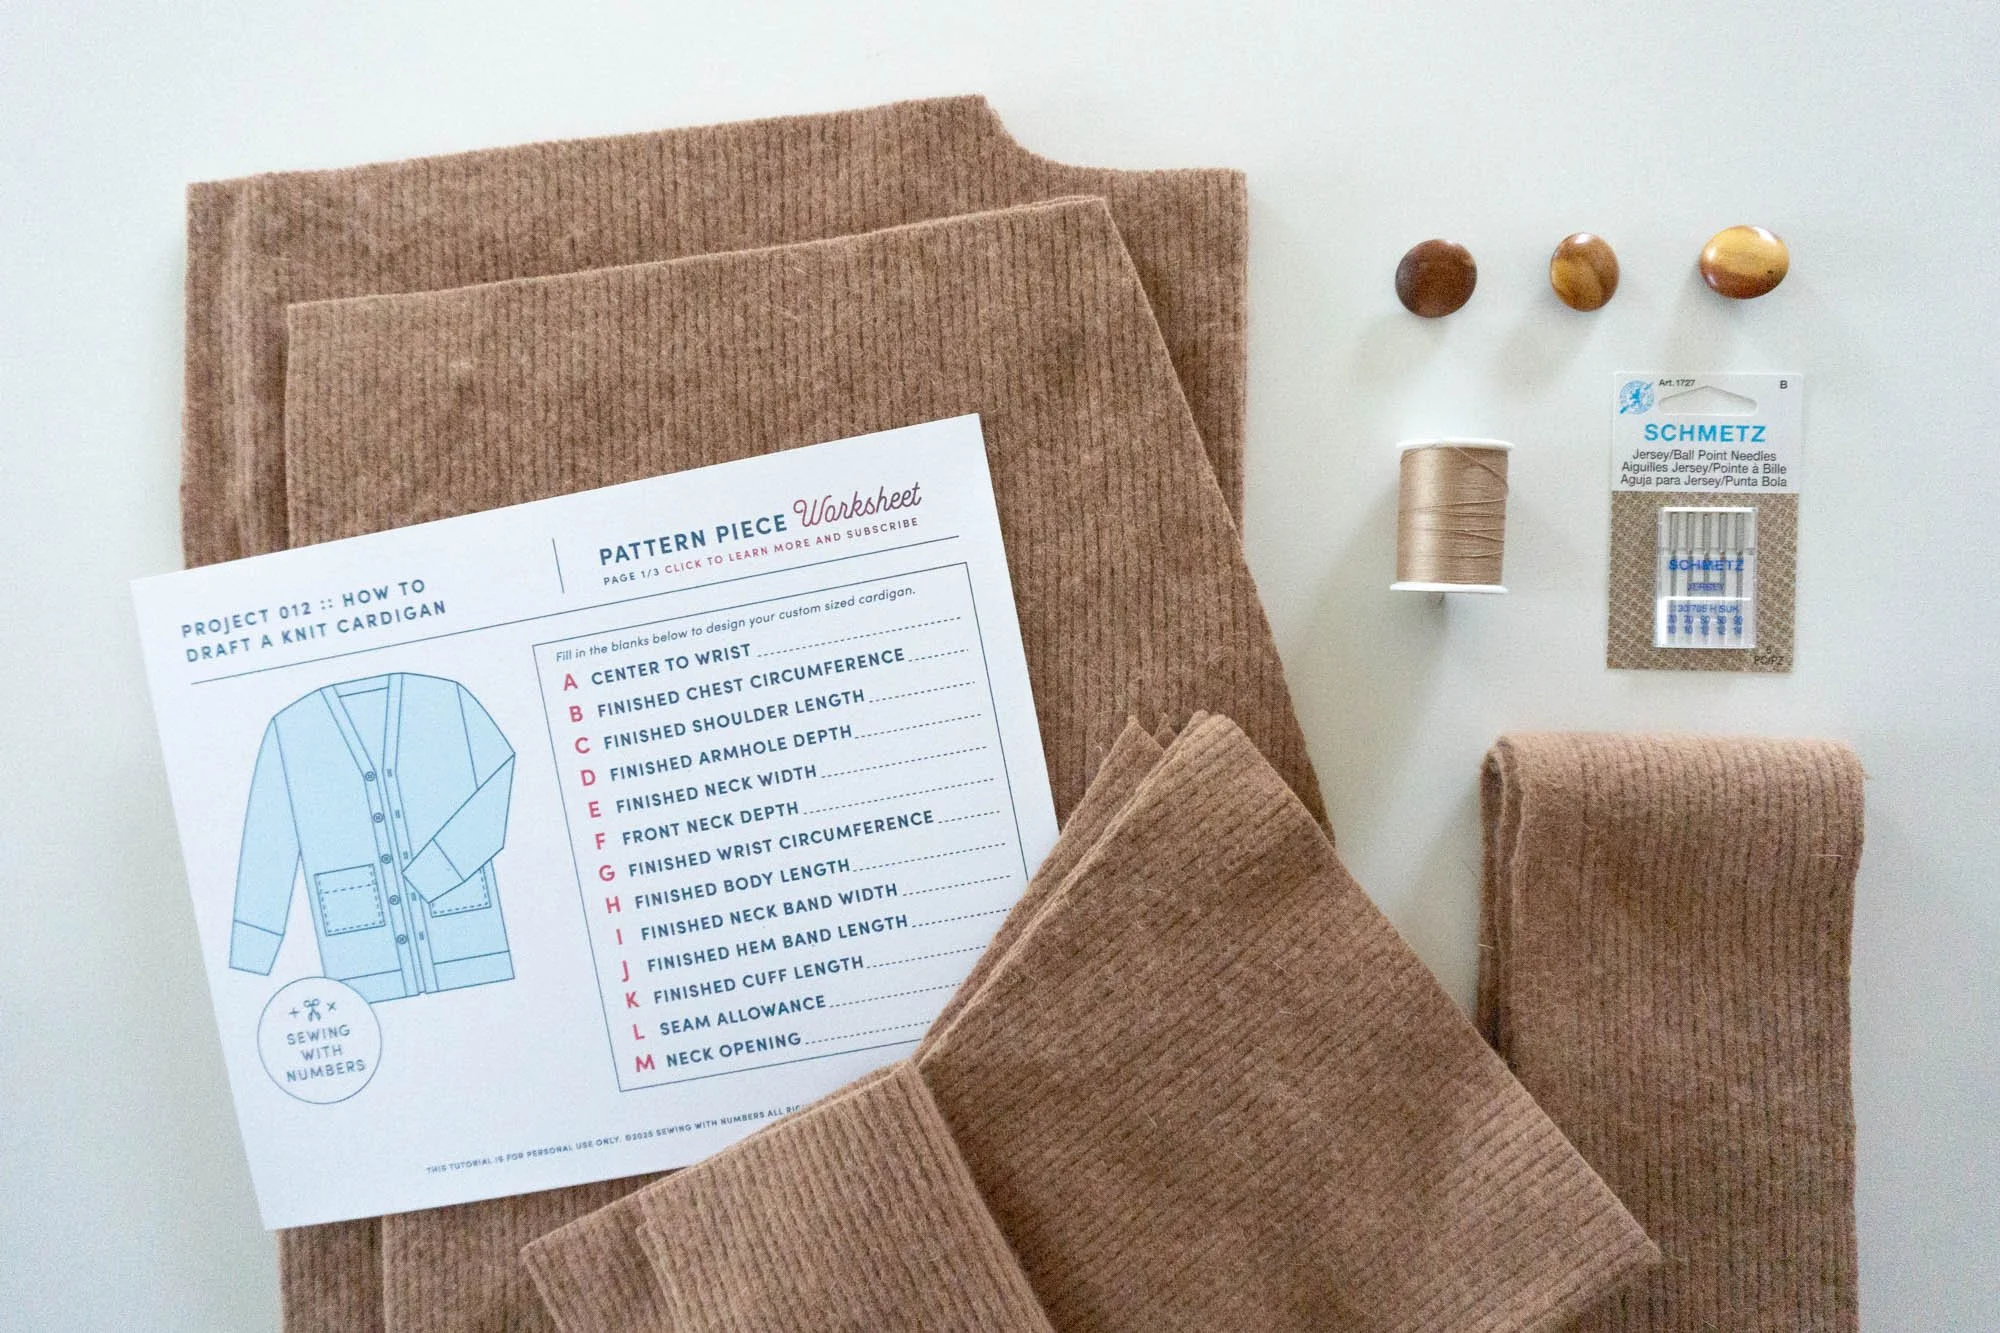
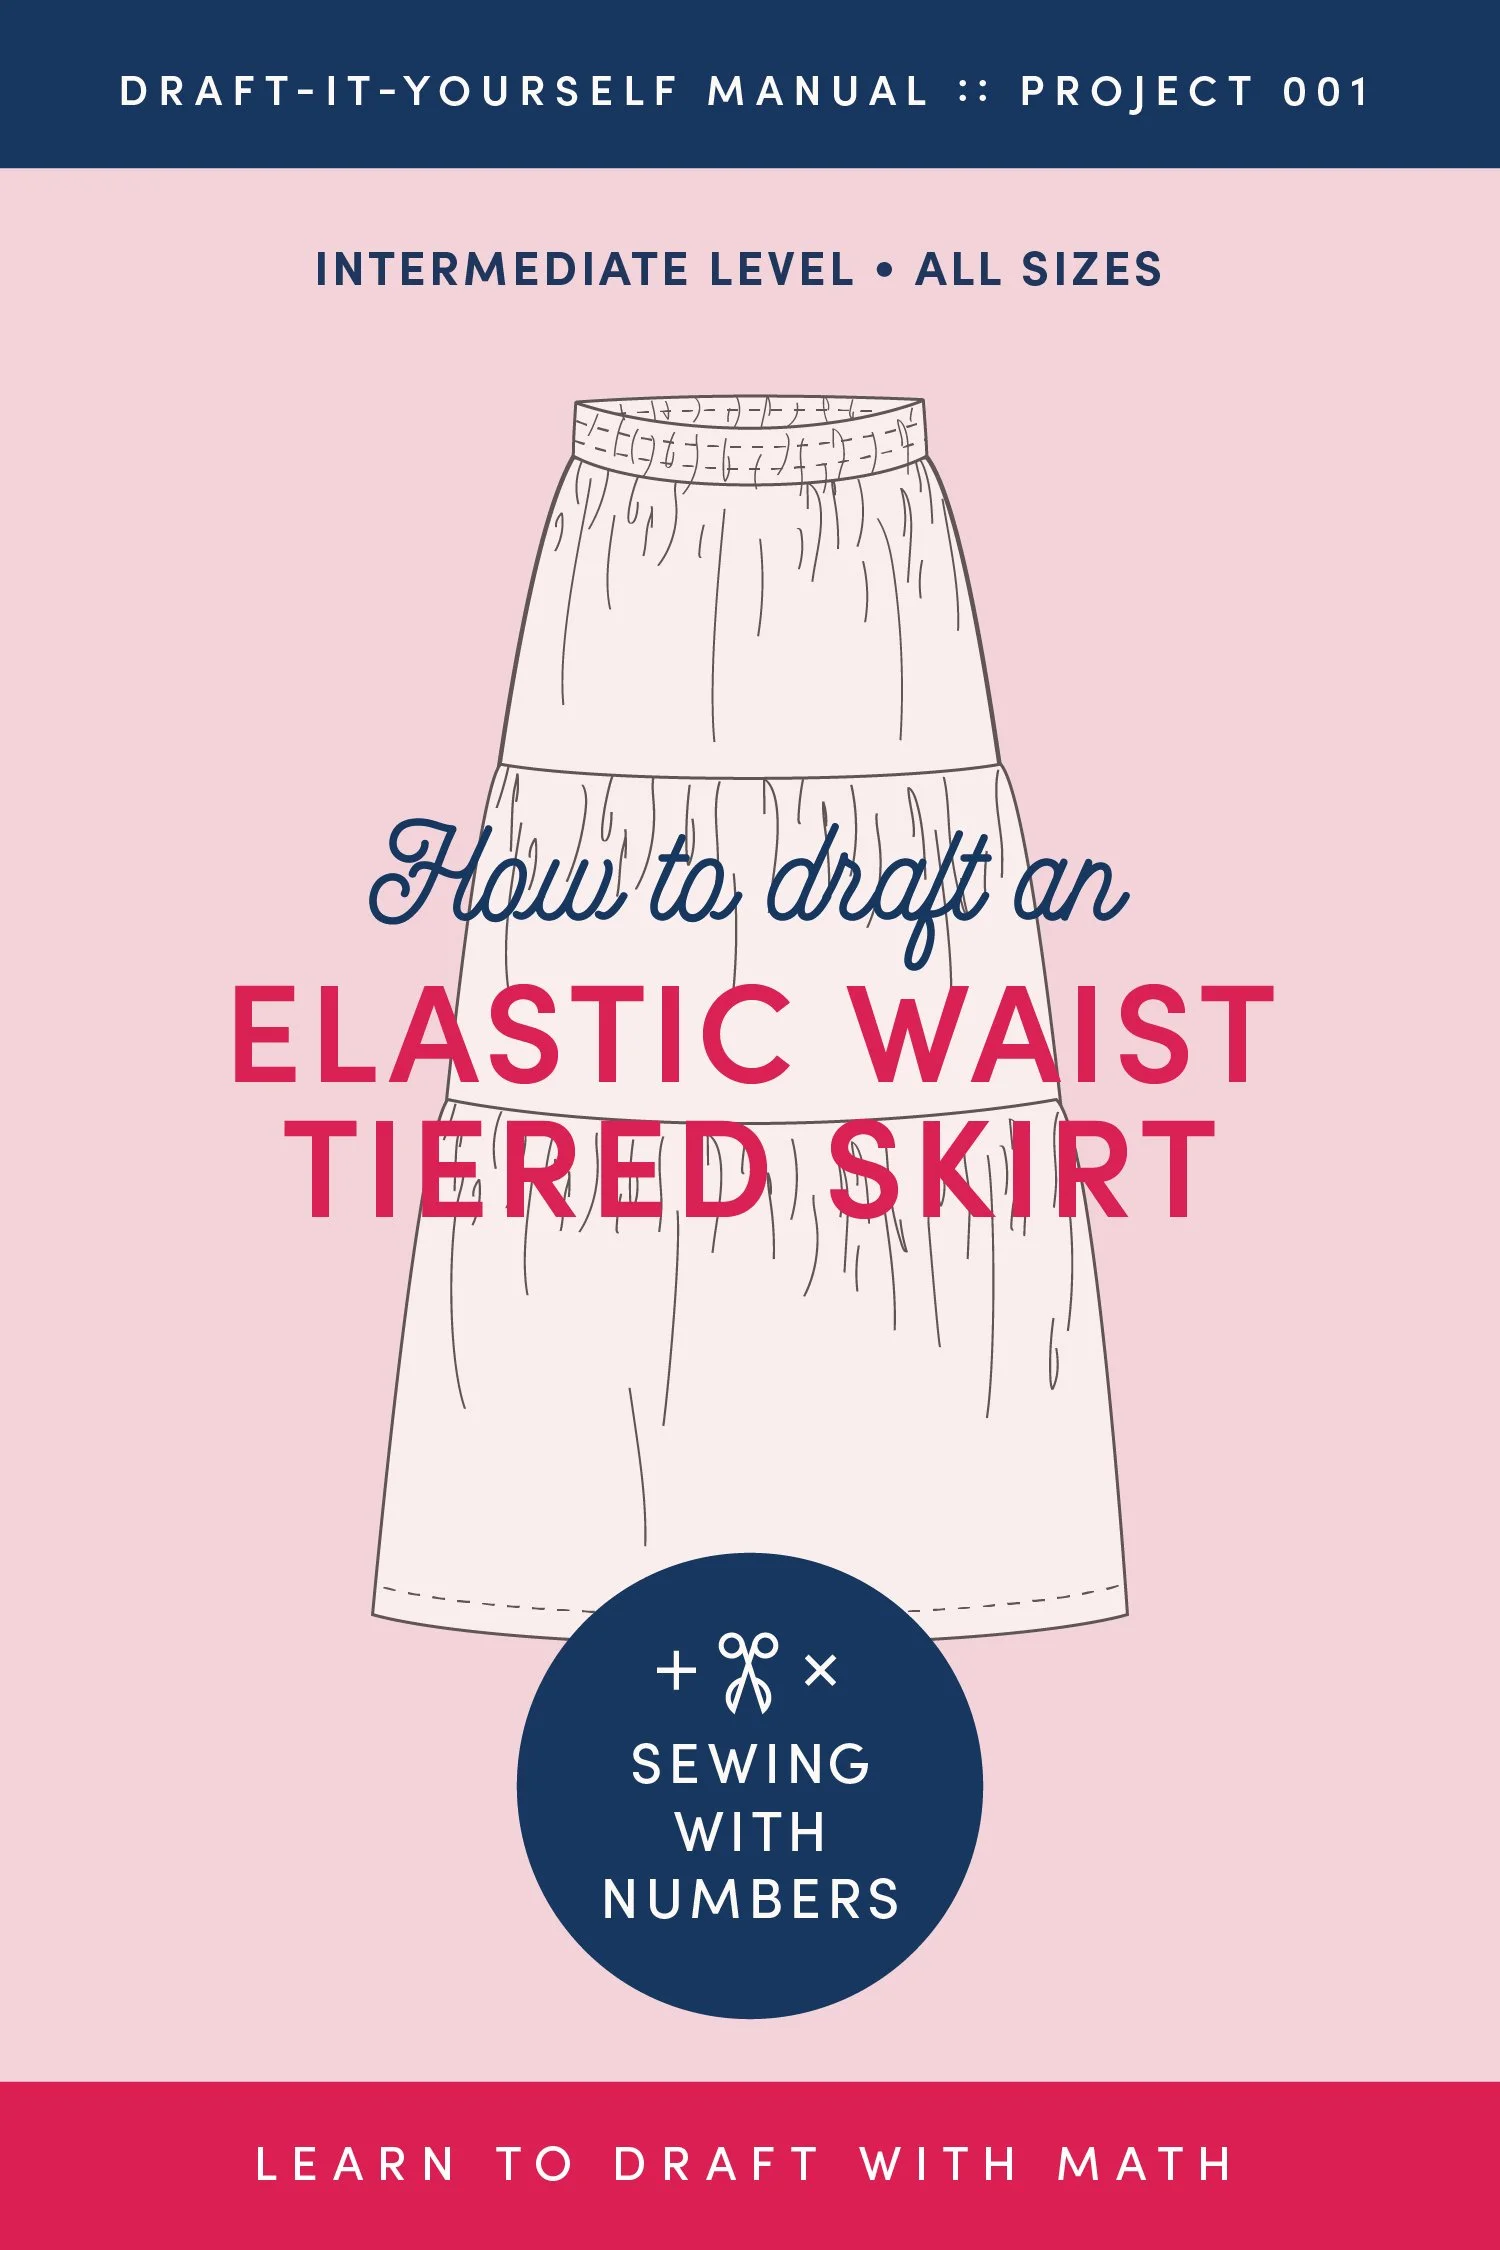
I drafted this cardigan for a project on my Substack Sewing With Numbers. If you’re not familiar with it, Sewing With Numbers is a newsletter about sewing, math, design and how to draft your own sewing patterns. Through simple pattern drafting exercises, I’ll show you how fun, useful and empowering math can be. Drafting and sewing my own cardigan is the final installment for Project 12—Knit Cardigans.
I’ve already shared a tutorial for how to draft a cardigan using your own custom measurements. Click here to see all posts in the Cardigan series. Posts are free to read for the first three months after publication and then they go behind the paywall. I also have versions as a pdf here in my shop (see below)


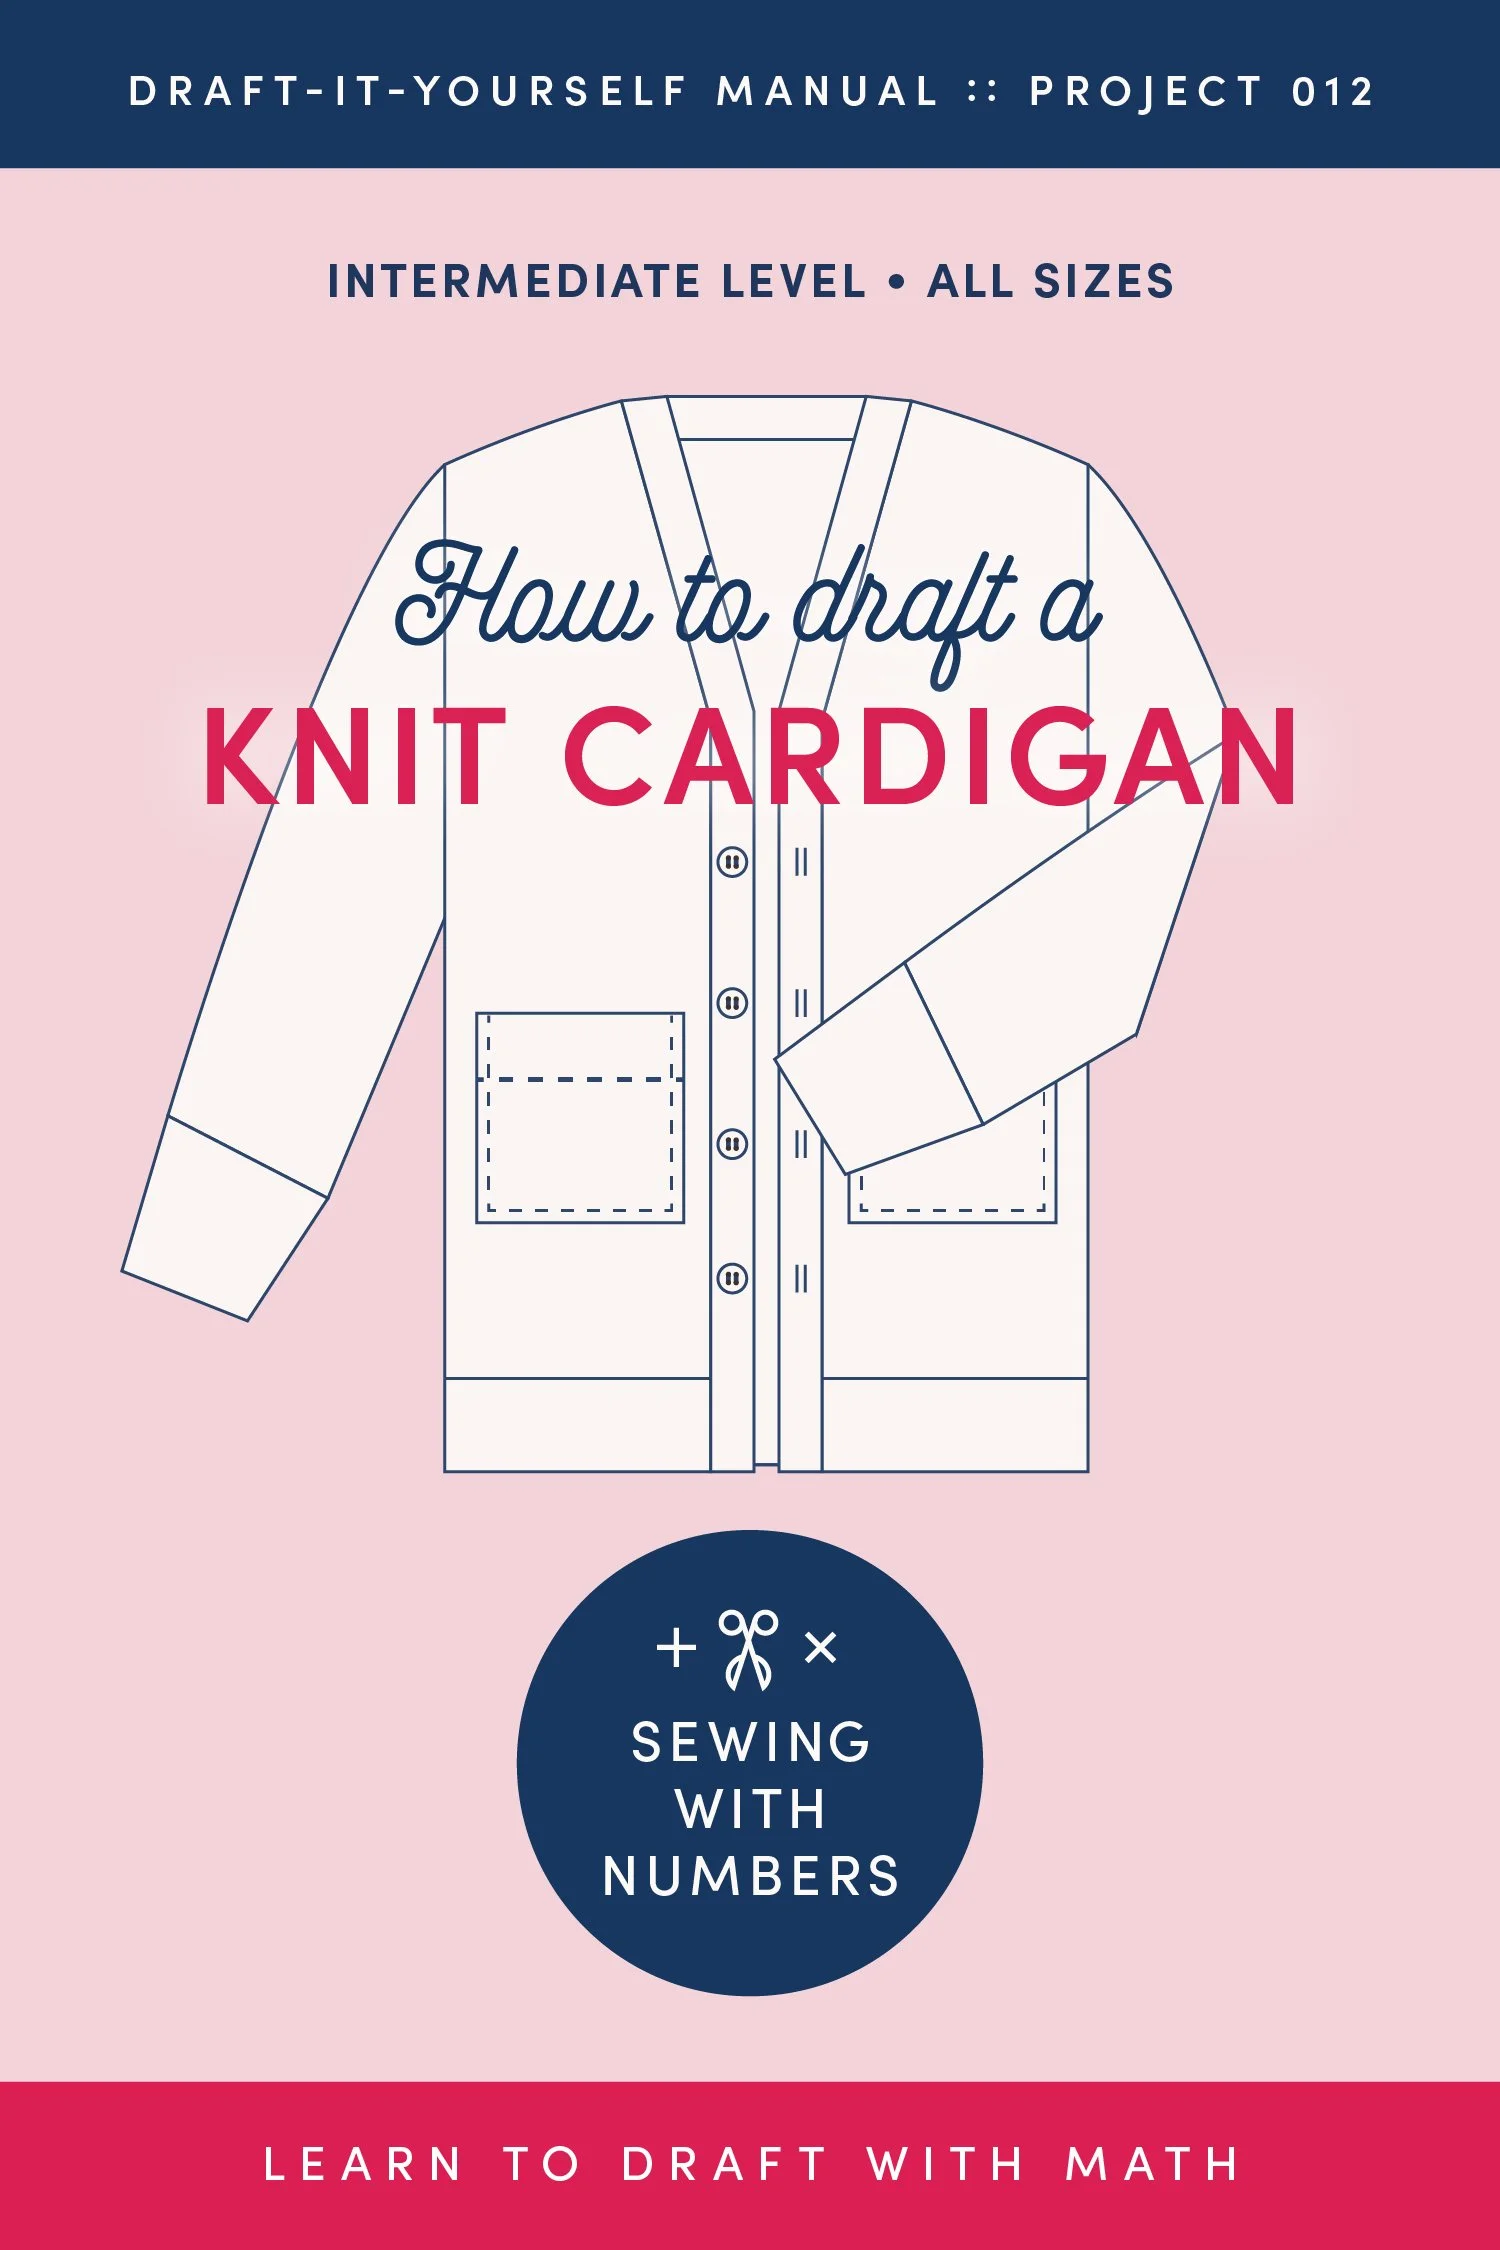
I wanted to make a boxy cropped cardigan with a dropped shoulder so I used about 9 inches of ease in the body and just a slight slope to the shoulder. You can read more about the drafting dimensions in this post on Substack.
FABRIC
This fabric is a very thick, slightly fuzzy rib knit that I think I bought at the FIDM Scholarship store in Los Angeles about 5?? years ago. (Sadly, the store has now closed but I loved shopping there.) I don’t have any details on the fabric and haven’t done a burn test. I suspect that it is a wool blend because it’s not itchy to my hands but is slightly itchy against my arms. It also doesn’t smell like wool when wet. So, it’s a mystery!
The fabric is a full 1/8” thick and it was a beast to work with. I will talk about this more in the video but I had to adapt some of my normal sewing techniques to make it work. I also struggled a bit with the rib stretching while sewing. To compensate, I adjusted the differential on my serger and lessened the pressure on my regular machine. There’s still some stretching that happened though, especially in the hem band. :/
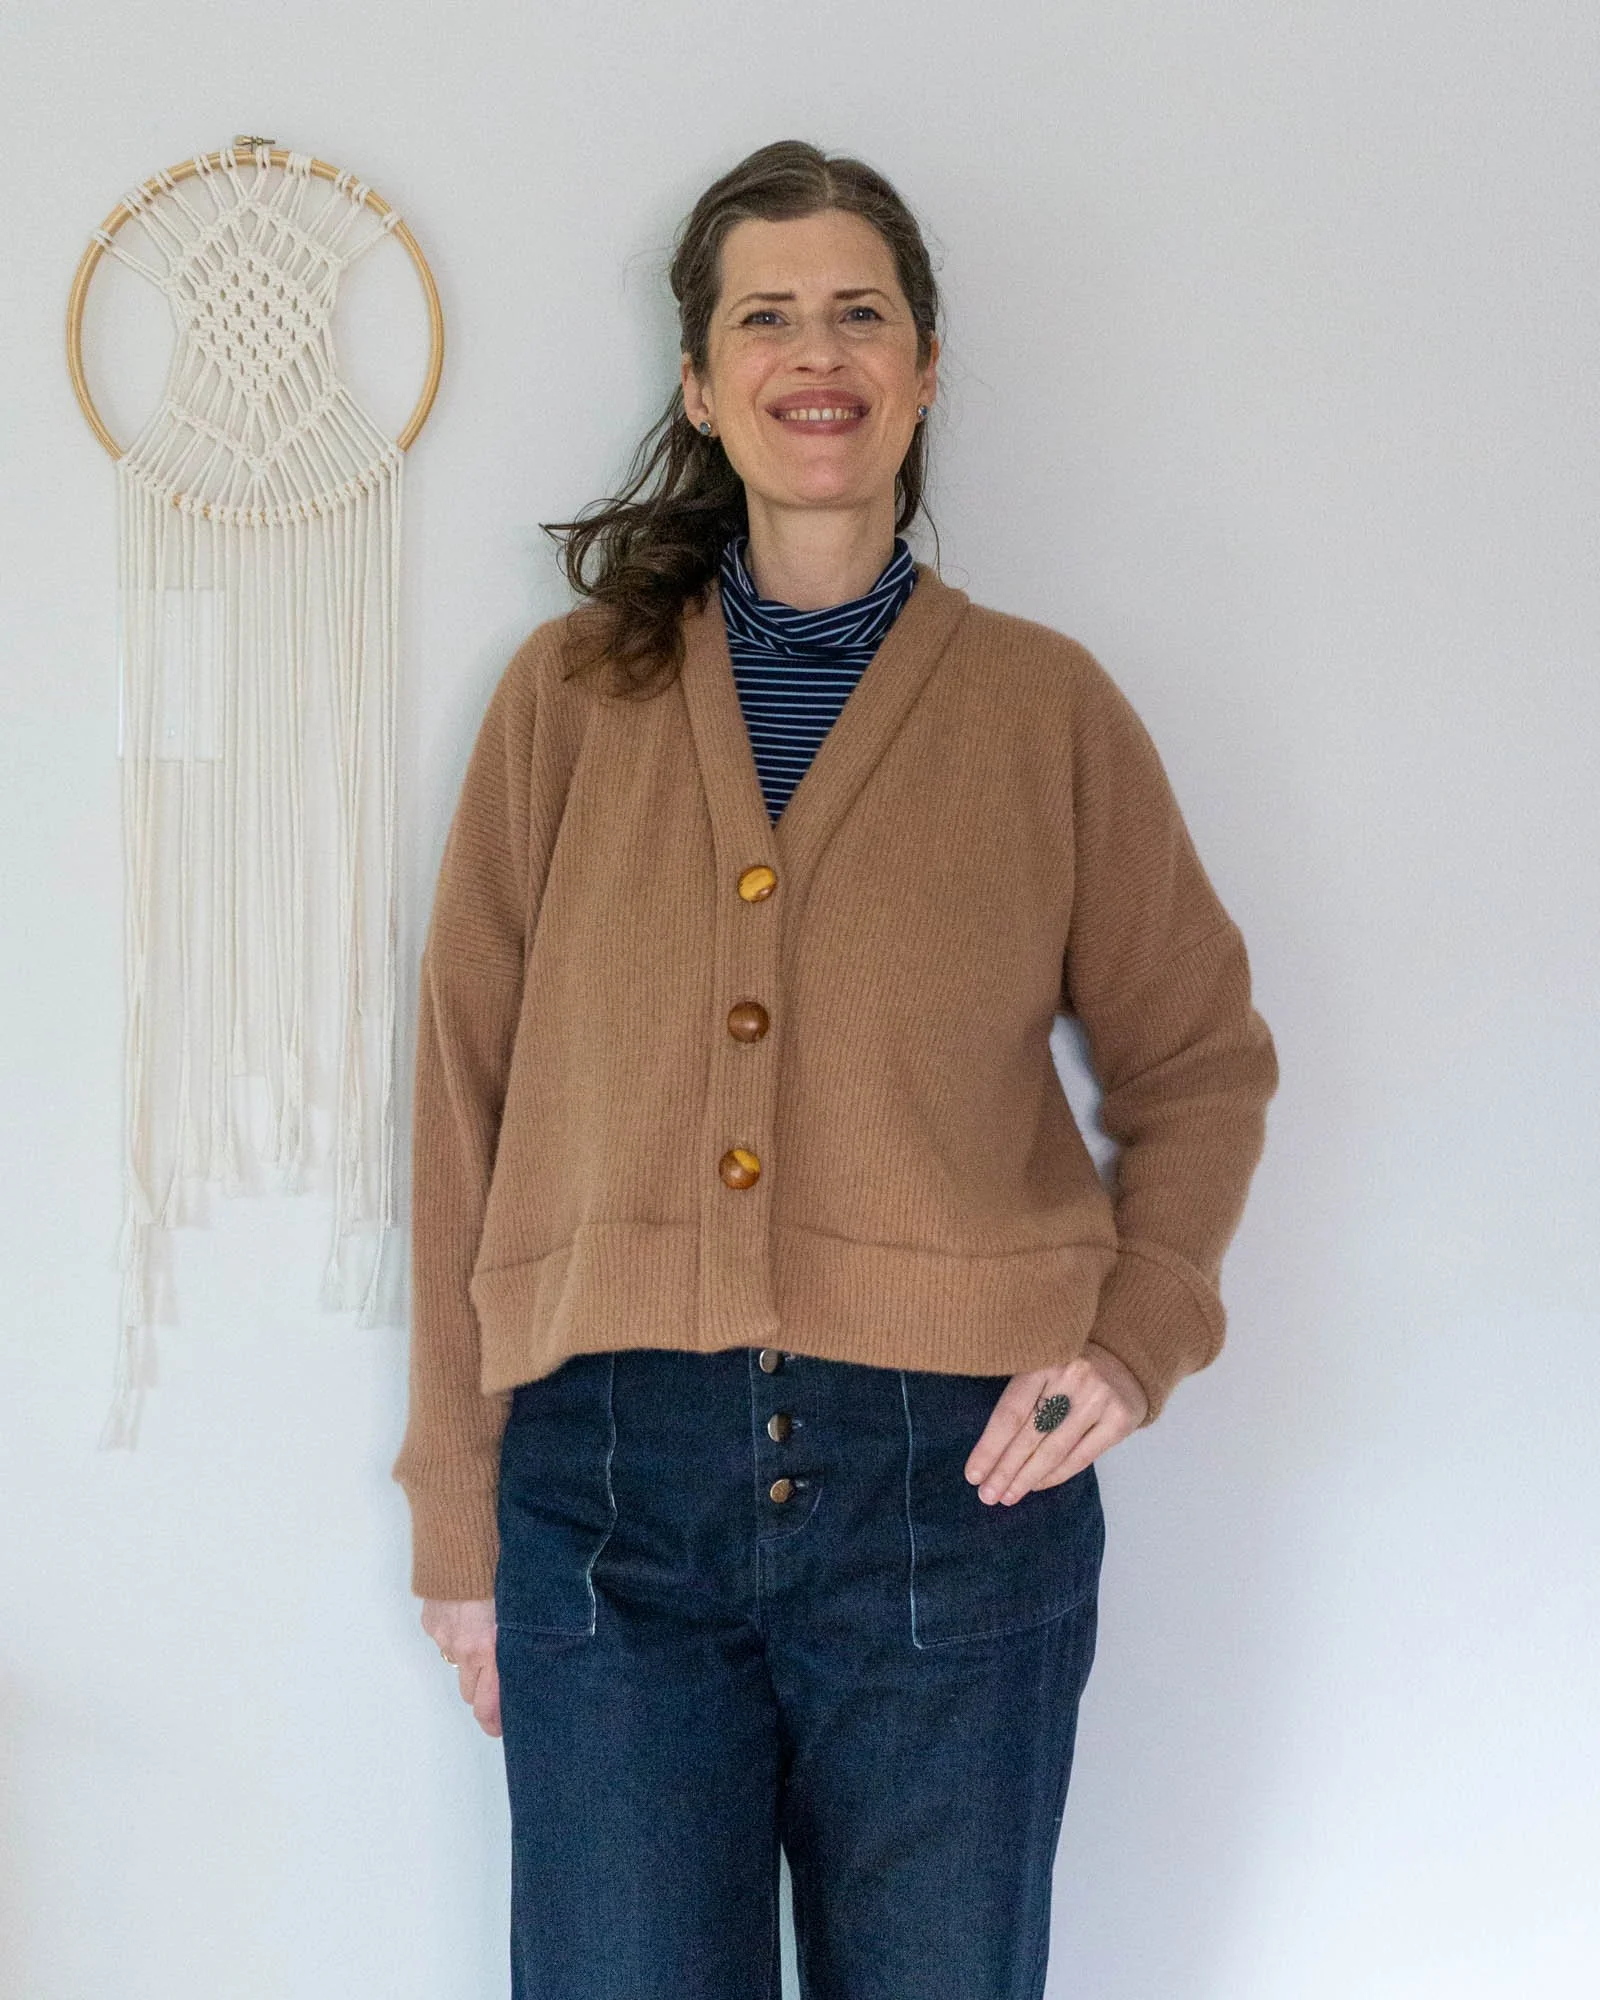
I have a very large stash of buttons (humble brag?) and found these three gorgeous wooden buttons. They are about 1” wide. I would have preferred to have four but I just loved the buttons too much. So, I lowered the neckline a bit and stopped the buttons before the hem band. I think it looks like a design feature now.
This video is about 28 minutes long !!! My fabric was challenging to work with, so the process was a little bit longer than for a more cooperative fabric. (And trust me, this is edited down to just the meat, i.e. the explanations, not every single stitch.) The entire process of sewing probably took about 8 hours, although tbh I never really time myself.
If you want to skip to a certain step, time stamps are below:
00:05 Intro
2:00 Part 1: Pattern Piece Overview
4:10 Part 2: Serger Setup & Finish raw edges
5:25 Part 3: Stitch the shoulder seams
7:43 Part 4: Stitch the sleeves
9:33 Part 5: Stitch the underarm seam
10:34 Part 6: Attach the cuffs
13:54 Part 7: Attach the hem band
17:00 Part 8: Attach the neck band
22:38 Part 9: Sew the buttonholes and buttons
25:55 Outro
Links mentioned in the video:
🧵 How to sew a cardigan with a serger (this is a video of sewing a cardigan with a thin sweater knit fabric)
🧵 How to clean up seam allowances
TIPS FOR SEWING THICK RIB KNIT FABRIC
Increase the differential on the serger
Try decreasing the pressure of the presser foot
Sew clear elastic into the seam to prevent stretching
Sew bands in two steps to avoid stitching through more layers
When sewing buttons, try a buttonhole specifically for knits


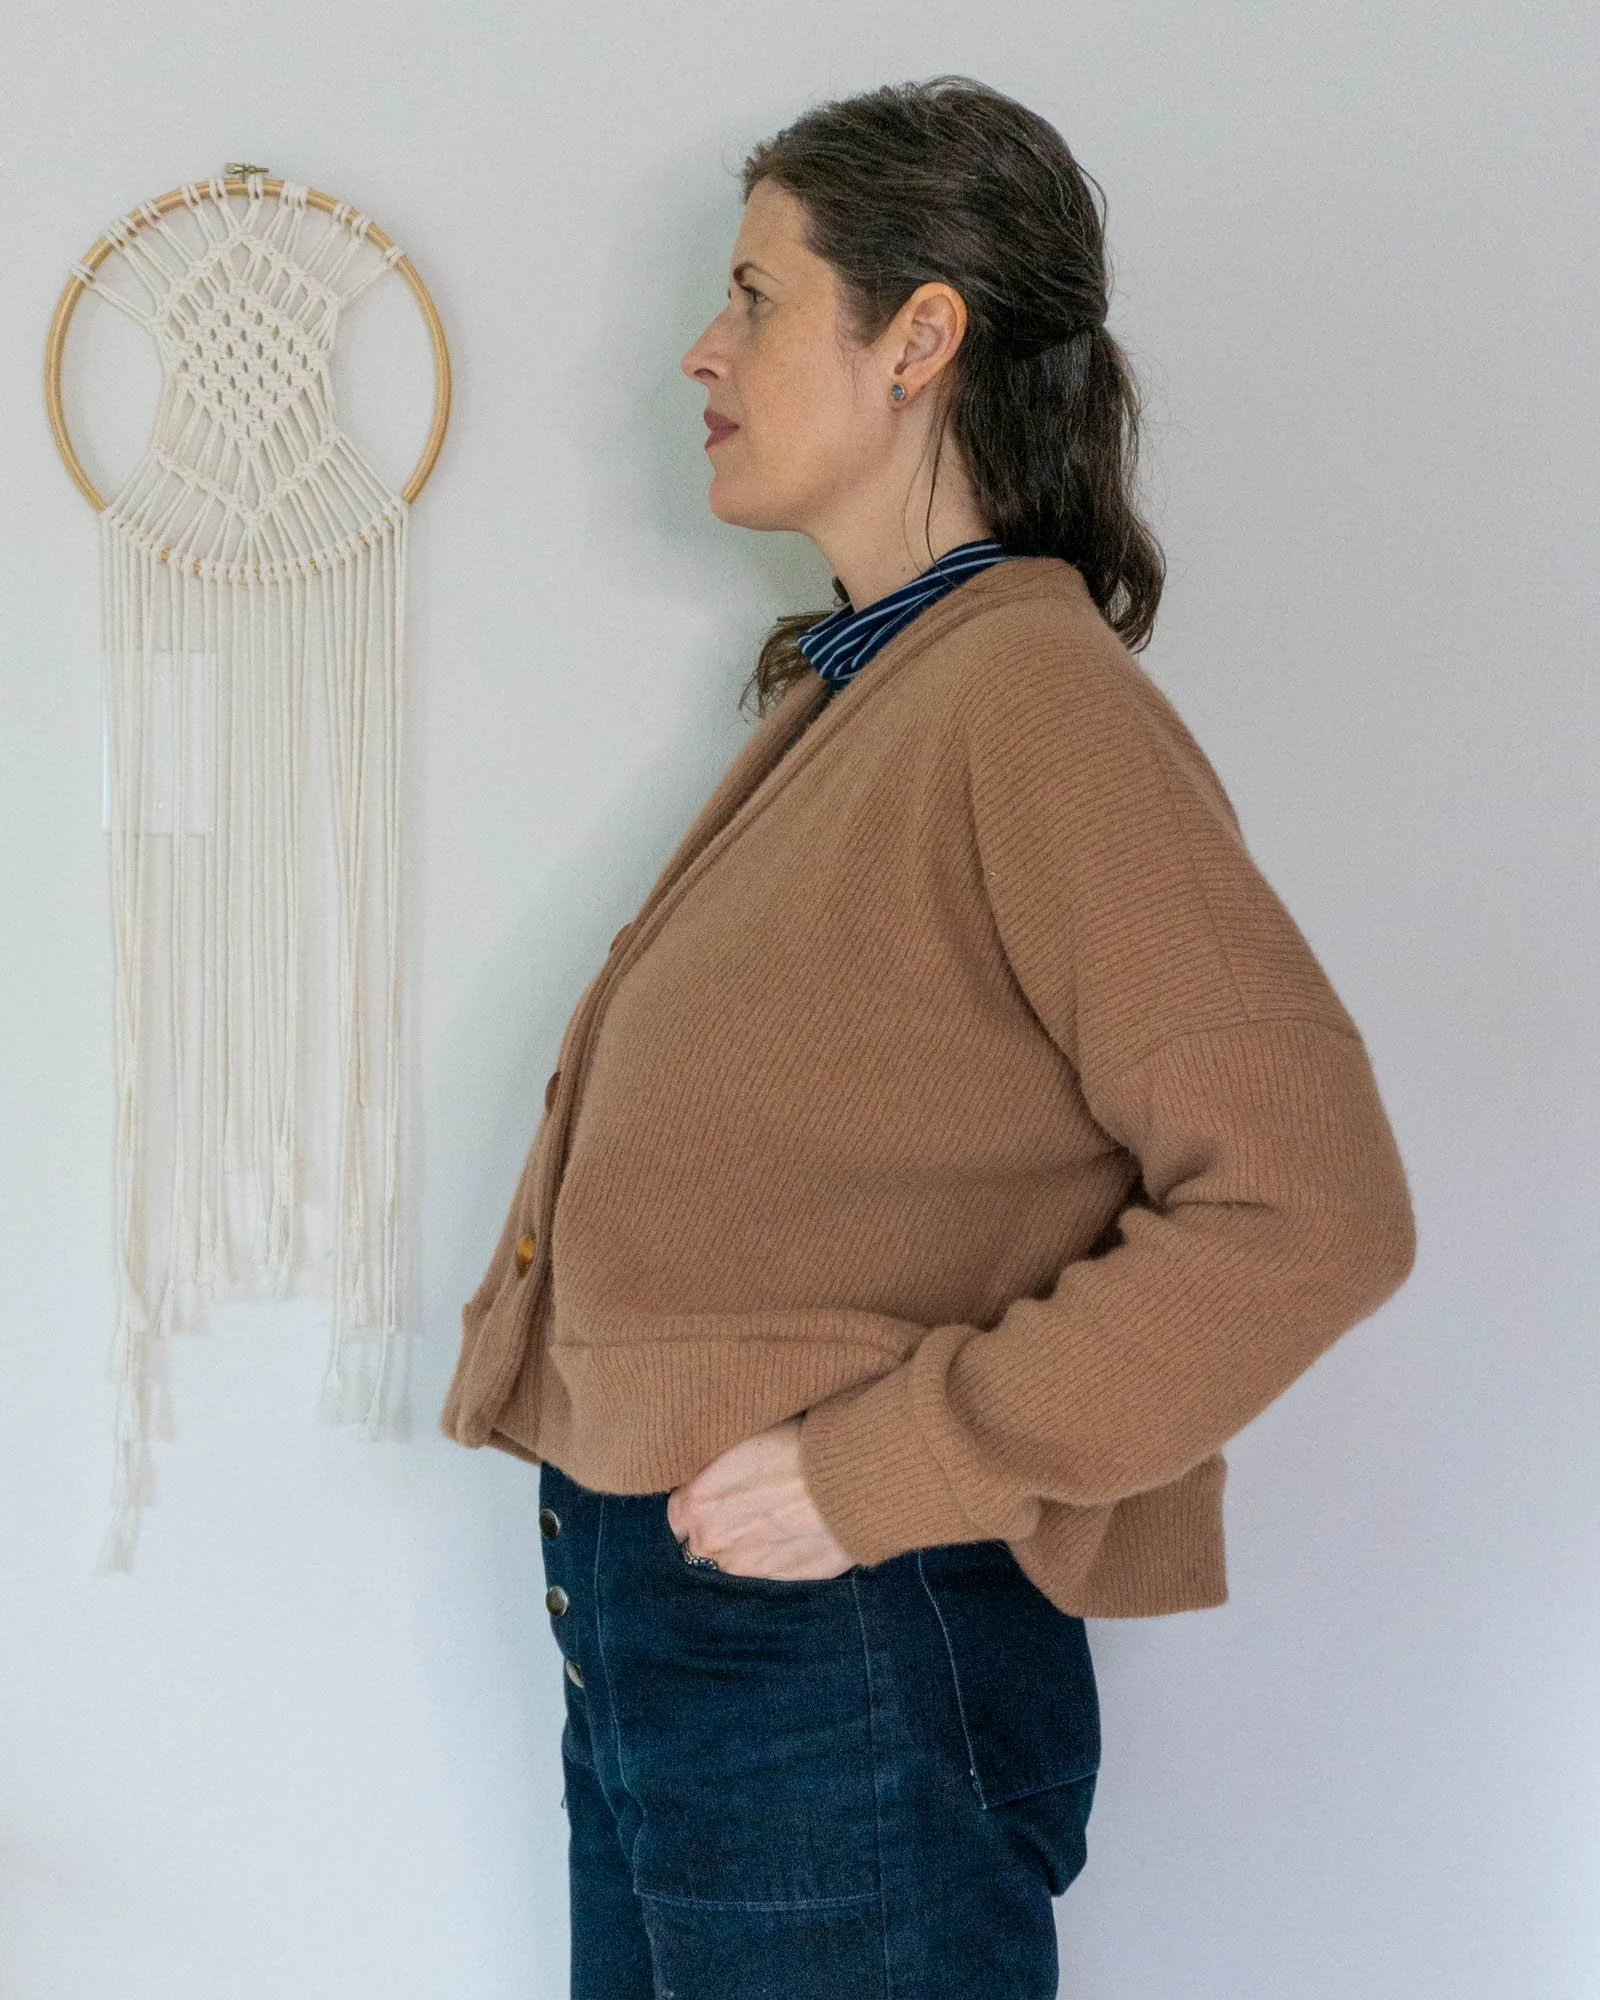
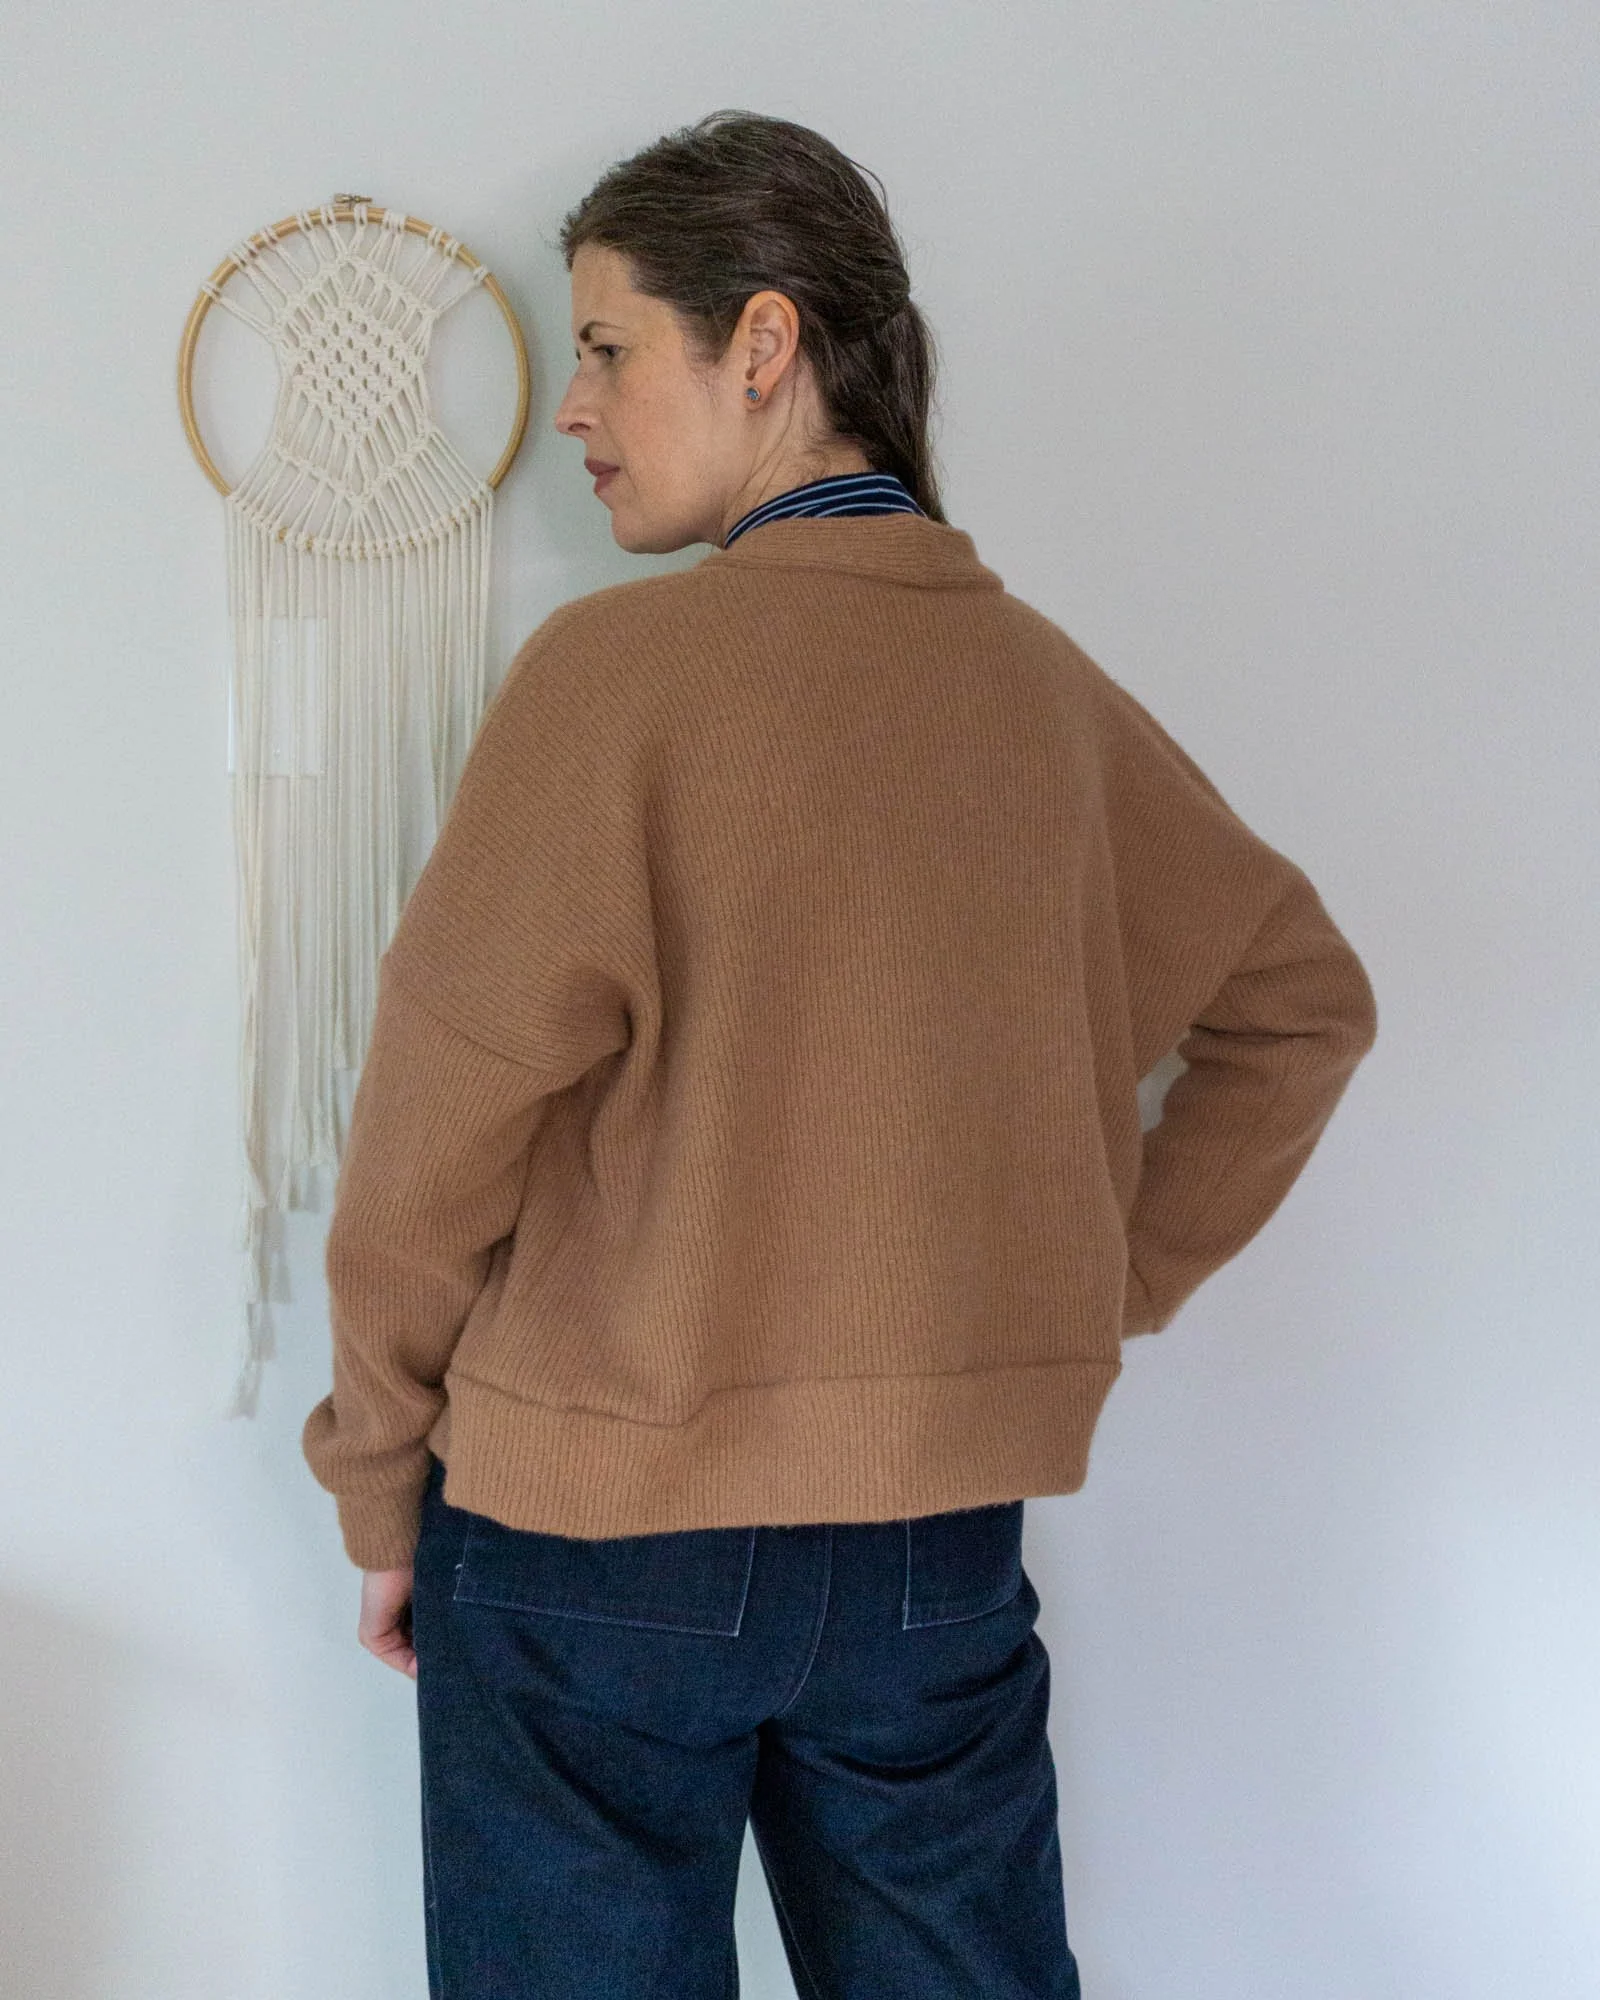
I think the fit is pretty good and is what I was intending. It’s hard to go wrong with an oversized cardigan, tbh. I love the shape of the back that you can see in the above right photo. If I were to make changes, I might try tapering the arms more and tapering the body towards the waist. It feels a little too bulky around the torso.
Overall, I’m happy with it and I’ve been enjoying wearing it! It was kind of frustrating to sew because the fabric was so uncooperative but I’m glad that I like the final result. I actually have another very large piece of sweater knit that I got at a fabric swap a few years ago and I’m tempted to try another version of this cardigan. I just have a few other projects in the queue first. :)
I hope that you found the video helpful. Please let me know in the comments if you have any questions and I’ll do my best to answer. If you’d like to save this post for later, you can pin one of the images below.