
I’m always looking for ways to improve my topstitching because I feel like really accurate topstitching makes a garment look so much more professional. So, to help myself dial in my topstitching, I decided to get a special sewing machine foot called an edge stitch foot.
This is a special sewing machine foot accessory that (usually) does not come with the machine and it was not cheap. I’m not sure what I originally paid but it’s now running about $32 USD. I honestly don’t know if the machine foot is worth the cost. Time will tell on that. But, I will definitely be using it for the next button down shirt that I sew.

The edge stitch foot is helpful when sewing a top stitch very close to the edge of the fabric. For example, when sewing a button band, a pocket or topstitching a collar. When you move the needle to the left, you can stitch up to 3/8” away from the plastic guide, so it can even be used for a narrow hem.
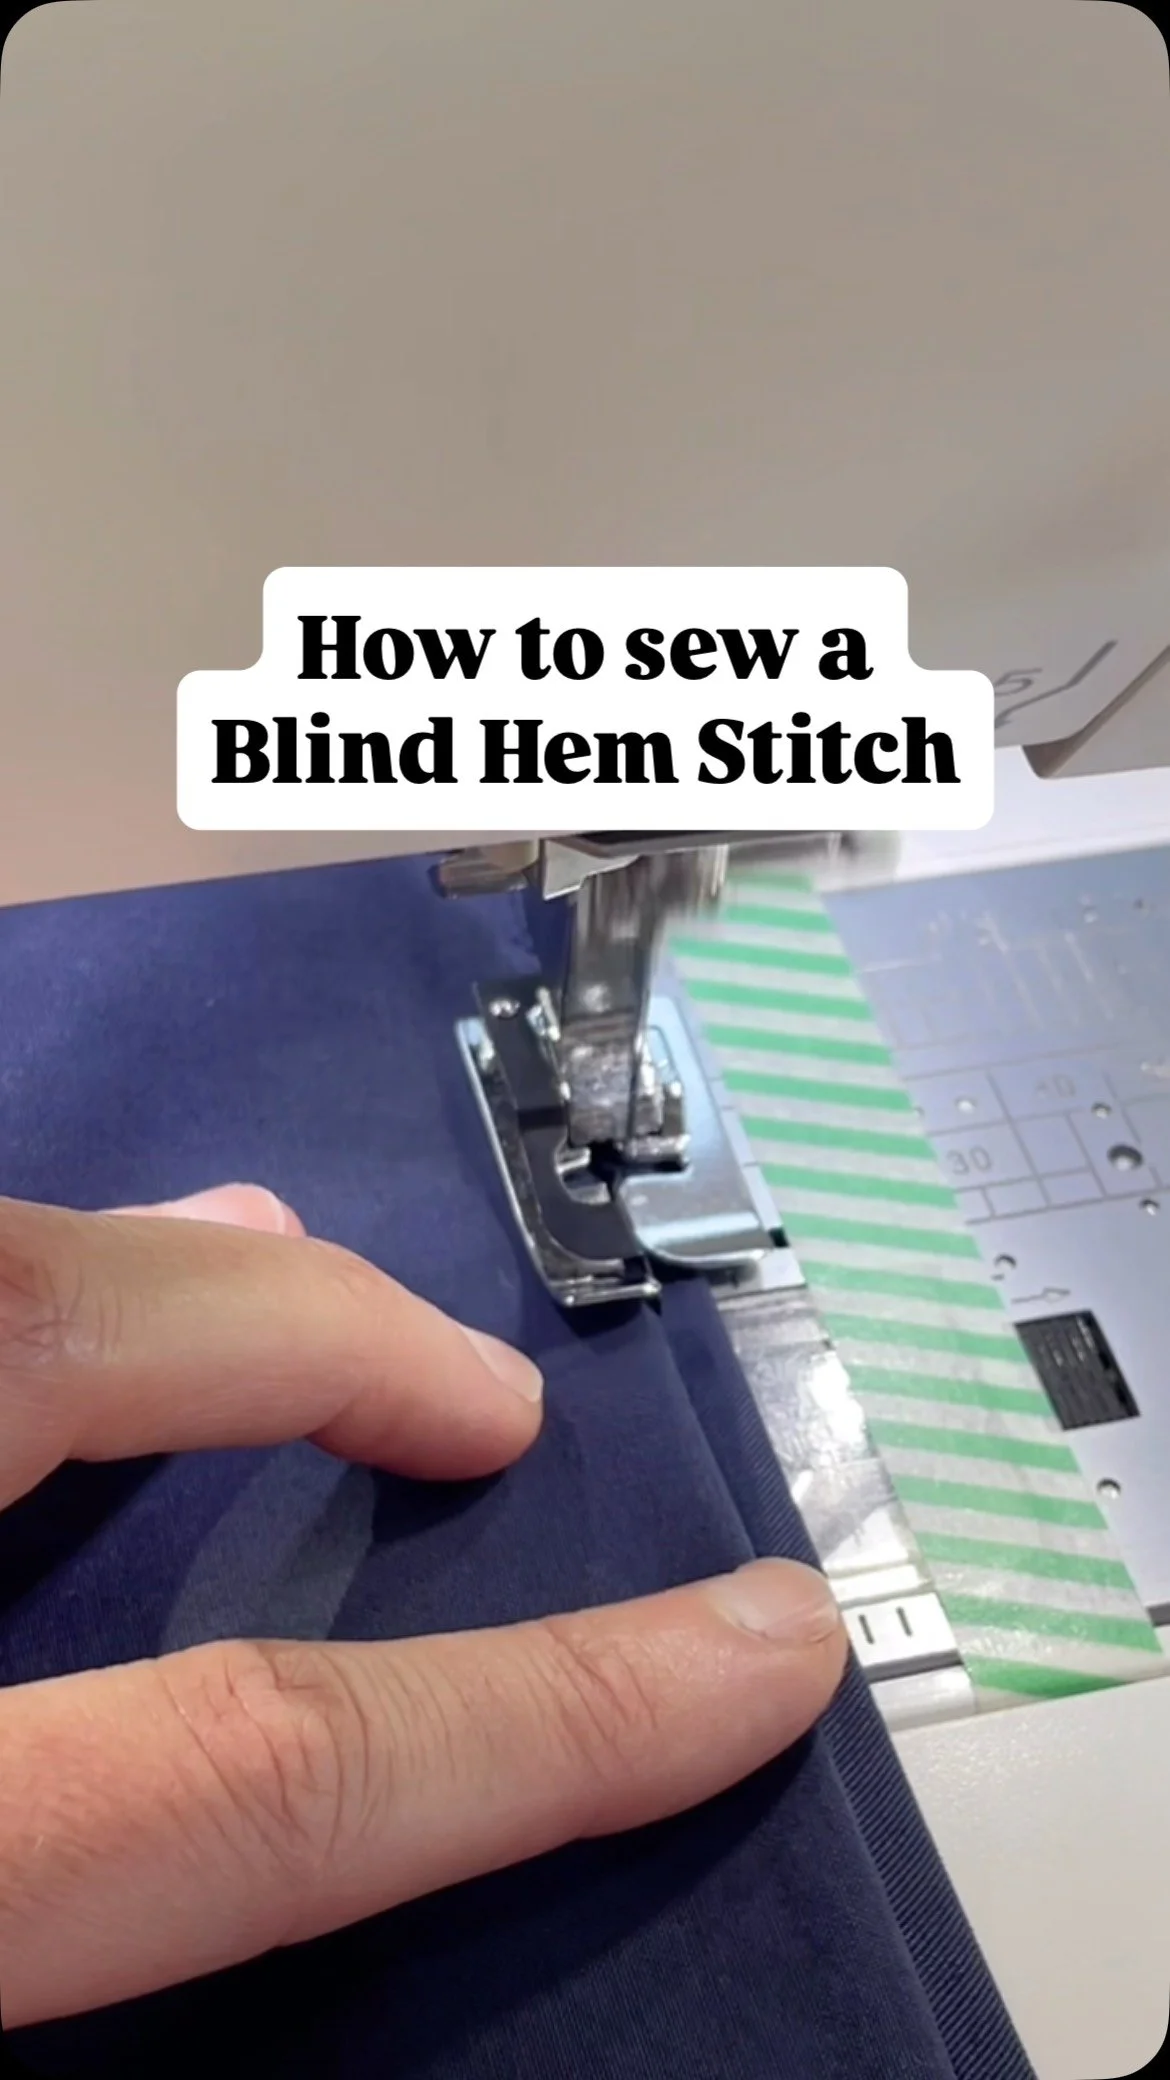
In this video, I'll be showing you how to adjust the foot to get the settings you desire and how to stitch with it. This foot features a ruler guide in the front and an adjustable plastic guide on the right edge.
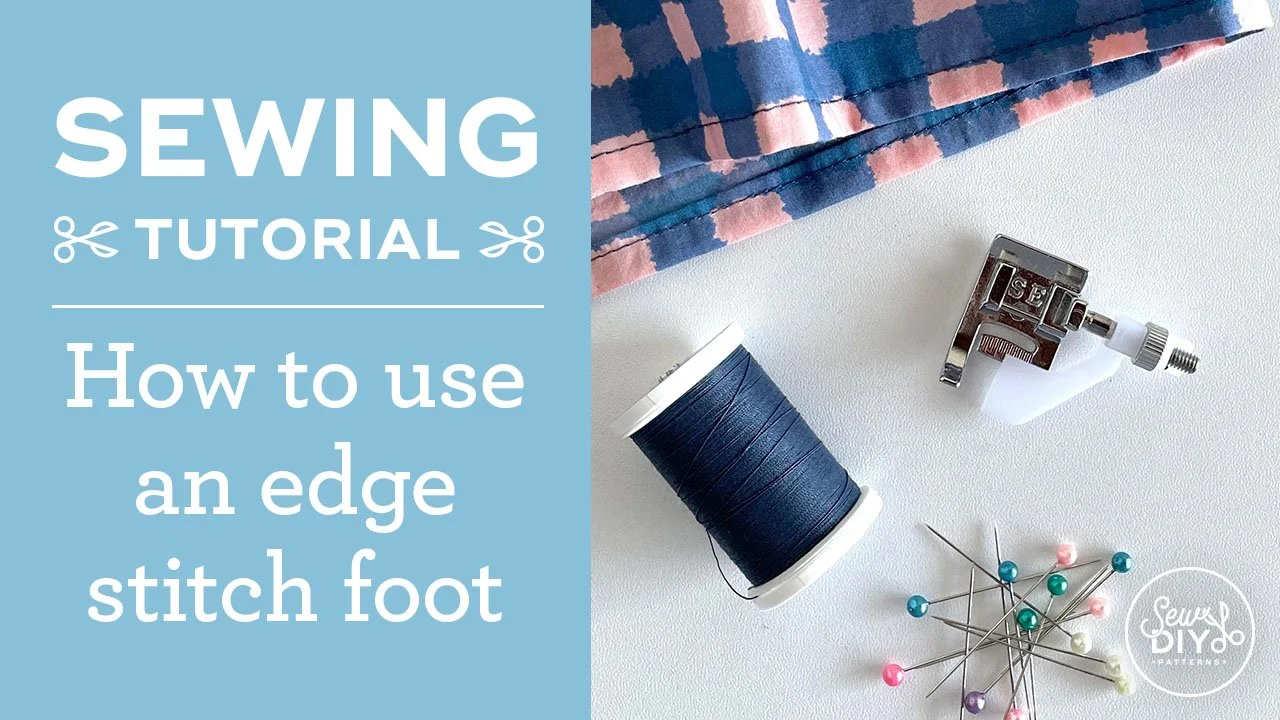
Watch the video above, or if it's not working, you can watch it on YouTube here.

This is the edge stitch foot I'm using in the video. The foot I'm using was produced for the Janome brand of sewing machines. I really like that I can adjust the plastic guide and that I’m able to use my needle in any position. My Janome Memory Craft has a 9mm opening for the needle and I’m able to use that full range with this foot.
If you're interested in getting an edge stitch foot, make sure to find one that is compatible with your sewing machine. This is VERY important. Not all feet will be able to attach to all machines. You don’t want to waste your time and money on a foot that won’t work.

So does this accessory guarantee success? No, you still need to feed your fabric evenly and keep it aligned with the guide. But, I think it’s helpful overall. I don’t know if the machine foot is worth $30. Time will tell on that. I will definitely be using it for the next button down shirt that I sew.
When using this foot, I recommend making notes on a piece of paper or in your phone of the needle position or positions that you are using as well as the position of the guide. This way, as you sew your garment and change from sewing seams to topstitching, you’ll be able to find the correct settings quickly and easily.





Let me know in the comments if you have any questions and save this post for later by pinning the image below to Pinterest. Happy sewing!


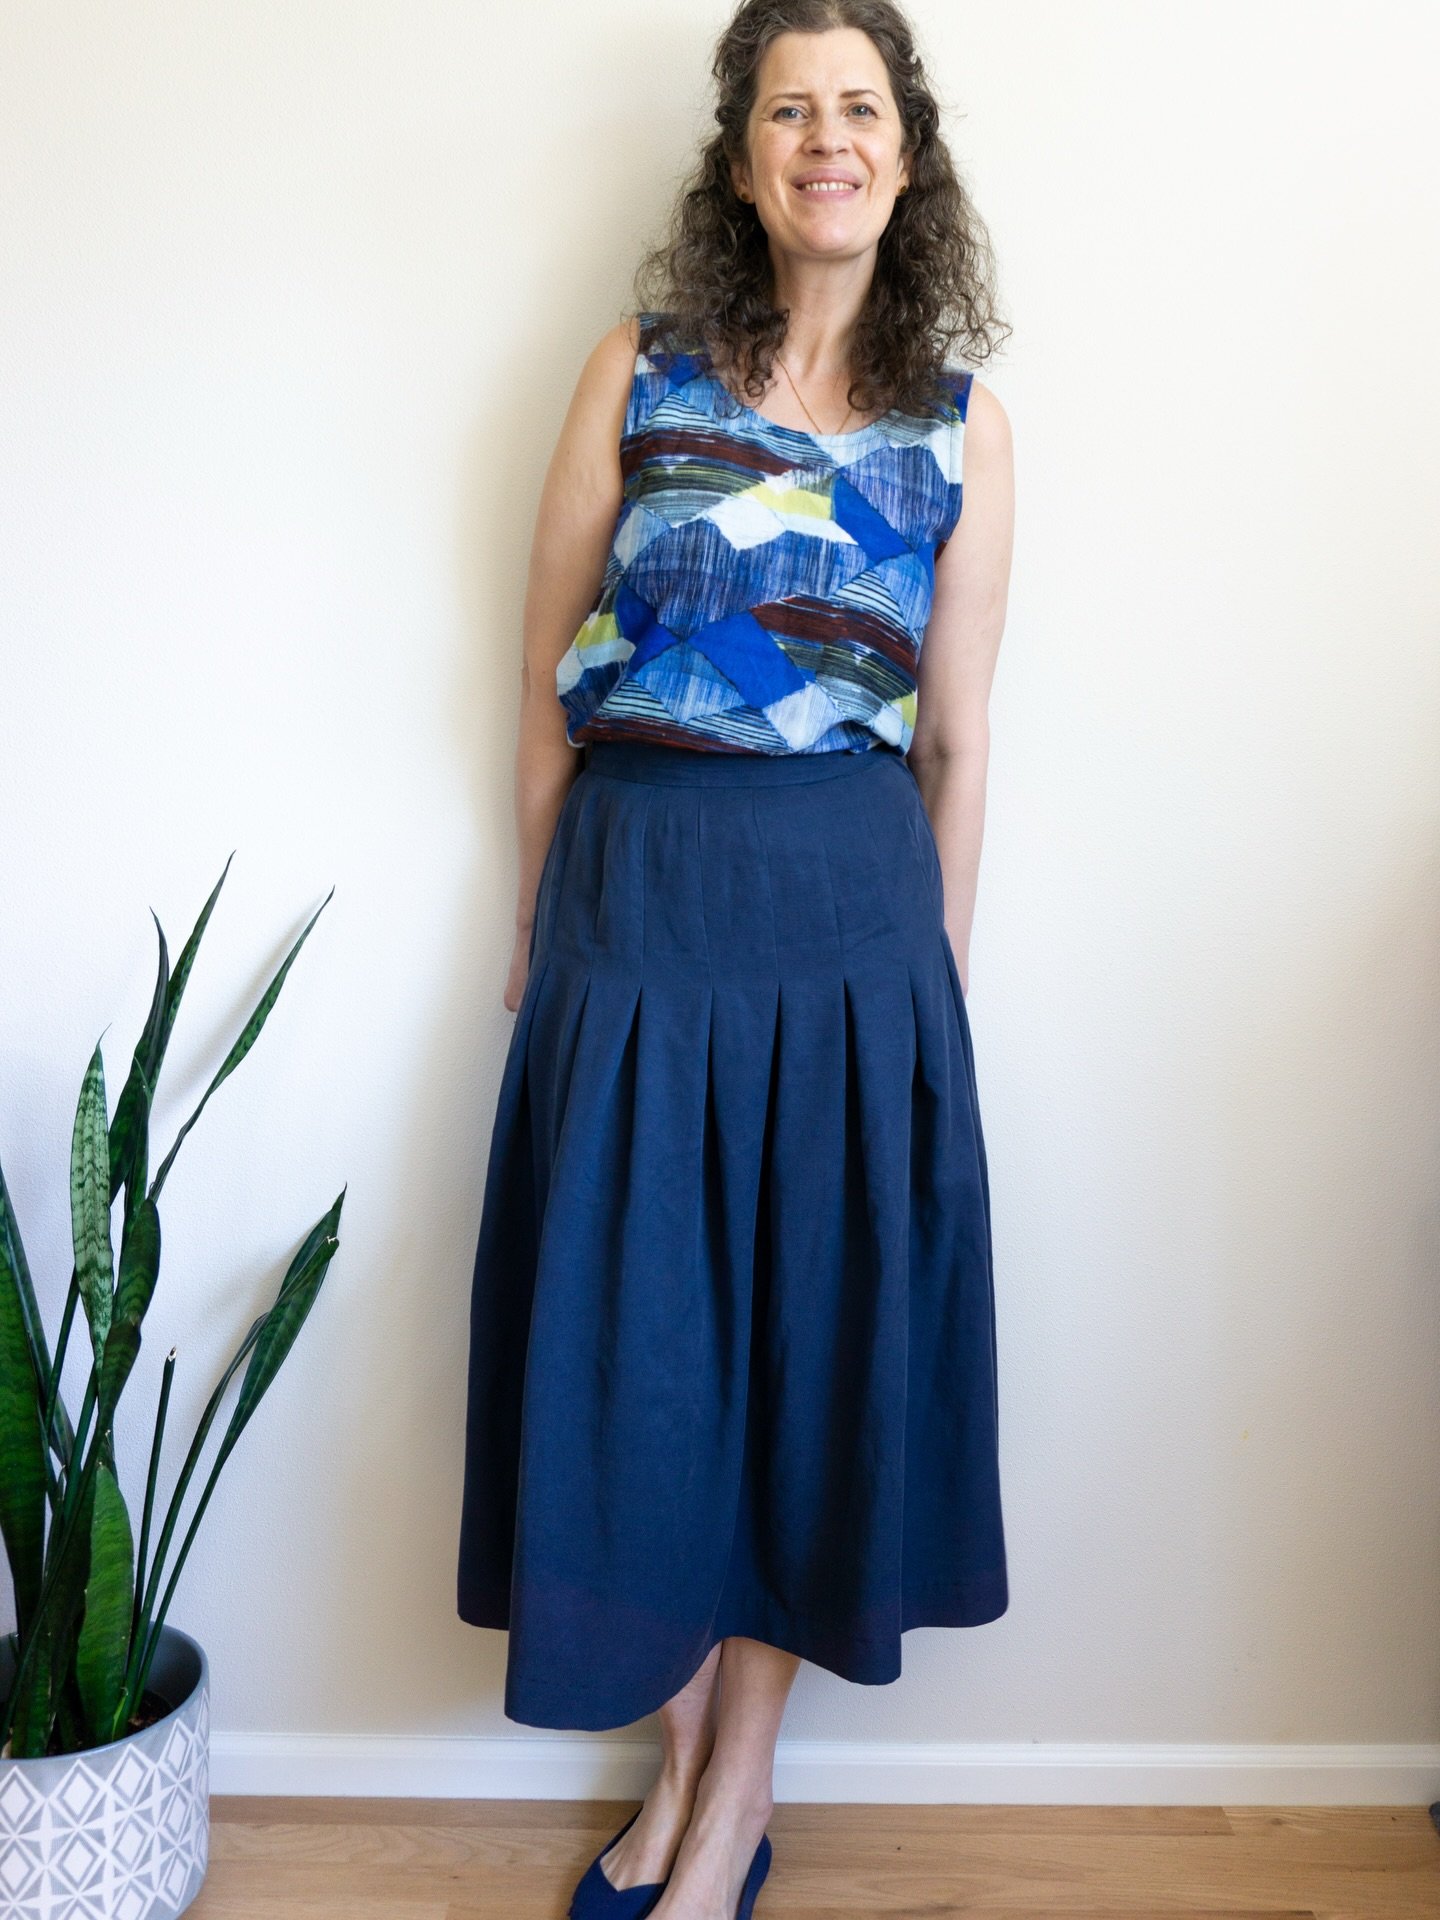
These semi-fitted tops and sundress feature a square neckline, side bust darts and are fitted at the back with a combination of narrow elastic and criss-crossed lacing. View A is a crop top that ends at the waistline. View B has a ruffled peplum and ends at the high hip. View C is a dress with a calf-length skirt and ruffle at the hem.
The pattern is a hybrid of a traditional pattern that you need to print and a zero-waste style pattern. You will need to print (or project) the front bodice and front facing pattern pieces. The remaining pattern pieces are rectangles that you can draw directly on your fabric (or paper) and then cut out, saving you paper and fabric.
This digital pattern includes an illustrated, step-by-step instruction booklet, a print-at-home layered pattern for letter or A4 size paper, a US copy shop pattern, an A0 size pattern and a projector pattern. All pattern files have layers. Pattern files are separated by cup size so that you can easily print only the pattern pieces that you need.
Visit the sewalong for more information, tips and tutorials.
Model is 5’11” and is wearing a size 12 C/D cup.
THIS IS NOT A PHYSICAL PRODUCT. After checkout, you will receive a link to the pattern that will be active for 24 hours after you click it. Prices are in USD.