Hello sew-friends! Today we're talking about how to make a shoulder slope adjustment to your sewing pattern. This is a simple adjustment that makes a BIG difference in the fit of tops, blouses and dresses with a shoulder seam. I didn't discover this fitting adjustment until many years into my sewing journey and now I'm kind of obsessed with it.
I have rather square shoulders, meaning my shoulders extend from the neck at almost a 90 degree angle. Most patterns are built with some downward slope to the shoulder seam so on my shoulders, tops would jut up at the neck. There was one shirt in particular that would stand up away from my body when I sat down that made me realize how ill fitting it was at the shoulder.
Thus began my admittedly mild, yet enduring fascination shoulder slope. After discovering my own need for a square shoulder adjustment, I started analyzing the shoulders of everyone I saw, friends, coworkers, strangers on the street, even people on tv. And let me tell you, it varies WIDELY. And it's not gender specific. I think we would be hard pressed to find an "average" shoulder slope, which means it's a good idea for everyone to check the fit of the shoulder slope when sewing.
So, what does the shoulder slope adjustment do? It simply adjusts the angle of the shoulder seam to match the angle of your shoulders. Our shoulders can extend from the neck anywhere from a 90 degree right angle to a very sloped angle.
A few notes on shoulder slope:
In my personal experience, I've found that tank tops with smaller straps are generally less of a problem than garments with a wider shoulder seam, like a blouse or button down shirt.
A garment with raglan sleeves or a yoke that crosses over the shoulder seam does not lend itself well to this adjustment, and usually this adjustment is not needed. That said, with raglan sleeves, you can add a dart along the top of the shoulder, starting at the neck to adjust the fit.
This is a great adjustment to do at the beginning of fitting, even before you make a muslin. See the section below about making a template of your shoulder.
You may have asymmetrical shoulders, in which case you'll want to fit them separately.

In the video above, I talk about what shoulder slope is, how to determine if you need to make a shoulder slope adjustment and demonstrate a square shoulder adjustment and a sloped shoulder adjustment. Scroll down for diagrams and if the video above isn’t working, you can also watch on YouTube.
TIME STAMPS
What is a shoulder slope adjustment 00:40
How to determine if you need a shoulder slope adjustment 2:09
How to make a square shoulder adjustment 4:39
How to make a sloped shoulder adjustment 6:56
PATTERNS MENTIONED/USED IN THIS VIDEO

HOW TO MAKE A SQUARE SHOULDER ADJUSTMENT
NOTE: When we test the fit of the muslin, we'll pinch out the excess fabric at the neck. But when we make the adjustment to the pattern, we'll ADD fabric to the end of the shoulder. This is so that we don't change the shape or length of the neckline.
SUPPLIES:
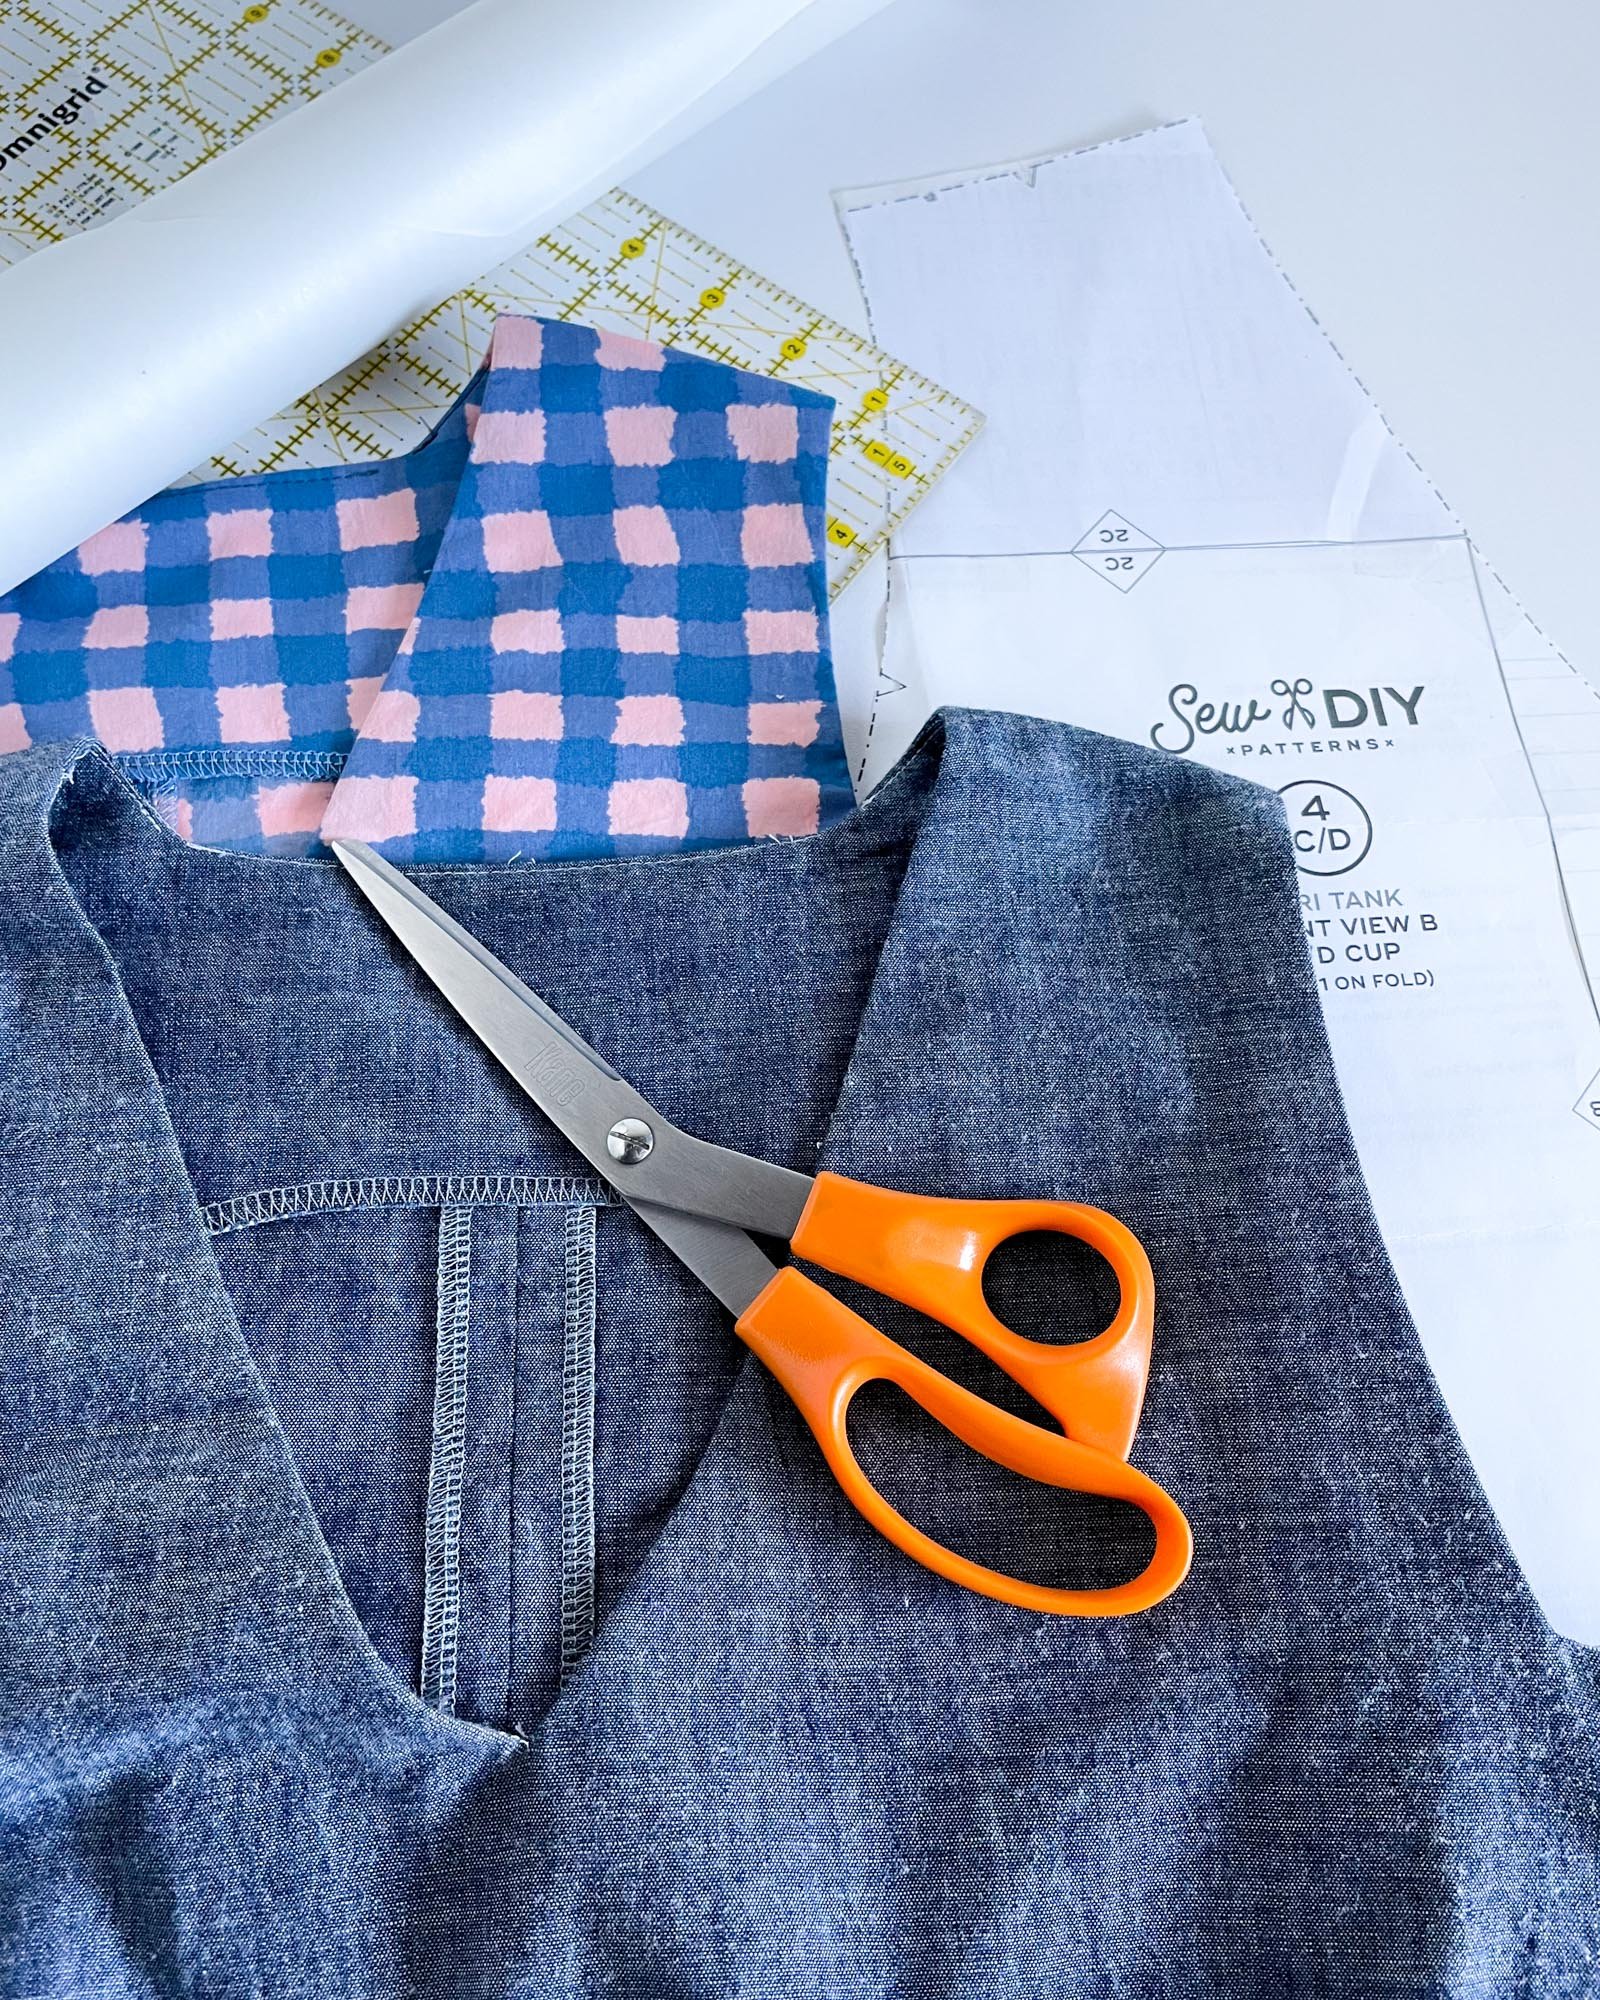
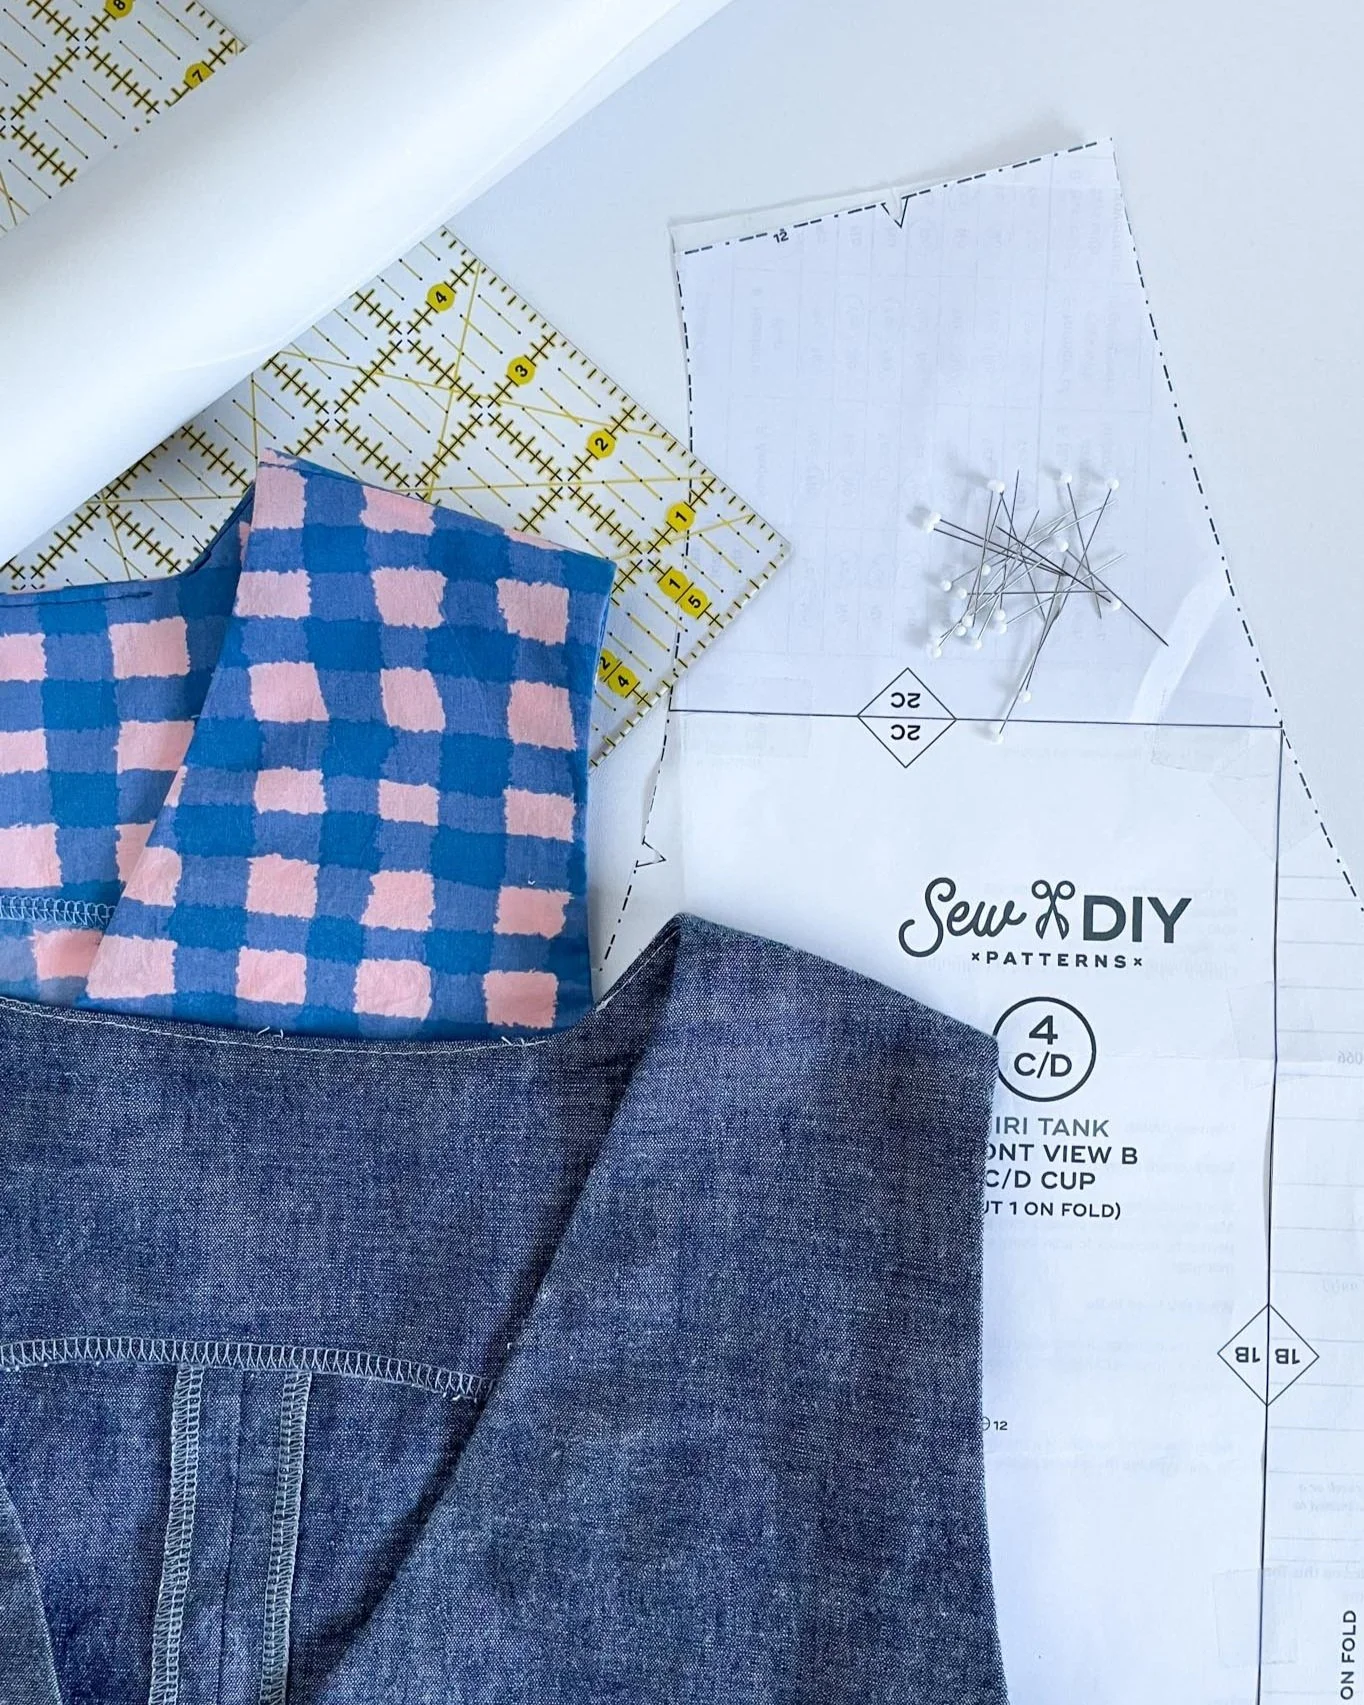
Pattern (Example pattern: Miri Tank Top)
Tracing paper
Tape
Ruler
Pencil or pen
Paper scissors
STEP 1: Make a muslin or use a template of your shoulder to determine how much of an adjustment you need to make. Pinch out the excess fabric at the neck edge and note the distance from the original seam line to the new seam line.
STEP 2: Tape tracing paper underneath pattern. Draw a line up from the outside edge of the shoulder, equal to the adjustment needed. Redraw the shoulder, tapering it to the seam line at the neck.
STEP 3: To keep the armhole opening the same length as the original pattern, we need to do the same adjustment at the under arm. At the under arm seam, draw a line up, extending the side seam the same amount that you added to the shoulder. Redraw the underarm, blending it into the curve of the armhole.
(NOTE: Step 3 is most important if you are making a garment with sleeves. If you are making a sleeveless top, you can skip step 3, just be aware that you'll have a bigger armhole opening.)
STEP 4: Repeat these adjustments for the back pattern piece and any facings.

HOW TO MAKE A SLOPED SHOULDER ADJUSTMENT
SUPPLIES:
Pattern (Example pattern: Miri Tank Top)
Ruler
Pencil or pen
Paper scissors
STEP 1: Make a muslin or use a template of your shoulder to determine how much of an adjustment you need to make. Pinch out the excess fabric at the shoulder edge and note the distance from the original seam line to the new seam line. This is “X” length in the diagrams.
STEP 2: At the outside edge of the shoulder seam mark the distance “X” down from the corner. Draw a new line from that point to the seam line at the neck.
STEP 3: To keep the armhole opening the same length as the original pattern, we need to do the same adjustment at the under arm. At the under arm seam, draw a line up, extending the side seam the same amount that you added to the shoulder. Redraw the underarm, blending it into the curve of the armhole.
(NOTE: If you skip Step 3, your armhole will be smaller than originally drafted.)
STEP 4: Cut along new lines.
STEP 5: Repeat these adjustments for the back pattern piece and any facings.
Is it possible to make a shoulder slope adjustment to an existing garment?
Maybe. It depends on the garment and the adjustment needed. For a square shoulder adjustment, it will be more difficult if the garment has a collar because you need to remove excess fabric from the neck area. If there is no collar though, you can unpick the facing and shoulder seam. Then make the adjustment to the shoulder seam and reassemble. Be aware that it will make the neckline a little higher, as it shortens the length. But it probably won't be significant and with the correct shoulder fit, the garment will be more comfortable to wear.
A sloped shoulder adjustment will be tricky if you have sleeves on the garment because you need to remove fabric at the end of the shoulder, which also makes the armhole smaller. If there are no sleeves, you can unpick the facing and shoulder seam. Then make the adjustment to the shoulder seam and reassemble. If this makes the armhole too small, you may also need to adjust the armhole opening at the side seam to make it bigger.
Make a shoulder slope template
If you sew a lot, you may want to make a template of your shoulder slope. The blog The Crooked Hem has a really detailed tutorial for how to do this accurately. You can then compare any new patterns to your template to determine how much you need to adjust the shoulder slope before making a muslin.
I've not made a template for myself (yet!) but I think it’s a fantastic idea and a great way to save time when pattern fitting.
I hope that you enjoyed this post. Fitting the shoulder slope to your shoulders is such an easy adjustment but it makes such a huge difference. It’s definitely worth taking the time to check and adjust the shoulder slope so that your garments hang properly on your body.
Save this post for later by pinning the image below. Happy sewing!