
If you've sewn a garment before, you may have encountered a basting stitch. And, if you keep sewing, you'll be sure to use it with most projects. Basting is a fundamental sewing technique because it's so useful. Even better, it's a very easy stitch to sew. In this post and video, I'll talk about what a basting stitch is, when to use it and demonstrate sewing a basting stitch by hand and by machine.
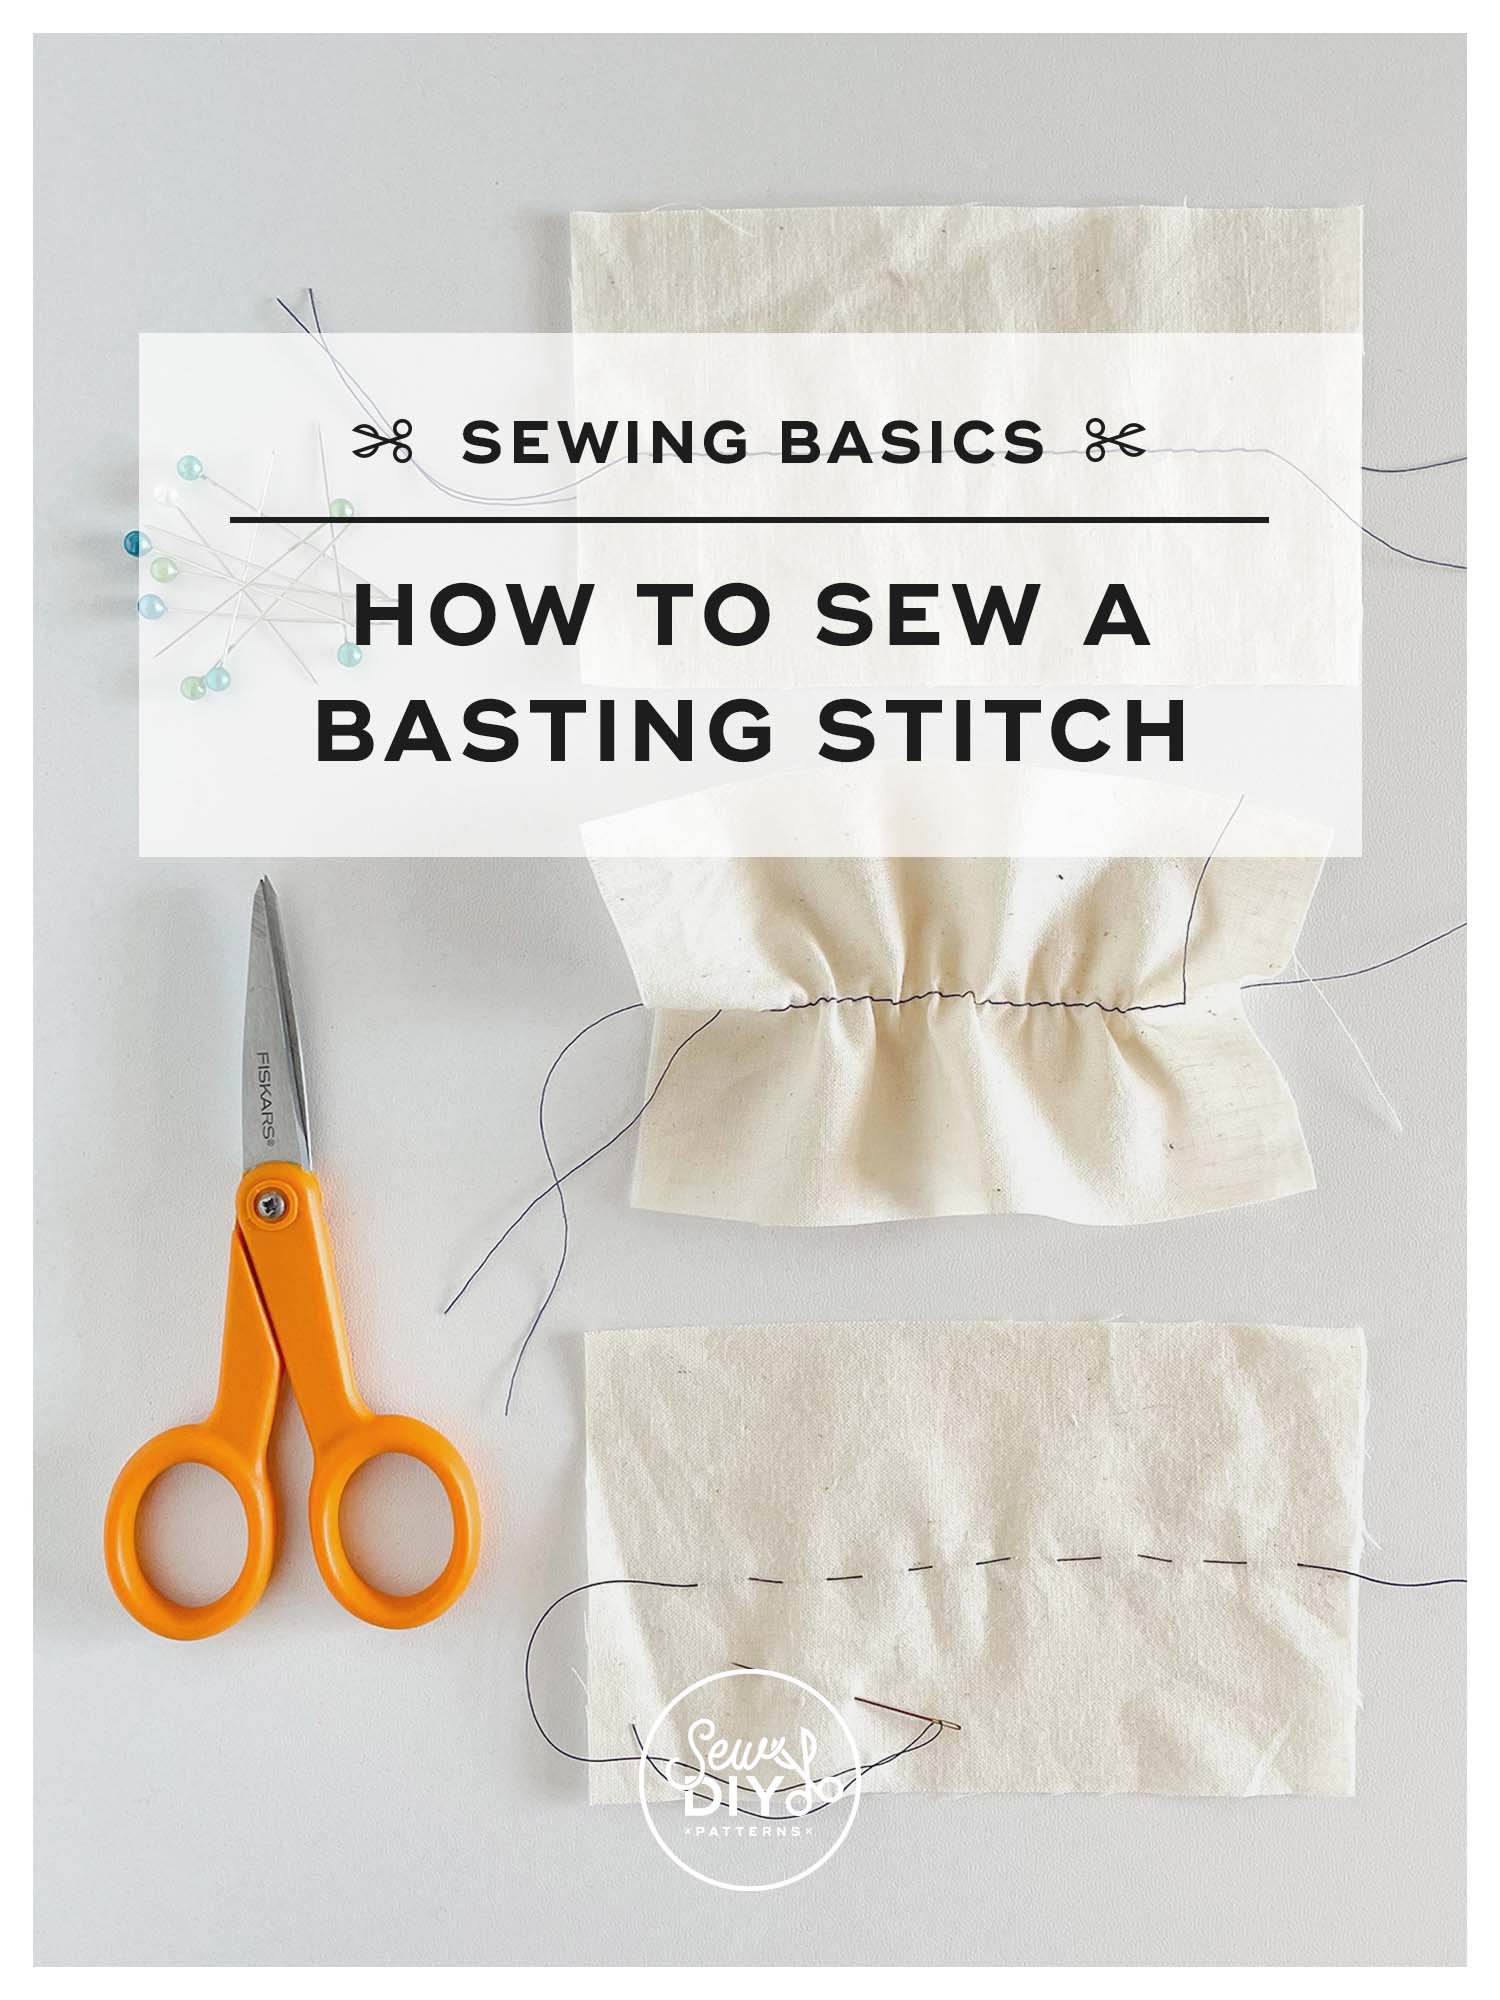
How to sew a basting stitch
Basting stitches can be done by hand or by machine. For my projects, I sew basting stitches by machine about 85% of the time. The two instances where I prefer to baste by hand are when attaching a zipper (especially if it's crossing a waistline seam) and when attaching an underlining. I've found that hand basting is more accurate and that accuracy is needed in those cases. This may be different for you depending on the types of projects you sew and the kinds of fabric you use.
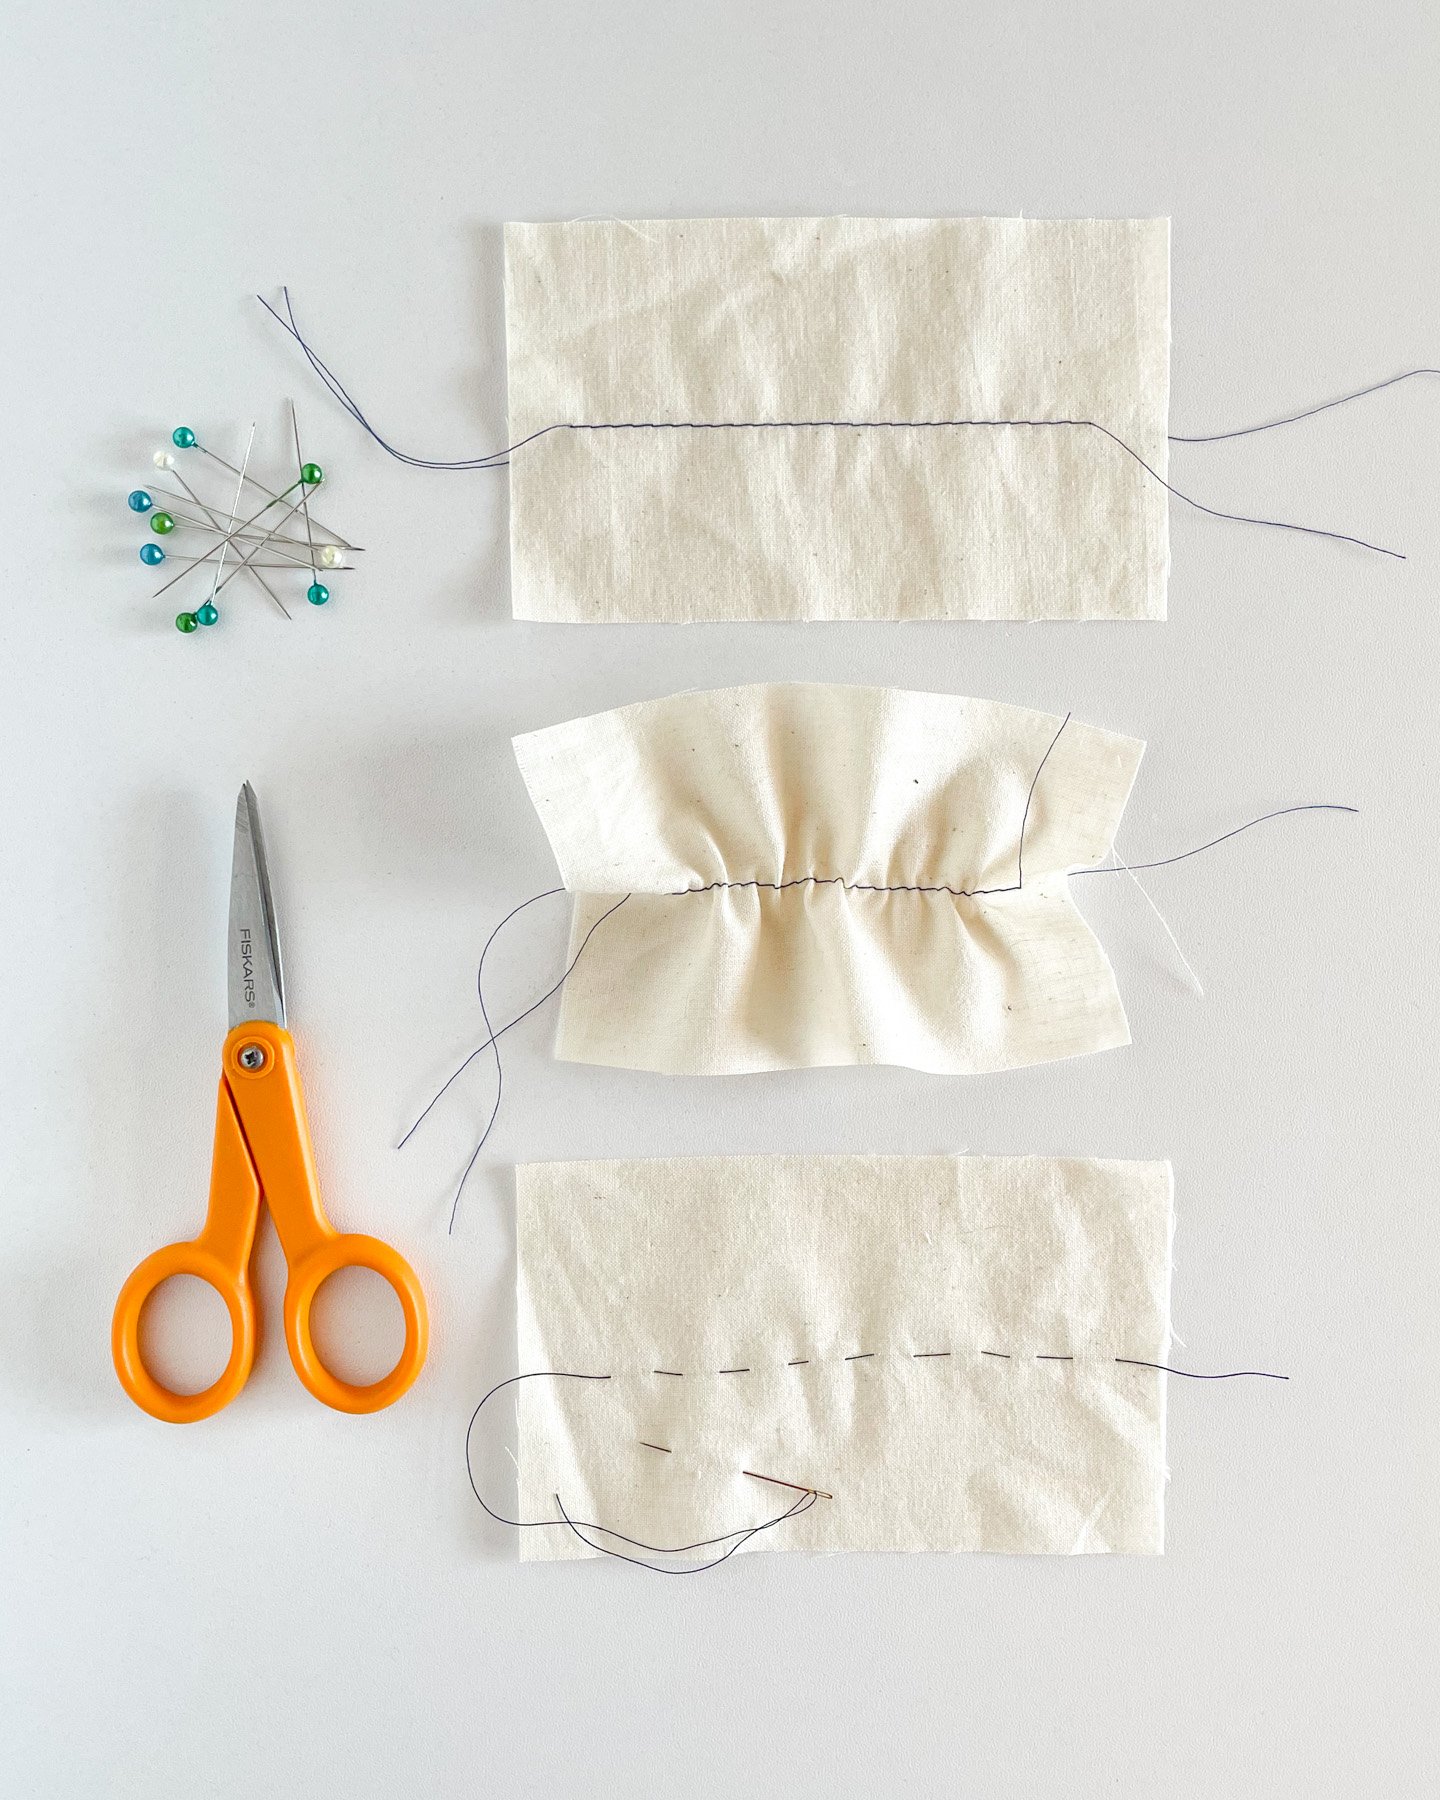
To baste by hand, thread a hand needle with a single length of thread. Stitch using a long running stitch. When attaching an underlining, I prefer to lay my fabric flat on a surface to keep all the layers perfectly aligned.
To sew a basting stitch by machine, all you do is set your stitch to a longer length. I generally use somewhere between a 4 and 5 stitch length. When I sew with woven fabric, I use a straight stitch. On the occasion that I'm basting together knit fabric, I will baste with a narrow (but long) zig zag stitch. The zig zag stitch will provide a little extra stretch.
To make the basting stitches easy to remove later, do not baste directly on the stitching line. However, if you don't plan on removing the basting stitches, you can go ahead and stitch right on that seam line.

Watch the video above or if it's not working, you can watch it on YouTube here.
There are three types of scenarios (that I thought of) where a basting stitch can be really helpful. The first type is when you want to hold layers of fabric together temporarily. It can be used to check the fit before sewing a seam, or help get things lined up correctly before using a shorter (and harder to remove) stitch. Check out numbers one to six below for examples. The second type is when you want to create gathers or need to ease the fabric. (See numbers 7-8 below.) The final type of scenario is when you create a guideline using stitching. (See number 9 below.)
When to use a basting stitch
When fitting a muslin (Or to test fit in general)
To hold layers of fabric together without using pins. For example, before stitching the layers of a yoke or pockets or pleats.
When inserting a zipper
When adding an underlining
When adding piping to a seam
To line up fabric with stripes or other print.
To help ease fabric at a sleeve head or curved hem.
To create gathers
To create a fold line at a hem or other edge

Should you remove the basting stitches?
If the basting stitches will be visible on the exterior of the garment, then yes. If they won't be visible, then it's up to you. If your fabric is particularly delicate, then you may want to leave the stitches in place to reduce the risk of damaging the fabric. I will usually remove the basting because it's satisfying and I imagine that it reduces bulk a little bit.
How to remove basting stitches
If it's a short length of basting stitches, you can simply pull one end of the thread and it should come out cleanly. If it's a longer length, for example when stitching a gathered skirt, you'll want to cut the thread in a few places to make it easier to remove. I recommend cutting the thread at least every five inches or so. Then gently pull to remove.
To be honest, I rather enjoy pulling out long pieces of basting thread but it can damage the fabric if you pull with too much gusto and/or the fabric is delicate. Also, sometimes, a basting thread will have been stitched over by another thread and is stuck. So, be careful as you remove the stitches.
I hope that you found this video helpful. If you’d like to support this comment you can visit the pattern shop, or “buy me a coffee”. Happy sewing!


