
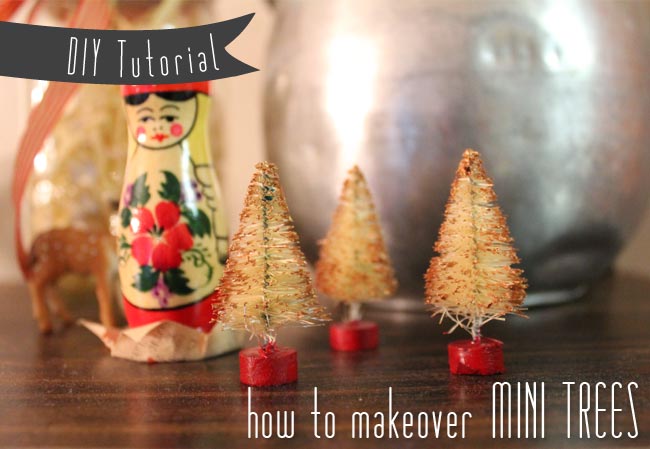
Maybe it's because I grew up in the woods of Oregon, but I love trees in pretty much any form. These sweet mini trees are frankly just adorable. I've seen a few bottle brush tree makeovers around the web over the last few years and wanted to try my own interpretation. I started with green trees with white snow tips and gold stands and turned them into white trees with copper tips and red stands. It's really easy to do. The only hard part is waiting for them to dry between each step. You could use these trees as part of a diorama, snowglobe, gift wrapping or any other Christmas decoration. I hope you enjoy!
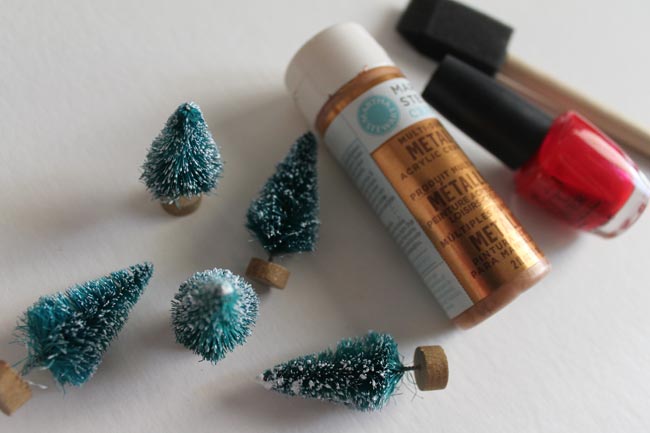
Step 1: Gather your materials
Mini bottle brush trees (I bought mine online)
Bleach
Rubber Gloves
Metallic paint
Red nail polish or paint
Foam brushes
Glitter (optional)
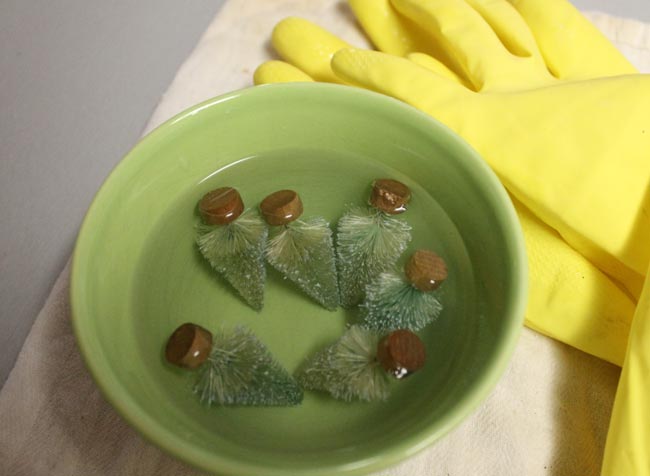
Step 2: Bleach the trees
Put a few tablespoons of bleach in bowl with water. Add your trees and let soak until they are desired shade. Wearing rubber gloves, remove trees and thoroughly rinse. Set on a towel to dry.
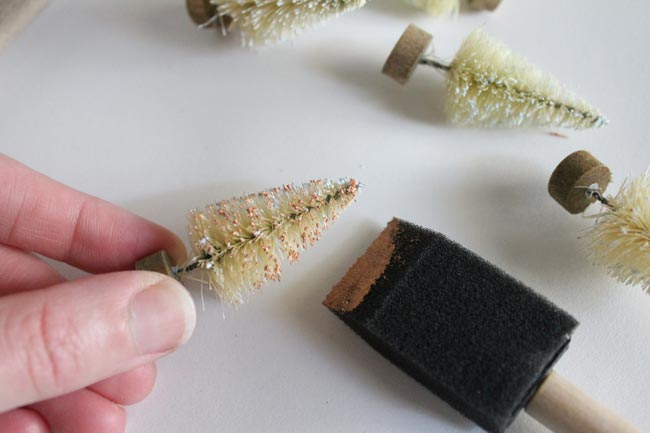
Step 3: Paint tips of trees
Using a foam brush carefully dab copper paint onto the ends of the trees. Set tree on base and allow to dry.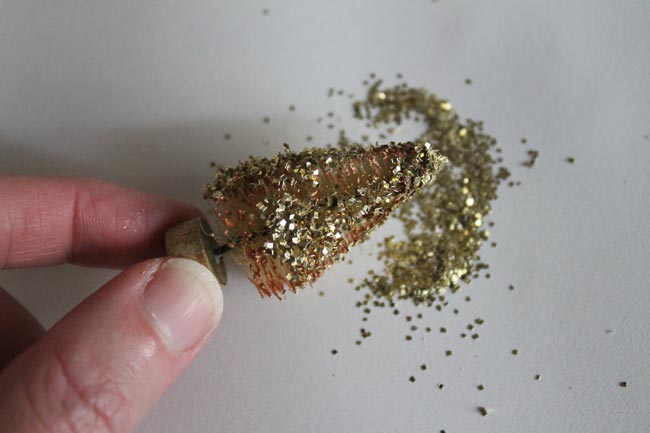
If desired, dip your tree in glitter before drying.
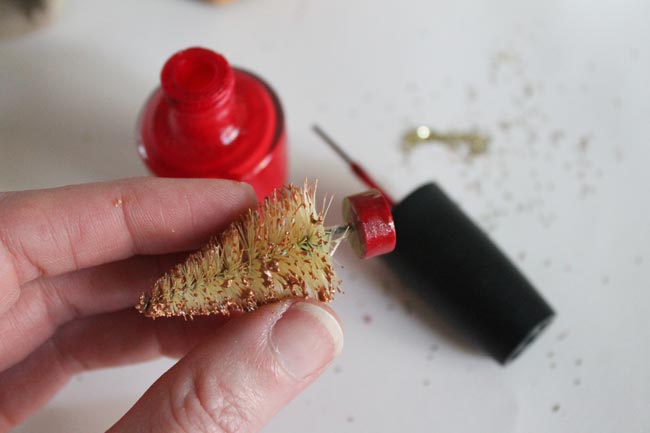
Step 4: Paint tree stand
Using red nail polish paint the tree stand. Rest tree laying down on a piece of paper to dry.
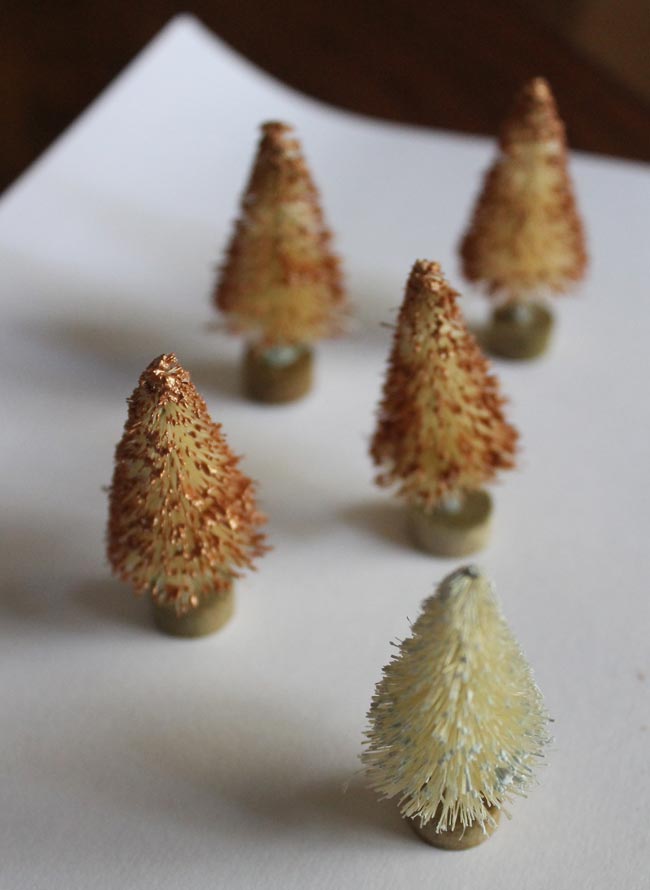
I think the trees look pretty good at every step during the process. So feel free to adapt colors and steps to get the look you're going for. I decided to paint the tips of the tree "branches" because there was some lingering green color on the white "snow" paint. I wonder if it's possible to dye the trees a soft blue or pink. Wouldn't that be pretty?

Are you doing any Christmas decorating? Have you ever played around with mini trees?


