
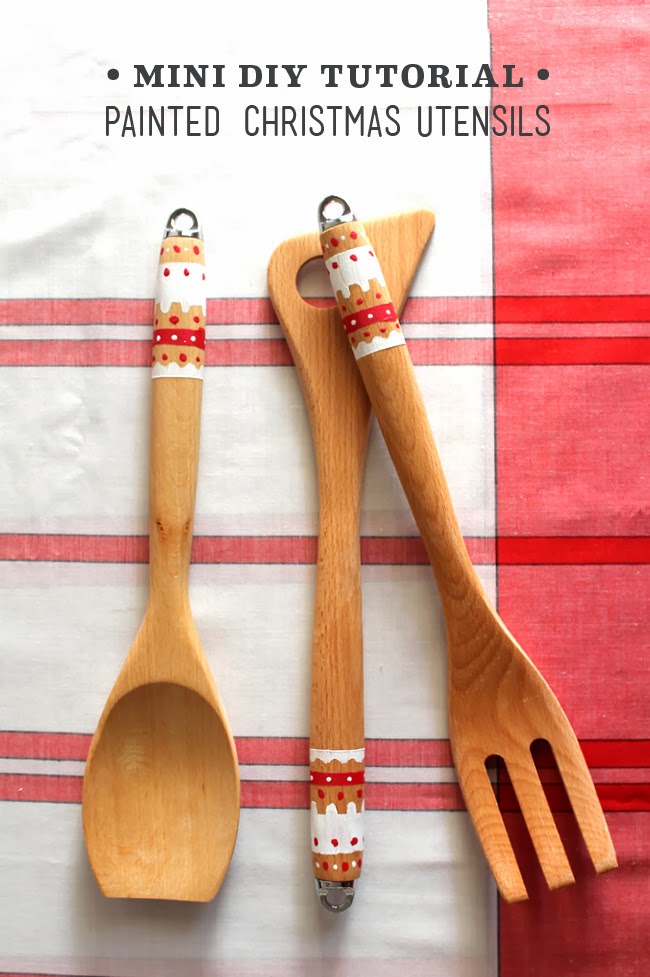
The other day I picked up these simple wooden utensils from IKEA. Using a few basic craft tools, I prettied them up with for the holidays. These were really fun to make and I love how they turned. The series of red and white stripes and dots gives the utensils a kind of christmas in Scandinavia look. You can easily improvise the stripes and dots until you get the look you want. It's very sweet, a little rustic and awfully festive.
How to DIY Painted Christmas Utensils
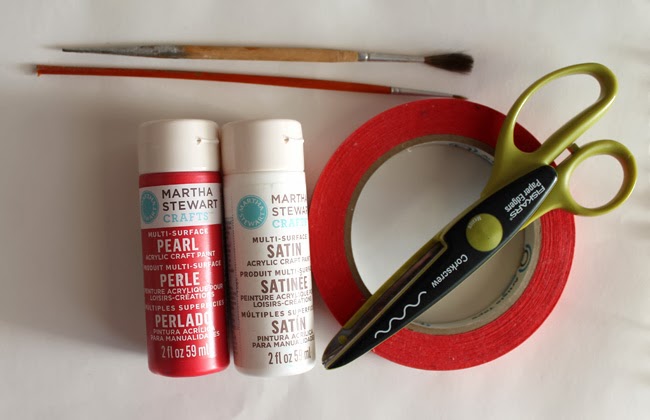
Supplies:
Red and White craft paint
Artist tape
Paintbrushes
Wavy Edge Scissors
Instructions:
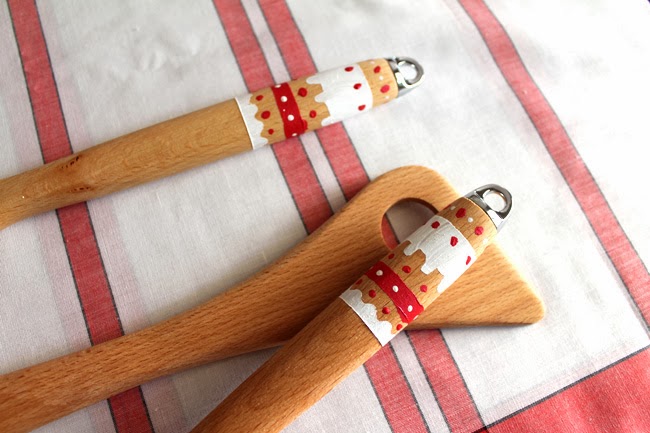
Step 1: Wrap artist tape around end of utensil, sectioning off areas for painting. To create a wavy edge, cut the tape using wavy edge scissors. Rub the tape down to prevent leaks.
Step 2: Paint stripes. Let dry a few minutes and remove tape. Let paint dry fully
Step 3: Using a small paintbrush, adorn stripes with tiny dots. Touch up any areas in the stripes. Let dry.

Are you planning any crafts this holiday season?
--
Follow along with me here:


