
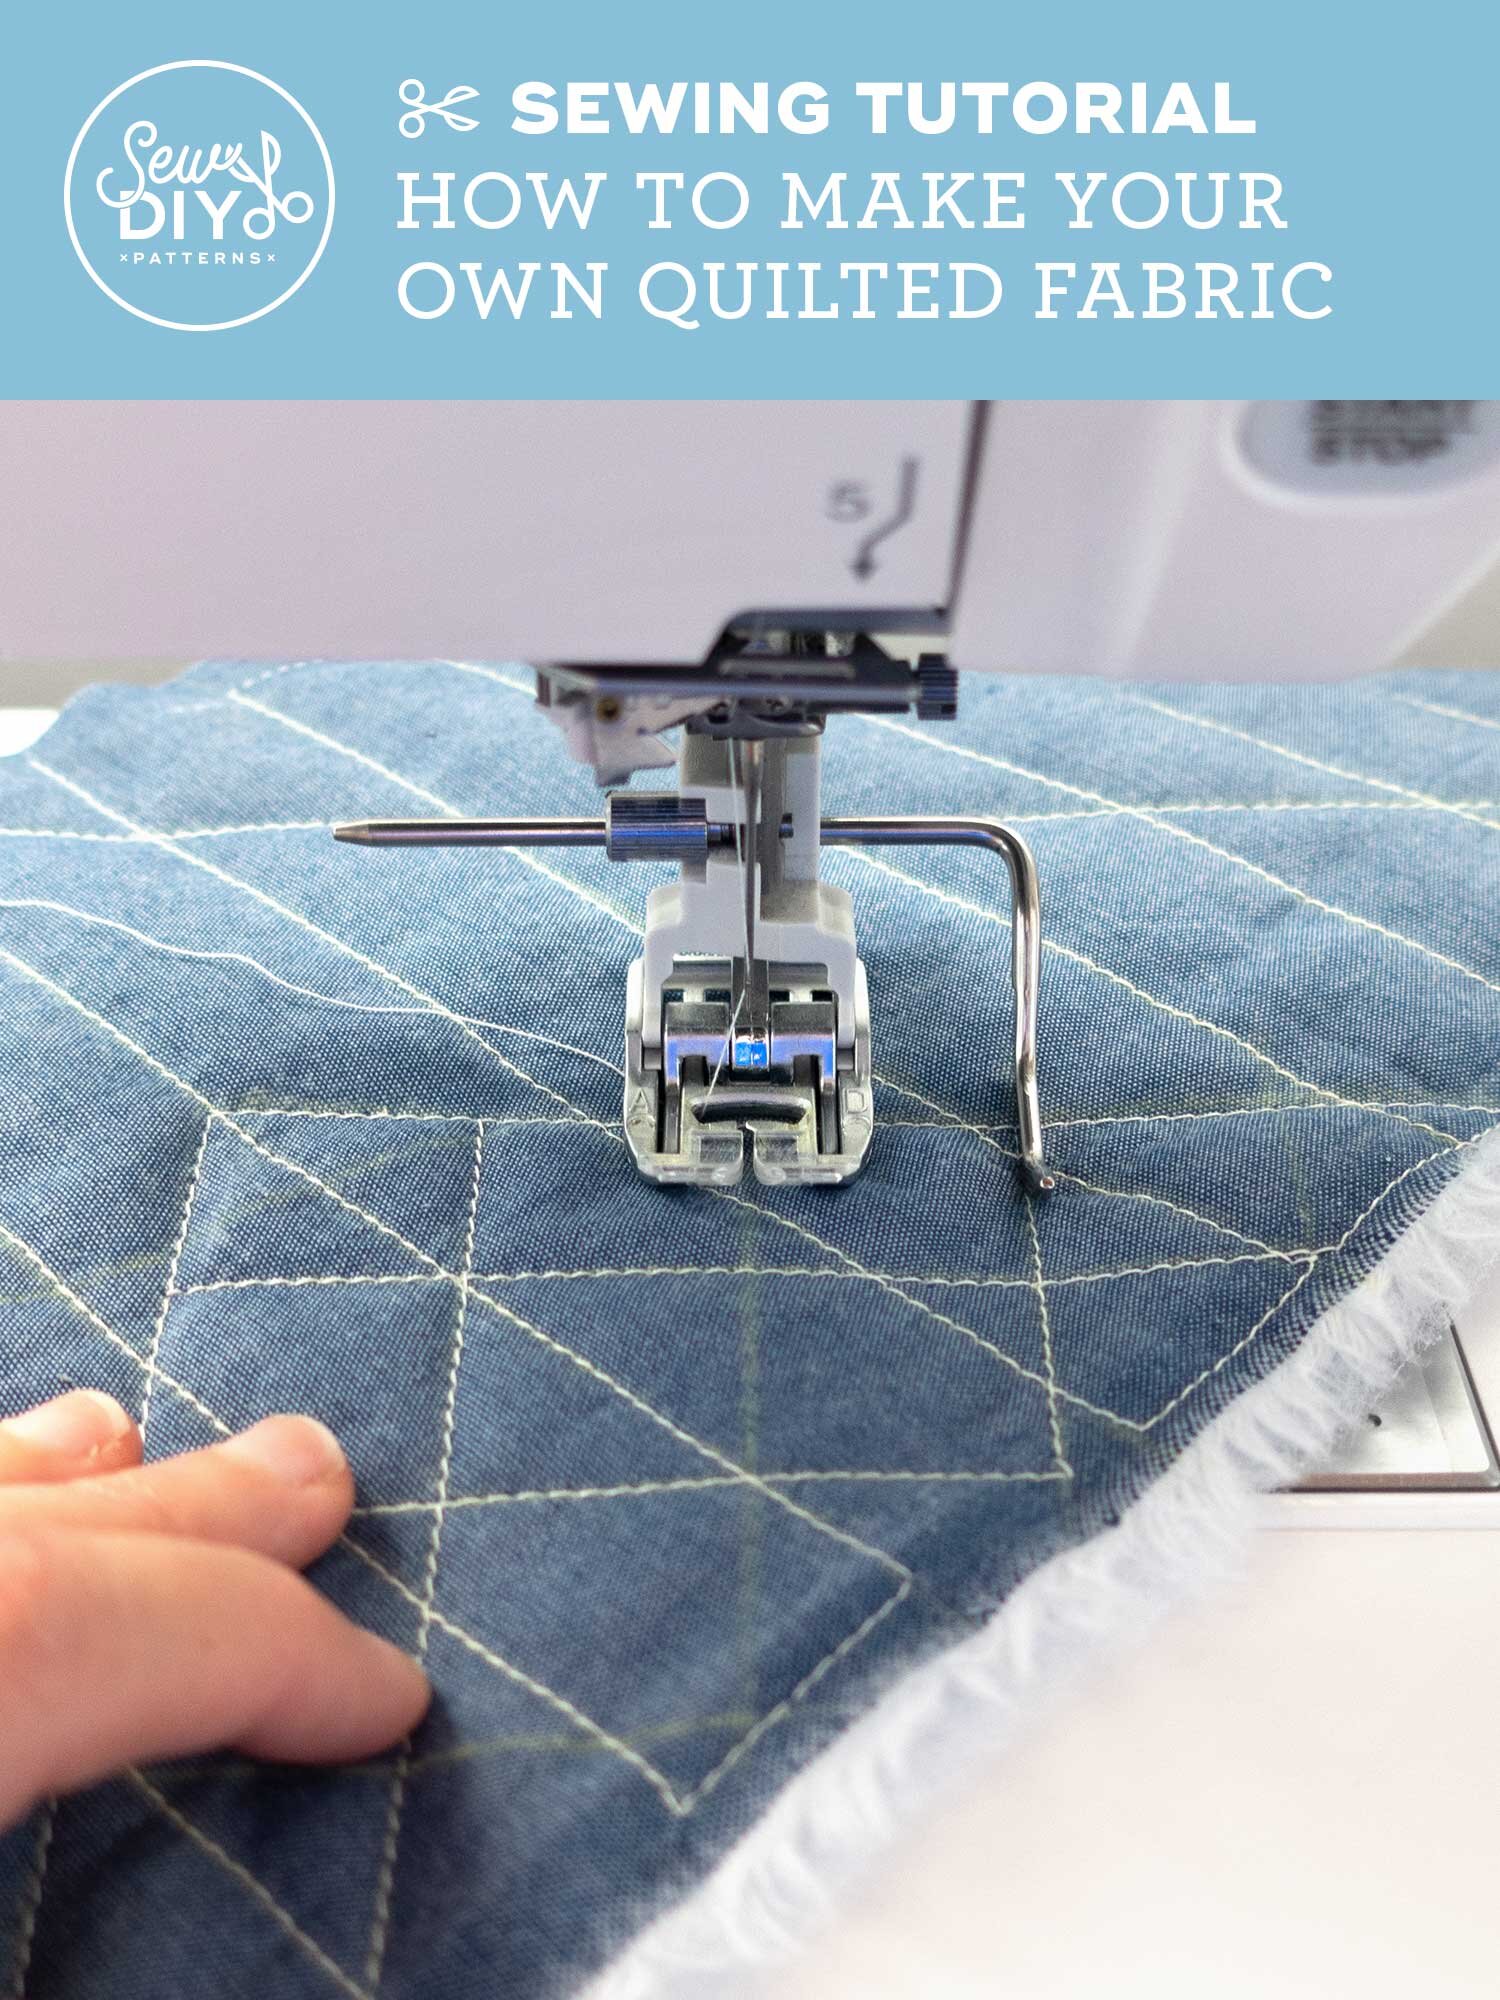
In this video tutorial, I’ll show you how to quilt your own fabric to make garments, bags or home accessories. In the video, I’m making my Quilted Slippers pattern but the same techniques work for other projects as well. I will share a variety of tools you can use to mark quilting lines on your fabric and then demonstrate a couple of ways to quilt the fabric to the batting. The Quilted Slippers are a great project for using scraps of leftover fabric and for introducing yourself to quilting.

Options for quilting fabric are pretty boundless. You can quilt by machine, as I show in the video, or quilt by hand. You can improvise a design, or plan something before you start stitching. If you’re interested in improvising, but not sure where to start, I suggest trying a freeform zig-zag pattern across the fabric. Start by stitching a diagonal line, then pivot and stitch another line to a random point.
If your fabric has a design printed on it, you can follow the lines in the design as a guide for quilting the fabric. For example, if you’re using plaid or gingham fabric, you can stitch directly on those straight lines.
There are a variety of tools that you can use to mark quilting lines on your fabric and you likely already have a few of them in your stash. I highly recommend testing that whatever tool you use will wash out of the fabric.
Tools for marking quilting lines on fabric
Tailor’s chalk
Tailor’s chalk (or really any chalk product) is a great way to make marks on fabric when sewing garments or quilting.Water soluble fabric pen
A water soluble fabric pen or pencil is a great tool for getting a very accurate and precise mark on the fabric.Hera marker
A hera marker is essentially a plastic bone folder that is used to make a crease in the fabric.Place strips of painter’s tape or other low-tack tape to create a stitching guide on your fabric.
Any easy way to create straight lines is using the guide that comes with most walking feet. I highly recommend having a walking foot (also called a dual feed foot) in your sewing tool box as it works very well at evenly feeding layers of fabric through the machine. I use mine when sewing knit fabric, slippery fabric, stripes and when quilting. Make sure to watch the video above to see how to use the guide when quilting.
Ruler
A clear quilting ruler is very handy when sewing a variety of projects and quite useful when marking quilting lines. I use mine to help cut out pdf patterns, for cutting straight lines and bias strips.
I hope that you find this tutorial helpful. I used to be really intimidated by quilting. Even though I was a very accomplished garment sewist, I was scared to start quilting. I thought that there were quilting secrets that I just didn’t know. To get over that hurdle, I took a beginning quilting class. There really aren’t any big secrets, just a few different techniques. If you’re already a garment sewist and want to try quilting, your skills will transfer well to quilting. Over the years, I’ve found quilting to be a really fun and creative way to use my sewing skills in a different way than sewing garments. I’ve been working on an e-course called Improvisational Quilting for Garment Sewists that I hope to release before the end of the year. If you’d like to be the first to know about that class, you can sign up a special newsletter about it right here.
Pin the image below to save this tutorial for later. And if you’re not already, you can follow Sew DIY on Pinterest right here. If you haven’t purchased your copy of the Quilted Slippers pattern yet, it’s available in the shop here.


The Sew DIY Quilted Slippers are the perfect way to keep toes warm and use up small cuts of fabric. Plus, it’s a great way to introduce yourself to quilting. The quilted exterior is constructed by quilting a layer of fabric and batting together. You can also use pre-quilted fabric for a quicker project.
The slippers are sized for foot lengths 8.25-12 inches (21-30.5 cm) which approximately fits US women’s shoe sizes 4-14 and US men’s shoe sizes 6-14.5. The pattern is gender neutral making it a great gift for all your friends and family.
View A is a bootie style slipper that can be worn with the top turned down to reveal the lining or with the top up to keep the ankles warm. View B is an open top skimmer style, perfect for the summer months.
This is a digital pdf pattern that includes a print-at-home pattern, copy shop pattern, A0 pattern and illustrated instructions.
THIS IS NOT A PHYSICAL PRODUCT. After checkout, you will receive a link to the pattern that will be active for 24 hours after you click it. Prices are in USD.
About the Quilted Slippers pattern:
The Sew DIY Quilted Slippers are the perfect way to keep toes warm and use up small cuts of fabric. Plus, it's a great way to introduce yourself to quilting and use up small cuts of fabric. The quilted exterior is constructed by quilting a layer of fabric and batting together. You can also use pre-quilted fabric for a quicker project.
The slippers are sized for foot lengths 8.25-12 inches (21-30.5 cm) which approximately fits US women’s shoe sizes 4-14 and US men’s shoe sizes 6-14.5, so you’ll be able to make these quilted slippers for everyone in your family.
View A is a bootie style slipper that can be worn with the top turned down to reveal the lining or with the top up to keep the ankles warm. View B is an open top skimmer style, perfect for the summer months.
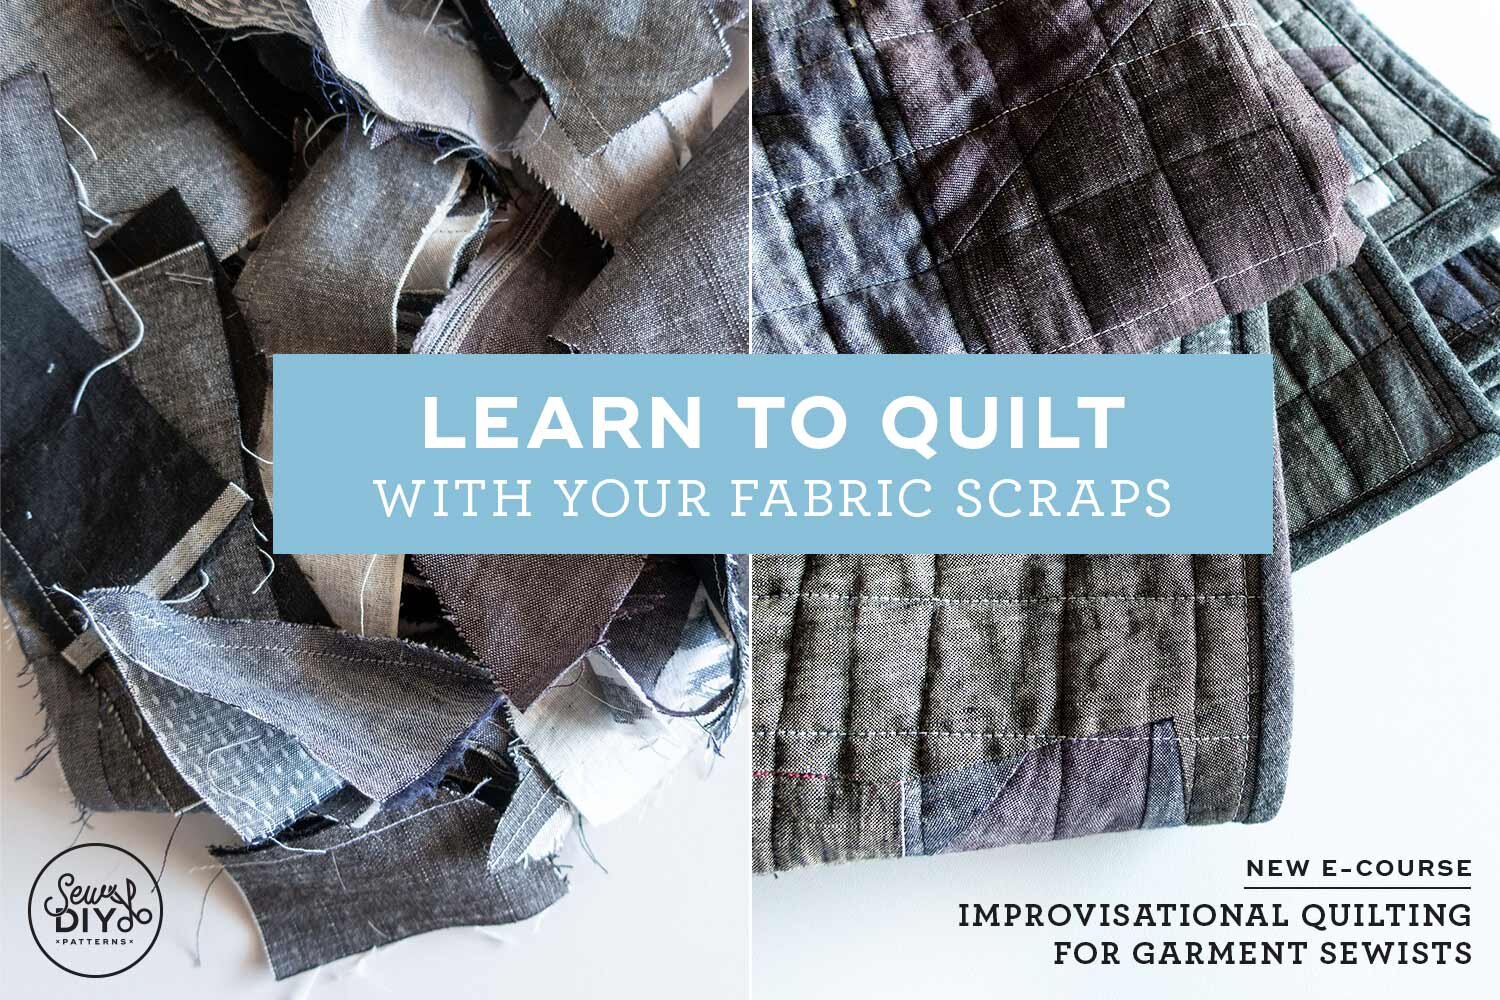
UPDATE 2021: If you’d like to try making a full size quilt, or are looking for ways to use your fabric scraps, check out my e-course Improvisational Quilting for Garment Sewists. This is a self paced and comprehensive course that teaches you everything you need to know to learn how to turn your fabric scraps into useful and unique improvisational quilts. You can learn more about it here.


