Every year, whether I have a party to attend or not, I like to make a fun holiday outfit for the holidays. I do have this old blog to share it on though. So, even if my holiday outfit doesn’t make it to an irl party, they do always get a super special online debut. This year, my holiday make had to, of course, be my new pattern, the Dana Jumpsuit. One of the things I really love about the Dana Jumpsuit is that it can be dressed up or down depending on the fabric you choose. And this holiday jumpsuit did not disappoint. I firmly believe that a holiday outfit should have a fair amount of sparkle and it can be applied to nearly any pattern. For this version, I did a few design tweaks and I’m really pleased with how they turned out. Read on for all the details.

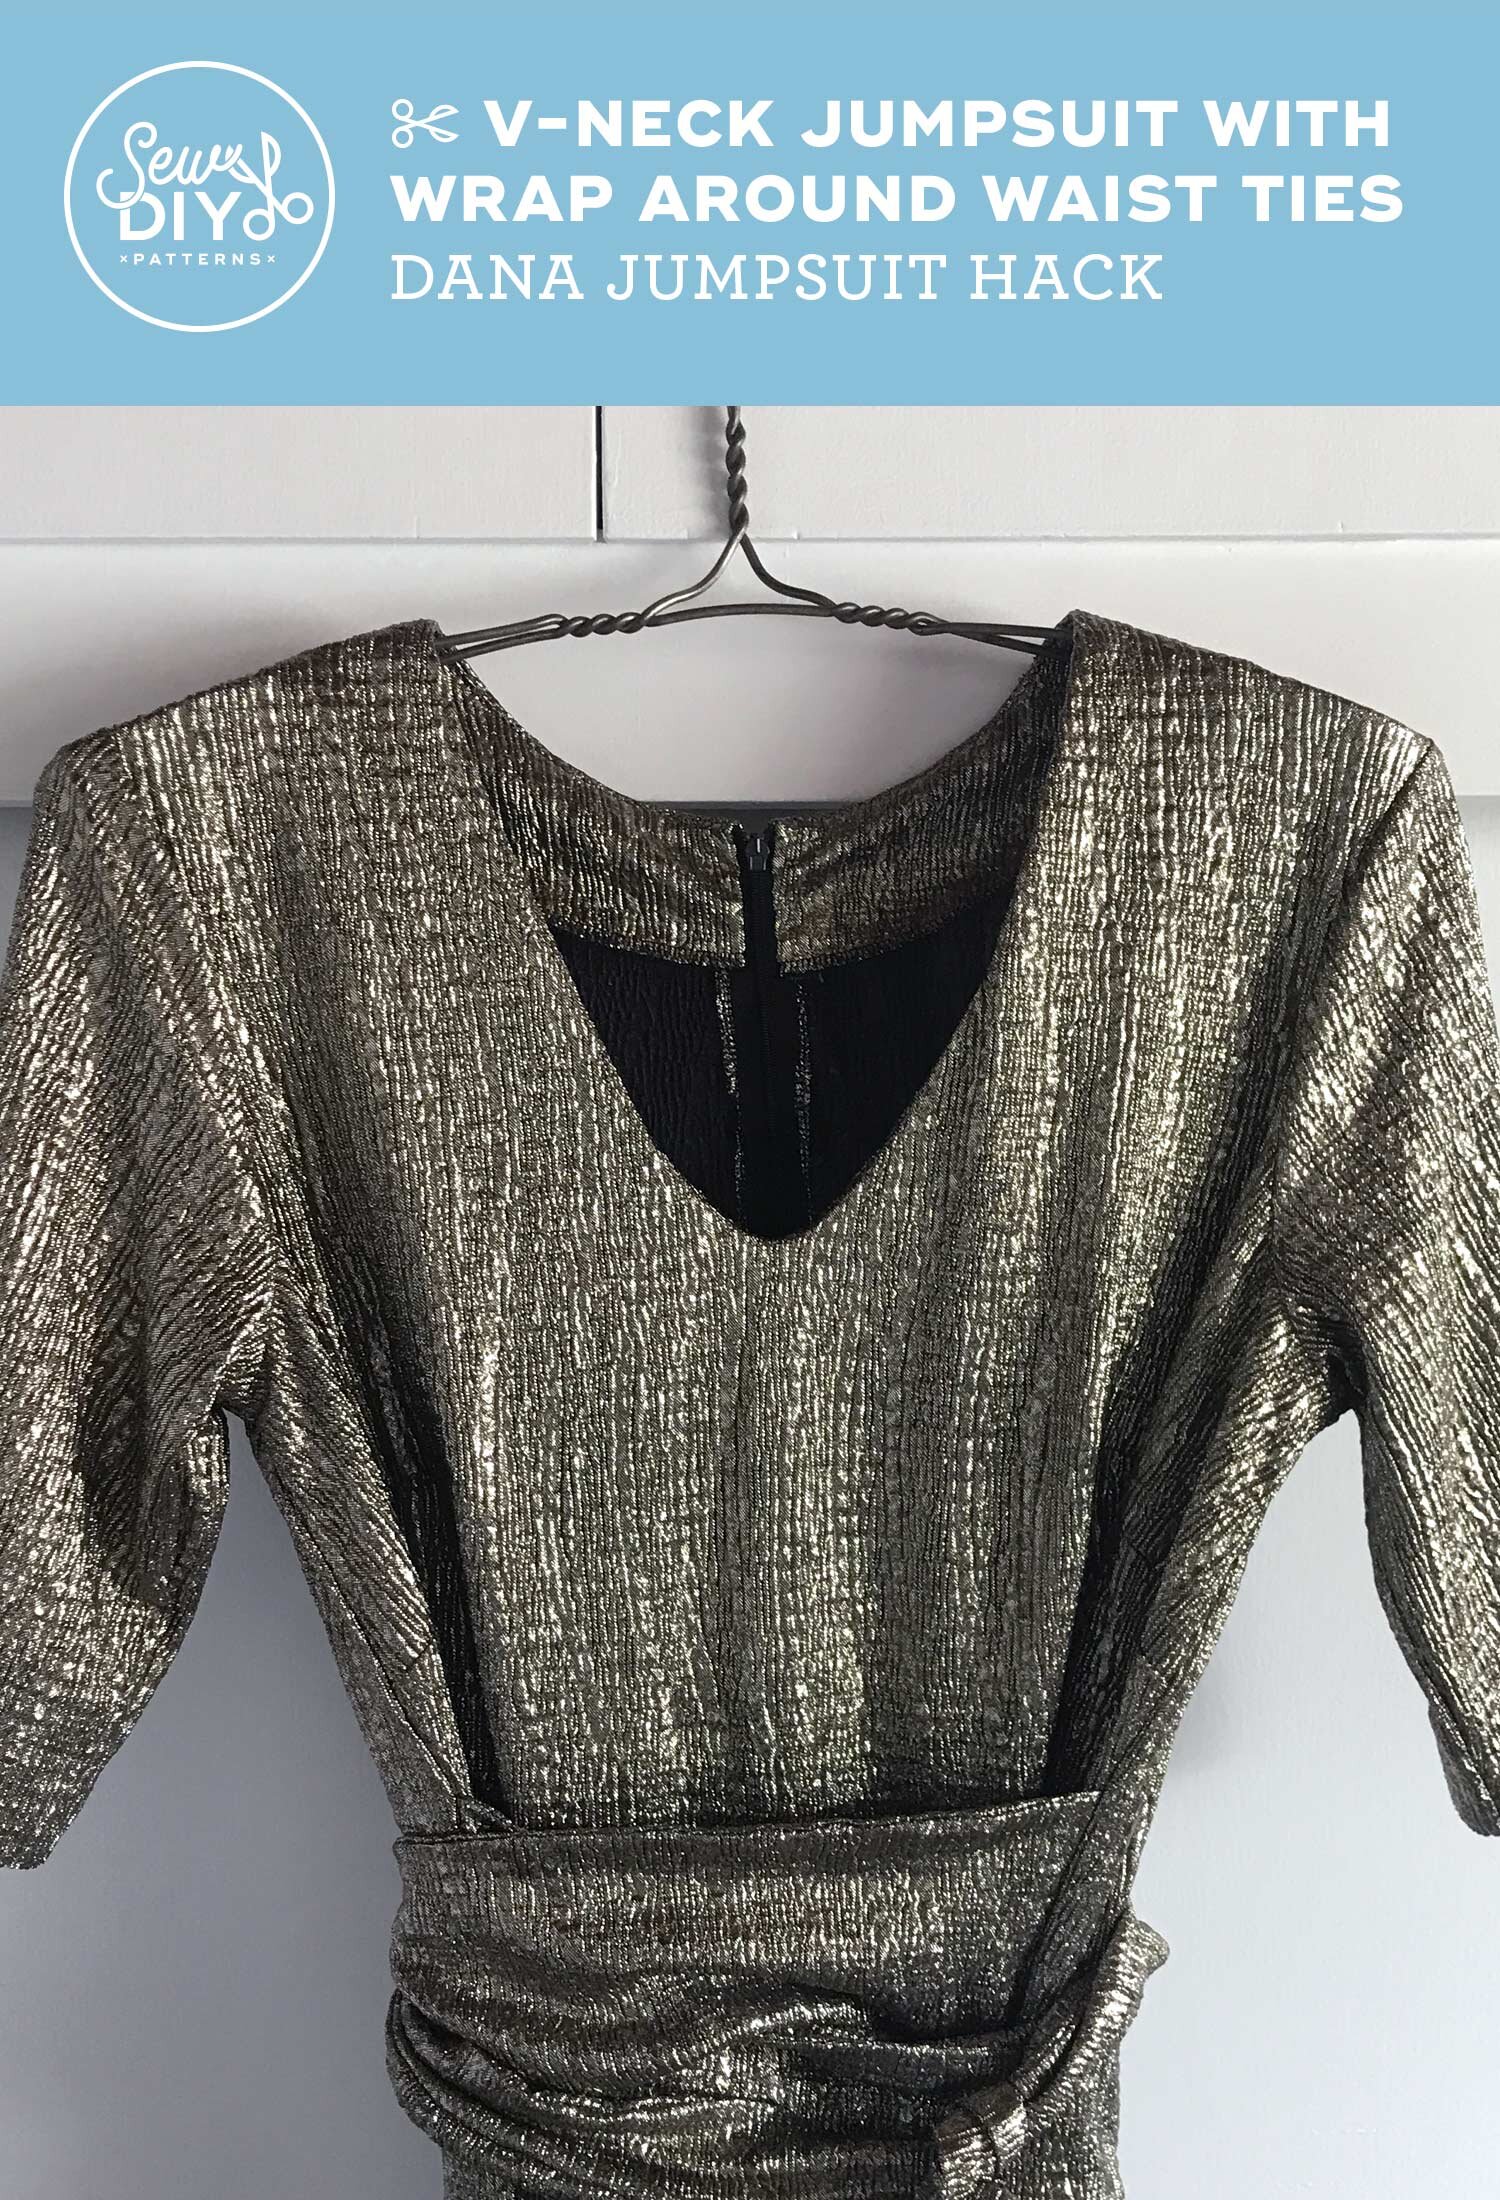
I made two major design changes and two minor changes to the jumpsuit. First, I changed the neckline to a deepish V and removed the center front seam line. For the neckline, I also drafted a new facing. Tomorrow, I’ll share a video for how to draft your own facing. I love the look of the V neck and drafting a facing is not very hard so you’ll easily be able to do this hack yourself.

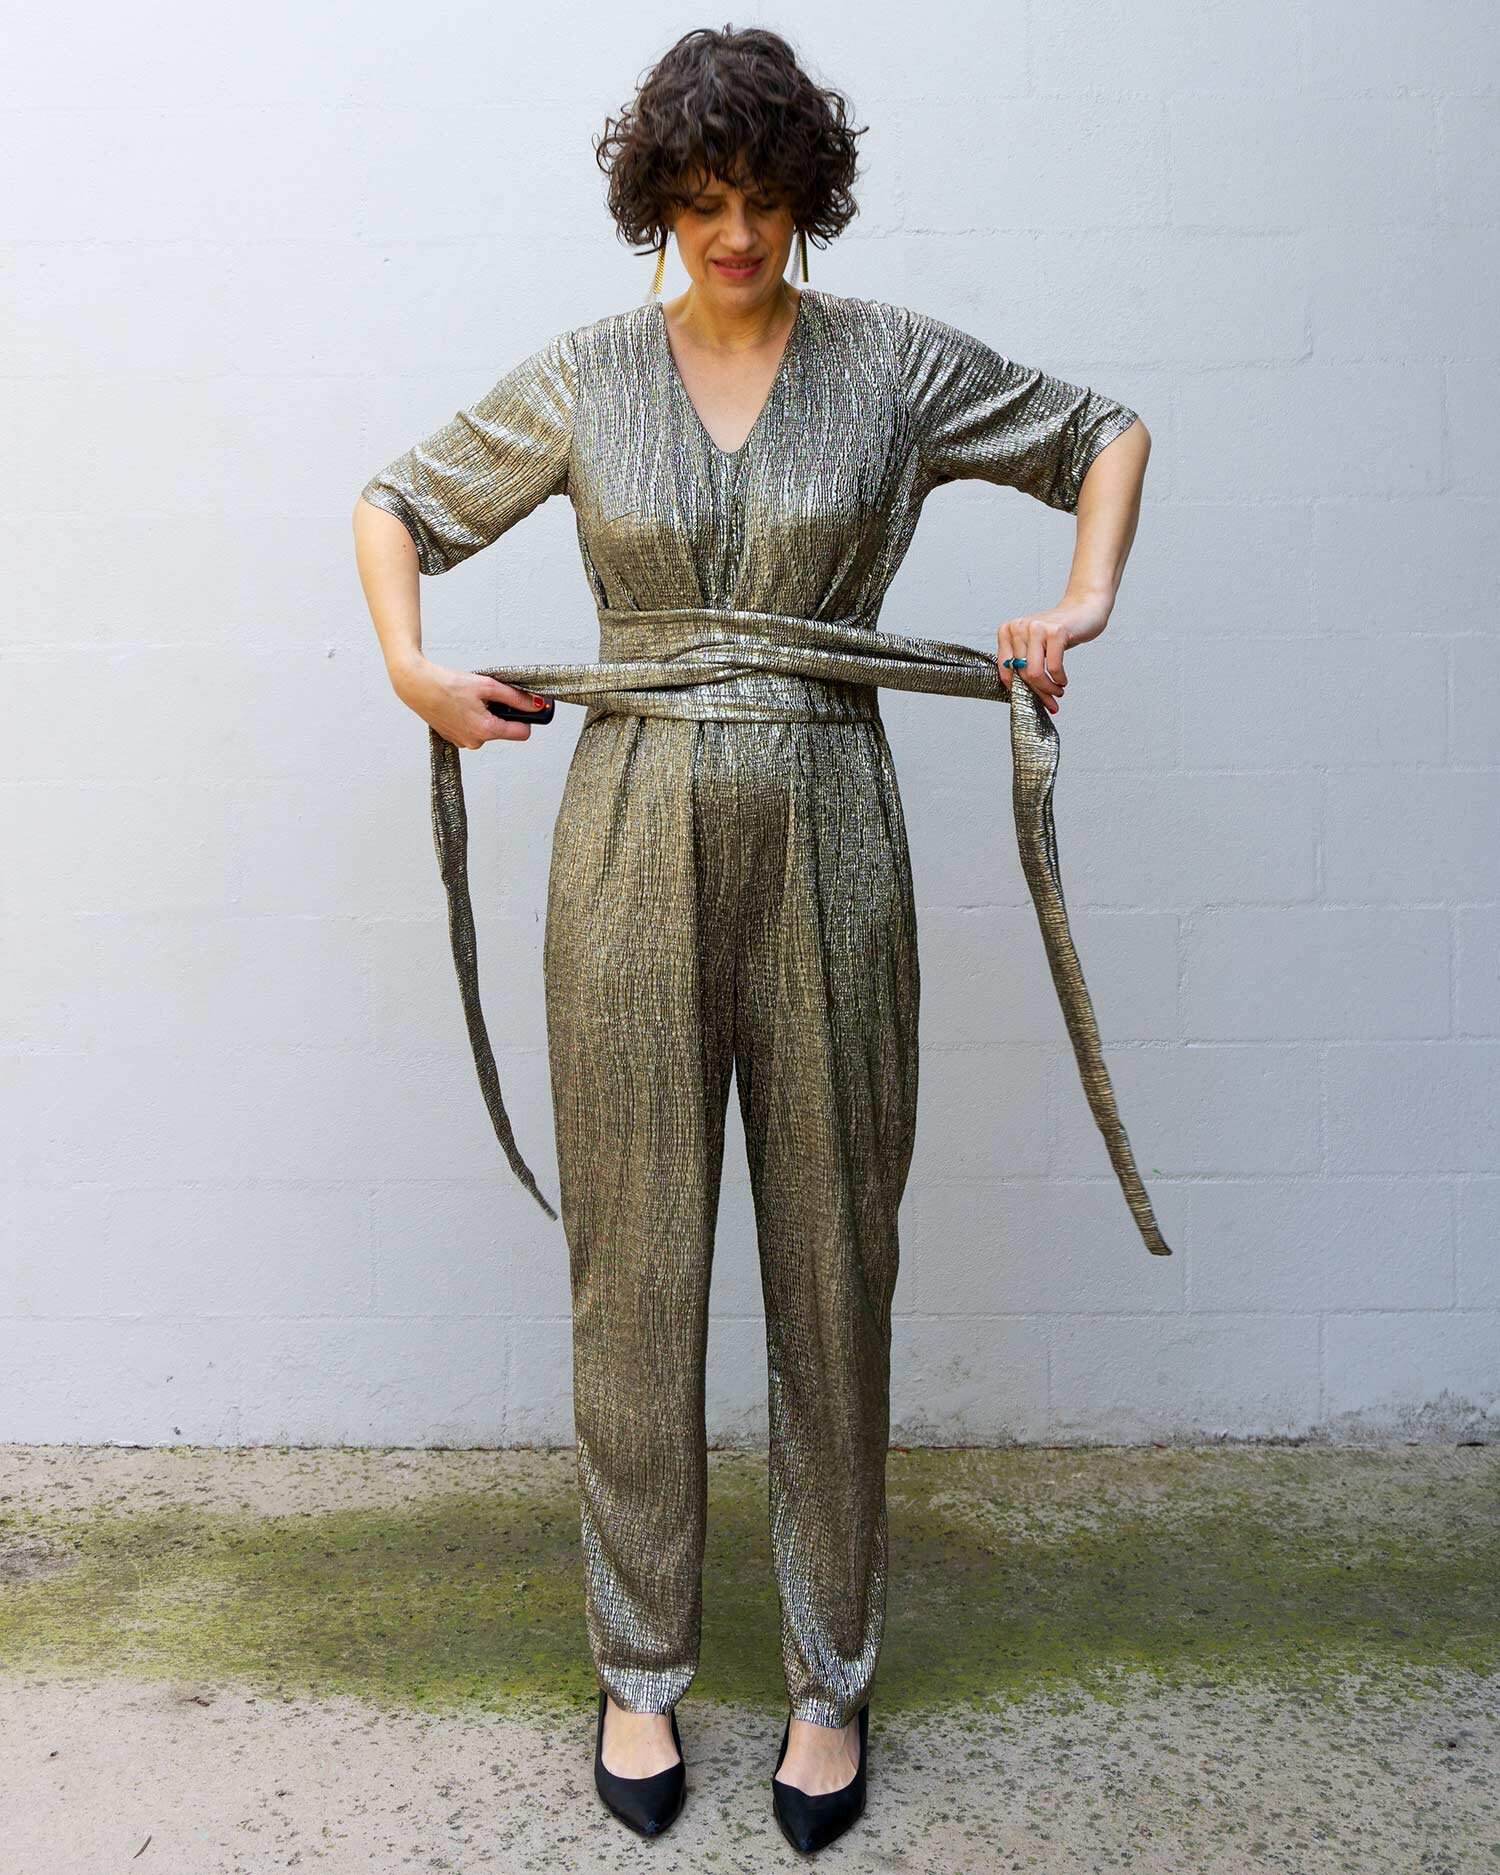
The second big change I did was to make wrap around ties. This was a design idea that was suggested by a few people during my design process. I loved the idea but also didn’t want to add more pattern pieces (and pages of paper) to the pattern.
To draft the wrap around tie, I added half of my waist measurement plus 1” to the length and I tapered the short end of the tie down to 2”. I also decreased the height of the tie at the wider (side seam) end by 2”. I decreased the height partly as an experiment and partly because I was running out of fabric. For my height, I really like the wide ties but if you are petite, you may want to make narrower ties.

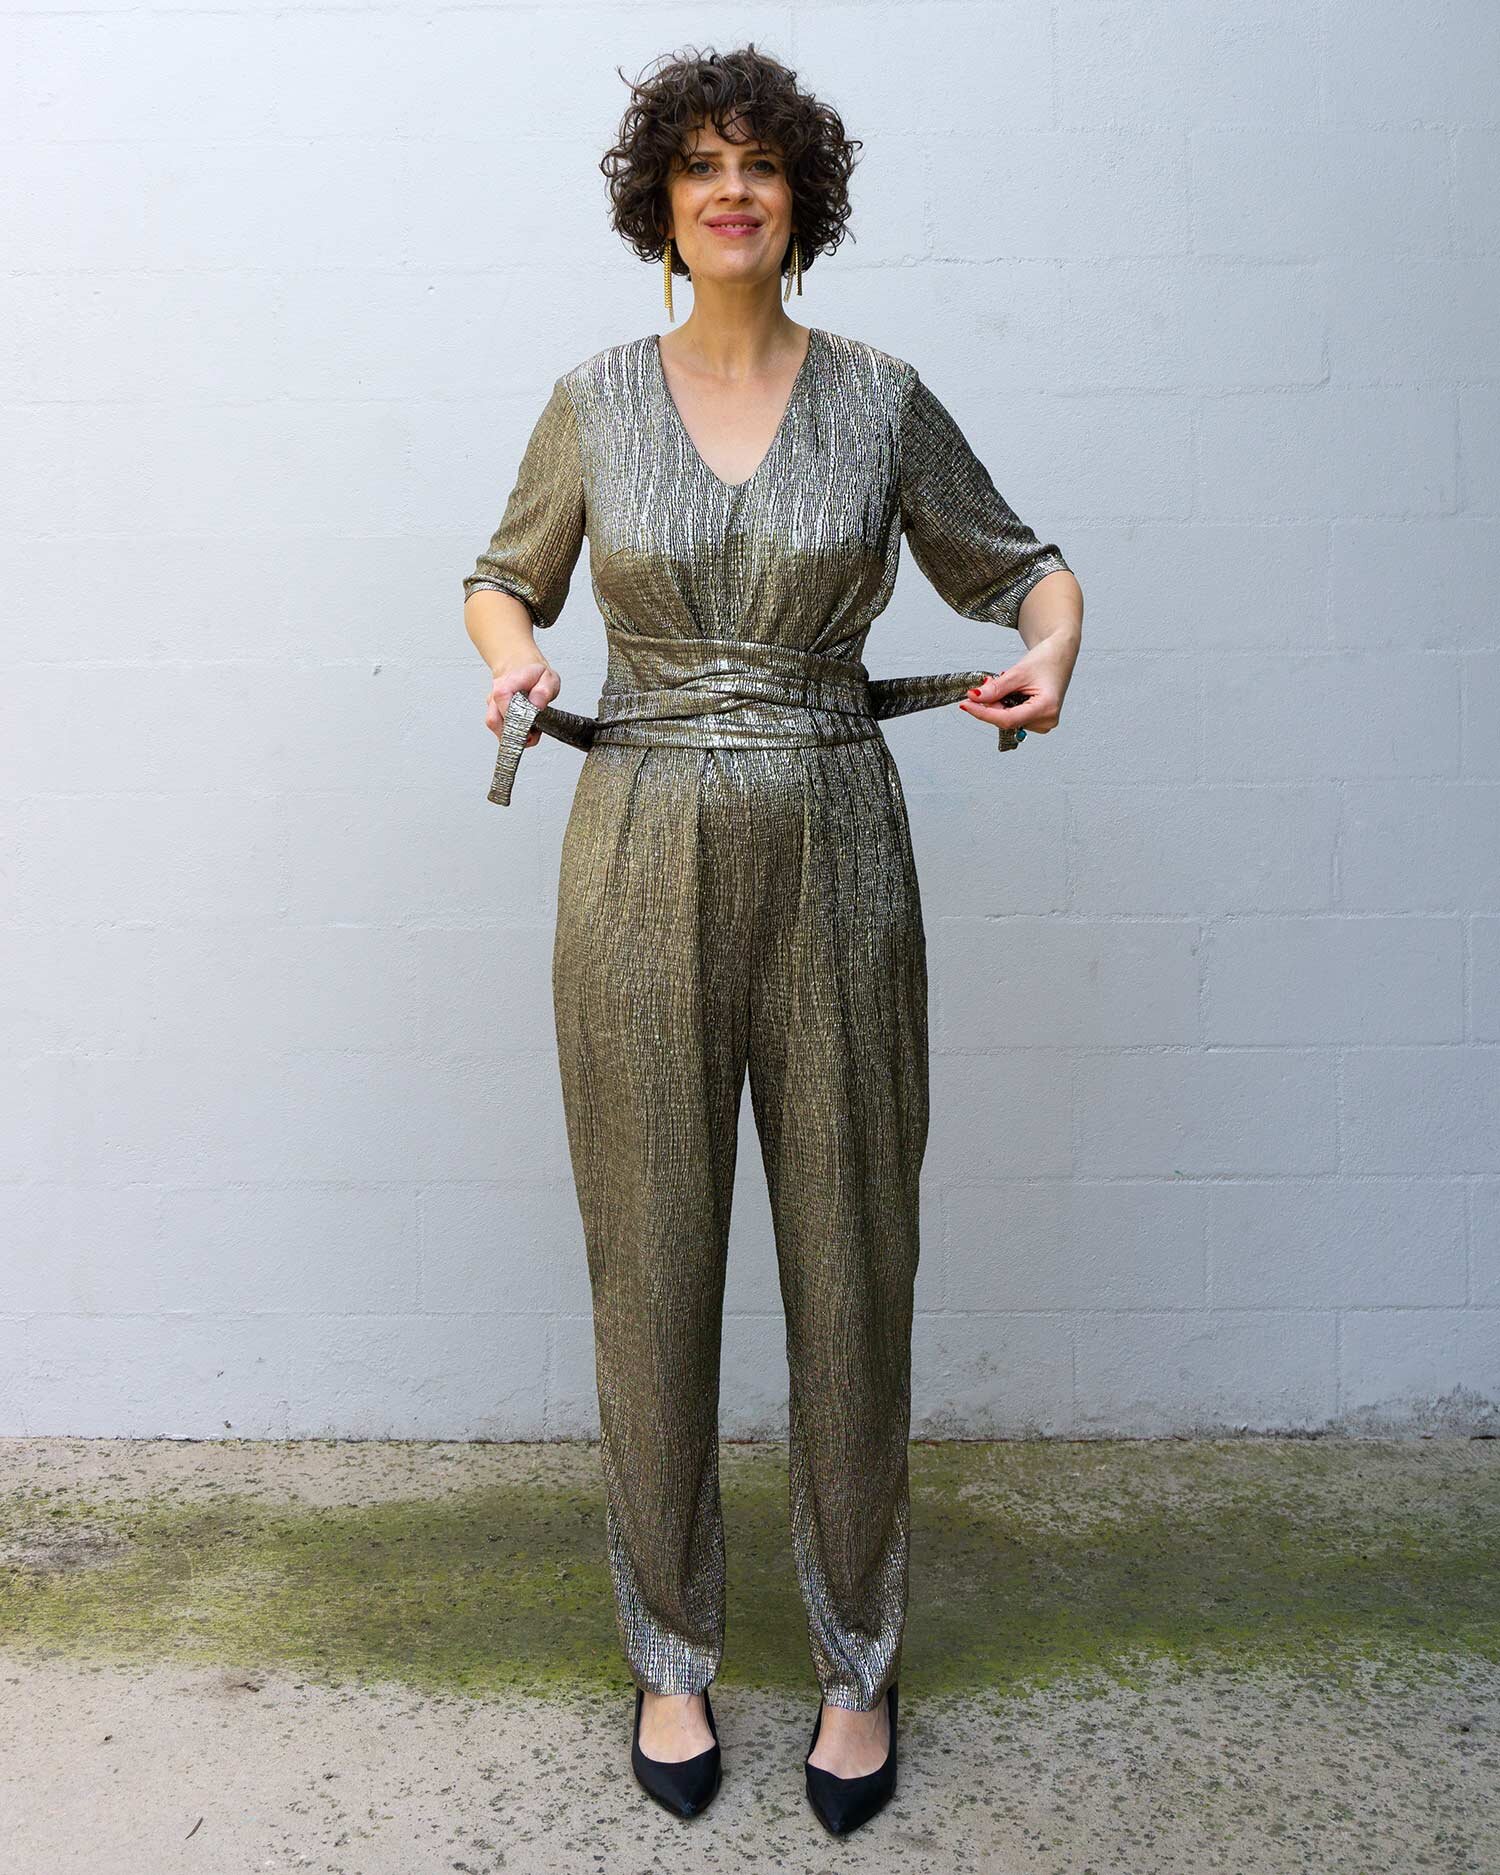
I didn’t expect to be able to wrap the ties around my waist that many times but the fabric is stretchy so that probably helps. The original design uses the ties mostly as a design feature with just some subtle shaping. The original is less form fitting and a little more comfortable for all day wear. Plus, I like that the original ties conceal my belly a little bit. All that said, I love the look these ties for this application.

Let’s talk sizing. If you need help selecting a size, I did a post and video with tips for selecting your size. I make a size 12 with a 1/4” square shoulder adjustment and 2” added to the torso. For reference, I’m 5’11” and my measurements are roughly, bust = 39, upper bust = 35.5, waist = 29”, hips= 39". And in the interest of full disclosure, I am wearing a padded bra in these photos. I figured, it’s a special occasion so why not go for a little extra drama. :)

Before I put the zipper in, I stitched the center back pant seam and the inseam and tried the jumpsuit on. I was shocked that the torso seemed really long. I think the fabric was just stretching from gravity. I ended up taking out about two inches from the waist seam. I think I went a little too far because I do have some pulling at the crotch. The fabric is stretchy though so it’s still comfortable. I kept about a 1” seam allowance at the waist just in case. So, if I feel motivated, I can redo the waist seam and the zipper.

The final change I made was to leave off the front patch pockets. This fabric does not press well and does not do well with top stitching. So, I also just left the sleeve and pant legs unhemmed. With these holiday garments that I know I won’t wear very much, I tend to cut corners more than usual.
I found this fabric at a store in the downtown LA fashion district. The store had a lot of amazing sparkly fabrics and this was a total impulse purchase. The Dana Jumpsuit calls for wove, non-stretch fabric but I was seduced by the sparkle and went against my own advice. This fabric is a crinkly stretch woven. Well, at least I think it’s a woven. This fabric is rather mysterious and kind of has the texture of a sponge. It’s seriously weird. Do as I say! Not as I do! Due to the stretch in the fabric, I sewed most of the seams using a zig zag stitch. I stitched the shoulders, neckline facing and zipper using a straight stitch.

My biggest problem with the fabric was that I had barely enough for the jumpsuit. I could have sworn that I bought (and paid!) for three yards but once I got home, I was 14” short. A full 1/3 of a yard short! It was very disappointing. It could have been an error, or maybe this very strange fabric shrunk up when it was sitting and not rolled up and standing on a bolt. I don’t know what happened. But I do know that I was able to make it work. <insert happy dance!!>
After some thought, I also decided that I wanted to cut everything on the cross grain because I liked that direction of the texture more. So, I went to my computer, and laid out everything to figure out how to make it fit. And I was able to make it work, juuuuust barely on 2 2/3 yards of 57” wide fabric. I had to cut everything flat and remove some of the seam allowance from my waist ties. But it worked. Yayyyyyy!

I really love this jumpsuit. It feels a little retro, very sexy and totally fun. If you want to sew your own Dana Jumpsuit, you can grab the pattern right here. If you’d like a little extra help sewing your jumpsuit, I have an online class that you can purchase. In the class, you’ll learn a lot of essential sewing techniques that you can use for this jumpsuit as well as for many future sewing projects. Learn more about the class here. Happy sewing!

The Dana Jumpsuit is the perfect mix of sophistication and sport. Make the pants version in velvet or silk for sophisticated nighttime look or sew up the shorts length in a rayon crepe or cotton chambray for a carefree, summer romper. The front waist tie creates subtle shaping while maintaining total comfort.
This all-season jumpsuit features a dramatic front waist tie, a scoop neck, set-in elbow-length sleeves, an invisible back zipper and optional center front top stitching. Choose between a high curved or a deeper V-shaped back neckline.
This digital pattern includes an illustrated, step-by-step instruction booklet, a print-at-home layered pattern for letter or A4 size paper, a US copy shop pattern and an A0 size pattern.
Model is 5’11” and is wearing a size 12.
THIS IS NOT A PHYSICAL PRODUCT. After checkout, you will receive a link to the pattern that will be active for 24 hours after you click it. Prices are in USD.

This video sewalong will take you through all the steps of making the Dana Jumpsuit, from selecting your size and making fit adjustments to adhering interfacing, sewing an invisible zipper and attaching a neckline facing. Along the way, you’ll get all my tips and tricks for getting great sewing results, as well as additional insights into the design and how to make it work for you.
NOTE: The Dana Jumpsuit pattern must be purchased separately. You can find it here.
Who this is for?
This video sewalong is perfect for someone who wants to uplevel their sewing skills and learns well from a video format. This is an intermediate level pattern so it’s perfect for you if you’ve sewn a few beginner patterns before and would like someone to guide you through one that is a little more complicated.
How does it work?
You will receive lifetime access to 17 video sewing lessons, plus additional written and illustrated content to support the videos. This course is self-paced, so you can go as quickly or slowly as you’d like. After you purchase the e-course, you’ll receive an email with a download link. The pdf download will then give you instructions for accessing the private site with the video lessons.
LESSONS
1. Introduction to the pattern
2. How to select your size
3. How to print and assemble your pattern
4. Pattern piece review
5. Make a muslin + common pattern adjustments
6. How to adhere interfacing & assemble facings
7. How to sew the darts
8. Staystitch and finish seams
9. Stitch bodice front
10. Pockets and jumpsuit front
11. Sew the waist ties
12. Sew jumpsuit back
13. Stitch shoulder seams & attach sleeves
14. Sew the side seams
15. Attach the invisible zipper
16. Sew the neck facing
17. Sew the inseam and hems