Pattern launch! Introducing the Tasi Robe and Jacket and the Sew DIY Quilted Slippers

Introducing the Tasi Draft-it-Yourself Robe and Jacket and the Sew DIY Quilted Slippers

Today, I’m very excited to announce the launch of two new unisex and size inclusive loungewear patterns. I’ve been working on these patterns since long before the current pandemic but it seems serendipitous to release them now, when we’re all spending more time at home. These are garments that I find myself reaching for time and time again to keep myself warm and comfortable when at home. They are classic designs that can be used by everyone in the family. Read on to learn more about these patterns.

These patterns are a little different than your average pattern – in all the best ways. Not only are they both gender neutral, size-inclusive, they will also give you the opportunity to practice skills that most patterns don’t utilize. The Tasi Draft-It-Yourself Robe and Jacket is a great way to try your hand pattern drafting. It will teach you the basics and give you the confidence to start designing on your own. The Quilted Slippers will get you started making quilted fabrics. Before you know it, you might even be inspired to do a little scrap piecing.

Watch the video above for all the details on these new loungewear patterns. I hope that you love them as much as I do!

ABOUT THE TASI DRAFT-IT-YOURSELF PATTERN

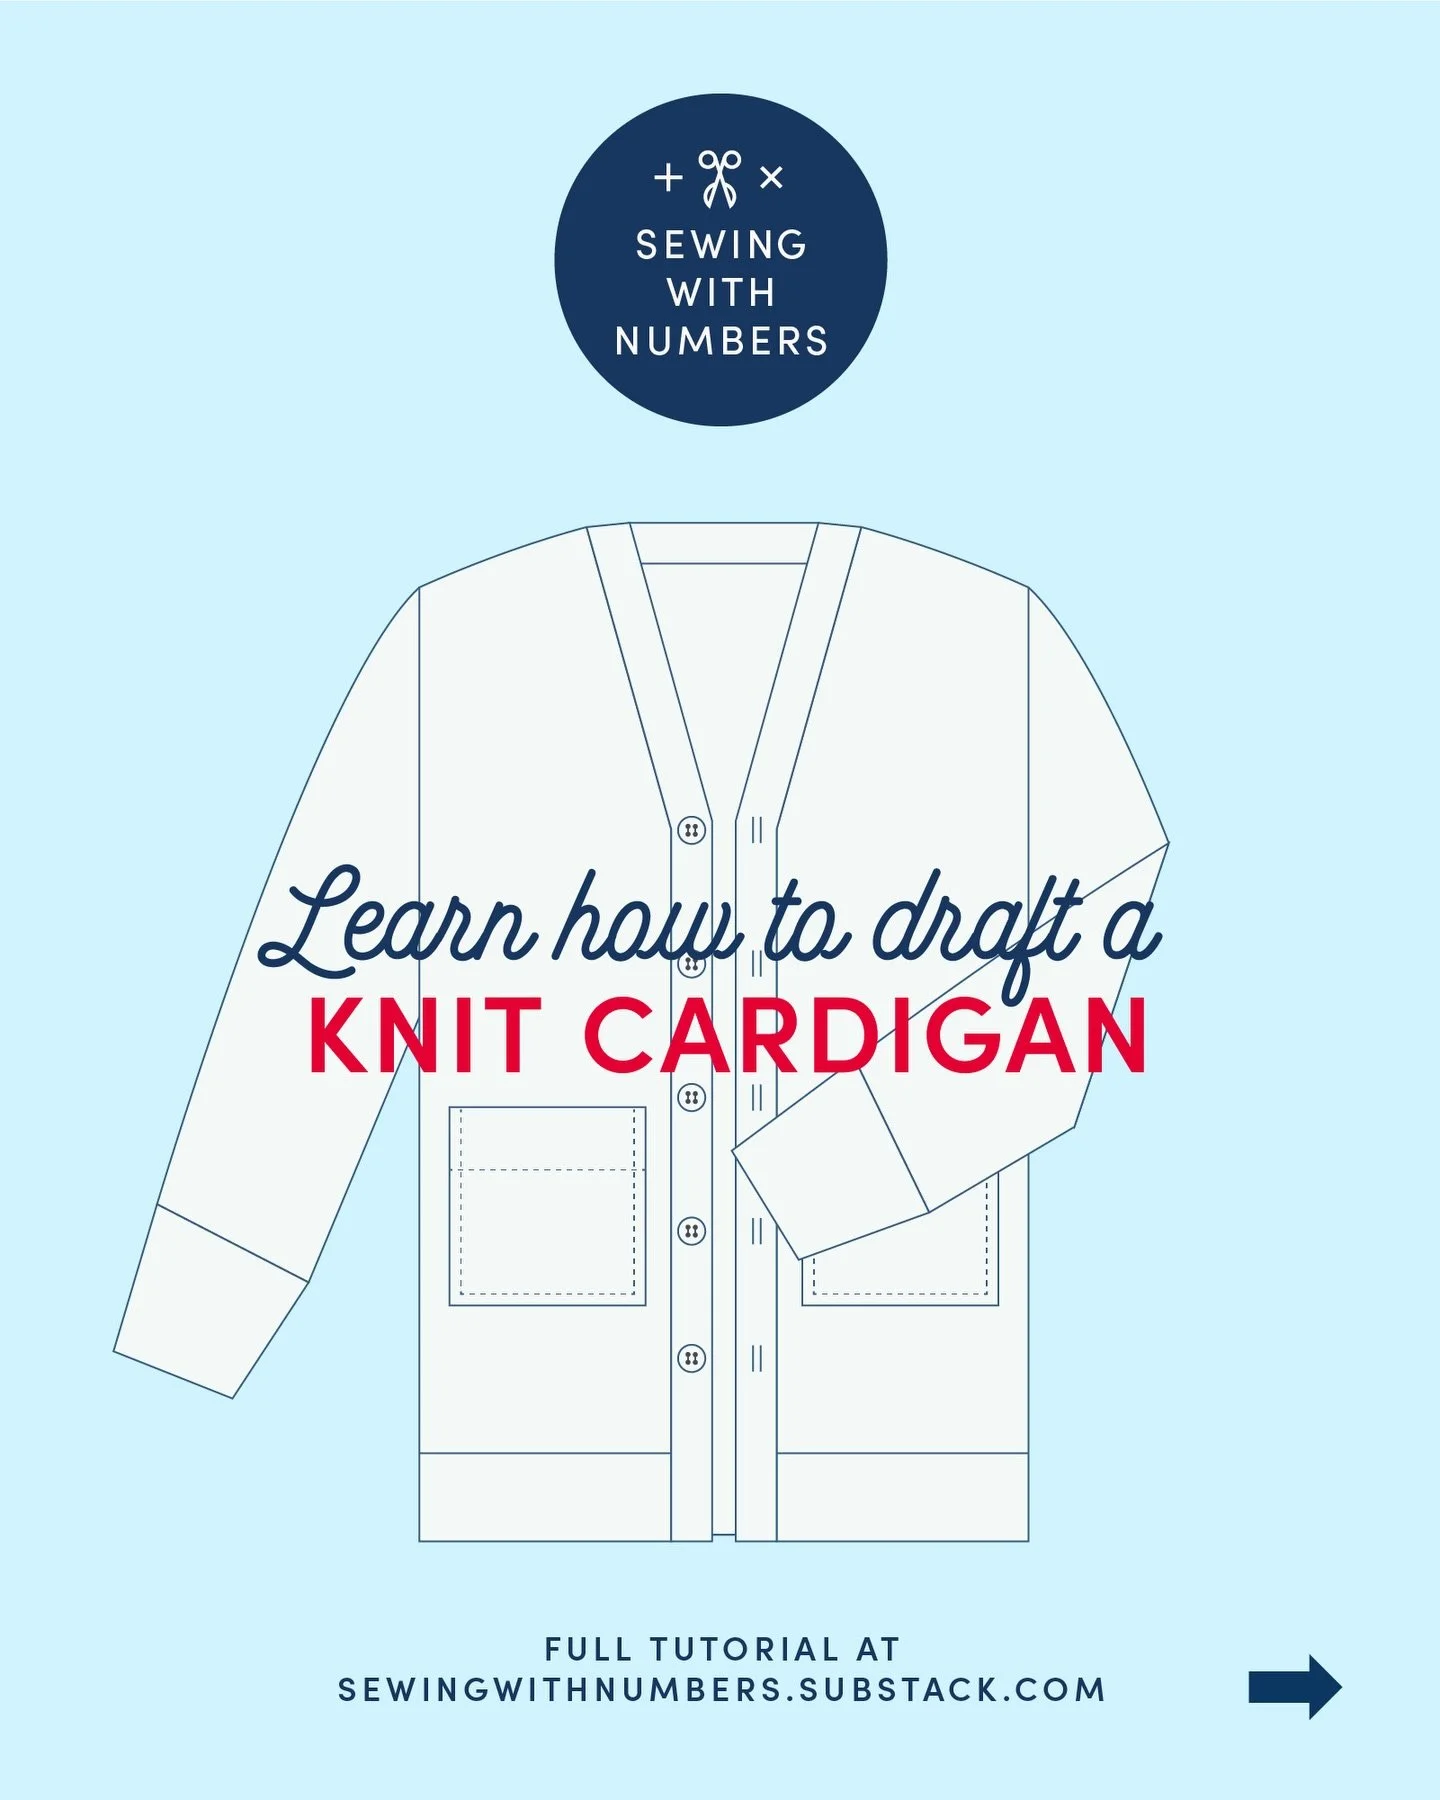
Have you ever wanted to design and draft your own pattern? Do you hate printing out pdfs? Do size charts give you the heebie-jeebies? Then the Tasi Draft-It-Yourself pattern is for you! This pattern will walk you through each step of designing and drafting your own custom fit pattern. You choose the proportions you’d like and we give you the formulas to draft all the pattern pieces for a custom fit robe or jacket.

If you’re not up for doing the calculations yourself, or just want to double check the math, we’ve created a calculator that does the work for you. Woohoo! The calculator is available as a spreadsheet and on the web in Google Sheets.

Sew DIY Tasi Robe and Jacket Draft-It-Yourself pattern

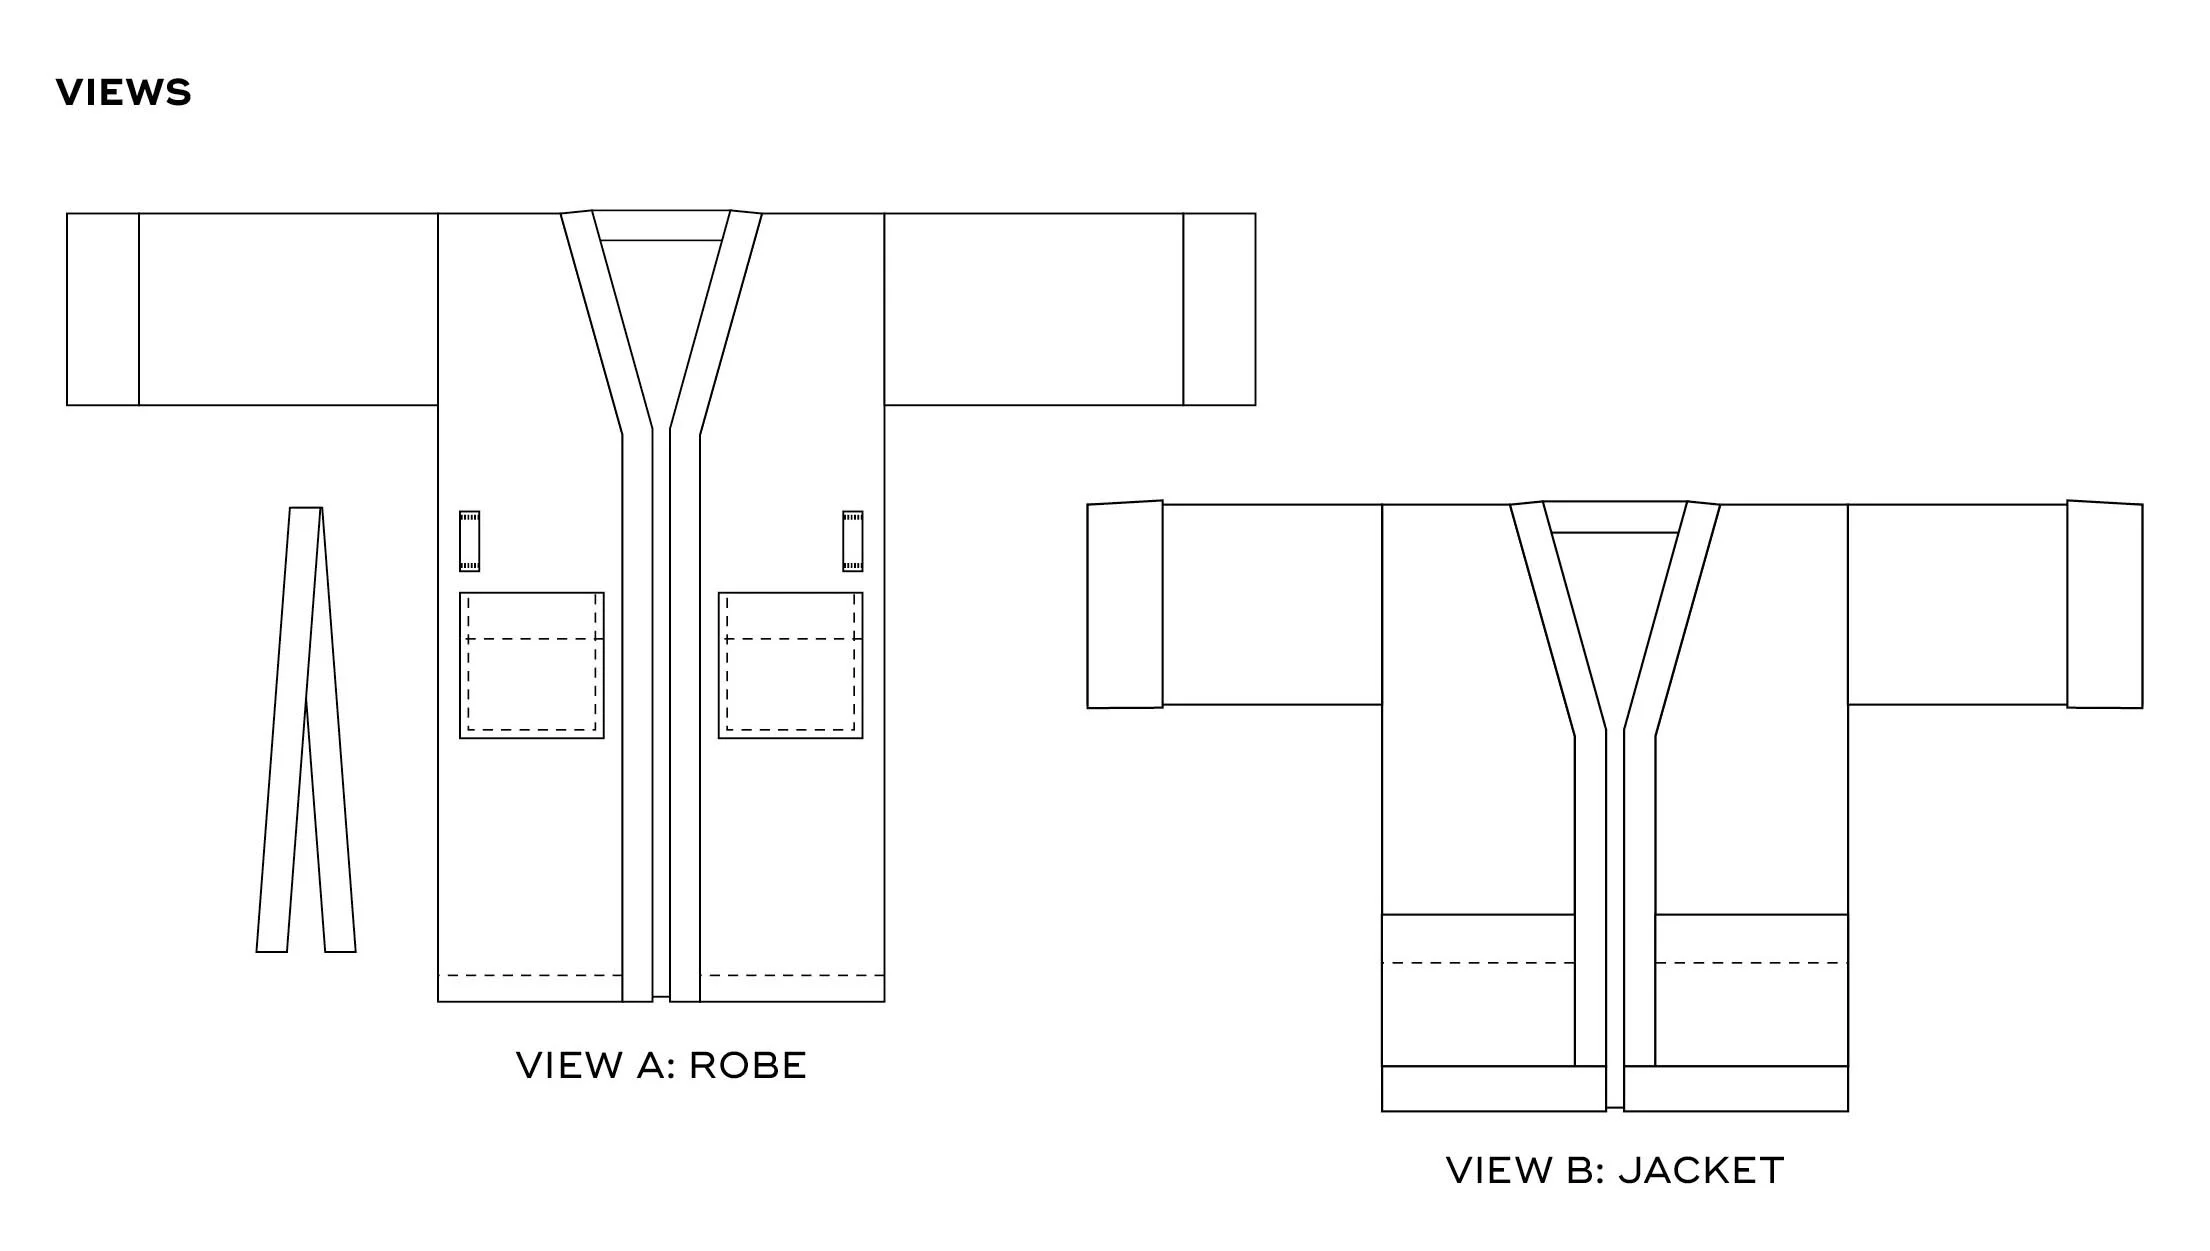
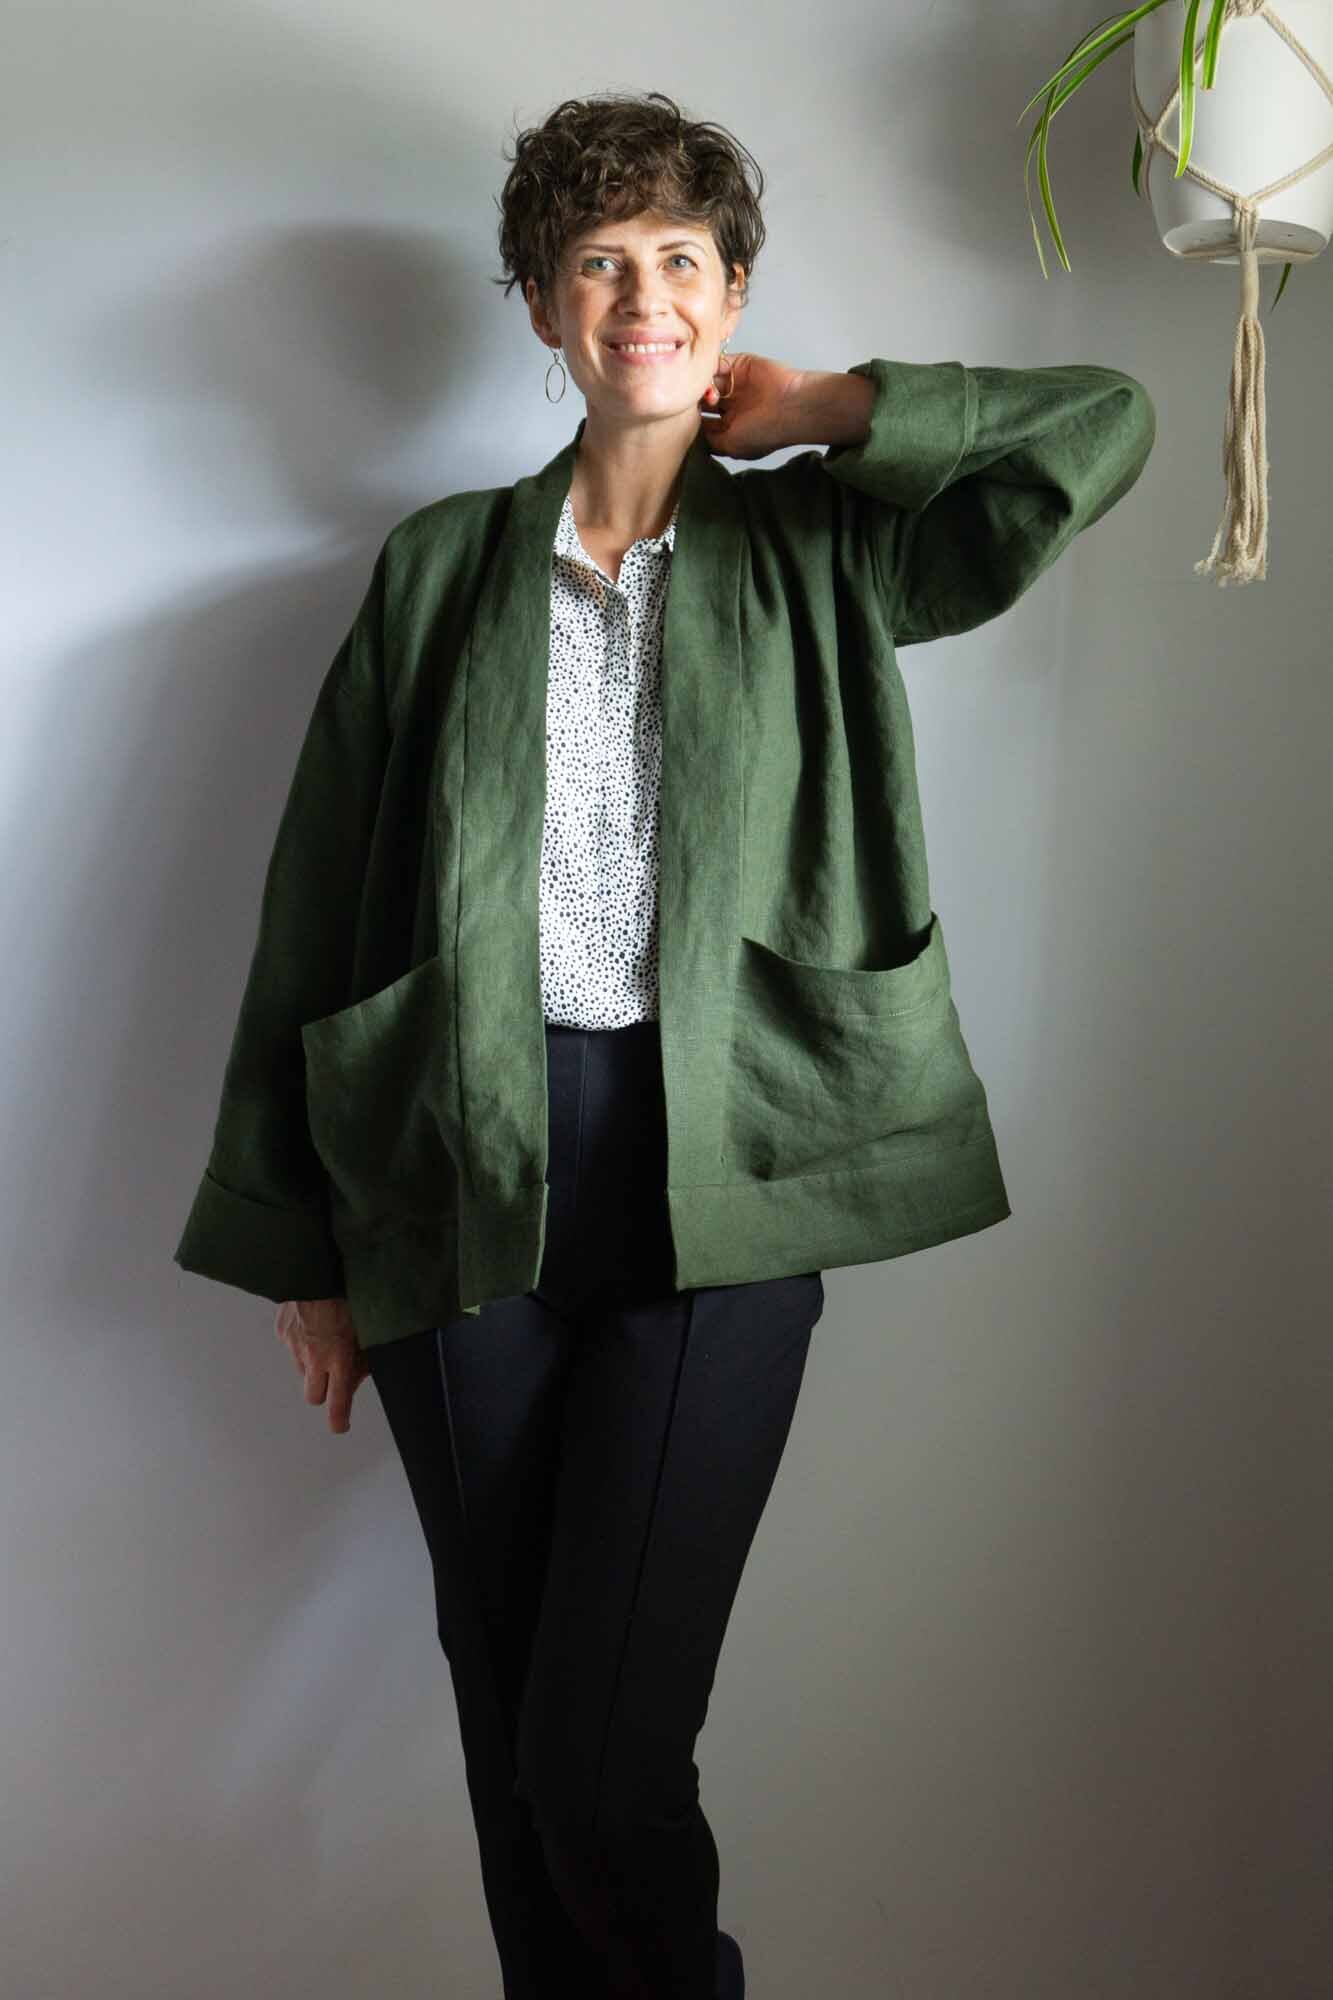
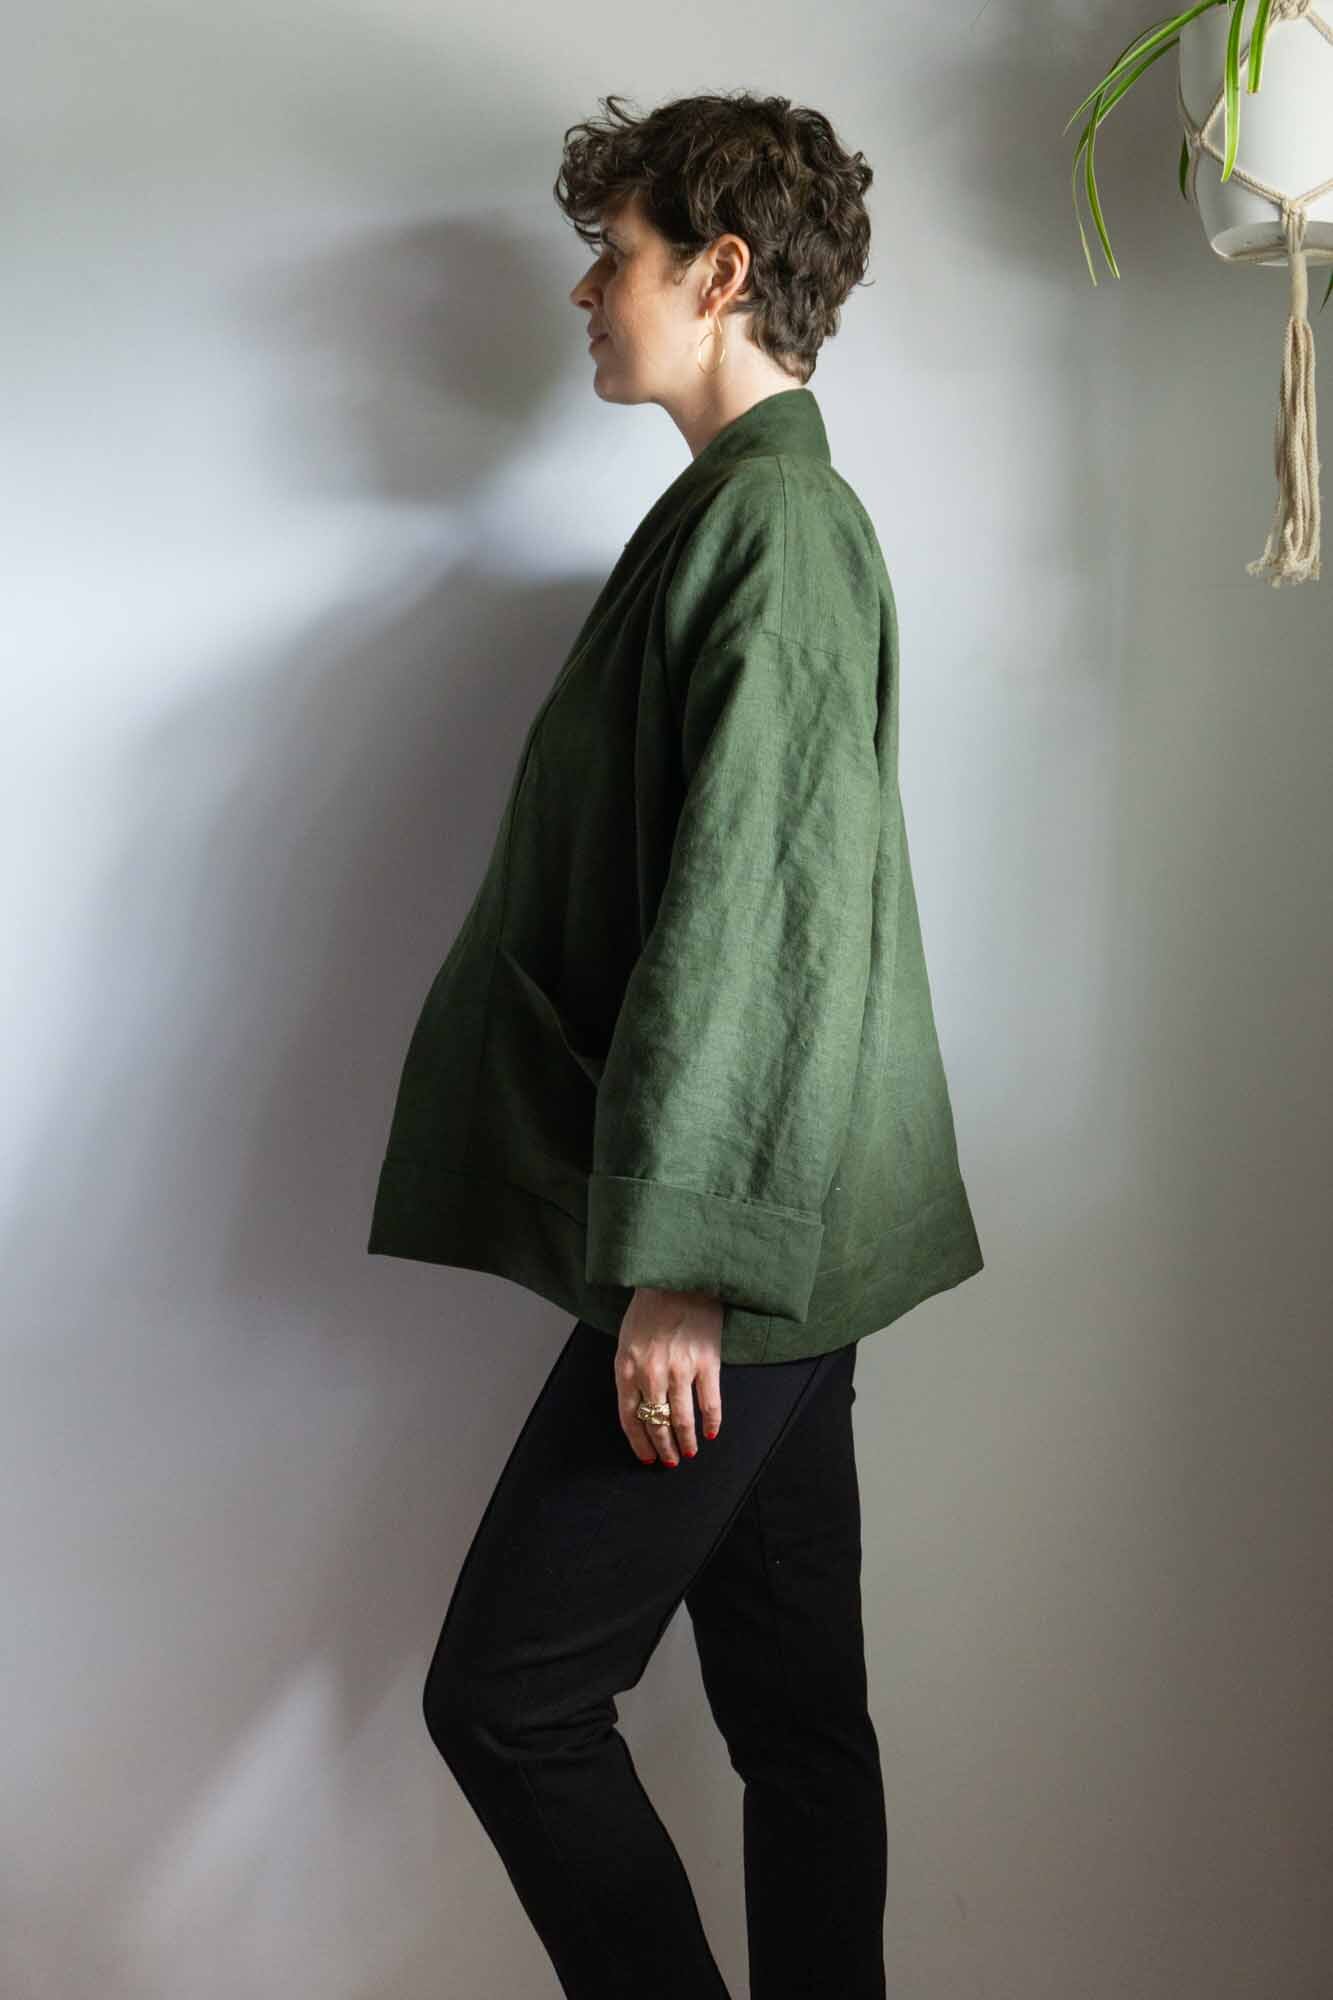
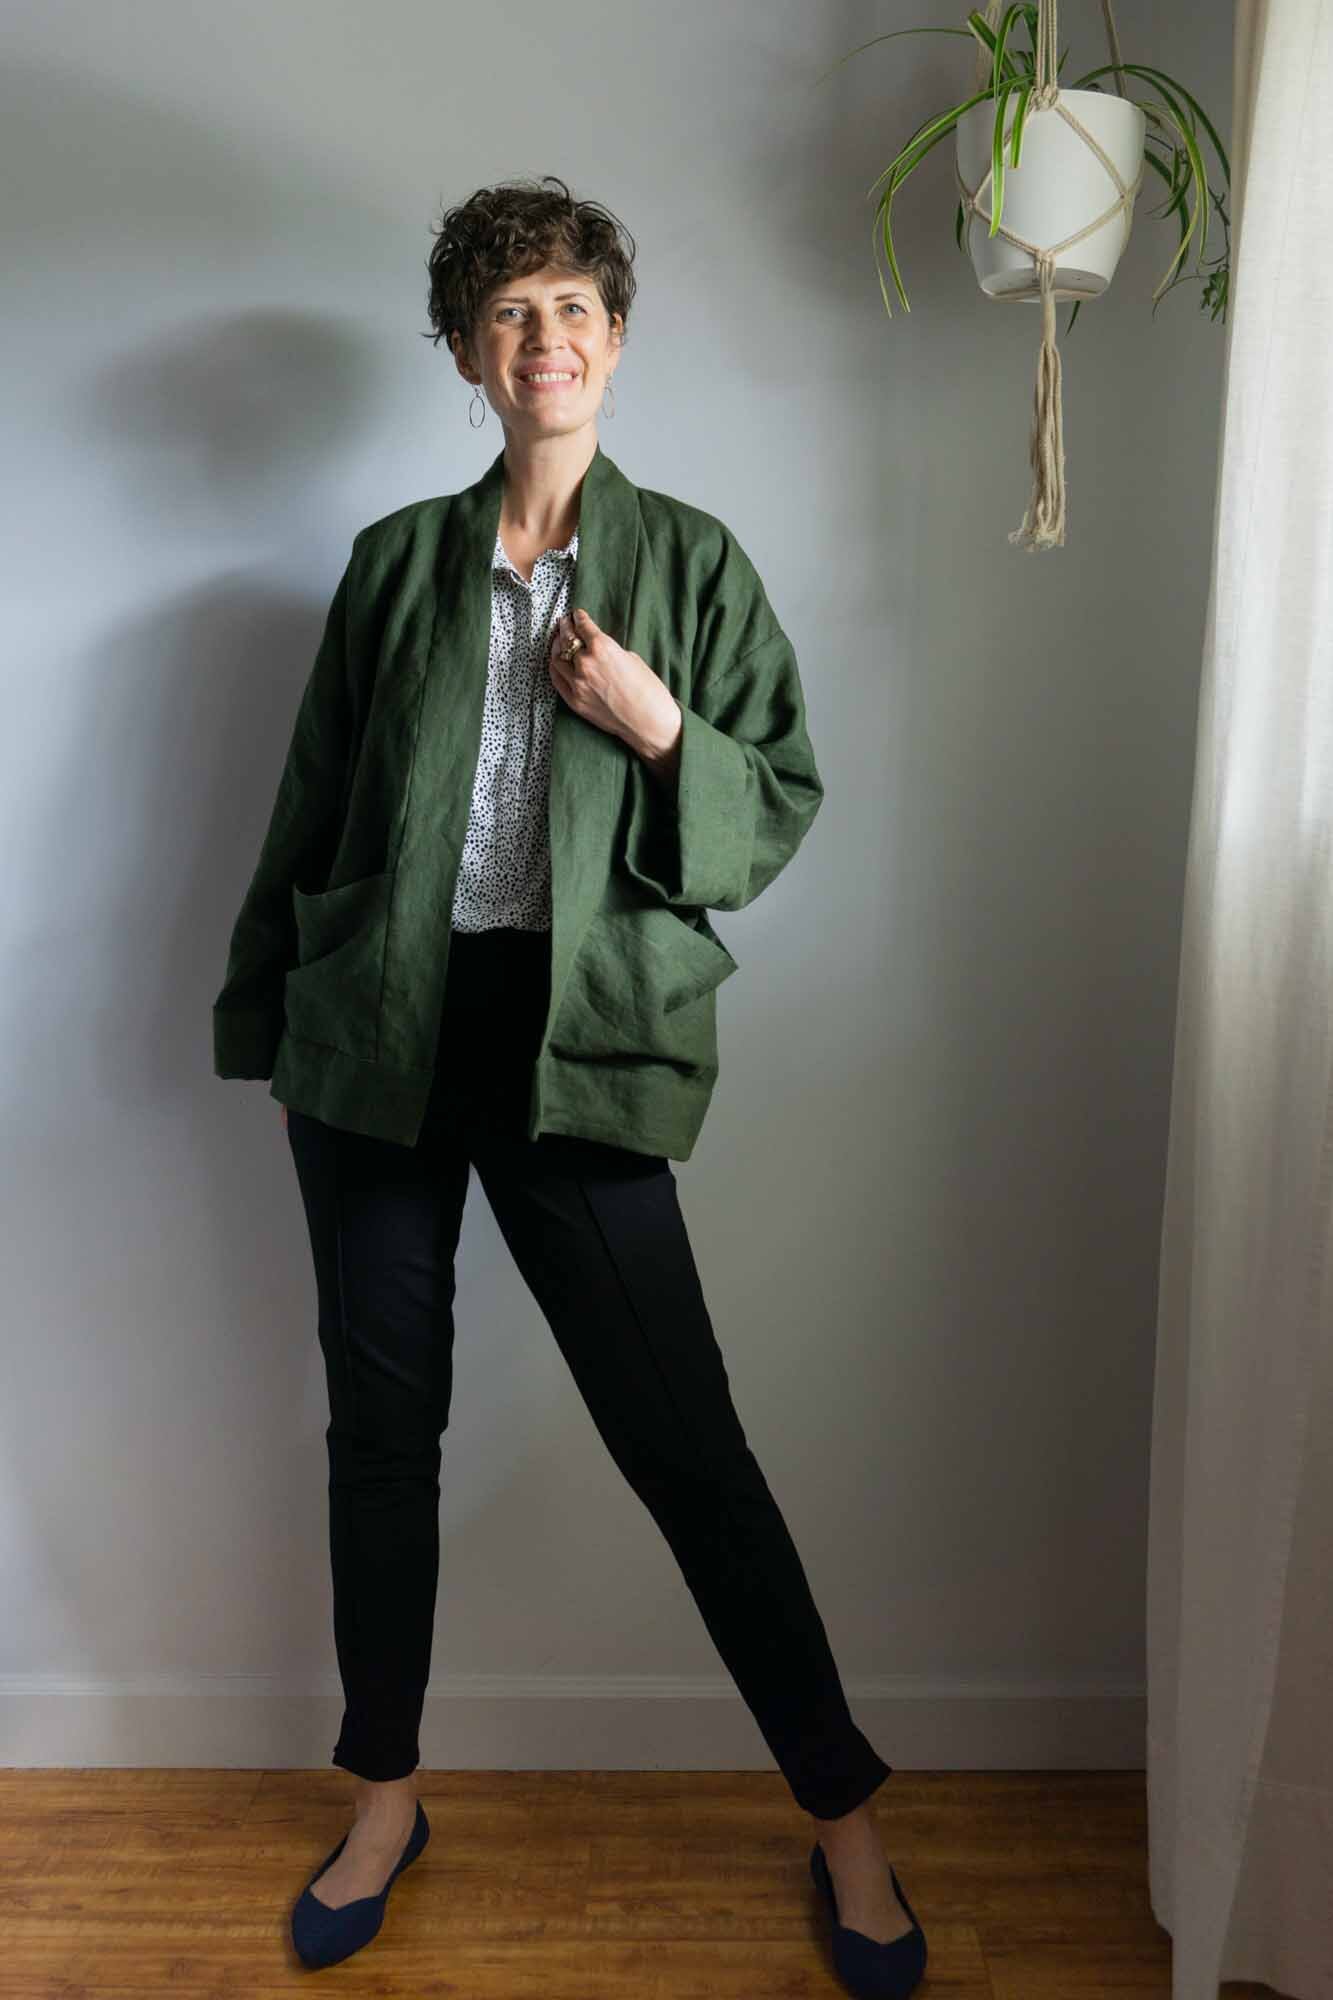
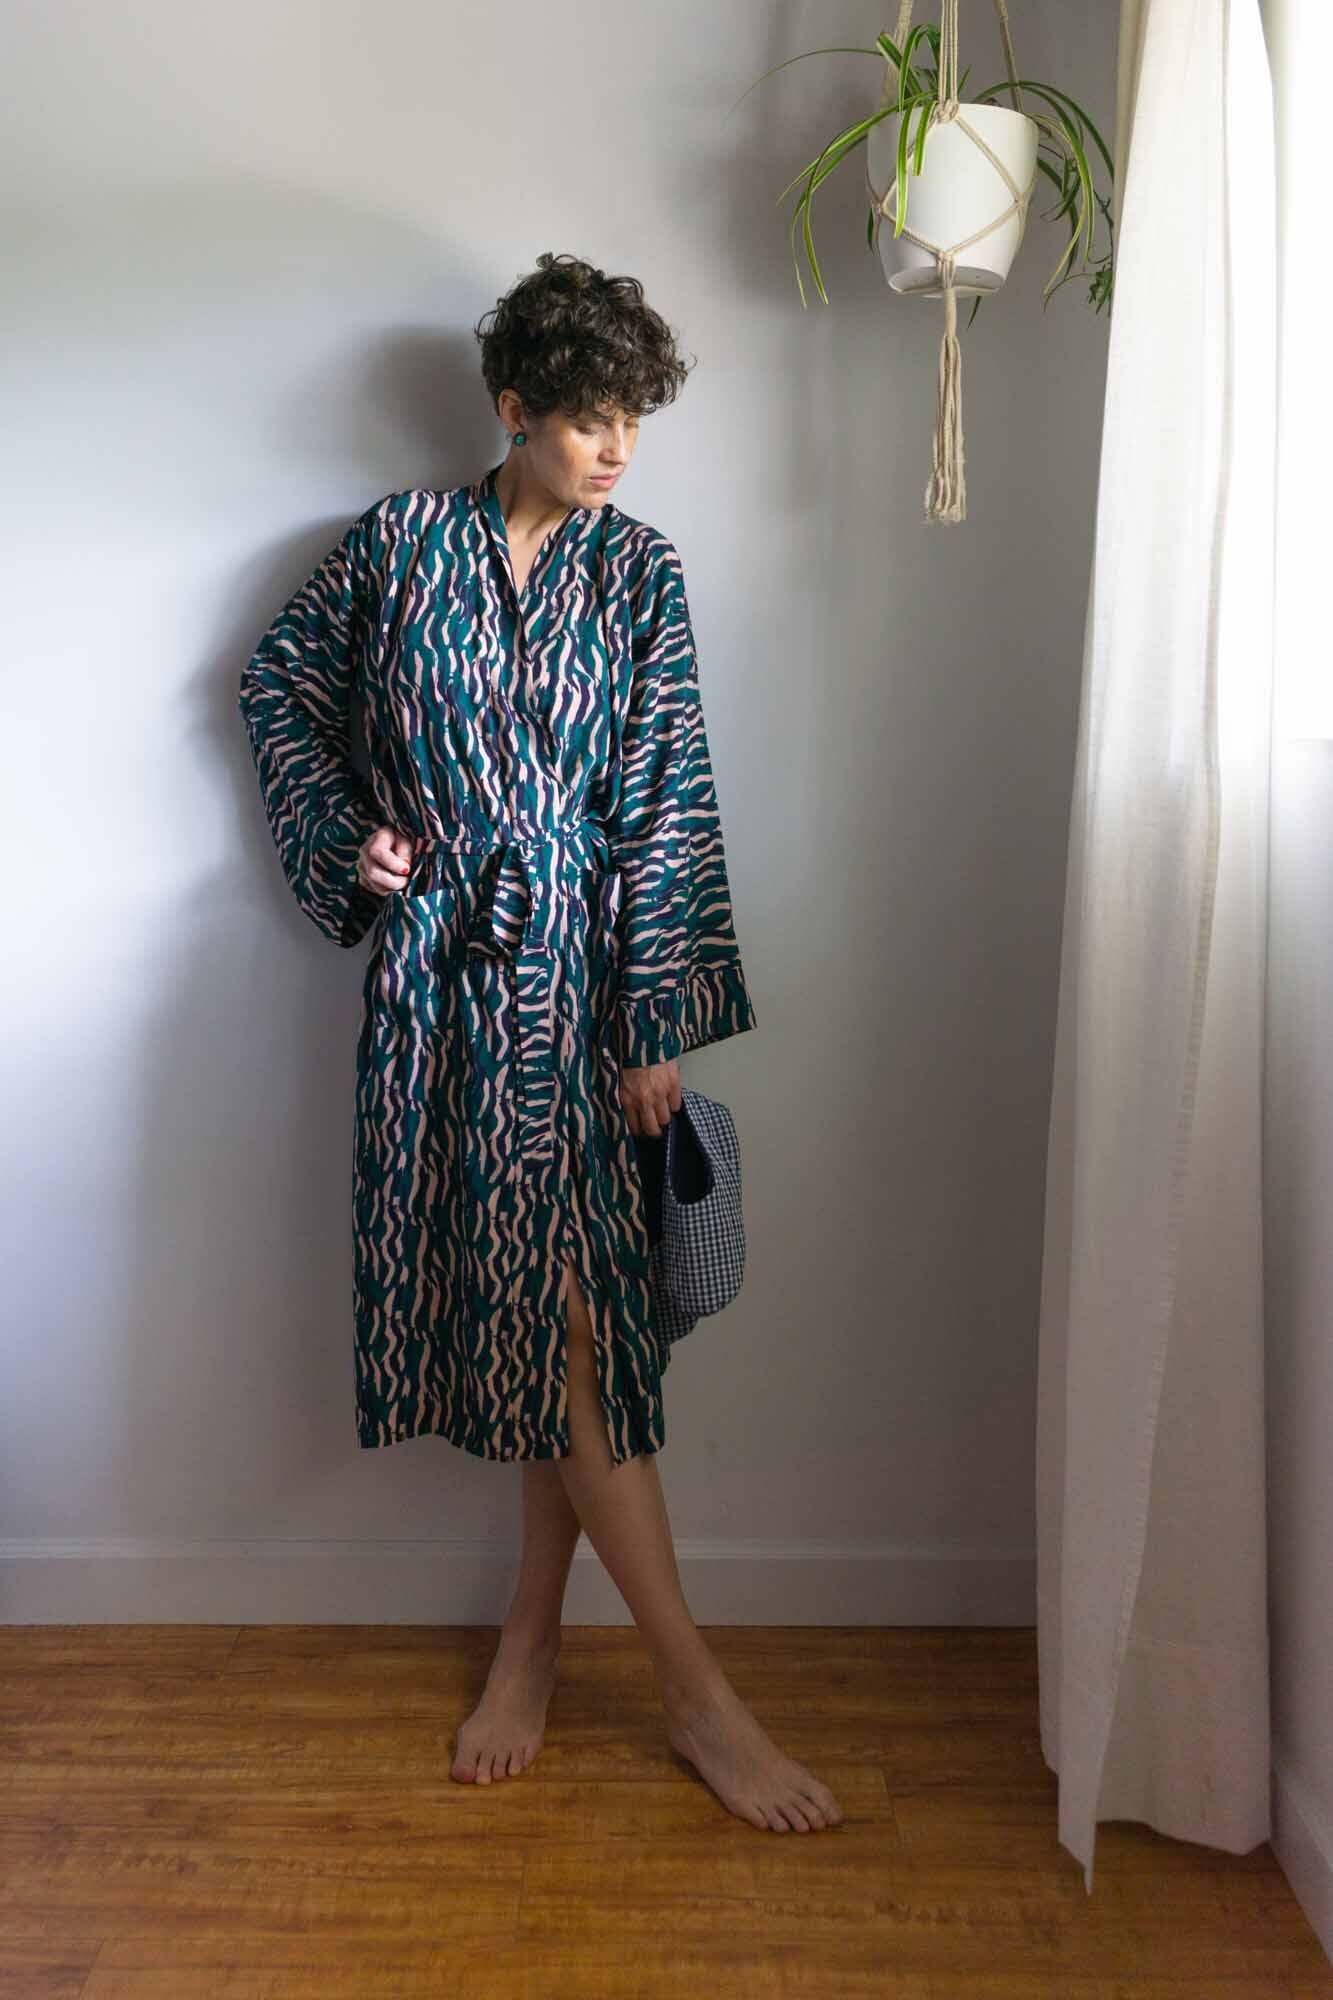
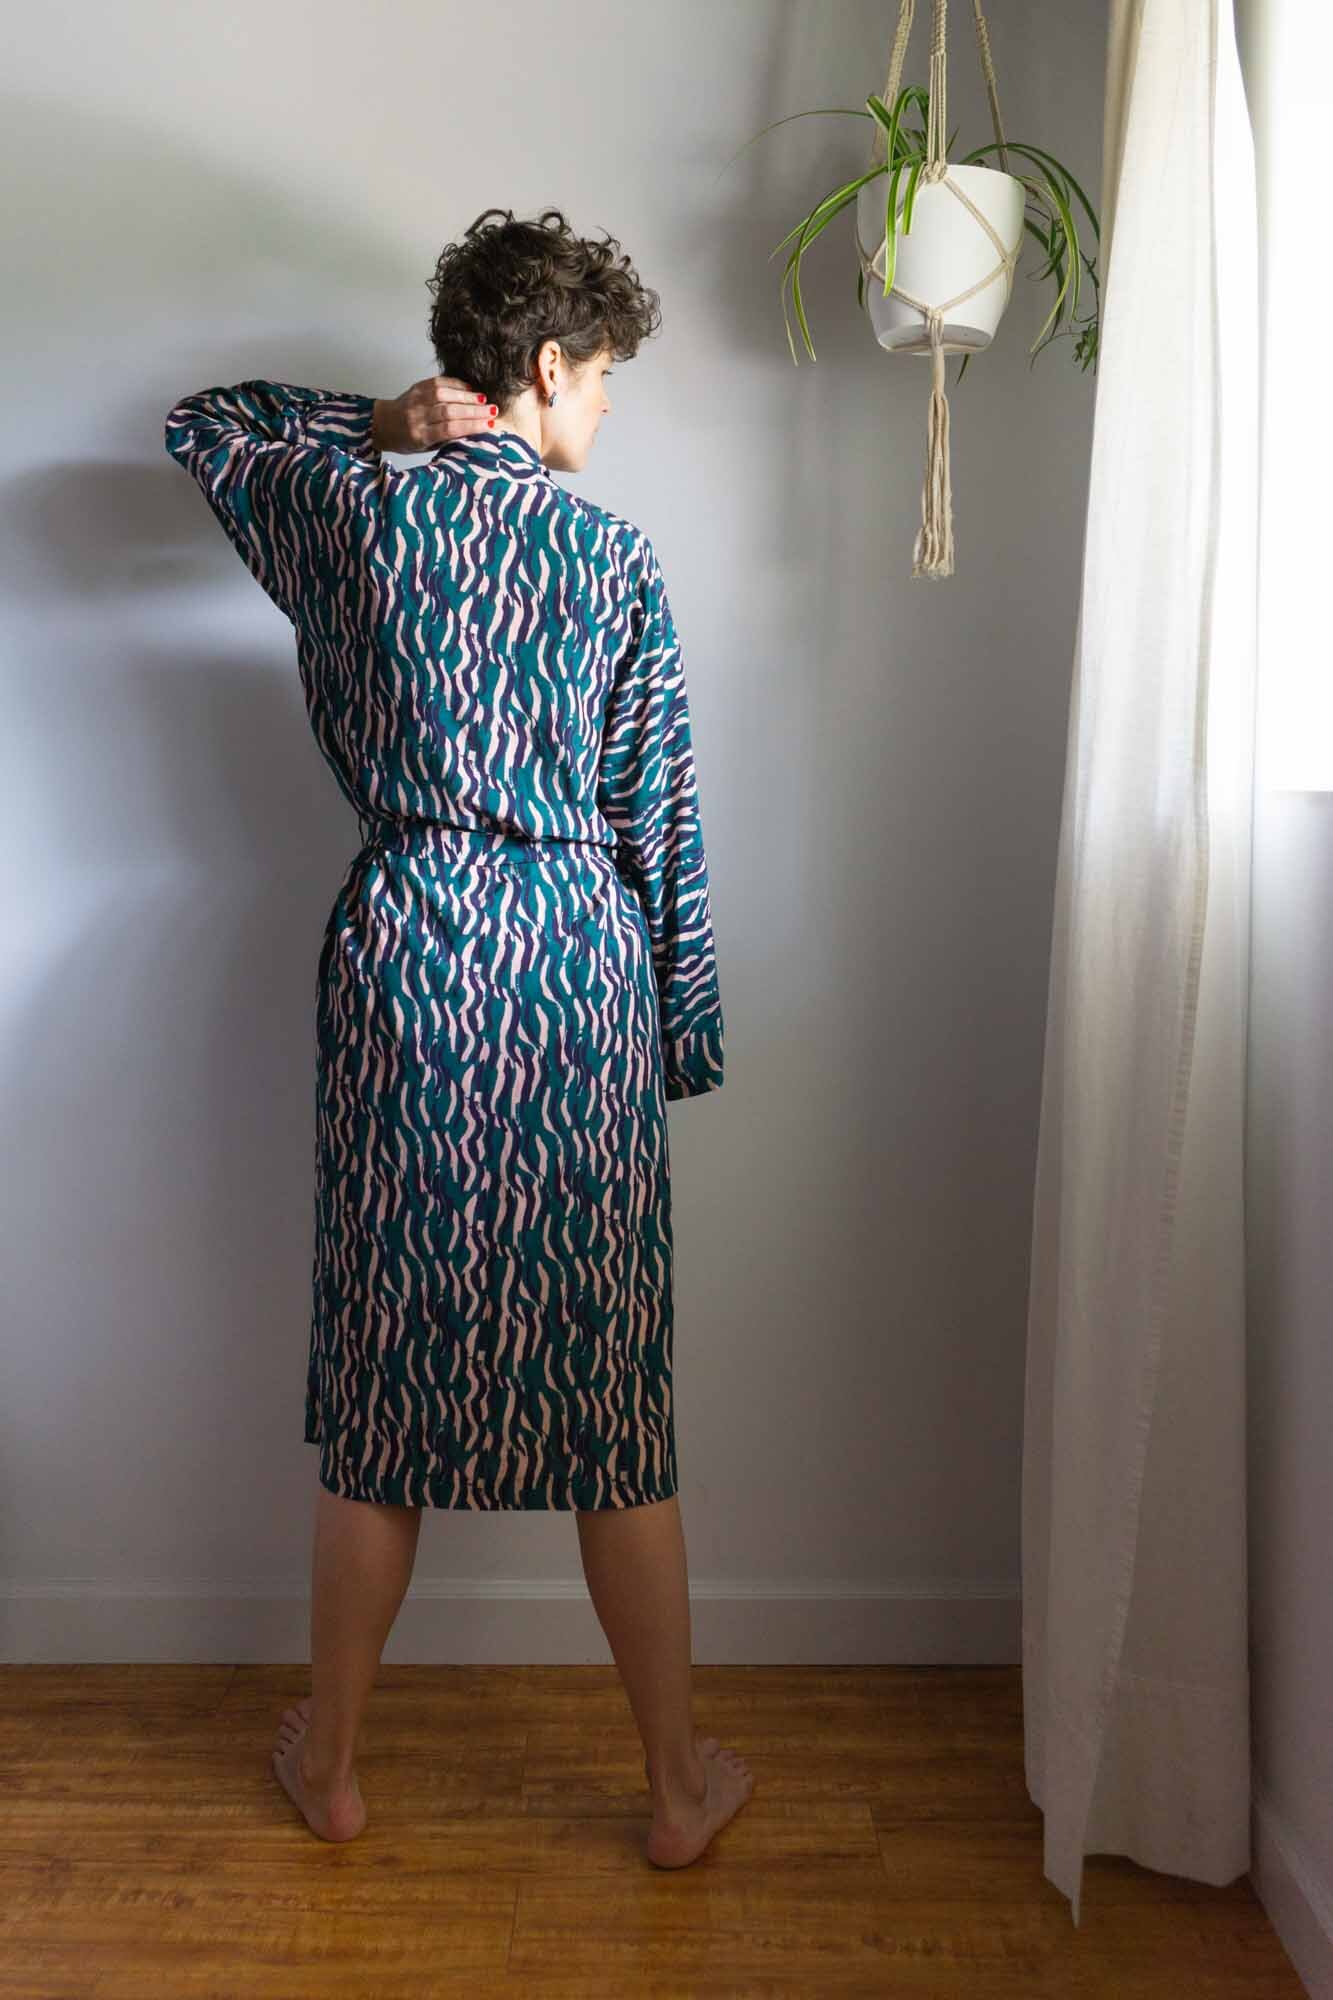
View A is a classic robe with patch pockets, a tie belt and carriers. View B is a casual jacket with turned back cuffs, oversized pockets and a hem band. It’s easy to adjust the design of this pattern to suit your personal preferences and we even give you a few ideas for ways you can customize and adapt this pattern. 

This pattern works well in a wide variety of fabrics from rayon or silk to sweater knit or linen. The design is adaptable for a variety of garments including a robe, cardigan or jacket. This pattern also works really well for piecing together leftover fabrics. Oh, and did we mention that you can make it for everyone in your household because it works for all humans?

Pattern launch! Introducing the Tasi Robe and Jacket and the Sew DIY Quilted Slippers

ABOUT THE QUILTED SLIPPERS

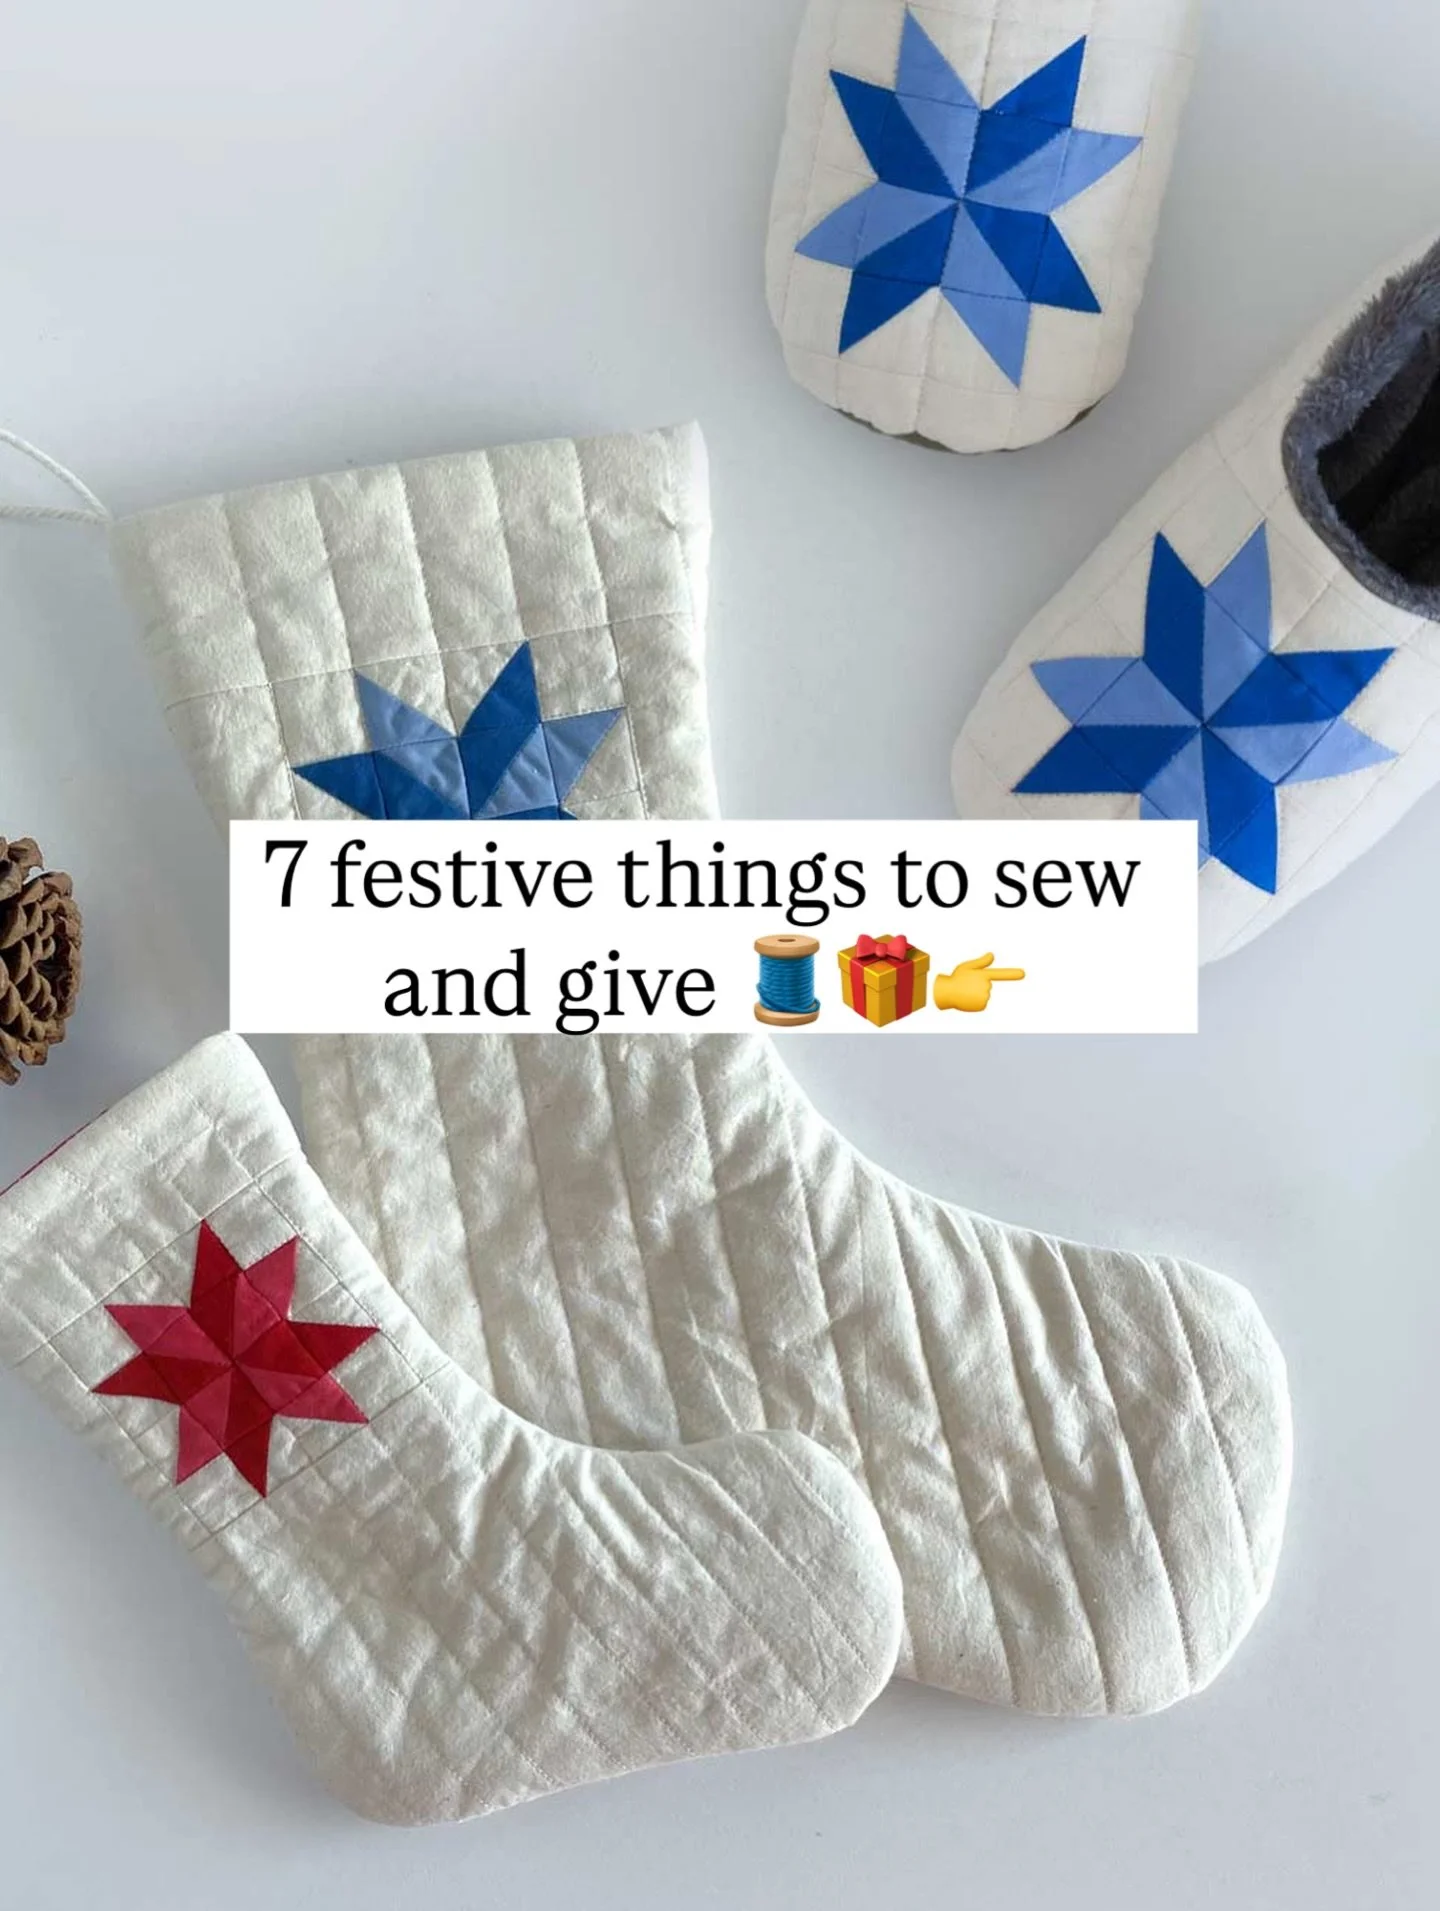
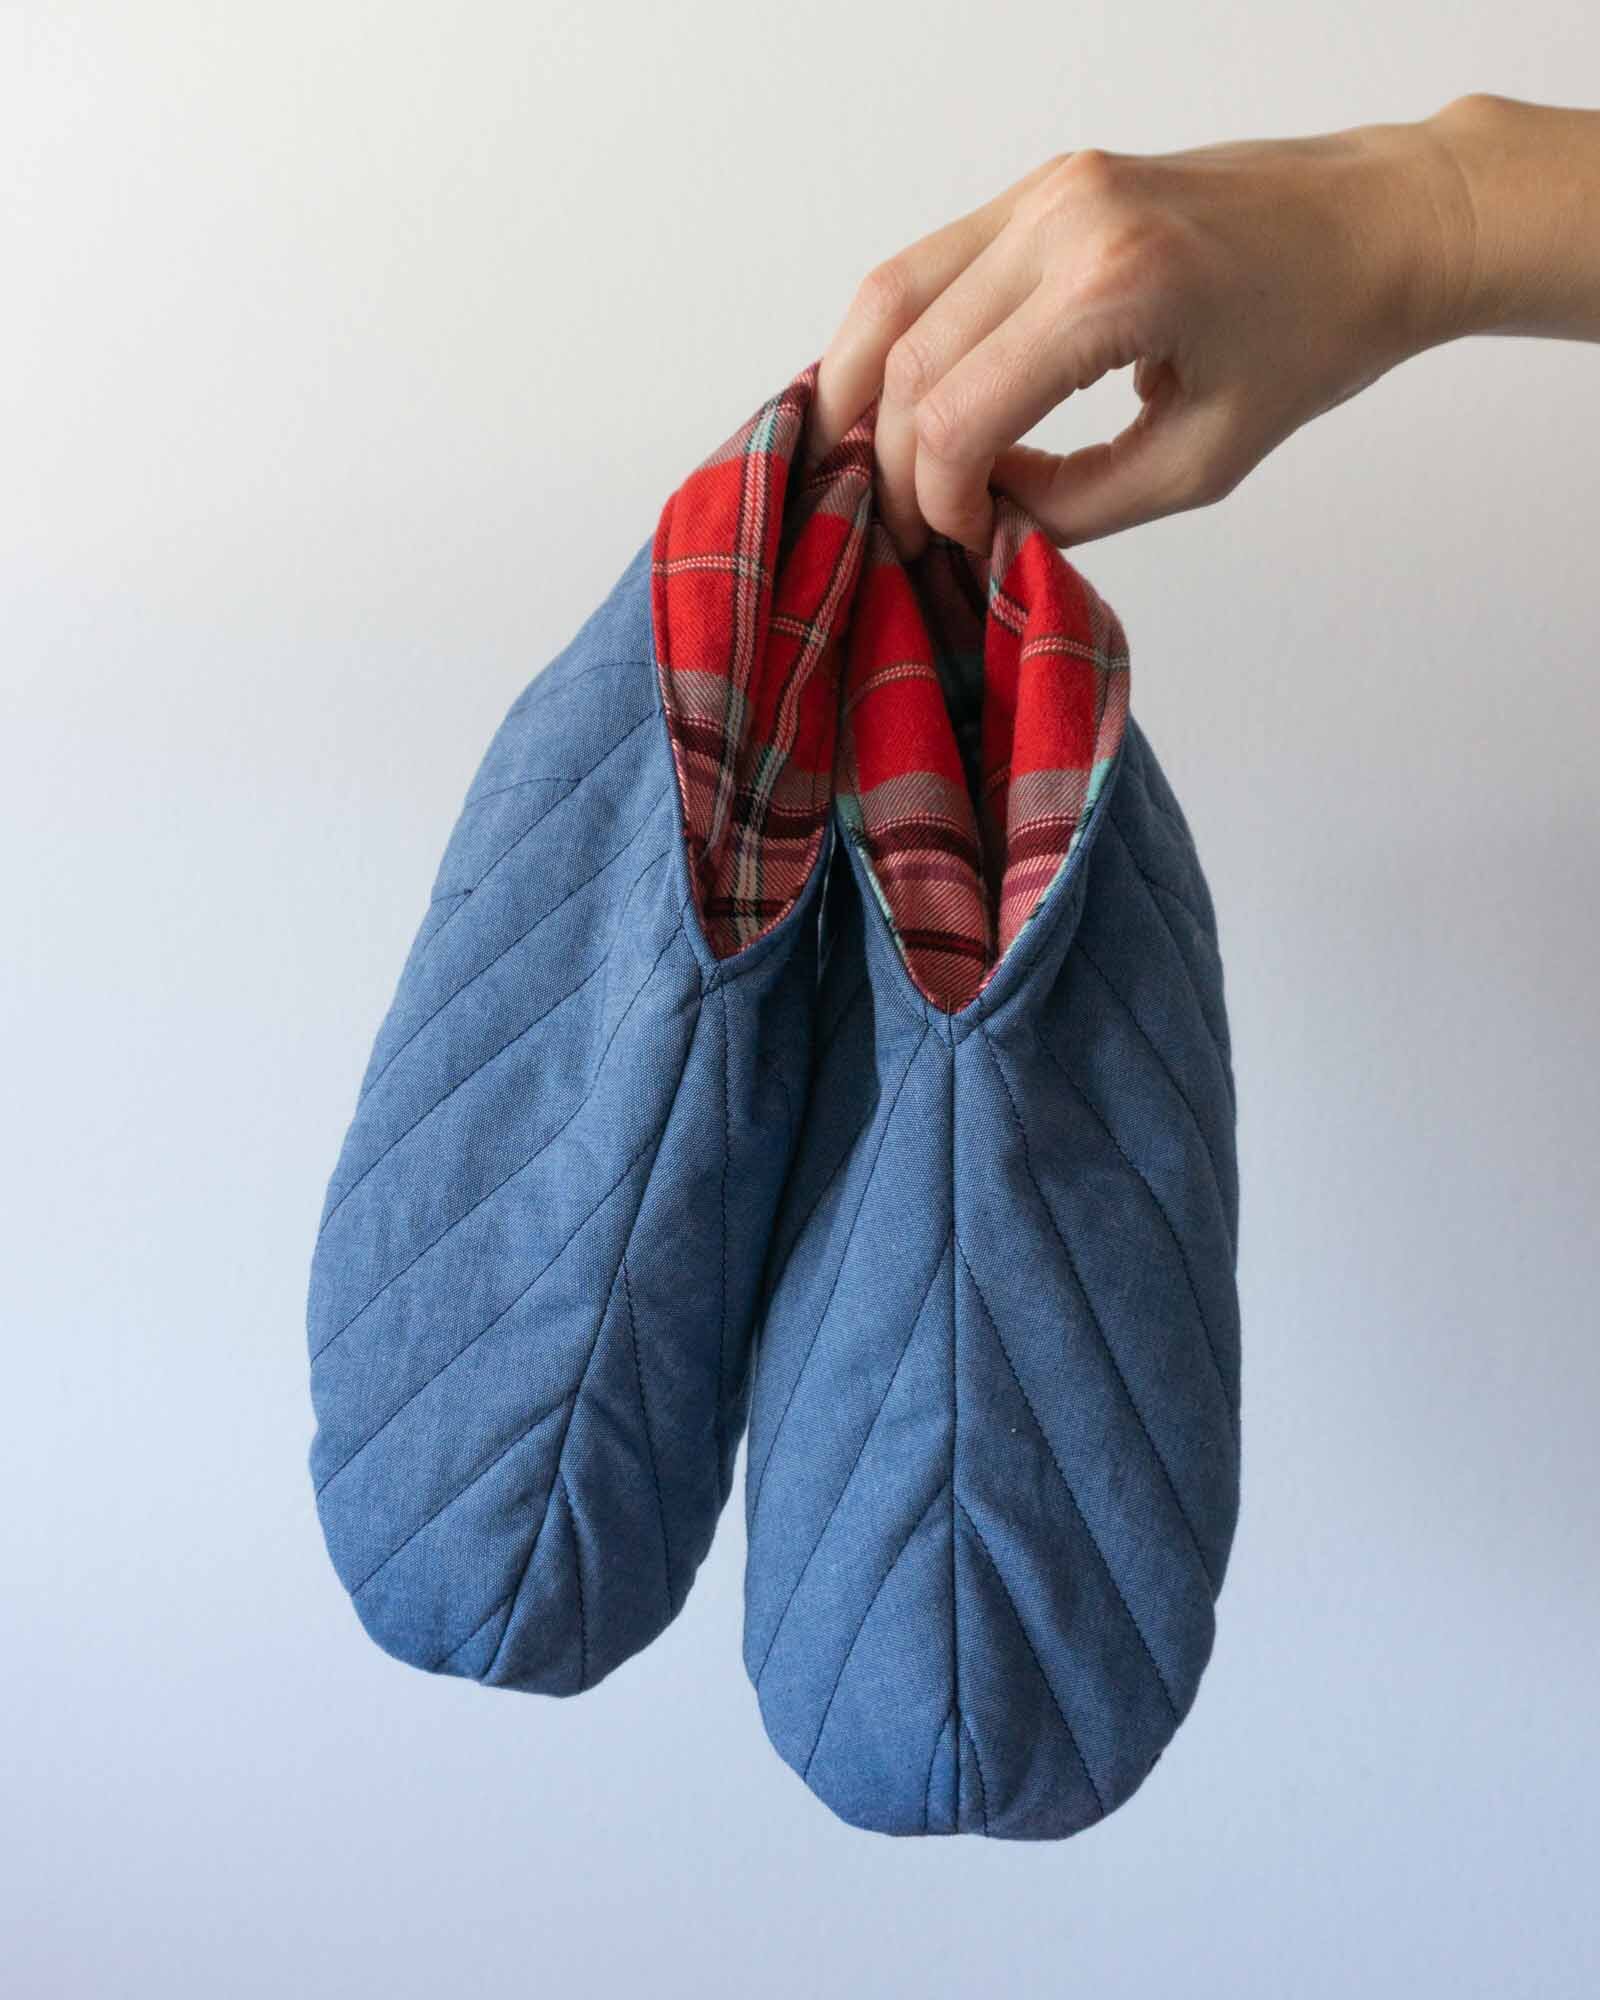
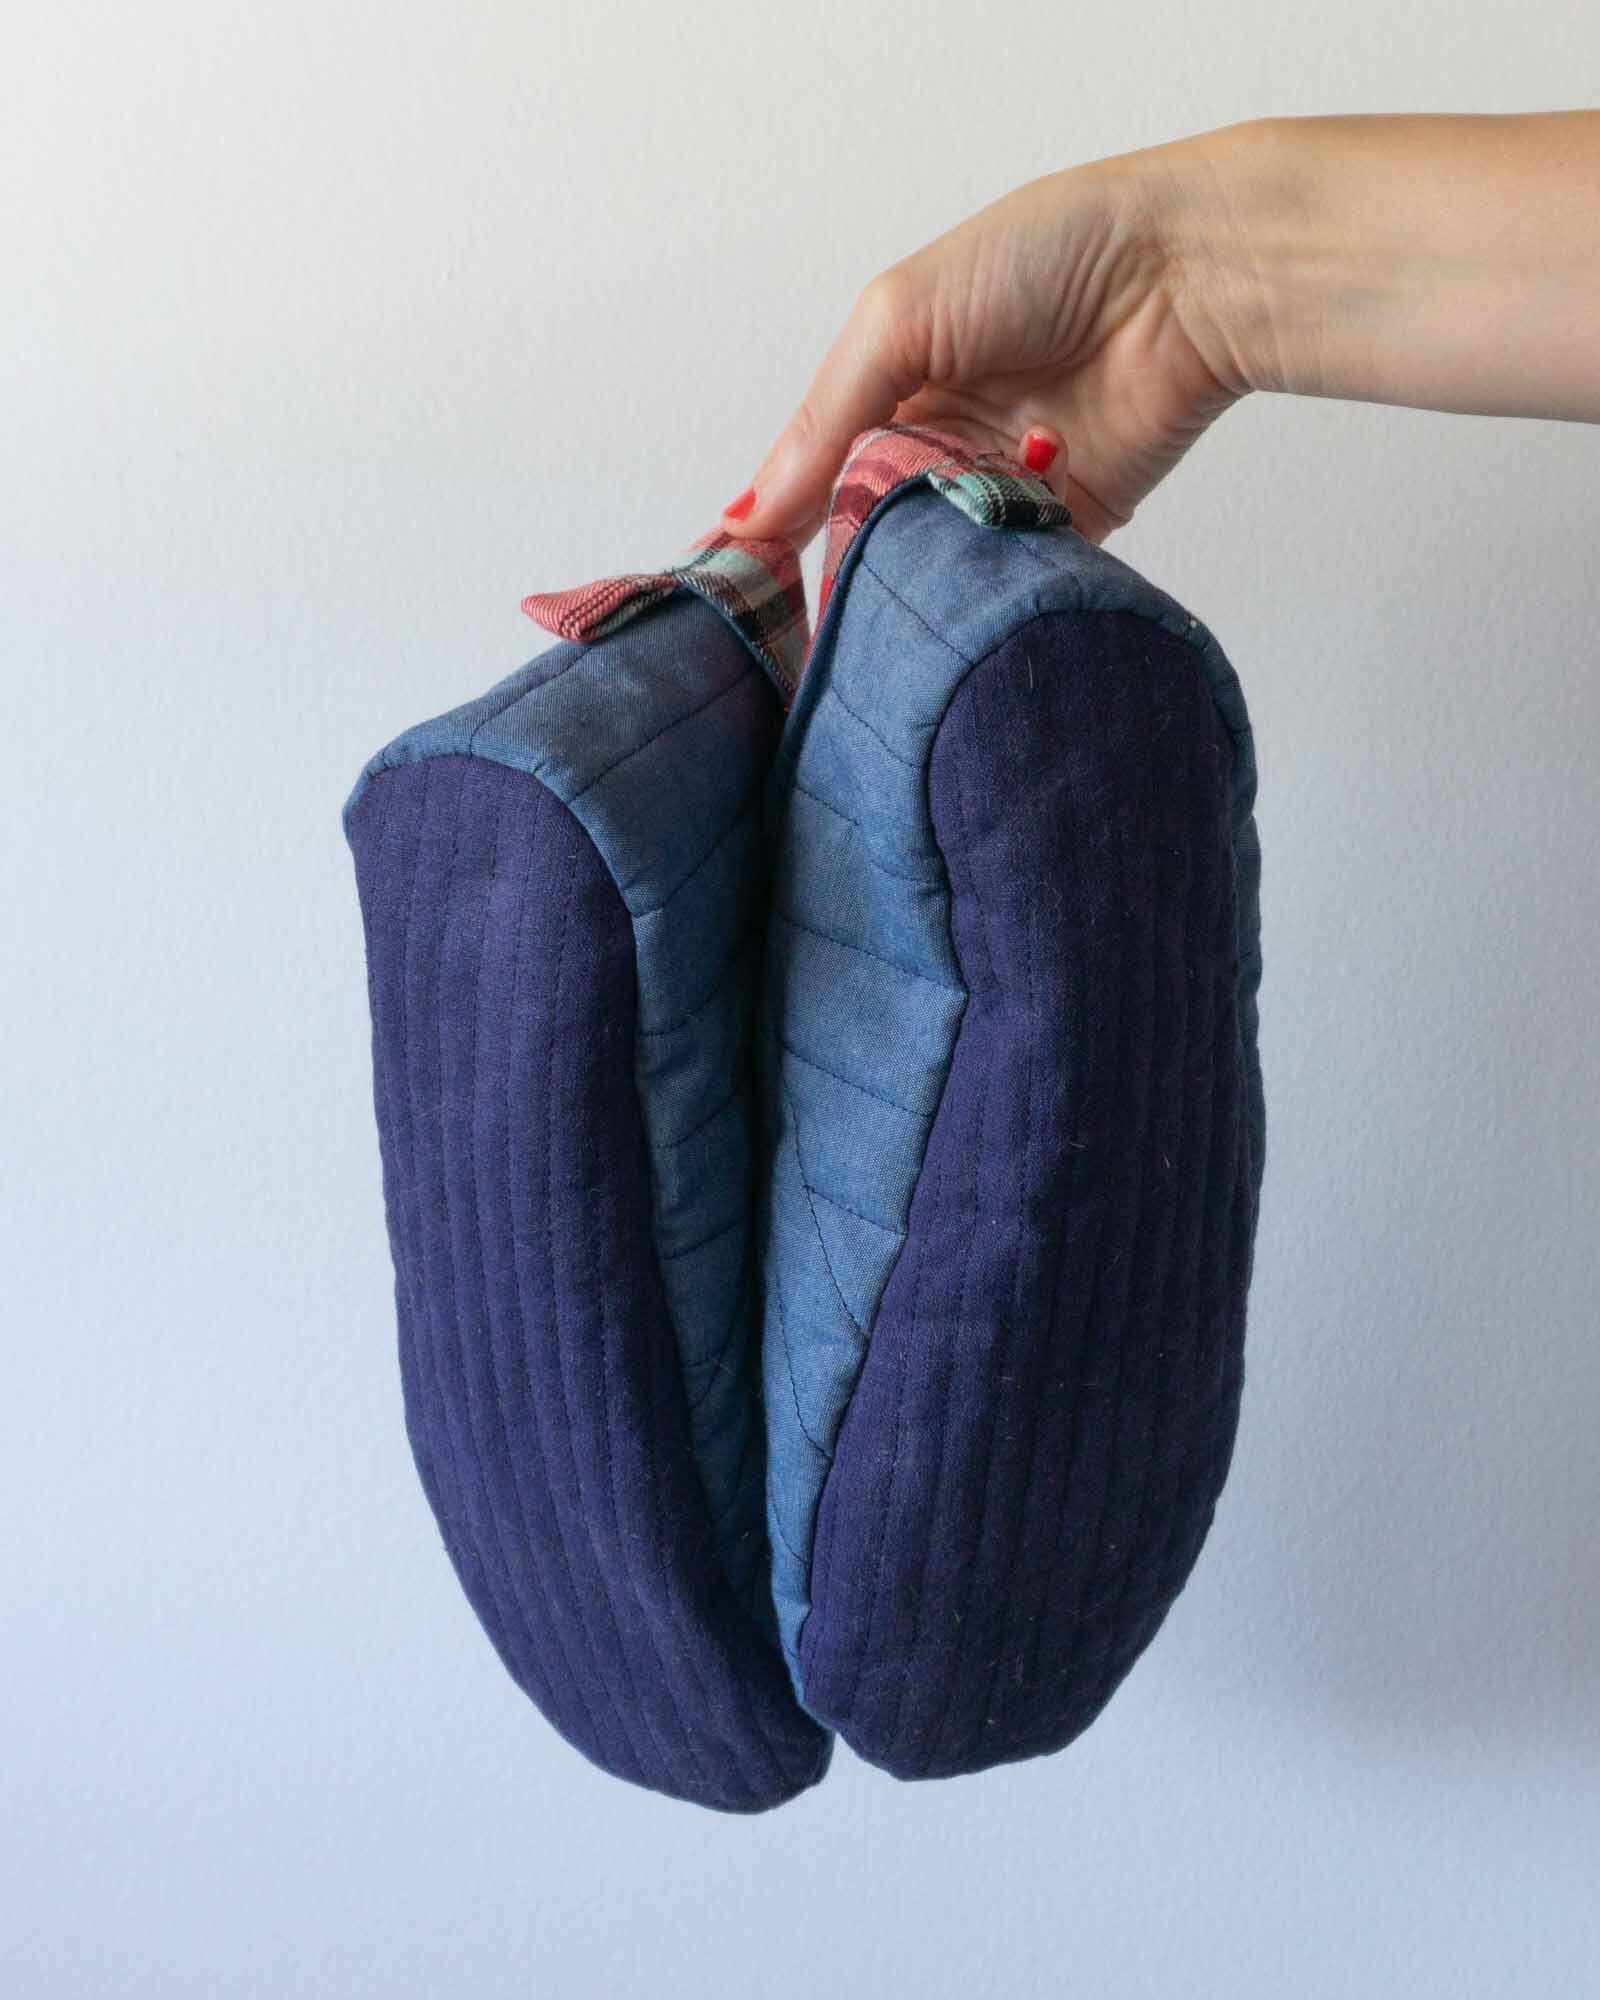
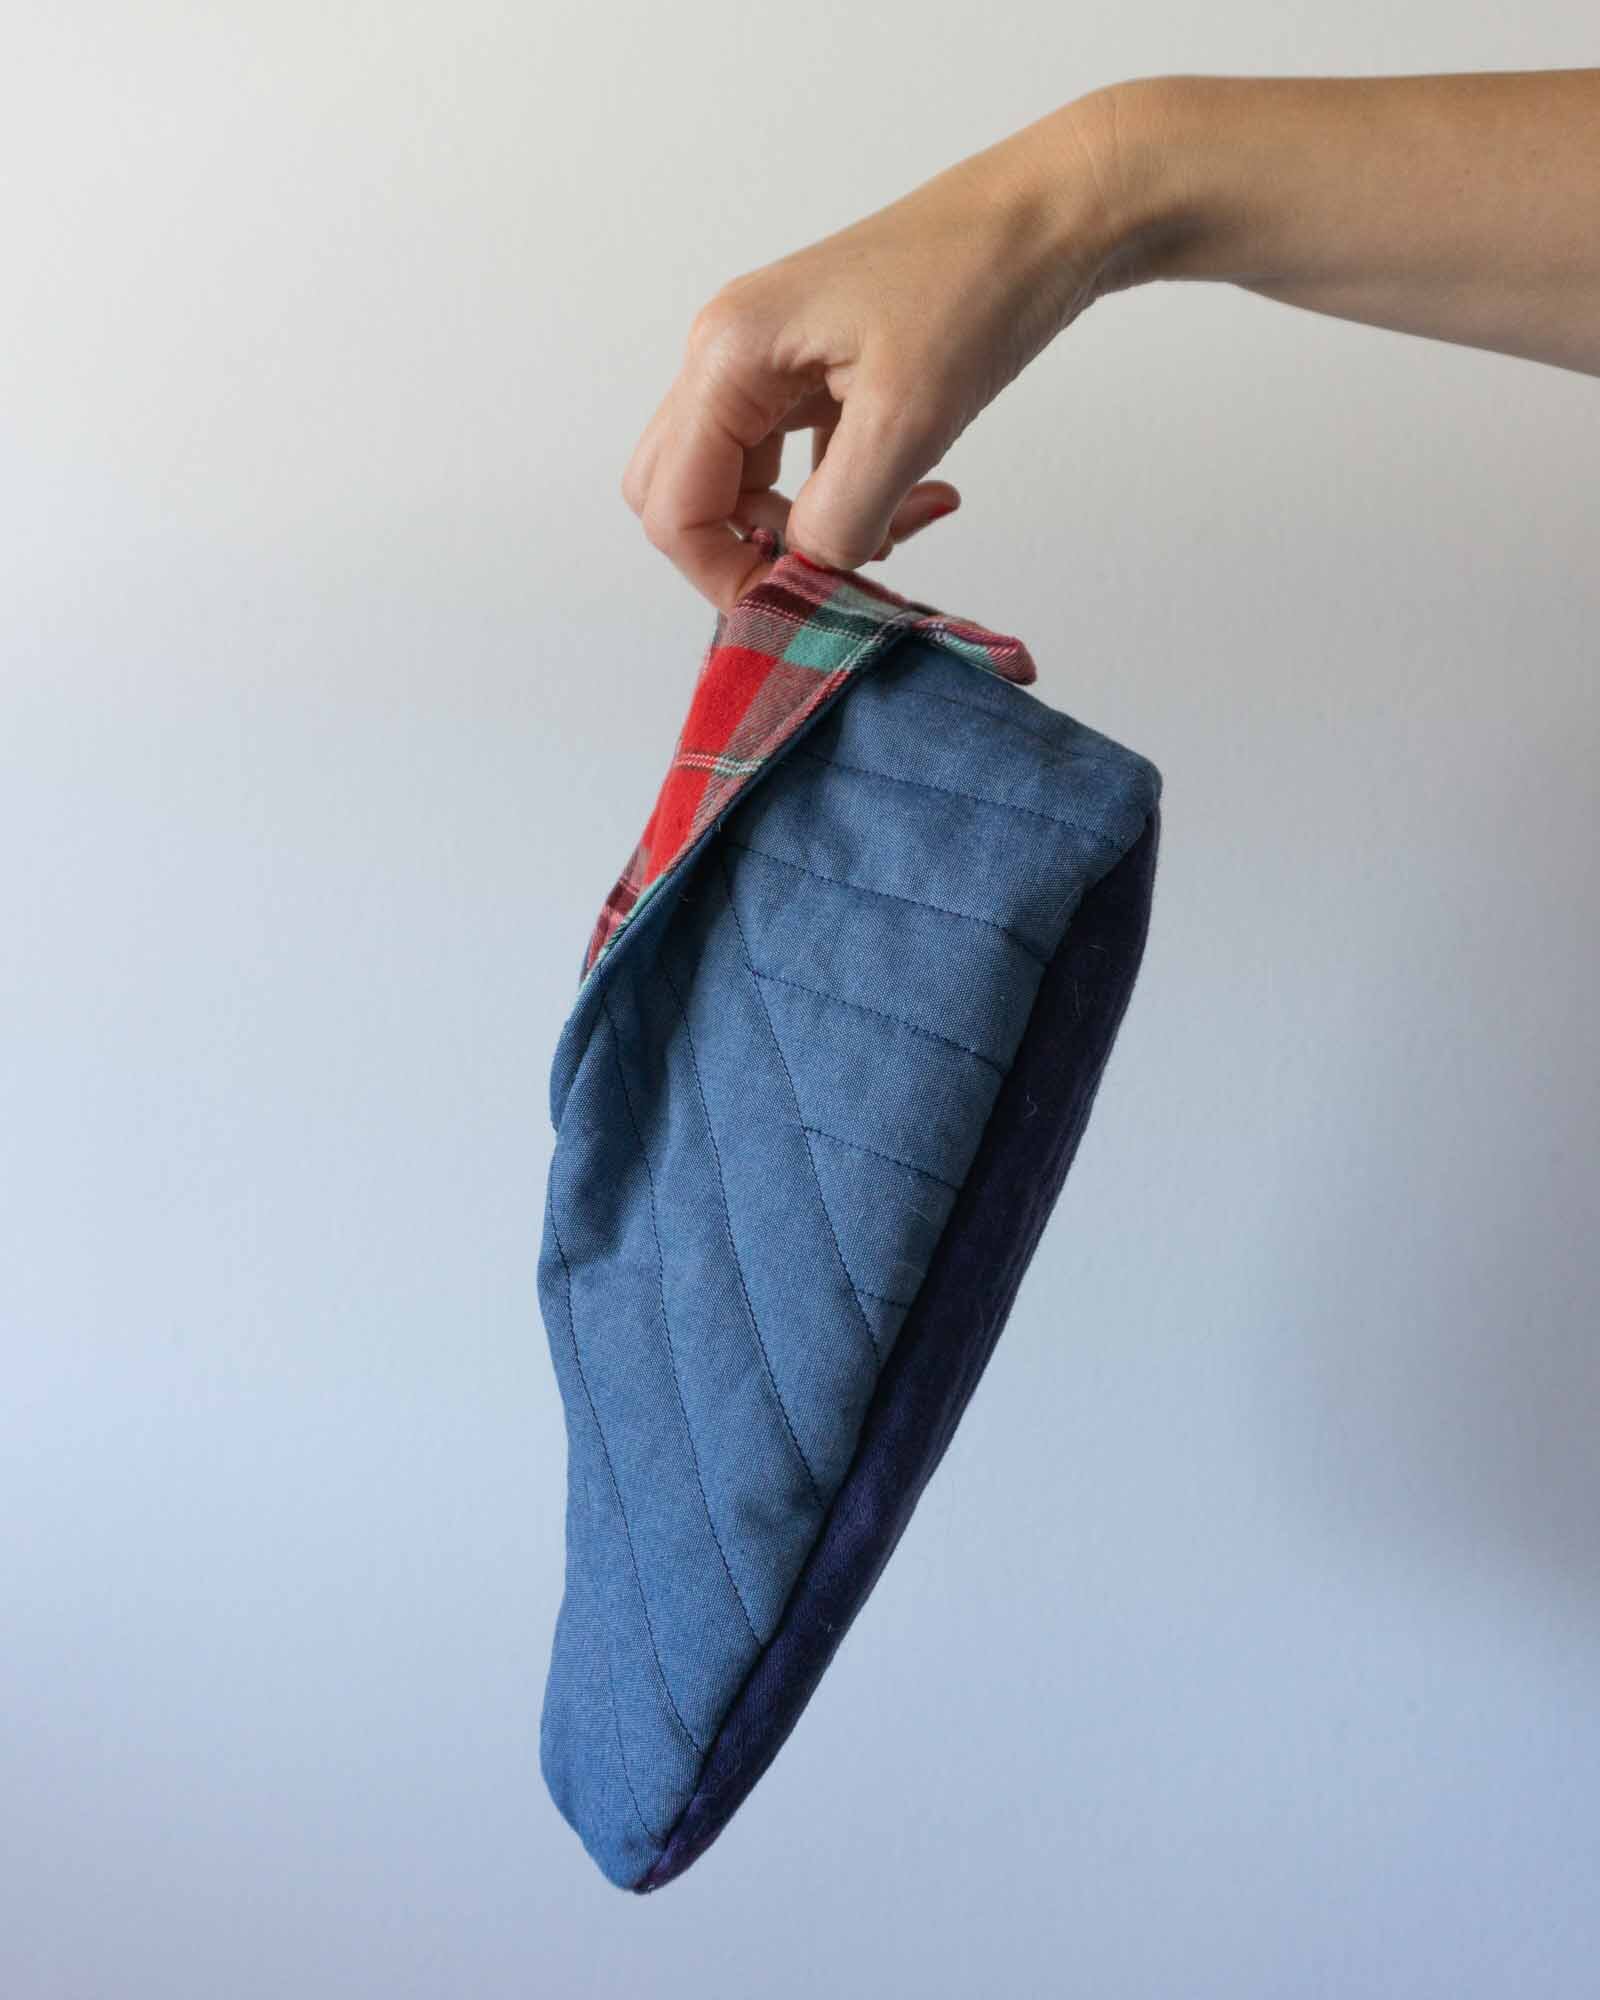
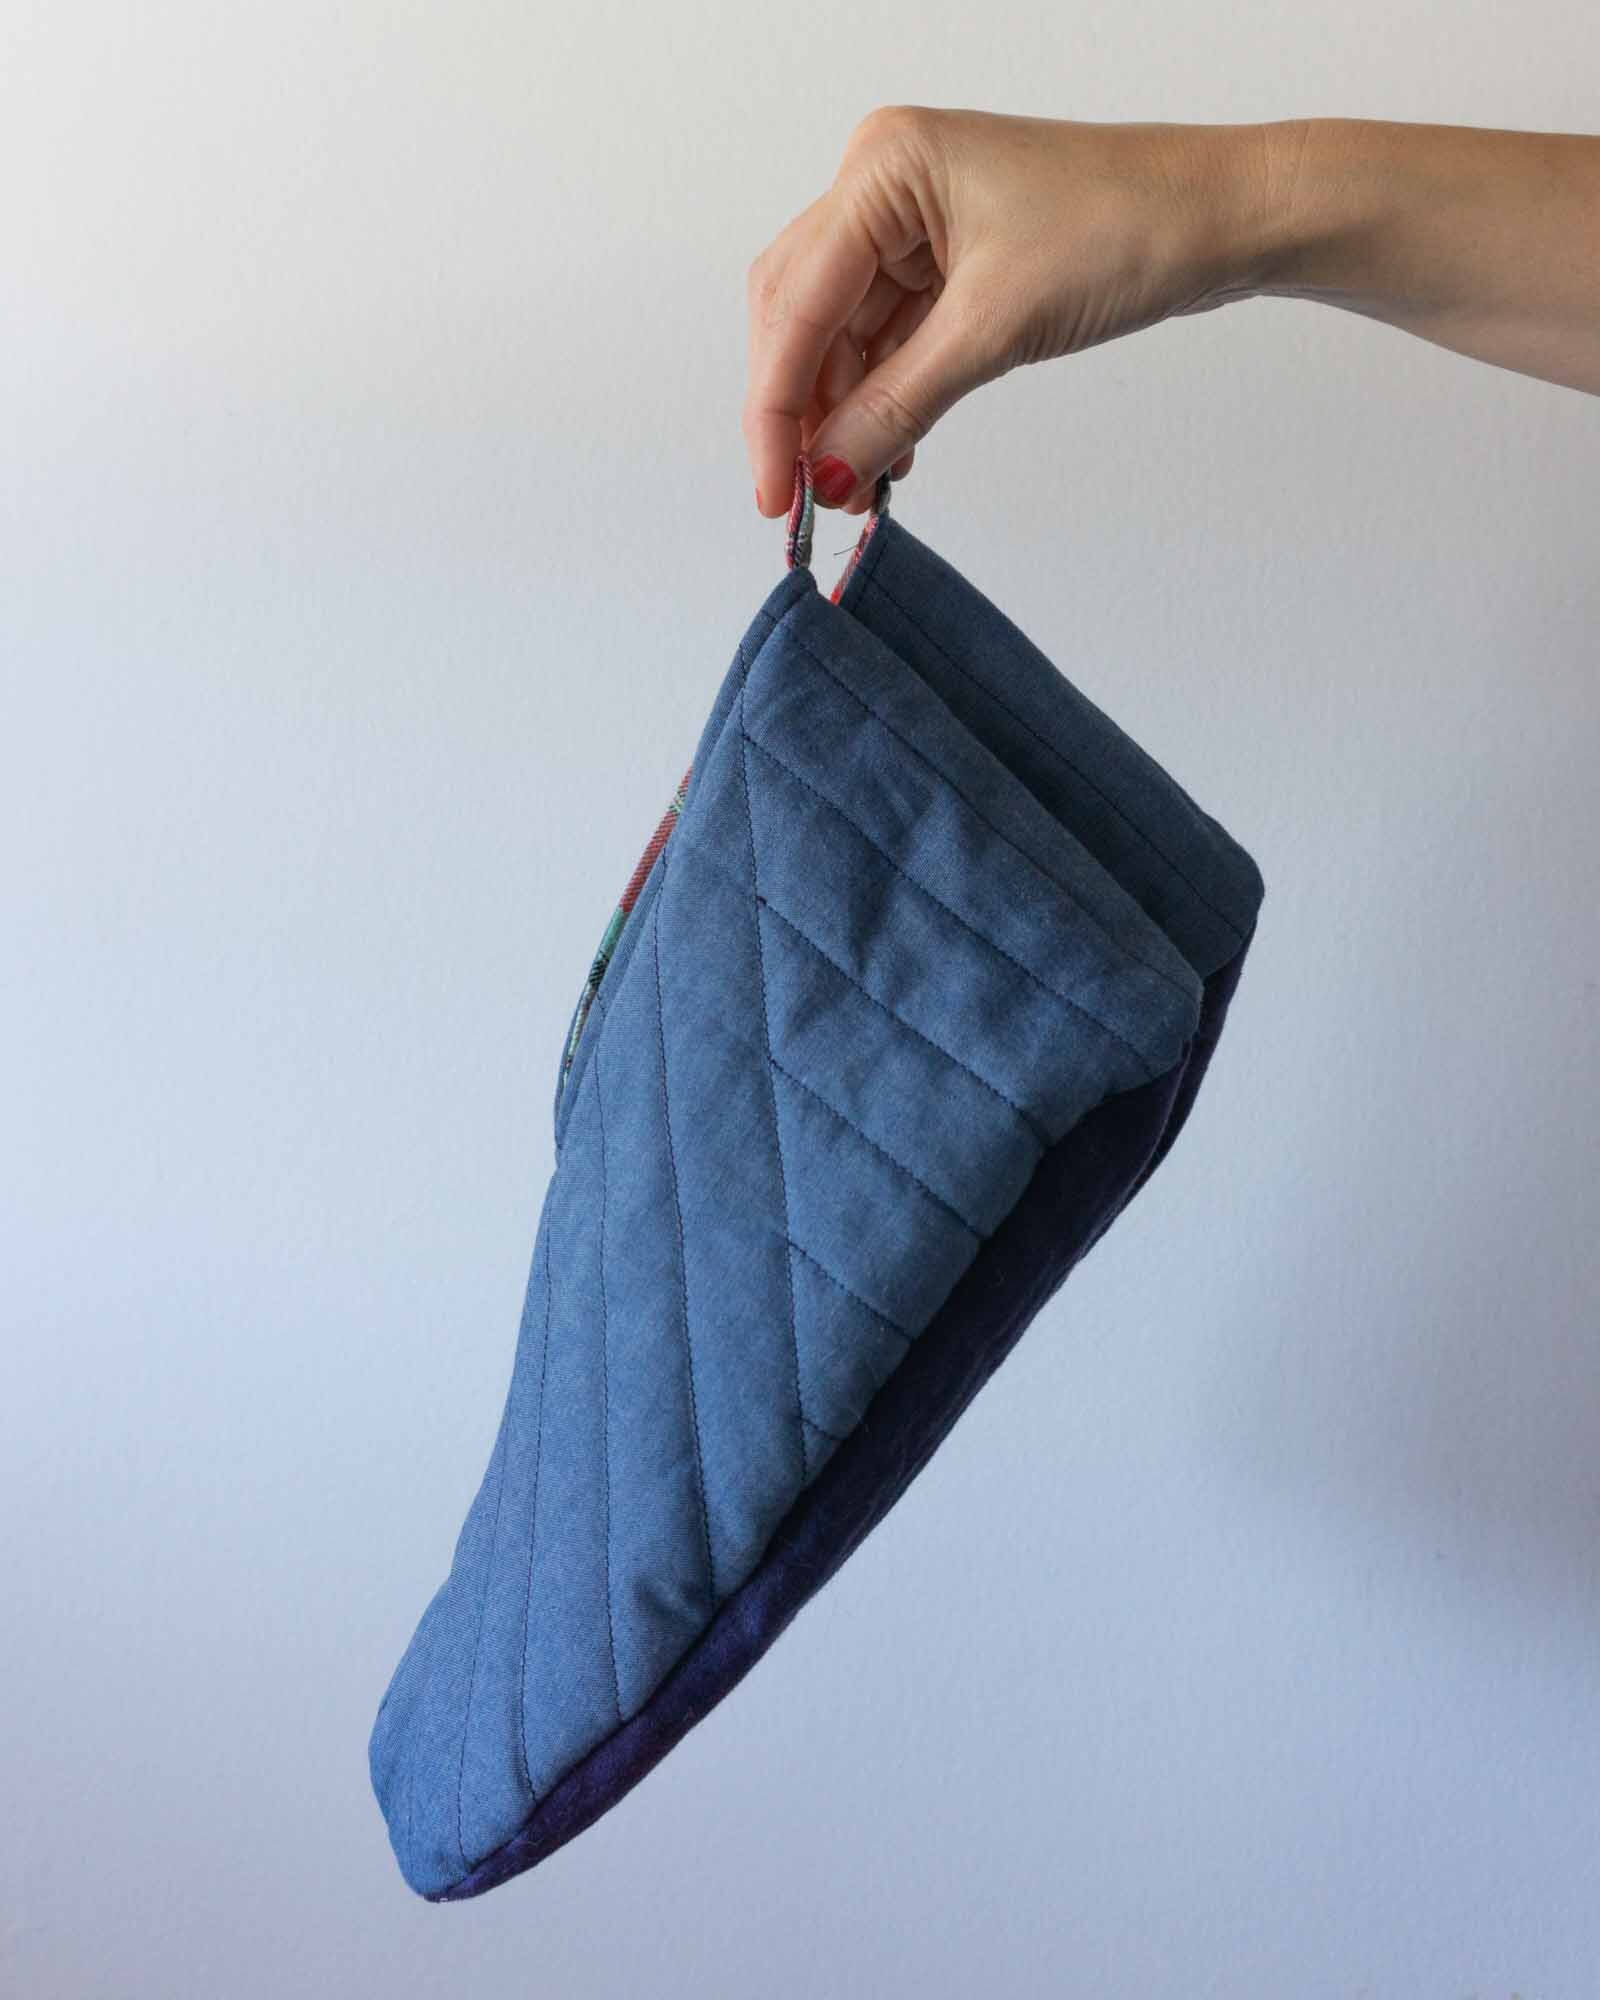
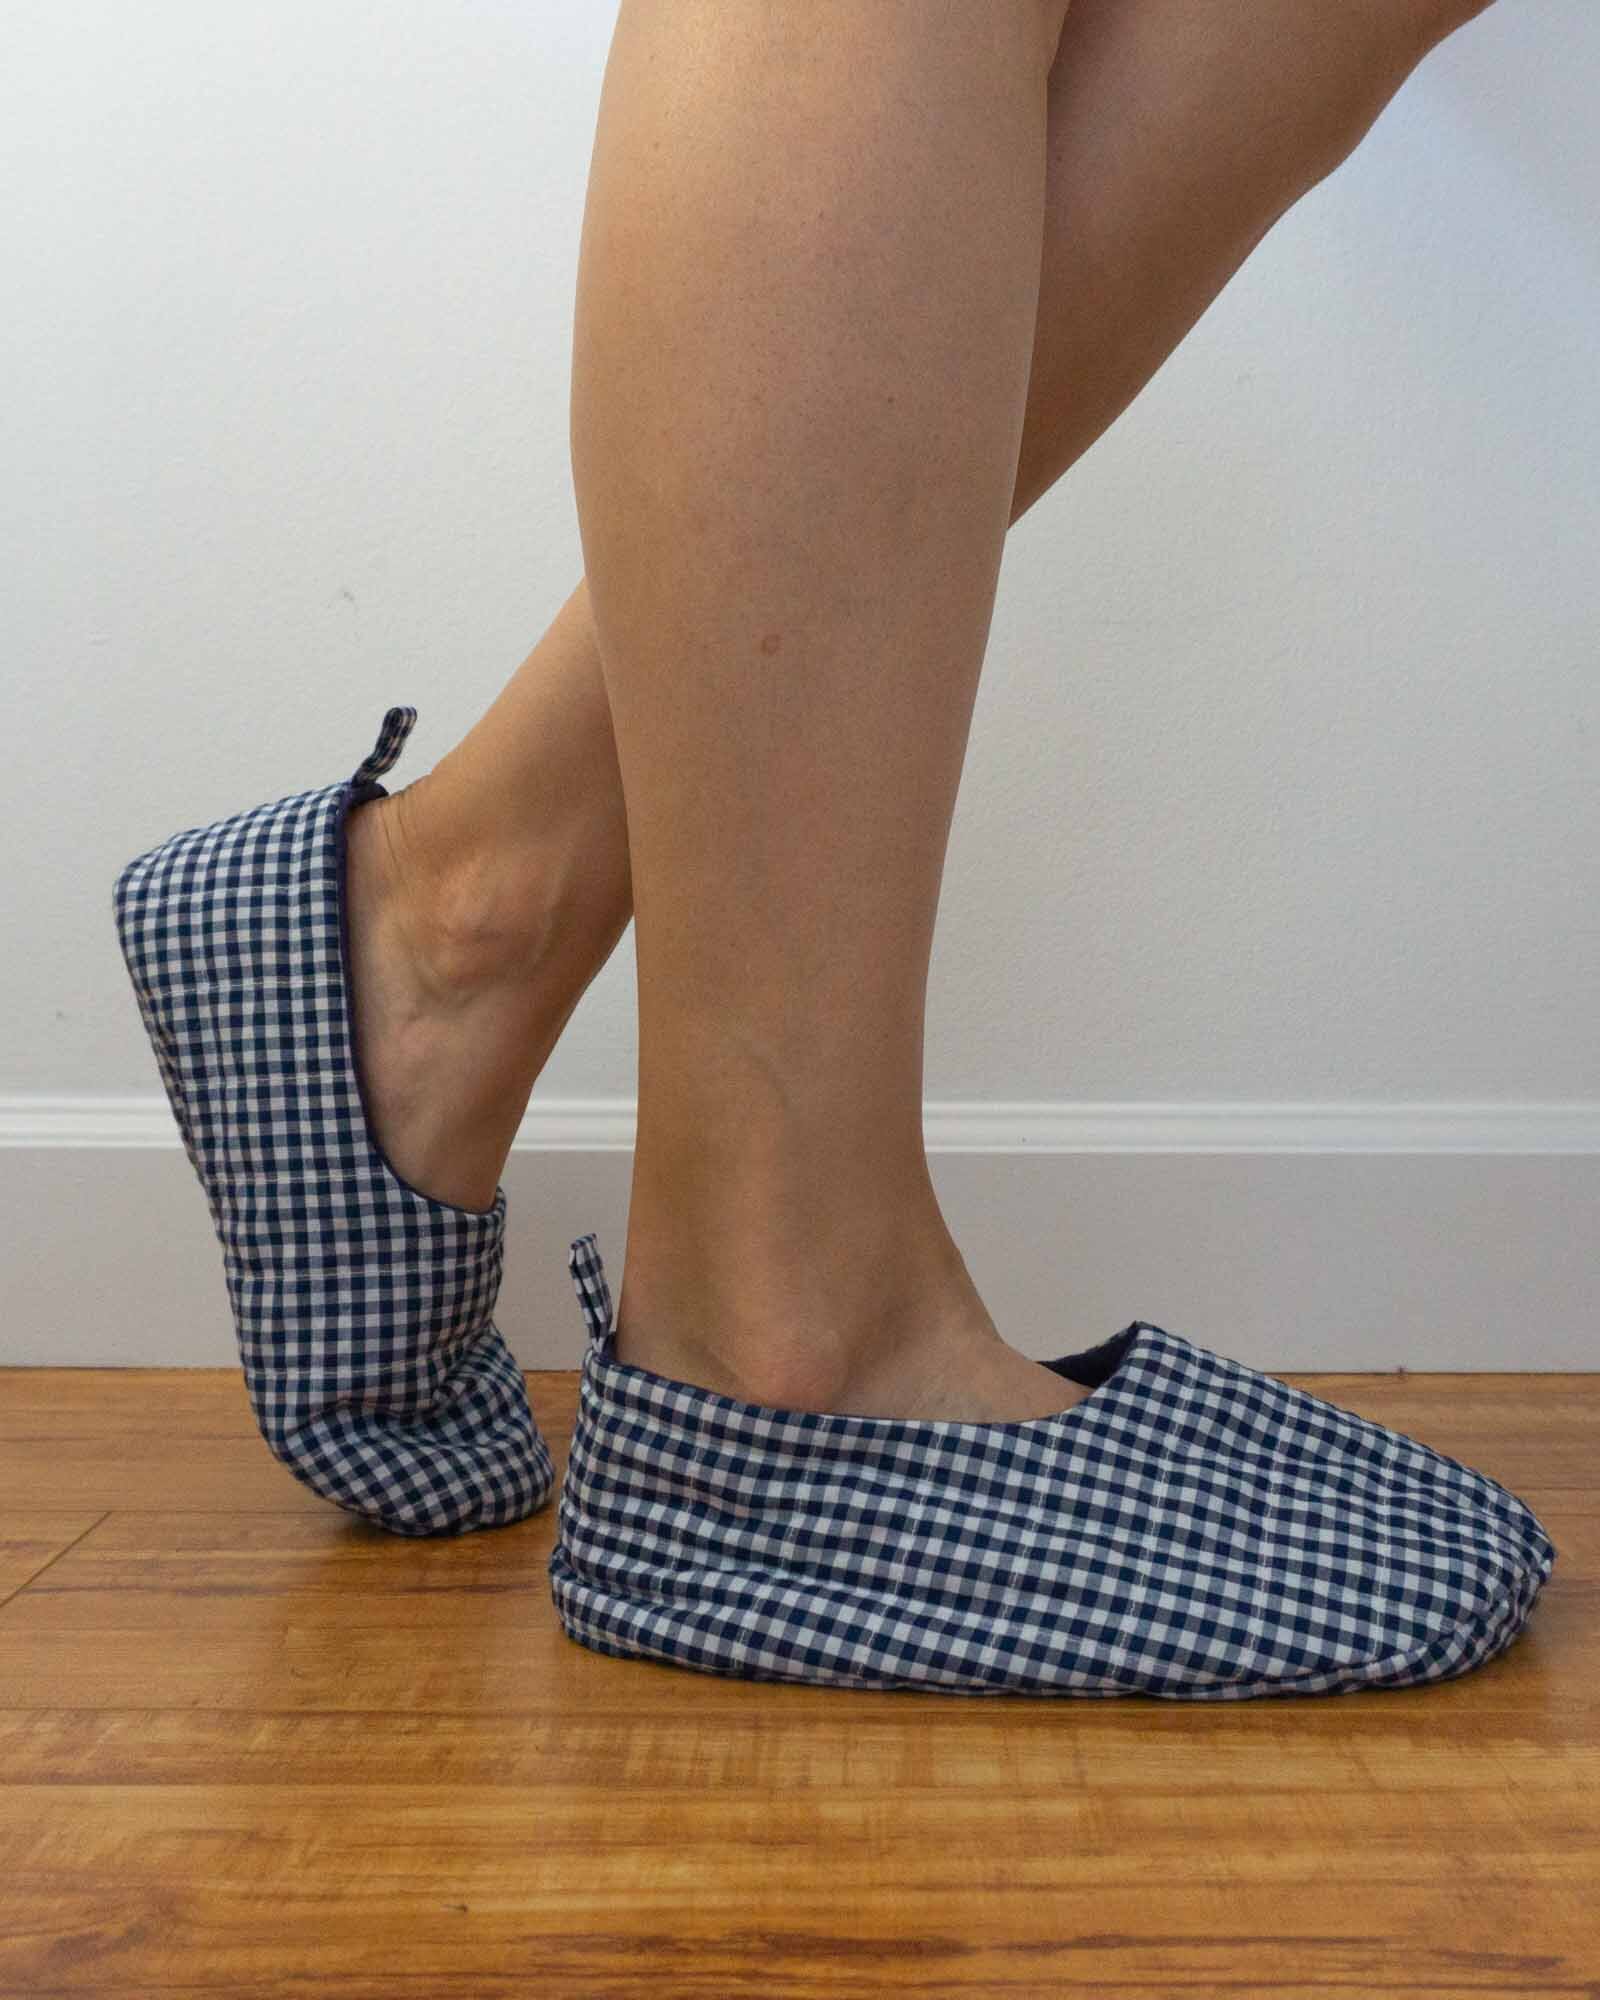
The Sew DIY Quilted Slippers are the perfect way to keep toes warm and use up small cuts of fabric. Plus, it's a great way to introduce yourself to quilting. The quilted exterior is constructed by quilting a layer of fabric and batting together. You can also use pre-quilted fabric for a quicker project.

I have chronically cold feet so slippers are part of my regular at-home wardrobe. I even bring slippers when I travel! I wear a size 11 shoe and that means sometimes it can be hard to find cute slippers to wear, and especially to sew. So, a few months ago, I decided to make my own slippers. I’m so happy to be releasing this pattern today with two views and inclusive sizing.

Sew DIY Quilted Slippers

This pattern is gender neutral and the pattern is graded for foot lengths 8.25-12 inches (21-30.5 cm) which approximately fits US women’s shoe sizes 4-14 and US men’s shoe sizes 6-14.5. I think these slippers would make wonderful gifts and with this size range, you’ll be able to sew them for most of the adults in your life.

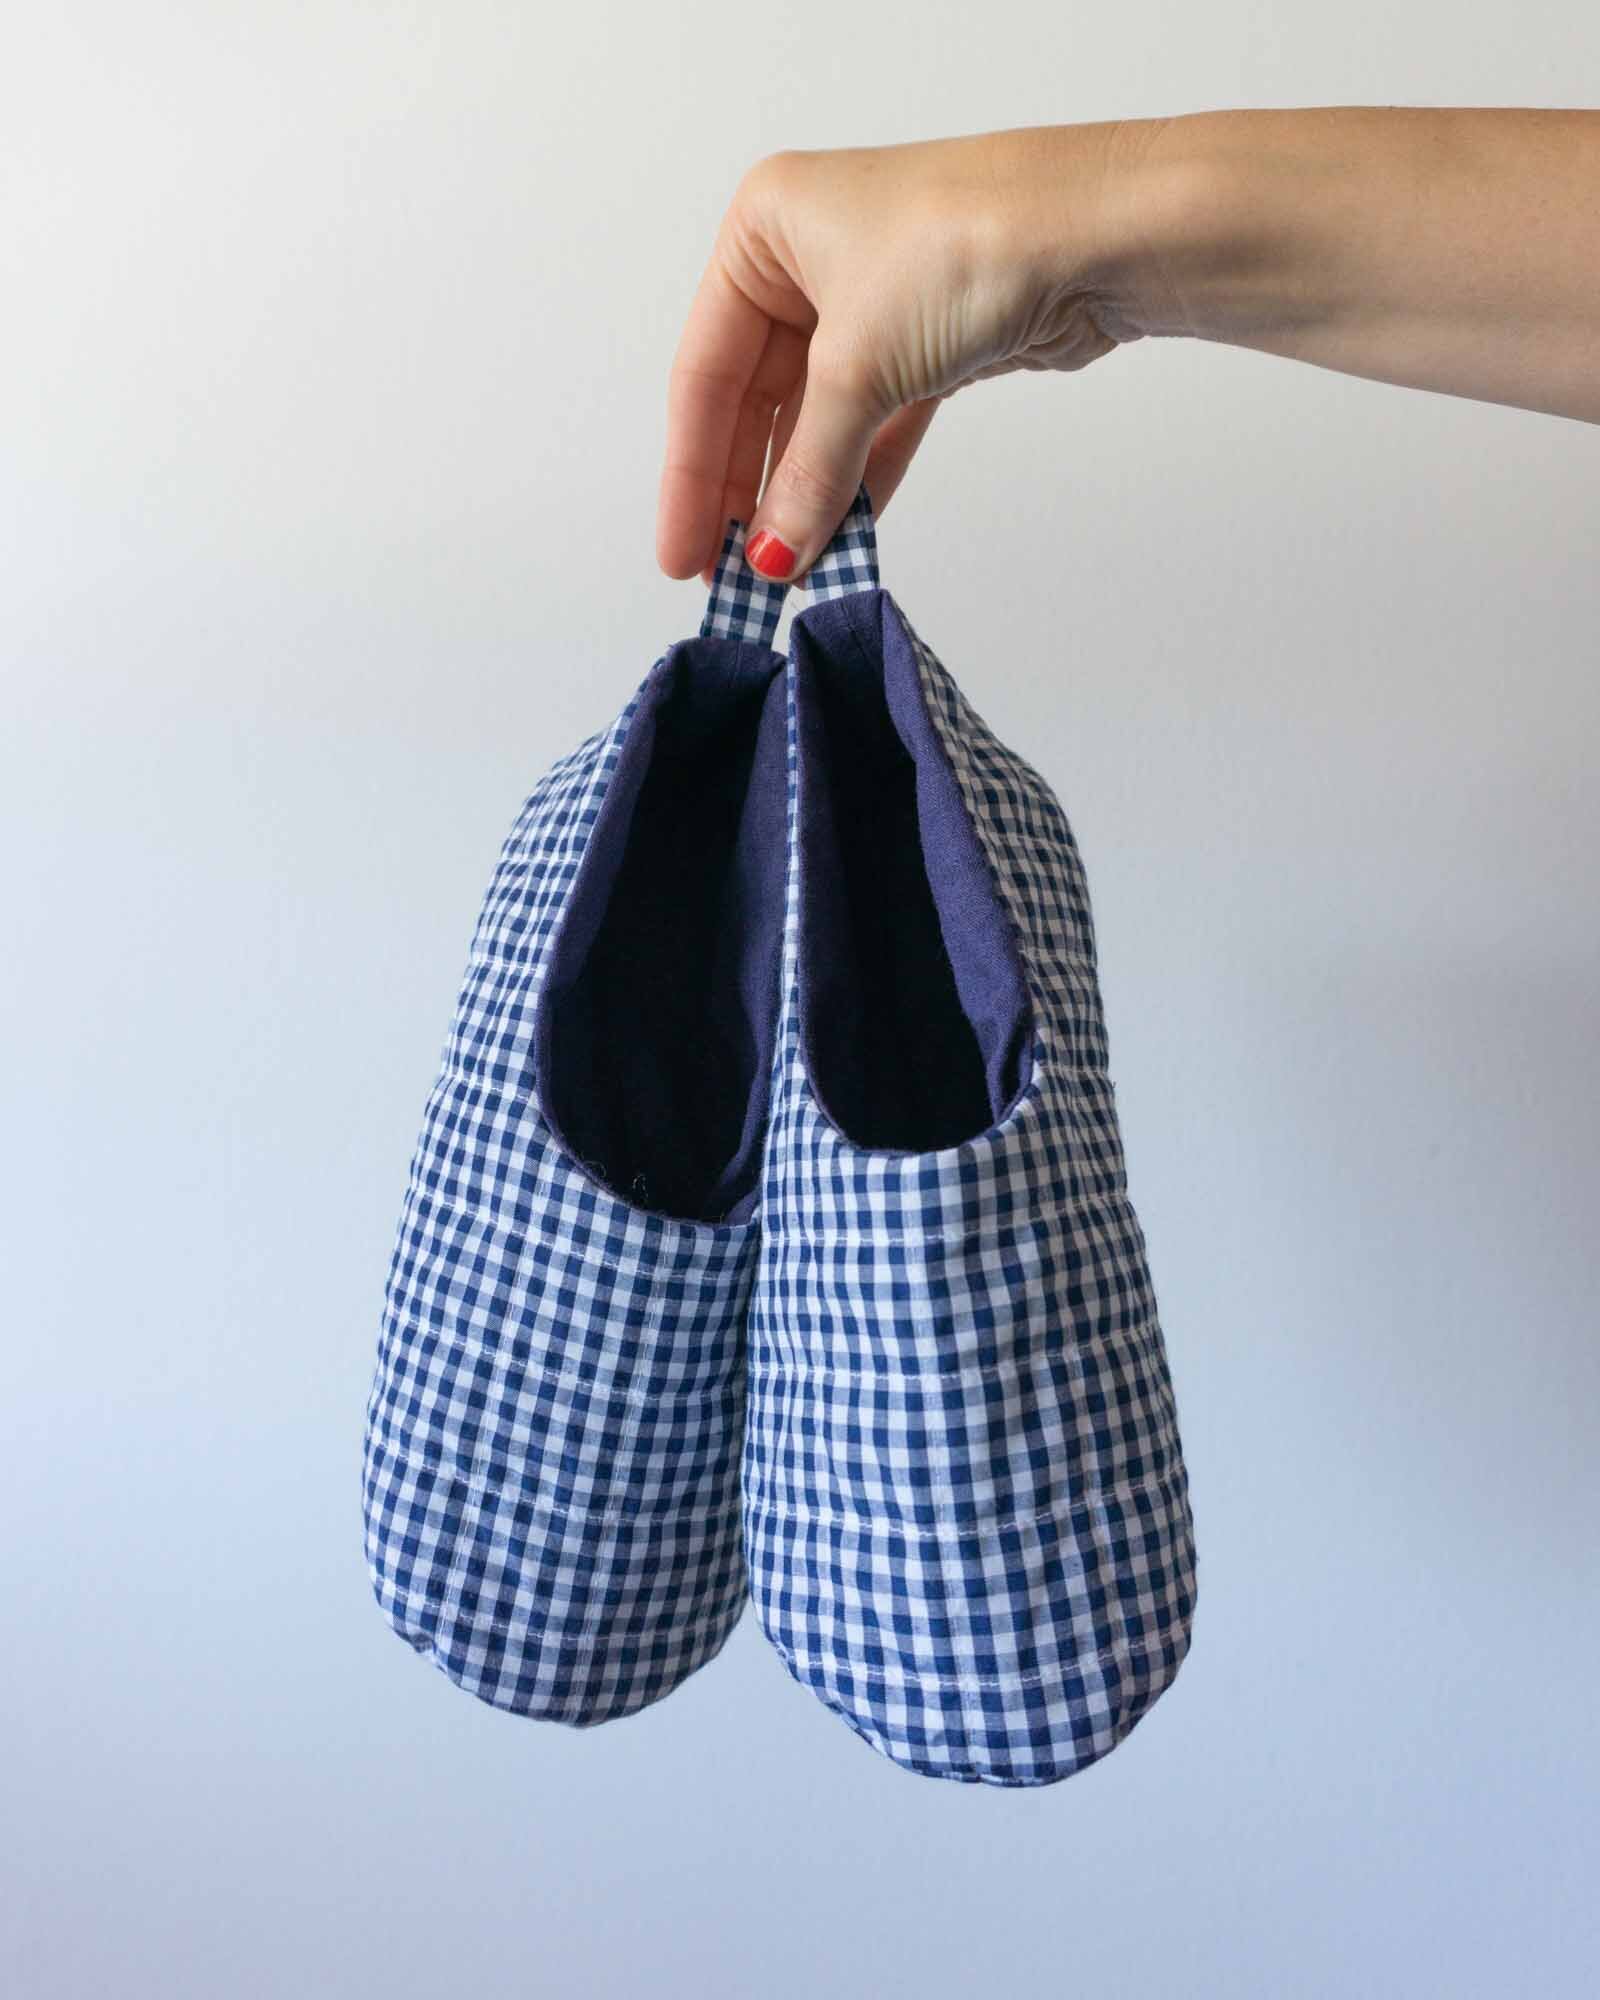
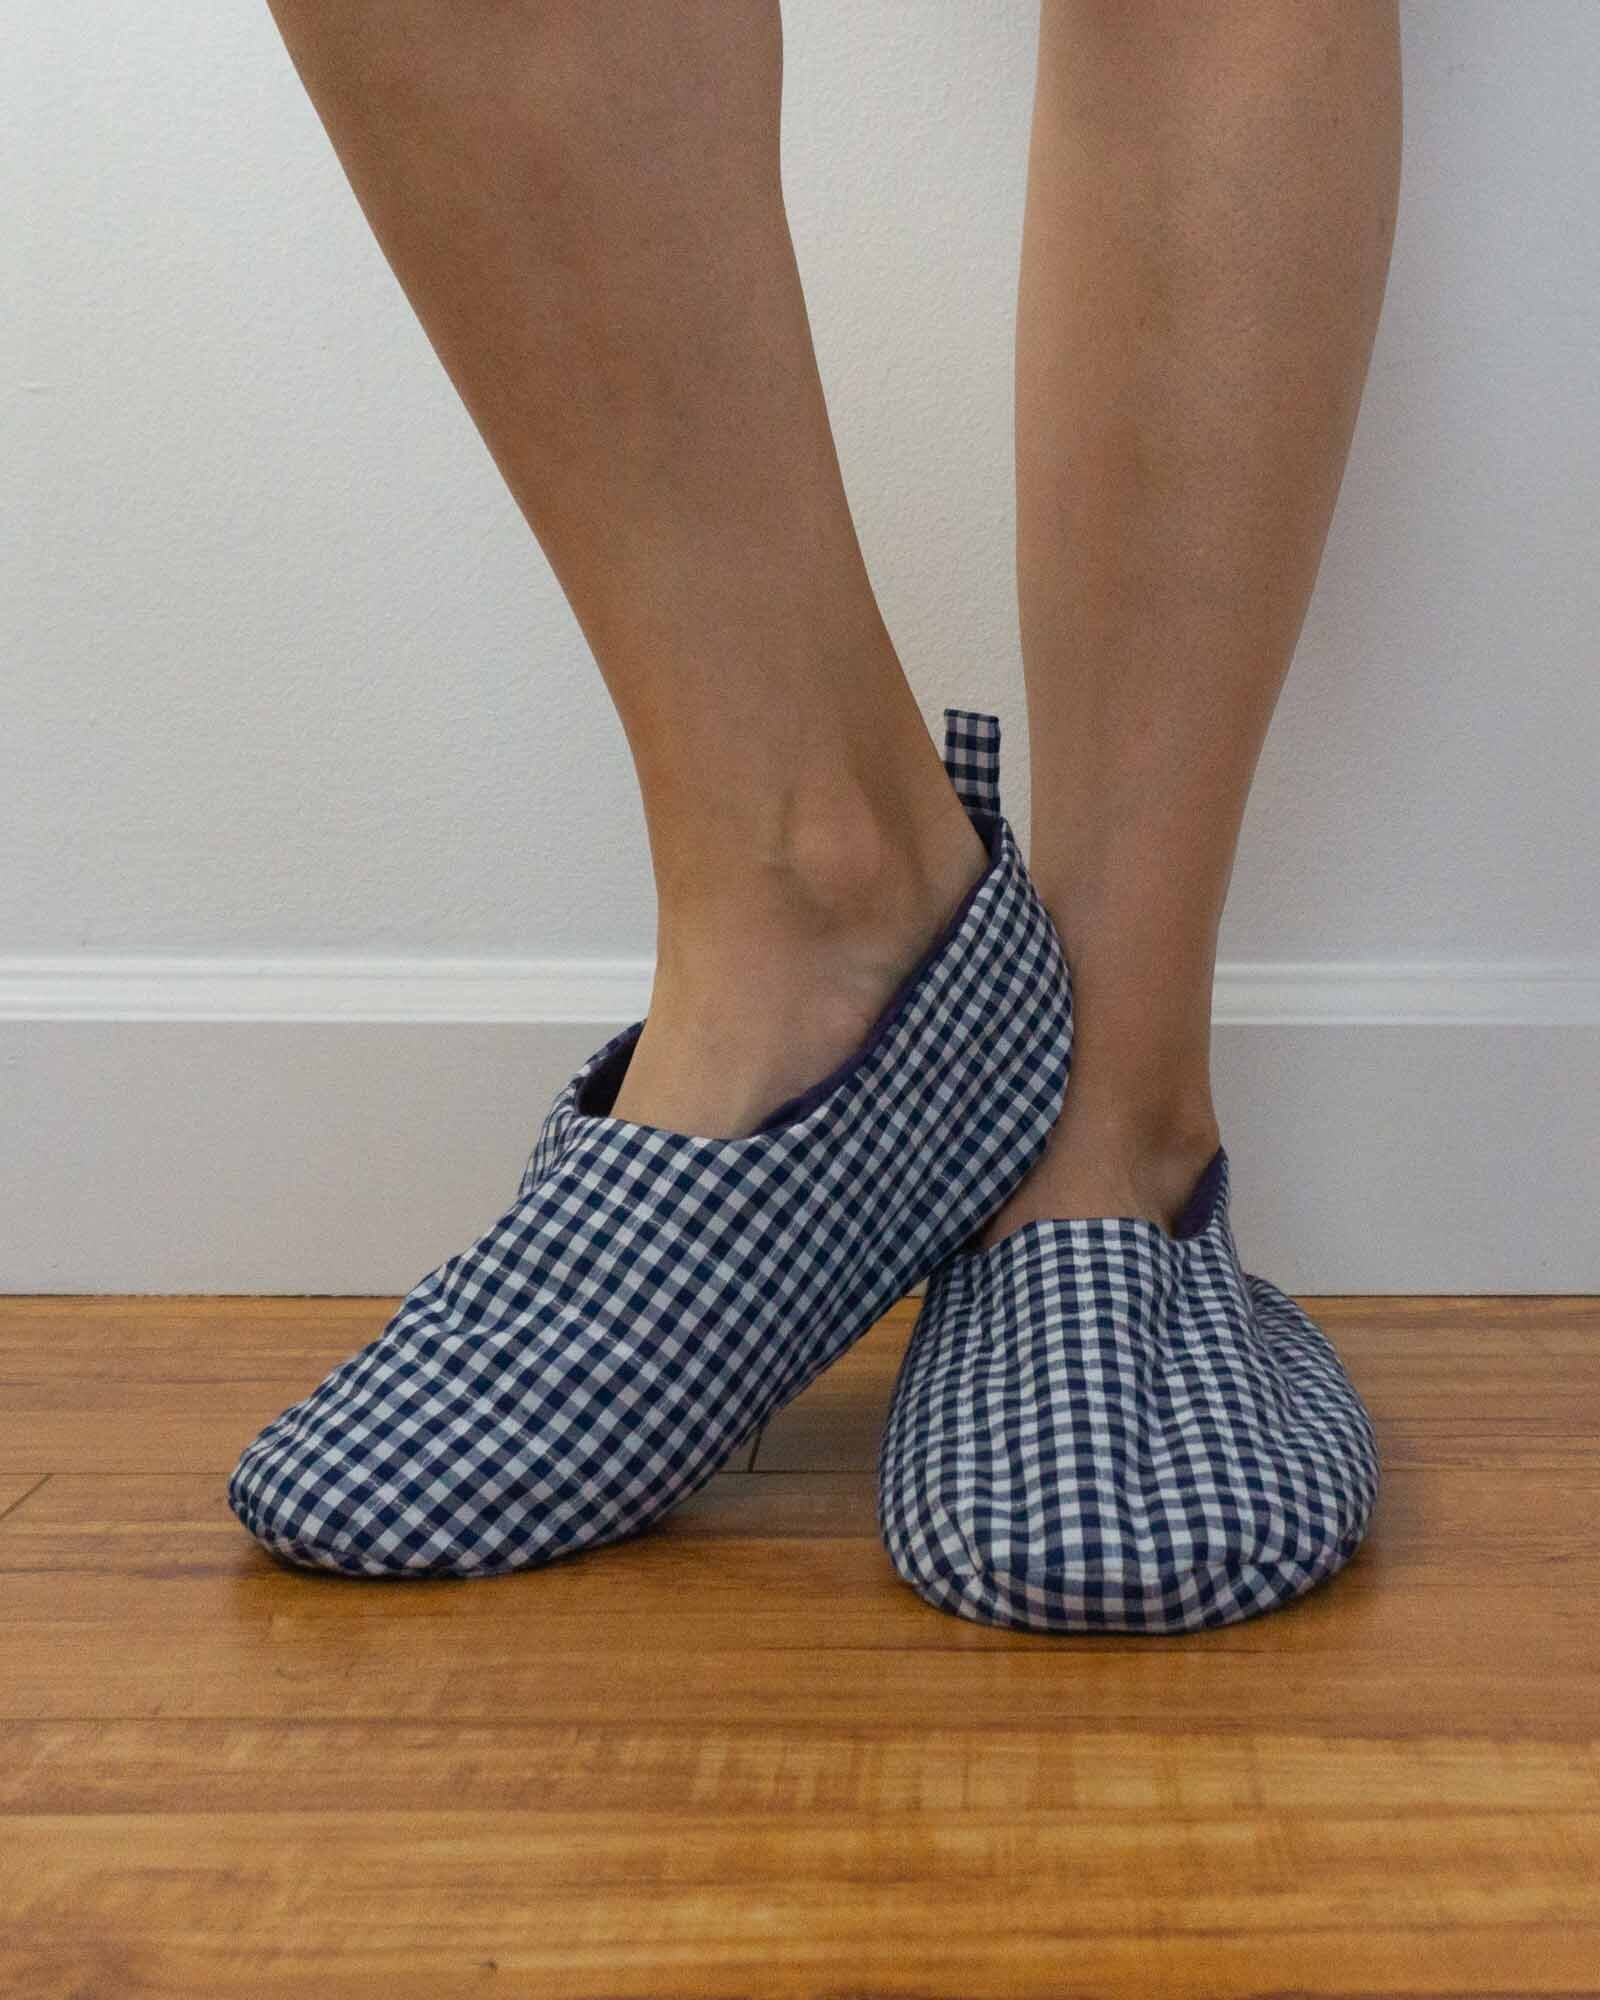
View A is a bootie style slipper that can be worn with the top turned down to reveal the lining or with the top up to keep the ankles warm. View B is an open top skimmer style, perfect for the summer months.

VIDEO May 2020 sewing vlog

Sew DIY May 2020 sewing vlog

Hello sew-friends! It’s vlog time again. I almost didn’t do a vlog today because I’m very busy getting ready to release TWO new patterns TOMORROW!! But, I knew that I’d regret skipping a month, so here’s the vlog for May 2020. Watch the video below or head over to YouTube to subscribe and watch. More details are below the video.

May blog posts

May has been very focused on Me Made May. I’ve wanted to quit a few times because getting dressed when social isolating just feels pointless many days. But, I’ve persevered because I know I’ll appreciate later that I did it. Make sure to follow me on Instagram to see all my daily MMM posts.

At the beginning of May, I focused on sharing more about my Lela Skirt pattern, including a post with style inspiration and a live sewalong on YouTube. This is one of my favorite patterns for summer months because it’s super comfy but still feels pulled together and stylish. This month, I also posted style inspiration for the Lou Box Dress 1 and 2 patterns.

My big tutorial for the month was a video on how to sew french seams. I had lot of people ask about sewing French seams with curves and I’m planning to do a follow up post about French seams for curves and corners next month.

Floral+dress+refashion+by+Sew+DIY

Things I sewed in May

In May, I was mostly sewing samples for my upcoming patterns but I did manage to sew a couple of refashions. My lovely friend Amy from Amy Nicole Studio hosted the Restyling At Home challenge this month and it inspired me to refashion a couple of older makes.

First, I refashioned a floral dress (see the original blog post here) into a top. I used the Seamwork Emmie pattern as inspiration for the neckline and hacked the bell sleeves from the Emmie bonus pattern to work for this top.

Tea House Dress refashion by Sew DIY

Next, I added a panel onto my Tea House Dress to make it longer. I love the new length. It’s what I had intended all along and I’m really looking forward to wearing it a lot this summer. Check out this post to see the original version.

Next up, I’ll be making the Slabtown Backpack by Klum House. I made their Maywood Tote last year and I love how professional it looks. This backpack is supposed to be a little more challenging and I’m looking forward to tackling it.

Ways to support Sew DIY

If you’d like to support the free content on the Sew DIY YouTube and blog, you can “buy me a coffee” by donating here or visit the shop to buy pattern or printable. Every little bit really helps me be able to continue making this content and I truly appreciate every donation and purchase. Happy sewing!

How to sew French seams - VIDEO TUTORIAL

How to sew French seams - VIDEO TUTORIAL

In today’s video, I’ll be showing you how to sew a french seam. The french seam sewing method stitches the seams and finishes them in a two step process. In this method, you will stitch each seam twice, enclosing the raw edge of the fabric on the second pass creating an attractive and clean finish. This is a simple method to sew and well worth mastering.

Can I confess something? I used to hate sewing French seams. It just took forever and I always ended up with bits of thread showing on the right side of the garment. It’s very possible that in my impatience, I was skipping the very important trimming step. But over the years, I’ve figured out how to sew this seam finish without going crazy. I actually enjoy sewing it now and rarely feel impatient to move on to the next project.