Hello sew-friends! Today I have a simple but oh-so-good pattern hack for you. For this hack, I'm taking the racerback tank top from my Summer Sweatsuit pattern and turning it into a maxi dress with a side slit. I released the Summer Sweatsuit almost exactly one year ago. I had planned to do some tank hacks then, but never got around to it. So, I’m really happy to finally be sharing this one with you. (Btw, check out the Summer Sewalong for lots of tips and hacks to the shorts patterns.)

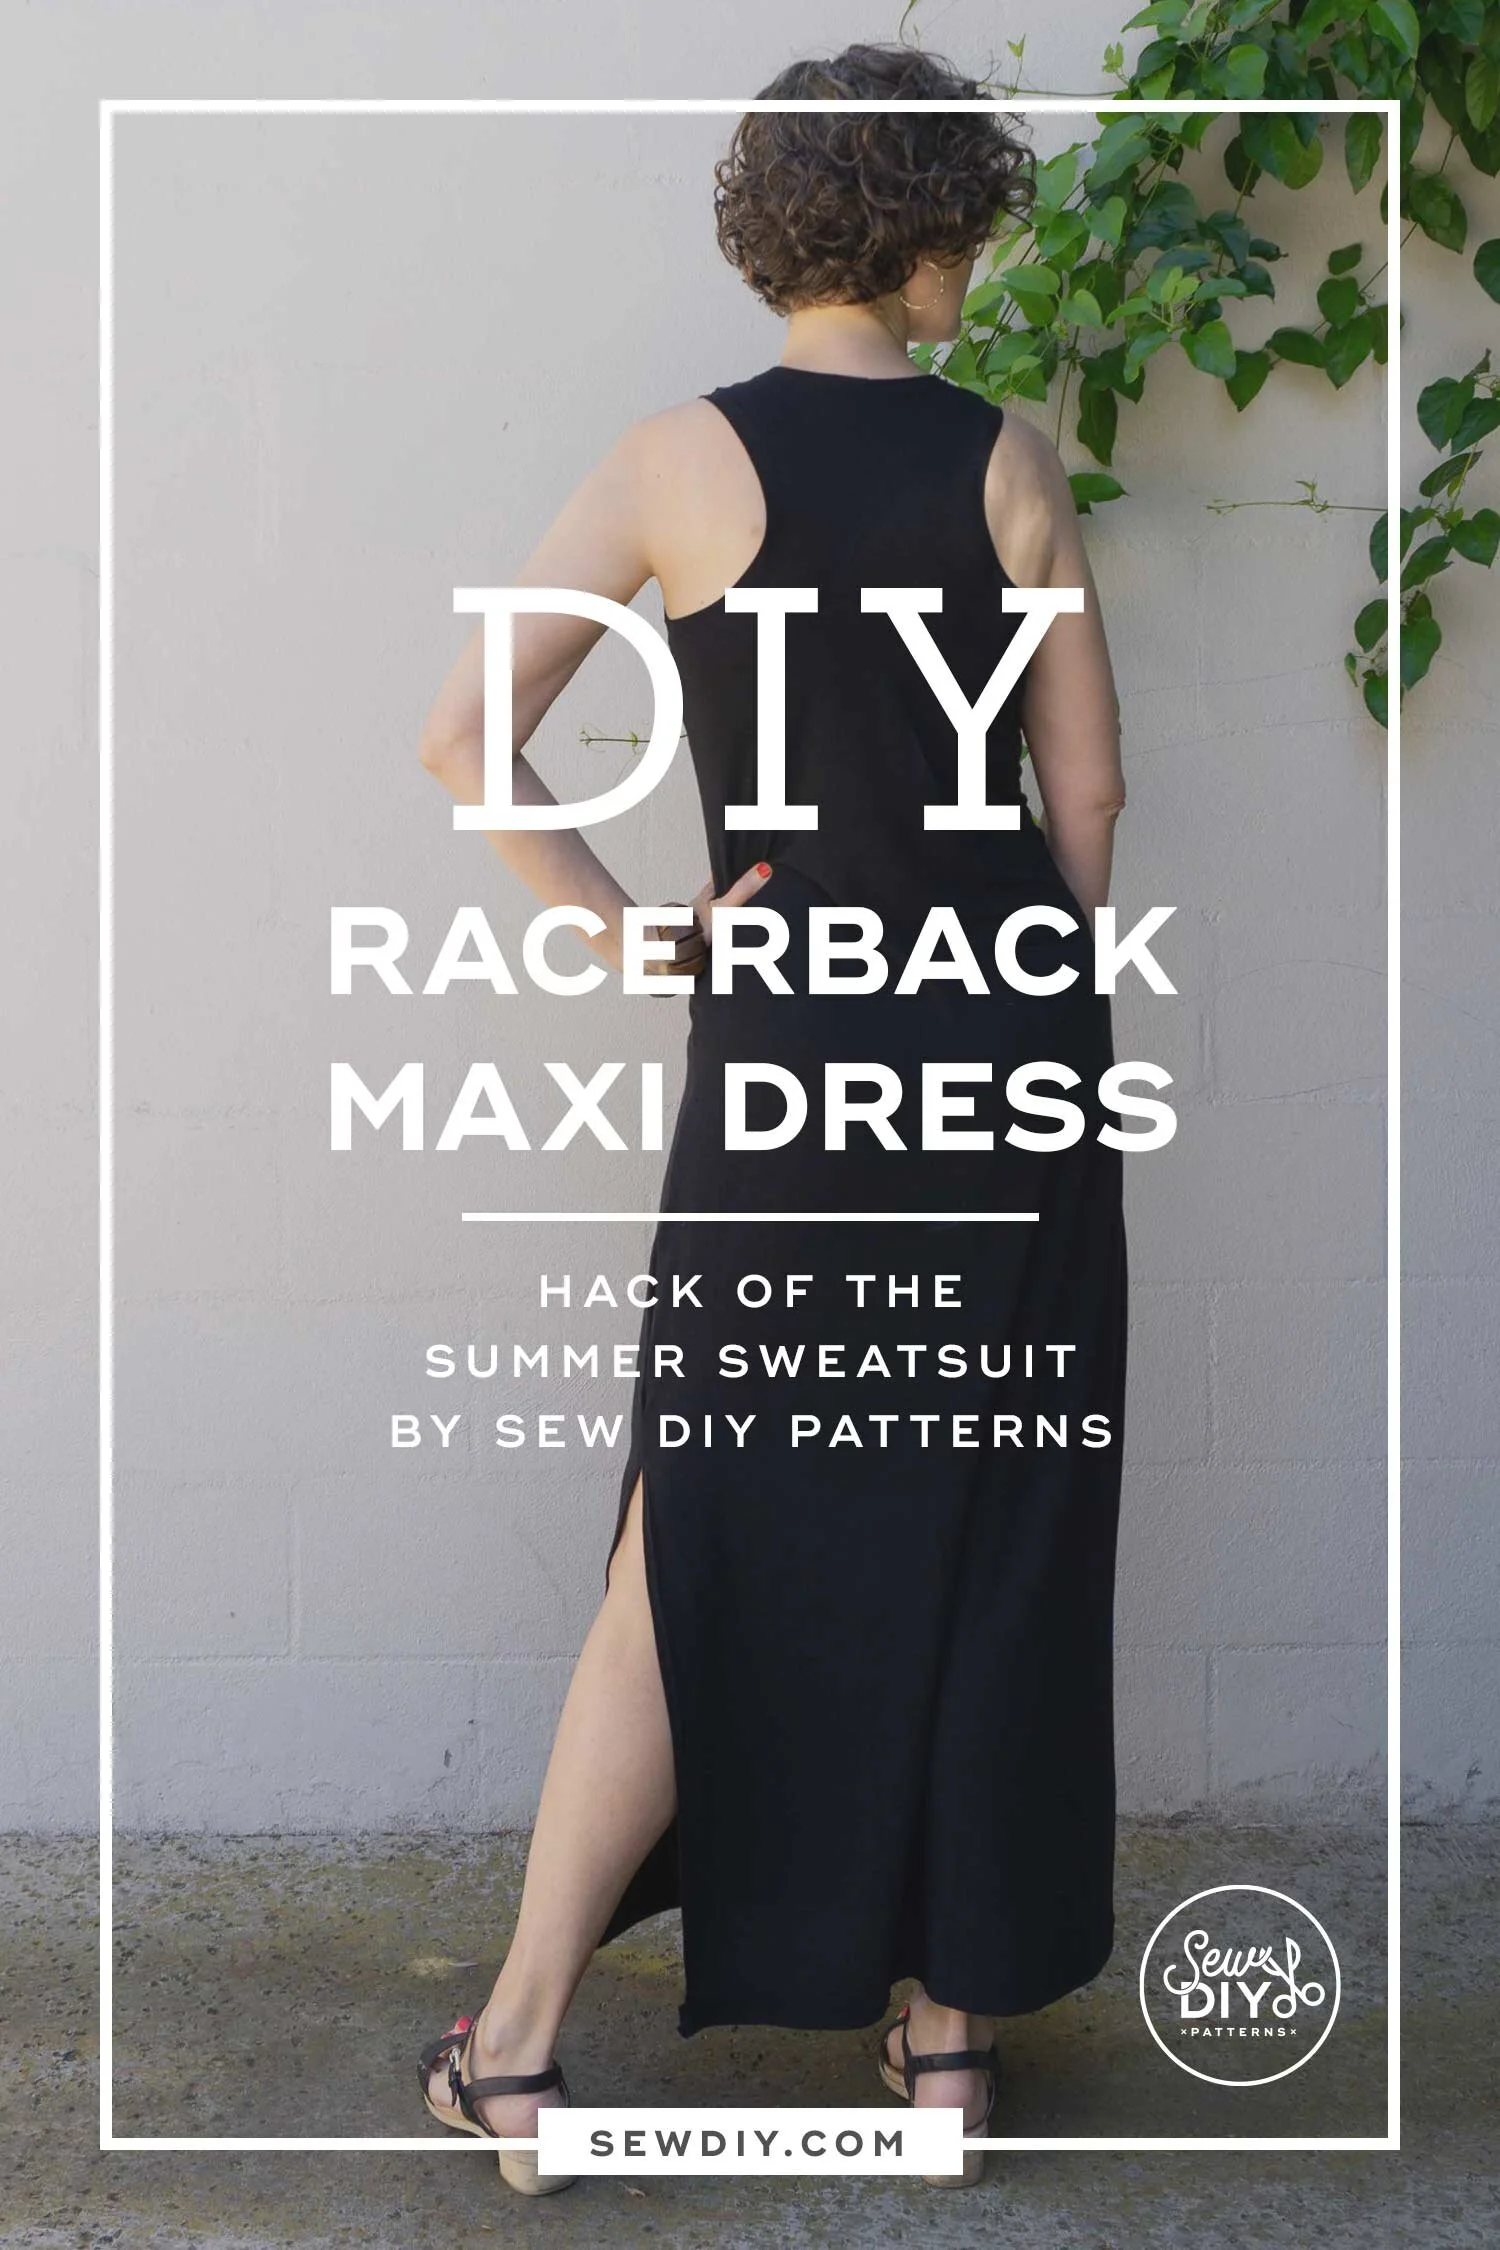
A racerback maxi dress is one of my summer staples and I'm excited to add this one to my wardrobe. For this hack, I extended the length of the dress to hit near the ankle, straightened the hem and added a side slit on one side for ease of walking.
The Summer Sweatsuit tank top is designed to be full coverage with a medium-high neckline and more coverage at the underarm and back than many racerback designs. If you like a more revealing style, I have a few tips at the end of the post on altering the neckline and armholes.

I'm already planning on wearing this dress pretty much constantly for the rest of the summer. It was one of those projects that I put on when I finished and said, "Yup I'm not taking this off for the next three days". In other words, perfection. I love the combination of the chic black color with the sporty racerback. When evenings get cool, I can easily throw on a cardigan or jacket and be plenty warm.
I hope you enjoy making this dress! If you haven't purchased the Summer Sweatsuit pattern, it's available in the shop here.

HOW TO DIY A RACERBACK MAXI DRESS WITH SIDE SLIT
STEP 1: Determine how long you'd like your dress and then add about 1" for the hem. To do this, I hold the top of a flexible measuring tape at one shoulder and let it hang down. Then, look in a mirror to decide the length you’d like the dress to be.
STEP 2: (See diagram above for visual.) Extend the hem of the front and back pieces to the new length and, if desired, straighten it. Smooth out the side seam. You can trace the new pattern onto paper or just draw it directly on your fabric (that's what I did).
For help sewing this dress, check out this video for how to sew the Summer Racerback Tank.
STEP 3: Stitch the shoulders and one side seam.
STEP 4: Now we'll sew the side seam with the slit. (It's a little tricky to do this with a serger and I used this tutorial from Greenstyle Designs.) Mark the spot where you want the split to start. Use the serger to finish the front and back SEPARATELY from just above the slit to the hem. (You can also the finish the hem now too.)
Using a stretch stitch on a conventional machine, stitch from the mark towards the armhole about 2 inches. Press this part of the seam open. Use the serger to sew the remaining part of the side seam, stopping before you get to the slit.
STEP 5: Attach arm and neck bands. Again, see this video for help.
STEP 6: Topstitch the bands. Then topstitch the hem and around the slit. I used a twin needle but you can also use a zig zag or coverstitch machine. I have tips for using a twin needle here.

Side note: If you want less coverage in the bodice, I recommend trying on the dress before adding the bands and use chalk to draw where you'd like the new neckline/armholes to be. (You might need a friend to help with the armholes!) Then with the dress folded in half along the center back and center front, cut away the extra fabric. It’s definitely trickier to cut away extra fabric after sewing the side seams but it’s easier to figure out how much you want to cut. You’ll also need to cut longer bands to finish the arms and neck. My rule of thumb is the band should be 88% the length of the hole. This video talks more about sewing neck bands and stretch.

I used a light weight, and very soft black knit fabric. For years, I've been wearing a very similar dress from Target but the fabric has been getting pilled and little rough over the years. So, I'm thrilled to have something so extra soft. I don't remember where I got this fabric. I probably got it in the LA fashion district years ago from a bargain bin. I have a vague recollection of buying some basic knits from the old Michael Levine bulk store (sadly, I believe it is closed now).

I hope you enjoy this tutorial. This is one of those dresses that's fairly simple to sew but is also a wardrobe workhorse. If you haven't purchased the Summer Sweatsuit pattern, it's available in the shop here. Make sure to also check out the Summer Sweatsuit sewalong for lots of helpful tips and tutorials. Happy sewing!