In today's video, I'll be showing you how to fuse iron-on interfacing to fabric. Interfacing is an extra layer of fabric that is used to make certain parts of a garment thicker and more sturdy. You'll often find it used in button plackets, collars, waistbands and facings. In the tutorial, I'll share all my tips for how to adhere iron-on interfacing to your fabric and prevent puckering or separating.
TIPS FOR USING FUSIBLE INTERFACING
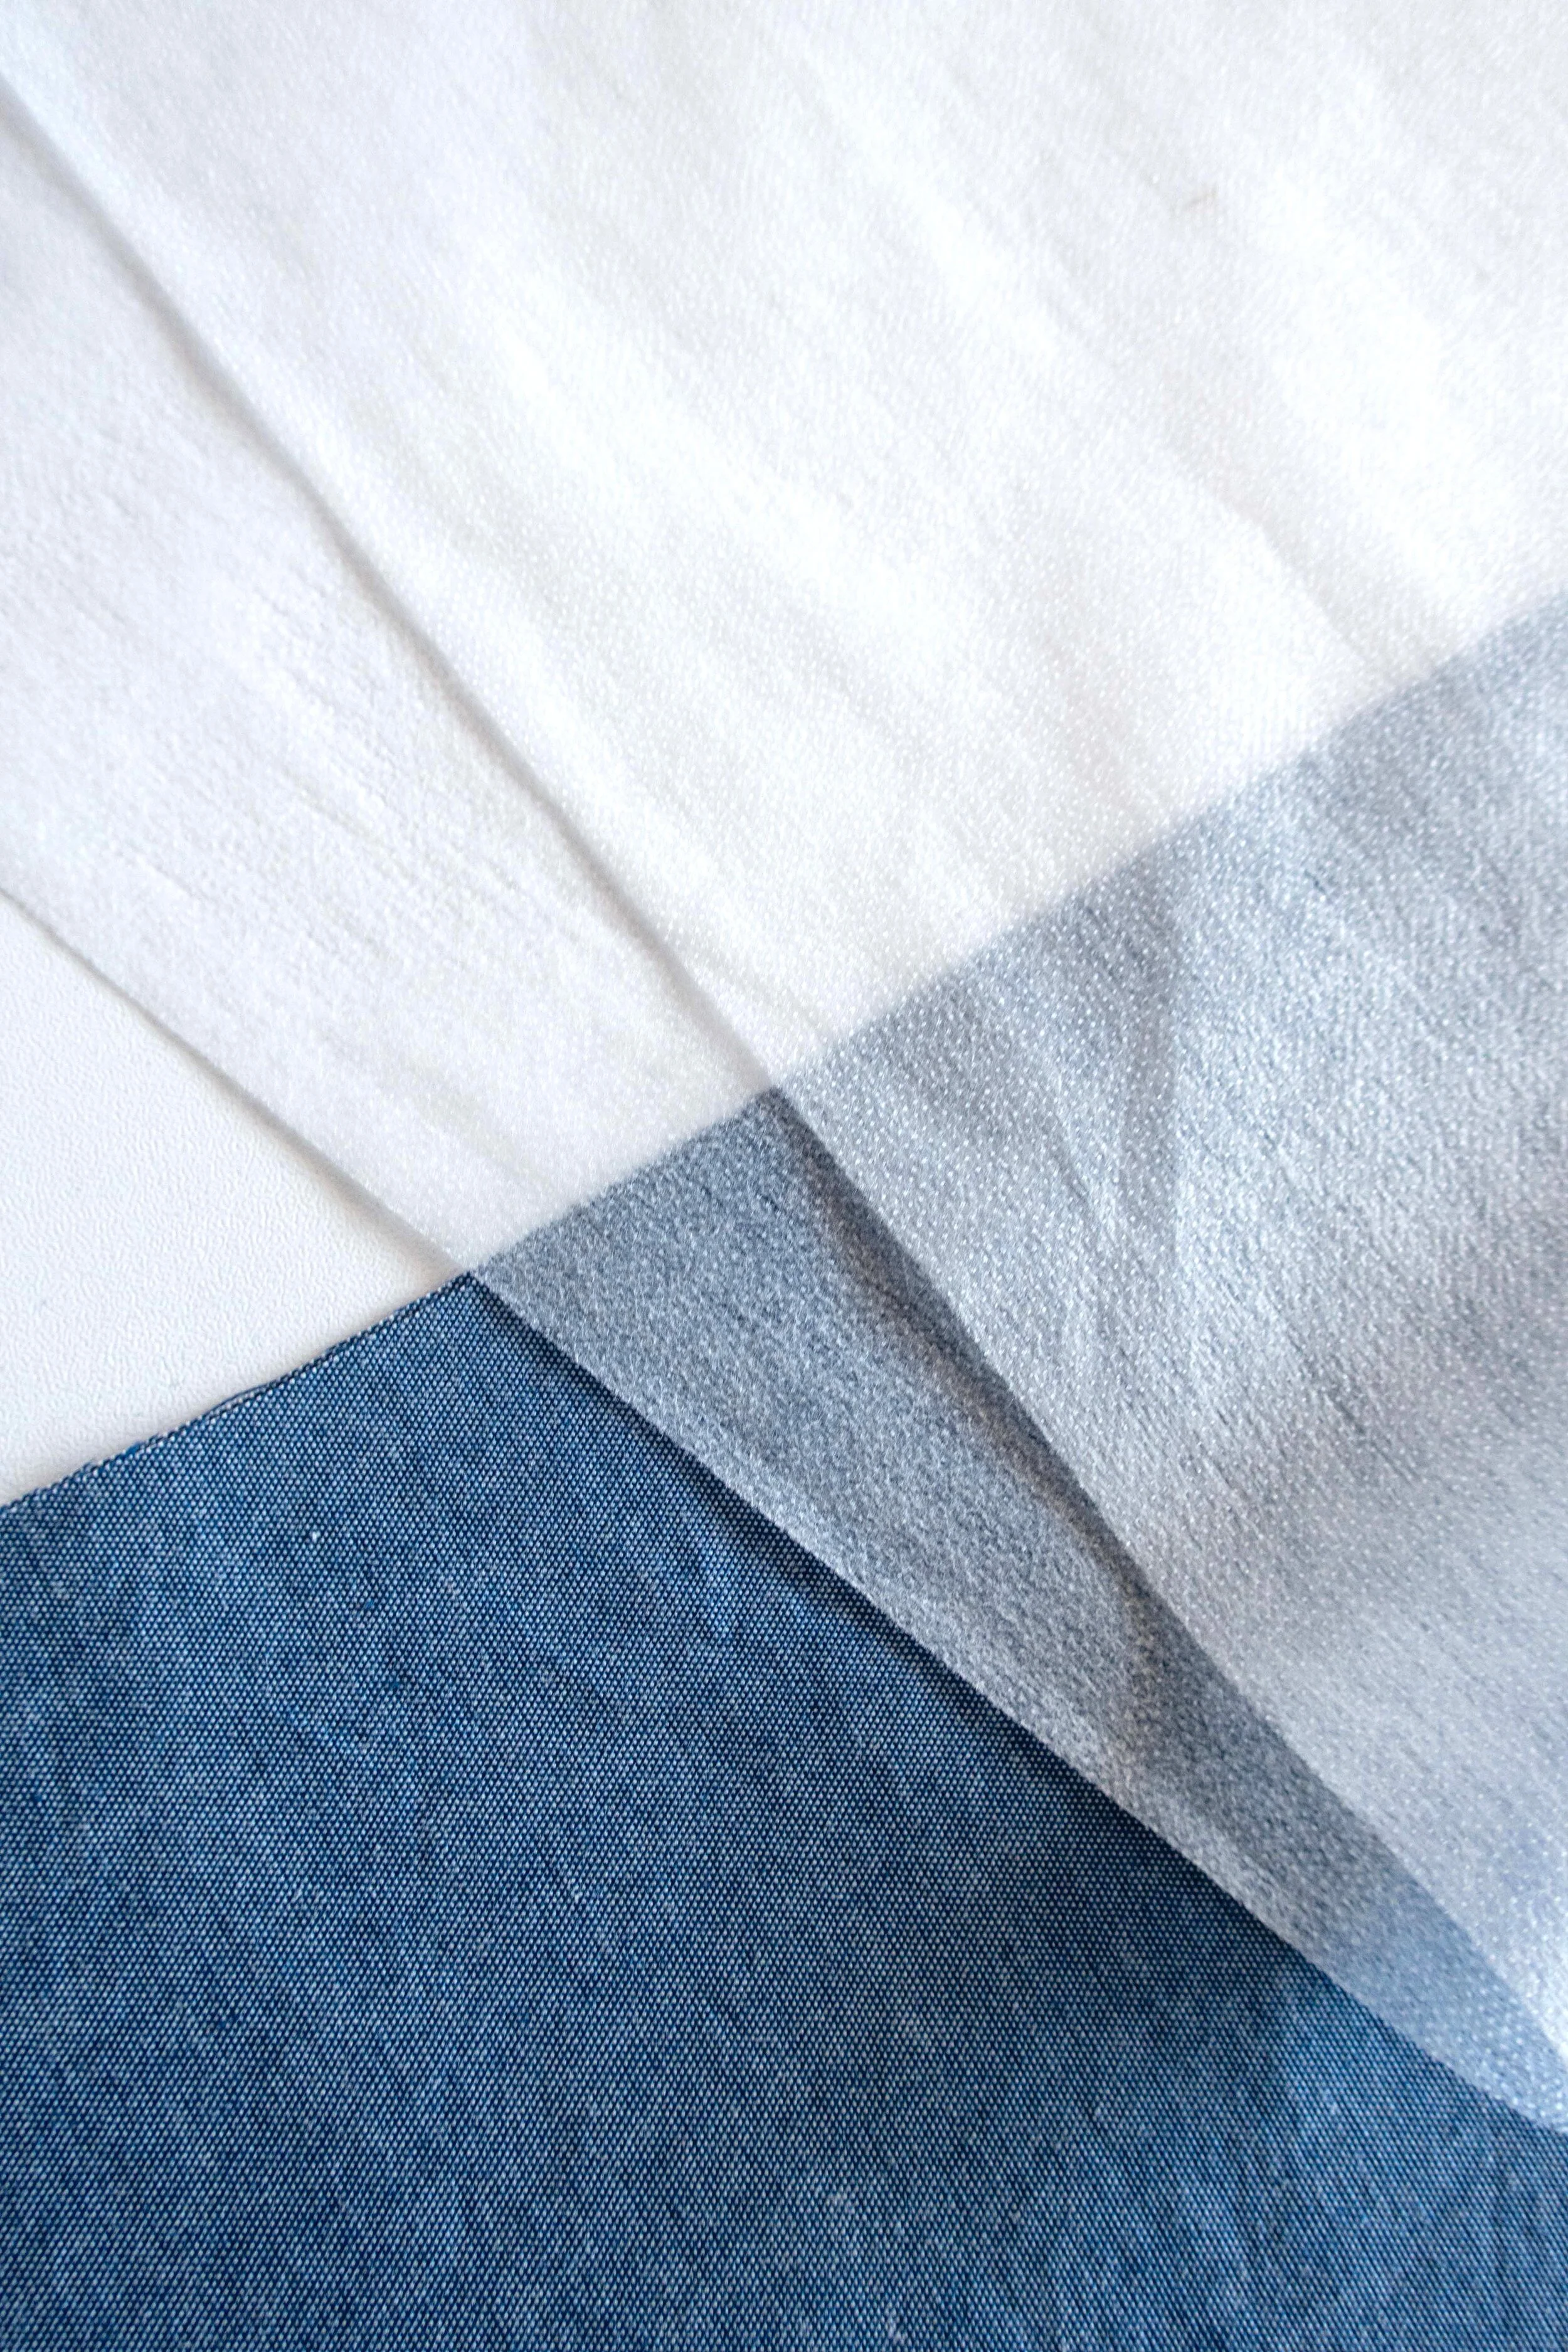
Match the weight of interfacing to the weight of the fabric. If unsure, test the interfacing on a scrap of fabric.
Interfacing is most commonly used in woven garments but you'll sometimes find it in knit garments. When using it with knits, make sure to use knit interfacing. It has stretch built in and will stretch with your fabric after it's adhered, unlike regular interfacing.
When using heavy weight fabrics, reduce the bulk in the seam allowance by trimming about .25" of the seam allowance off of the interfacing. This is essentially grading the layers of fabric prior to fusing because after the interfacing is adhered to the fabric, you will not be able to trim it away.
If your fabric is cut on the bias (for example when fusing a neckline facing), use the pattern piece as a reference to make sure that the fabric has not warped or stretched.
Use a press cloth to prevent melting or scorching the interfacing and fabric. It will also prevent you from accidentally adhering the interfacing to the iron.
After ironing, let your fabric sit until it has completely cooled. Cooling the fabric before moving it will help the interfacing stay adhered to the fabric.

Watch the video above or if it’s not working, you can watch it on YouTube here.
HOW TO ADHERE FUSIBLE INTERFACING TO FABRIC
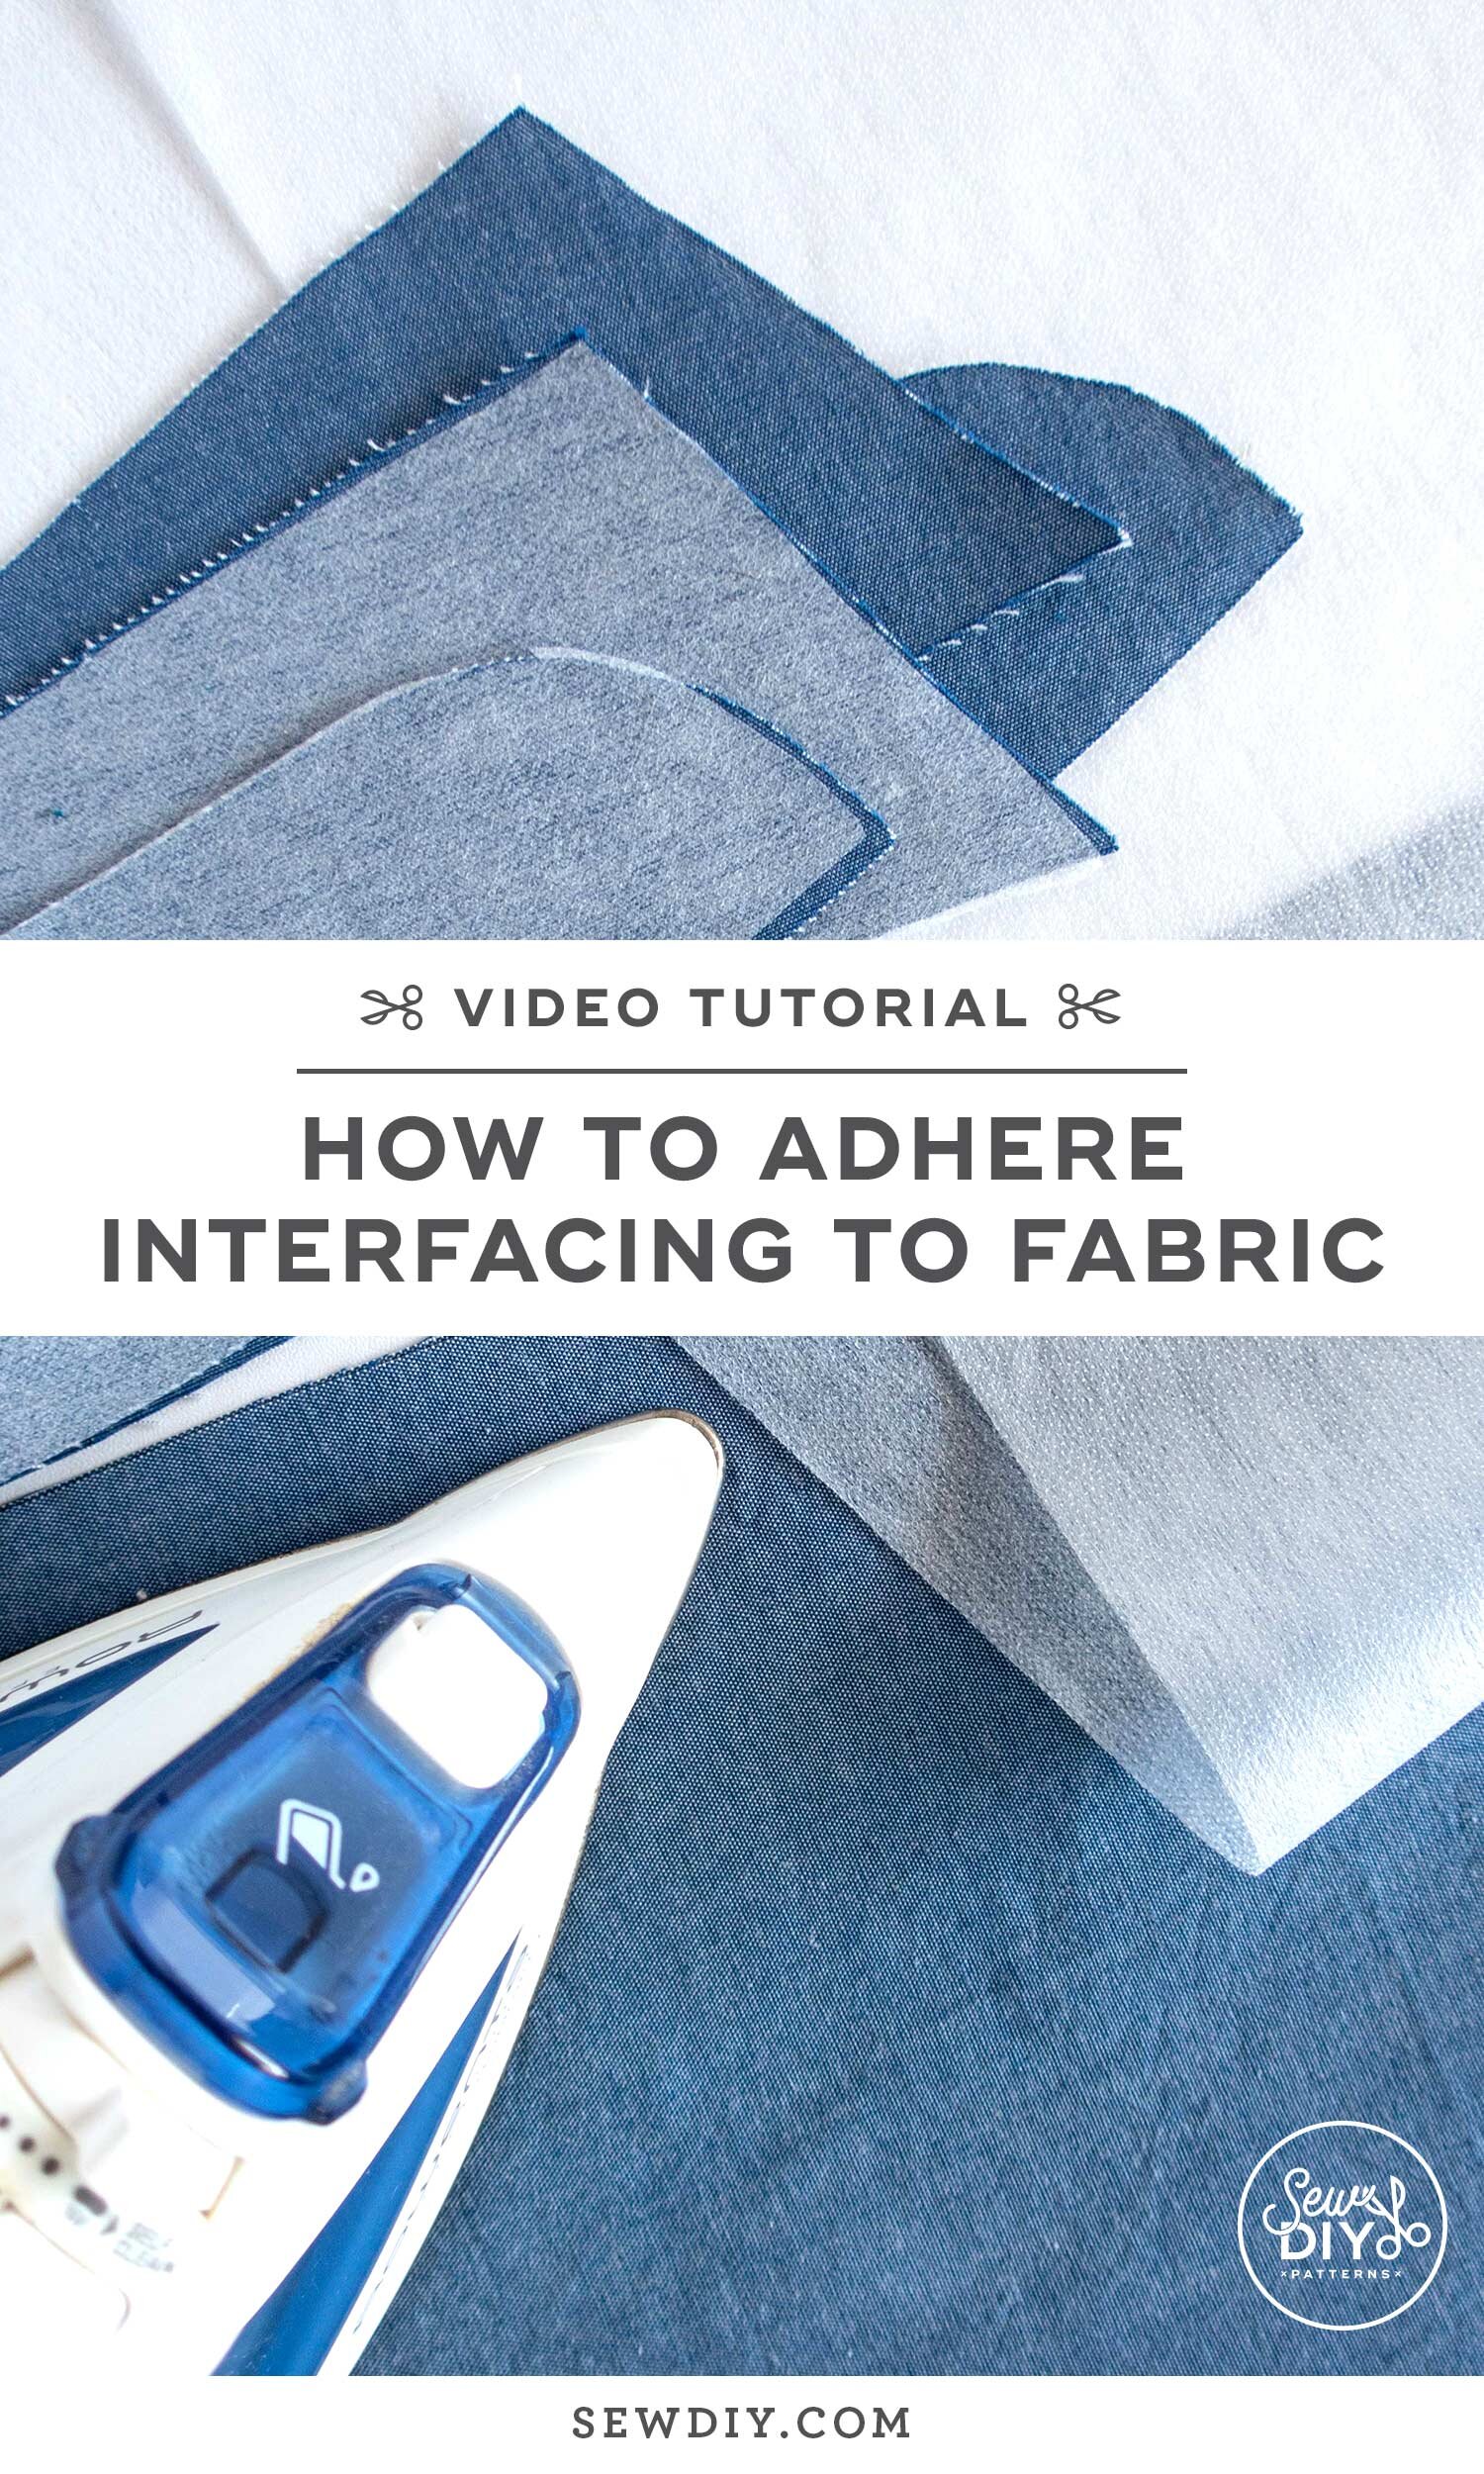
Step 1: Place fabric on the ironing board with the wrong side facing up. Place interfacing on top with the bumpy side down, next to the fabric.
Step 2: Carefully, place a press cloth over the fabric and interfacing.
Step 3: With a warm iron and steam, press up and down for about 15-20 seconds, all over the fabric.
Step 4: Lift the press cloth and look very closely to see if the glue dots have disappeared. If you can still see dots, then keep ironing.
Step 5: If the dots have all disappeared, then stop pressing and let your fabric sit until it has completely cooled.
A FEW FAQ
Do you have a favorite brand of interfacing?
I do not. I’m not super picky about interfacing and generally just buy the basic stuff on the shelf at Joann’s. Maybe, one day I’ll do some comparison testing and find a favorite but it’s been working for me for a few decades so I’ll probably just keep on using it.
What iron do you use?
I use a Rowenta brand iron (mine is no longer in stock but there’s a similar one here). I’ve been using it for ten years now and it’s worked really well for me.
How can I clean my iron if I accidentally iron the wrong side of the interfacing?
I’ve read some hacks for iron cleaning such as ironing over a dryer sheet but I prefer to use a special iron soleplate cleaner. I use the Rowenta cleaning kit (on Amazon here). I bought it ten years ago with my iron and still have cream left (and it still works!) It comes with a couple of cleaning clothes and a tube of cream. It’s a safe way to clean gunk off of the iron and not leave any scratches.
Can I piece interfacing?
Yes. If you are running low on interfacing, you can “piece” scraps together. I’ve done it successfully and never had any problems. I just line up the edges of the scraps of interfacing. Overlapping them may create a bit of a bump. The only risk might be that the fabric would tend to fold along the “seam” of the interfacing. So, I’d prefer to piece the interfacing for fabric that will be hidden inside a garment, like a neckline facing and avoid doing it for collars where the structure of the fabric is very visible.
Do you have any patterns that use interfacing for me to try out?
Yes, the Nita Wrap Skirt and the Dana Jumpsuit both use interfacing in the facings of the garments. These patterns are both stylish additions to any wardrobe. They are intermediate level and a great way to start learning more about garment sewing and practicing new skills.
I hope that you found this tutorial helpful. To save it for later, you can pin the image above. And if you’d like to support this content, please check out the pattern shop below. Happy sewing!