Hello sew-friends! This Valentine's Day as a gesture of love to the sewing community and the world, I'm sharing a design that I created a few weeks ago.
Over the past few months, as I've attended protests and seen so many powerful art quilts online, I've been wanting to create something of my own. And one morning, the inspiration came to me. It's part protest sign and part prayer. It's all the things I want for the world. I believe that even as we grieve and fight for justice, we also need to hold onto hope and remember that love is stronger than hate.
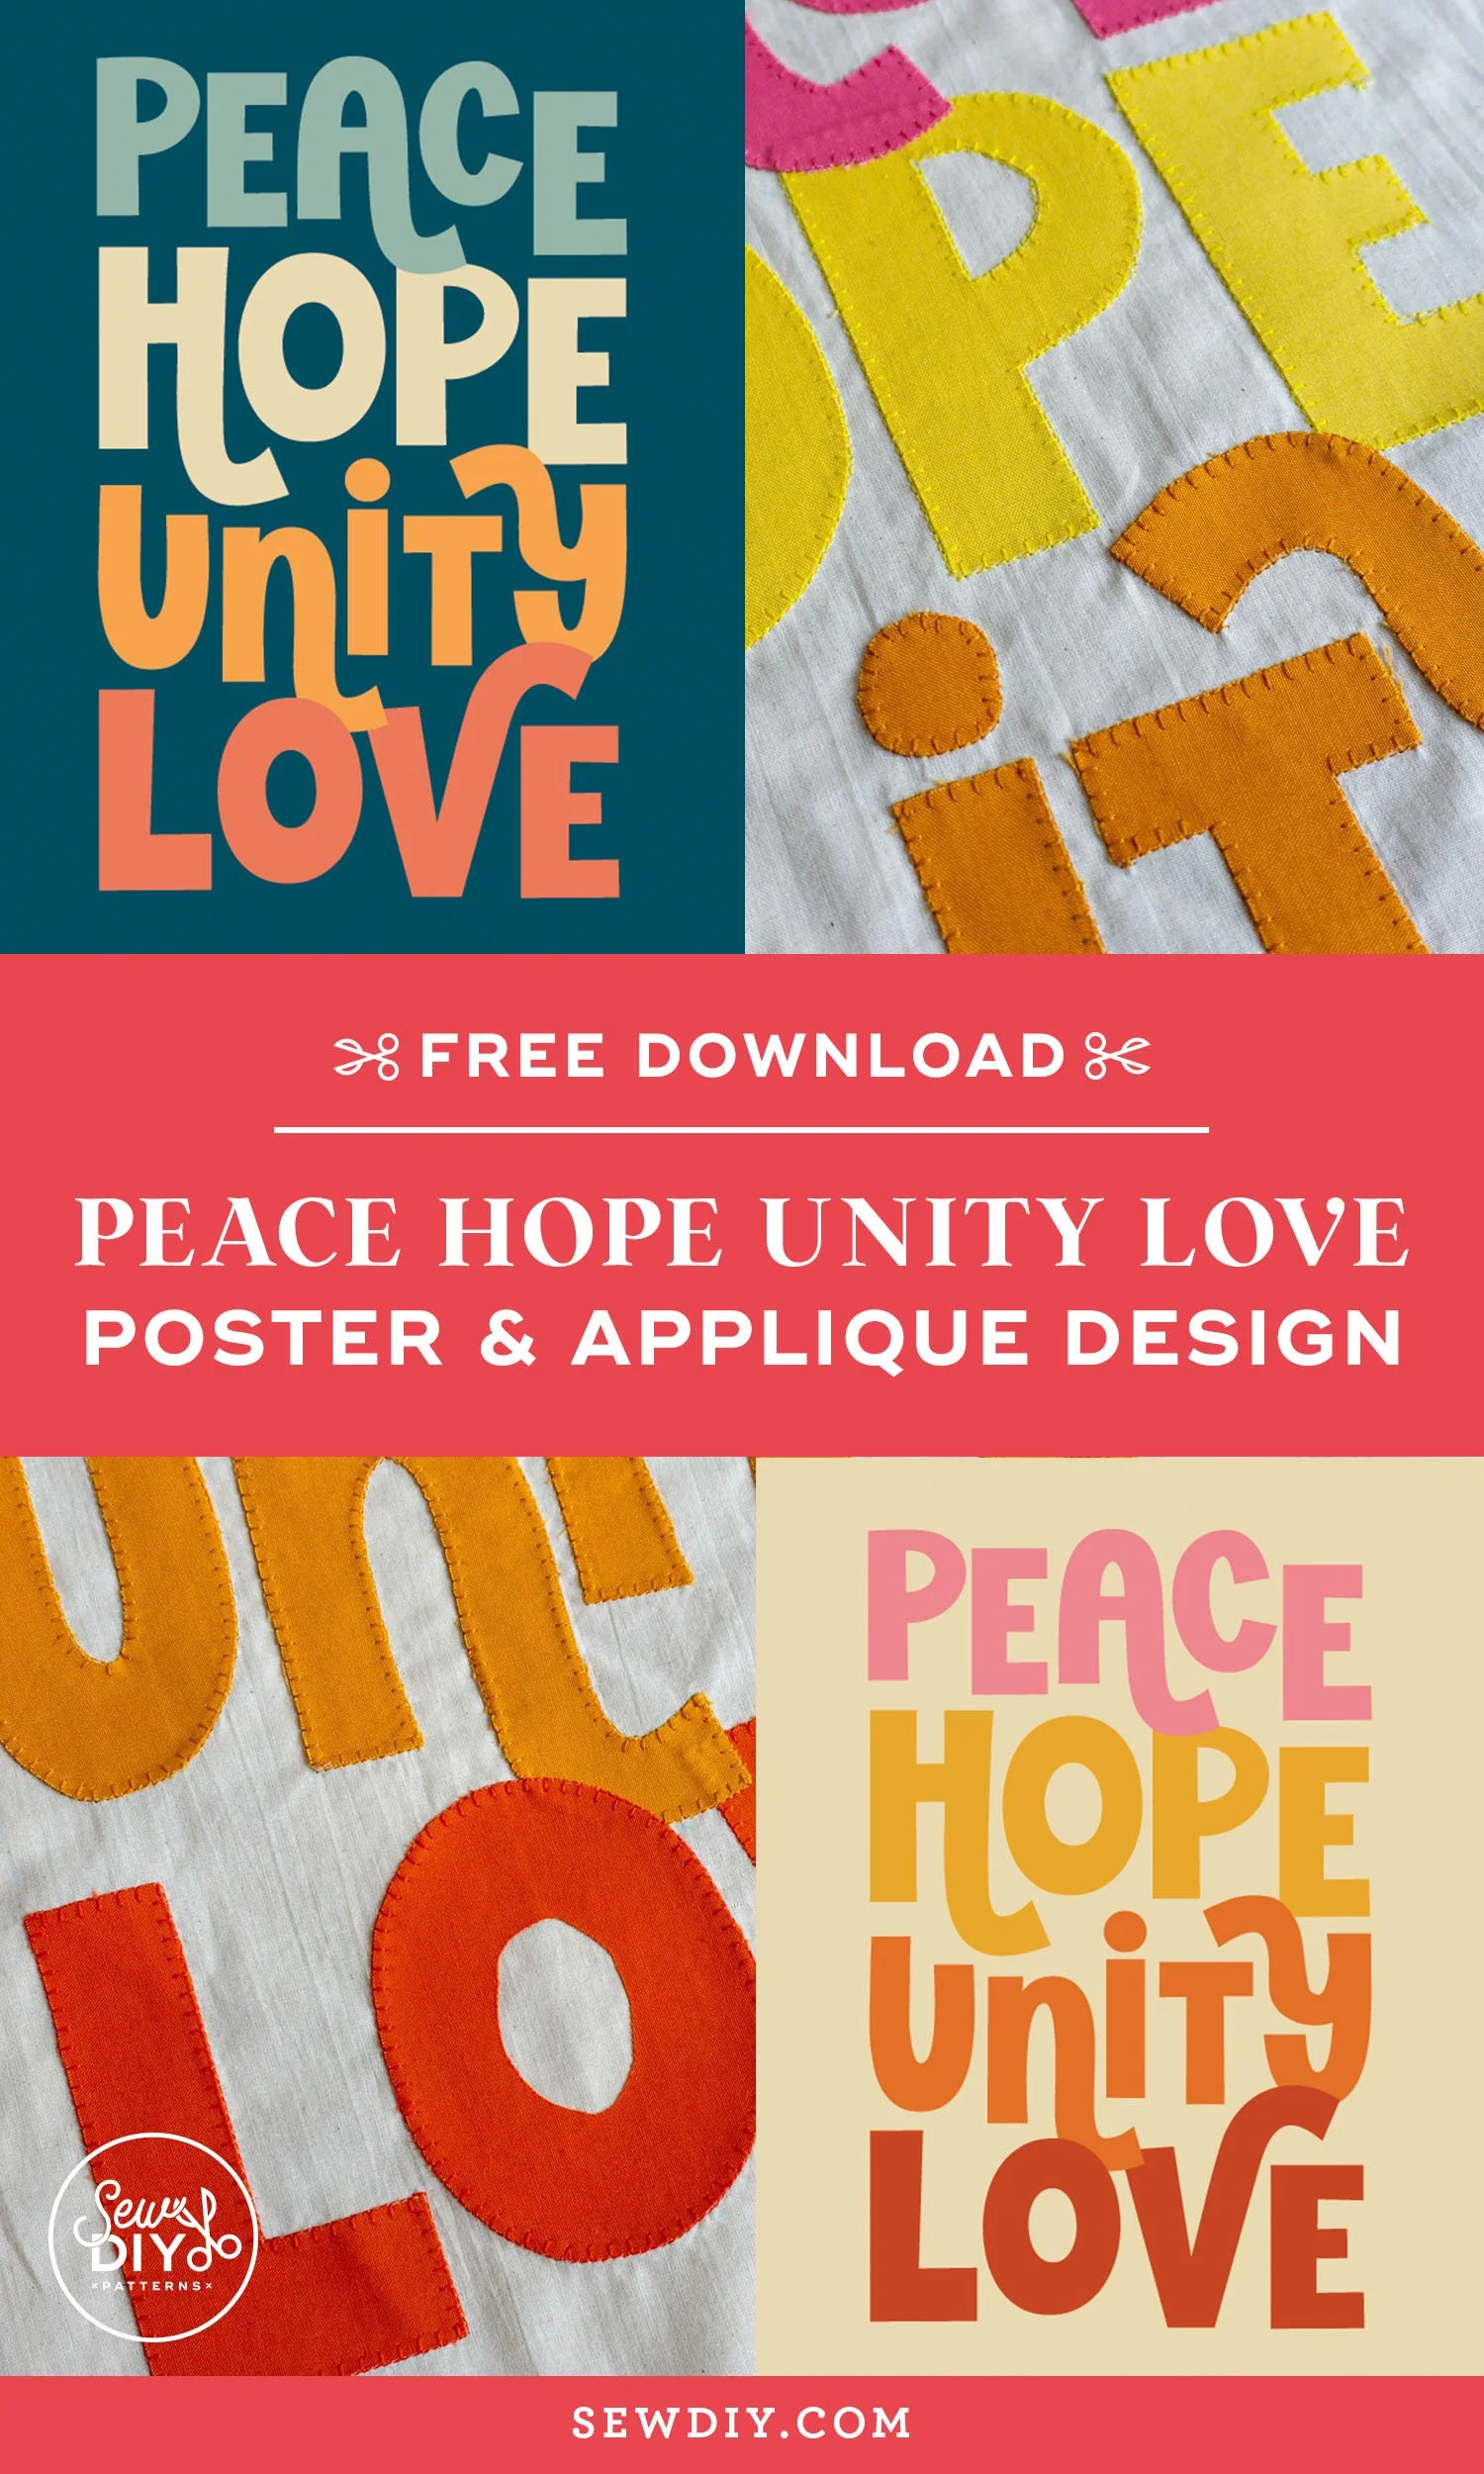
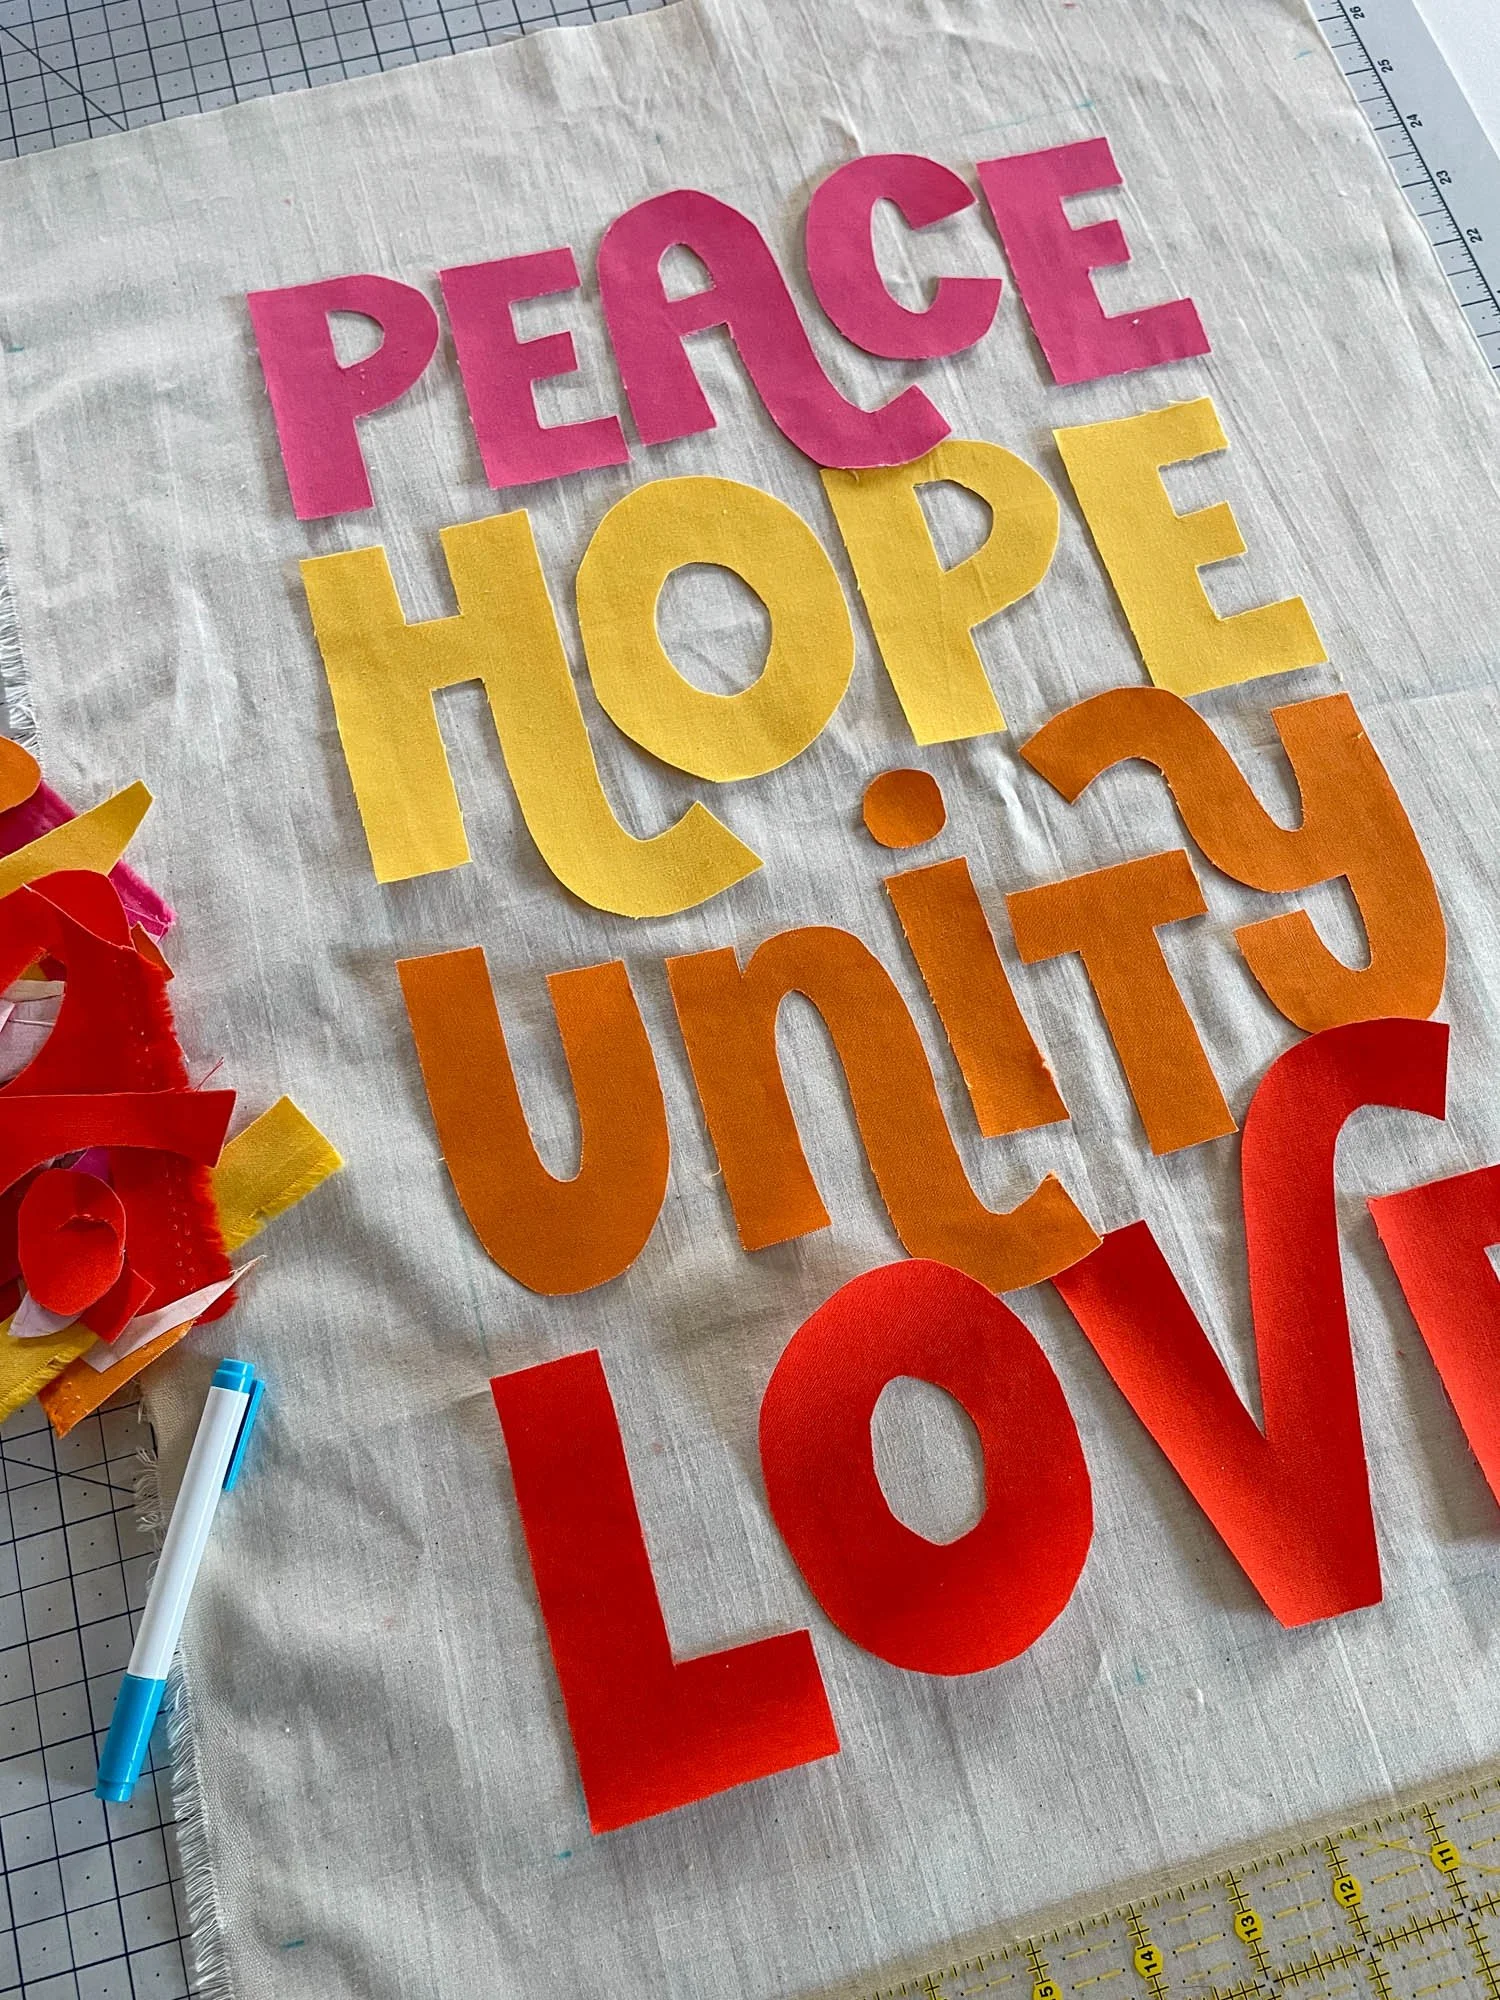
So, it's a simple, yet powerful message. Peace, Hope, Unity, Love.
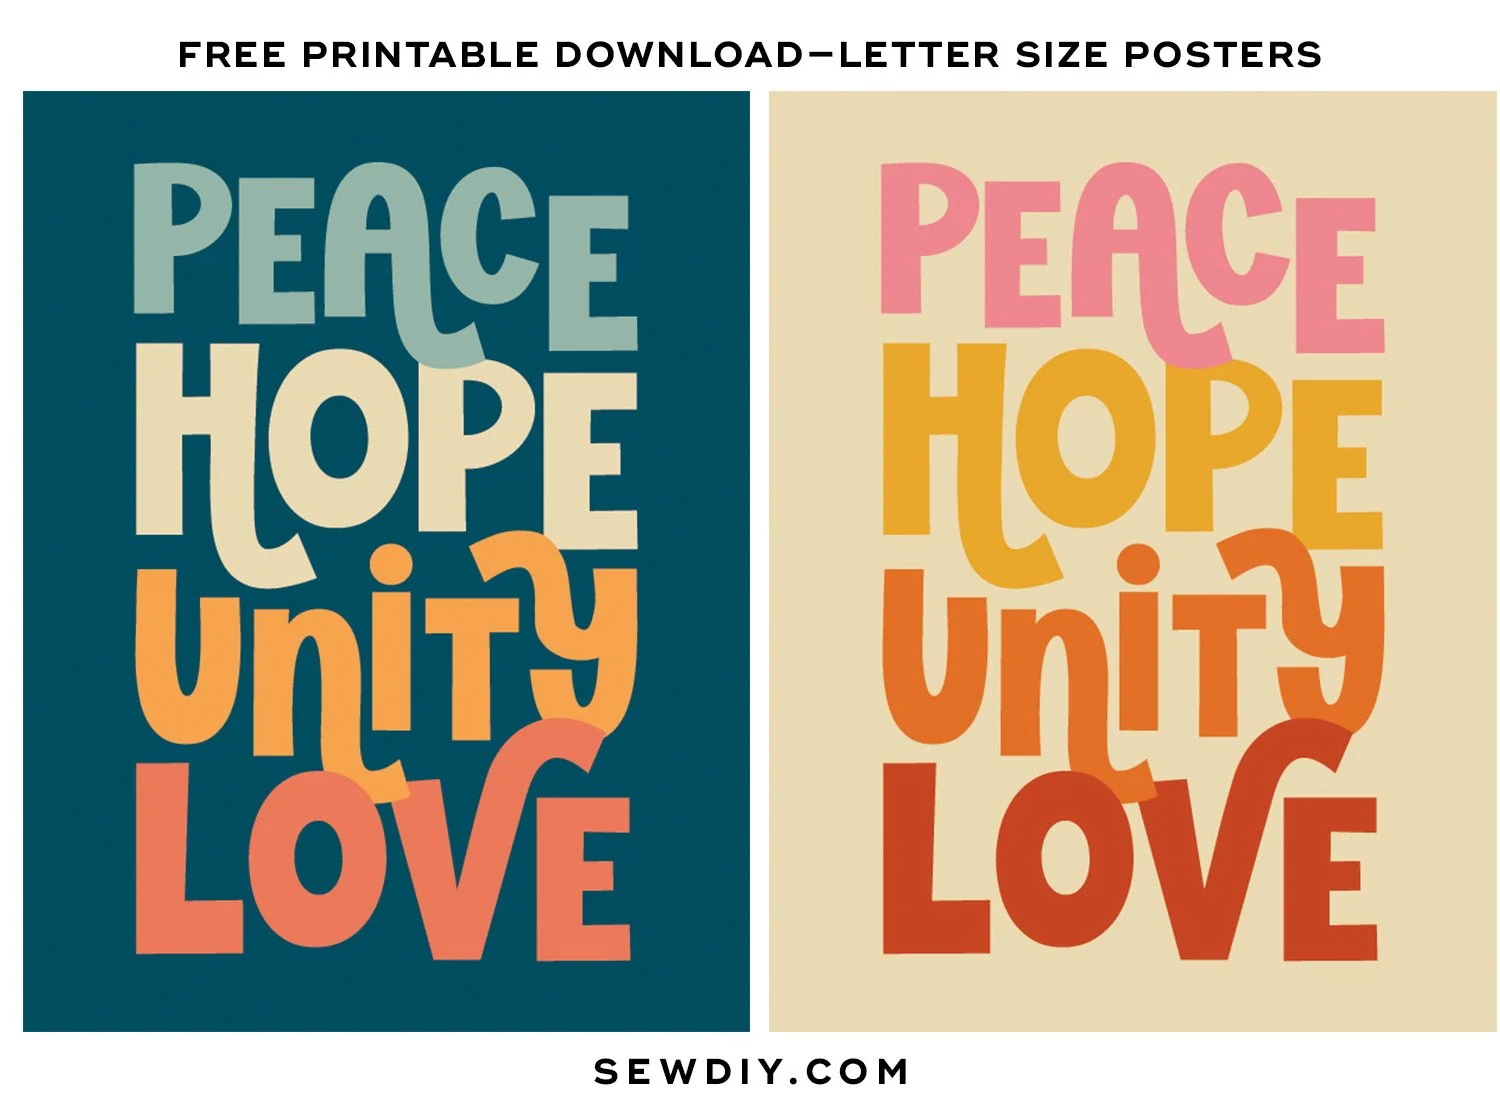
This design is free to download and can be printed as wall art or used for applique or embroidery. The wall art is sized for Letter size paper (shown above. The letters for crafting are two times as big as the wall art. The files are all editable vector so you can scale as you please. There are three pdfs to choose from:
1. Wall Art (2 page pdf including 2 design colorways, 8.5x11", fully editable vector full so you can scale as you wish) CLICK HERE TO DOWNLOAD WALL ART
2. Letters for crafting (4 pages of letters, one word on each page sized to 8.5x11") CLICK HERE TO DOWNLOAD LETTERS
3. Letters in Reverse (same as option 2 but reversed. This is what I used to create my raw edge applique) CLICK HERE TO DOWNLOAD REVERSED LETTERS
To create this design, I started in Illustrator and I used a font called Very Tired that I bought a few months ago to lay out the words. I like that this font is very bulky and bold yet friendly and organic. The font comes with swoopy, swash alternates to the letters. I played around with different arrangements and letters until I found a design that felt right. I wanted the letters to fit in a rectangle but I wanted the design to have movement and not feel perfectly aligned. I really like that the letters touch each other, almost like they're holding hands.
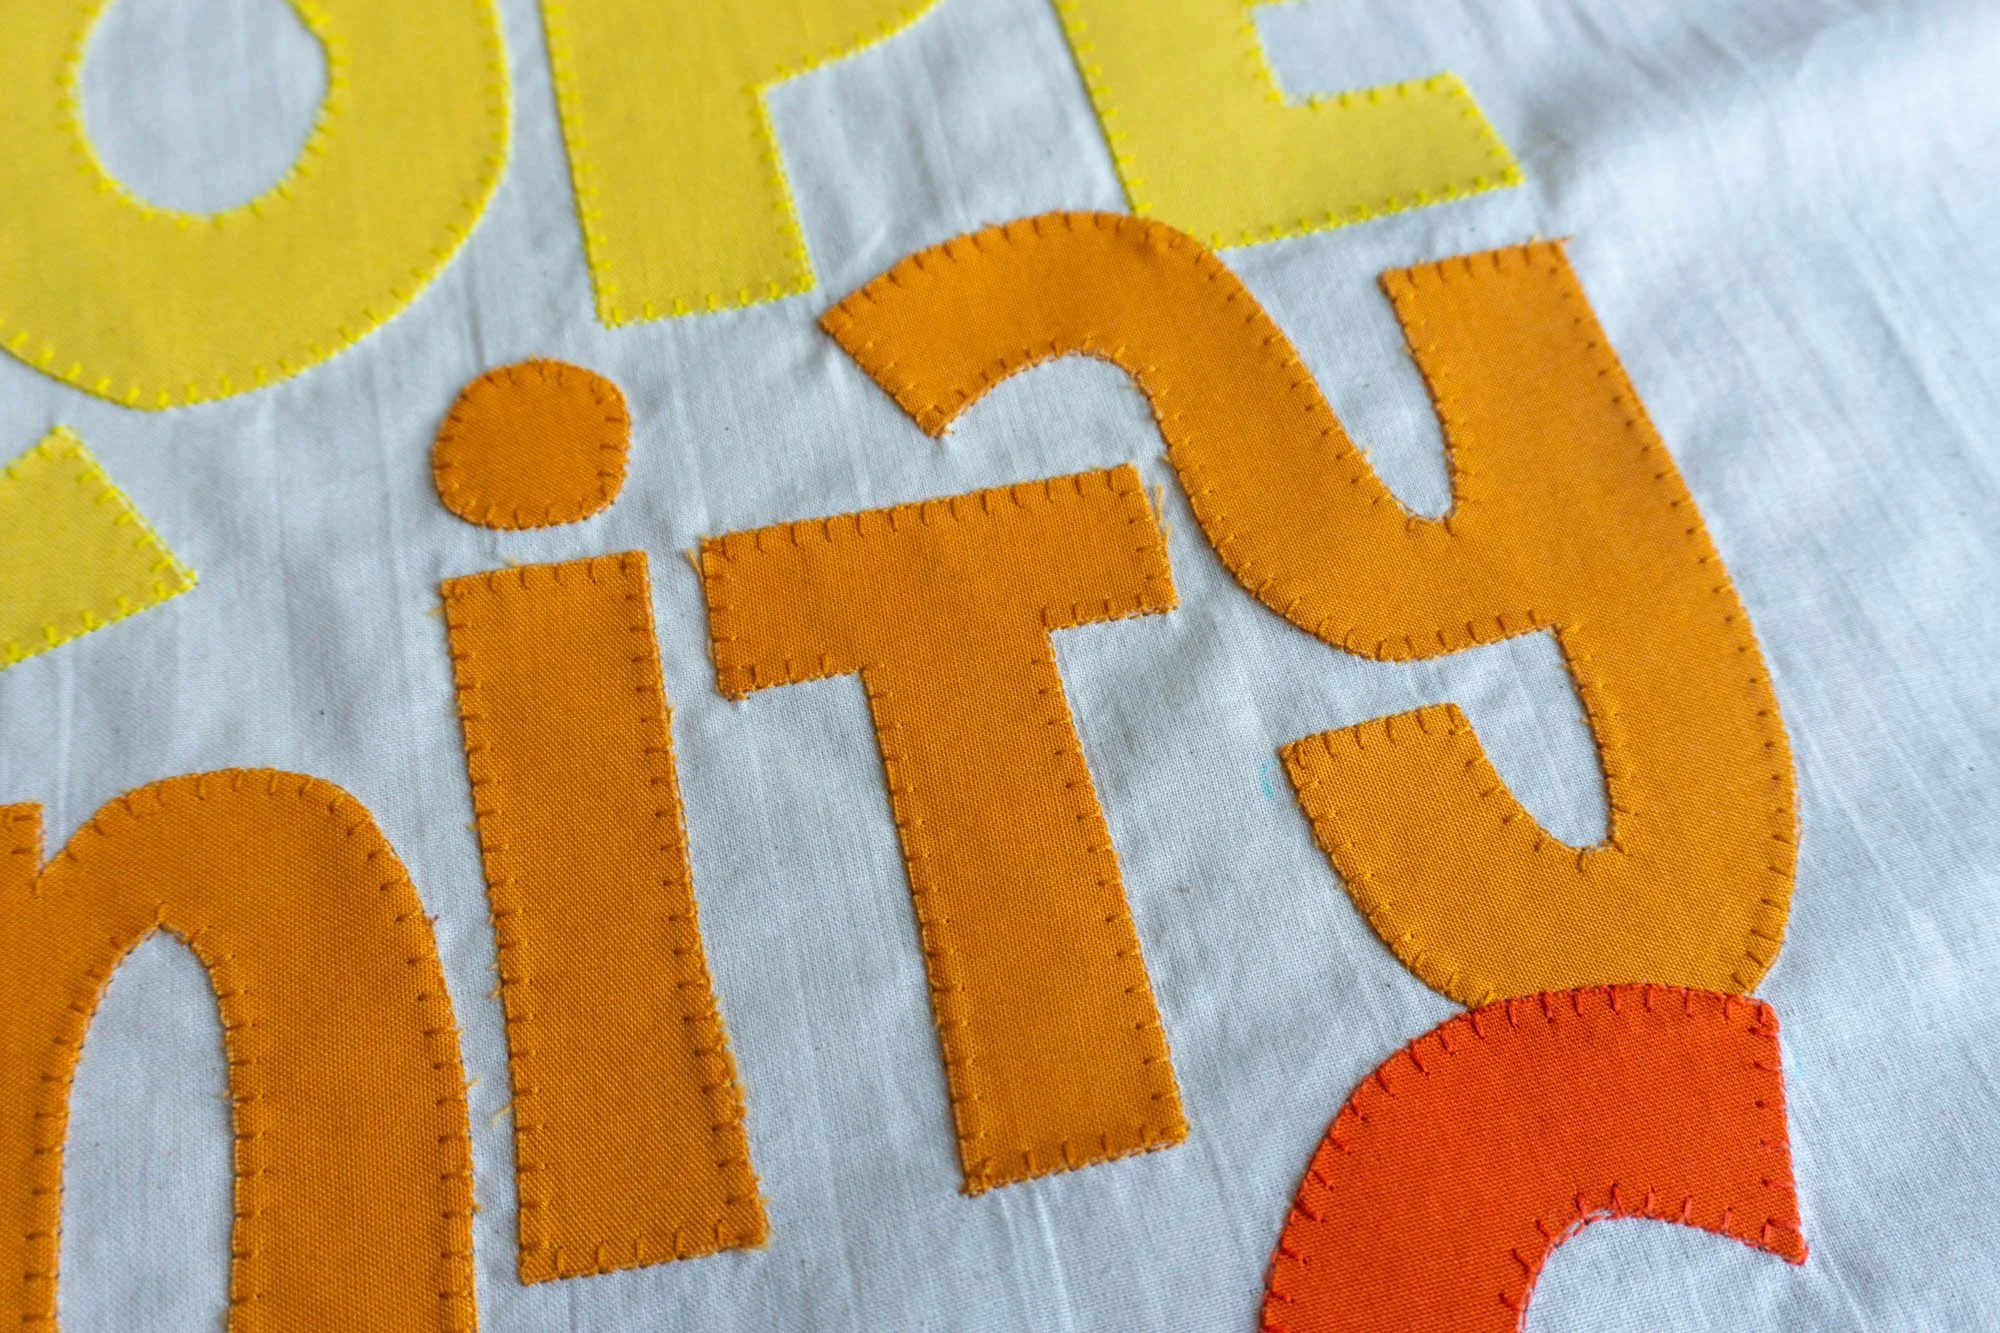
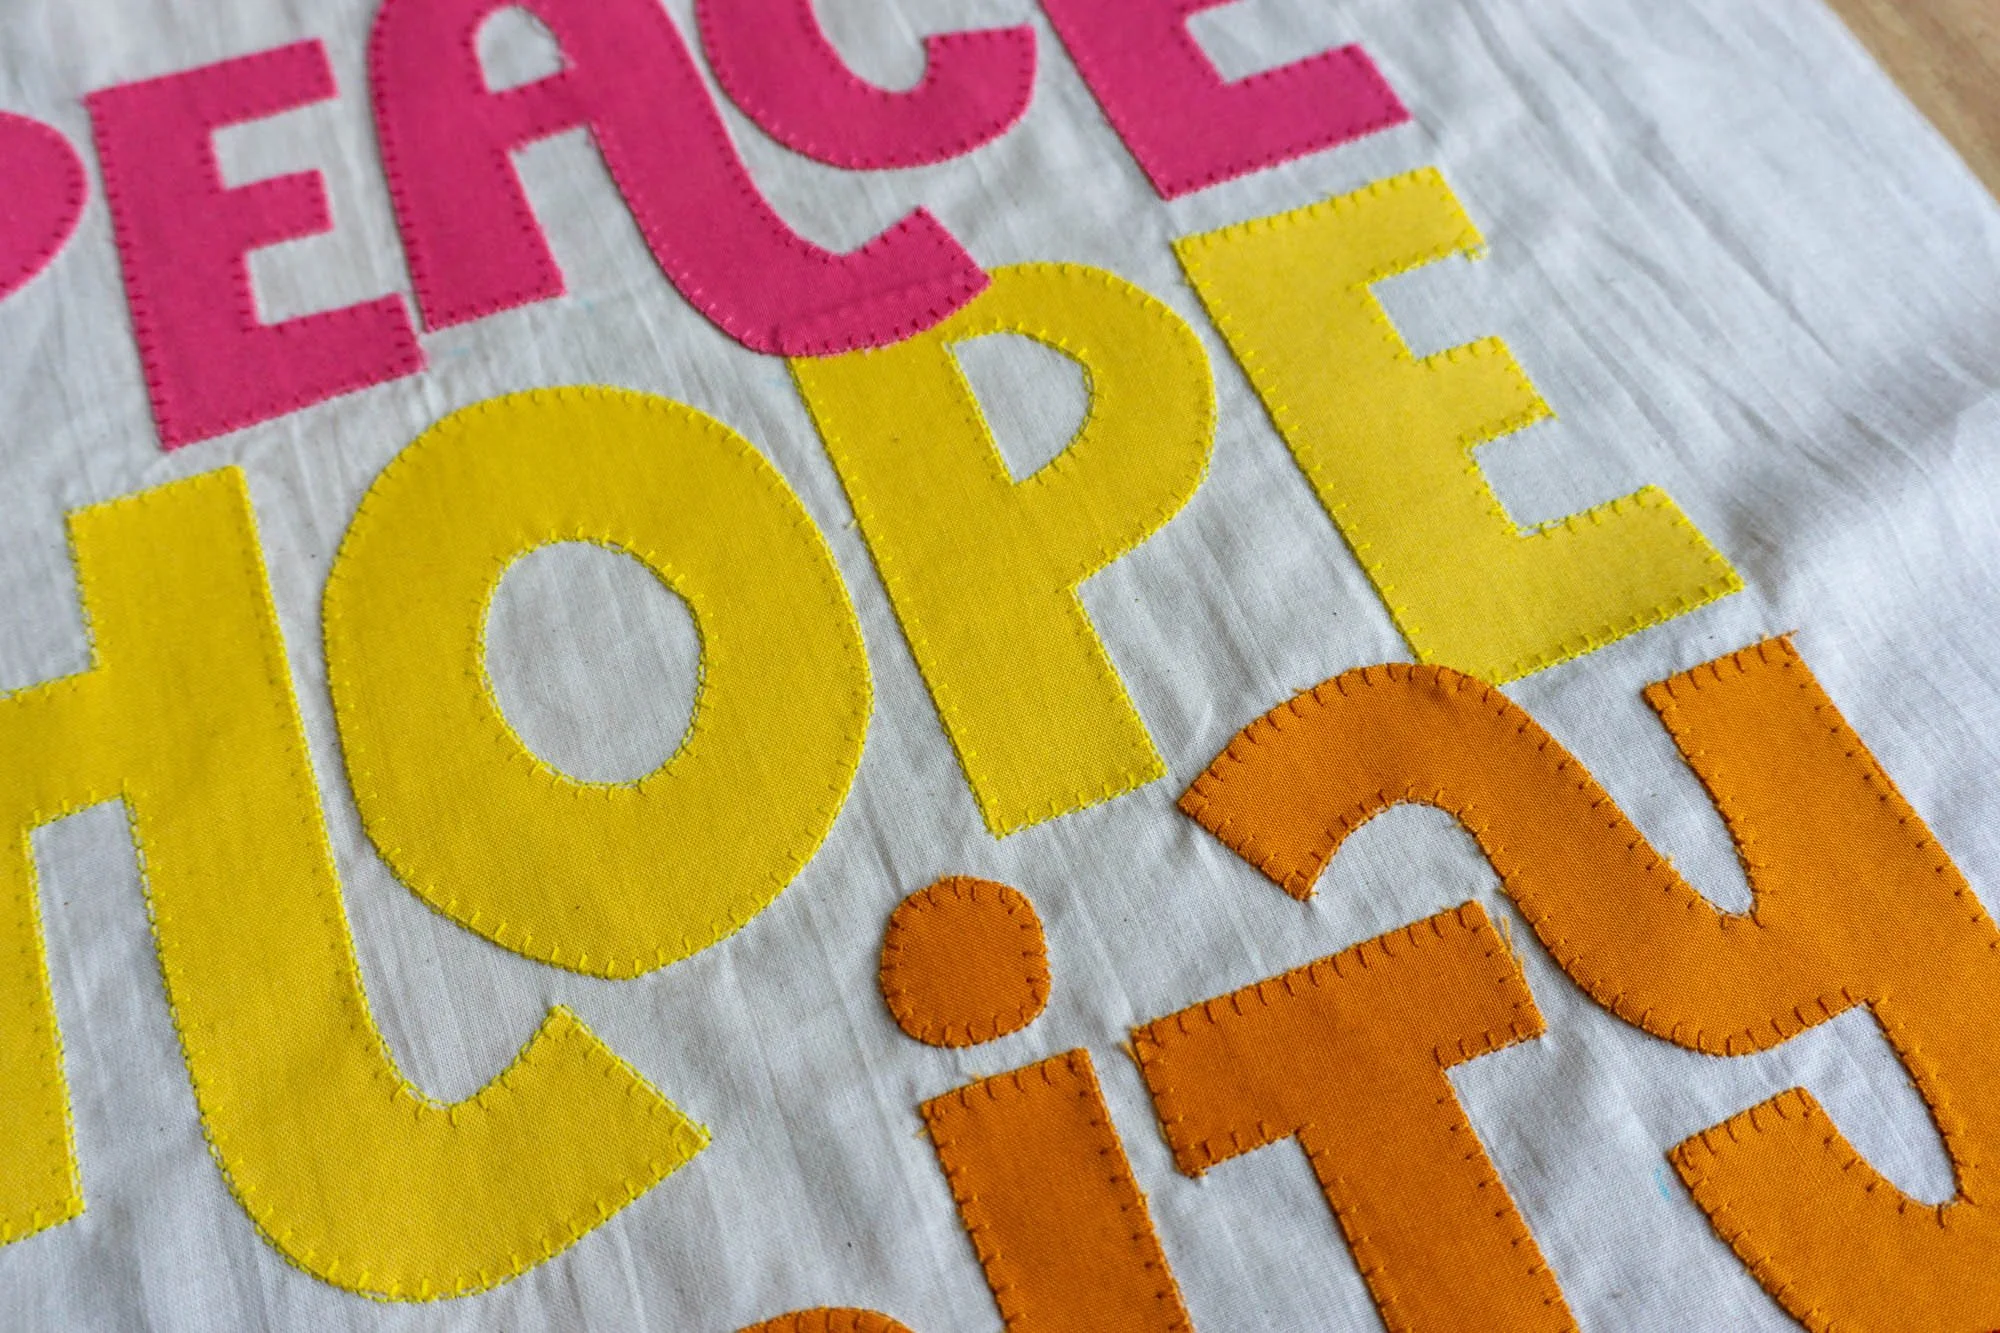
I then outlined the font so that I could adjust the letters even more. I tweaked some of them to fit the shape and create more visual movement. For example, I didn't want all of the "E"s to look exactly the same so I adjusted the heights and proportions. I made the centers of the "O"s smaller and reduced some of the thinness in the letters so that it would be easier to cut from fabric. I also wanted the letters to look like they were interacting. So when the bottom of H moves down, the right side of the "U" and the "N" also move down.
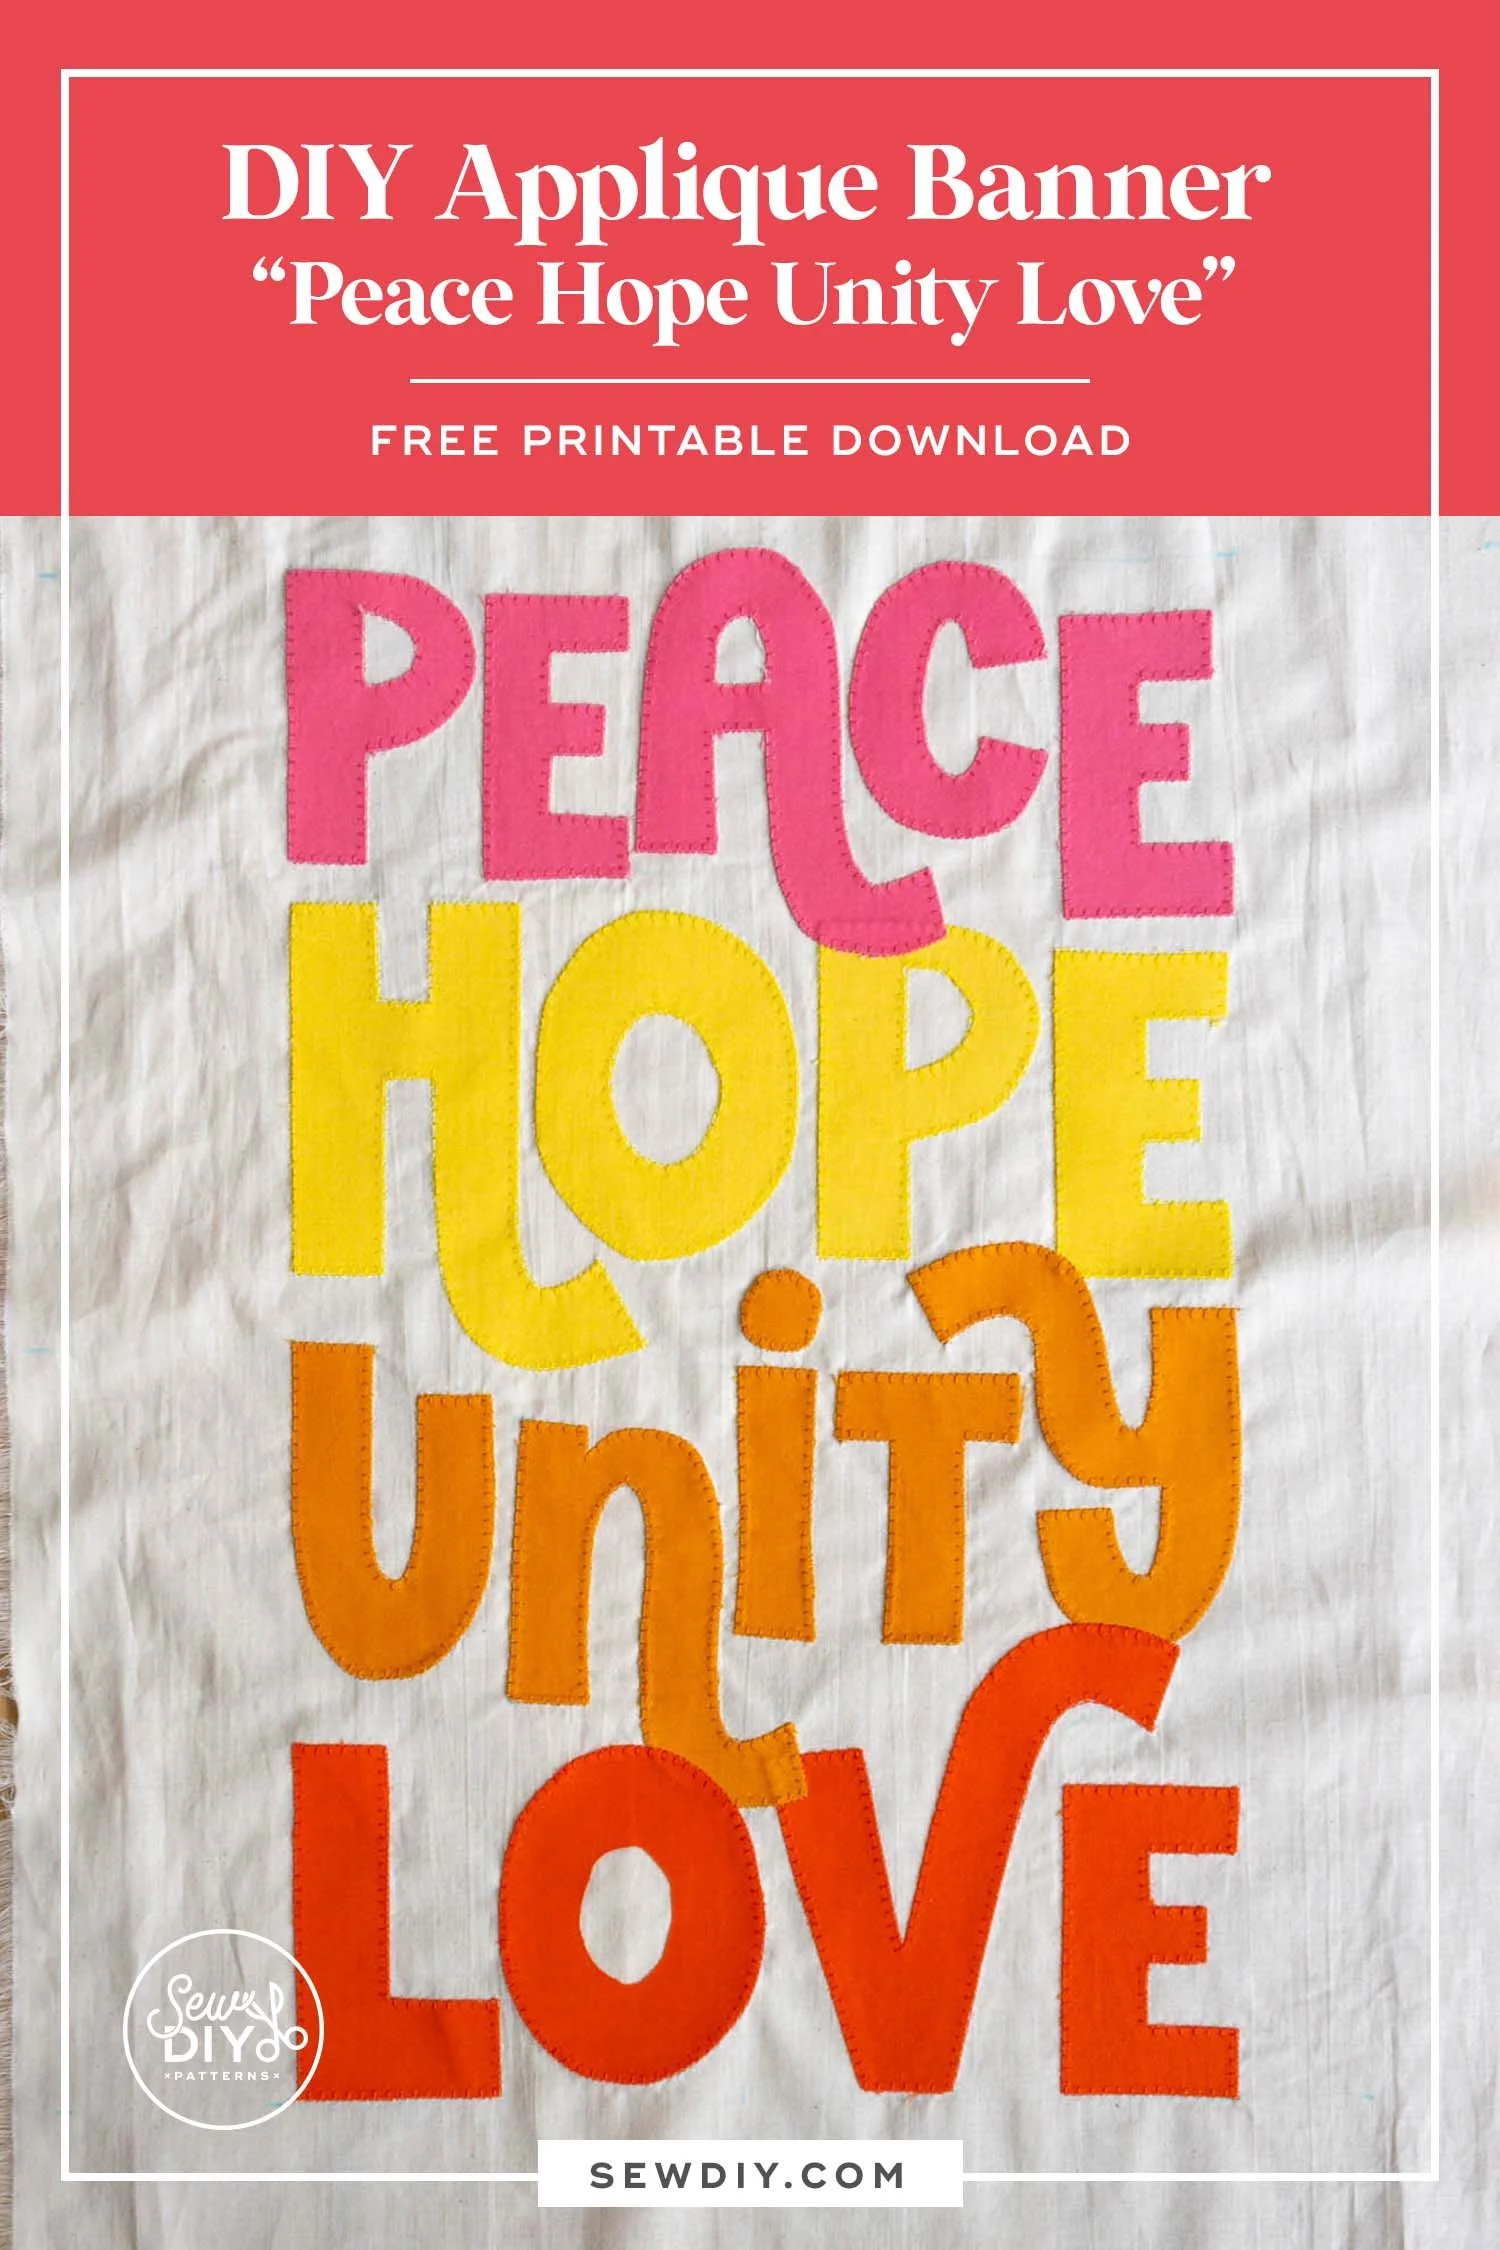
I really enjoyed the process of creating a raw edge applique. It’s a relatively fast way to create different shapes because you don’t need to sew a lot of seams. To make mine, I used Steam A Seam 2 and followed the instructions exactly. It worked very well! Below is a rough outline of how I made this banner.
How to Make a Raw Edge Applique Banner
SUPPLIES:
Fabric for letters (about 1/4 yard of each color)
Fabric for backing (about 18” x 21", I used muslin)
Double sided fusible adhesive such as Steam a Seam 2
STEP 1: Prepare the Fusible Print the Reversed Letters pdf and trace the reversed letters onto the gridded side of the fusible adhesive, leaving 1/4" around all sides. I used a pencil. Roughly cut out.
Note: When printed at 100% scale, these letters are about 4” tall. You can scale up or down as desired.
STEP 2: Adhere Fusible to fabric Peel away the paper from the side without the letters and stick to the wrong side of the fabric. Iron lightly without steam.
STEP 3: Cut out the letters along the pencil line.
STEP 4: Prepare the backing fabric Cut a piece of fabric larger than your finished banner. I used a wash away fabric marker to draw a rectangle 12" wide by 19" long for my letters.
STEP 5: Adhere bottom layer of letters to backing
Remove second side of paper and stick each letter to the backing fabric. Use the design as a reference for placement of the letters, or create your own design. The letters are repositionable until you iron them. When the letters are in the position you want, iron with steam. (My iron was getting dirty in Step 2, so at this stage I placed the banner face down on a cloth then put a press cloth on top and then ironed.)
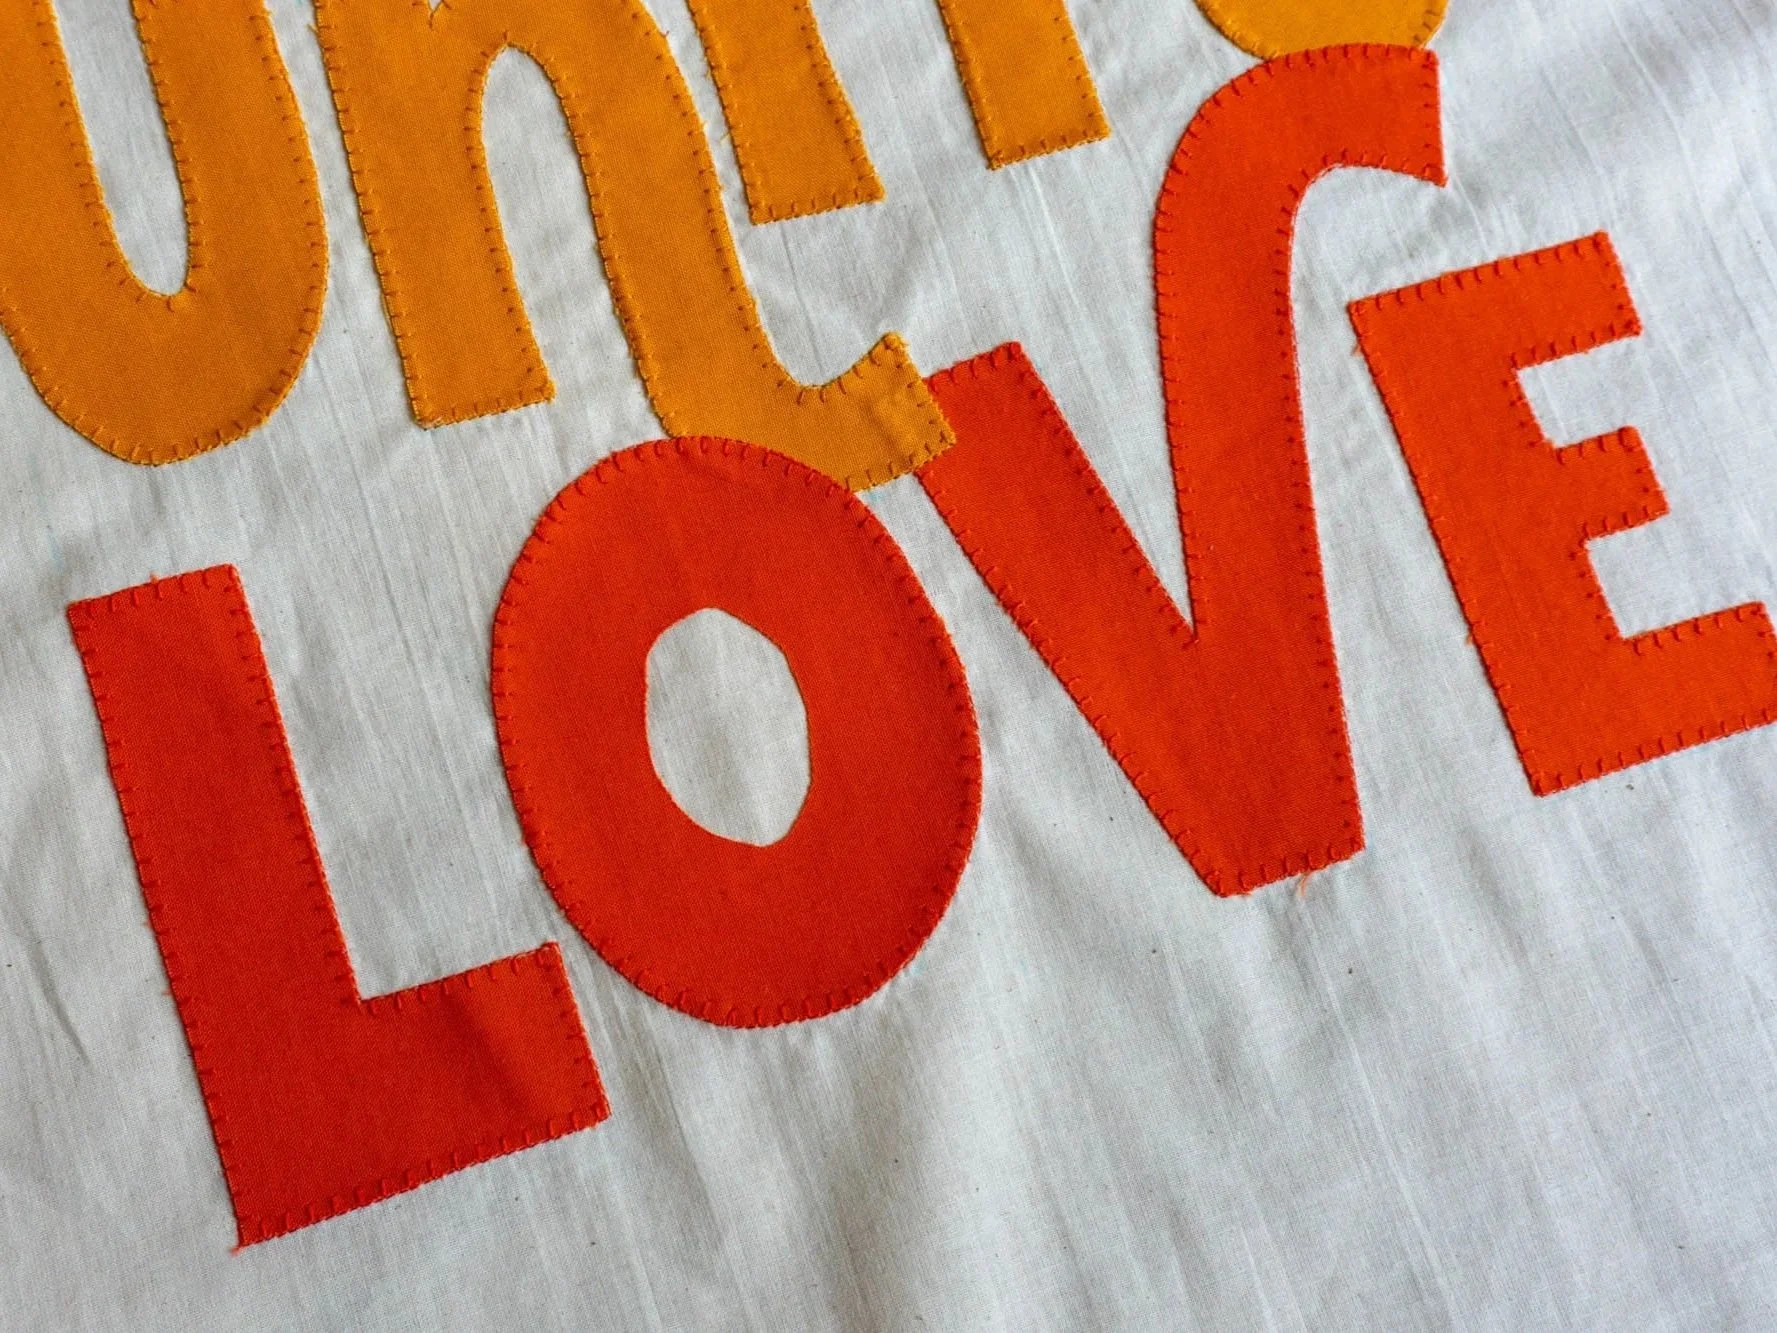
STEP 6: Stitch the letters to the backing fabric.
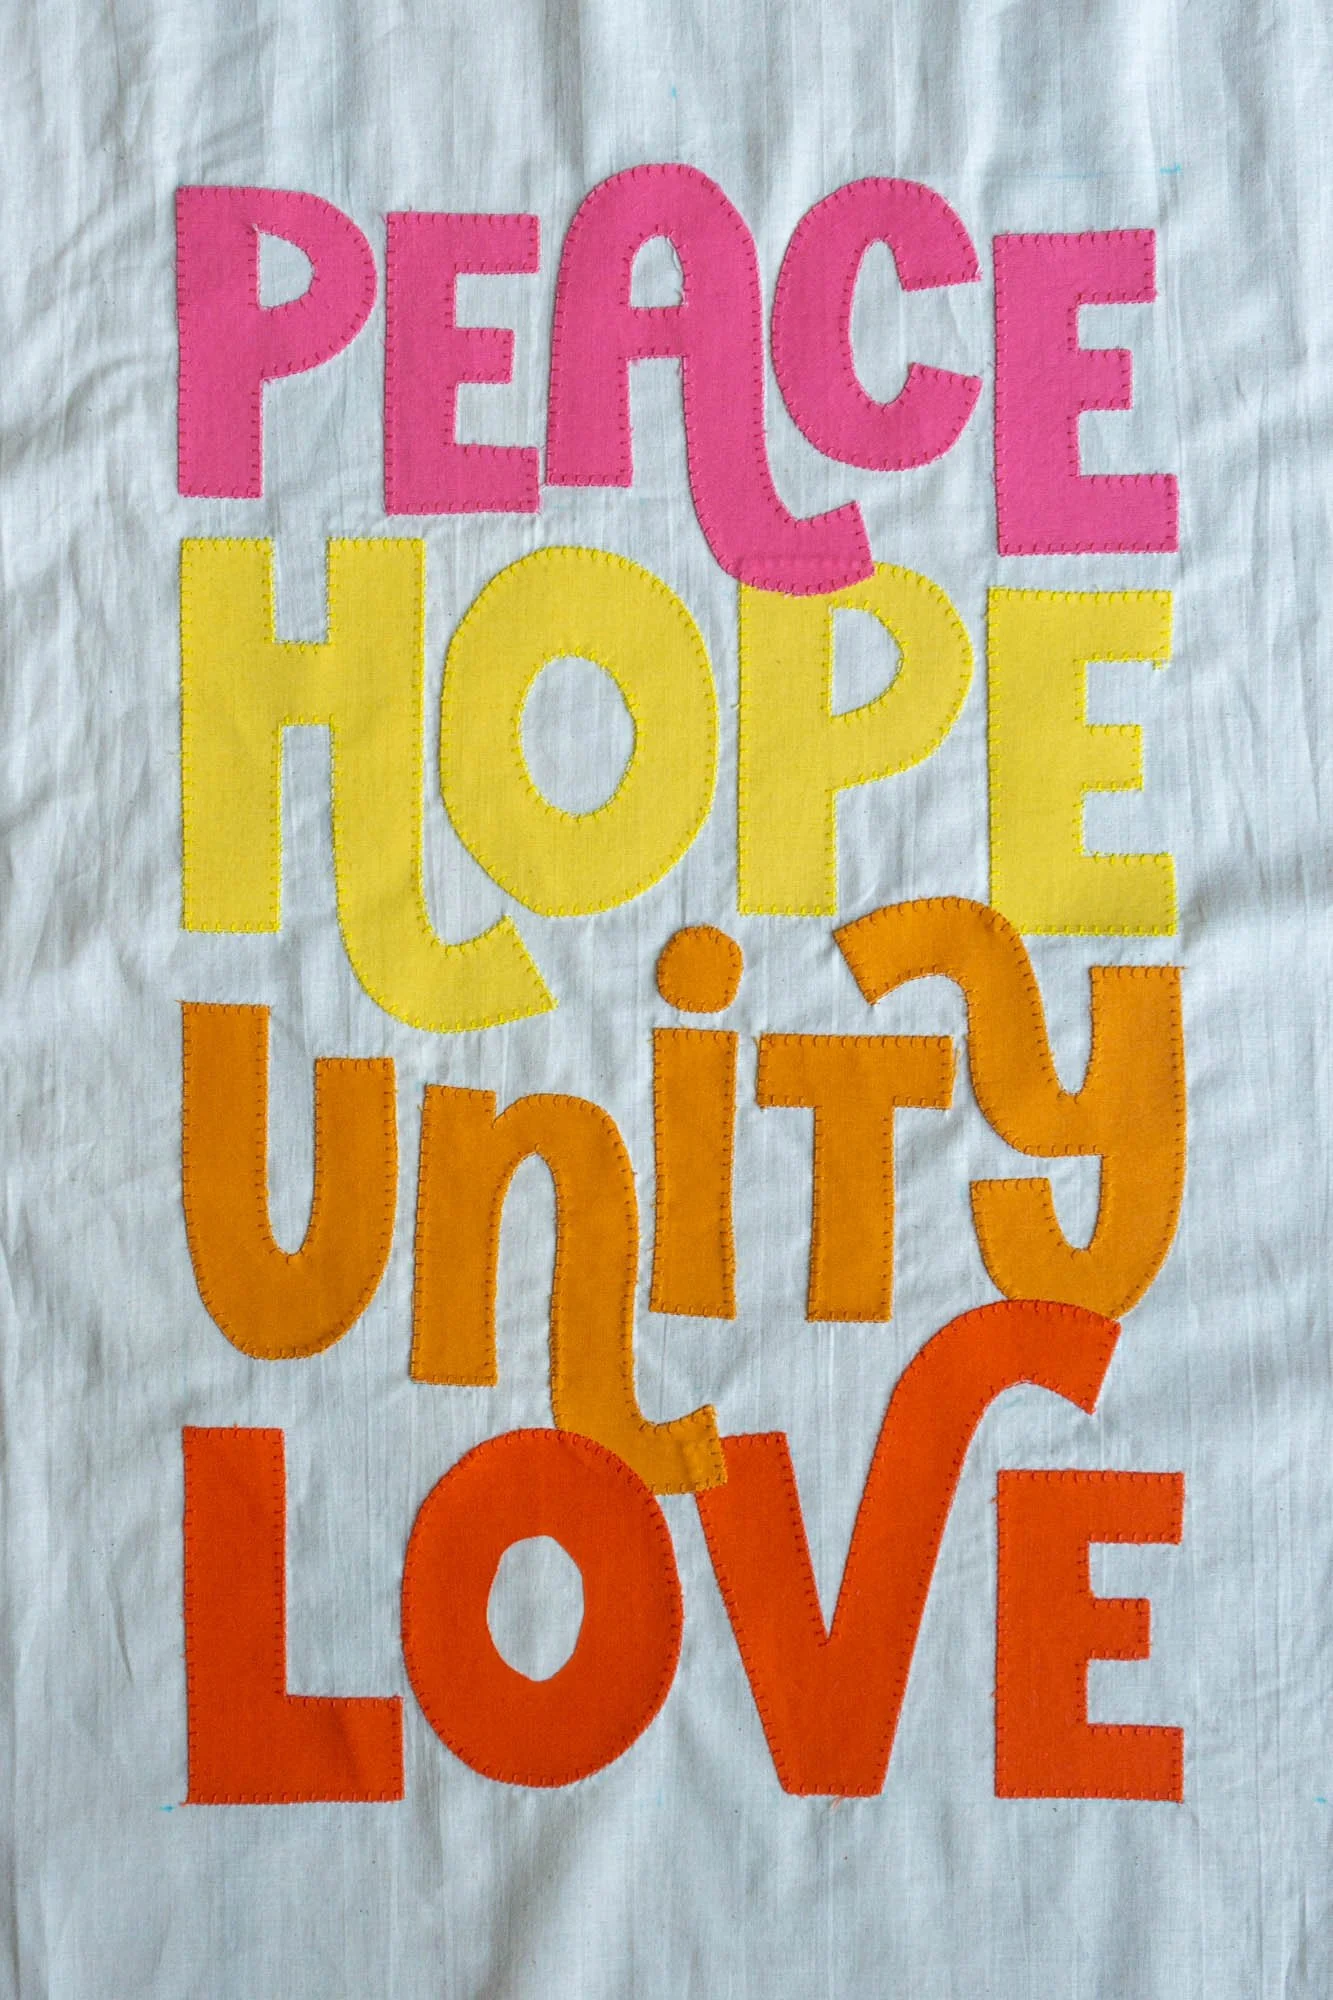
I used an applique stitch on my sewing machine and I was amazed how quick and easy the process was. On my Janome Memory Craft, I used Applique Stitch #8 at 3.0 width and 2.5 length. I recommend playing around with stitches to find one that you like. This stitch makes two forward stitches then one side stitch. If you don't have an applique stitch you can use a zig zag or straight stitch.
I also recommend using a clear applique presser foot if you have one because it will be easier to see where you're stitching. I also wore my reading glasses for this project which was a first for me!
For my design, I first adhered the bottom layer of letters and topstitched them to the backing fabric. Then one by one, I added the letters that overlap until the design was complete. I used thread in the needle that matched the fabric of the letters so that it would blend in nicely. You may want to use a contrasting color. Or, you can stitch by hand with embroidery thread.
My banner is still a work in progress. I’d like to add a backing to give it more weight and possibly add some hand stitching and additional embellishments. Plus, a sleeve to insert a dowel for hanging.
Sewing, quilting and crafting are acts of creation and expression and I hope that you feel inspired to make your own banner or sign.
Sending you lots of love and Happy Sewing!
Beth