Hello sew-friends! Today I'm excited to round out this month's celebration of the Miri Tank Top pattern with a new hack. In case you missed it, this month I created a brand new step-by-step video sewalong for the Miri Tank. Click here to catch up on all the posts.
The Miri Tank is an A-line shaped tank top, fitted with a bust dart and cropped to end at the high hip. It comes with both a scoopneck and a v-neck. The neckline and armhole are finished with an all-in-one facing, sewn with the burrito method. It's a really clean finish, completely covers bra straps and feels very stable (no shifting or falling out of place). This pattern is size 0 to 32 with three cup size options for EVERY size. The cup sizes are A/B, C/D AND E/F. So you're less likely to need to make a bust adjustment.
BUY THE MIRI TANK TOP PDF PATTERN HERE.

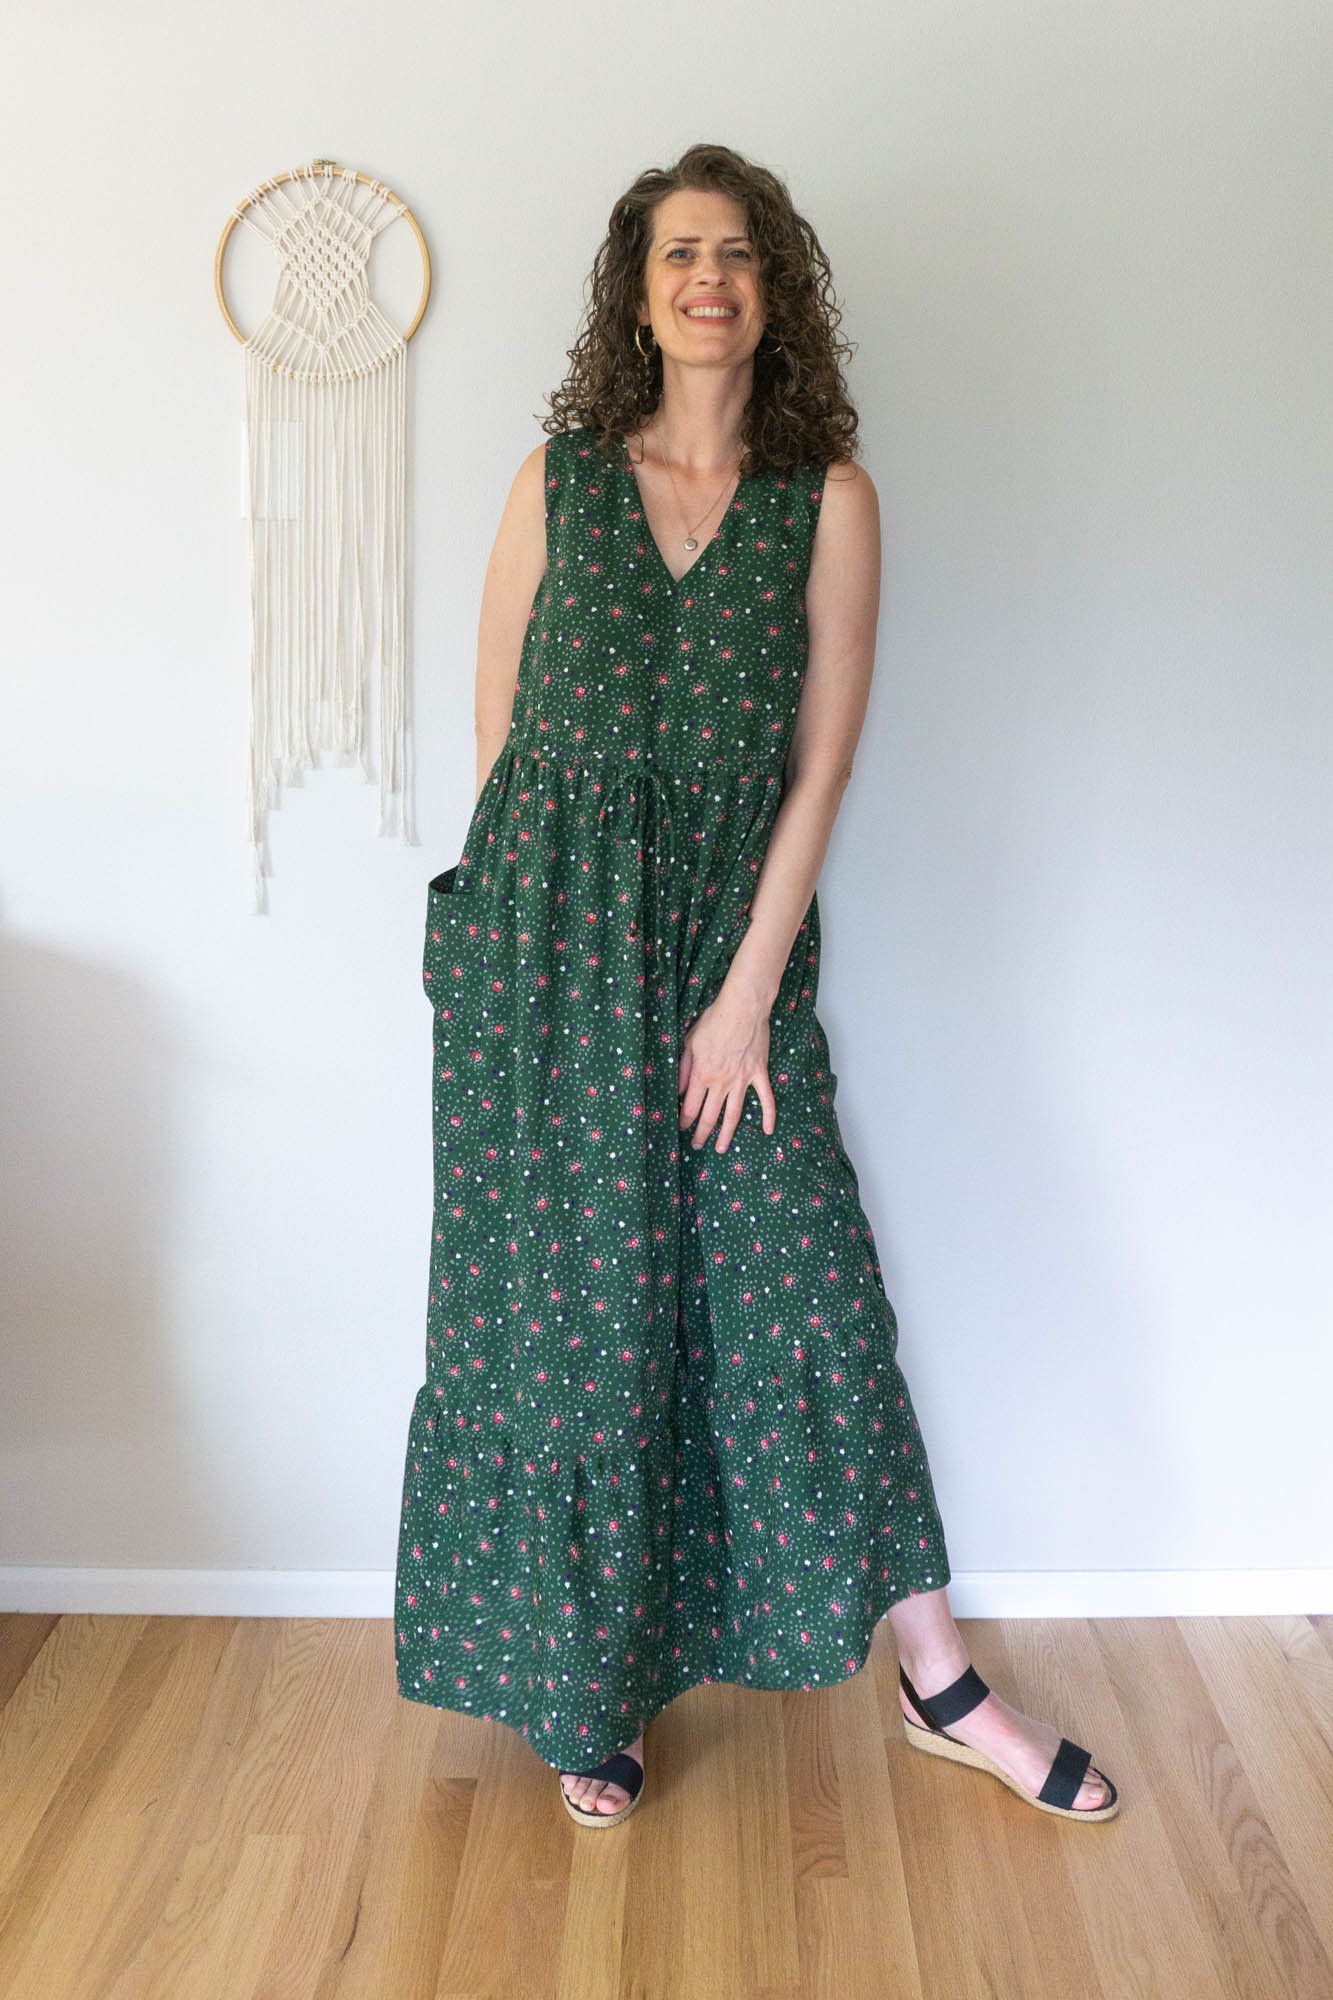
Back in 2021, I made a scoopneck Miri dress with a simple gathered waist and in-seam pockets (blogged here). It is one of my favorite dresses and I love wearing it. So, I wanted to do that again but I also wanted to add some additional details and just do something a different. So this time around, I made the V-neck (view B) and added a drawstring at the waist. The skirt is gathered at the waist with a ruffle at the hem and large patch pockets.
A few weeks ago, I went to my local craft supply thrift store—Seattle Recreative. They have a fair amount of fabric but you never know what you'll find. The fabric is rolled up, fastened with tape and the yardage is labeled.
I found this beautiful lightweight floral print on my second browse through the fabric. I think this fabric is a cotton sateen although I did not do a burn test so it might have something else in it too. It was 3 yards long but only 34" wide. A really tricky width to work with! But with 3 yards, I felt confident that I could make it work. One good thing is that the floral pattern does not appear to be directional, so I could rotate and flip pattern pieces as needed.

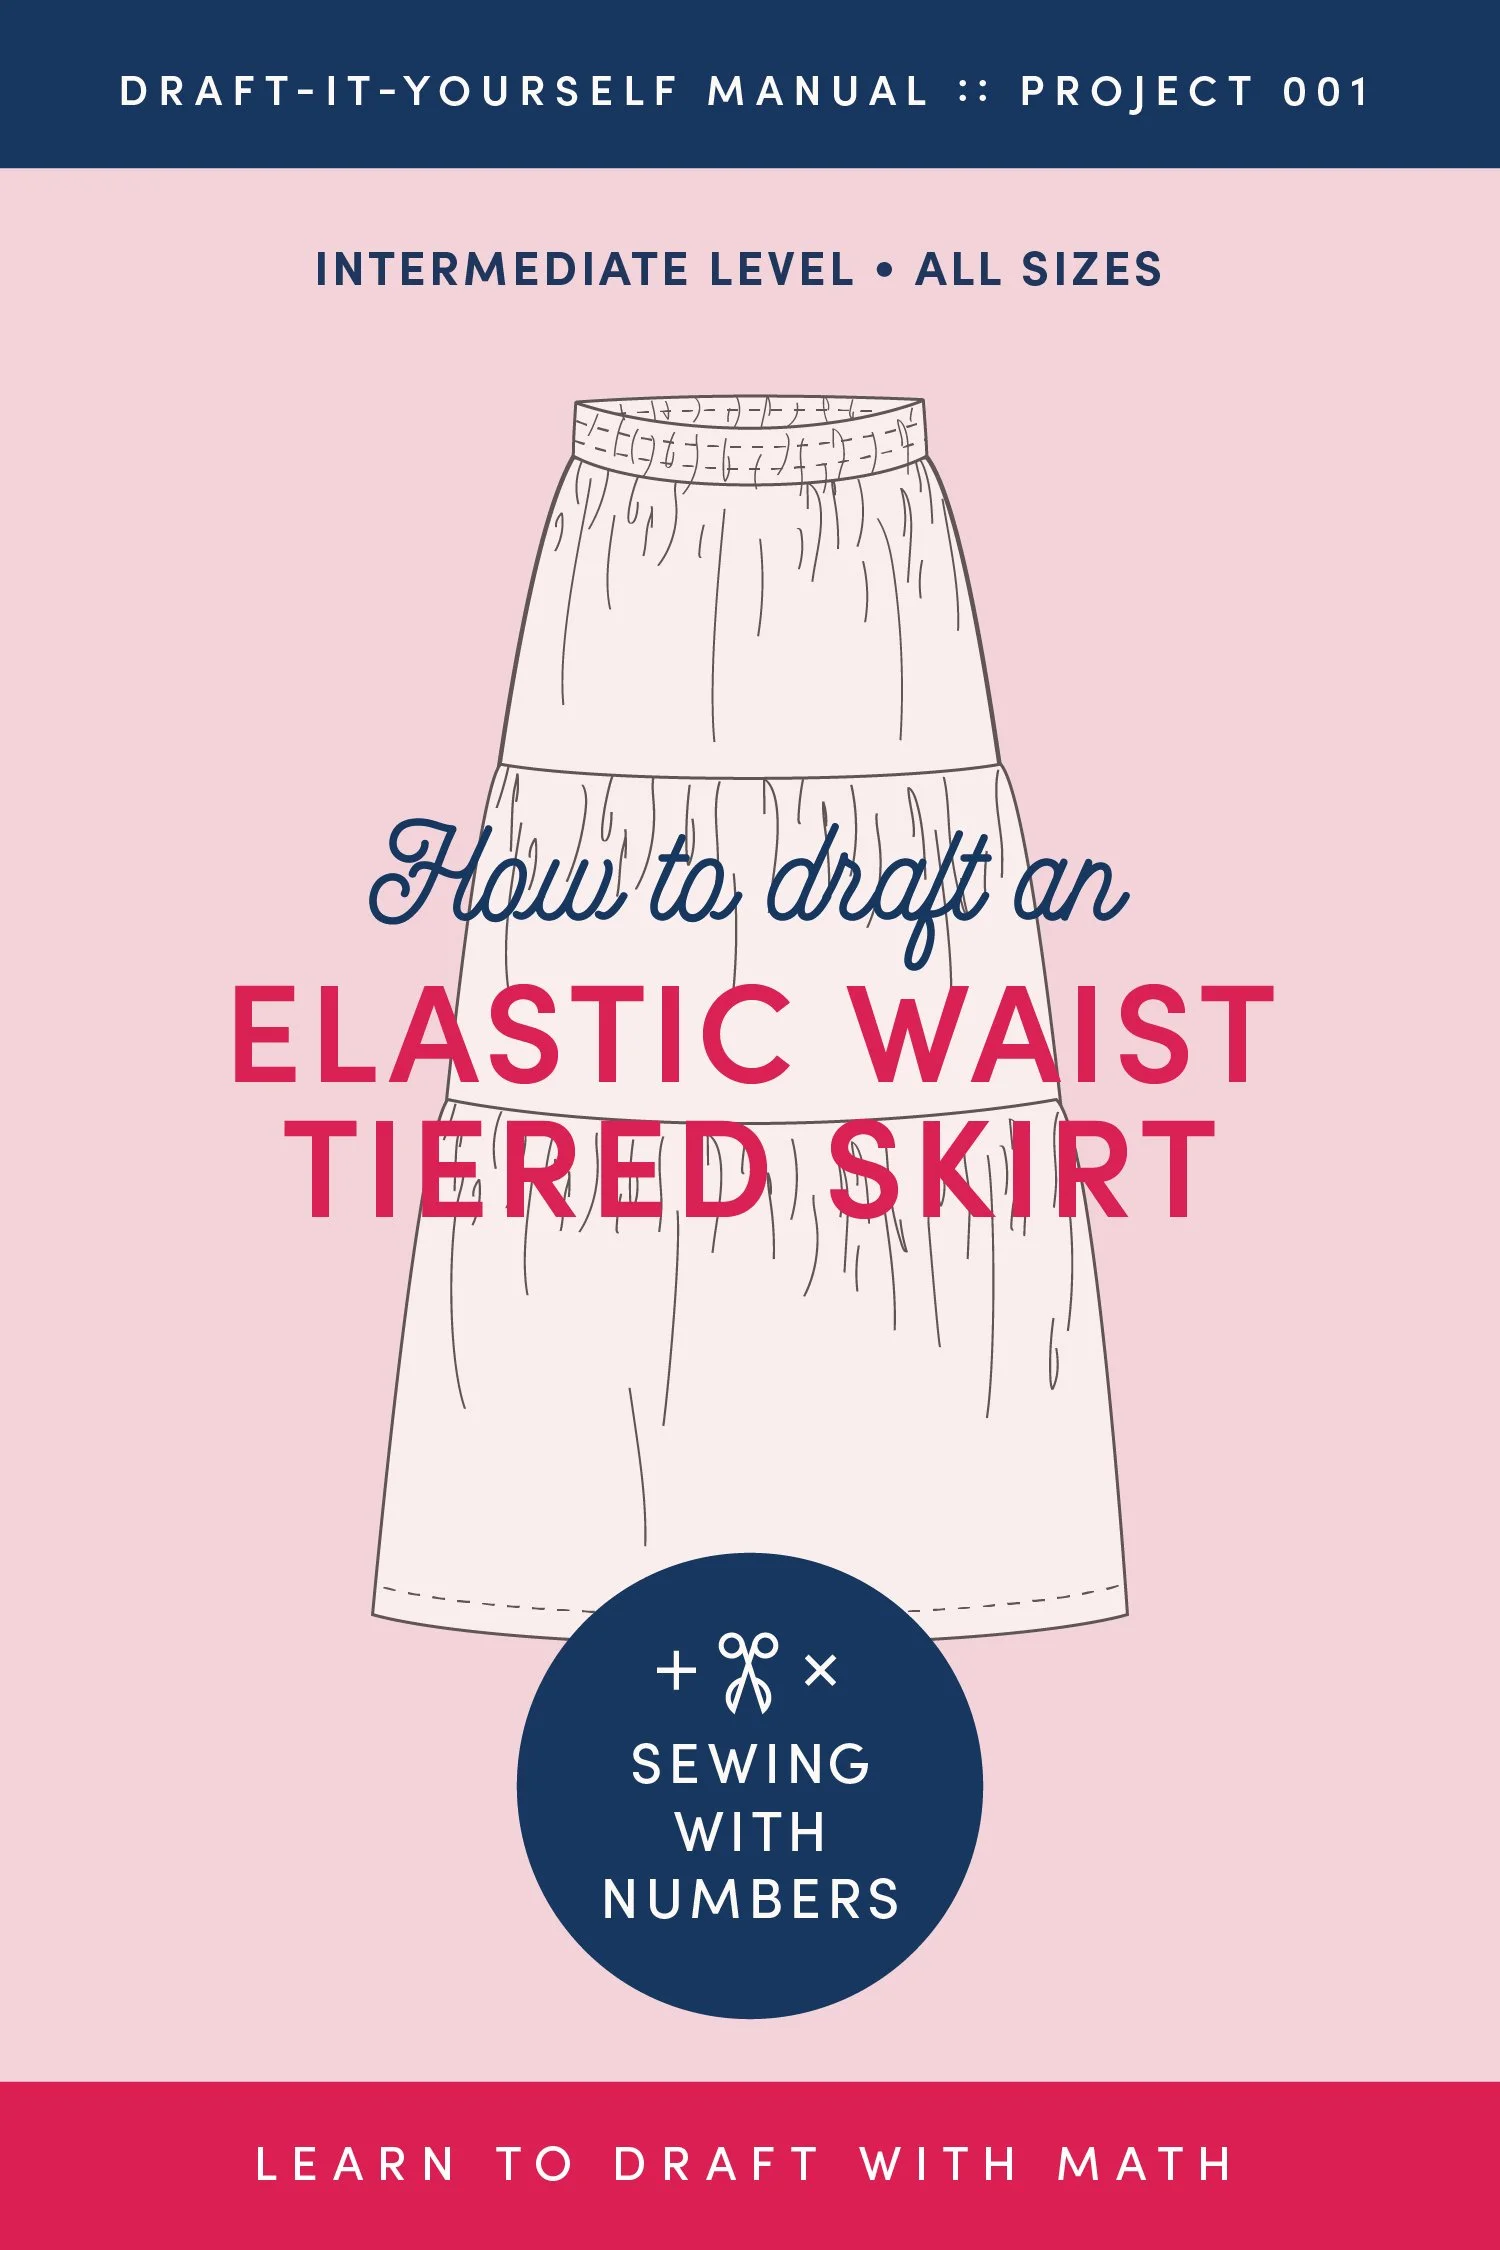
I spent quite a long time working on the pattern layout using Illustrator. I originally wanted to do a three tiered skirt like this. But because of the narrow fabric, I'd have to piece a bunch of parts together. Finally, I decided to try a skirt that has three panels, meaning there were no side seams. I had to cut the ruffle tier lengthwise but everything fit! Woohoo! See my working sketch above.

During my inspiration search, I saw this dress from L.L. Bean with a V-neck and drawstring waist and decided I wanted to try adding a drawstring too. Initially, I planned to make the casing using the seam allowance like in my Lou Box Dress 2 (I love this method because it's so clean). But because I had the added bulk of the gathered skirt, I decided to top stitch a casing onto the bottom of the bodice. (This method is similar to the Sanibel Dress by Hey June Patterns, blogged here.)

Here's a rough outline of how I cut out and constructed this hack:. For reference, I made a size 12 C/D cup and I'm 5'11" tall.
How to Sew the Miri Drawstring Waist Dress
CUTTING LIST
Cut Miri Front Bodice and Back Bodice with 6.5" side seams. (This length is pretty close to my natural waist.)
Cut Front and Back Facings from lining fabric.
Cut 3 panels for the skirt, each 21" x 29.5"
Cut 1 panel for ruffle hem, 75" x 13"
Cut 2 patch pockets about 7" x 8.5".
Cut and pieced 1.25" wide casing on straight of grain. Length matched bodice hem minus about 1" for center opening.
Cut bias strips 1.25" wide for the waist tie.
STEP ONE: Assemble the bodice and facing through Step 9 of the instructions. (Stop before hemming.)

STEP TWO: ATTACH THE CASING Press the ends of the casing in about 1/2" and top stitch. Press one side in about 3/8". Baste the unfolded edge to the bottom of the bodice. Top stitch the folded edge to the bodice. See photos above.

Above I’m topstitching the casing to the bodice. The raw edges are basted together.
STEP THREE: Prepare the pockets. Sewing the pockets and skirt is very similar to my Eva Dress. Check out this video for more info on sewing patch pockets and a gathered, tiered skirt. Pockets are at time stamp 5:00.

Above are my pockets, prepped for topstitching. They are mirror images with one side left raw that will be sewn into a seam in the skirt.
STEP FOUR: Attach the pockets to the skirt (Because I have a 3 panel skirt, I decided to sew one side of each pocket into a panel of the skirt. Fortunately the side to side placement worked out!)
Try on the bodice and measure how far down you want the patch pockets. Pin the pockets to the skirt. Baste the edge attached to the skirt seam (this is the raw edge of the pocket and skirt). Top stitch the remaining two edges.
STEP FIVE: ASSEMBLE THE SKIRT. Sew the panels of the skirt together and finish the raw edges together. Stitch together panels for the ruffle hem. Sew rows of basting stitches to the top of the skirt. Gather and stitch to the bodice.
STEP SIX: Sew rows of basting stitches to the top of the ruffle hem. Gather and stitch to the skirt. Try on and hem the bottom to desired length. If you are new to sewing gathers, see this blog post.
STEP SEVEN: Sew the bias strips to make a waist tie and thread through the casing. I make this style of tie for my Eva Tops and Dress pattern. See this section of the sewalong for how to sew the bias strips into a tie. Time stamps are listed below the video.


CONCLUSION
I really love how this dress turned out. As soon as I finished it, I put it on and didn't take it off for the rest of the night. I had been thinking about making the shoulders more narrow but I realized that one of the things that makes the Miri Dress so comfortable to wear is how solid the shoulders are. They stay right where they are supposed to be and I don't have to think about the dress while I'm wearing it. I find strappy dresses can be a lot more shifty and I appreciate that this one stays put and provides bra strap coverage.
I really like the drawstring detail both visually and functionally. I can keep it loose or tighten it for a more fitted look. If/when I make this style again, I will probably NOT gather the skirt. It doesn't really need it with the drawstring. But by the time I realized that, I was too far in to turn back.
The hem of my dress is actually the selvage of the fabric so I haven't hemmed it yet. I LOVE that it's a full maxi/angle length on me. As a tall person, it's so hard to find clothing that it extra long. It feels luxurious. Overall, I'm really happy with how the dress turned out and I'm looking forward to wearing it this summer.
I hope you’ve enjoyed this pattern hack. I really love this dress and am looking forward to wearing it. I’m especially pleased that I was able to squeeze it out of a large piece of remnant fabric. If you haven’t gotten your copy yet, you can get the Miri Tank pattern in the shop. And make sure to check out the Miri Sewalong for more tips and tutorials posts. Happy sewing!