
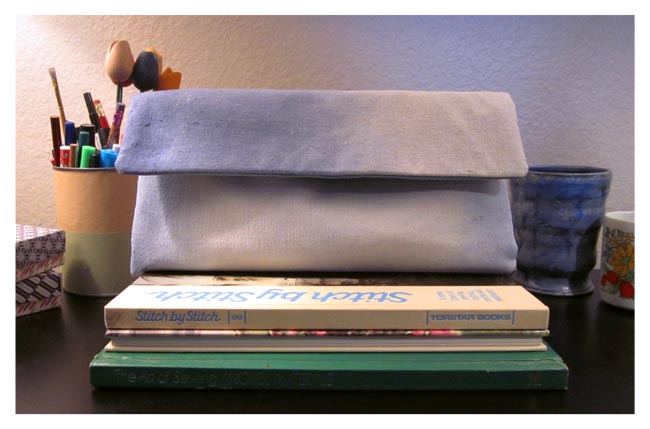
I've worked up a cute little clutch with some elegant ombre dyed fabric. Inspired by the current
and looking for a way to spruce up some drab muslin-ish fabric laying around, I decided get myself a-dyeing. But more on that later. Today, I'll show you the basics of making one of these clutches yourself.

This is a very easy project, just a pocket with a fold over flap. It is very similar to the
I made a while back. I'm thinking about trying one sized to fit my kindle too. (Mostly because I think I should be able to take my kindle with me everywhere.)
Ombre Clutch Tutorial / Pattern
Materials:
Ombre Fabric
Lining Fabric
Interfacing
Batting (optional)
Thread
1 Magnetic Button Closure
Gold fabric paint (optional)
Artists Tape (optional)
NOTE: Use a .5 inch seam allowance for all seams.

Step 1:
Cut 1 piece sized 13 x 11.5 inches for flap (outside) and 1 piece sized 13 x 6.5 inches for pocket each of fabric, lining, interfacing and batting (if using).
Note:
This pattern can easily be adapted to any size you want. I'd start with determining the desired finished size of the clutch. Next decide how much overlap you want and add that to the height for the flap. And don't forget to add a .5 inch seam allowance.

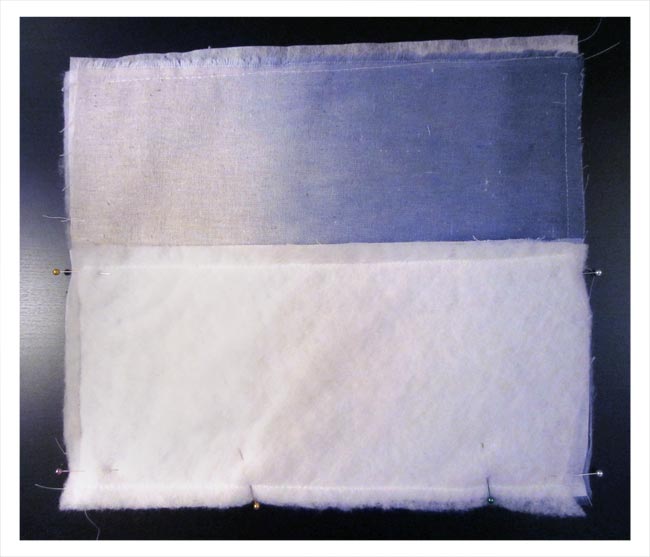
Step 2:
Adhere interfacing to fabric. Baste batting to fabric, if using.

Step 3:
With right sides together, stitch lining pocket to lining flap along sides and bottom, starting .5 inch from edge of inside pocket (see below).
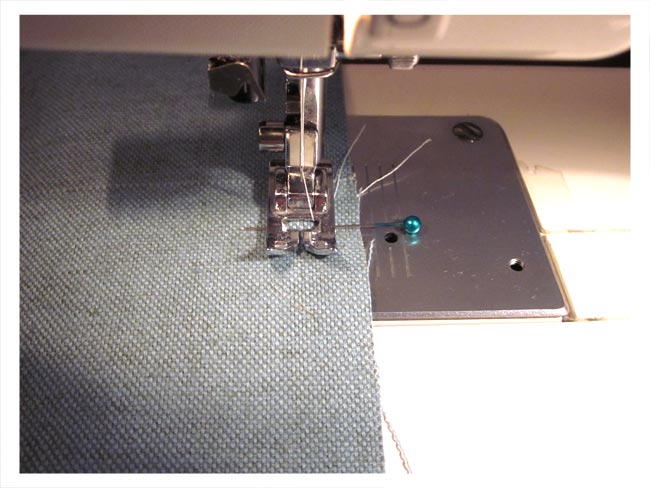
Repeat for ombre fabric.


Step 4:
Trim the corners of the lining and ombre fabrics.

Step 5:
Next, stitch ombre fabric to lining fabric. Place lining fabric and ombre fabric right sides together, one bag inside of the other. Stitch top edge of front pocket lining to ombre fabric, leaving an opening for turning (see above).

Step 6:
Stitch sides of clutch flap lining to sides of ombre fabric flap, keeping seam allowance free (see below). Round corners of flap if desired.

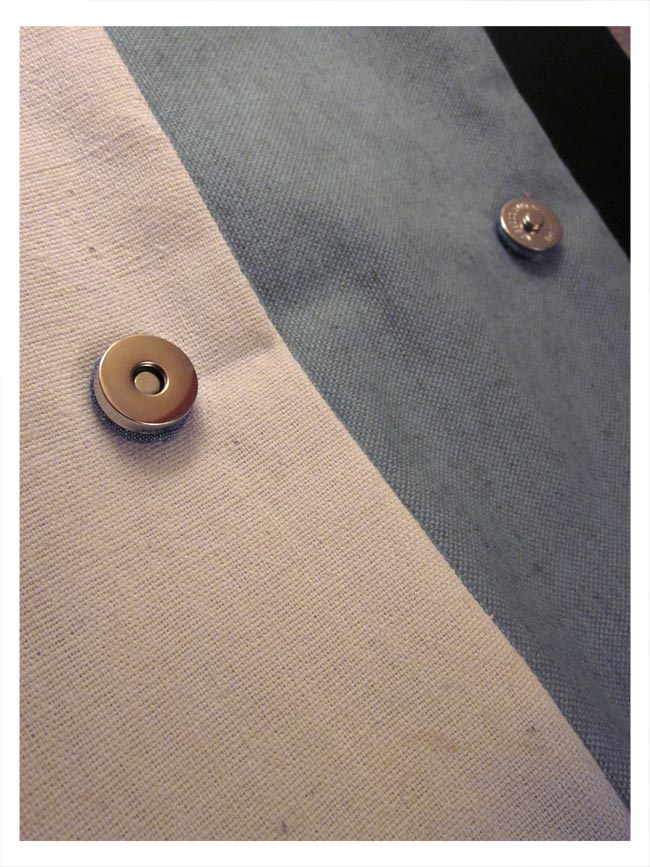
Step 7:
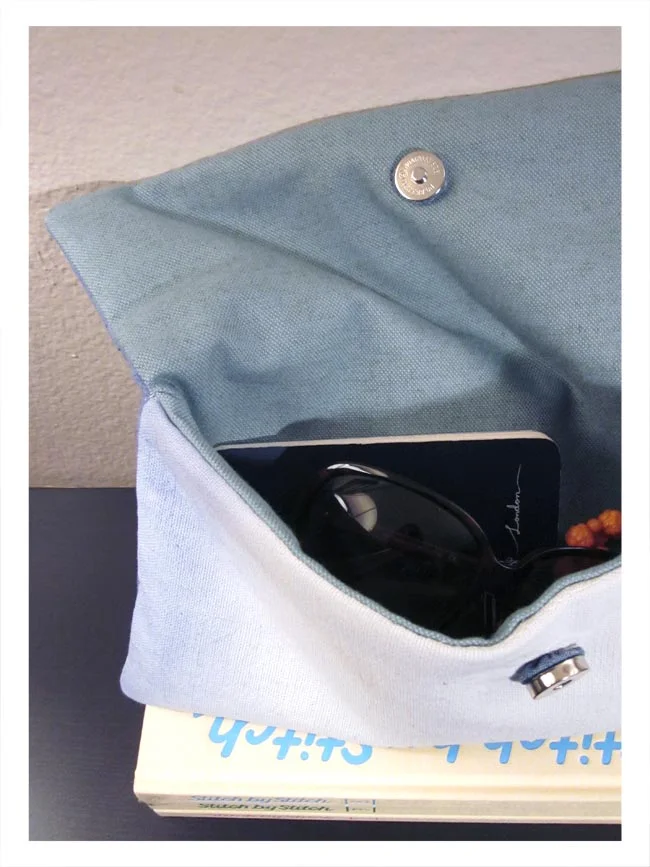
Turn clutch right side out through opening. Hand stitch or top stitch opening closed and attach magnetic closure.

And all done! This version is a subtle hand-dyed version made using batting. The batting provides a little extra (very soft) heft to the clutch but is not necessary. Using a heavy interfacing and heavy weight fabric also helps bulk up a project.

For this version, I pieced 3 pieces of fabric together for the flap and used gold fabric paint to create a geometric design. Piecing fabric strips together is a great way to use up smaller pieces of fabric that might otherwise find themselves in the dustbin.

If desired, you can also square off the bottom corner of the bag as shown above. This step is done before attaching the lining to the fashion fabric. I'll be posting more soon about fabric dyeing and fabric painting so please check back. I hope you like the tutorial. Please let me know if you make a clutch. I'd love to see it. Cheers!


