Fabric paint is a great way to transform fabric. I had a lot of fun making
my heart totes a couple of months ago and wanted to try out some gold paint next. I tried stamping with the gold paint but it didn't work. It was just too thin. So, desperate to paint some fabric, I remembered seeing
this tutorial for a painted camera strap on Design Love Fest.
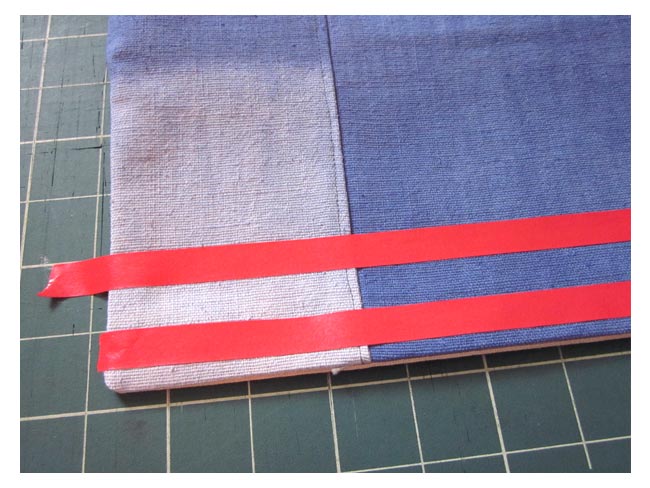
I used long pieces of low-tack artists tape to tape off a strip where I wanted to make triangles. (Need triangle inspiration? Check out my
triangles pinterest board.)
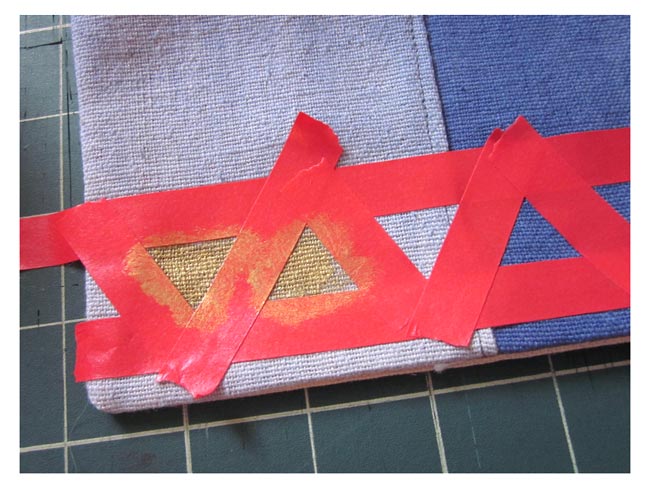
Next, I used small pieces of tape to cover the areas where I did not want paint.
Using a paint brush I filled in the spaces. I peeled off the tape, let it dry 24 hours and then set the paint with an iron. Next up I'd like to try freezer paper stencils.
Another really fun way to transform fabric is to use fabric dye. I really wanted to try an
ombre effect on cotton fabric, so I purchased some navy colored
fiber-reactive dye and followed t
hese instructions from Martha Stewart and
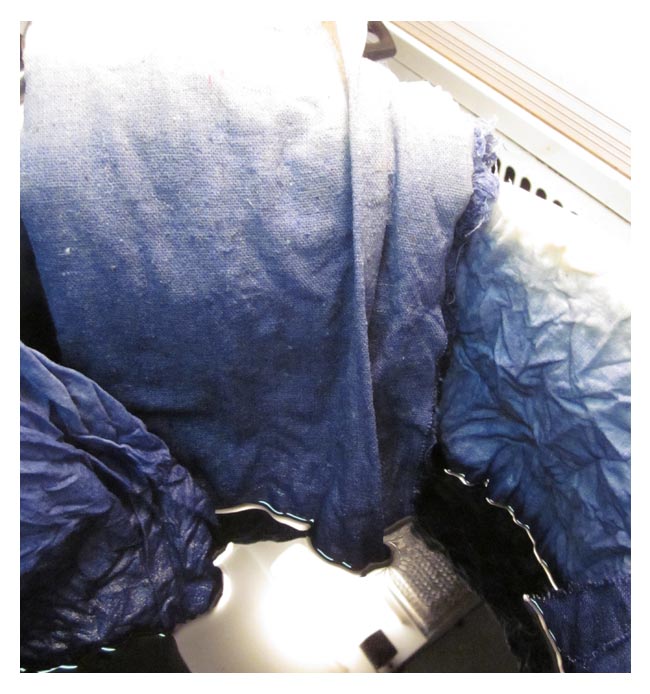
these from Dharma Trading. There is a fair bit of information out on the internet about fabric dyeing and ombre dyeing and it seems to take some trial and error.
I chose to dip one end of the fabric into the dye pot and at 5 or 10 minute intervals pull it farther out of the dye. I also did a little bit of dipping and swishing to try to make the color appear gradually across the fabric. I tried to avoid a hard line of dye but it was a little hard.

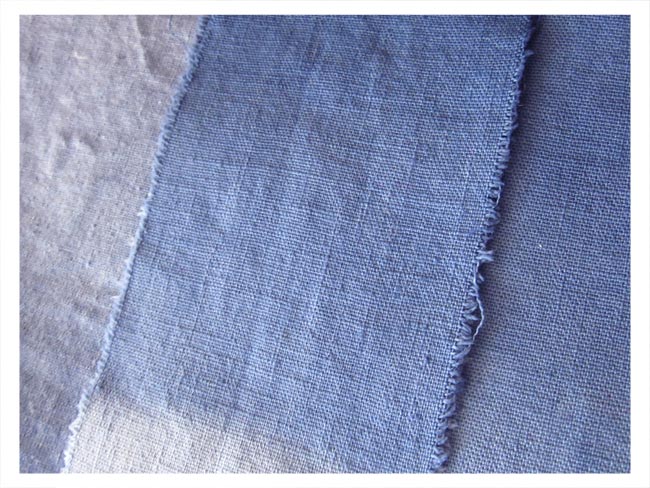
I love how the fabric turned out, so subtle and beautiful, perfect for making
a little clutch or bag.