New pattern launch! Introducing the Summer Sweatsuit

New pattern launch! Introducing the Summer Sweatsuit pdf sewing pattern by Sew DIY

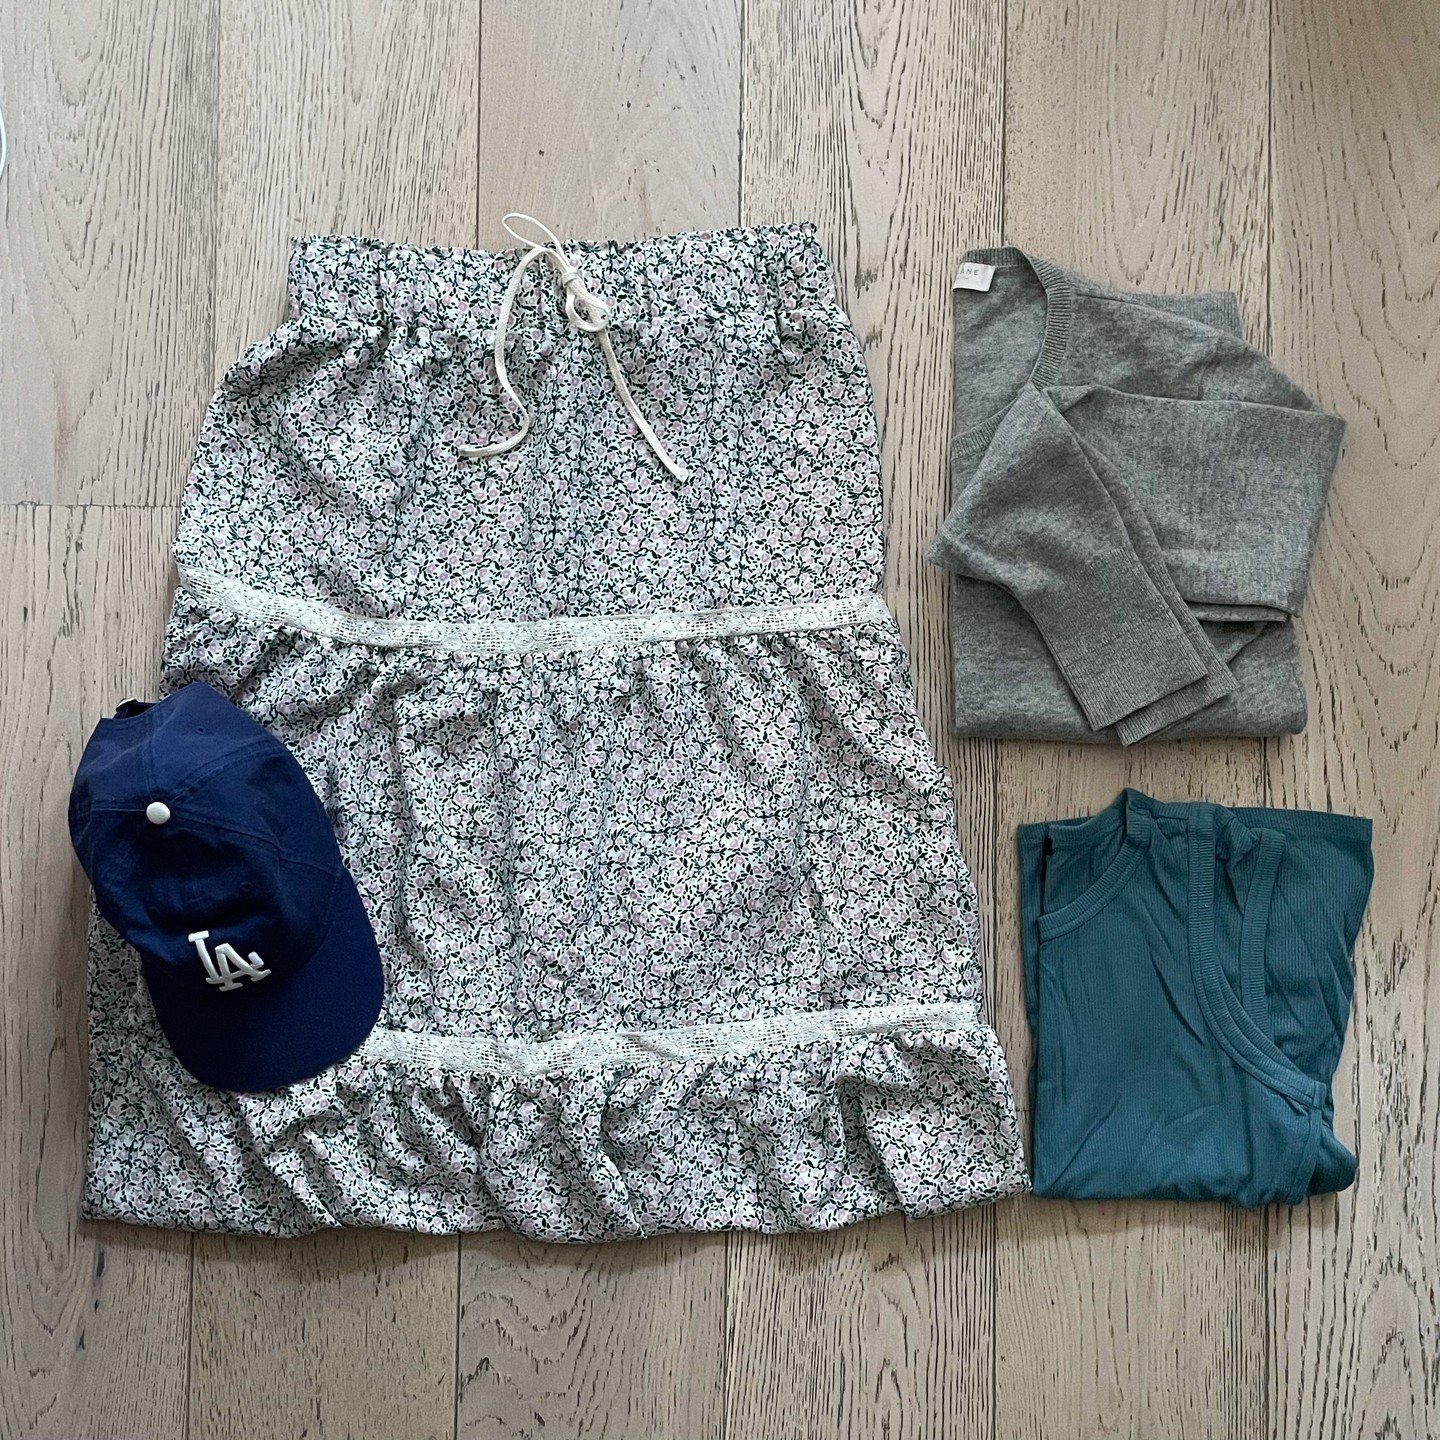
Today, I’m very excited to announce the launch of the Sew DIY Summer Sweatsuit pattern. This vintage-inspired sweatsuit is equally suited for all your summer activities whether that be sports, lounging or even sleeping. I know for many of us (myself included), that staying at home this year has inspired us to get extra cozy with our clothing. After spending months in our comfiest clothes, constricting and scratchy garments just can not be tolerated anymore. This pattern is the answer for what to wear when you want to be comfortable and it’s crazy hot outside.

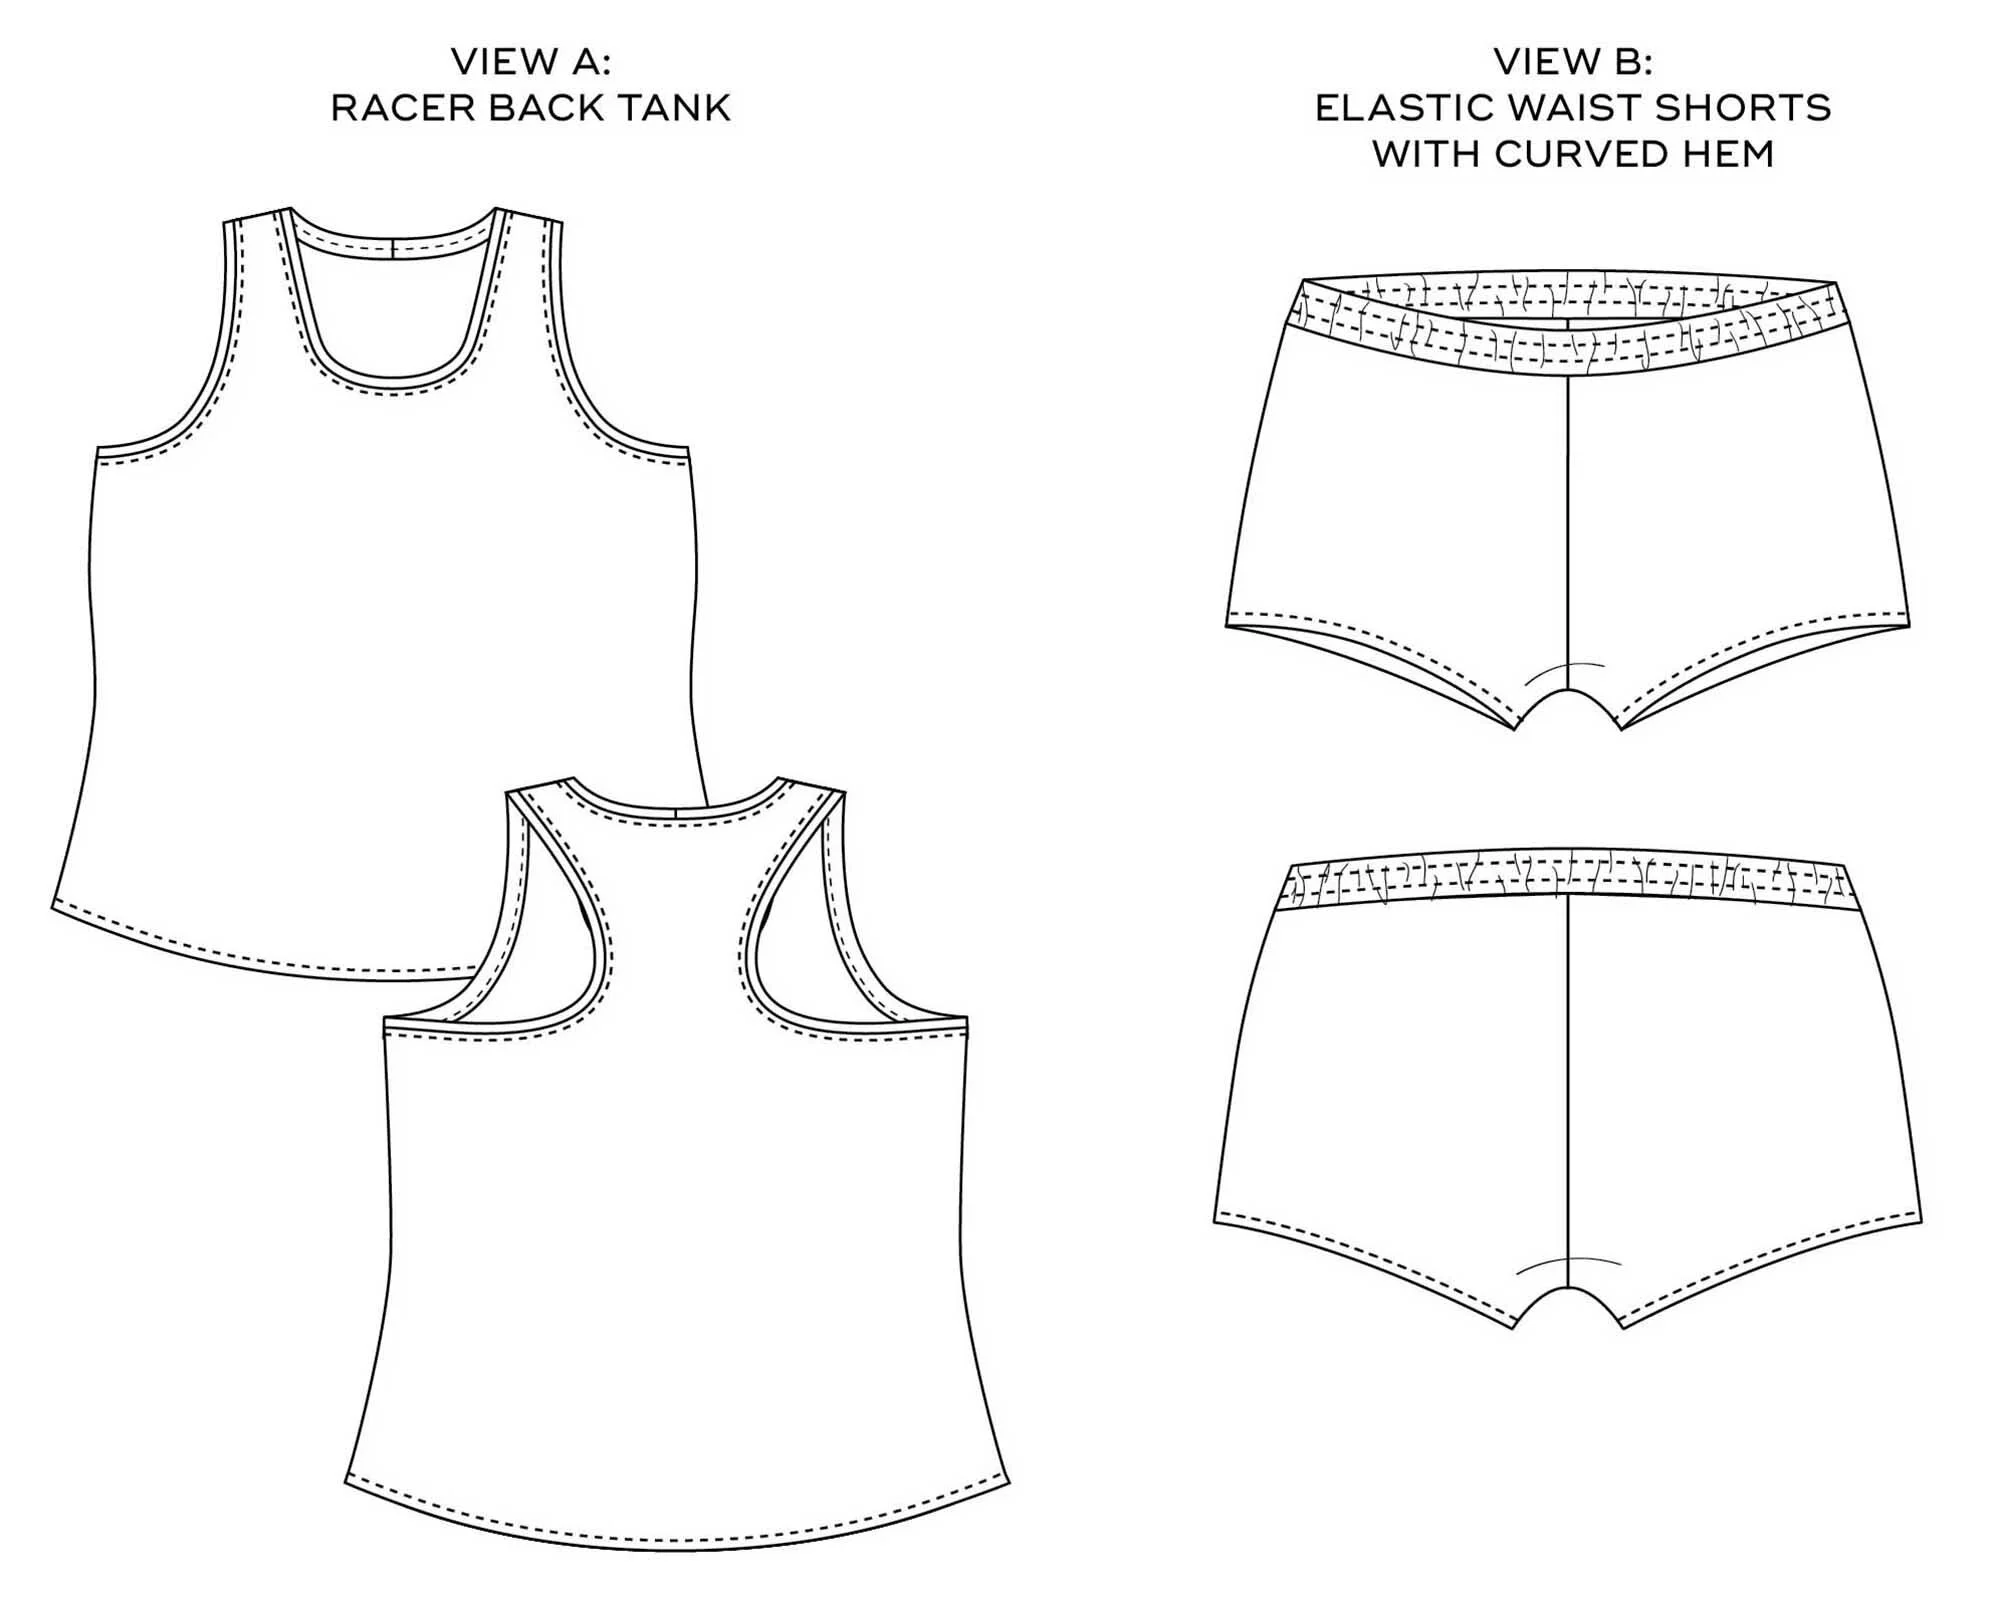
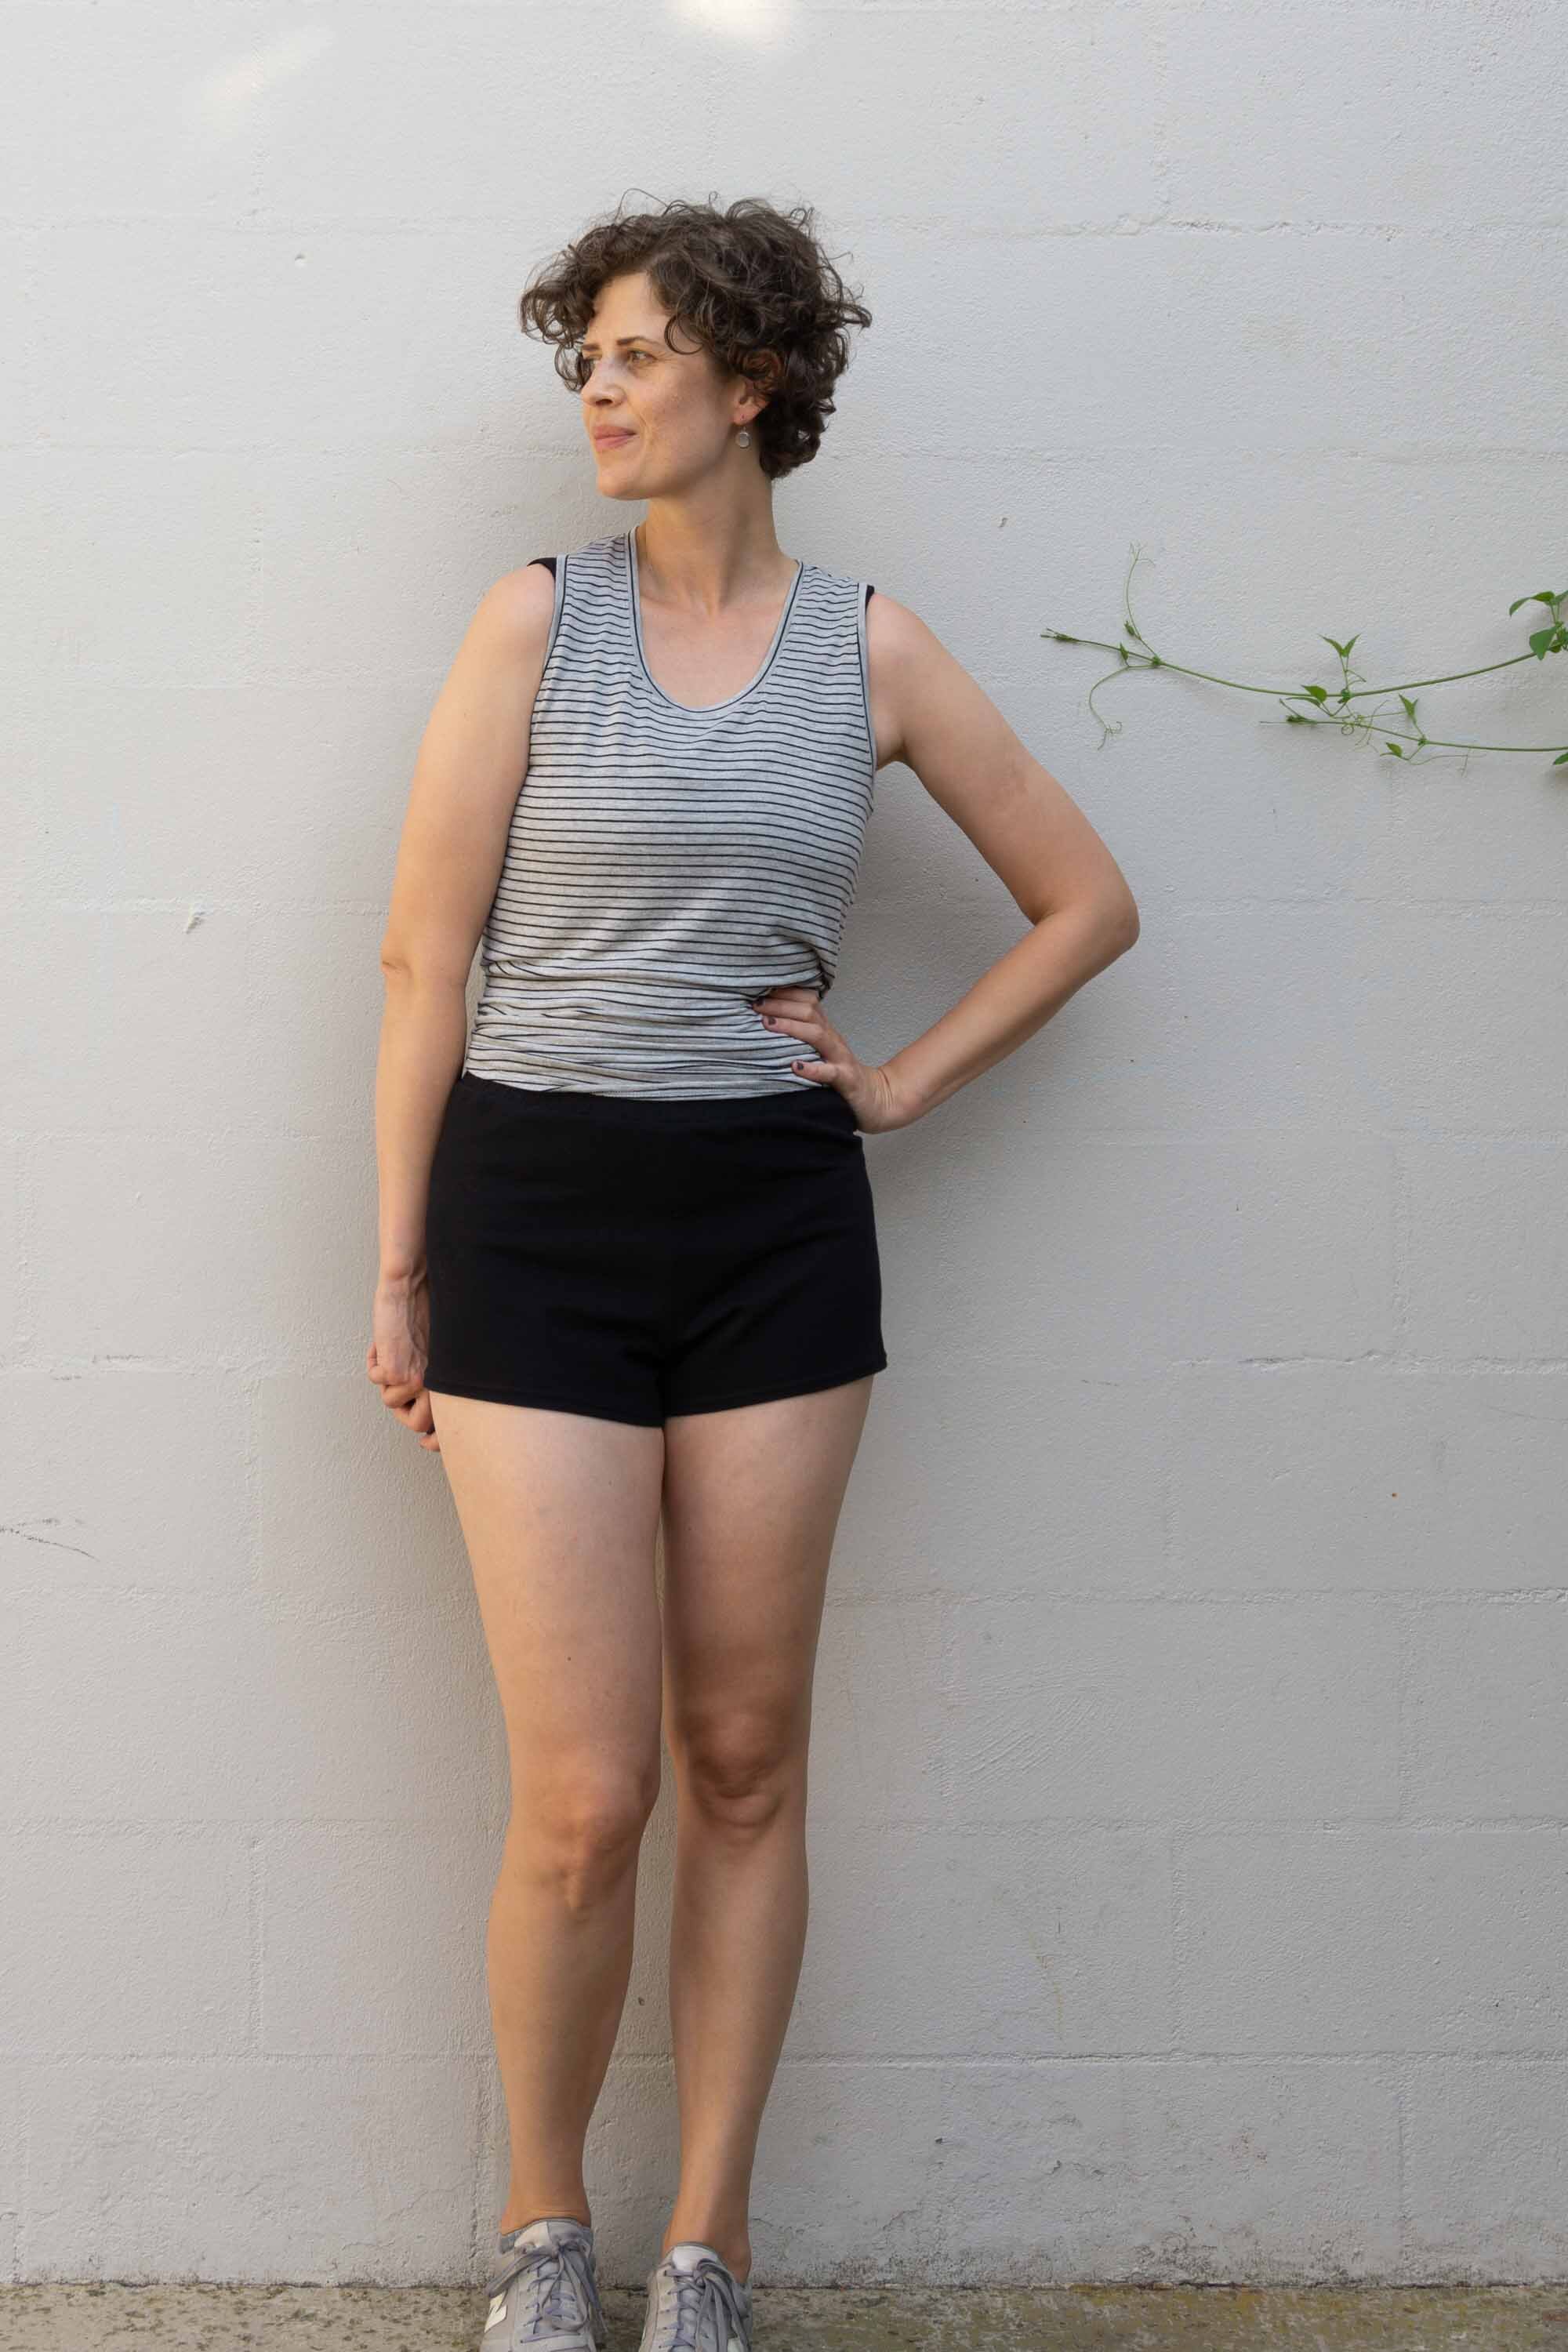
The Summer Sweatsuit is a 2-for-1 pattern featuring a full-coverage racerback tank and mid-rise short shorts. Watch the video above for all the details on this new sportswear pattern. (If you the video doesn’t work for some reason, you can watch on YouTube.) I hope that you love this pattern as much as I do!

Sew DIY Summer Sweatsuit pattern views

ABOUT THE SUMMER SWEATSUIT PATTERN

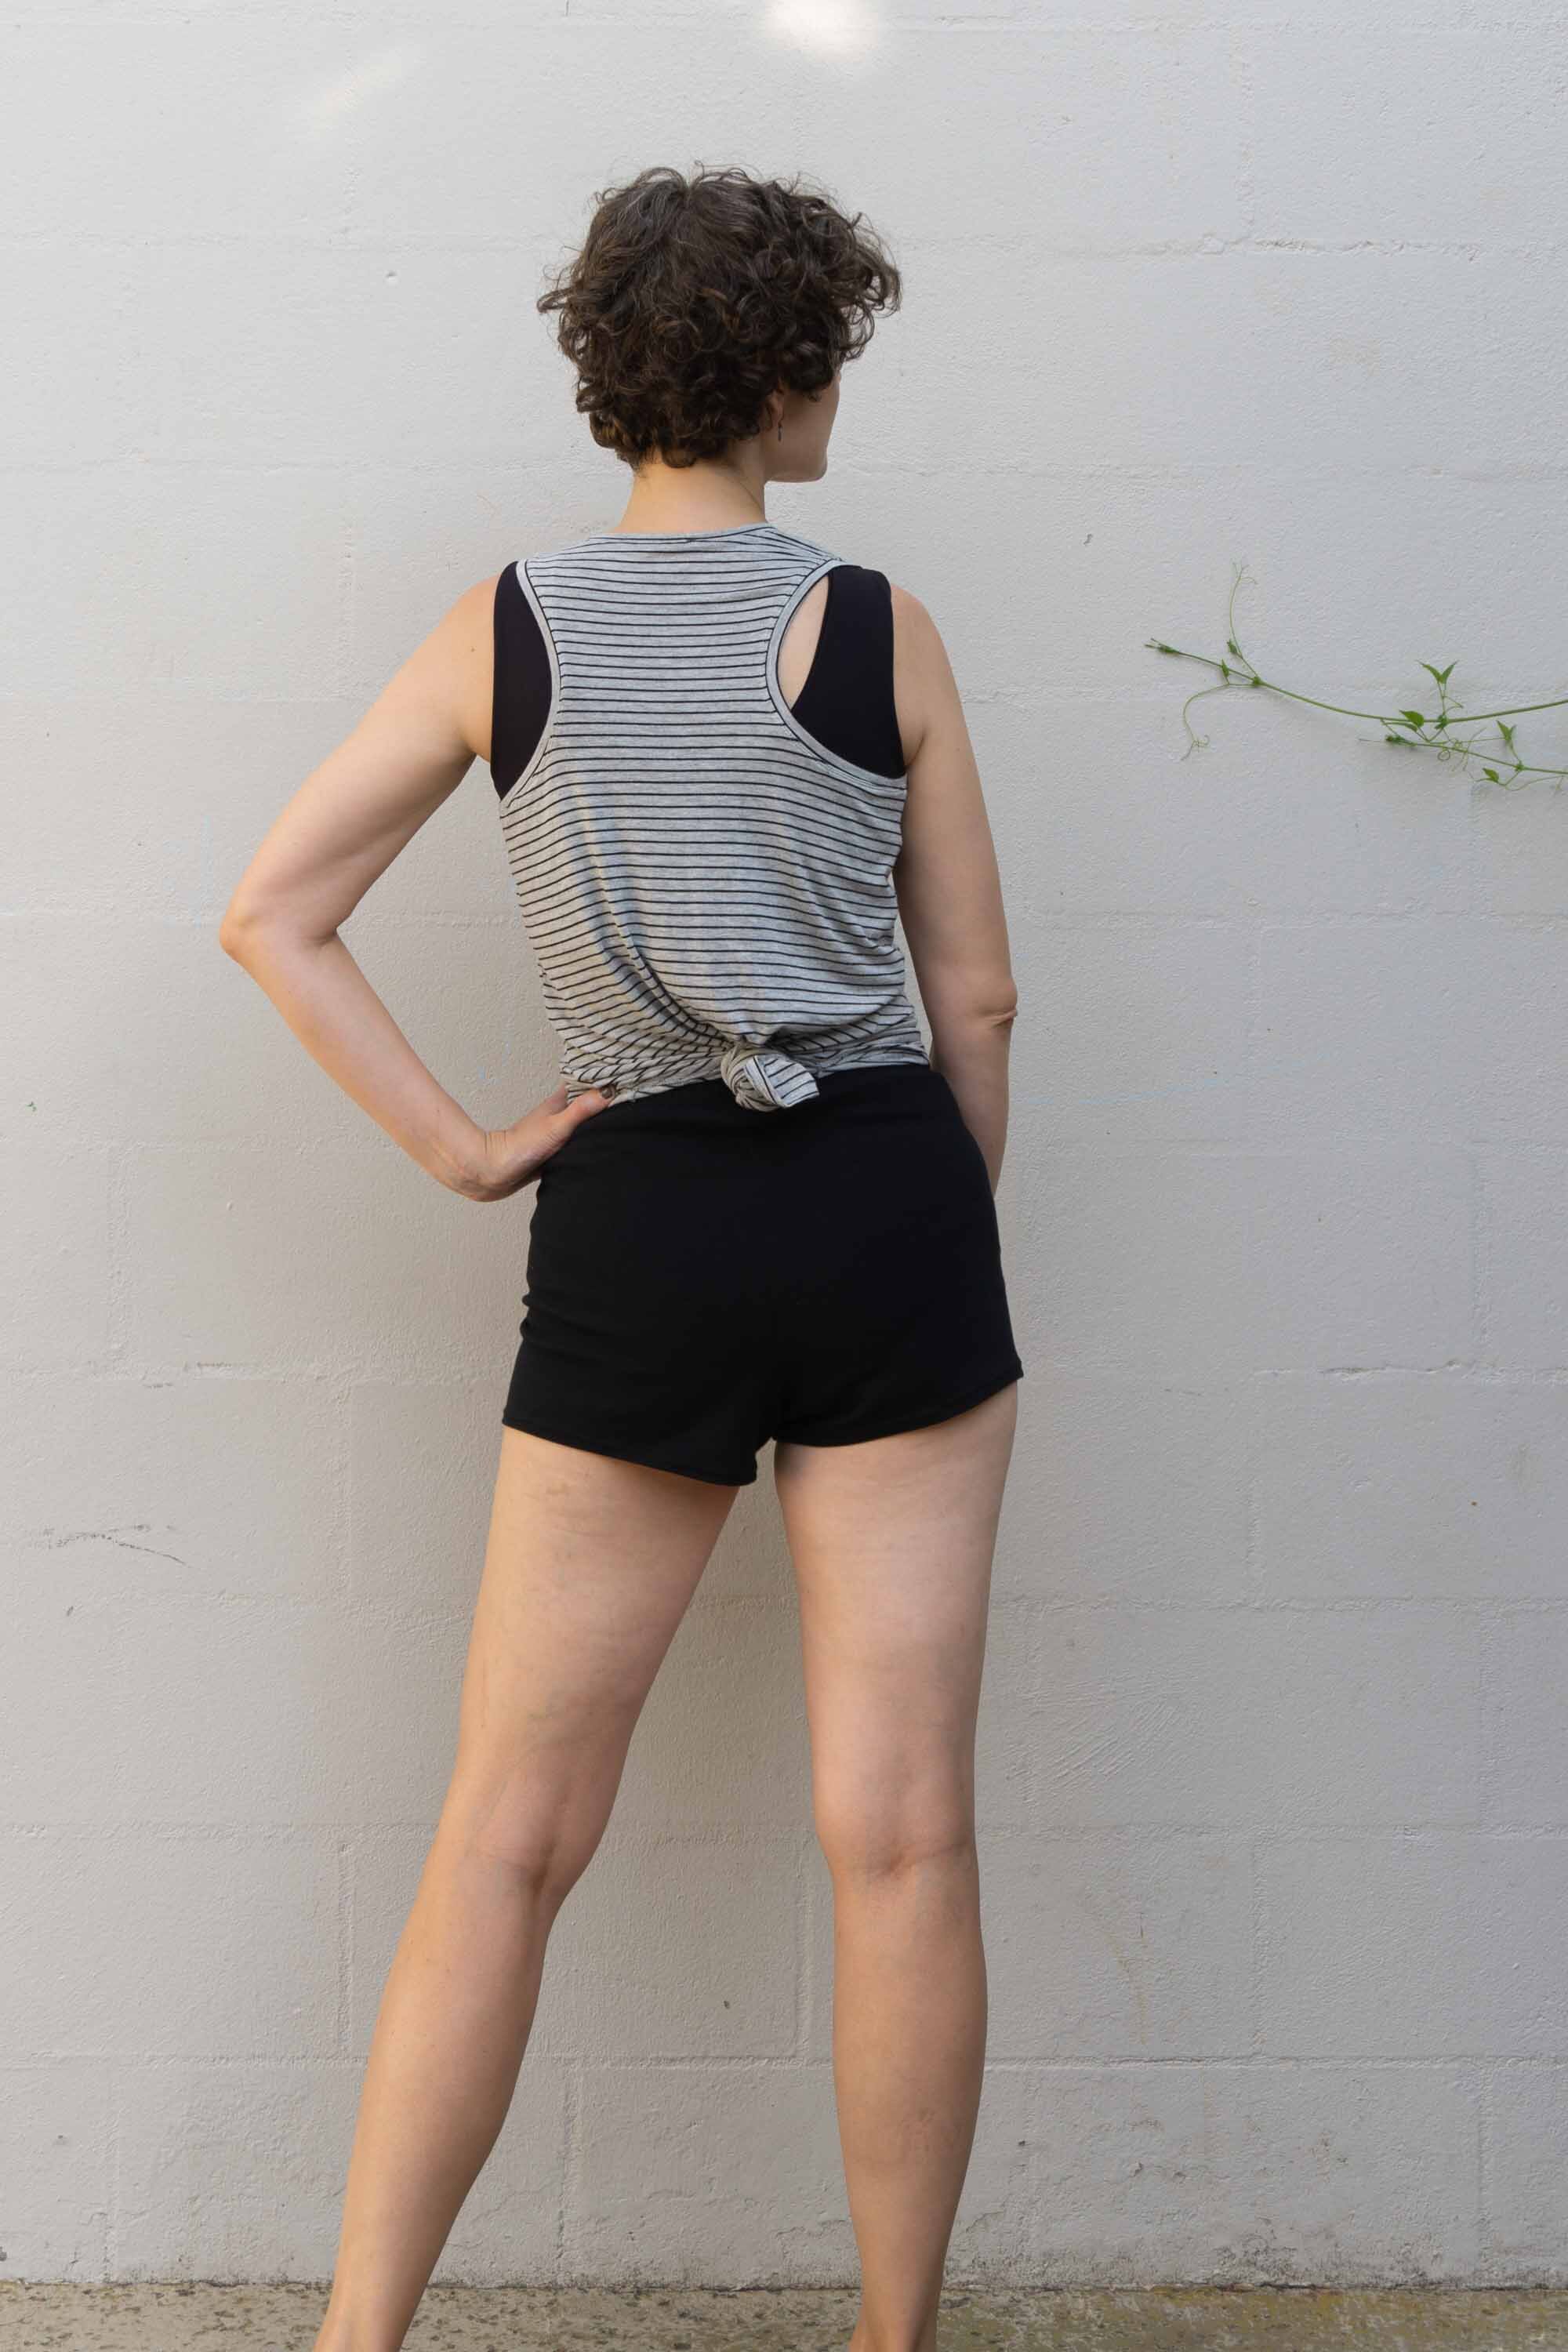
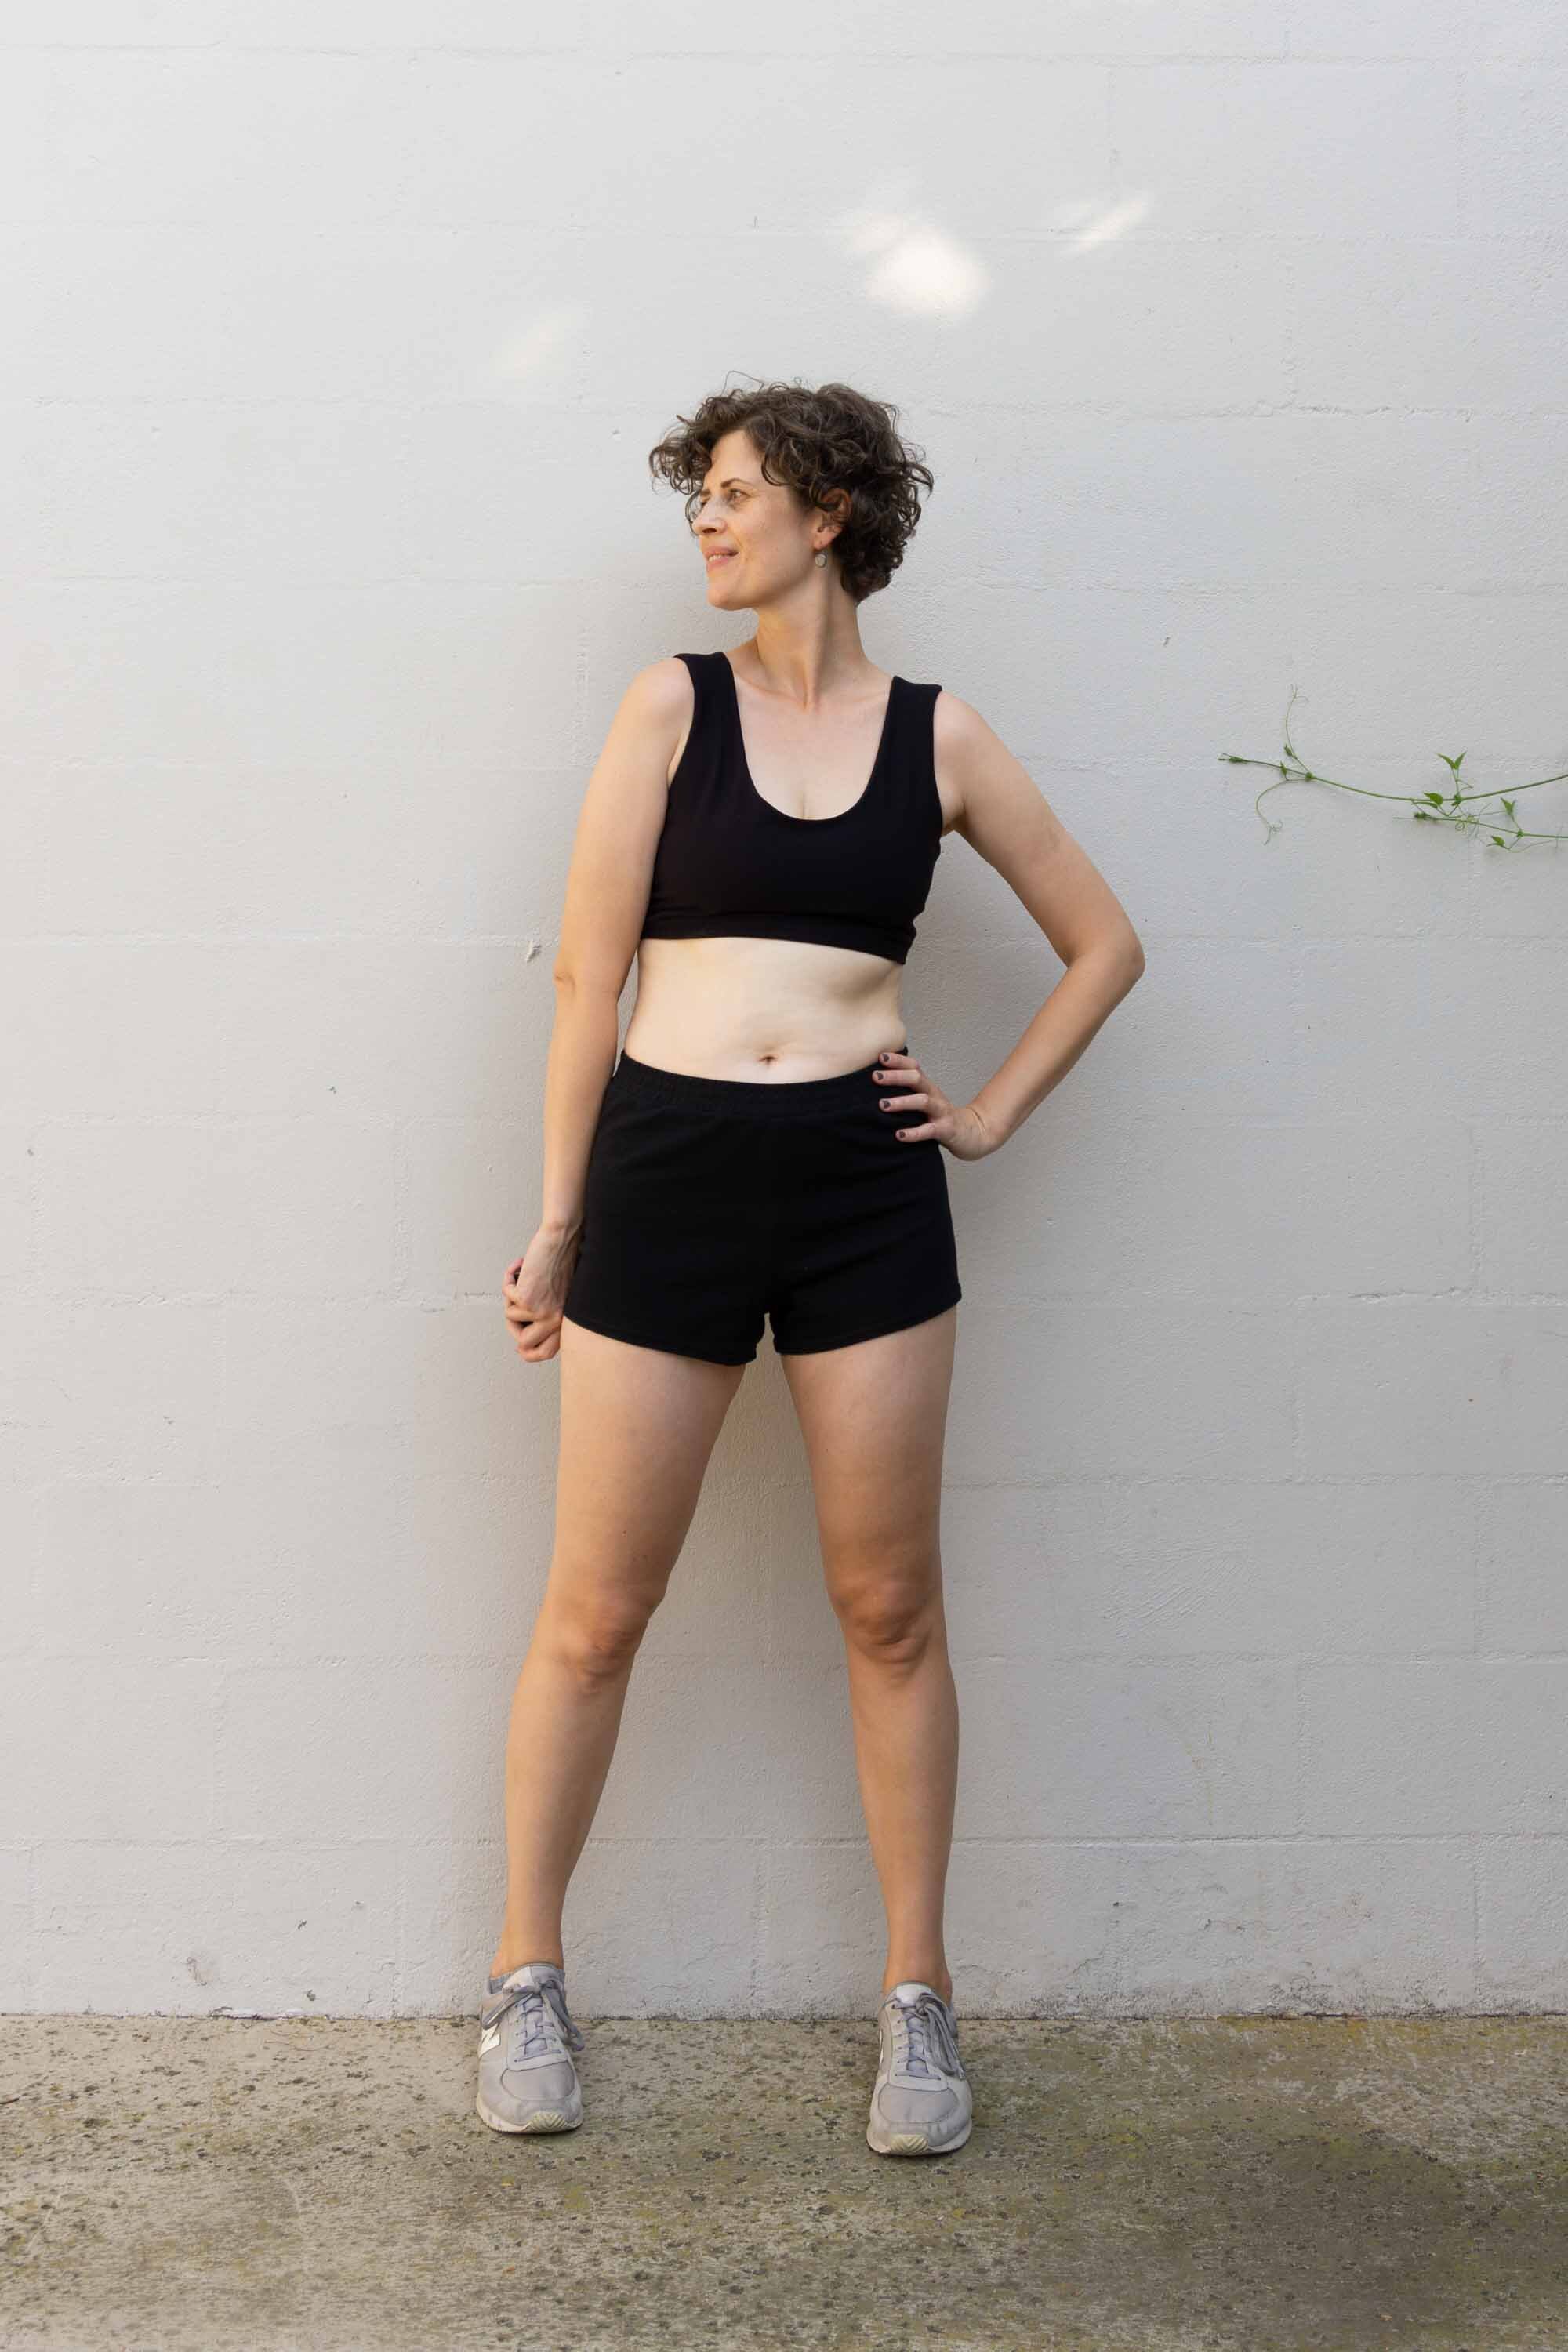
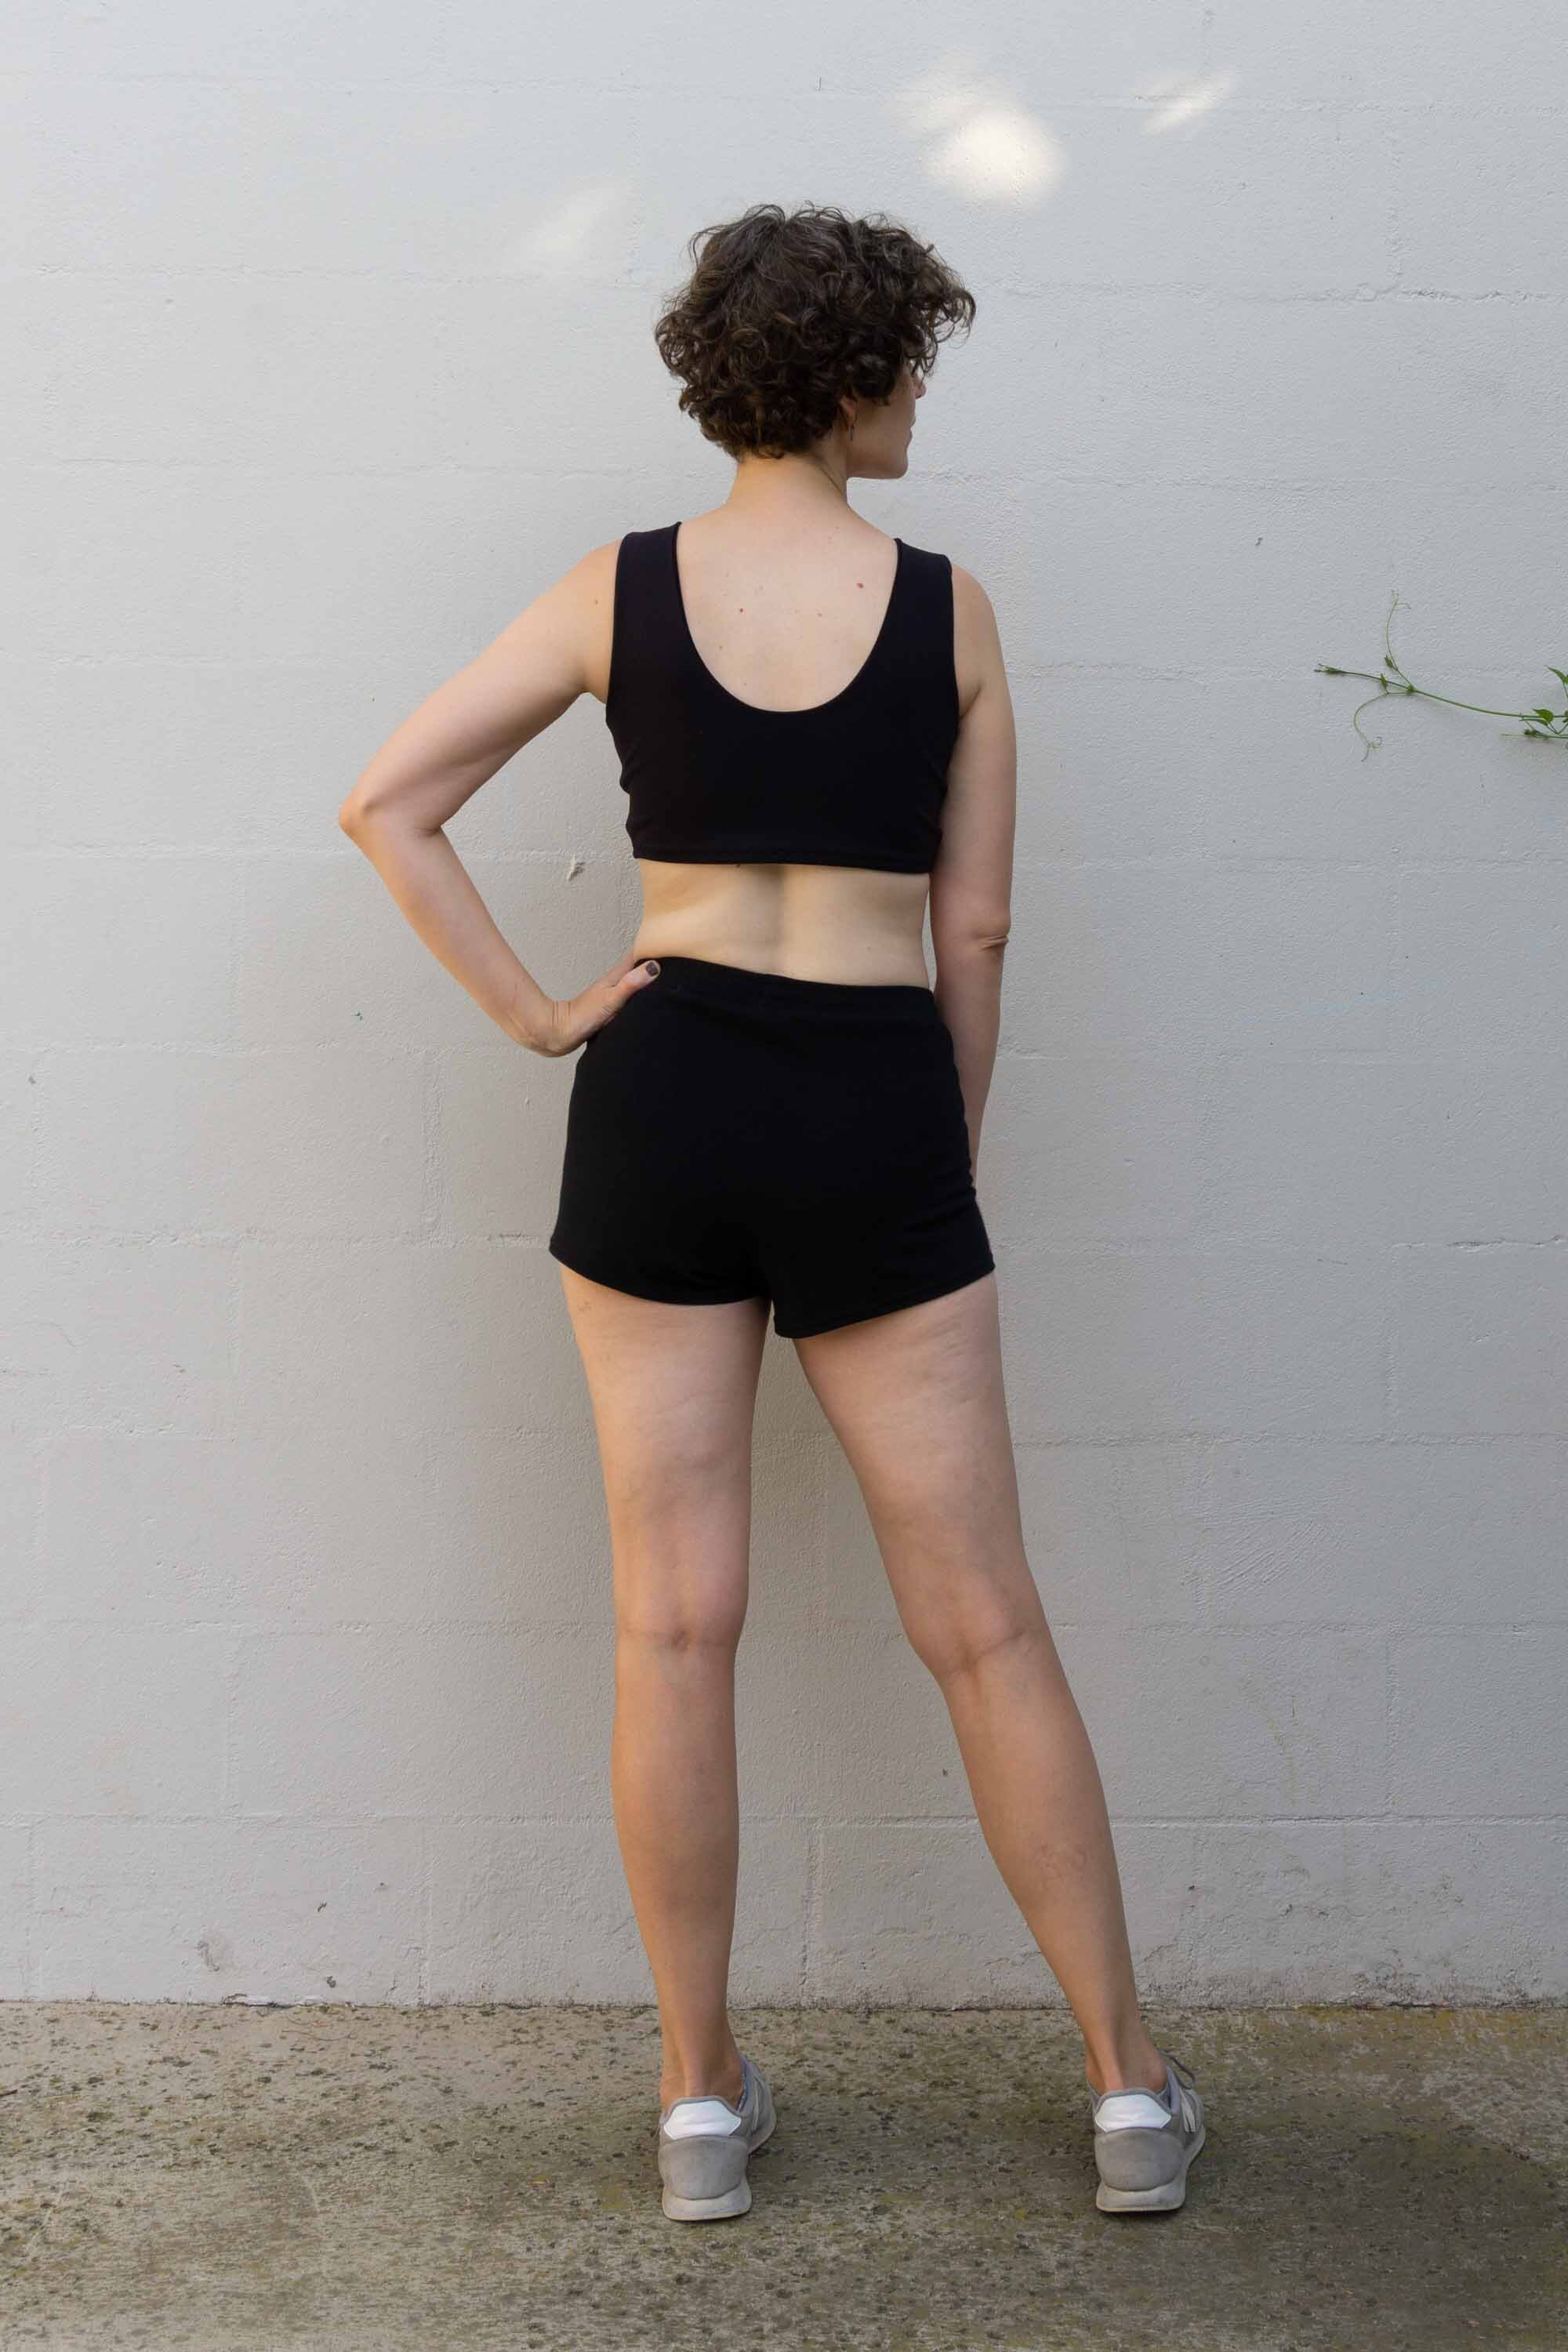
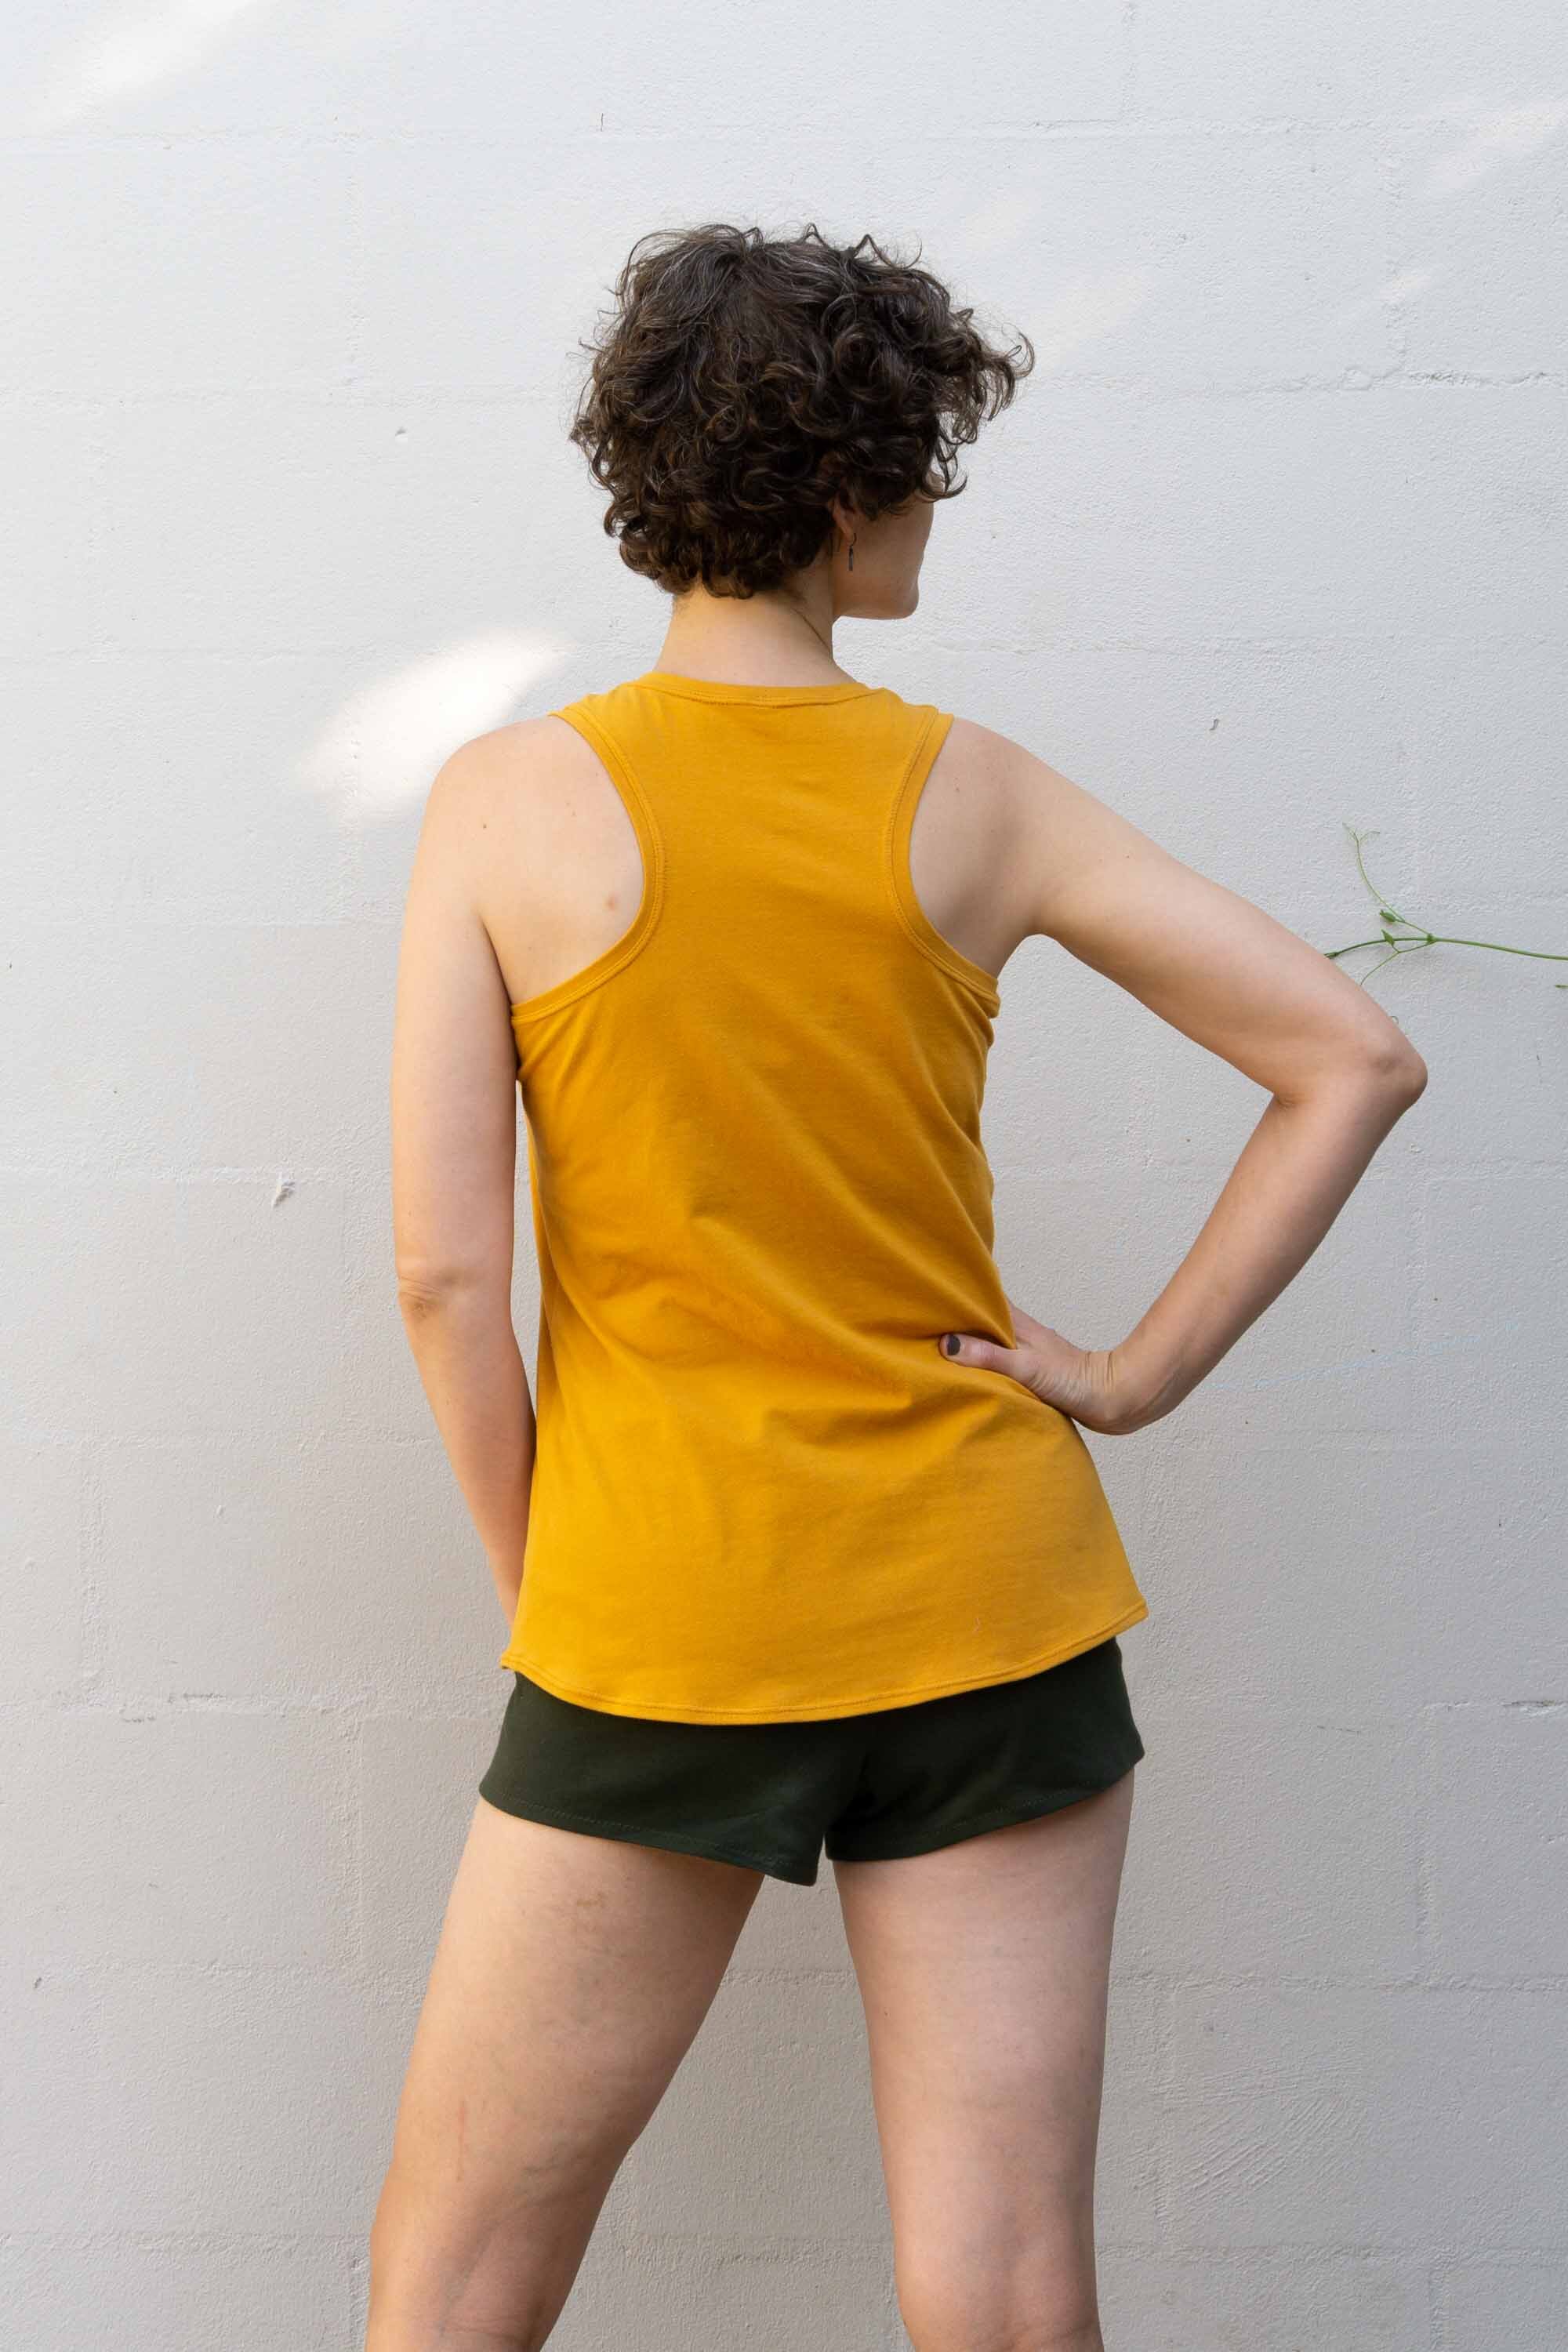
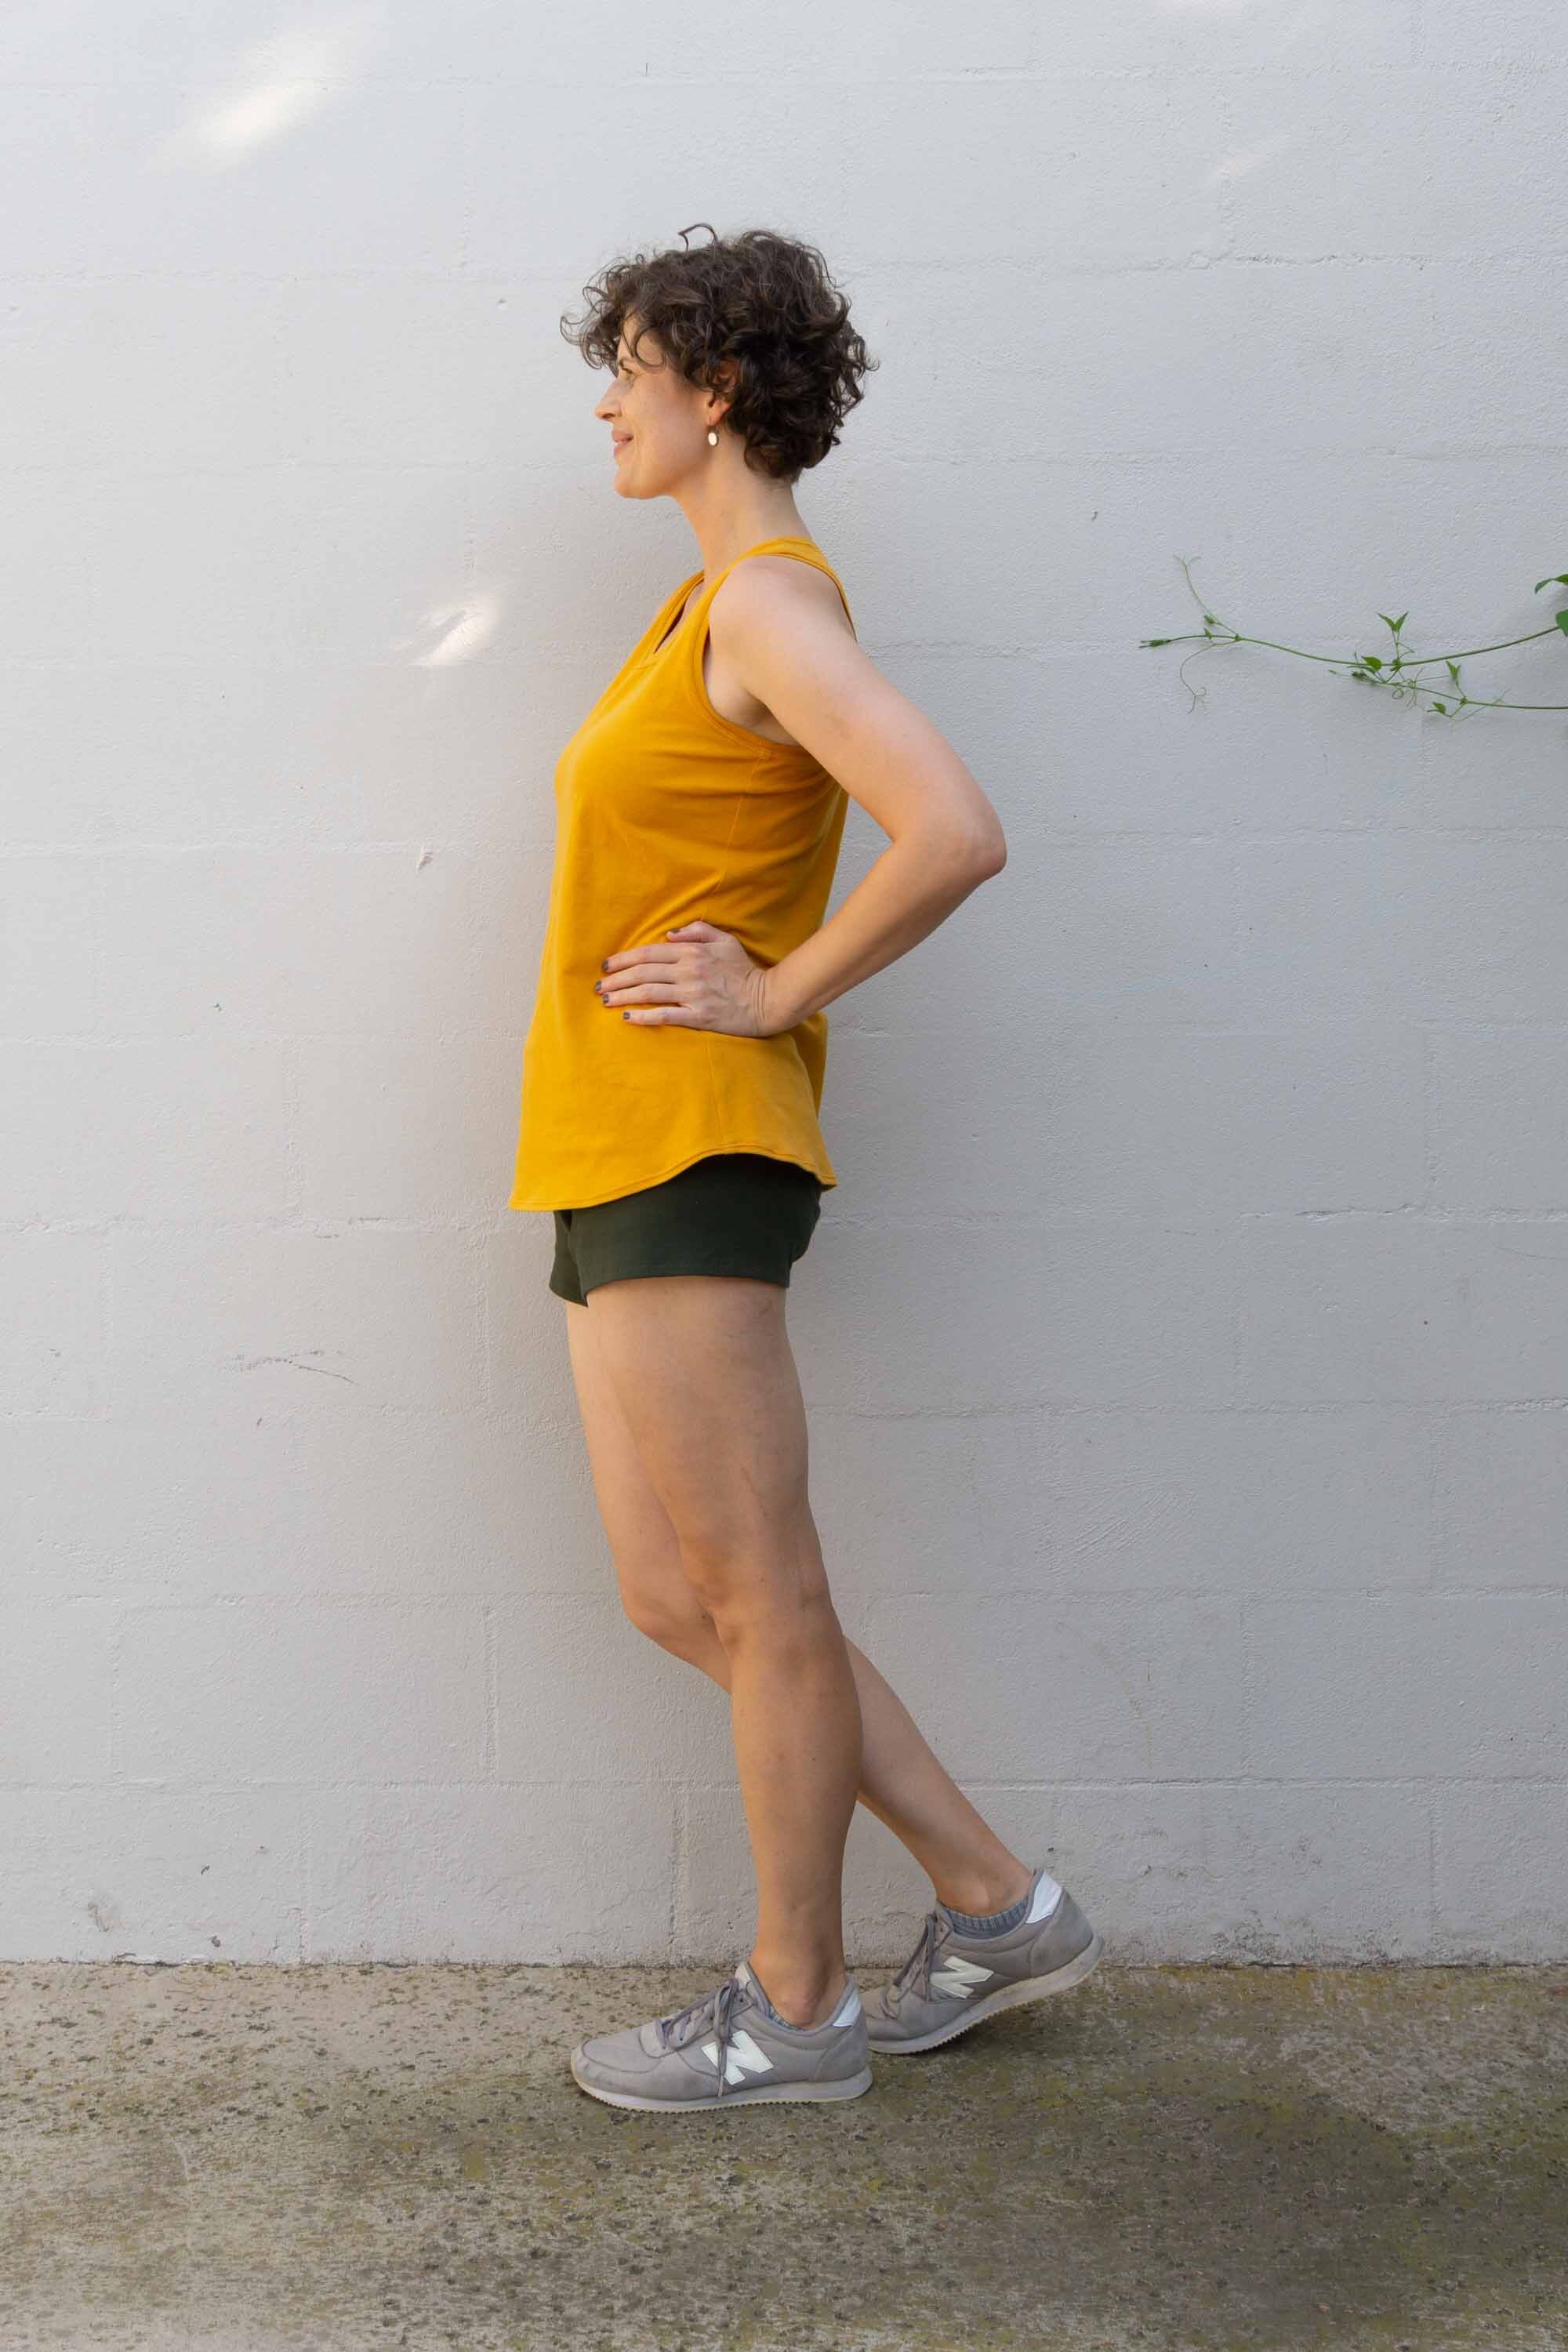
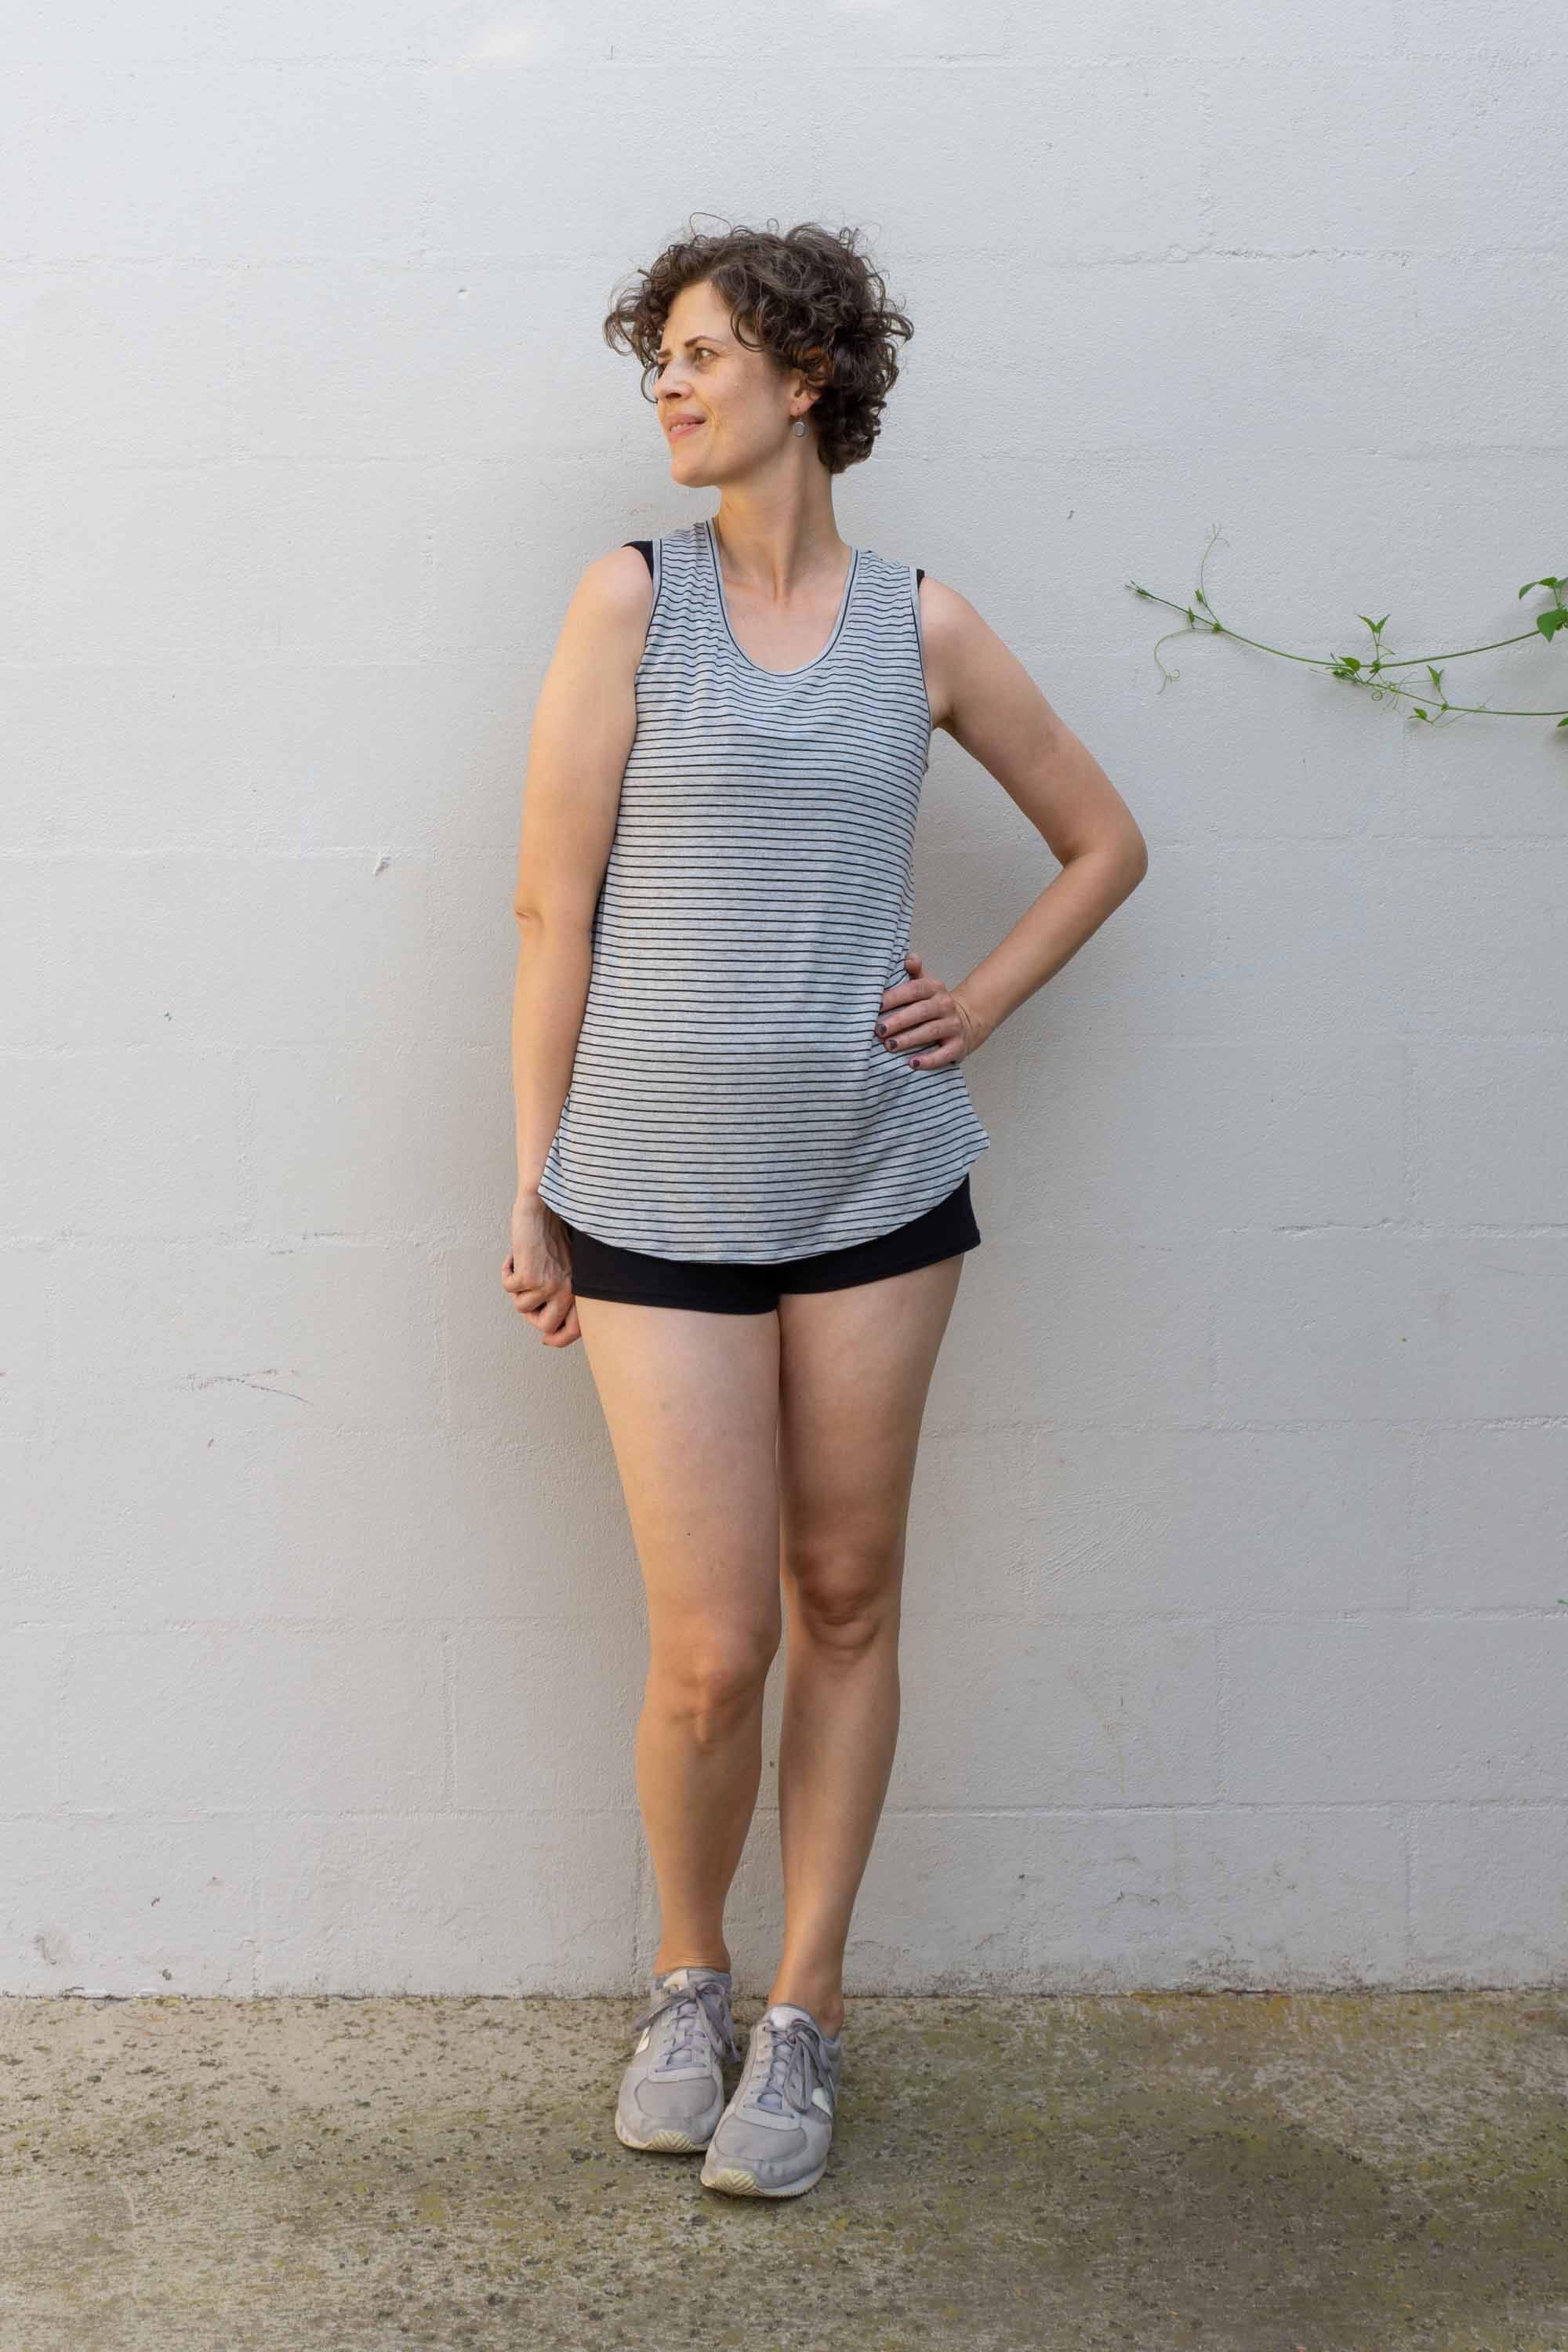
The Summer Sweatsuit pattern gives you an entire outfit that you can wear separately or together. The Summer tank top has a full coverage racerback style with a medium-scoop neck and curved hem. It's designed to be fitted at the bust and skim over the waist and hips in a swing style. The neckline and armholes are finished with self-fabric bands. 

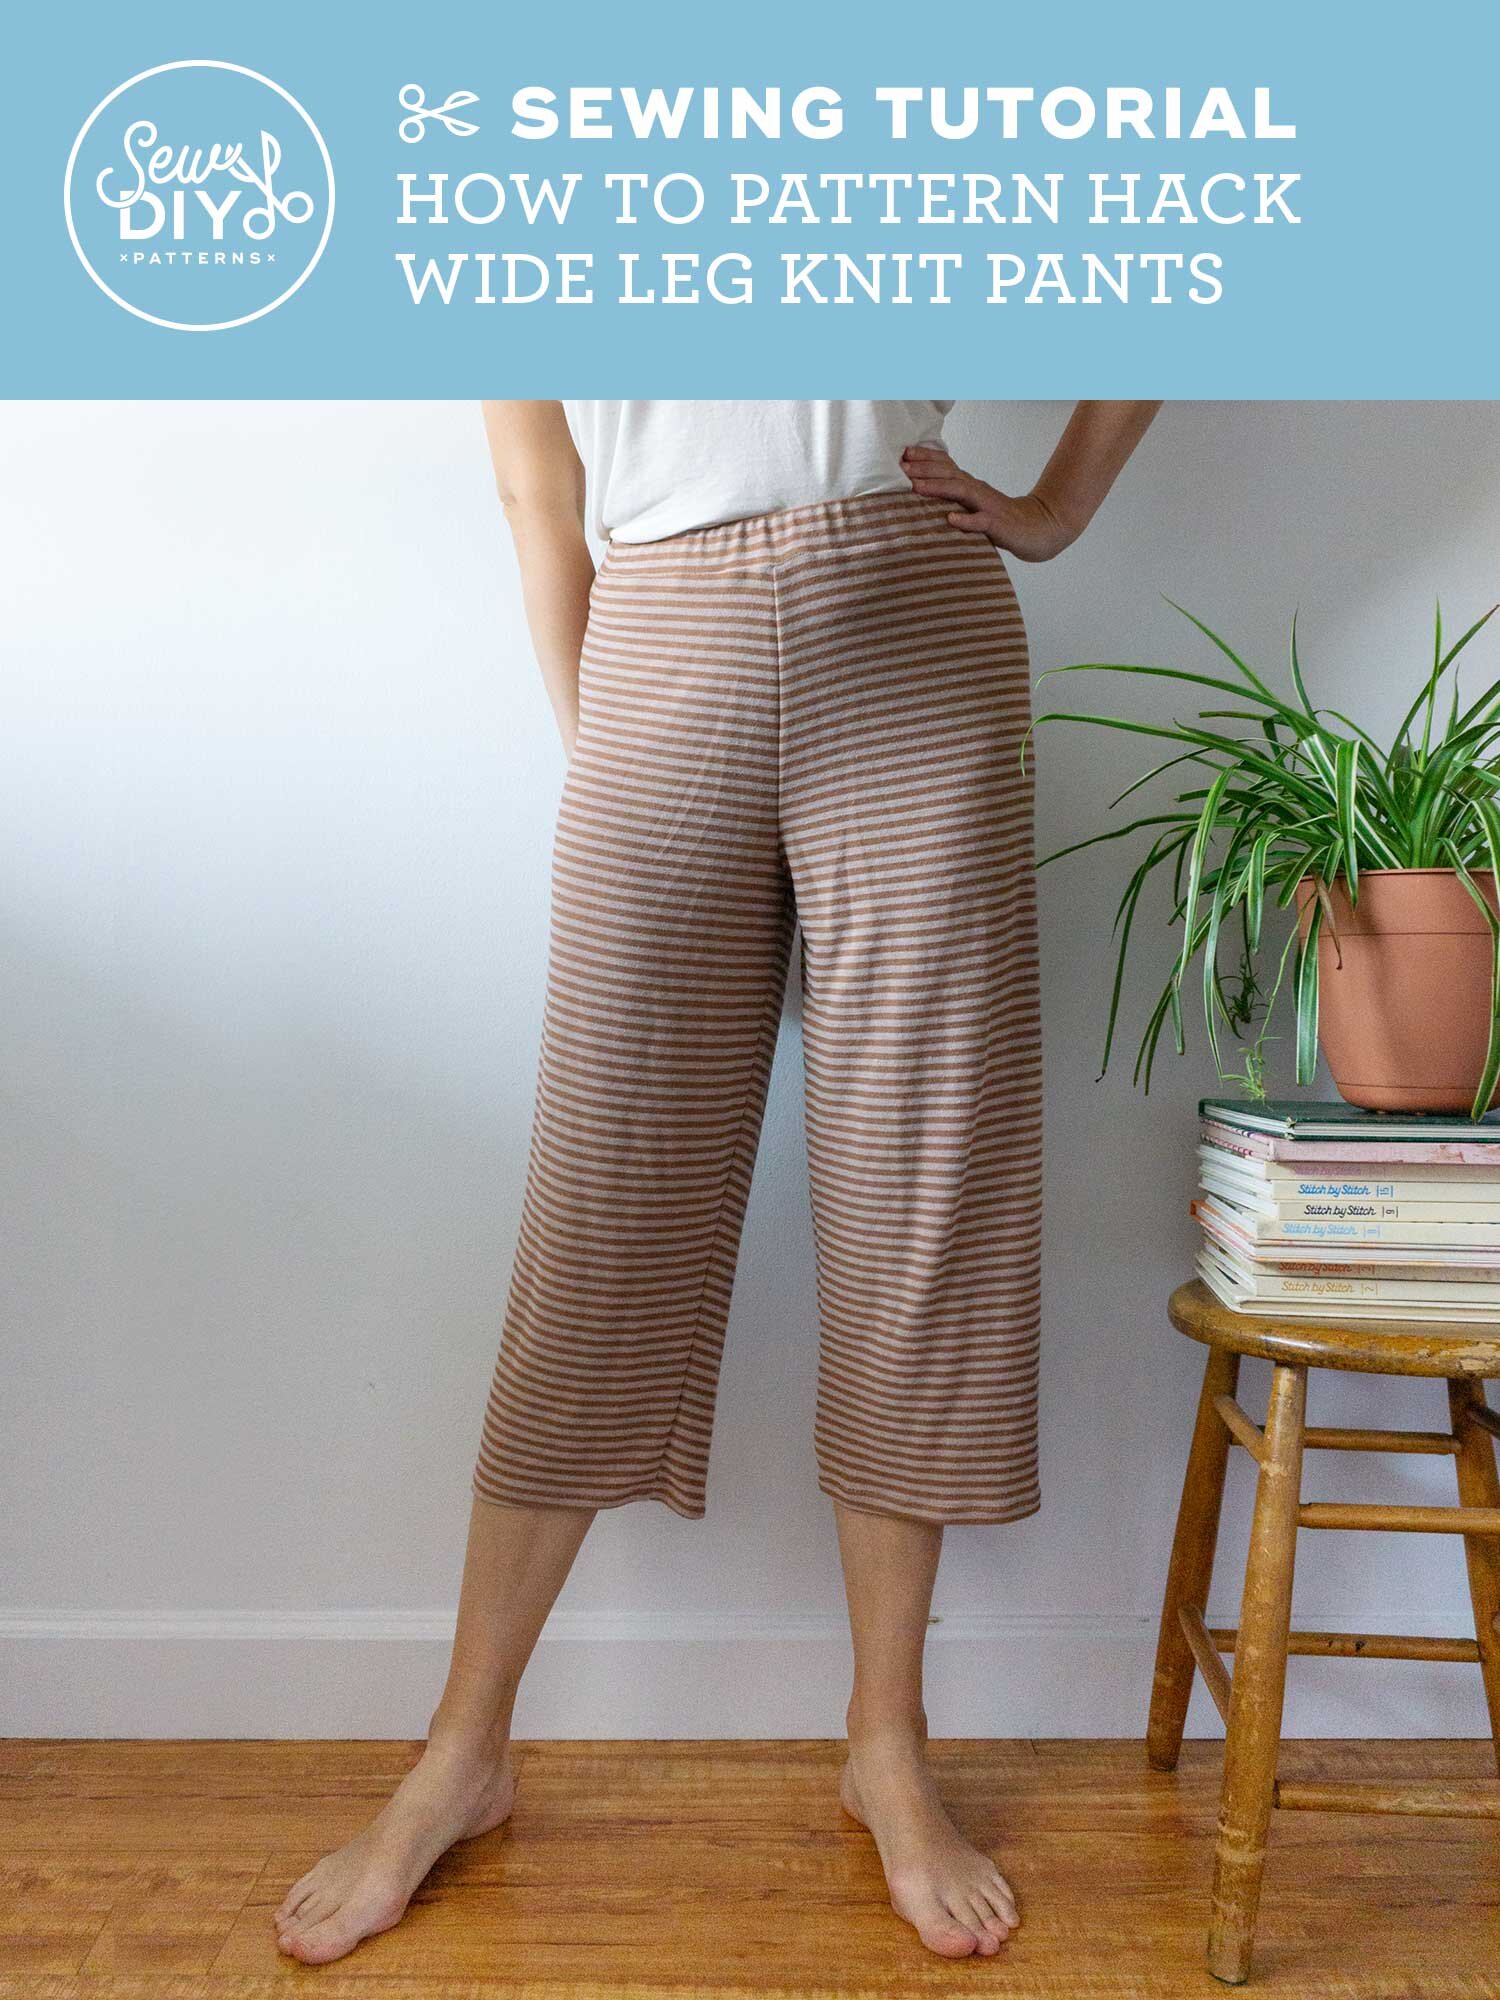
The shorts feature an elastic waistband and a high cut curved leg opening. There are no side seams in the shorts, making them extra comfortable on sensitive skin. If short-shorts aren’t your thing, the pattern shows you how to lengthen the legs of the shorts. These garments are quick-to-sew so that you can get back to summer in no time.

Summer Sweatsuit size chart

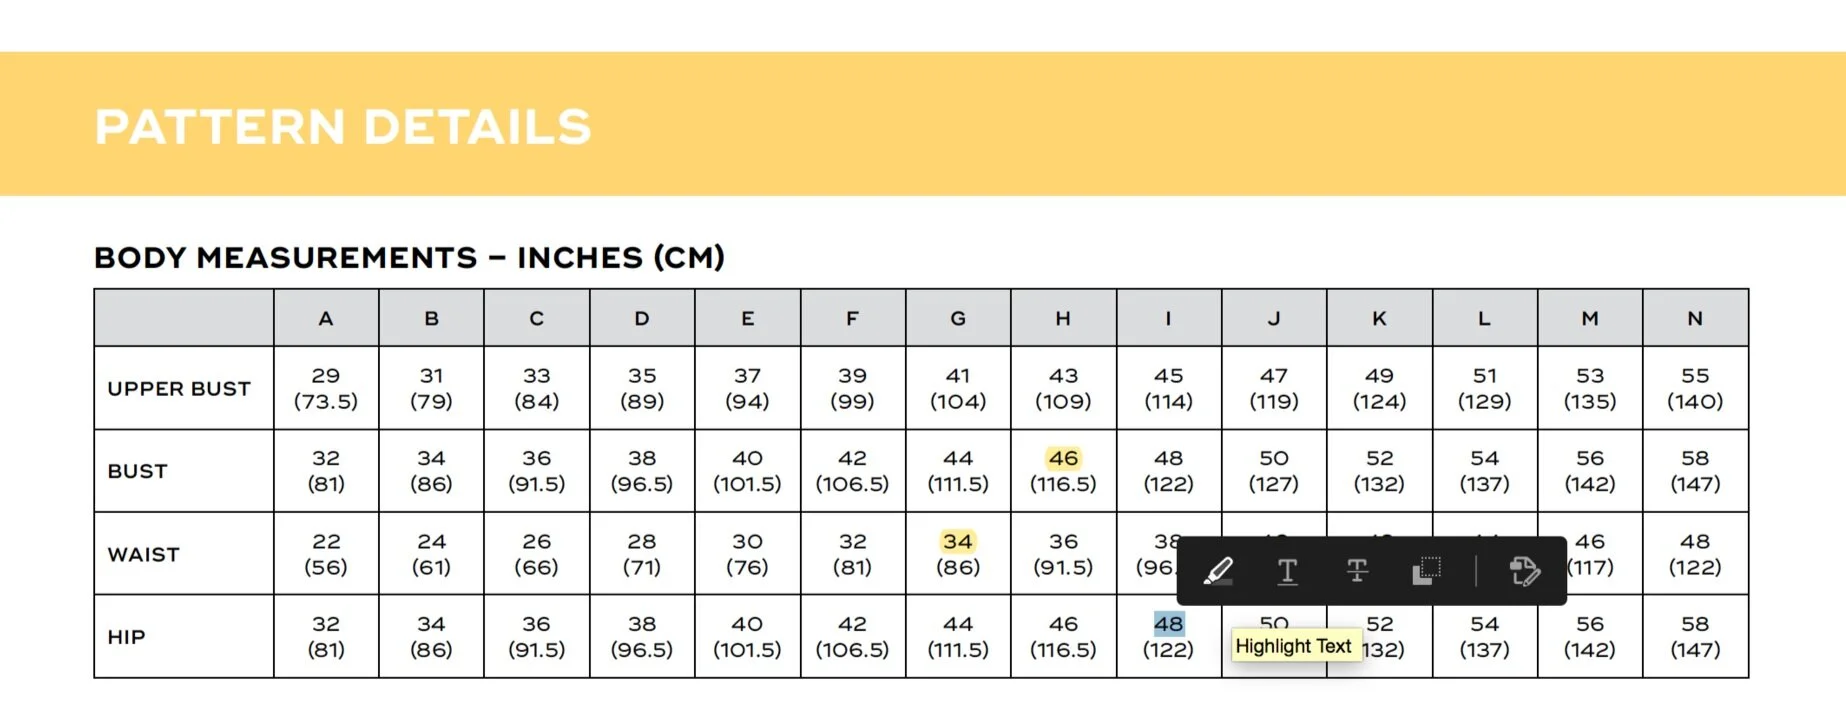
Sizing for the Summer Sweatsuit pattern

The sizing for this pattern uses the Sew DIY sportswear size chart (also used for the Ali Sweatshirt). The pattern is drafted for bust/hip sizes 32-58 inches (81-147 cm) and a C-cup bust. To support our #sewingtall community, we also draft for a height of 5’10”, however it’s easy to adjust the length to suit your preferences.

The instruction booklet that comes with the pattern also includes three pages of advice for common pattern adjustments and alterations.

You can learn more about our size charts here.

Fabric and supplies

For the tank top, we recommend light to medium-weight knit fabric with at least 20% 2-way stretch, such as jersey, bamboo, modal knits.  

For the shorts, we recommend medium-weight knit fabric with at least 35% 4-way stretch, such as jersey, French terry, athletic or ponte knit fabric.  

Additionally, you’ll need a ballpoint or jersey needle and matching thread. If you’d like to finish your garments with a twin needle, you’ll also need that. For the shorts, you’ll need 1.25” (3 cm) wide knit elastic. If you’d like to use a different width of elastic, the pattern includes advice on how to adjust the waistband to fit.

If you’re having trouble sourcing elastic, we have some in the shop. The 1.25” wide elastic is the perfect size for both the Summer Sweatsuit shorts and for our Lela Skirt pattern. This elastic is pre-shrunk and made in the USA. Check it out here.

Sewalong

Over the coming weeks, I'm planning to share video sewalongs for the both the tank and shorts as well as a few pattern hacks. In the meantime, I’ve gathered all of the existing blog posts that will help you sew this pattern. These posts include tips for sewing with knits, how to thread a serger, adjust serger tension, sew a knit neck band and use a twin needle. Check them out below or click here to visit the Summer Sweatsuit sewalong page.

Summer Sweatsuit PDF Pattern
$14.00
Add To Cart

I hope that you love this pattern as much as I do. It’s really quick to sew, doesn’t use a lot of fabric and is so comfortable that you’ll be wanting to wear your Summer set all day and night. To celebrate the launch, we are offering 20% off this pattern with code HELLOSUMMER. Offer expires Wed., August 26, 2020 at midnight, Pacific time.

Click here to grab your copy of the pattern. Happy sewing!

Tips for buying your first pdf sewing pattern

Tips for buying, downloading, printing and storing pdf sewing patterns from Sew DIY

If you’ve never used a pdf pattern before, it can be hard to know how to get started. In this post, I will share all my tips and advice for buying, downloading, storing and using pdf patterns with ease and success. I love the immediacy of pdf patterns, that I can buy one, print it at home and start sewing right away. If you've never used a pdf pattern before, or are just looking for ways to make the process easier, then this post is for you.

Tips for buying your first pdf sewing pattern from Sew DIY

7 Tips for buying and using pdf patterns

1. Thoroughly read the pattern listing 

Avoid any surprises (or disappointment!) and get to know the pattern before you buy. The pattern listing should include a size chart, line drawings of the garment (or object), fabric recommendations and notion requirements. The pattern listing will also tell you what’s included with the pattern as far as printing formats. 

2. Do your research

It’s always helpful to do a little internet research to see find out what other people have made with the pattern and how they liked sewing the pattern. Browse the pattern’s hashtag on Instagram, search for reviews on Pattern Review or the Foldline or do a google search to see if anyone has done a blog post about the pattern. This research will help you see some of the variety a pattern has to offer, how it looks on different bodies and gives you an idea of the experience other people had while sewing it.

3. Use a desktop or laptop computer to download

When you decide to purchase a pattern, it’s best to do so from a desktop or laptop computer. A desktop or laptop allows you to download zip files, organize your pattern files and easily back them up to the cloud (see number 5). It’s also the best place to print your pattern from. 

Often, right after purchase, there will be a link to download the pattern on the order confirmation page. Sometimes, it will be a number of pdfs and sometimes it will be one zip file. You should also receive an email following the purchase with a link to download the pattern. Different shops have different hosting systems so it won’t always be exactly the same process.

How to download pdf sewing patterns

The Sew DIY shop is currently hosted by Squarespace which is a really easy and affordable platform but it does have some restrictions. For digital products, I can only upload one file, which means, in order to give you all the different pattern sizes, I need to upload them as a zip file. Immediately after you place your order, you’ll be able to download the zip file from the order confirmation page. You’ll also receive an email with a download link. 

One restriction that Squarespace has (that’s honestly pretty annoying) is that for security reasons, the download link expires 24 hours after the first time it’s been accessed. If you place an order from my shop and the link expires too quickly, please send me an email (just hit reply from your order confirmation), and I’ll send you a new link. I try to respond within 24 hours on business days.

4. Check your Downloads folder

You clicked download. So now, where’s your pattern? Usually, it can be found in the Downloads folder. However, you may need to check your browser settings to see where it automatically saves downloaded files to.

Missing pattern files? Did you ignore tip number 3 and download to your smartphone or tablet? That’s often the culprit with missing files. Grab your computer and go back to tip number 3.

5. Save the files locally and to a cloud system

It’s really important to save your files somewhere that you’ll be able to find them AND to save them to a backup system. You’ve just spent money on this thing and you should take care of it. Don’t count on being able to download again years or months down the line. You never know when a website may go out of business, as we’ve seen in the last year. After I download my pattern, I put it in a folder on my computer just for pdf patterns. This folder is organized by pattern company but you can do what works for you.

Next, I back up the pattern to the cloud. If my computer (or other hardware) ever fail, I like to know that I will still have access to my patterns. There are a lot of free cloud based backup systems where you can store your pdf patterns. Personally, I use Evernote and organize my patterns by garment type. Other free systems that you can use include Dropbox, Google Drive or Trello.

6. Open the file in Adobe Acrobat Reader

The best way to view and print pdfs is with the free software program Adobe Acrobat. The “Reader” version of this program is free to download. One of the best things about this program is that you can turn on and off layers to print just the size that you need. 

7. Check the test square

This is VERY important. Before you print the entire pattern, you’ll want to print the page with the test square to make sure you have the settings correct. When you print the file you’ll want to select “Actual size” printing. If the test square does not measure correctly, it can have a big impact on the size of the garment. 

If the test square does not match, check your print settings and adjust until you get an accurately sized print. Then, you can go ahead and print the pattern.   

Printing layers

8. Utilize layers to print only the size(s) you need

Many pattern these days (including Sew DIY) have each size on a separate layer. Using the layers in Adobe Acrobat, you can turn off the sizes you don’t want to print. It will make it easier to cut out or trace the sizes that you want to use.

To open the layers window, go to View > Show/Hide > Navigation Pane > Layers. The layers window should open on the left hand side. Click the eye icon next to the layer name to turn it on and off.

Highlight+size+on+pdf+sewing+pattern

9. Highlight your size

I like to stay as digital as I can and save paper and ink. I rarely print out the pattern booklet and use Acrobat to make notes in the pdfs. This is only possible if the pdf instruction book allows edits. If it does, woohoo! You can add sticky notes, or my favorite thing is to highlight my size in the size chart. Simply select the text with your cursor to see the editing options, then click the highlight text icon on the left. Save the pdf to save your notes and highlights.


ASSEMBLING YOUR PRINT-AT-HOME PATTERN

I already have two blog posts about assembling the print-at-home pattern, so I won’t repeat myself here. You can check out those posts here and here

PRINTING AT A COPYSHOP

If you don’t want to print your pattern at home and tape it together, you can send it to a copy shop to be printed on a large format printer. Sew DIY patterns include both a 28” wide file for US copy shops and an A0 size format. I’ve had good experiences printing A0 size patterns with the website pdfplotting.com. You simply upload your files to them, they print them and ship them to you. It’s most cost effective if you get a few patterns printed at one time. 

STORING YOUR PATTERNS

Last but not least, I wanted to mention how to store the patterns after you’ve sewn with them. I fold mine up and put them in plastic sleeves and then in 3 ring binders. You can read more about that in this blog post

Tips for buying your first pdf sewing pattern from Sew DIY

I hope that you found this post helpful. You can pin the image above to save these tips for later. And if you’re looking for a pdf pattern to try, explore the shop below. Happy sewing!

How to lengthen or shorten the rise of a pants pattern

How to lengthen or shorten the rise of a pants pattern

One reason people often recommend starting off sewing a skirt rather than pants is that skirts are usually much easier to fit than pants. That crotch curve can create all sorts of fitting dilemmas and one of the easiest to solve is the rise, also called the crotch depth or crotch length. In today’s video tutorial, I’ll show you how to shorten and lengthen the crotch depth evenly across the front and back. And as a bonus, I’ll show you how to adjust only the back rise. This is a really simple pattern adjustment to make and very useful if you are petite or tall (like me!)